I got this kit back in August of last year and did a quick cut and test fit once the kit arrived as a break from the 1/32 Gouf Custom project.
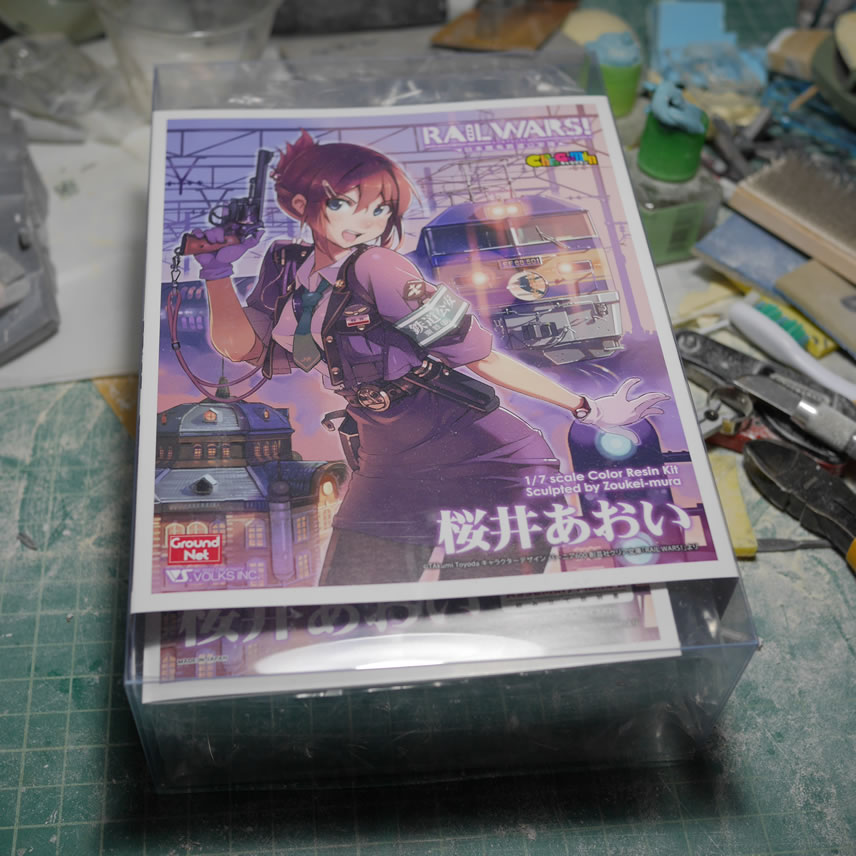
The complete build progression and completed pictures after the jump.
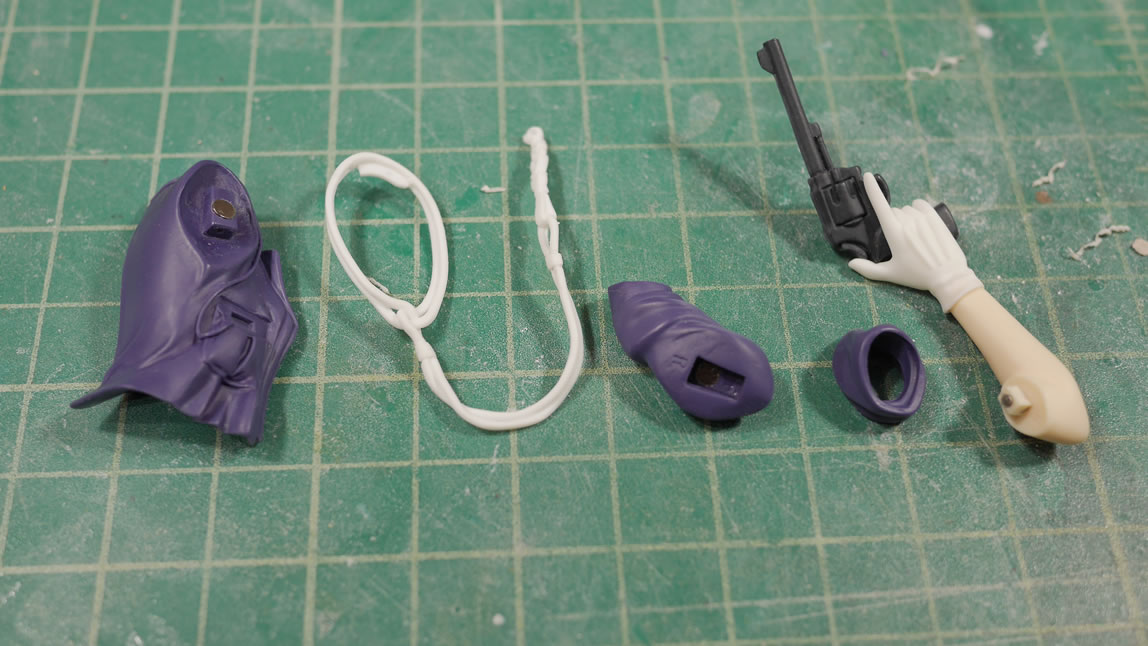
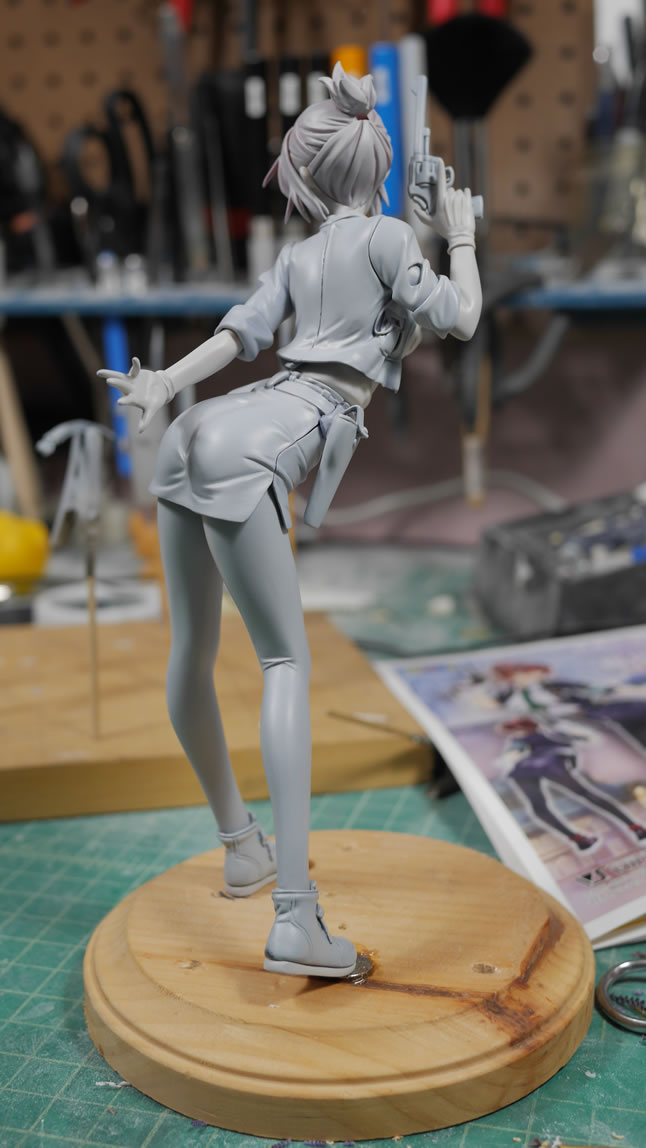
Volks does a very nice job in breaking down the parts to individual colored pieces. So the clipping of gates and excess resin was fairly quick and I had her assembled in a short time.
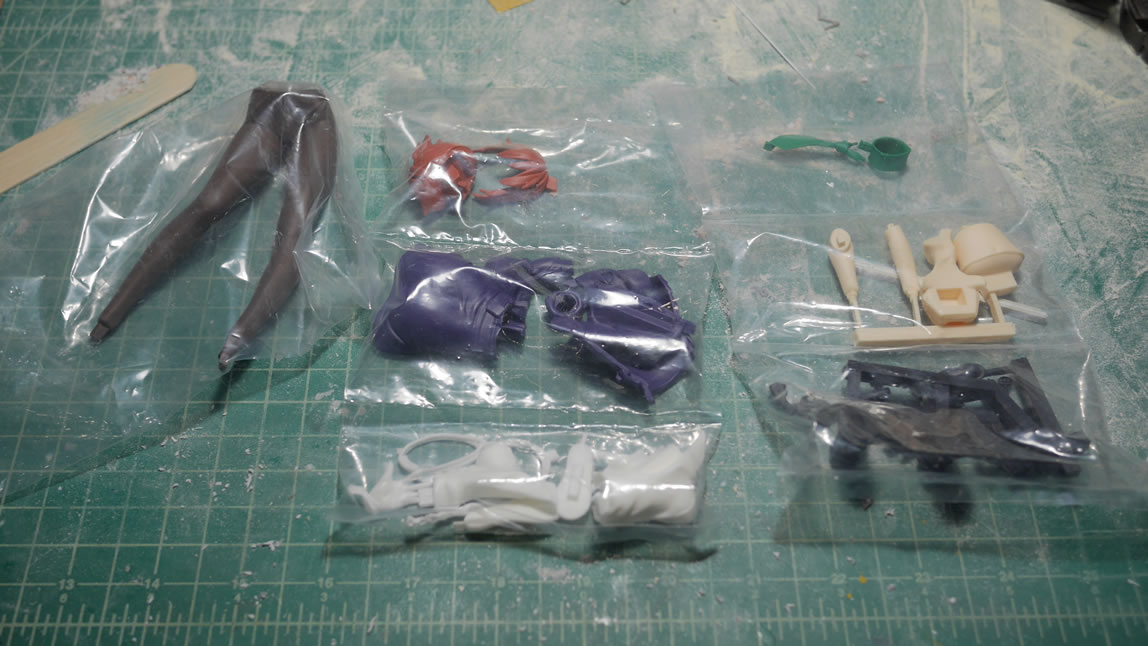
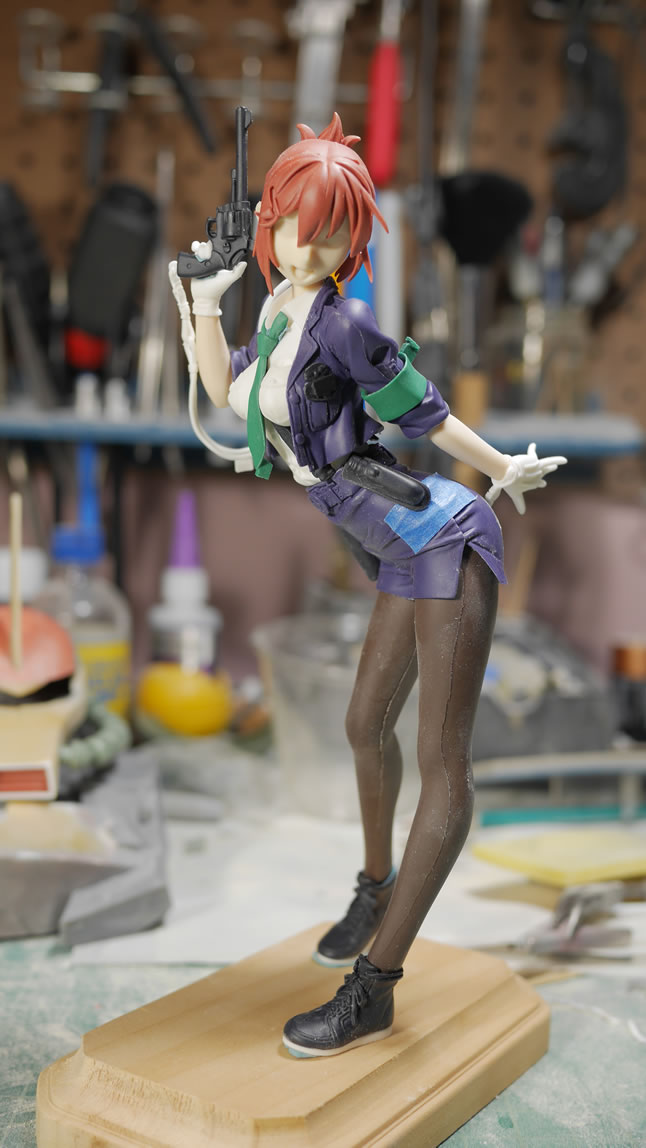
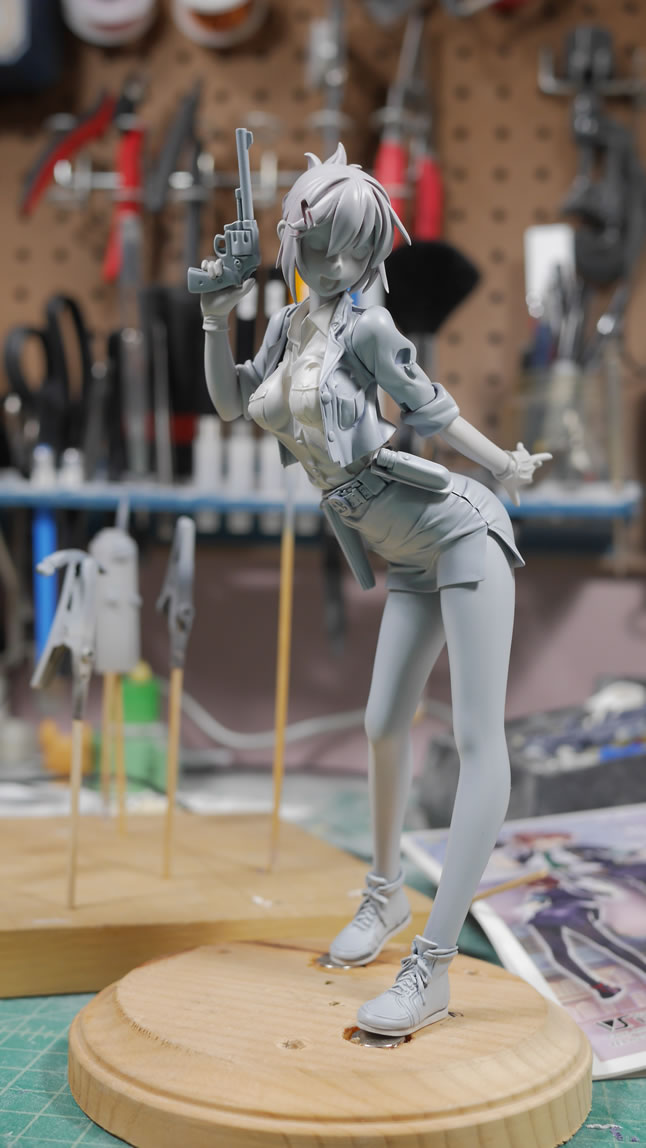
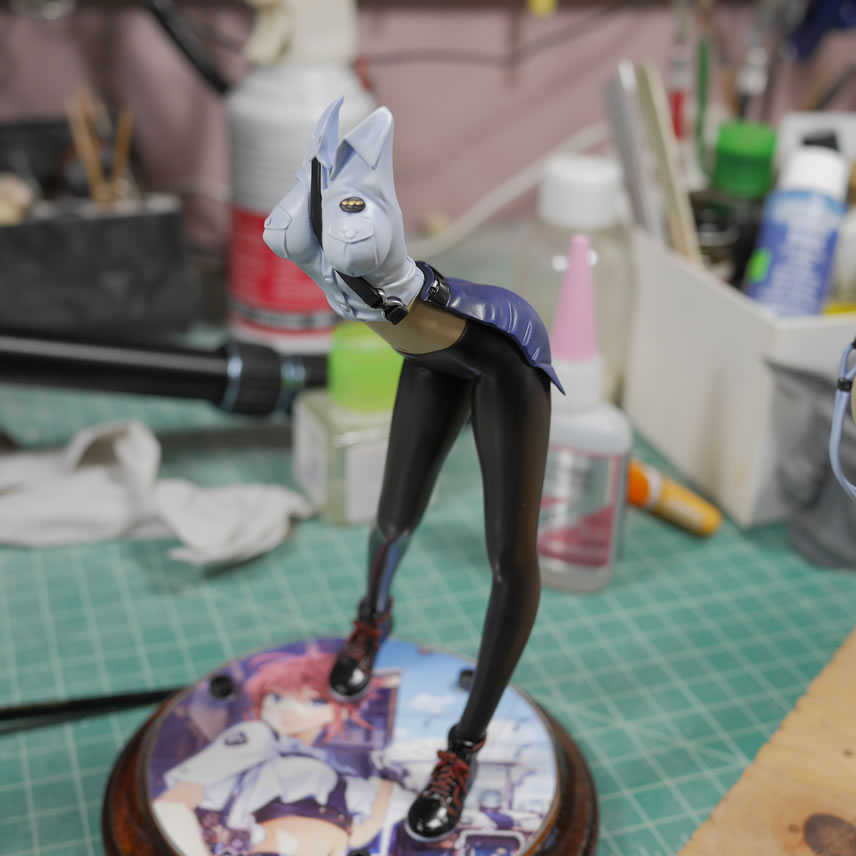
She’s bent over and the balance isn’t all that great so I will need to figure out how to handle this later. But as a quick test fit and look at the kit overall, it doesn’t look too complex. I should be able to finish this off fairly quickly. Or so I thought.
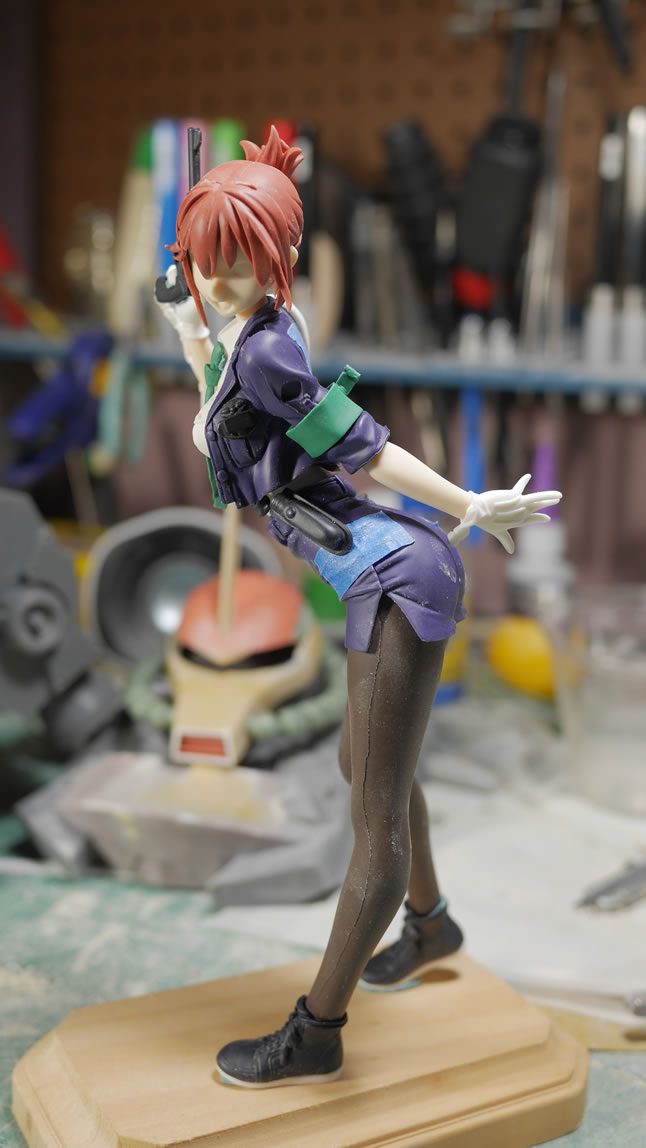
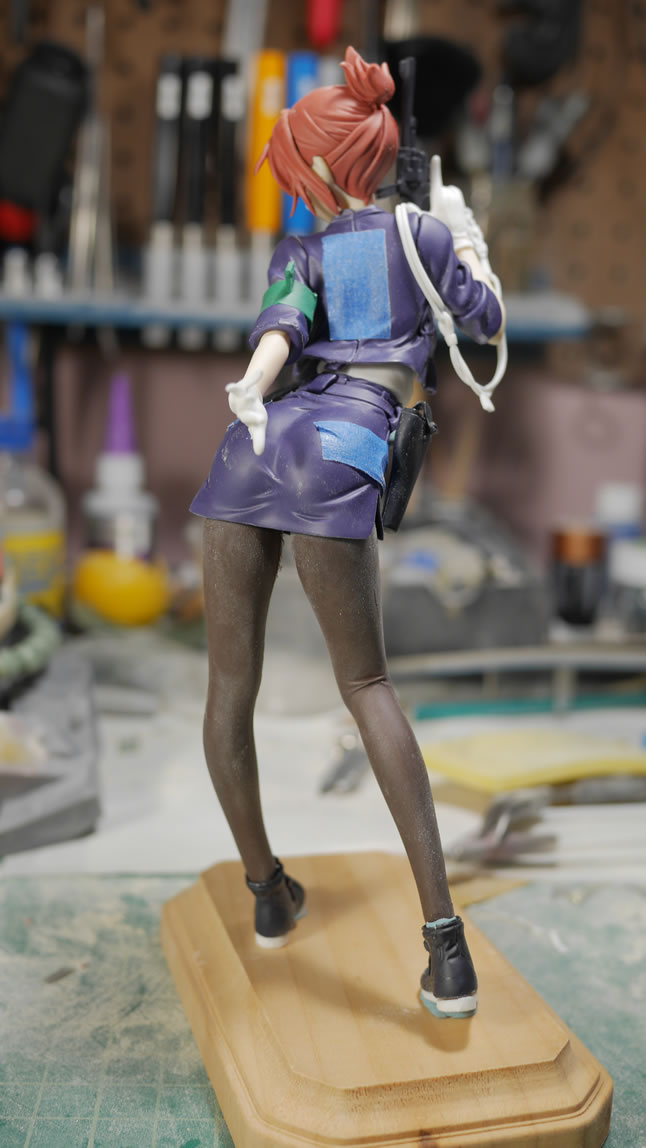
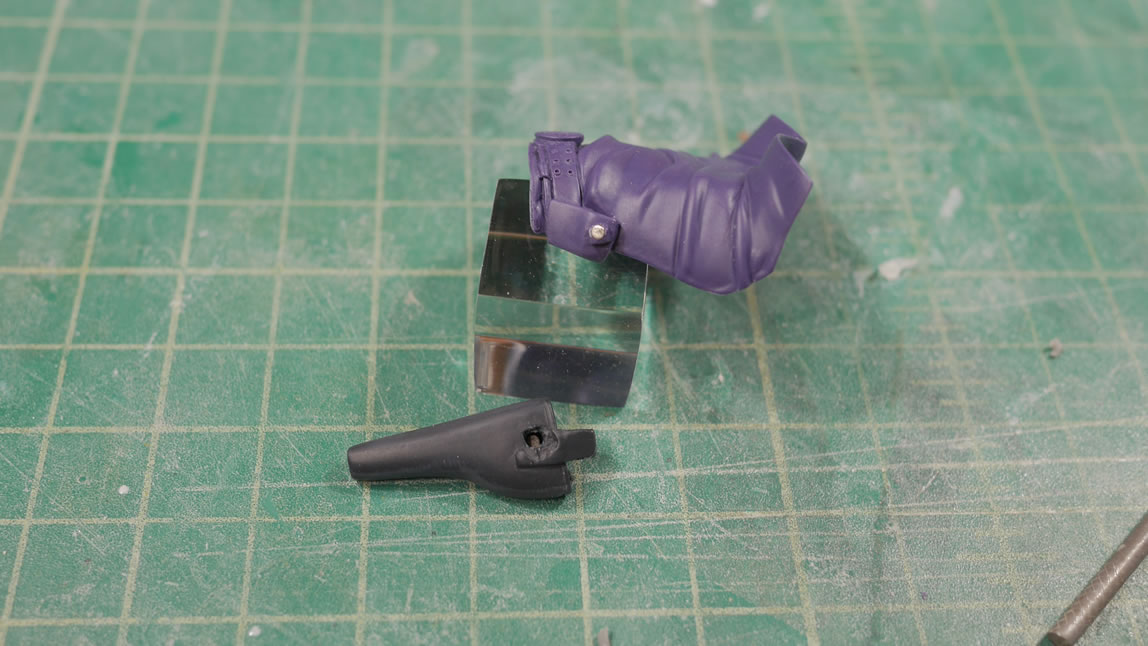
Between the above post and the below, about 6 months has passed. Life in real got too busy and I didn’t do anything model related at all during this period. I tried, but I was only able to get the kit sanded and washed. It was ready for primer when I last put it away. So returning to the kit because we’re all locked down, voluntarily; I picked up where I last left off. The last commission project I did for a volks kit didn’t arrive at the customer in the condition it left. Reason is that there are a decent number of delicate pieces. This time around, I’m magnetizing the crap out of the kit. Starting off with the holster; holes are drilled and magnets are glued into position and it’s a simple addition.
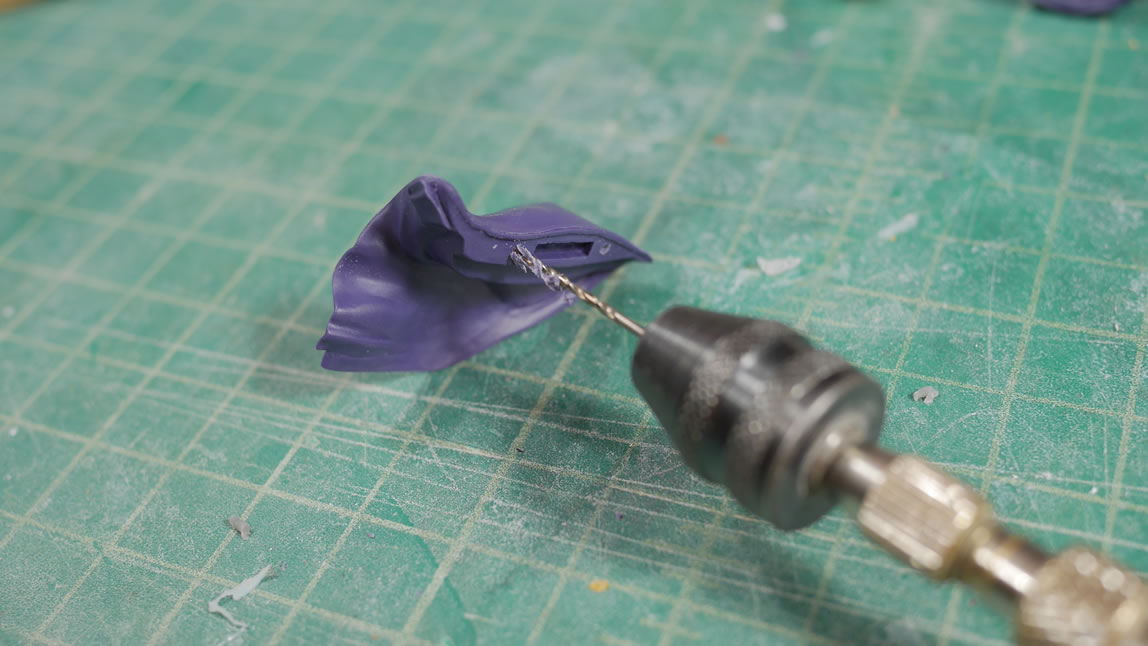
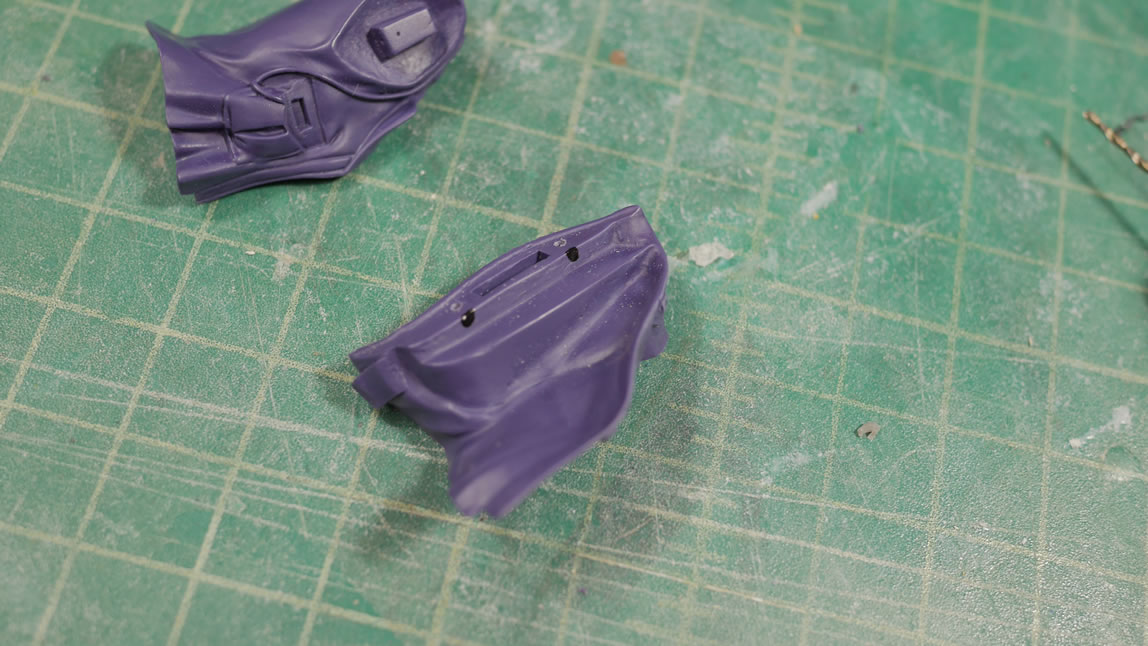
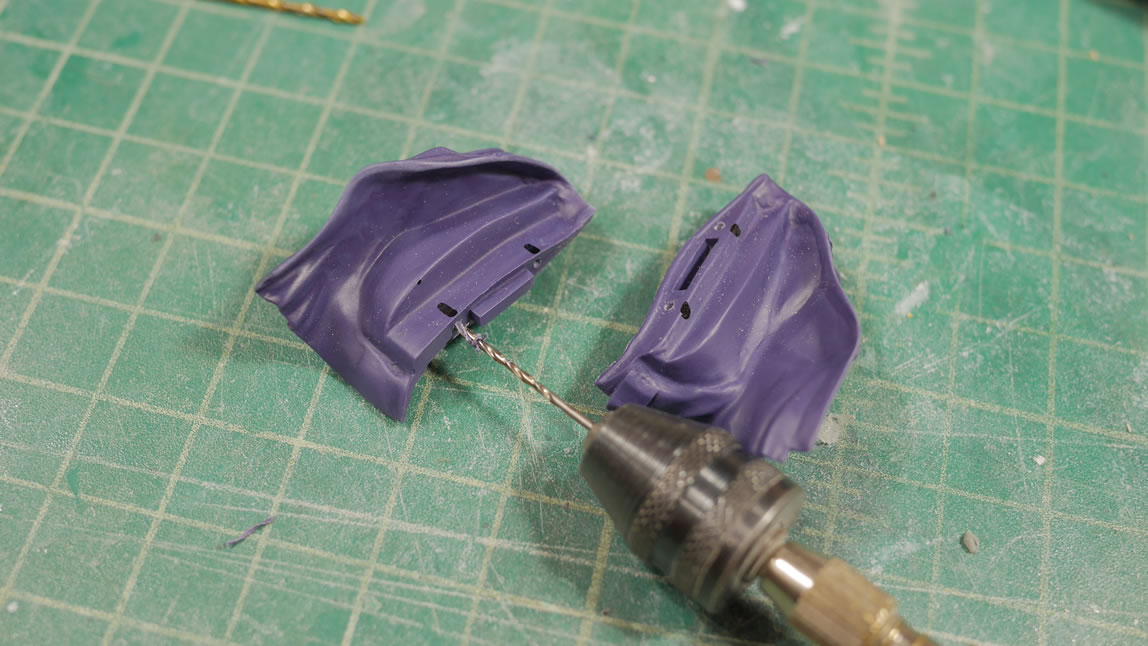
I did the same to the jacket pieces. Granted, I will glue this piece together, but having the magnets there and holding the jacket together will help in the painting process. So two holes are drilled on either side of the attachment tab. A sharpie marks the location of the holes so that when I assemble the jacket, I can mark the other side.
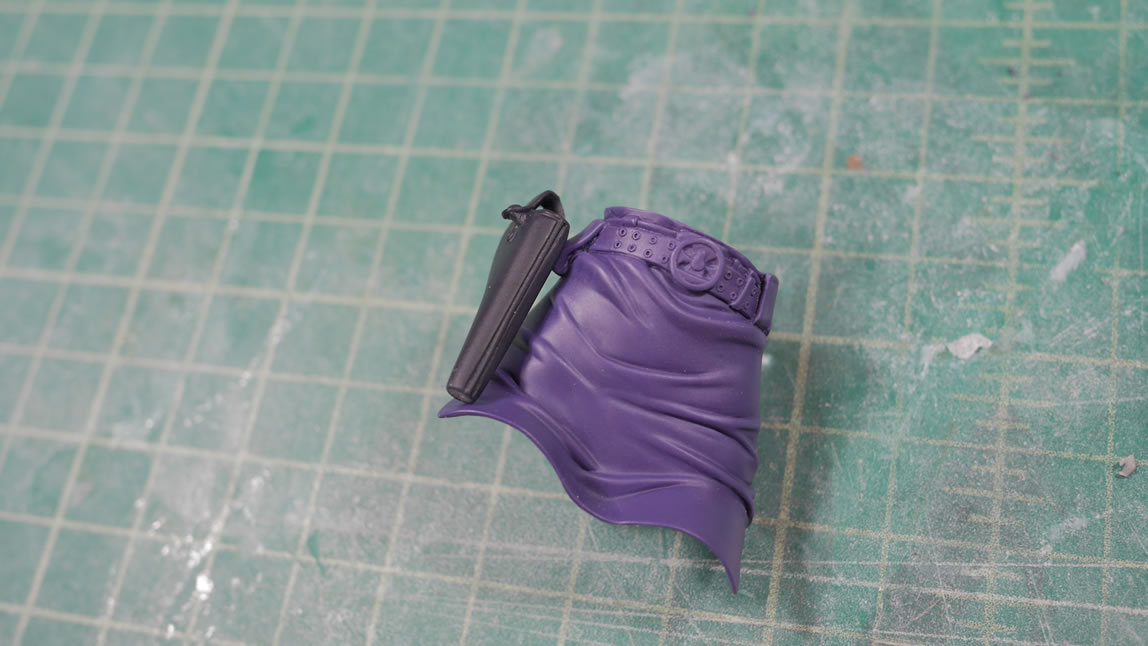
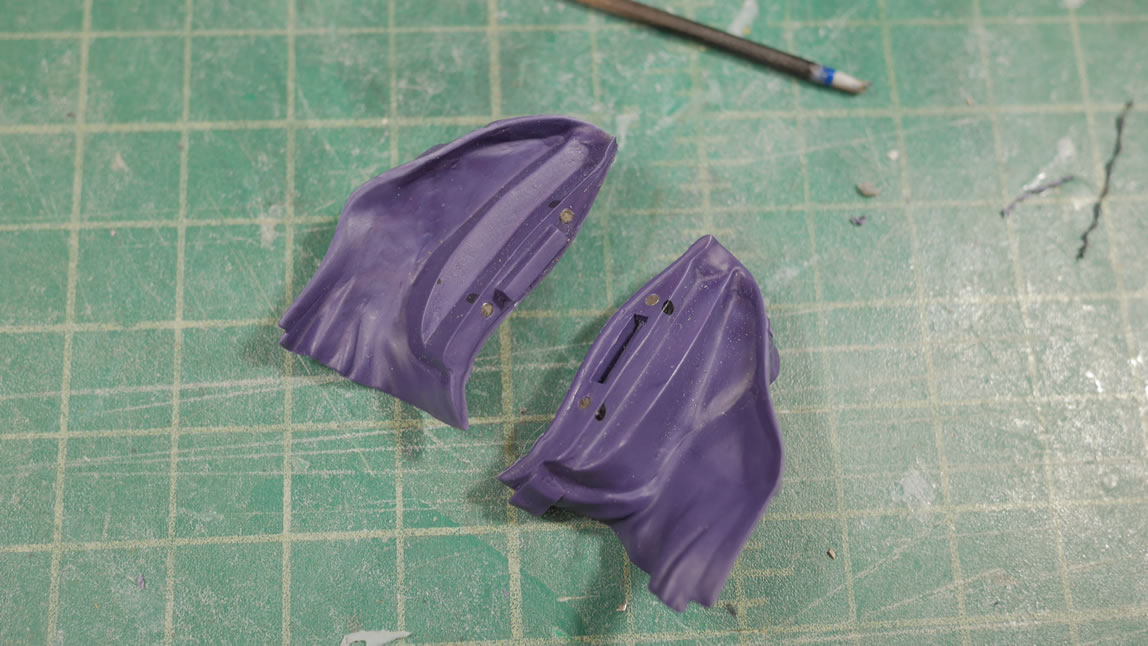
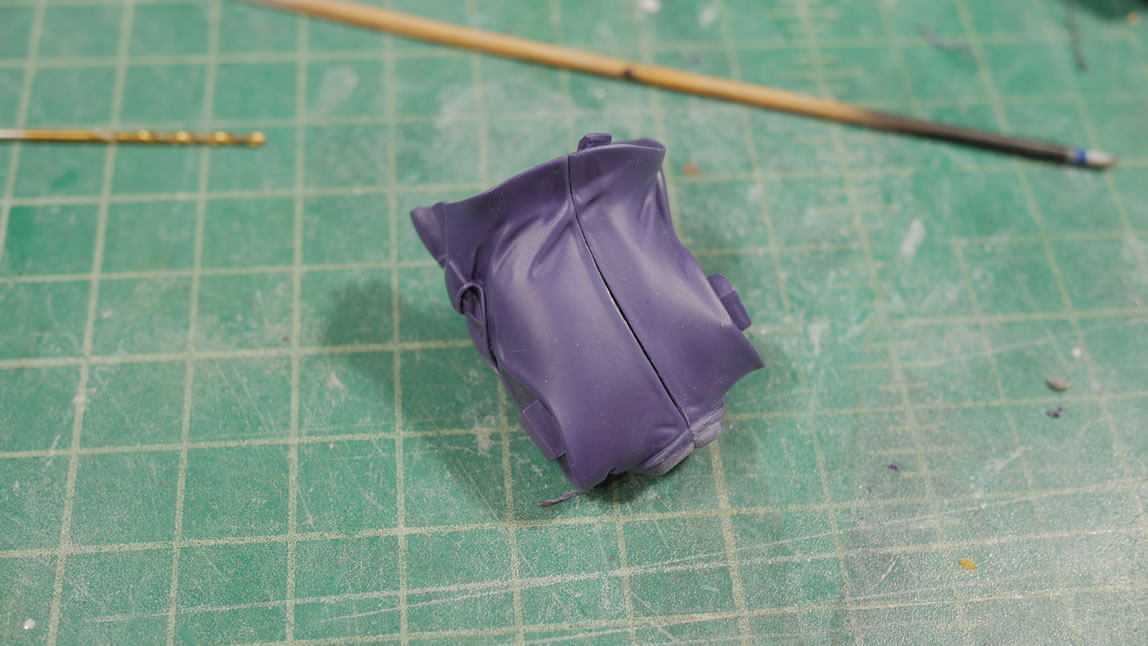
Using the marks are a guide, I drill corresponding holes and glue in magnets. And the jacket comes together perfectly.
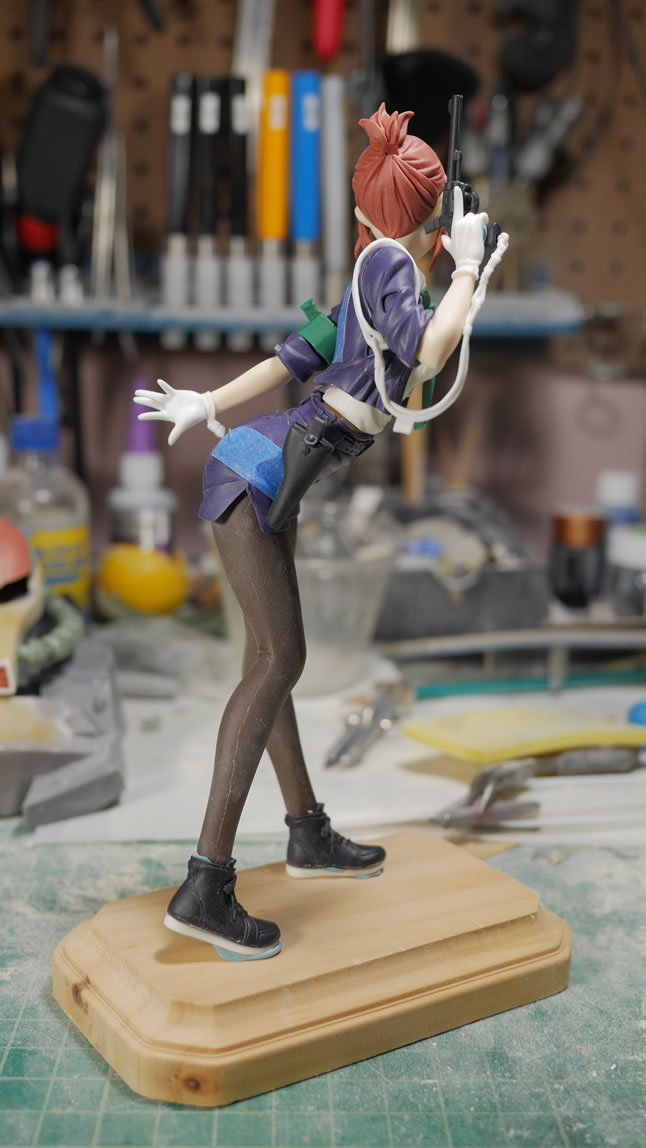
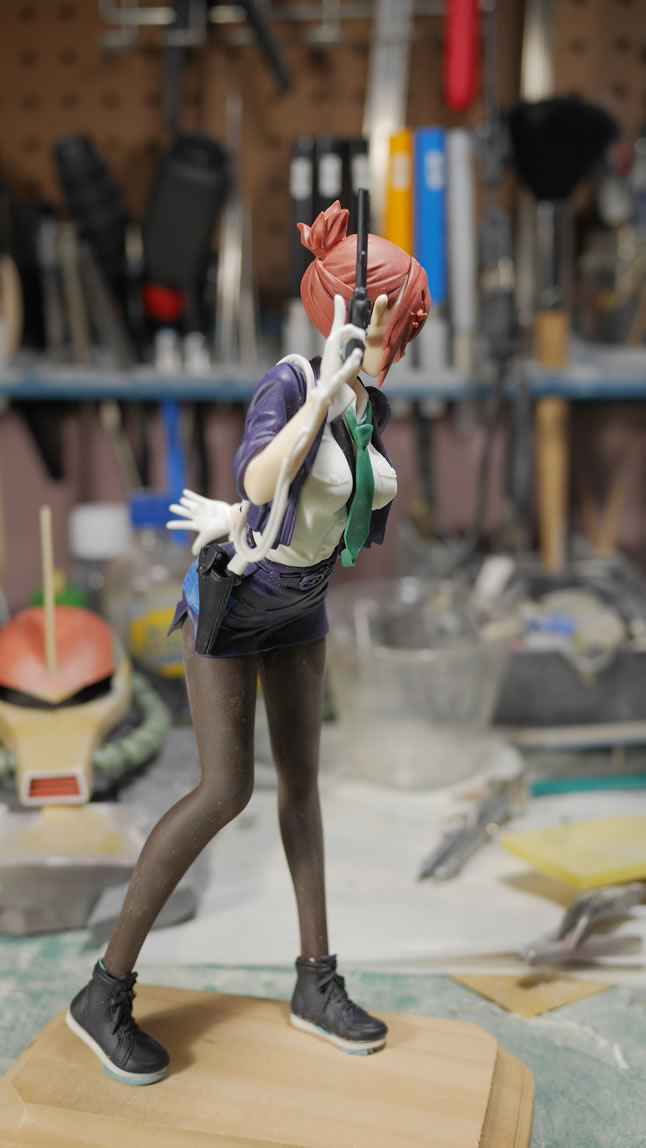
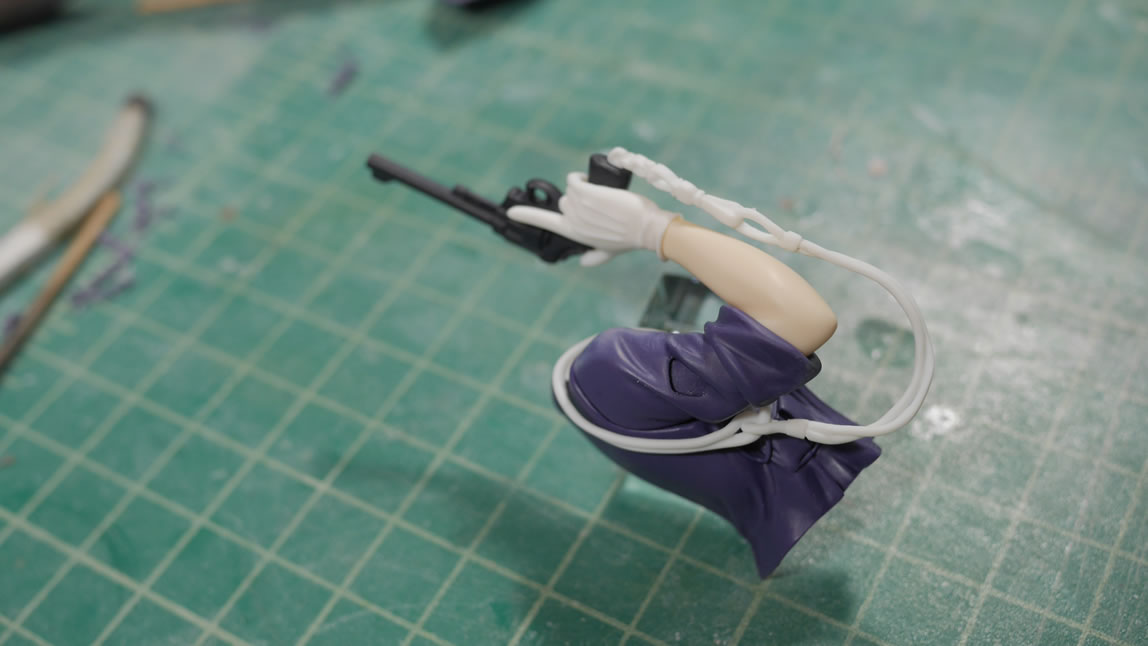
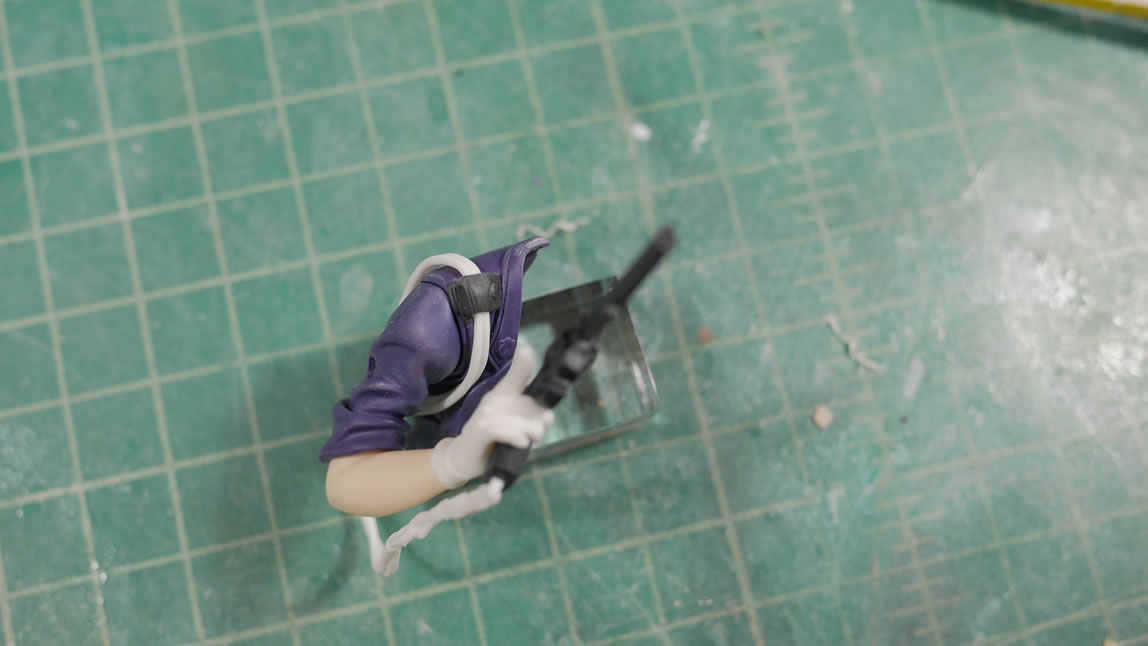
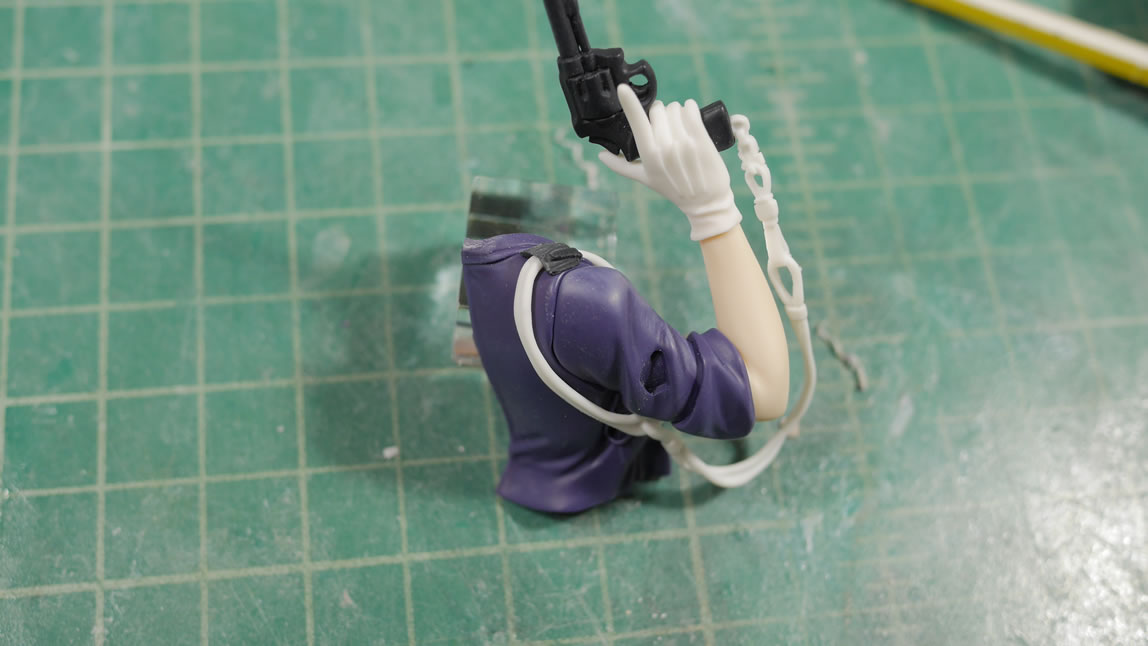
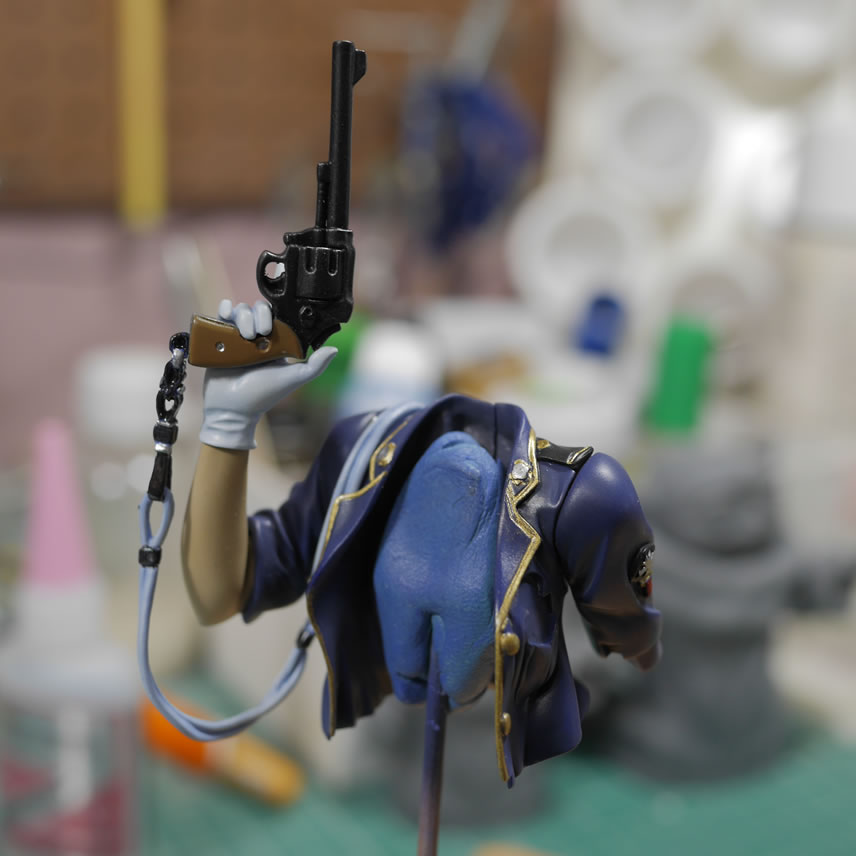
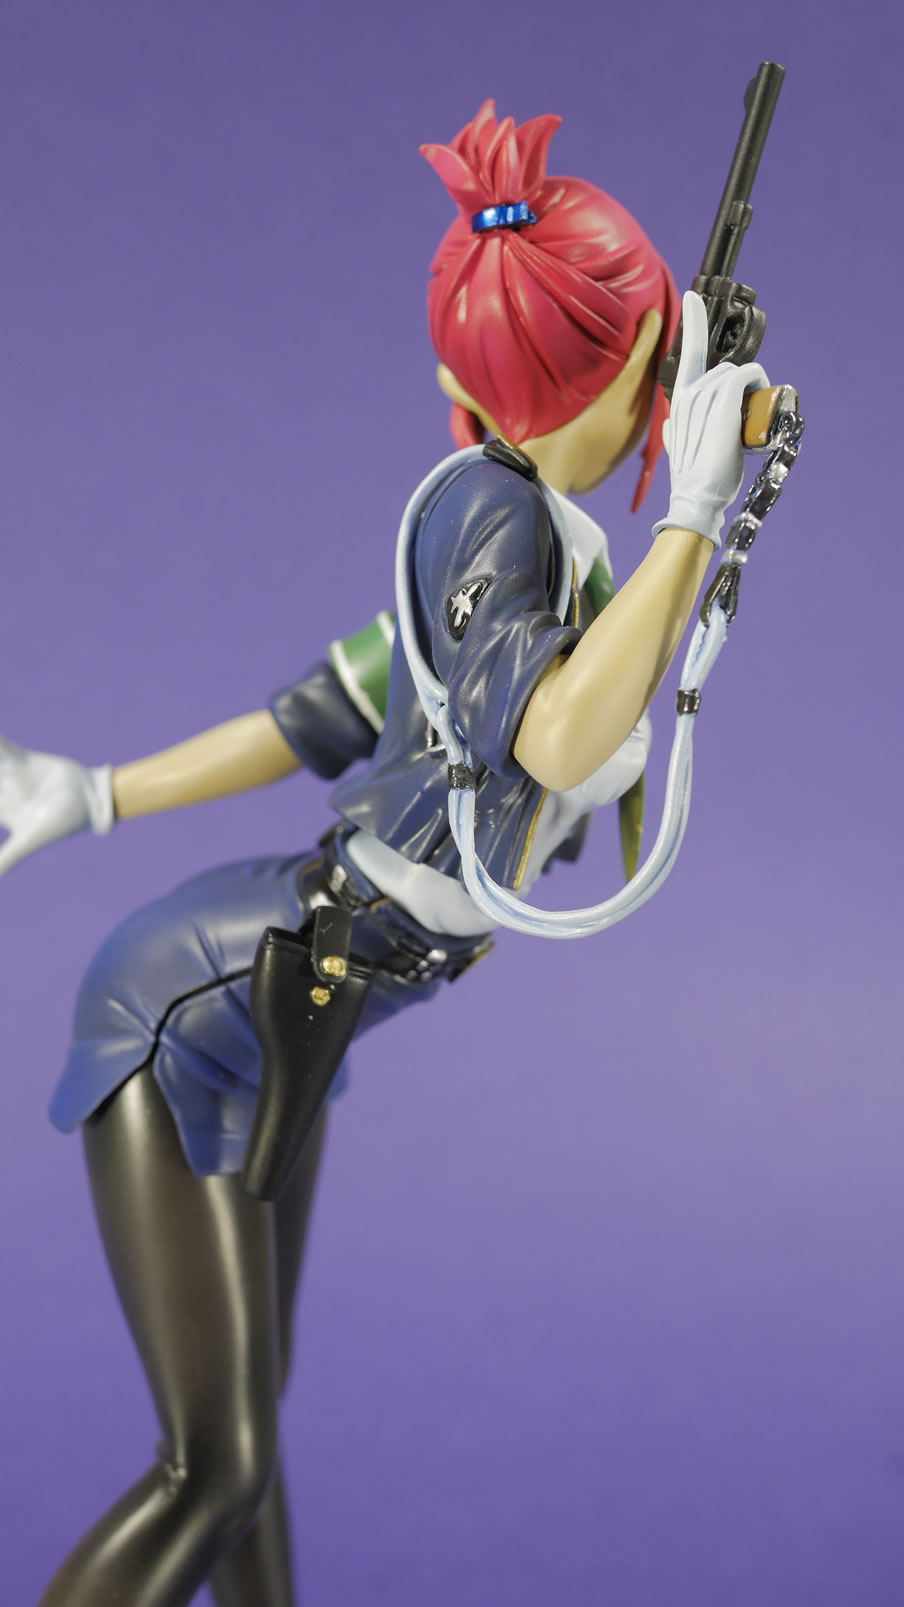
The next problem was the gun chain and right arm connection. The same idea was done here. Magnets are added so that when I finish the project, the arms will be sub-assemblies that will then just attach to the main body. This way, I can ship the delicate gun rope thingy packed carefully and the customer will just have to do a small amount of assembly when the kit arrives.
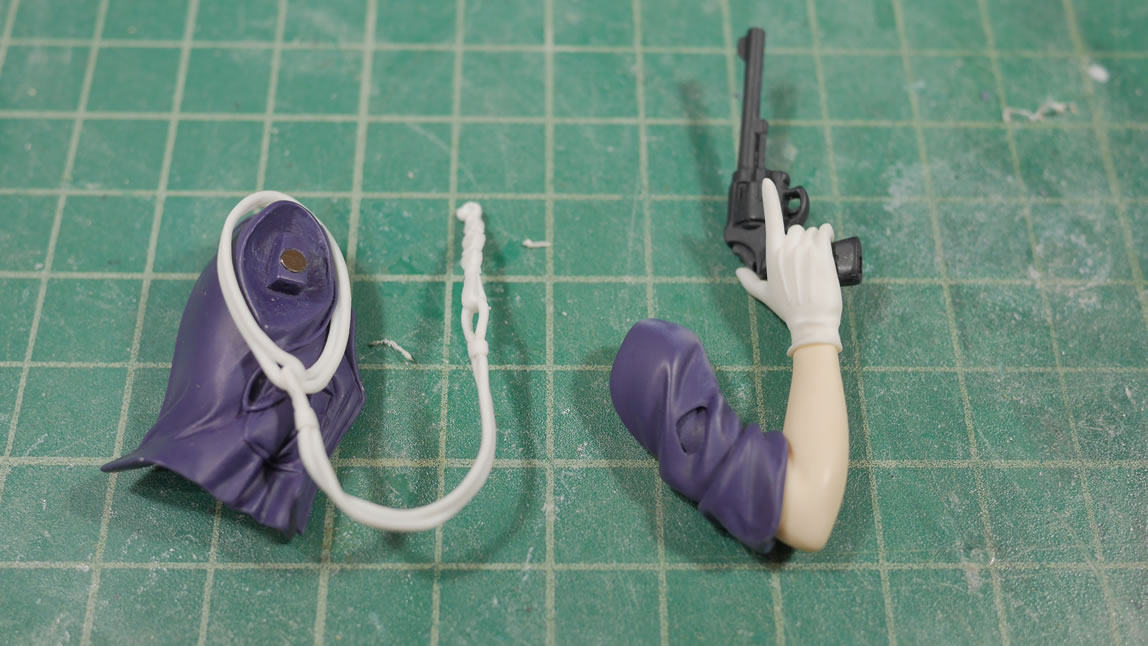
The rope goes onto the main jacket. Then the arm attaches to the jacket side. Then the top lapel is attached to the top of the jacket over the top of the rope. There is enough surface area and grip for the lapel piece that a magnet here is unnecessary. Also, the area is really too small to accommodate a magnet mod.
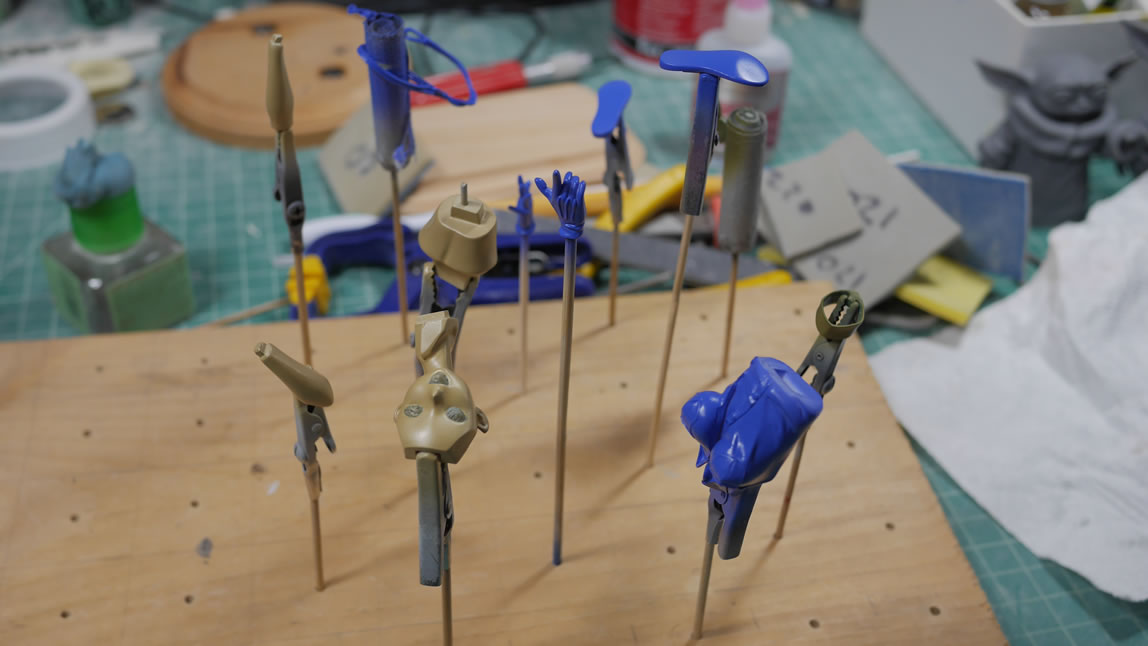
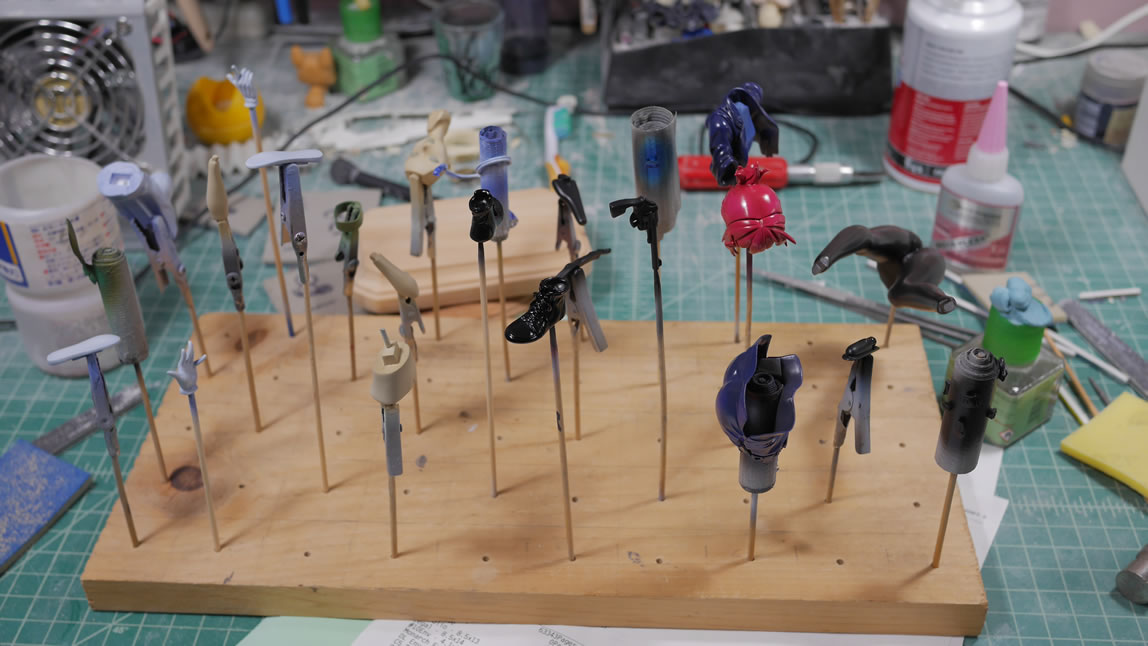
After the magnetic mods, I’m ready to start priming, so all the parts are skewered in one fashion or another.
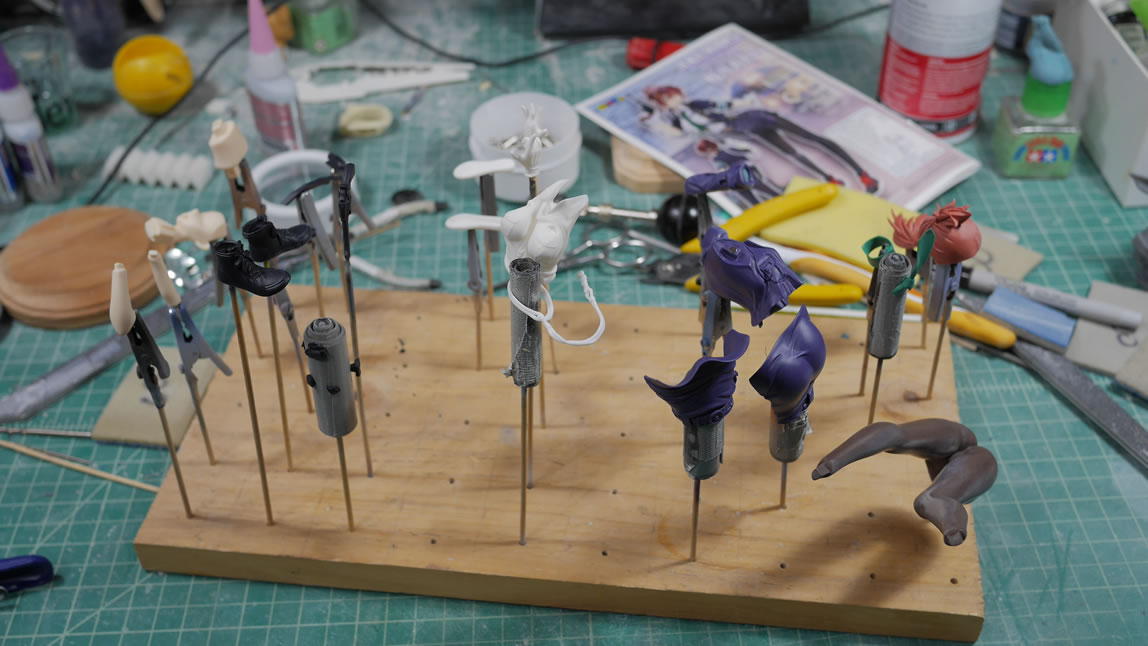
Everything is primed. Since everything is to be painted. This also works to check the work from 5 months ago to ensure that the surface is good. Only a few pieces needed additional sanding attention before moving on to actual paint colors.
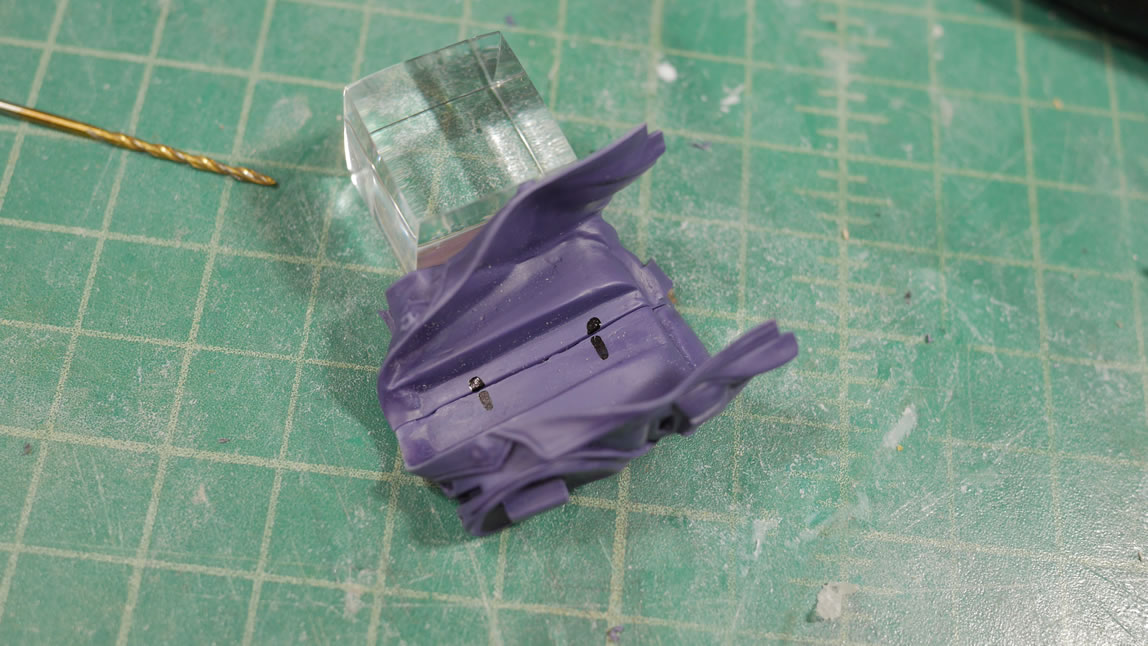
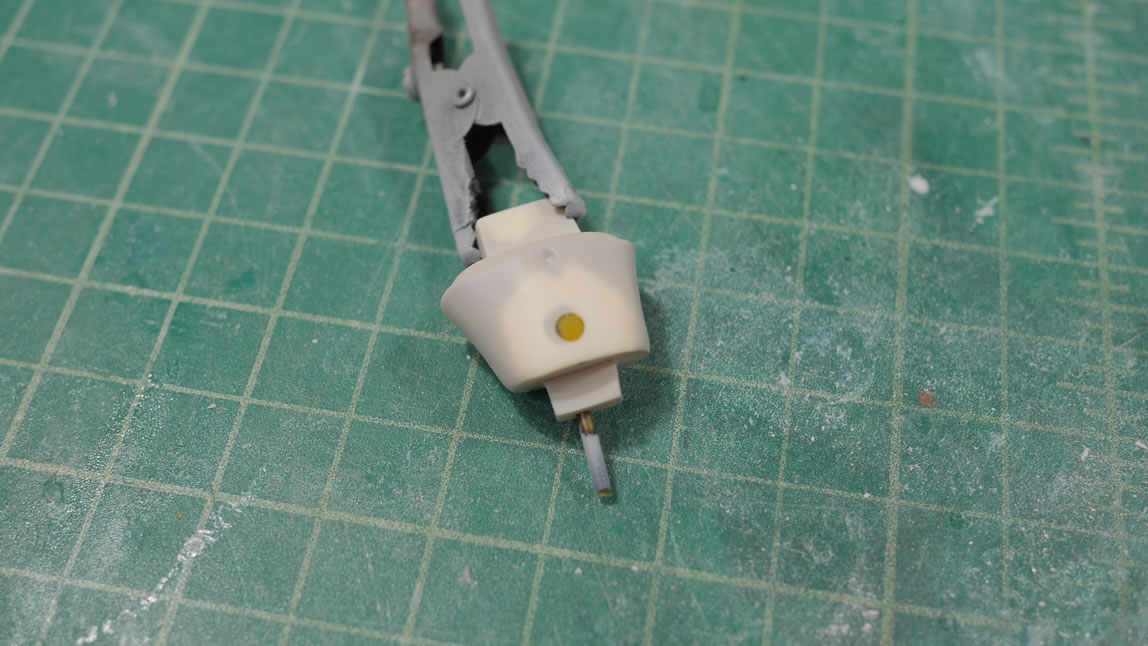
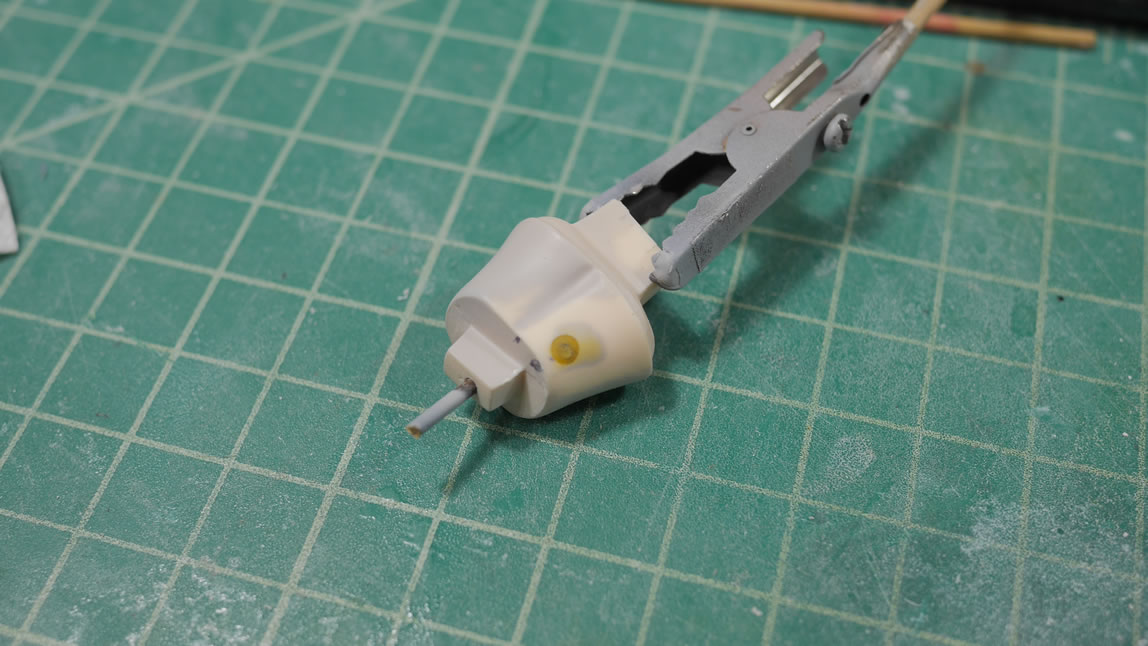
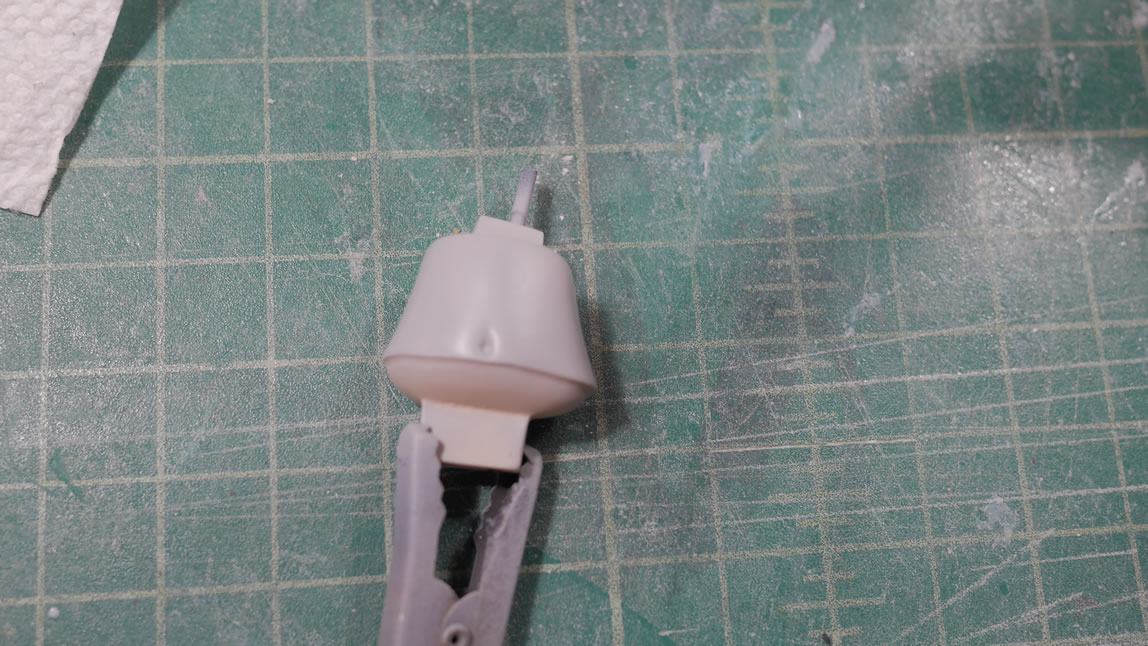
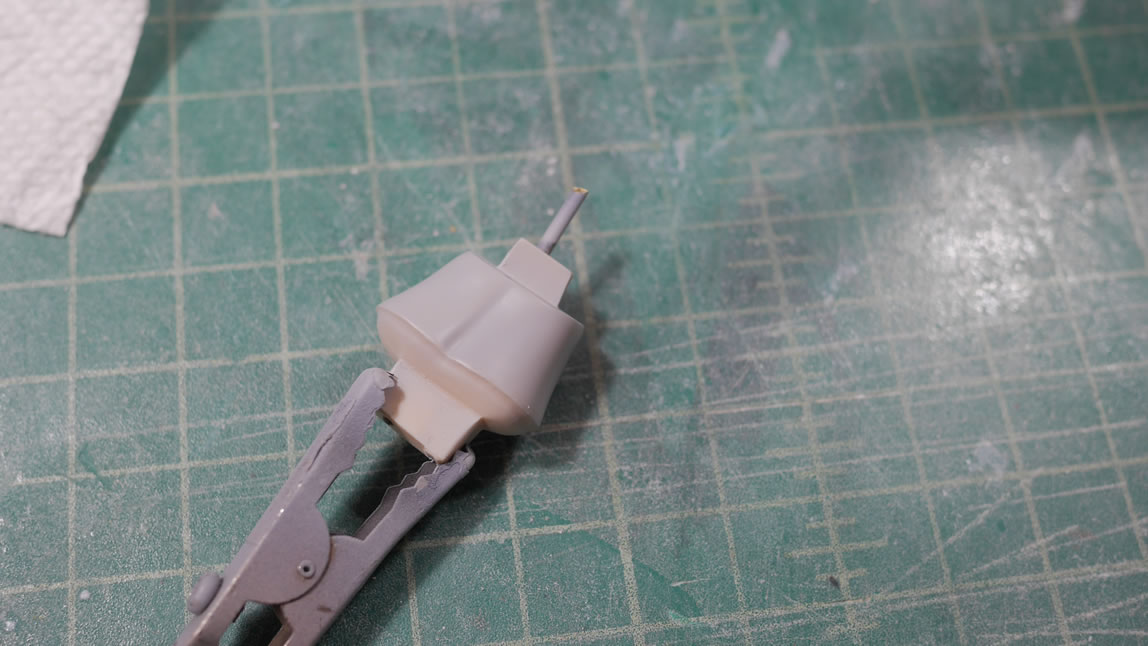
I thought about not painting the mid drift. Since it’s completely covered by the skirt once assembled. Then I decided to drill in some holes here and add in more magnets. Magnets will be added to the corresponding skirt areas so that the skirt can be removed and I can putty up and paint the mid drift so that this little hidden gem can be seen if one were so willing. Light curing putty makes for very quick work. The extra priming session shows that the magnet modifications are well hidden.
Base paint colors start. My method is always darker first, then lighter to shade. So here, the skin looks like she’s been left out in the sun a little too long. Magnets stick to the body so we are still good there.


Base colors painting for all the parts.
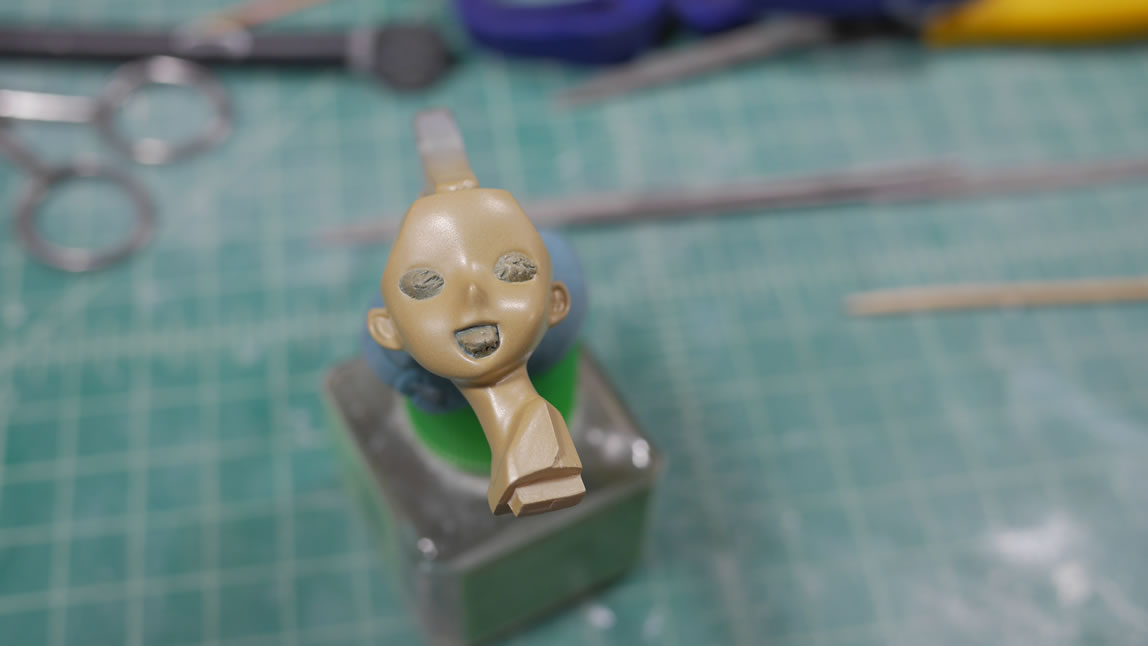
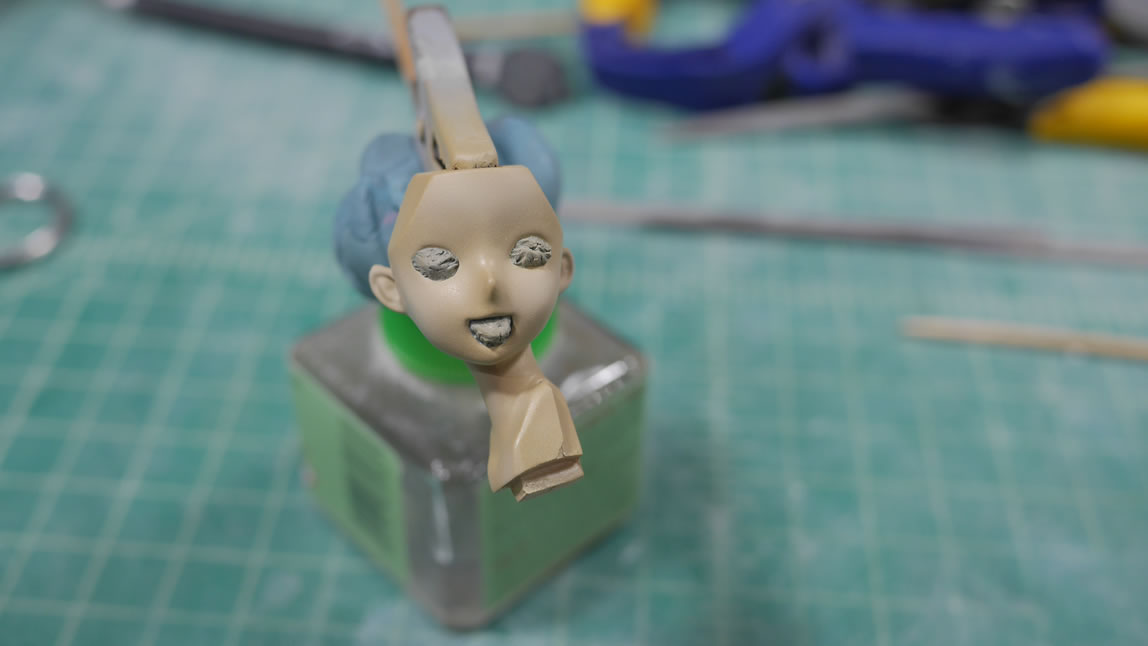
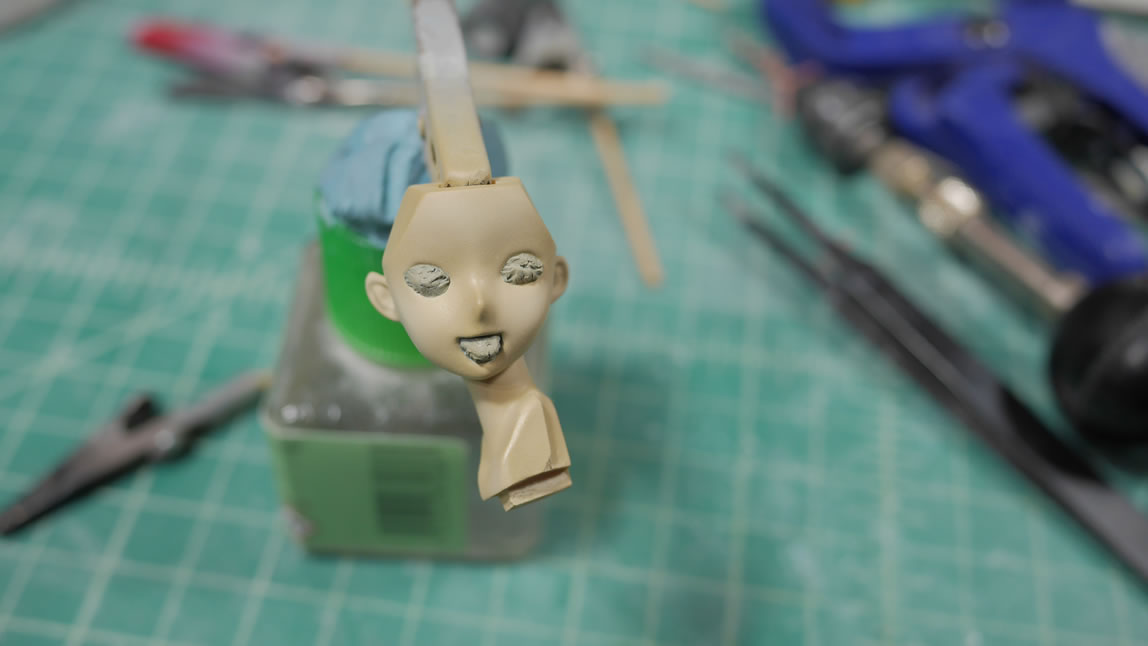
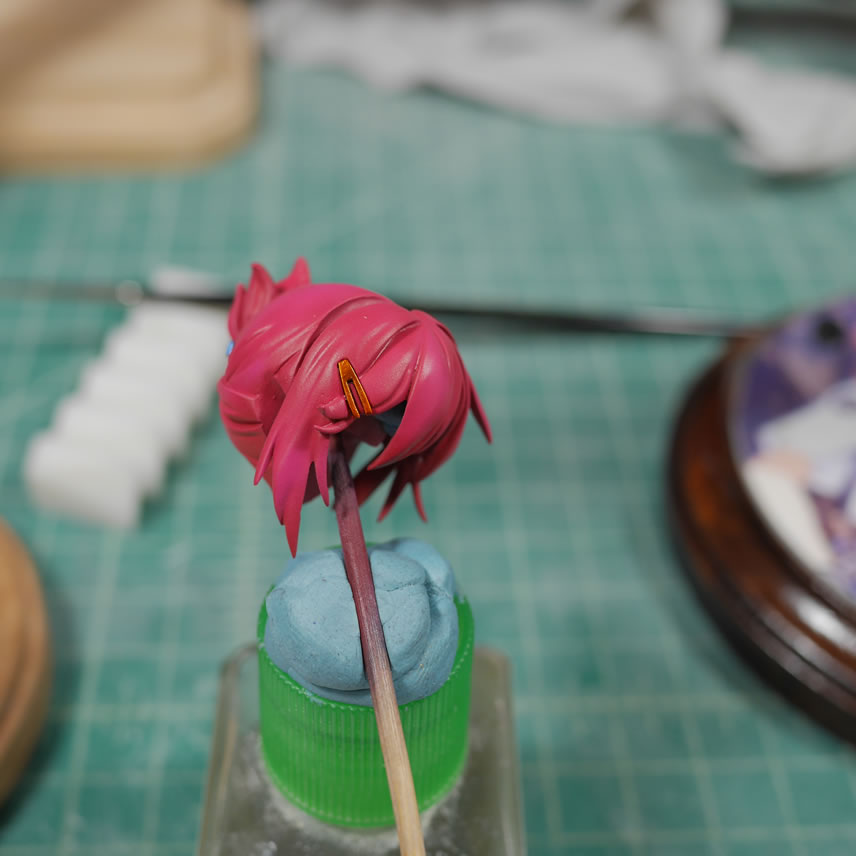
Here’s a progression for the head with the darker base color, followed by a very light highlight color, then everything is blended together with a medium tone to balance everything out. The eyes and mouth are masked. Not pictured is that the skin areas were base coated in white base to cover the grey primer. Painting skin tones on top of grey will lead to a dead girl like skin tone; so white is laid down first. The eyes and mount are white so they’re masked off while I paint the skin.
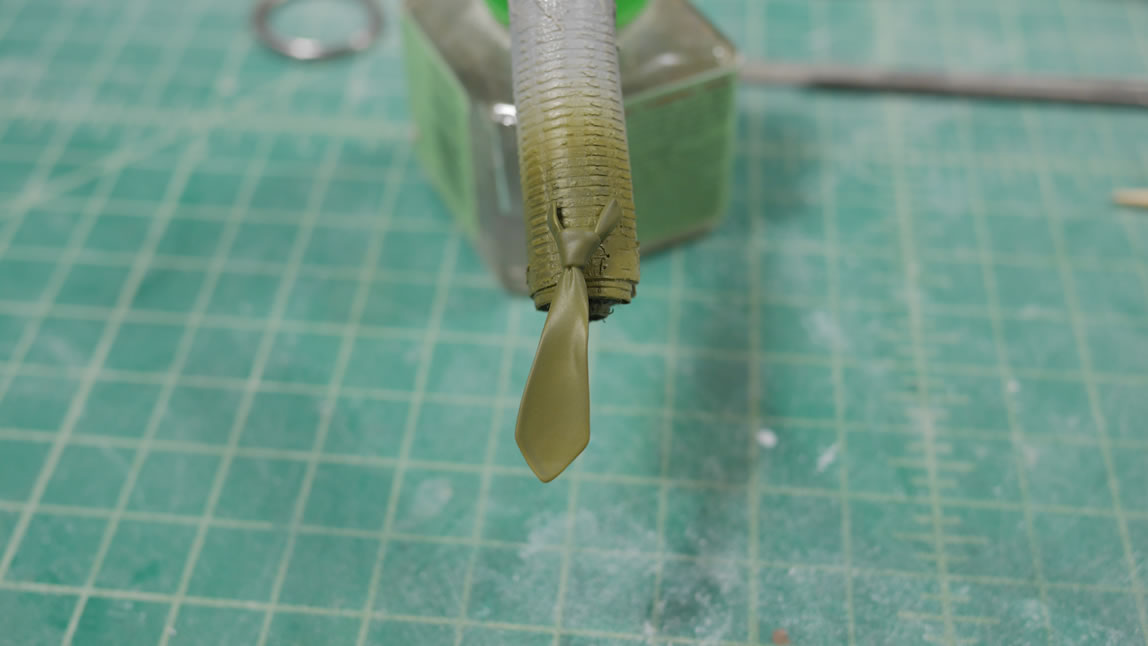
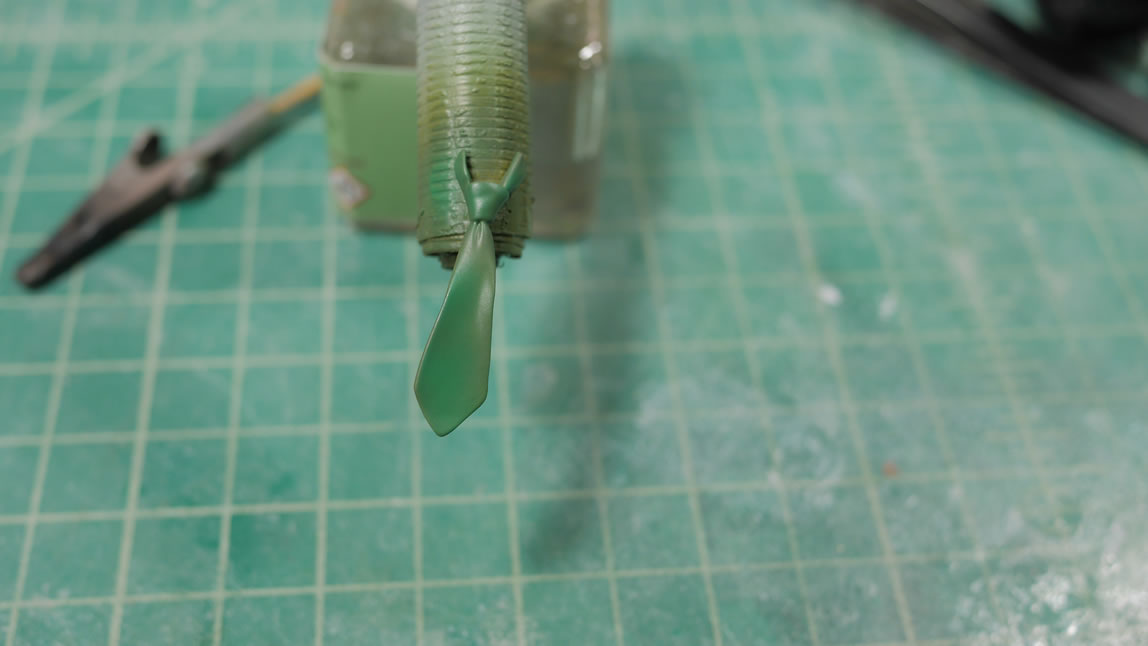
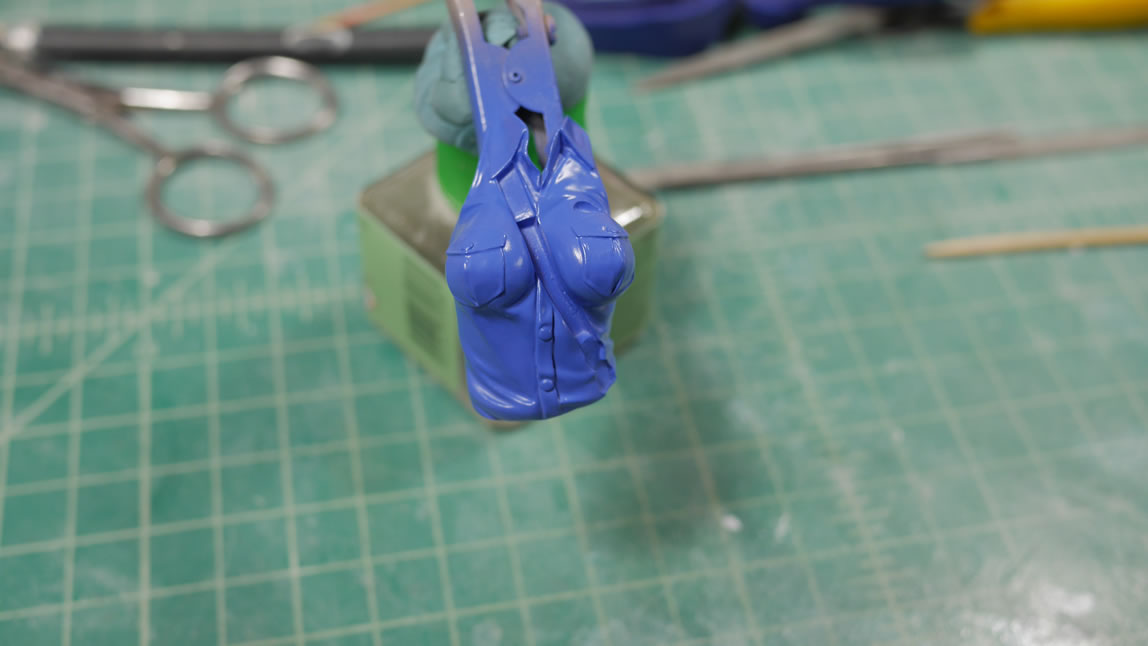
Below are before and after for the tie and main torso with the base color and lighter shading color. For the blouse, I wanted some light blue shading, so I sprayed on some Finisher’s foundation blue then followed that with Mr Color Character White.

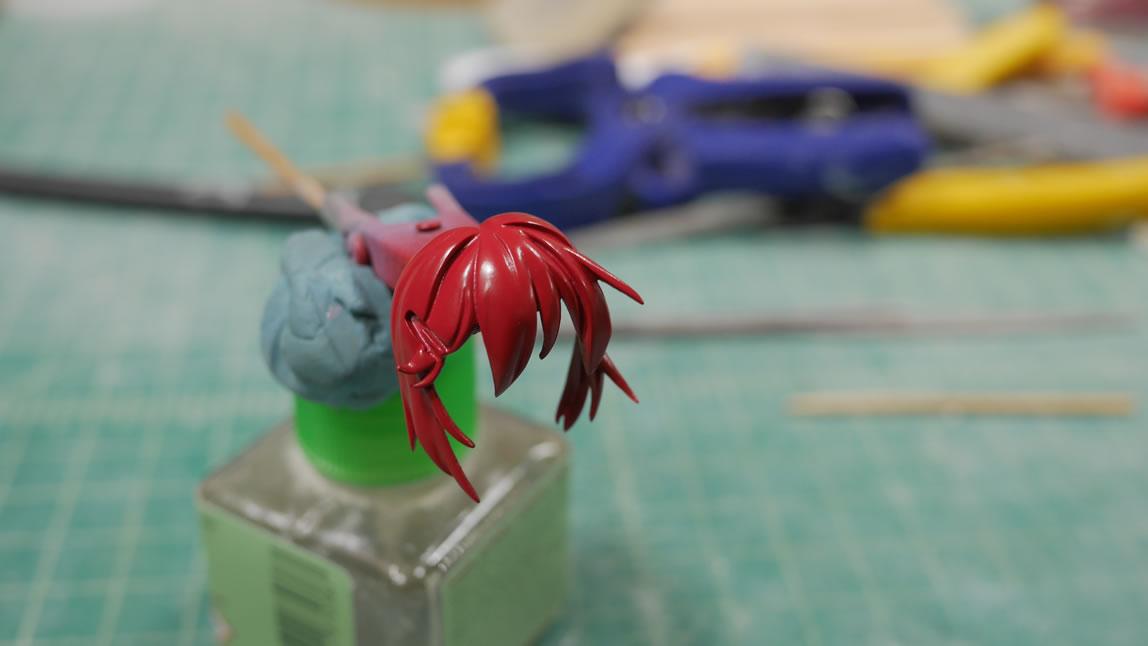
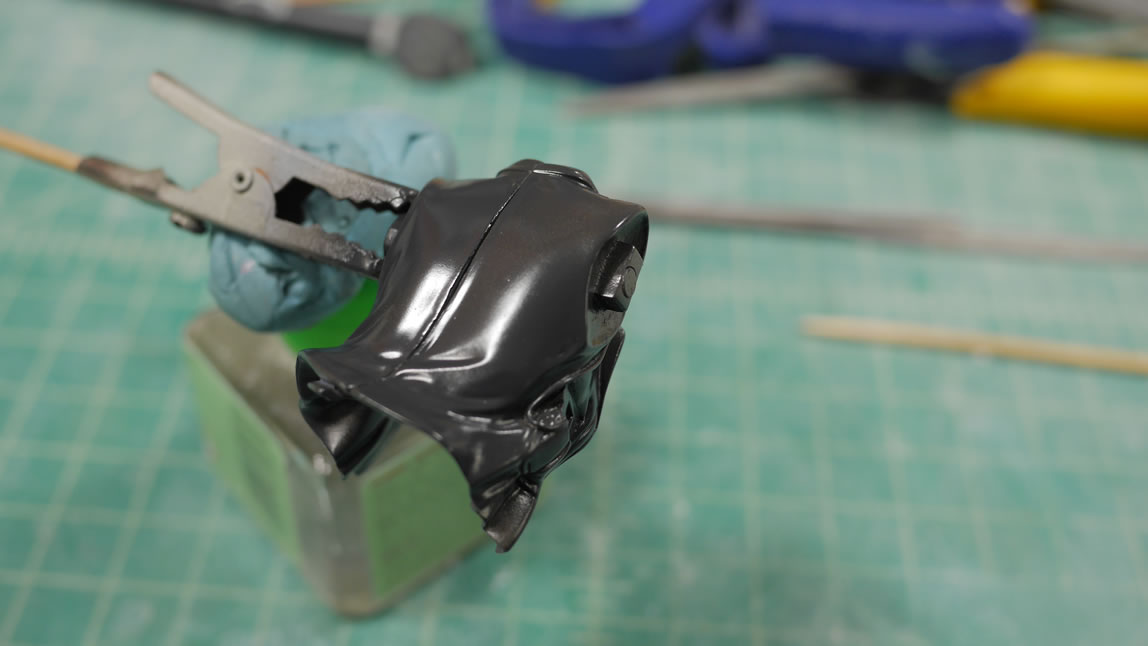
The hair is based coated in Mr Color Russet. The jacket is based coated in Mr Color Midnight Blue. The black pieces were painted with Modo gloss black.
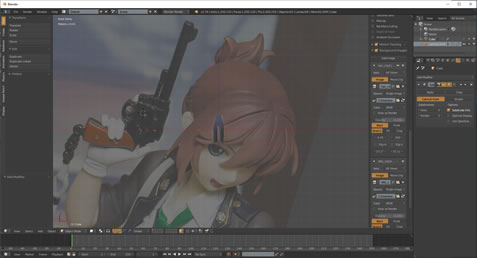
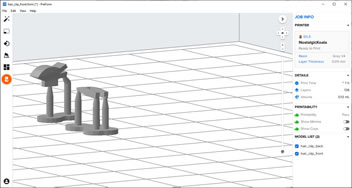
While test fitting the primed kit, I realized that I had lost 2 TINY while pieces. These were the front hair clip and the back hair clip. The project of pulling a project from storage to the work desk and back exponentially increases the probability of lost parts. So I lost these two pieces. The original thought was to see about getting a replacement kit (sold out on Volk’s website) And I even entertained the idea of getting a recast and the just using the parts to cast copies. I’d have one of these kits for myself. But I also remembered that I have a 3D printer and the means to just design the small parts in Blender.
I took one morning designing the hair clips from reference pictures and then printing them quickly in the Form 2. I used the fastest setting to get a rough print so that if I needed to resize things I can go ahead and do that and print higher resolution versions. The prints actually came out very close to the size.
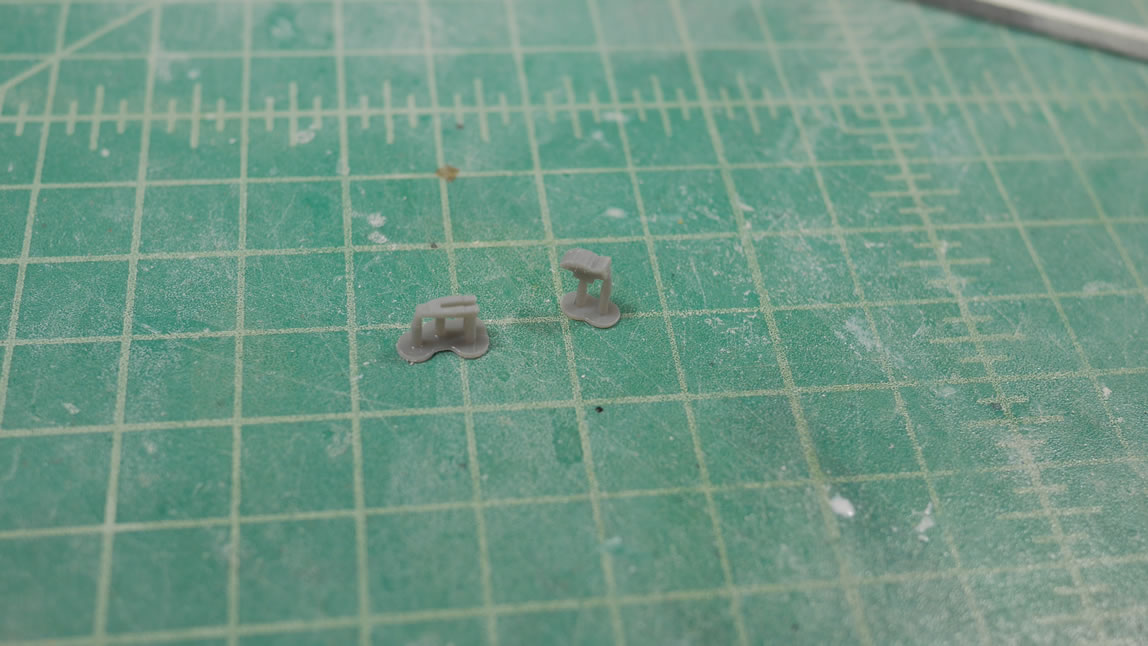
A quick test fit and the parts look pretty good. I can just clean up the rough prints and that will resolve the missing parts issues.
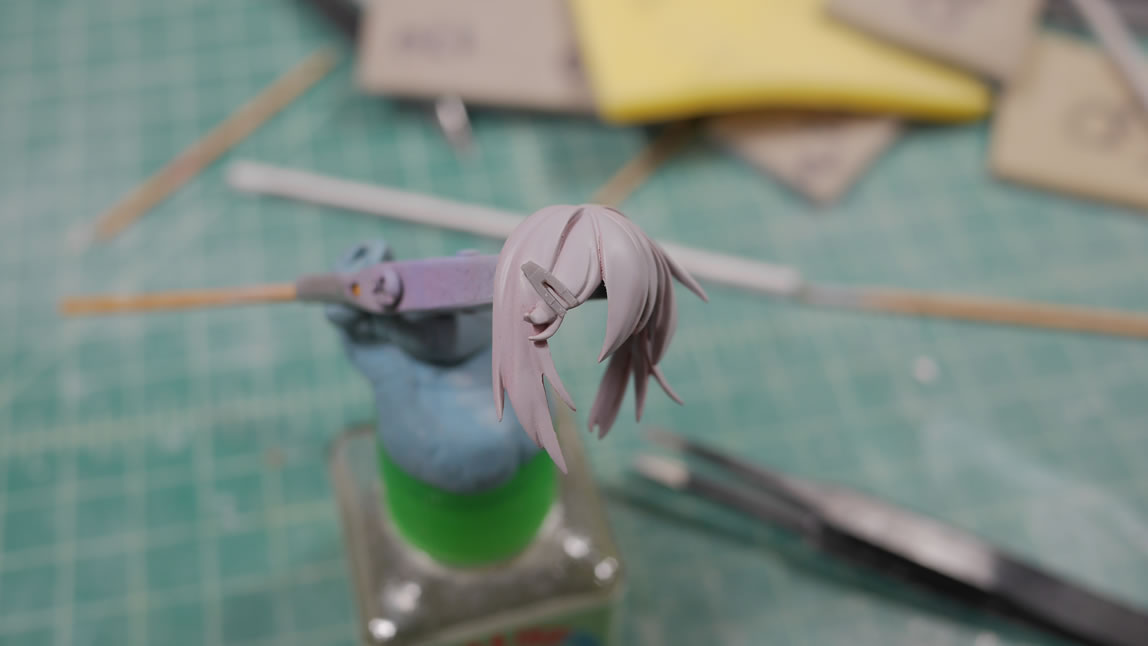
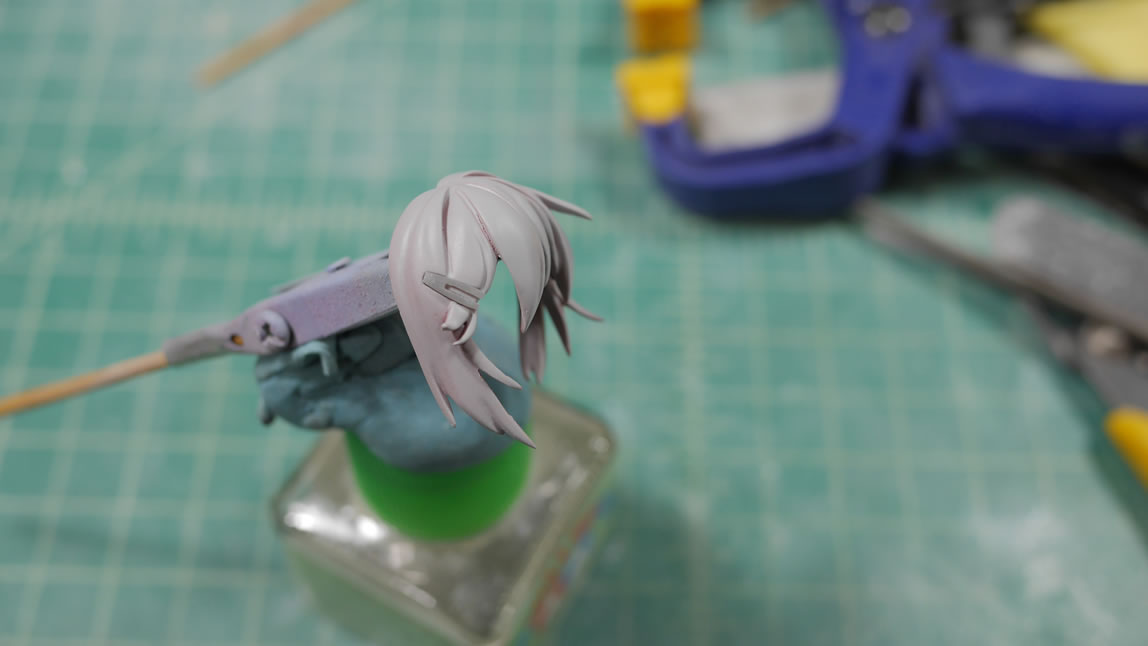
Once cleaned up and painted, I used the opportunity for testing Modo’s chrome gold system with Modo MK-4 gloss back base followed by MK-9 chrome, then finished with MK-10 gold. MK-26 clear blue was used for the other piece. Once cured and glued into position, the part looks just like the original.
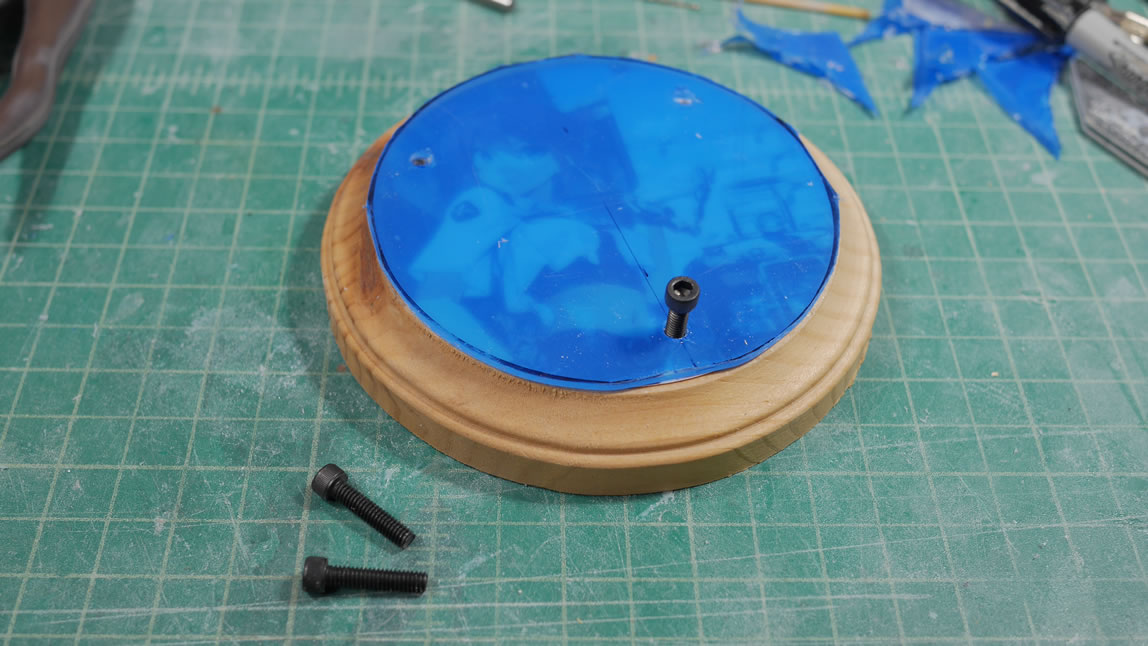
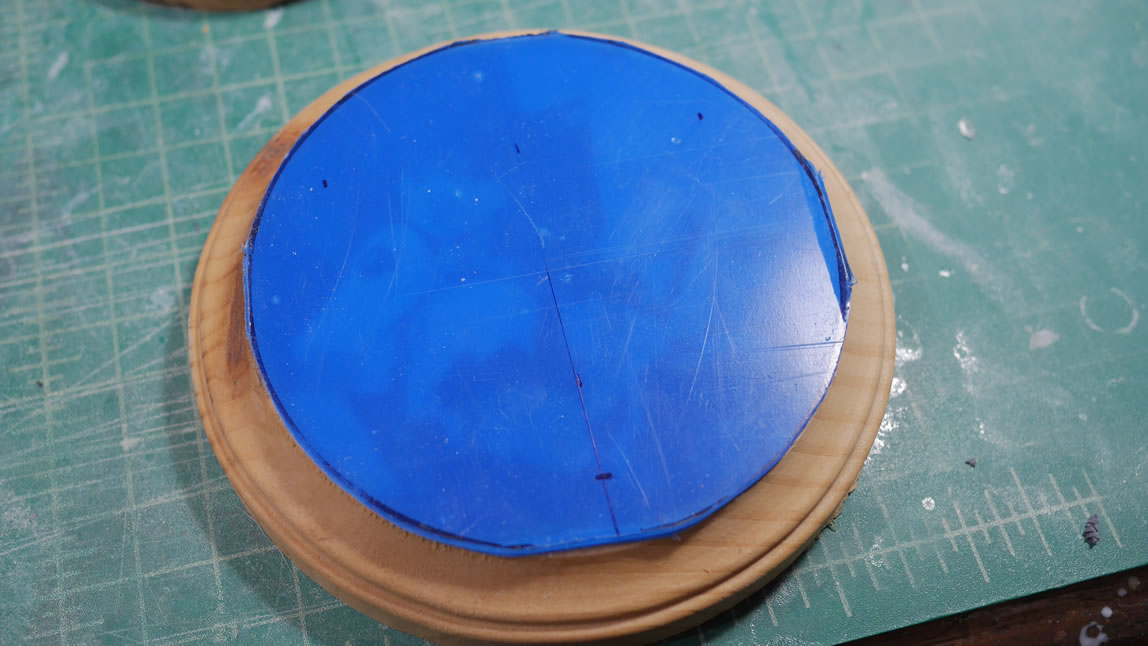
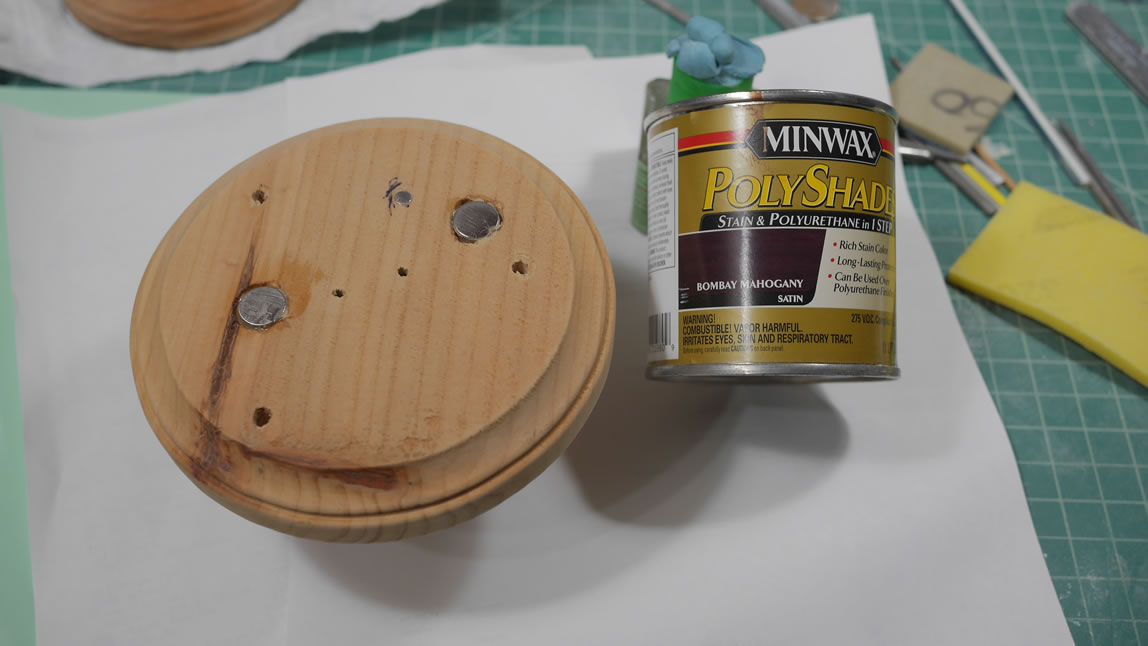
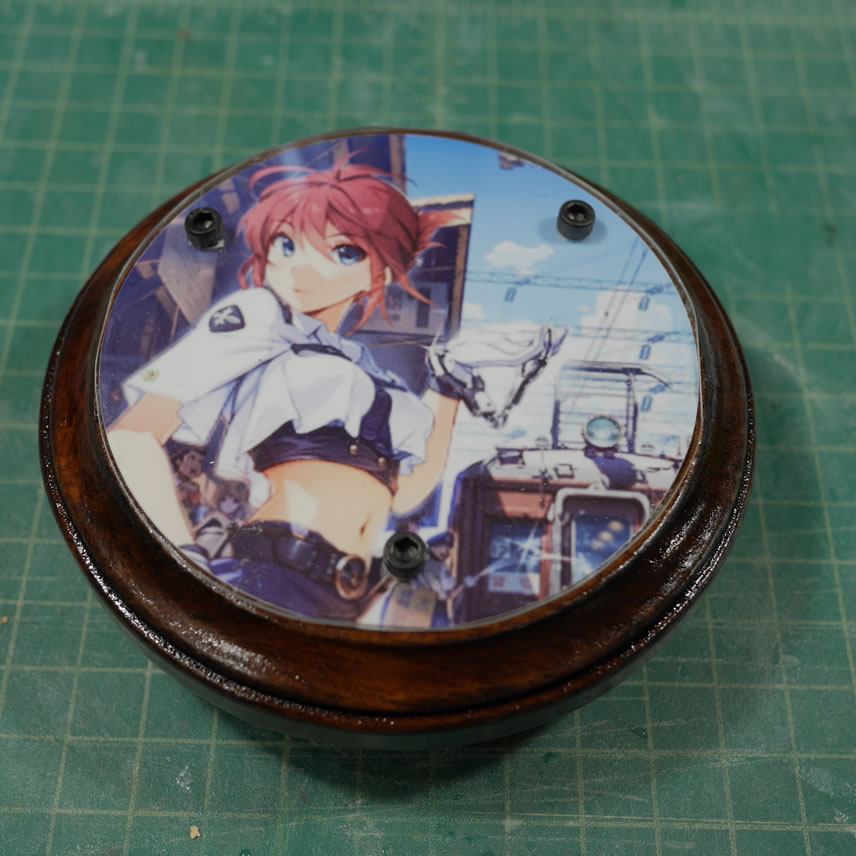
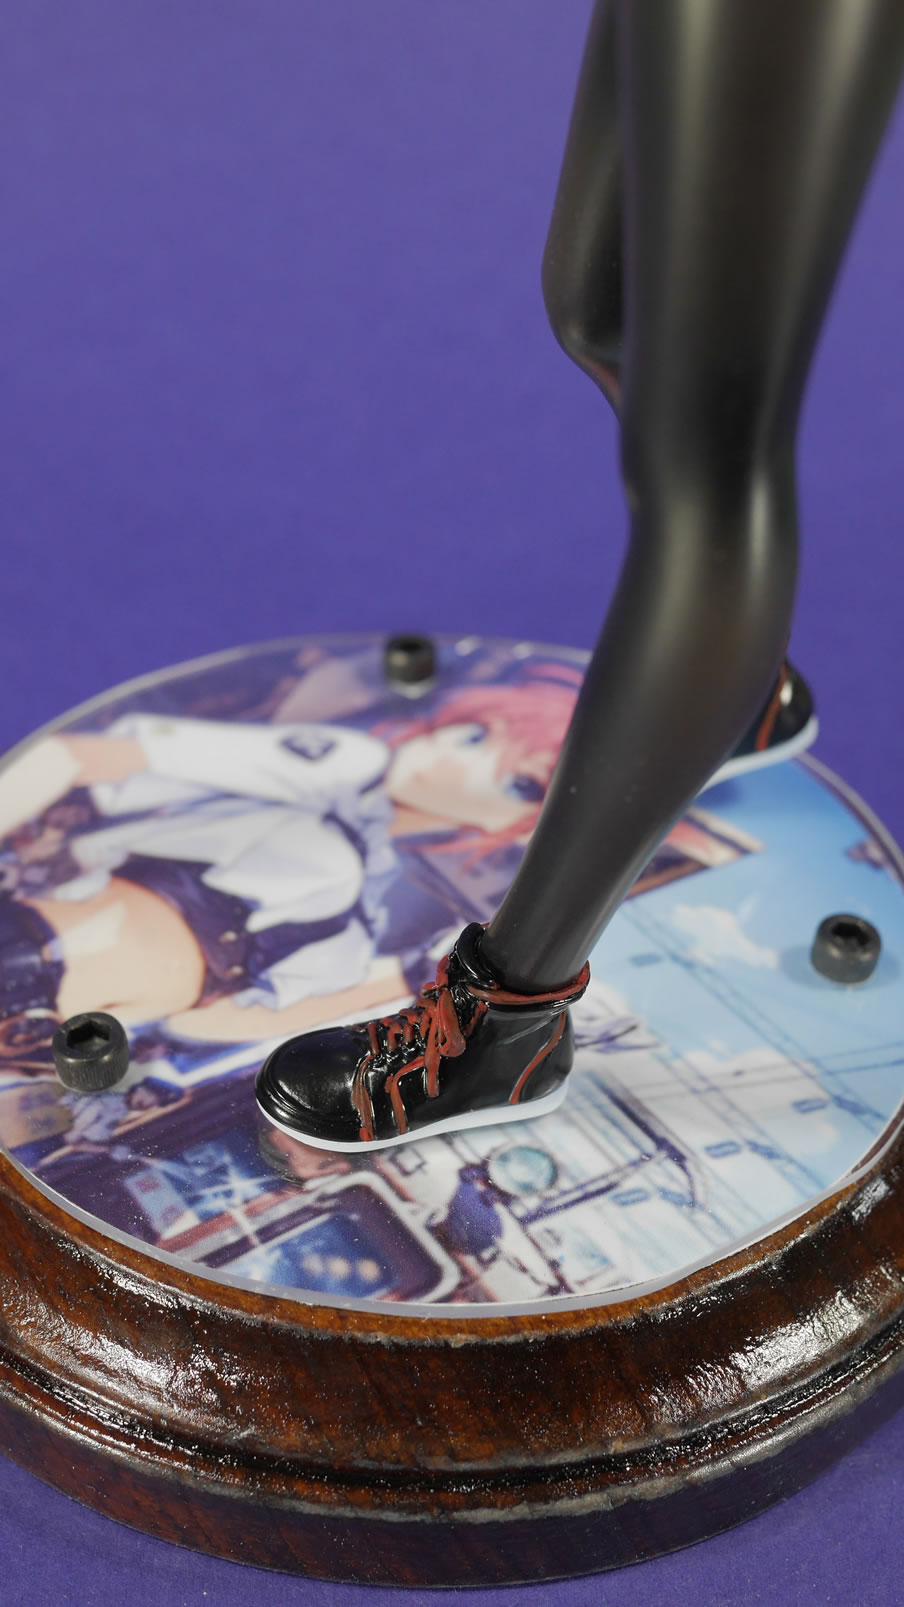
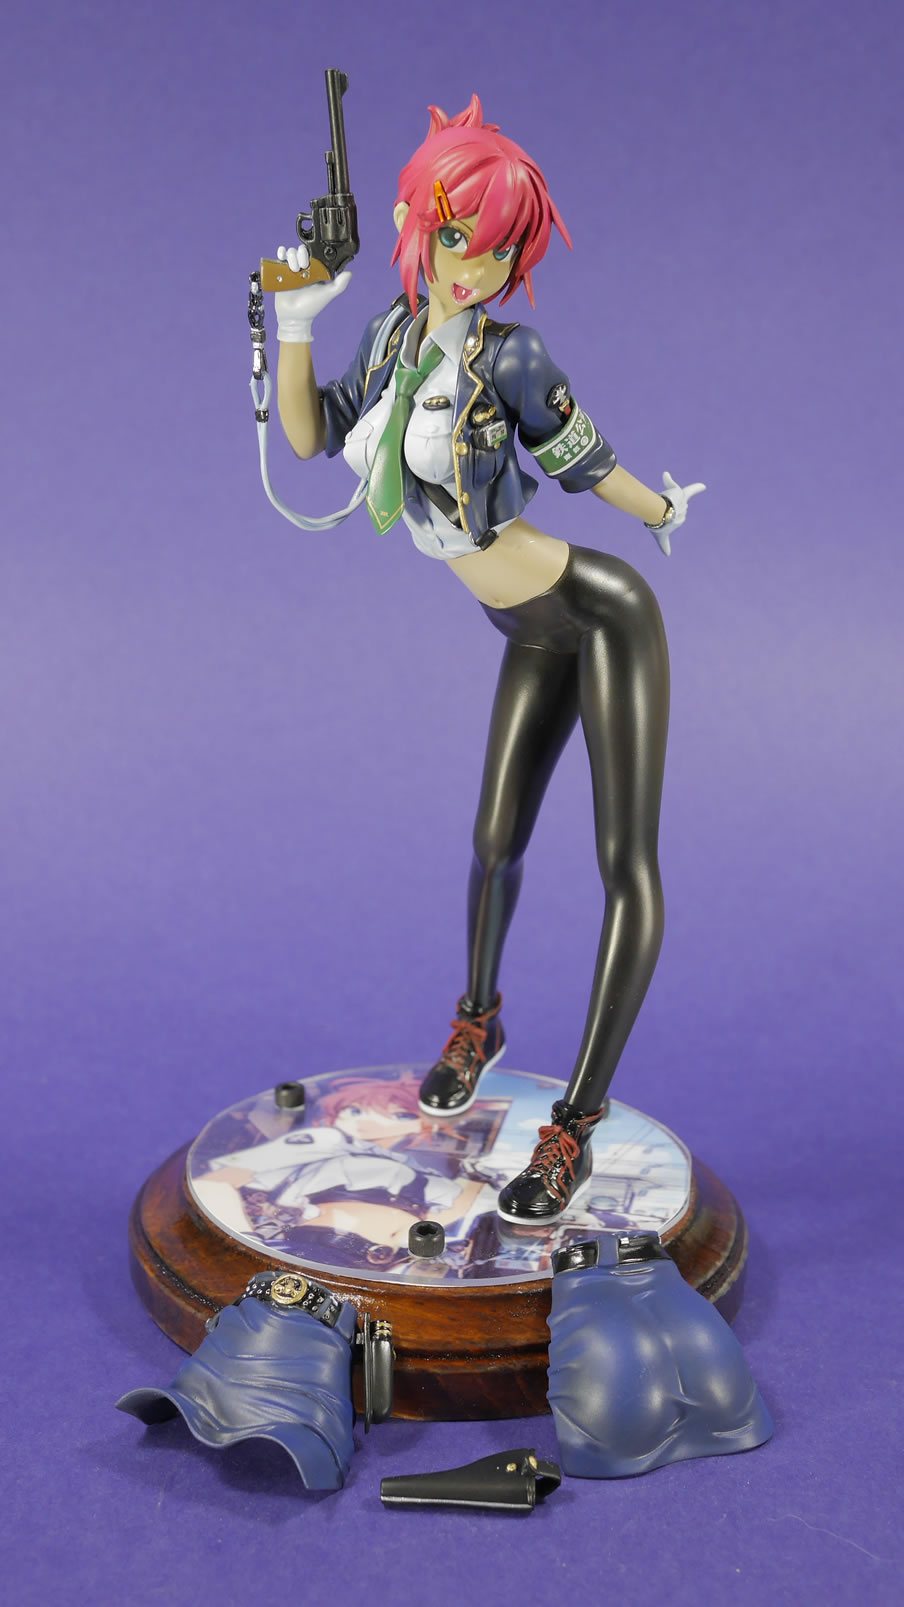
Since I lagged on the project, I decided to create a nice little base for the kit. I photo printed out an image from the anime and cut it to size with the cricut. A clear piece of acrylic was also measure out and cut. I drilled in three small holes for some decorative hex screws. Once this was done, I can put everything aside and work on finishing up the wood part of the base. Inside the wood base, some holes are drilled and magnets are placed into areas that correspond to her feet. This way, I can add magnets to the soles of the feet and the kit can be completely free standing. Granted there is a bit of an imbalance once assembled, but I doubled up on the magnets of the load bearing left foot.
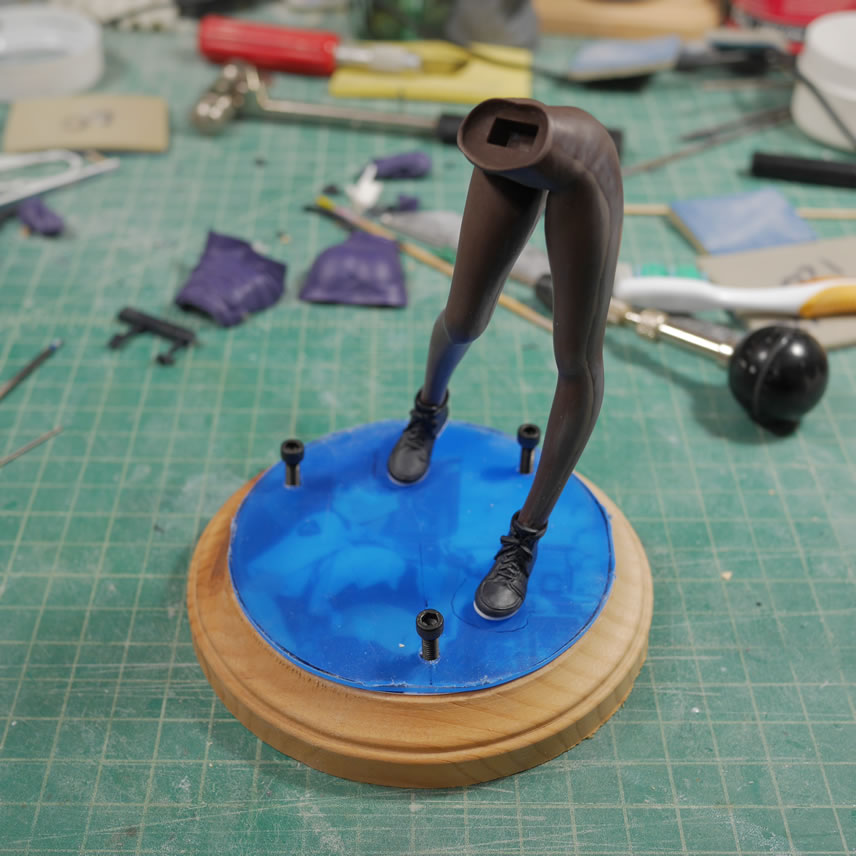
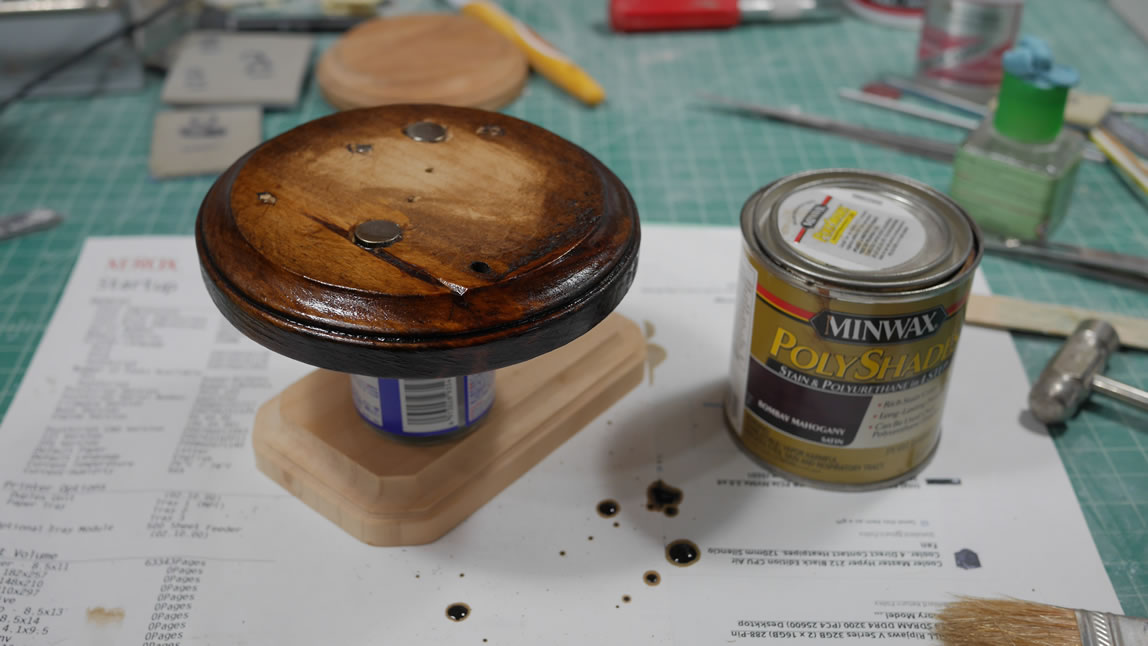
A few sessions of staining the wood base gives a rich dark finish. You can also see the three magnets on the base, two big magnets for the balls of her feet and a smaller magnet behind the left side for the heel of her boots.
A couple of coats of clear gloss over the base and everything is assembled. The blue tinted protective film is removed and the whole base is assembled.
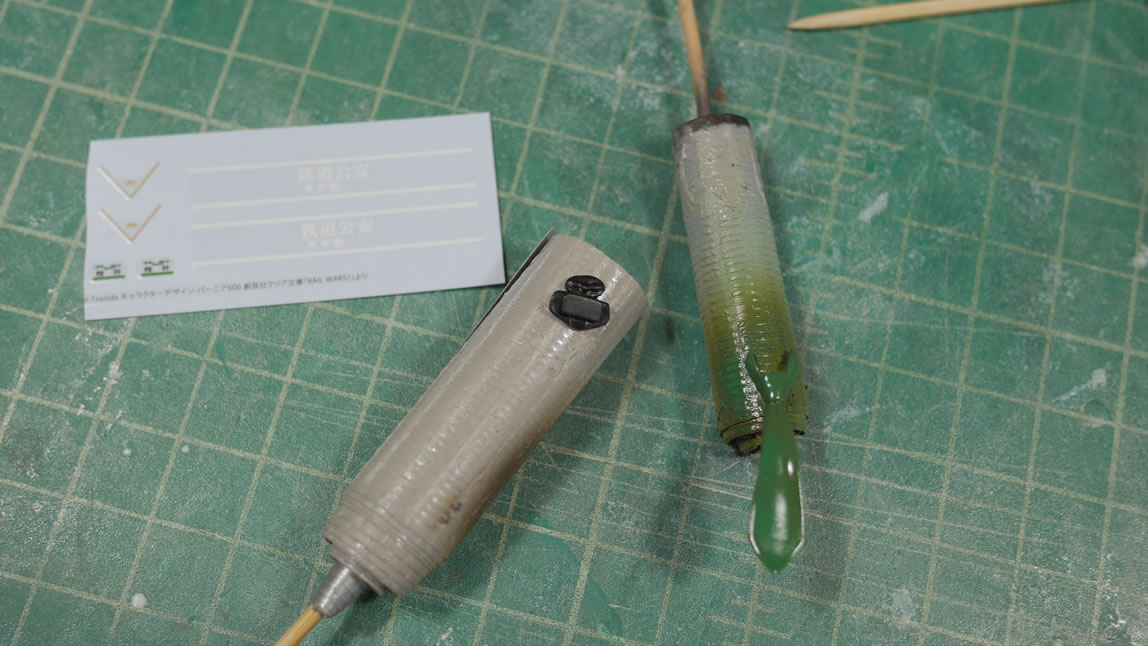
Water slide decals to finishing up the details on her tags, arm band, and tie.
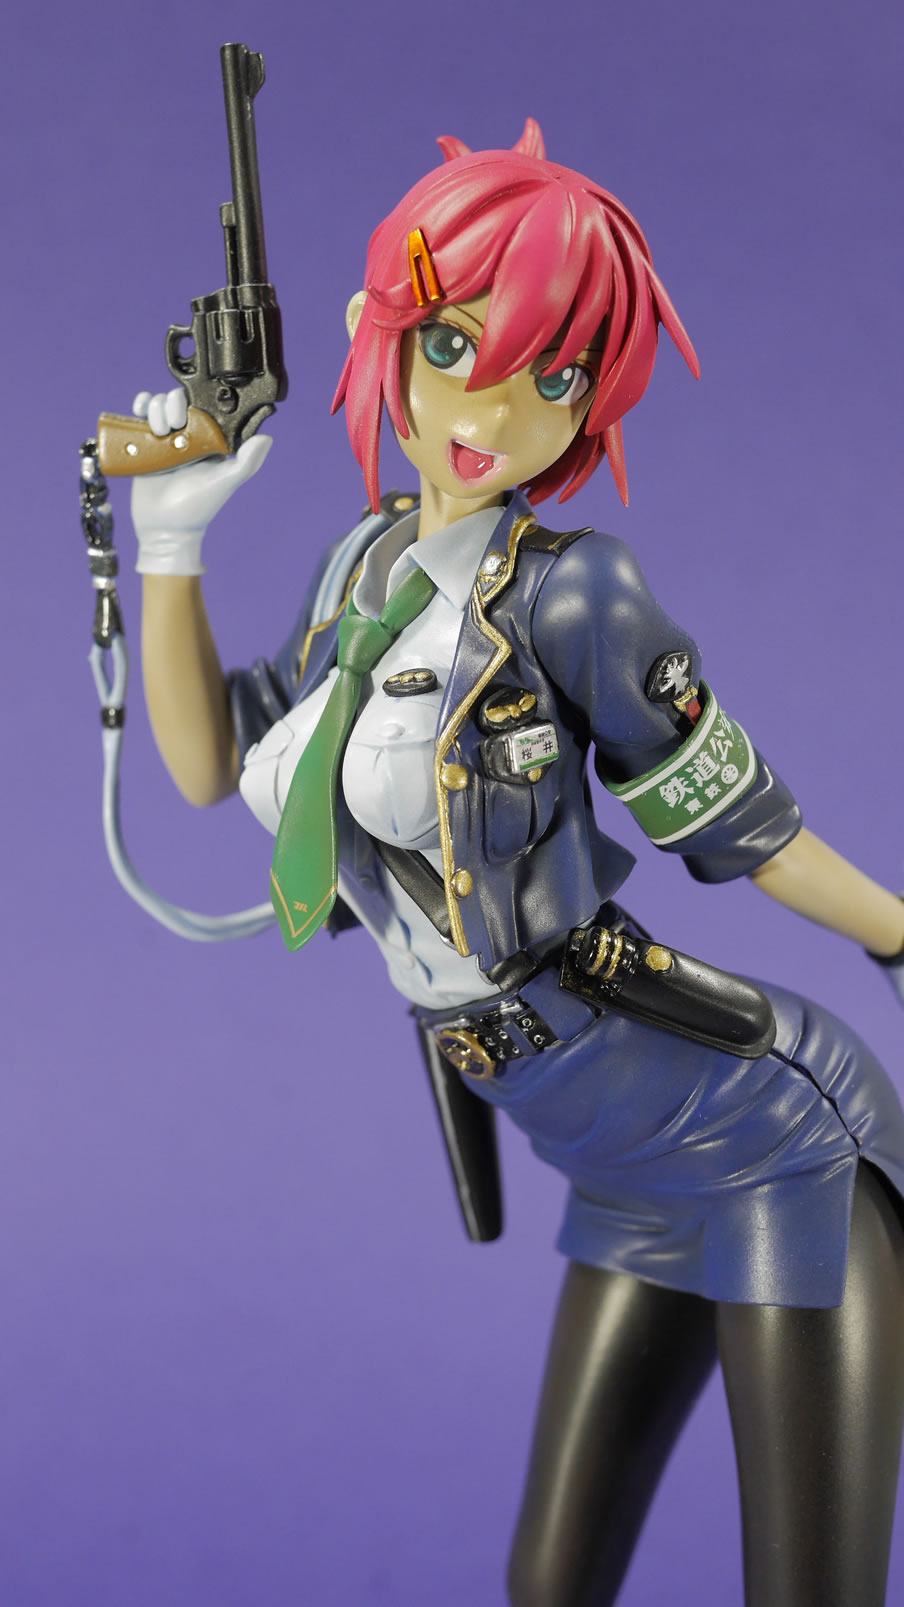
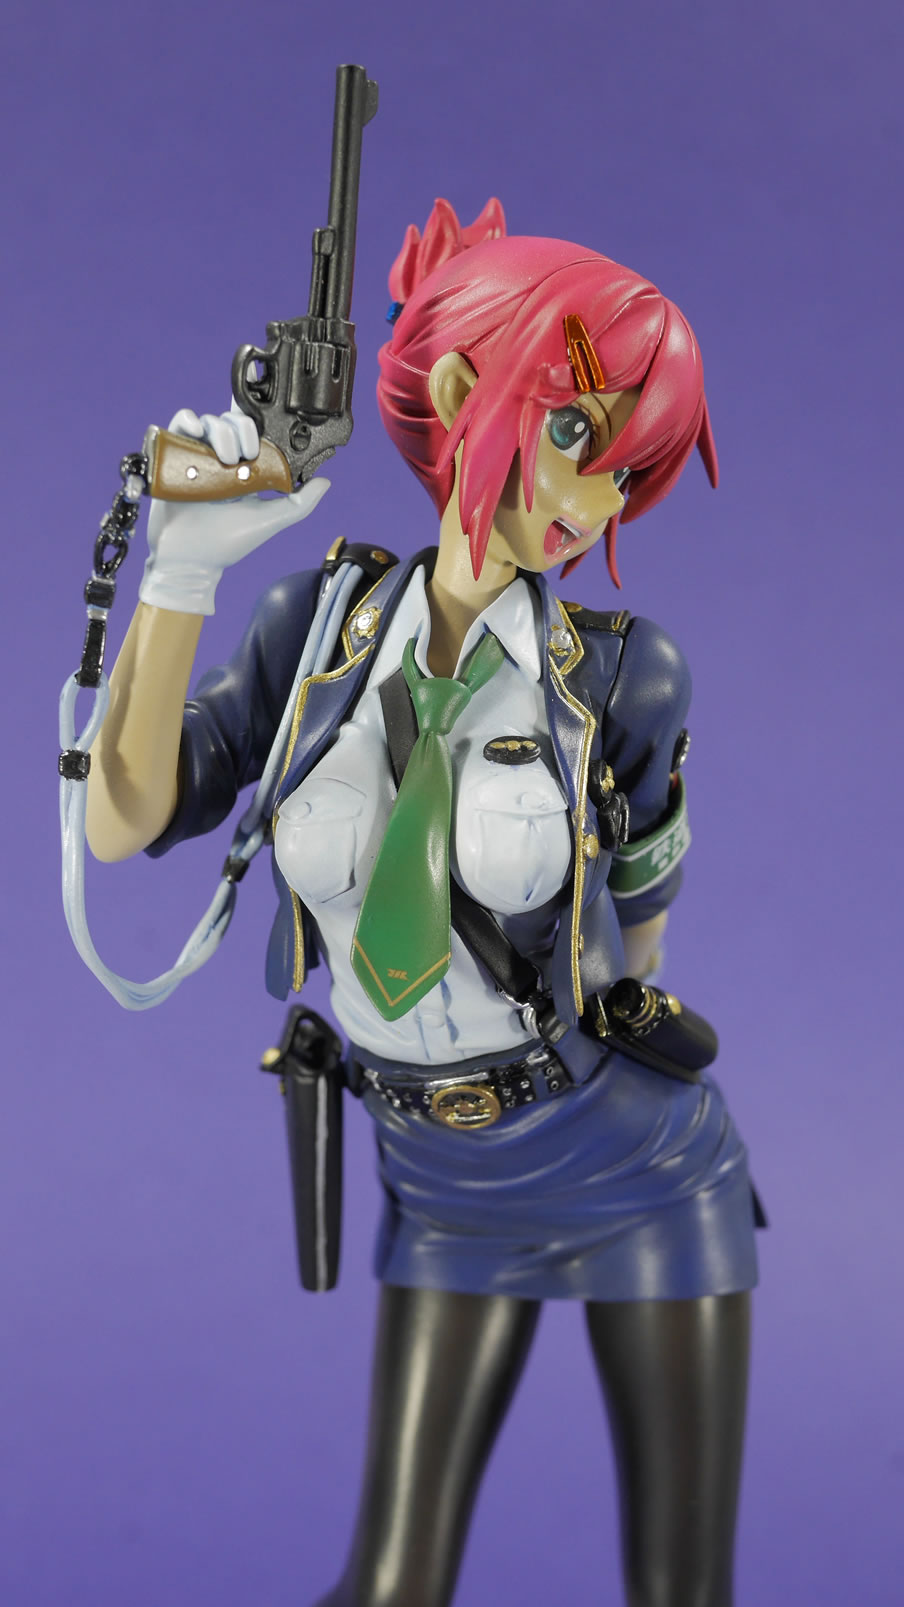
Small details were hand painted and sub assembly test shots. The main body parts as well as the shoes are glued together.
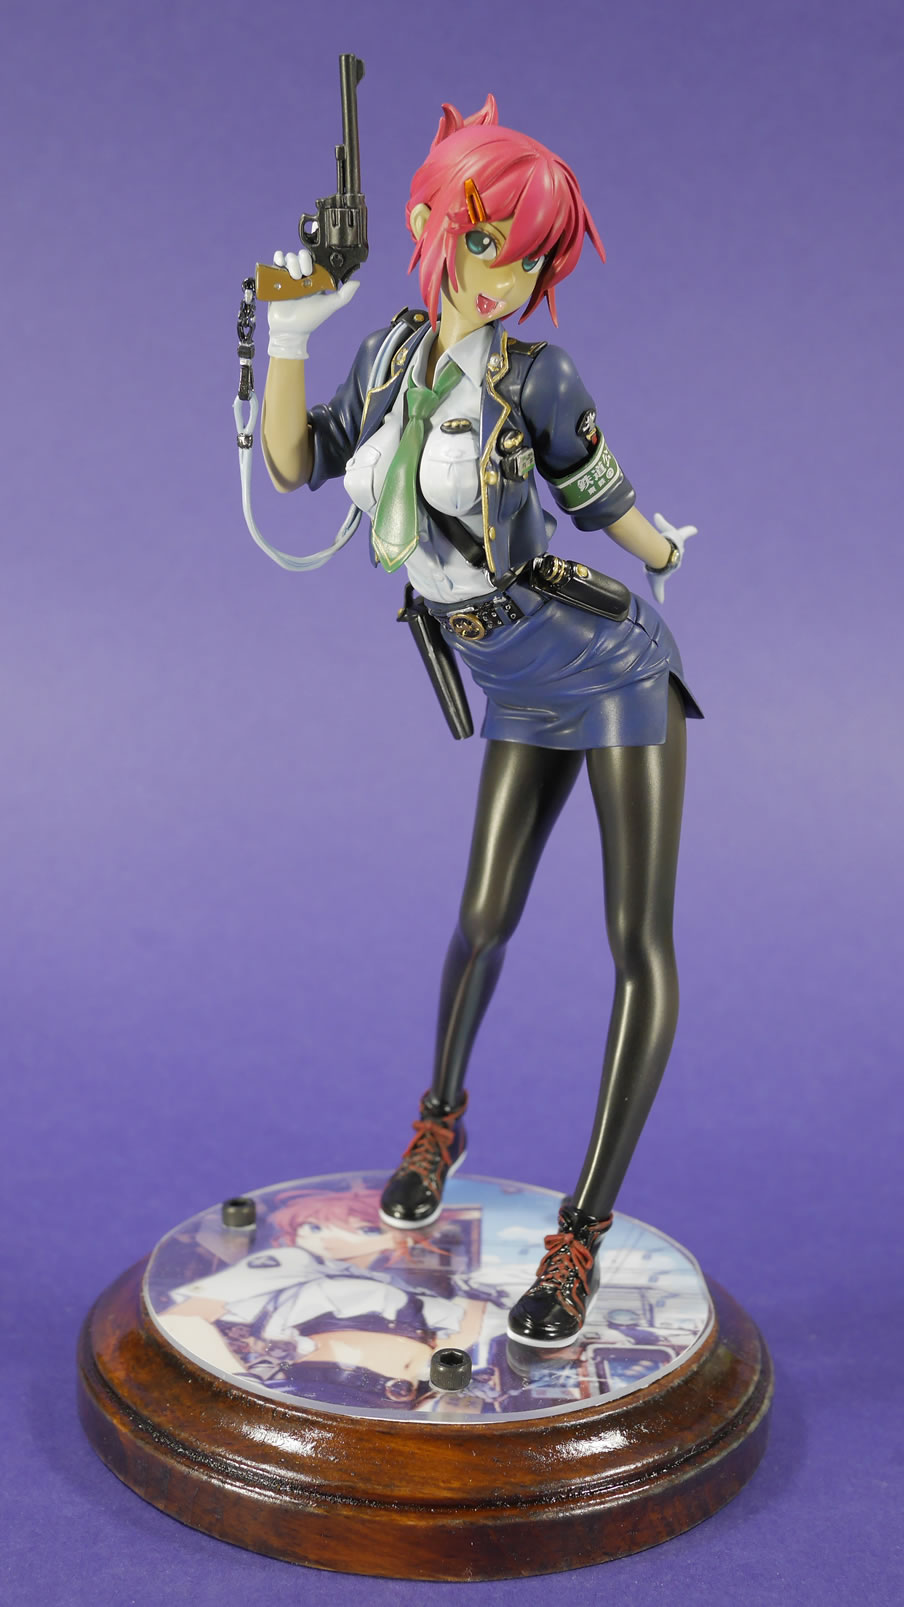
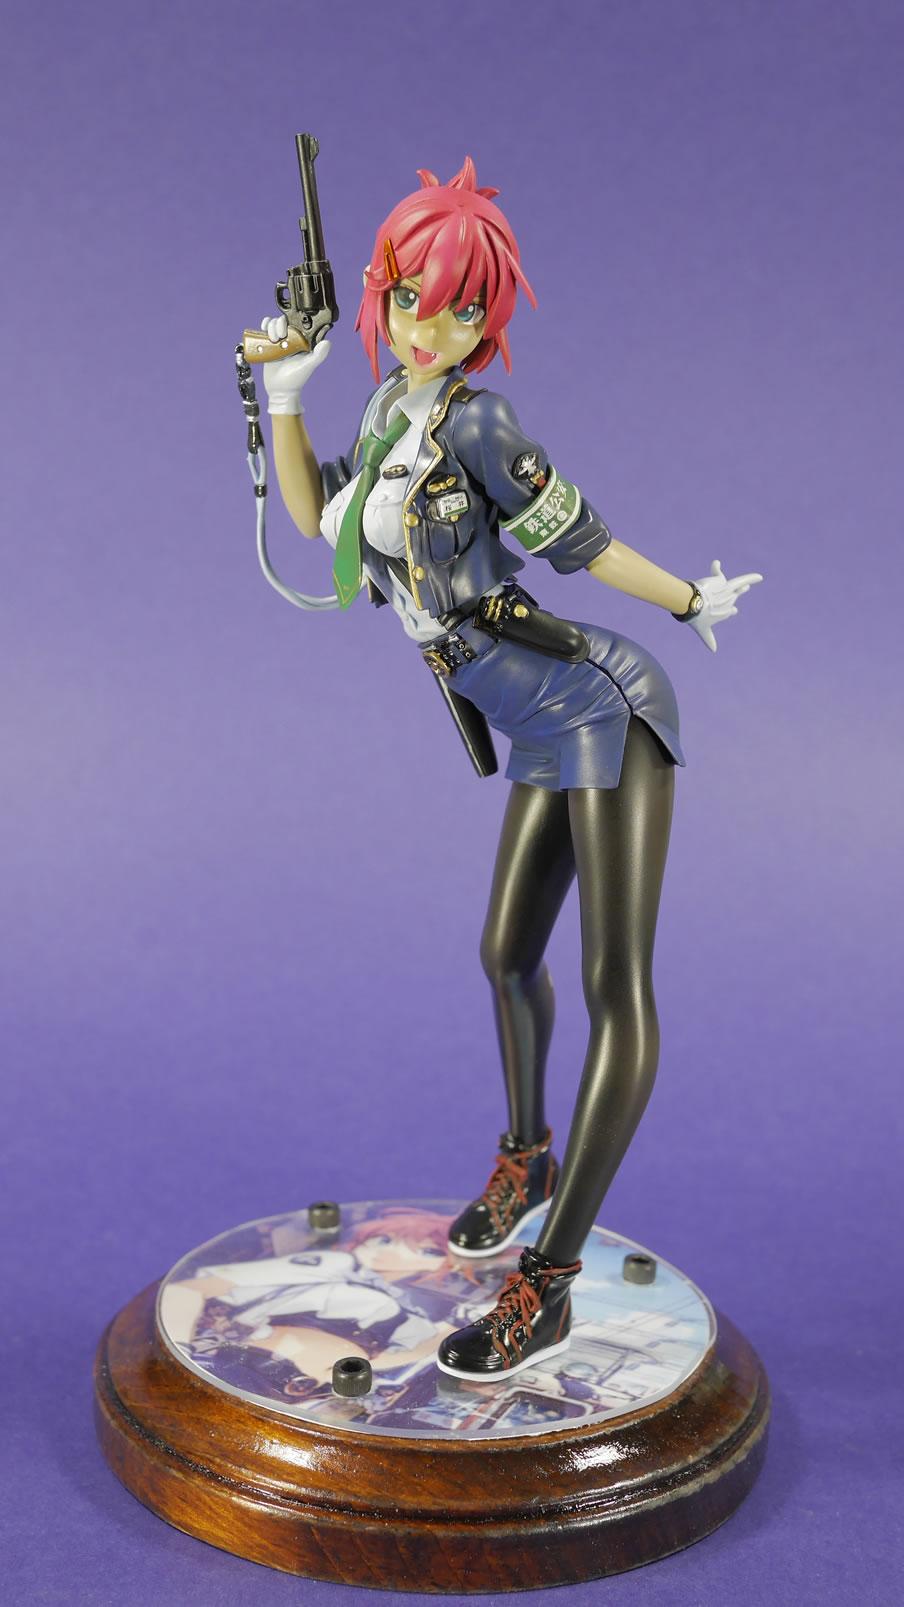
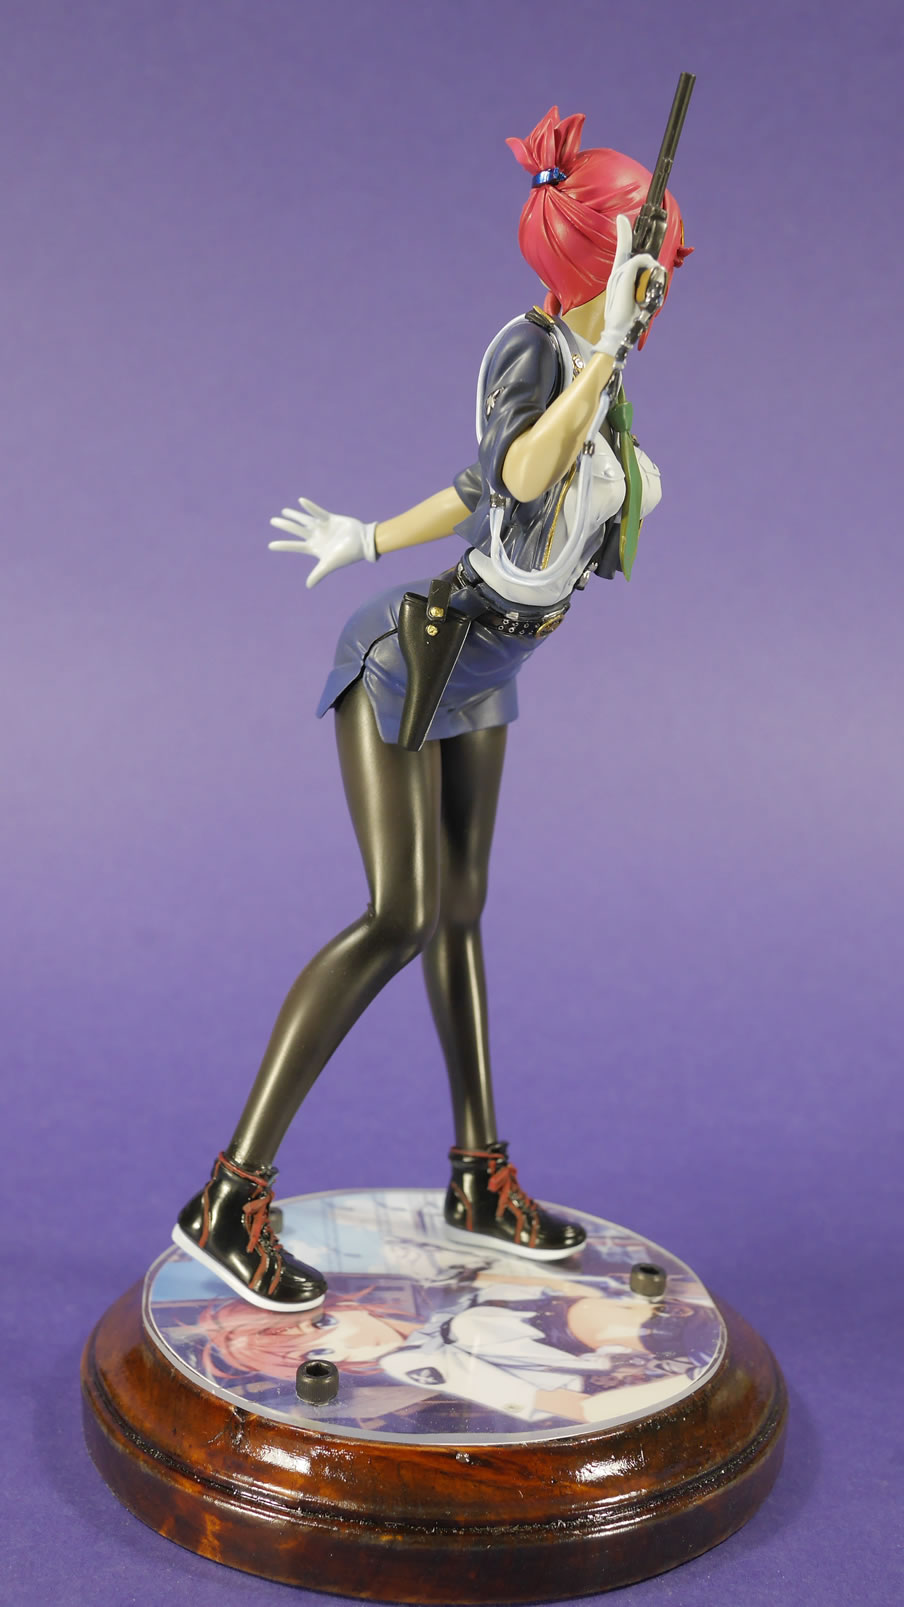
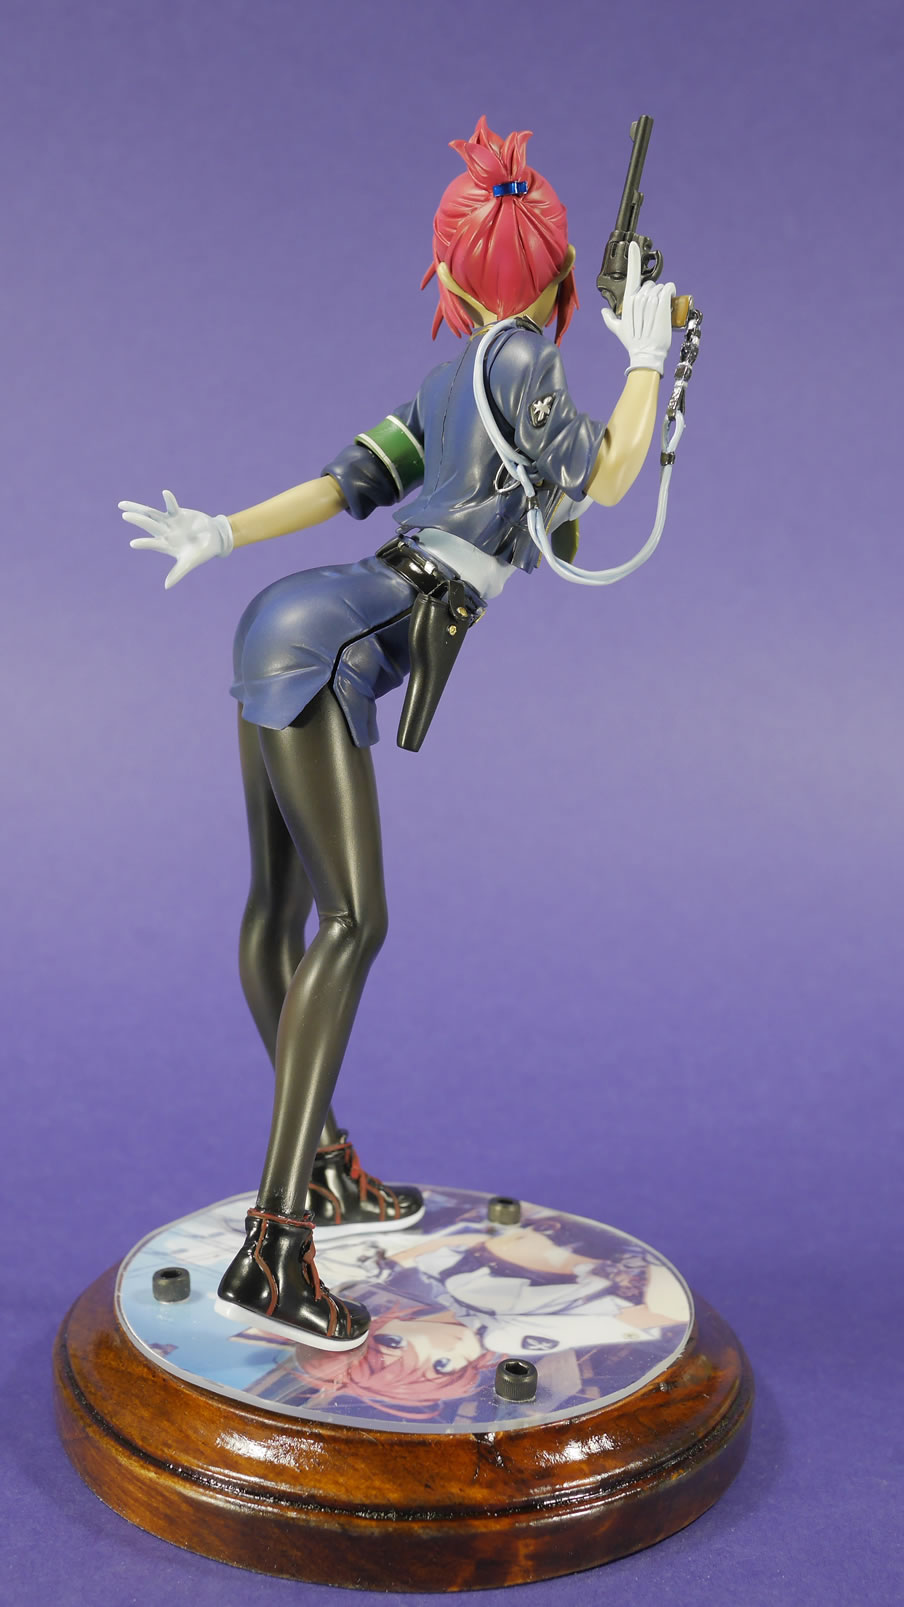
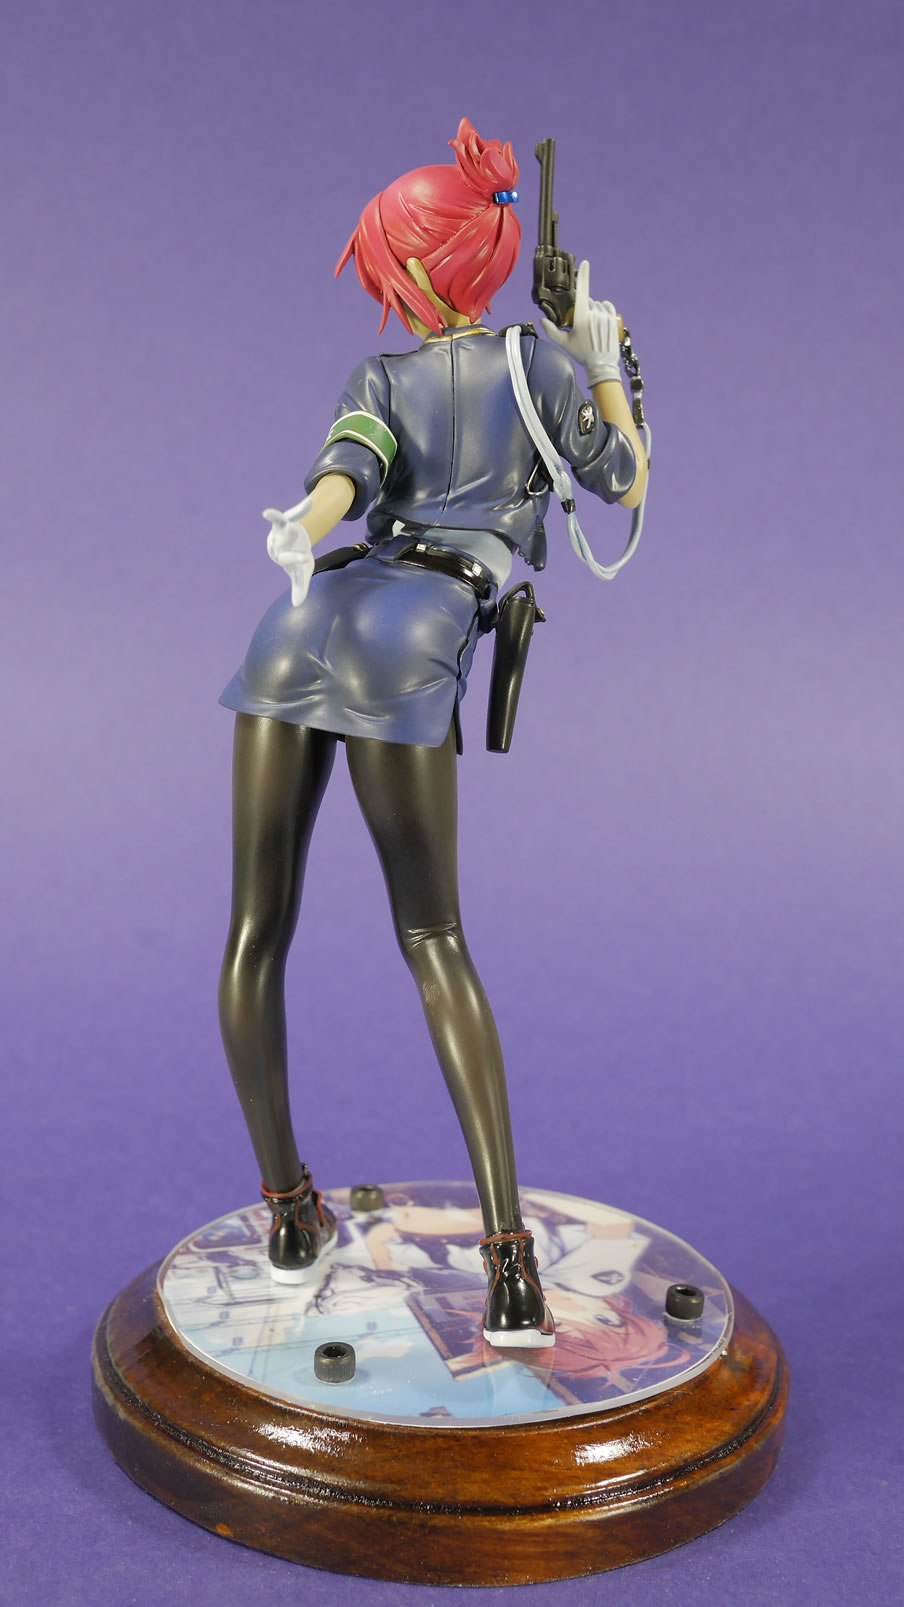
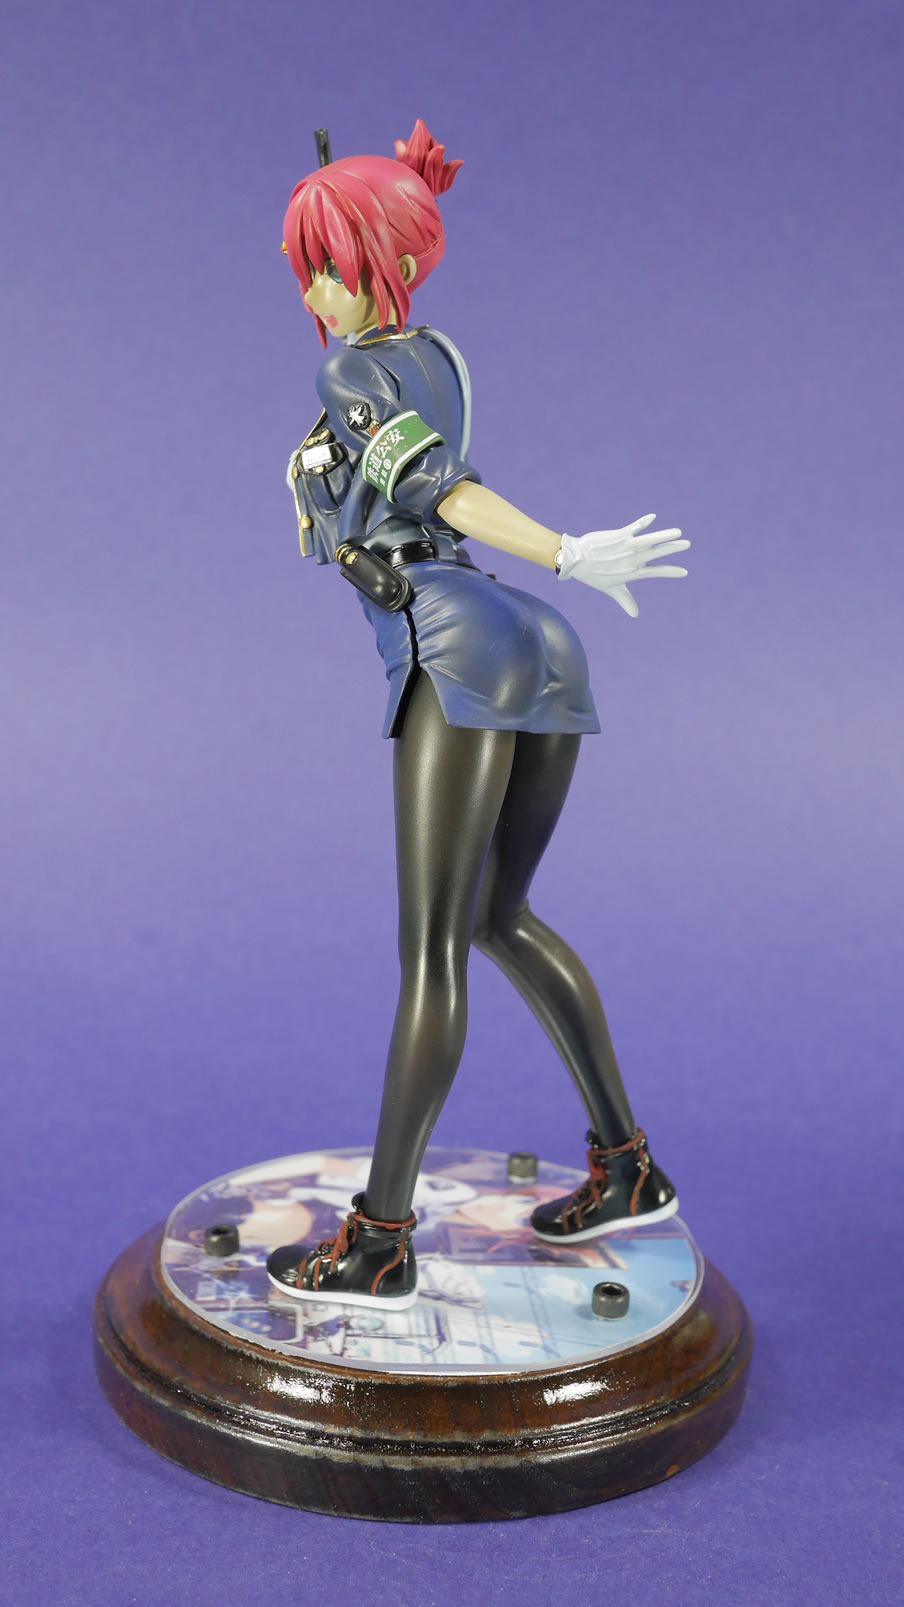
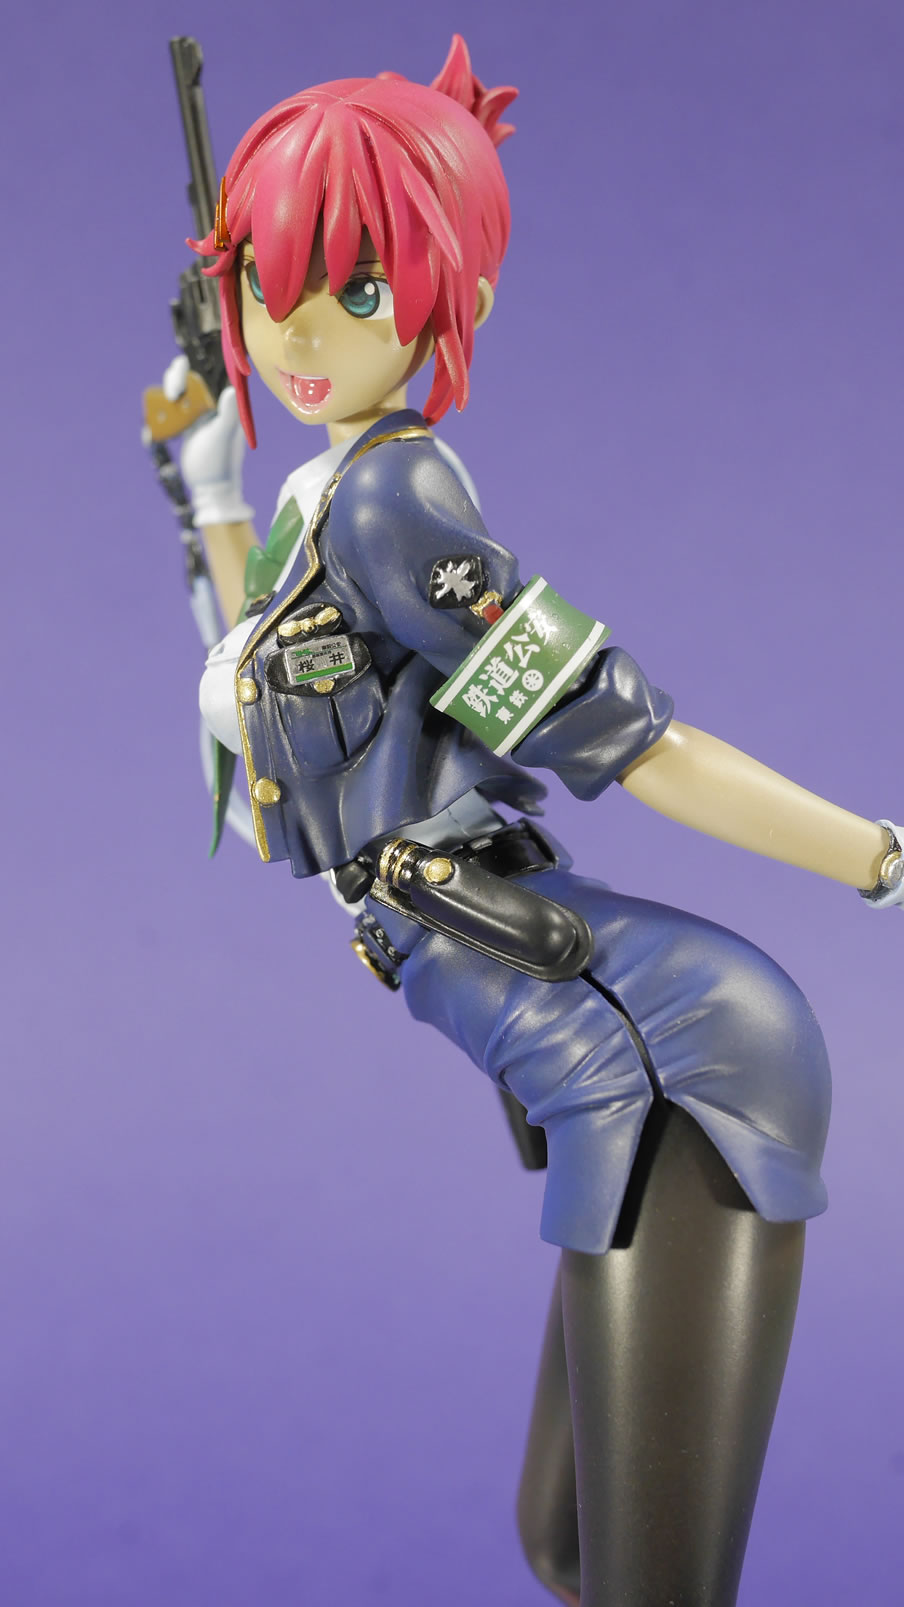
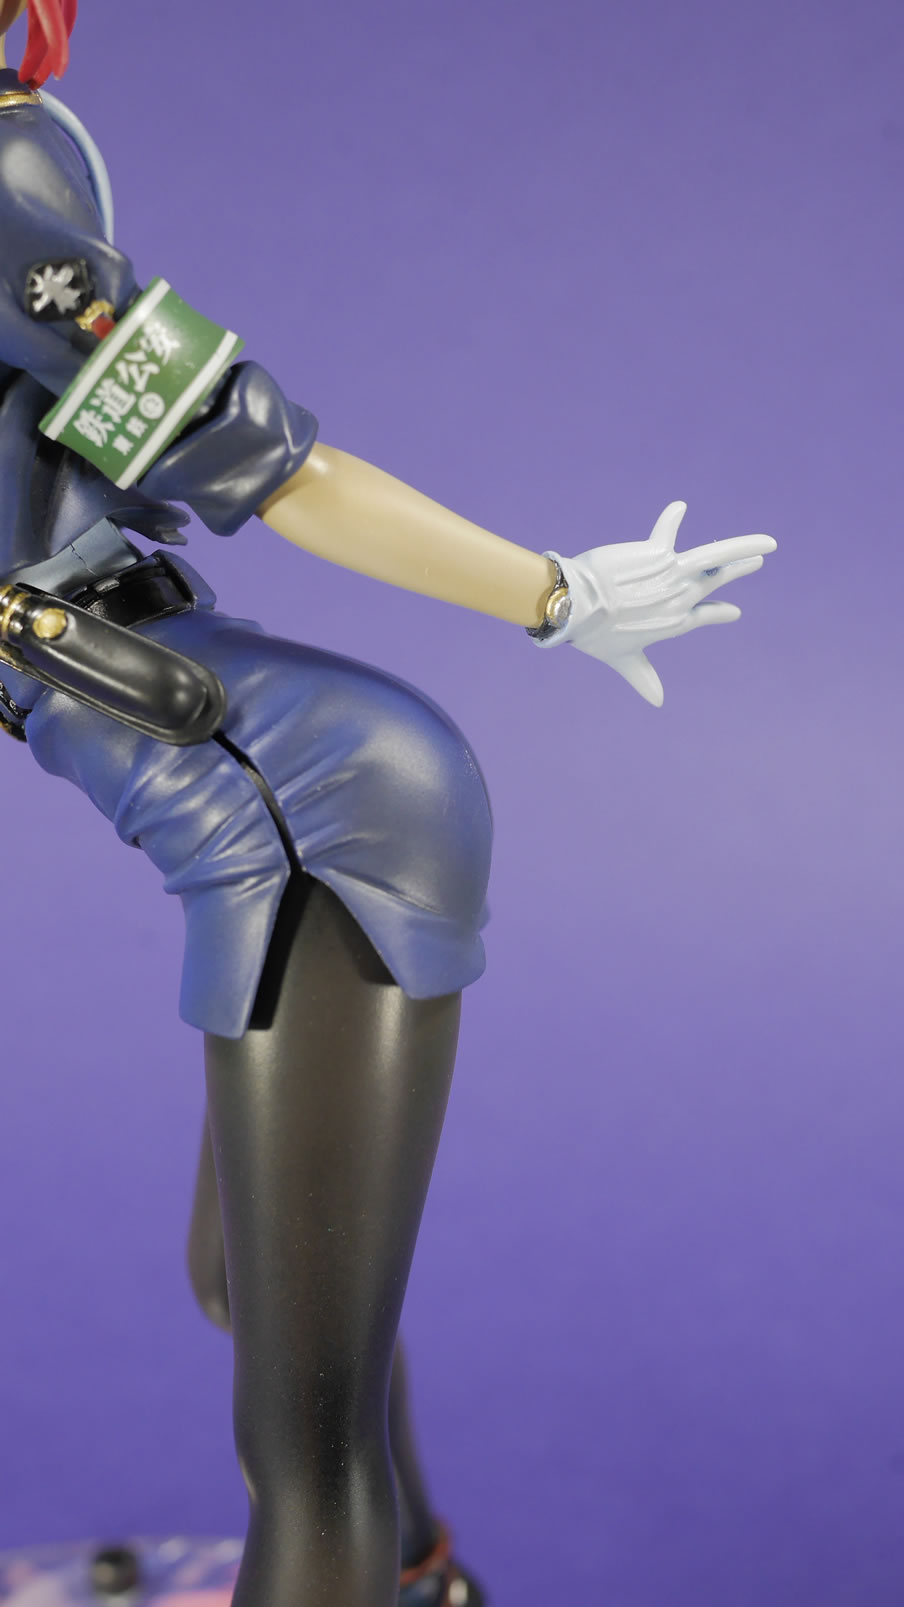
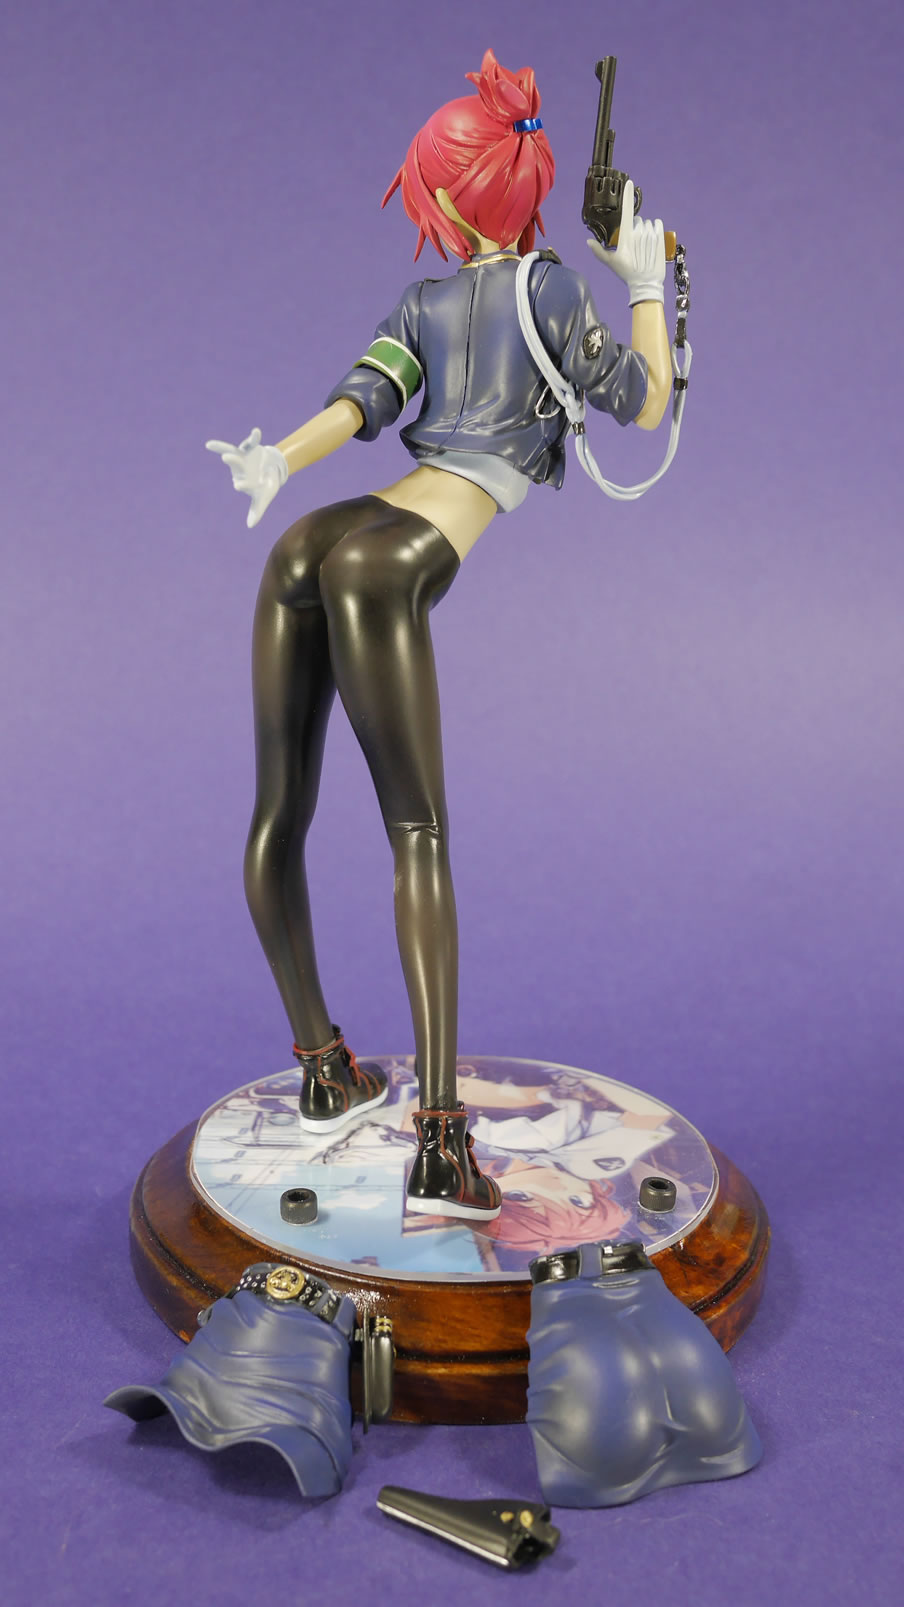
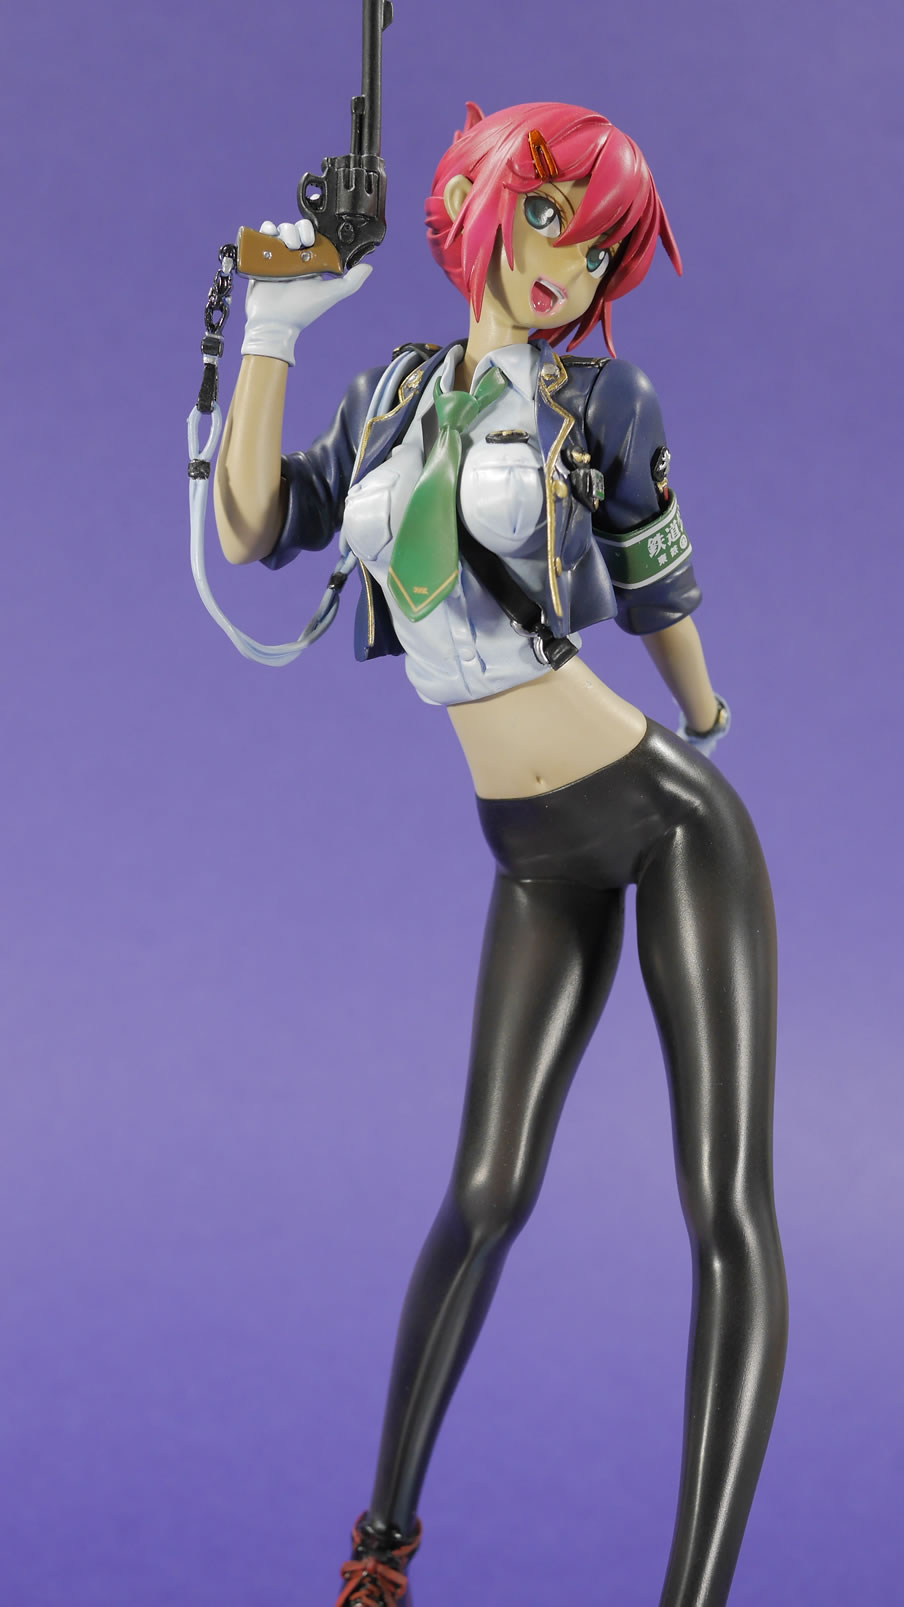
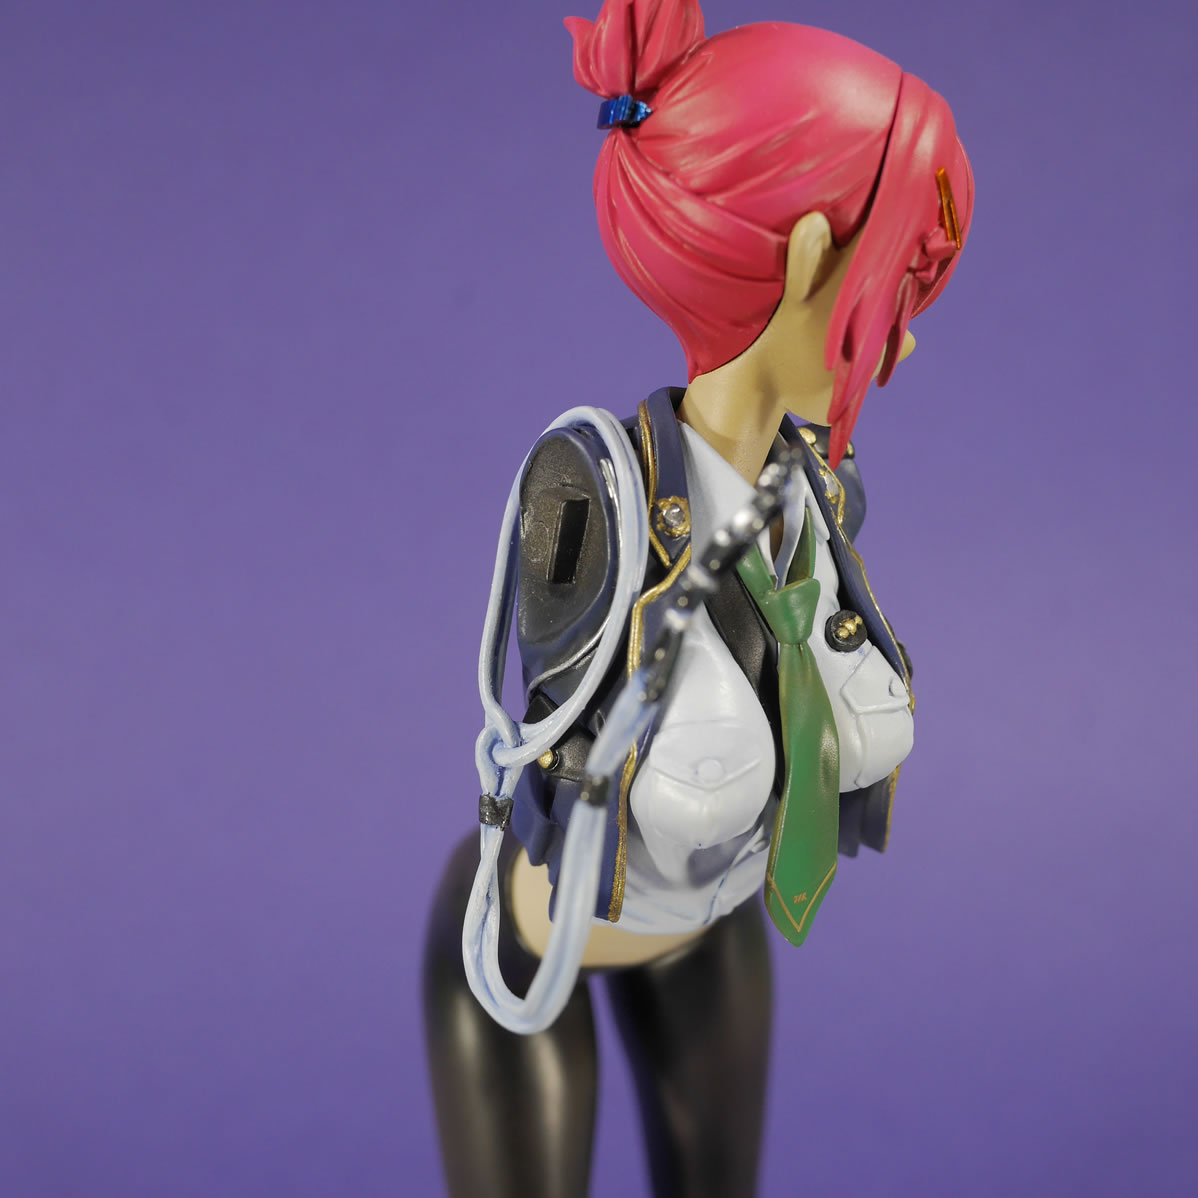
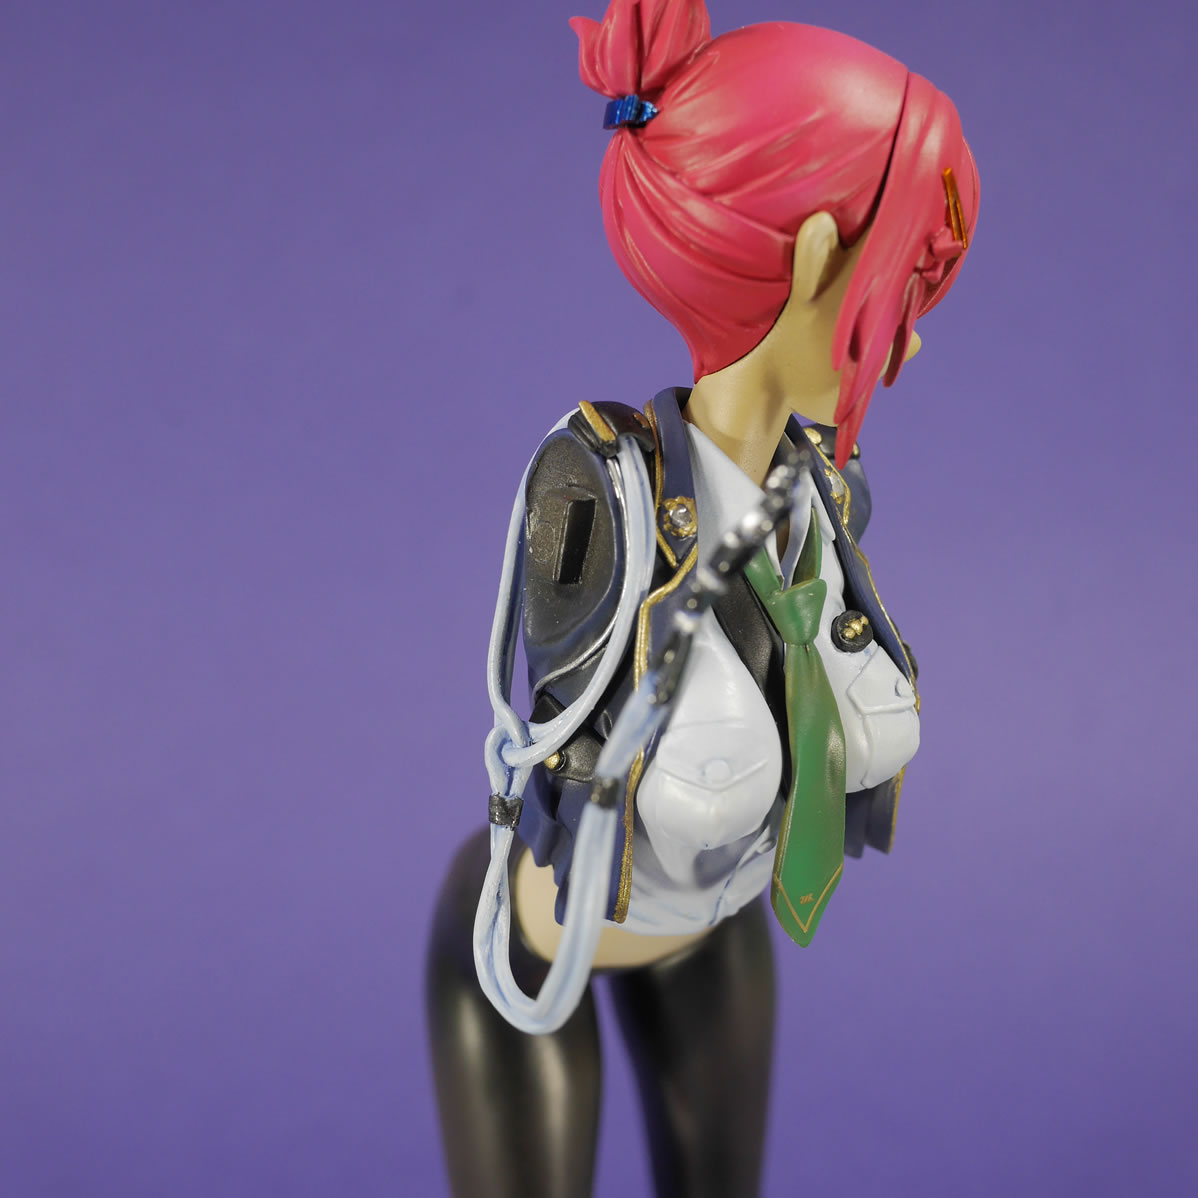
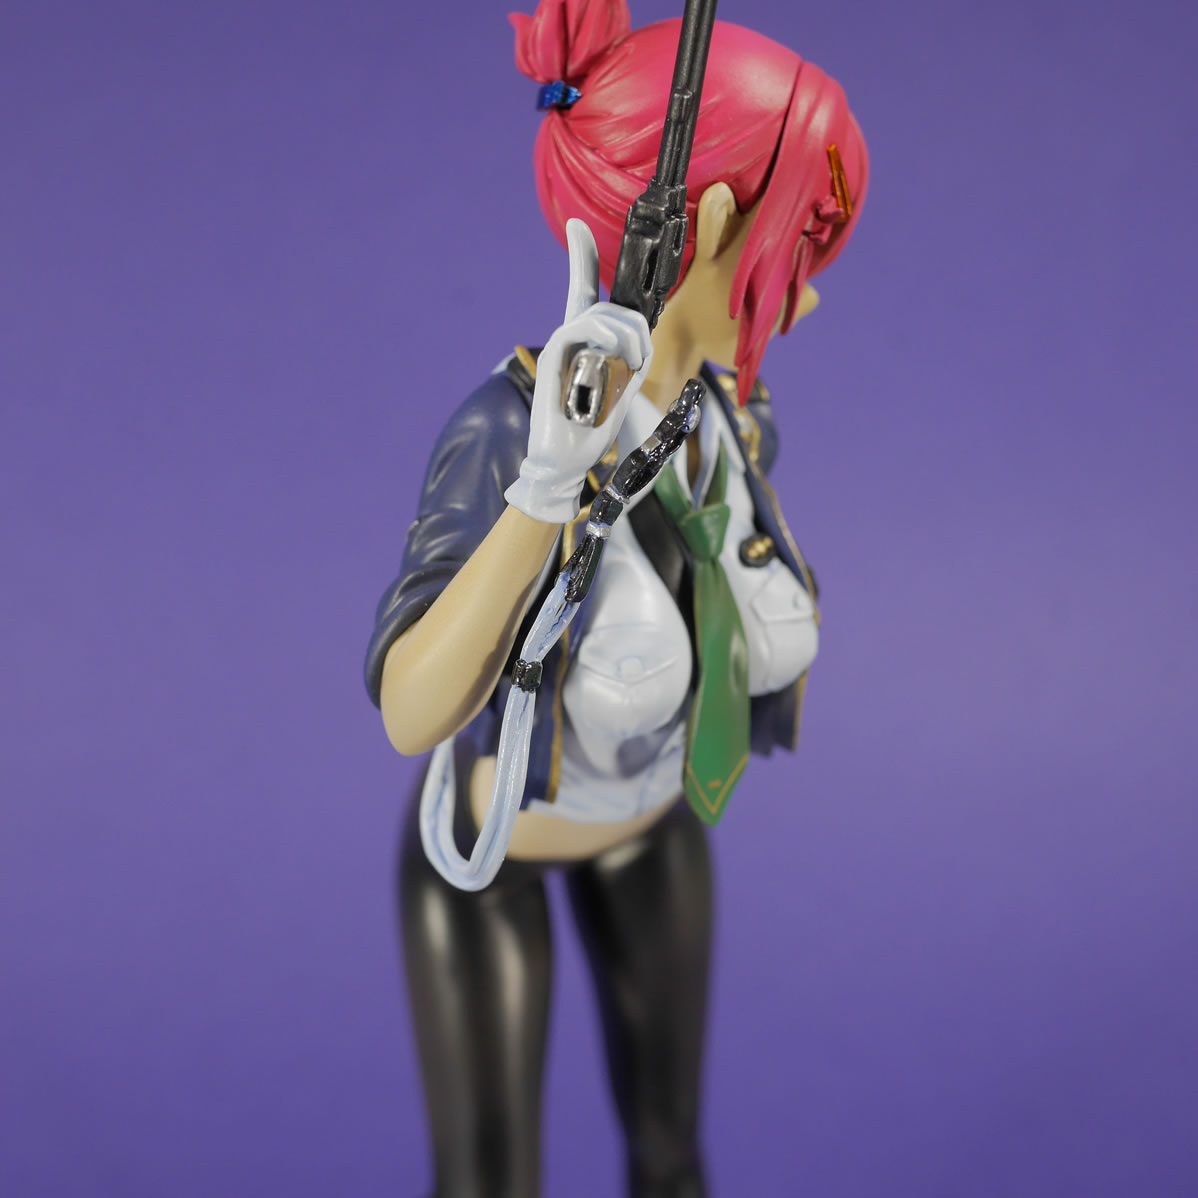
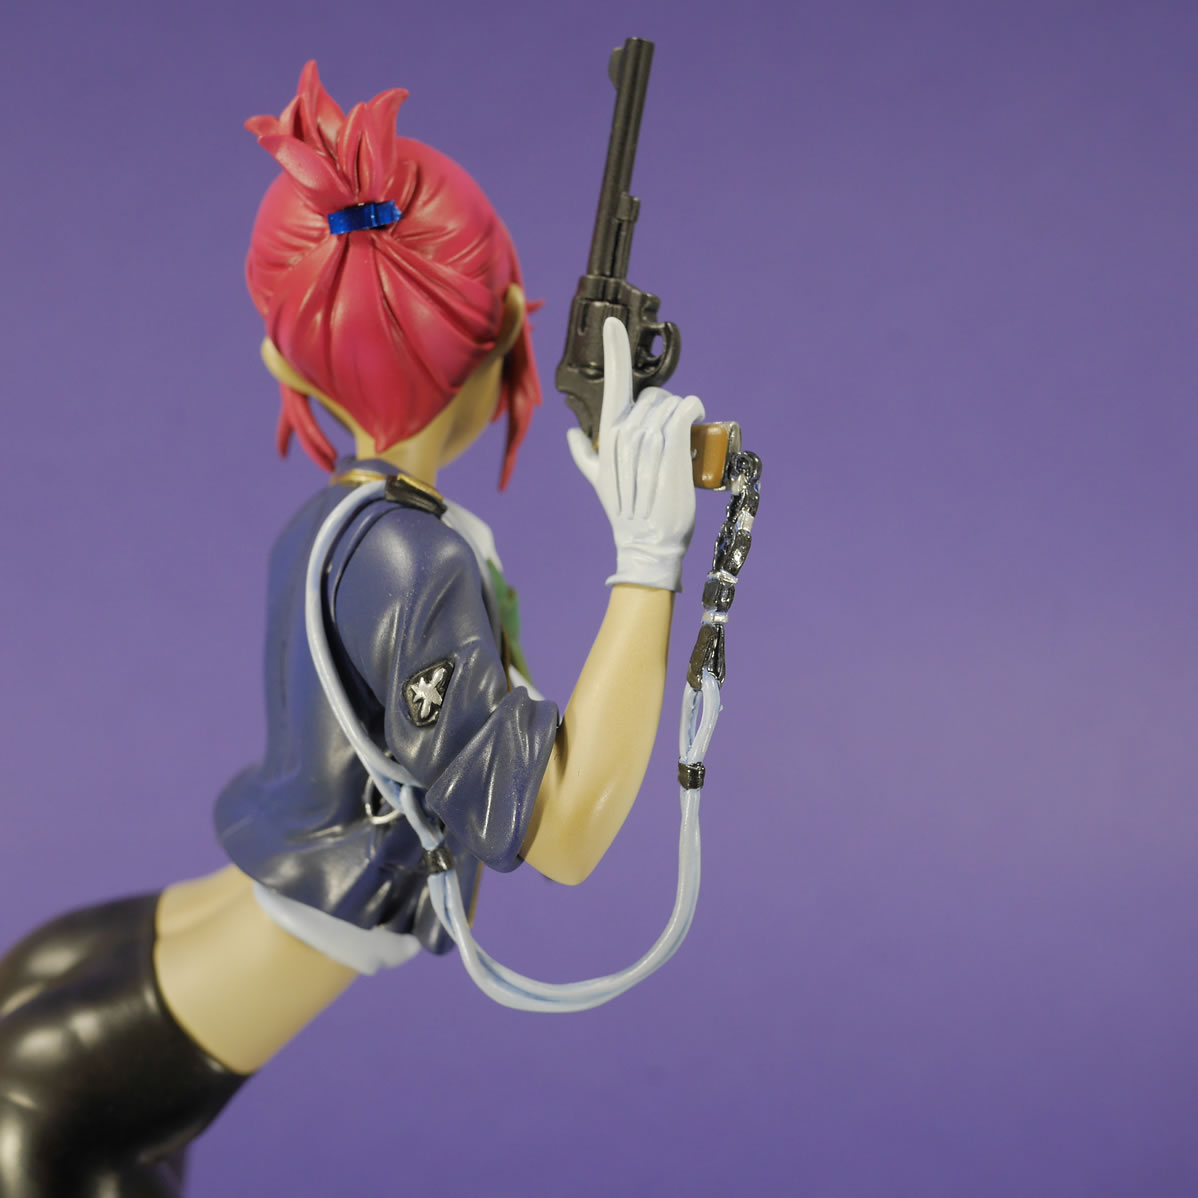
Once this was done the rest of the kit came together and you can check out the completed pictures here:
|
|

|
|
|
|
|
|
|
|
|
|

|
|
|
|
|

|
|
|
|
|
