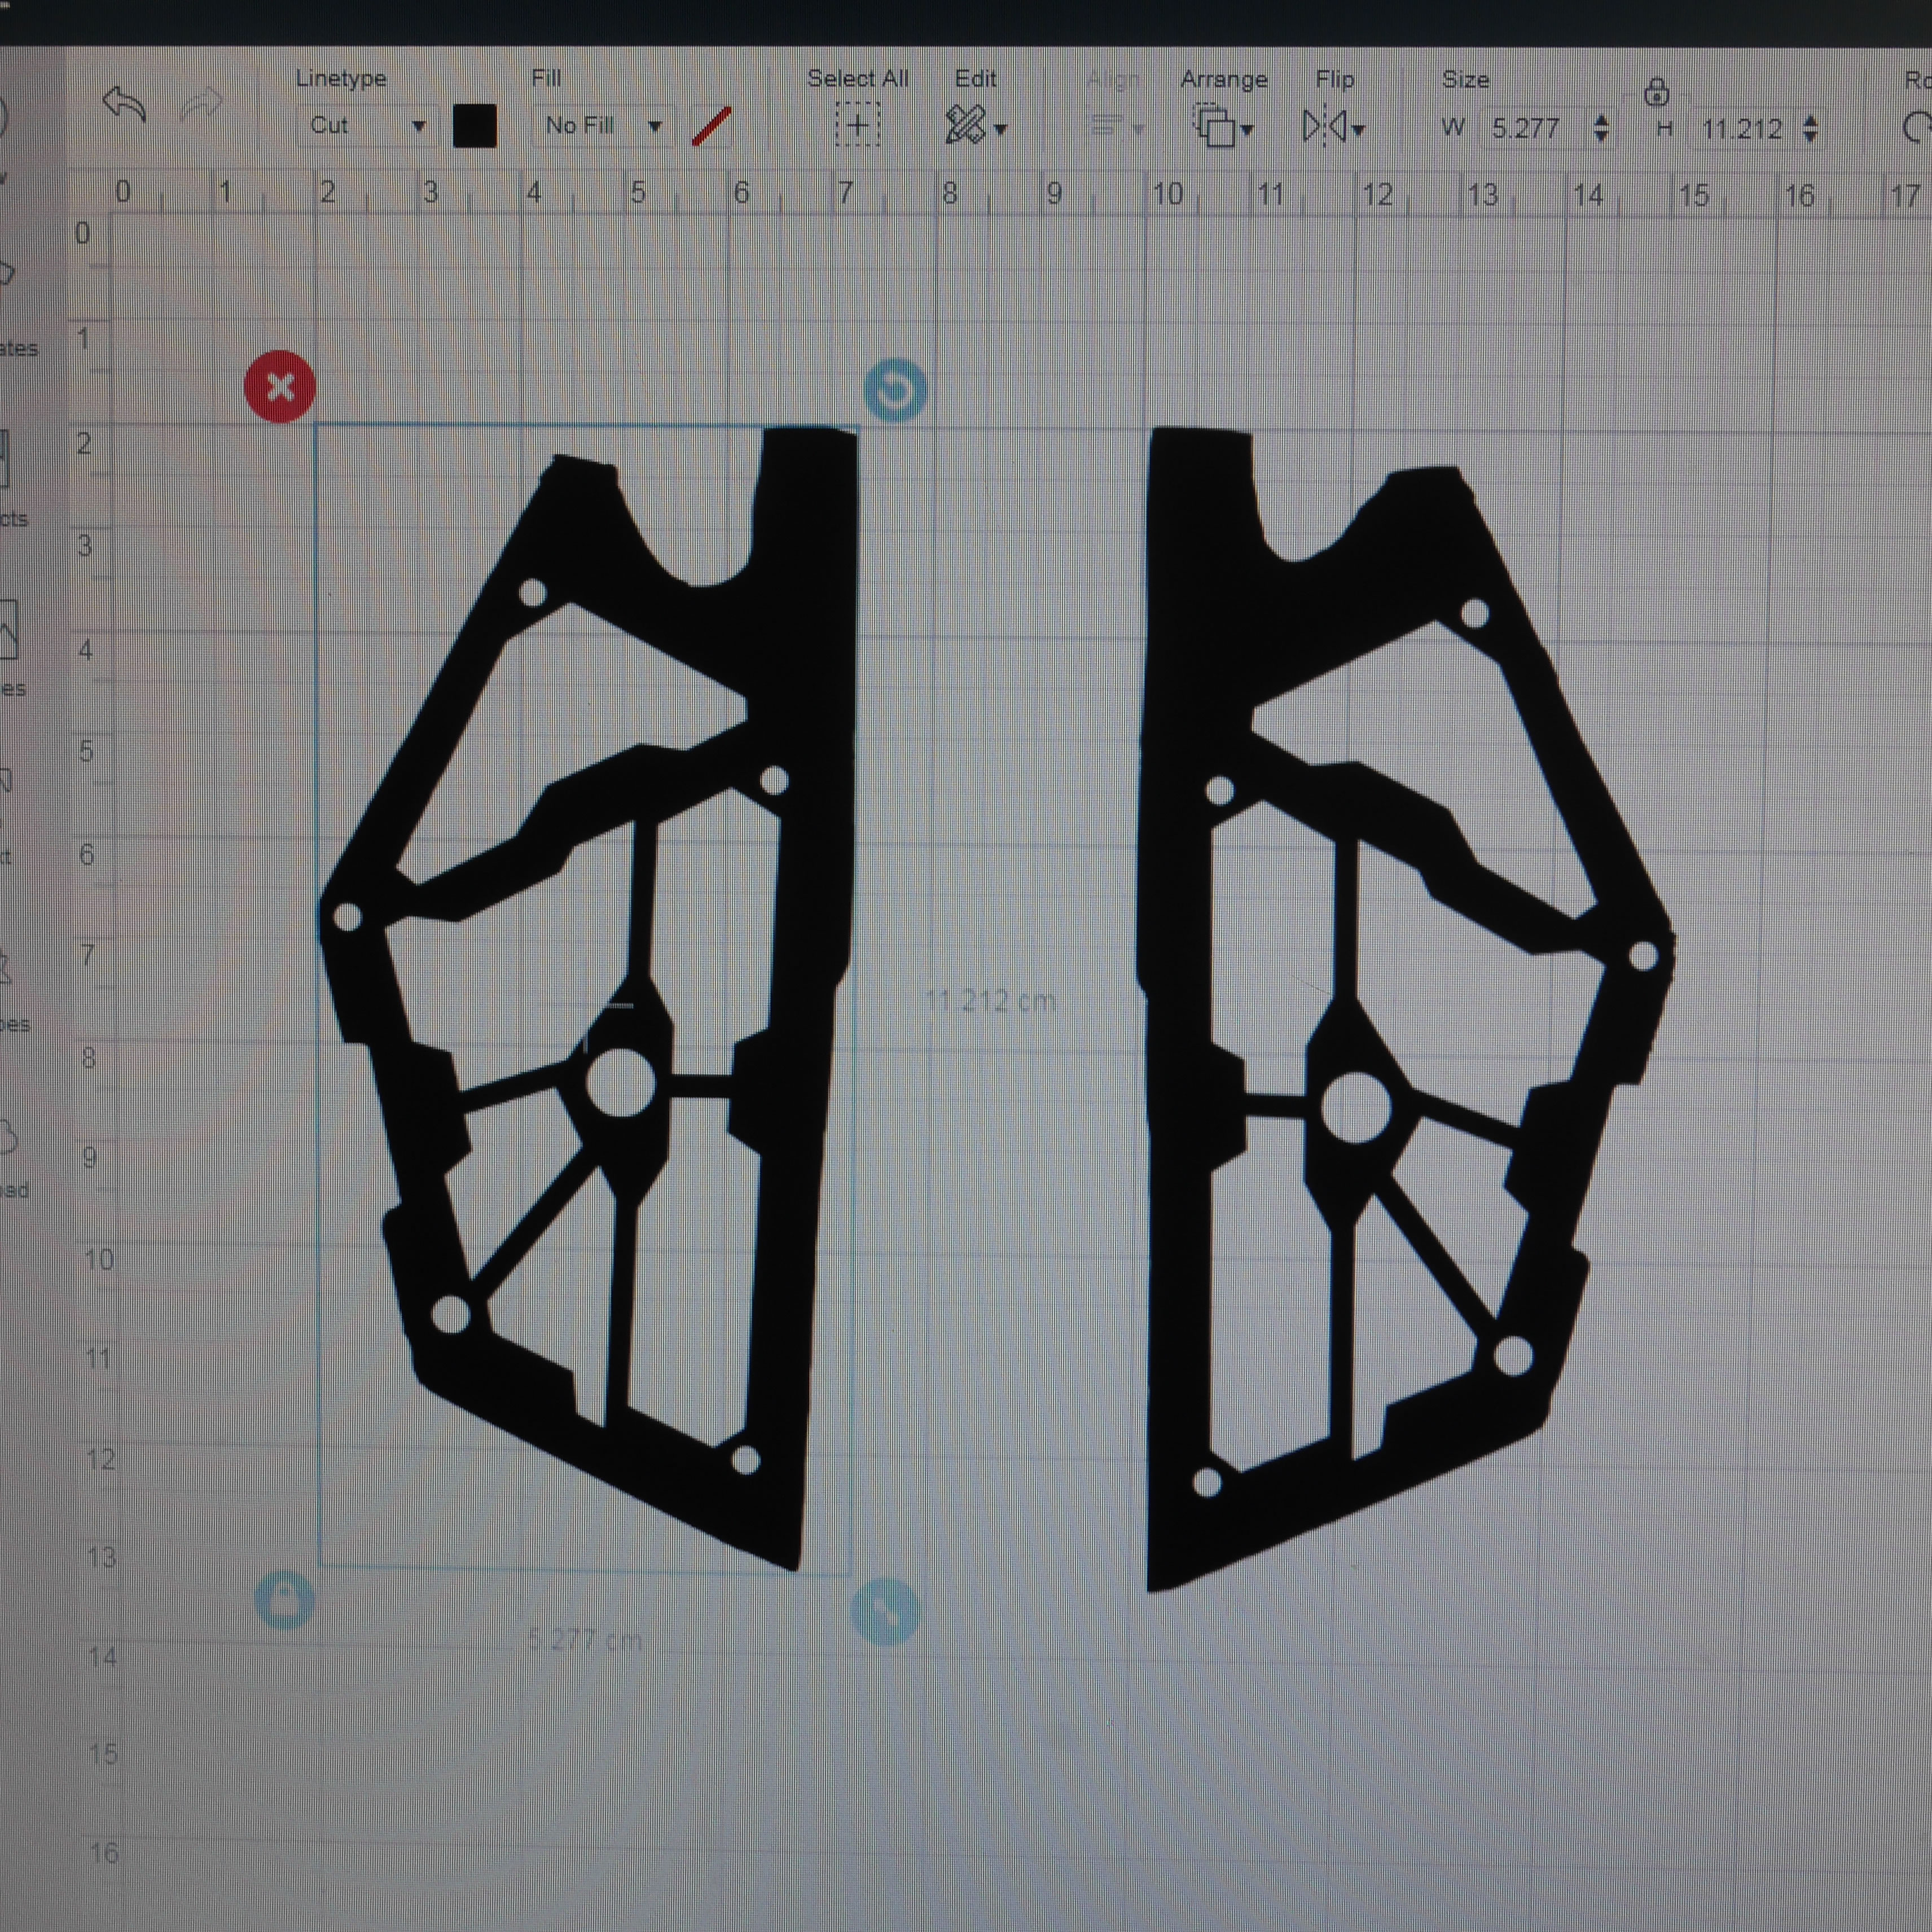
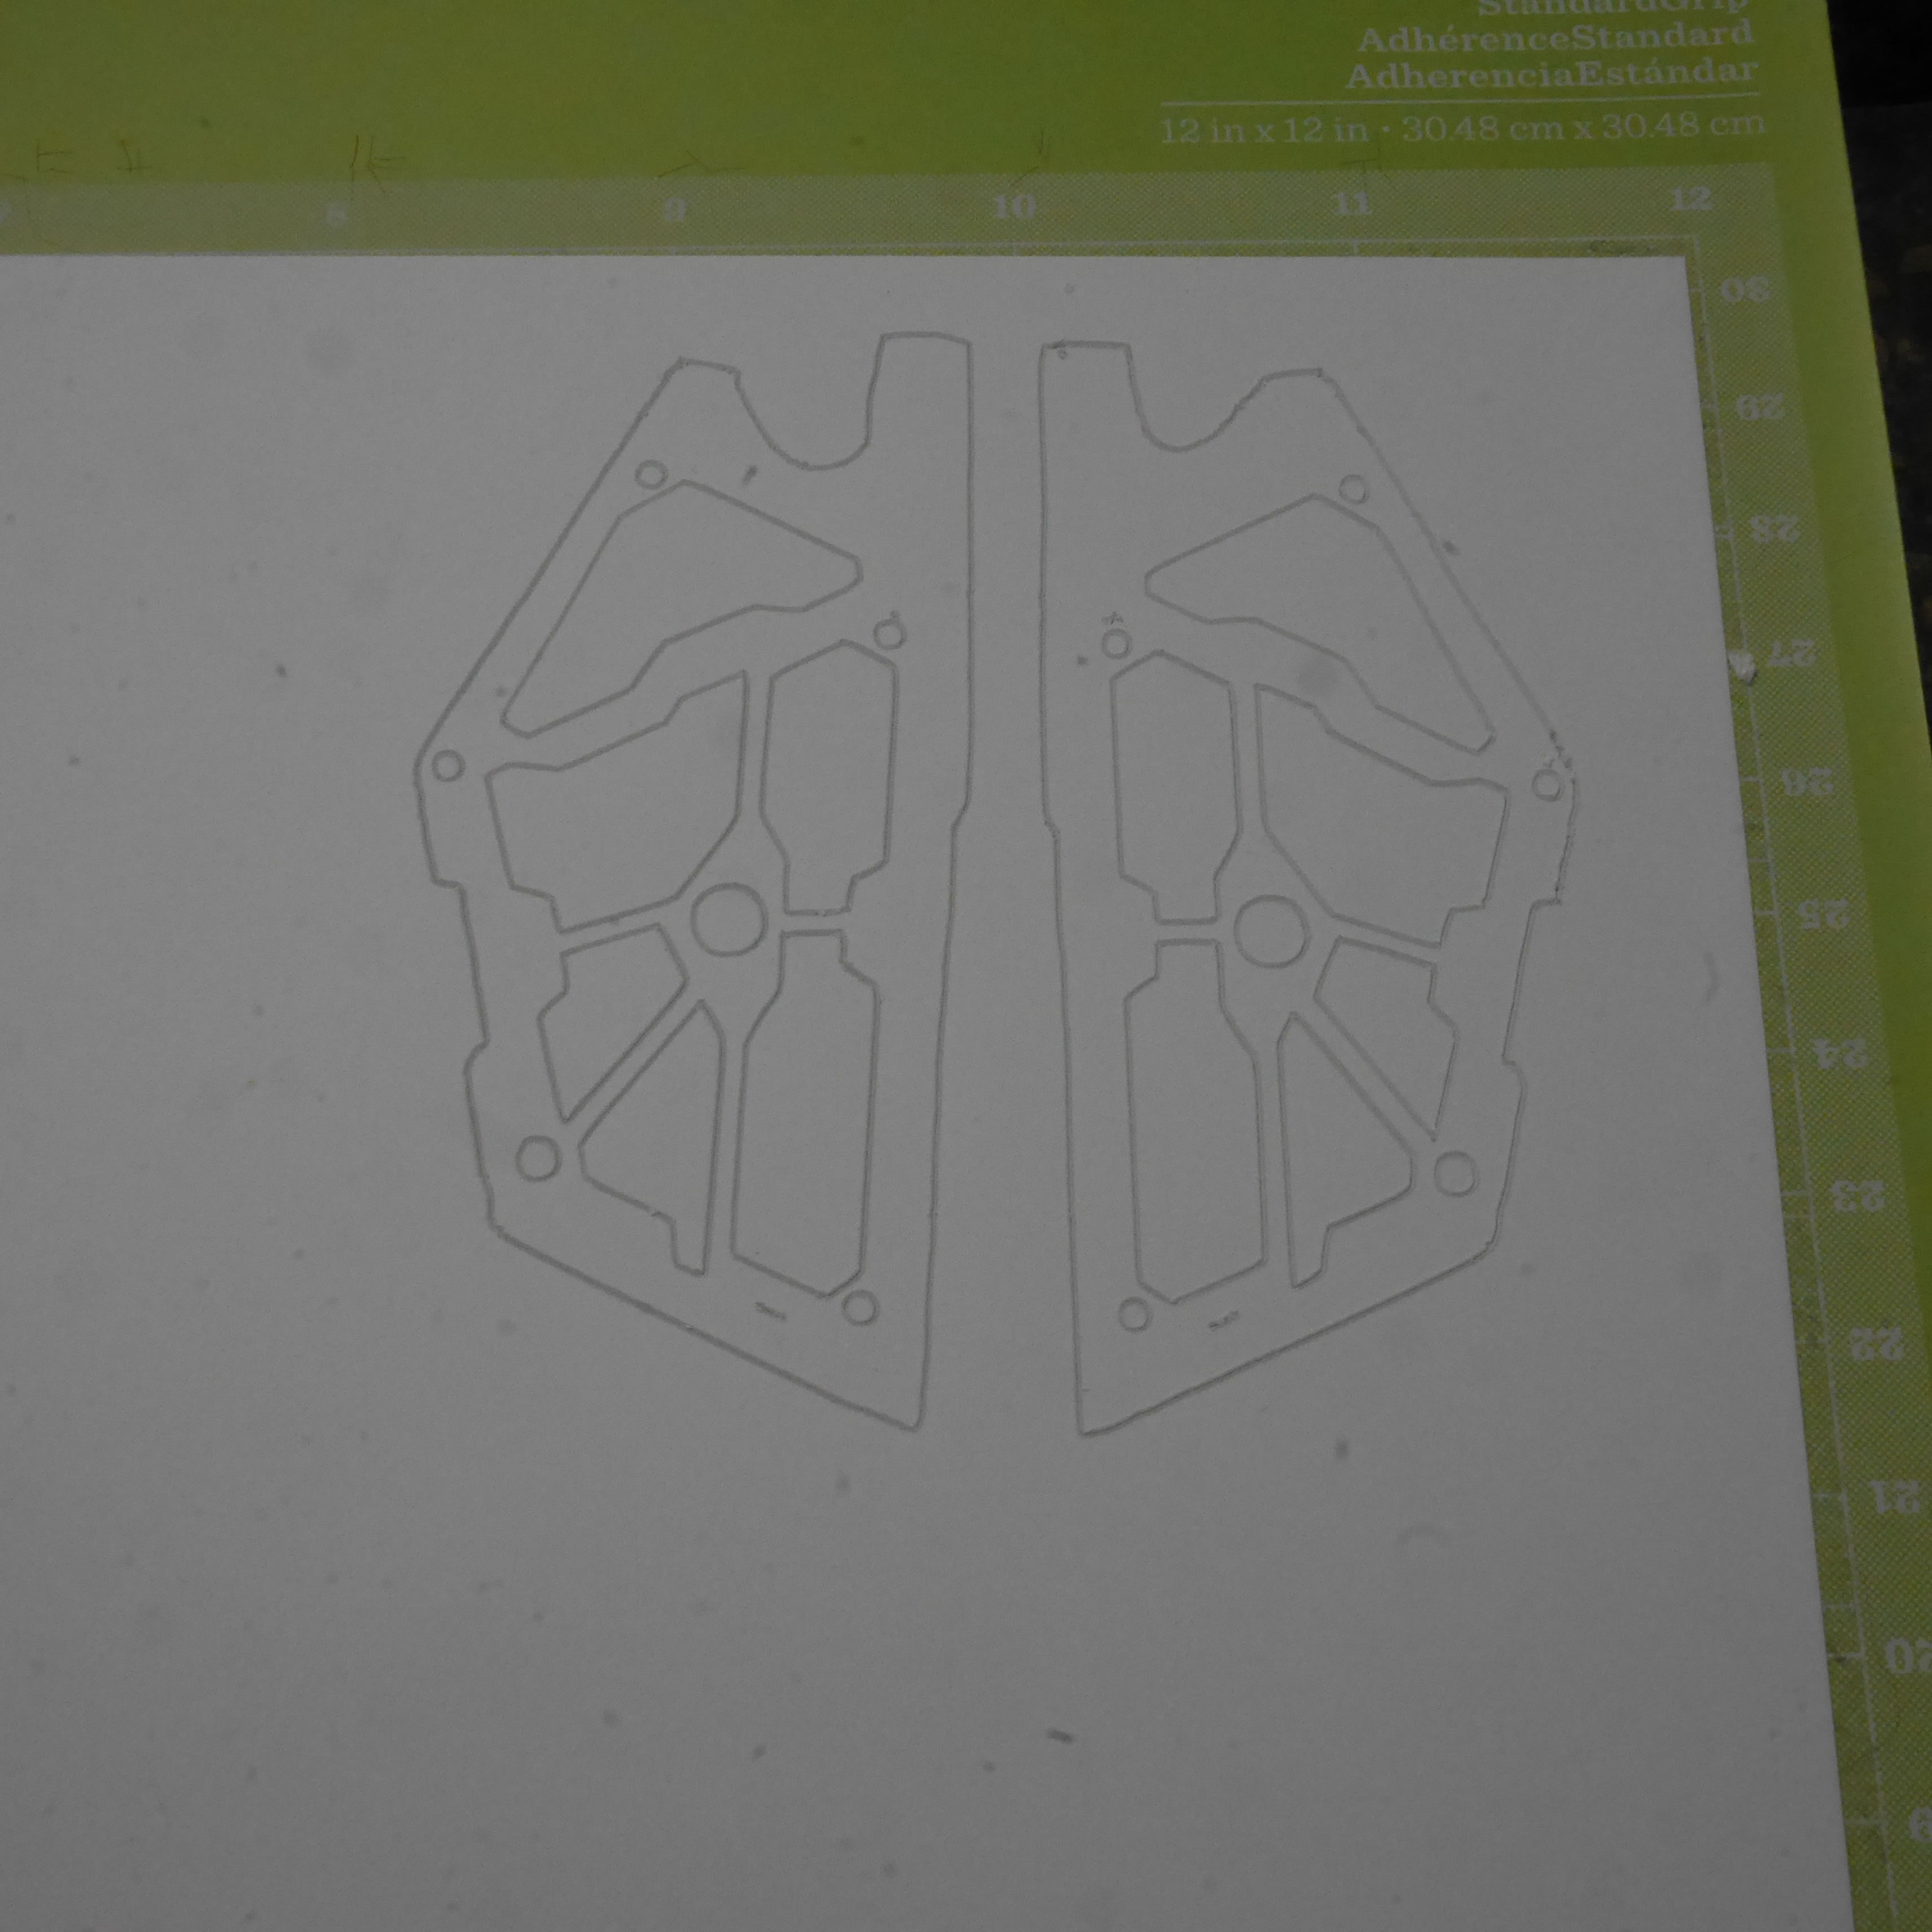
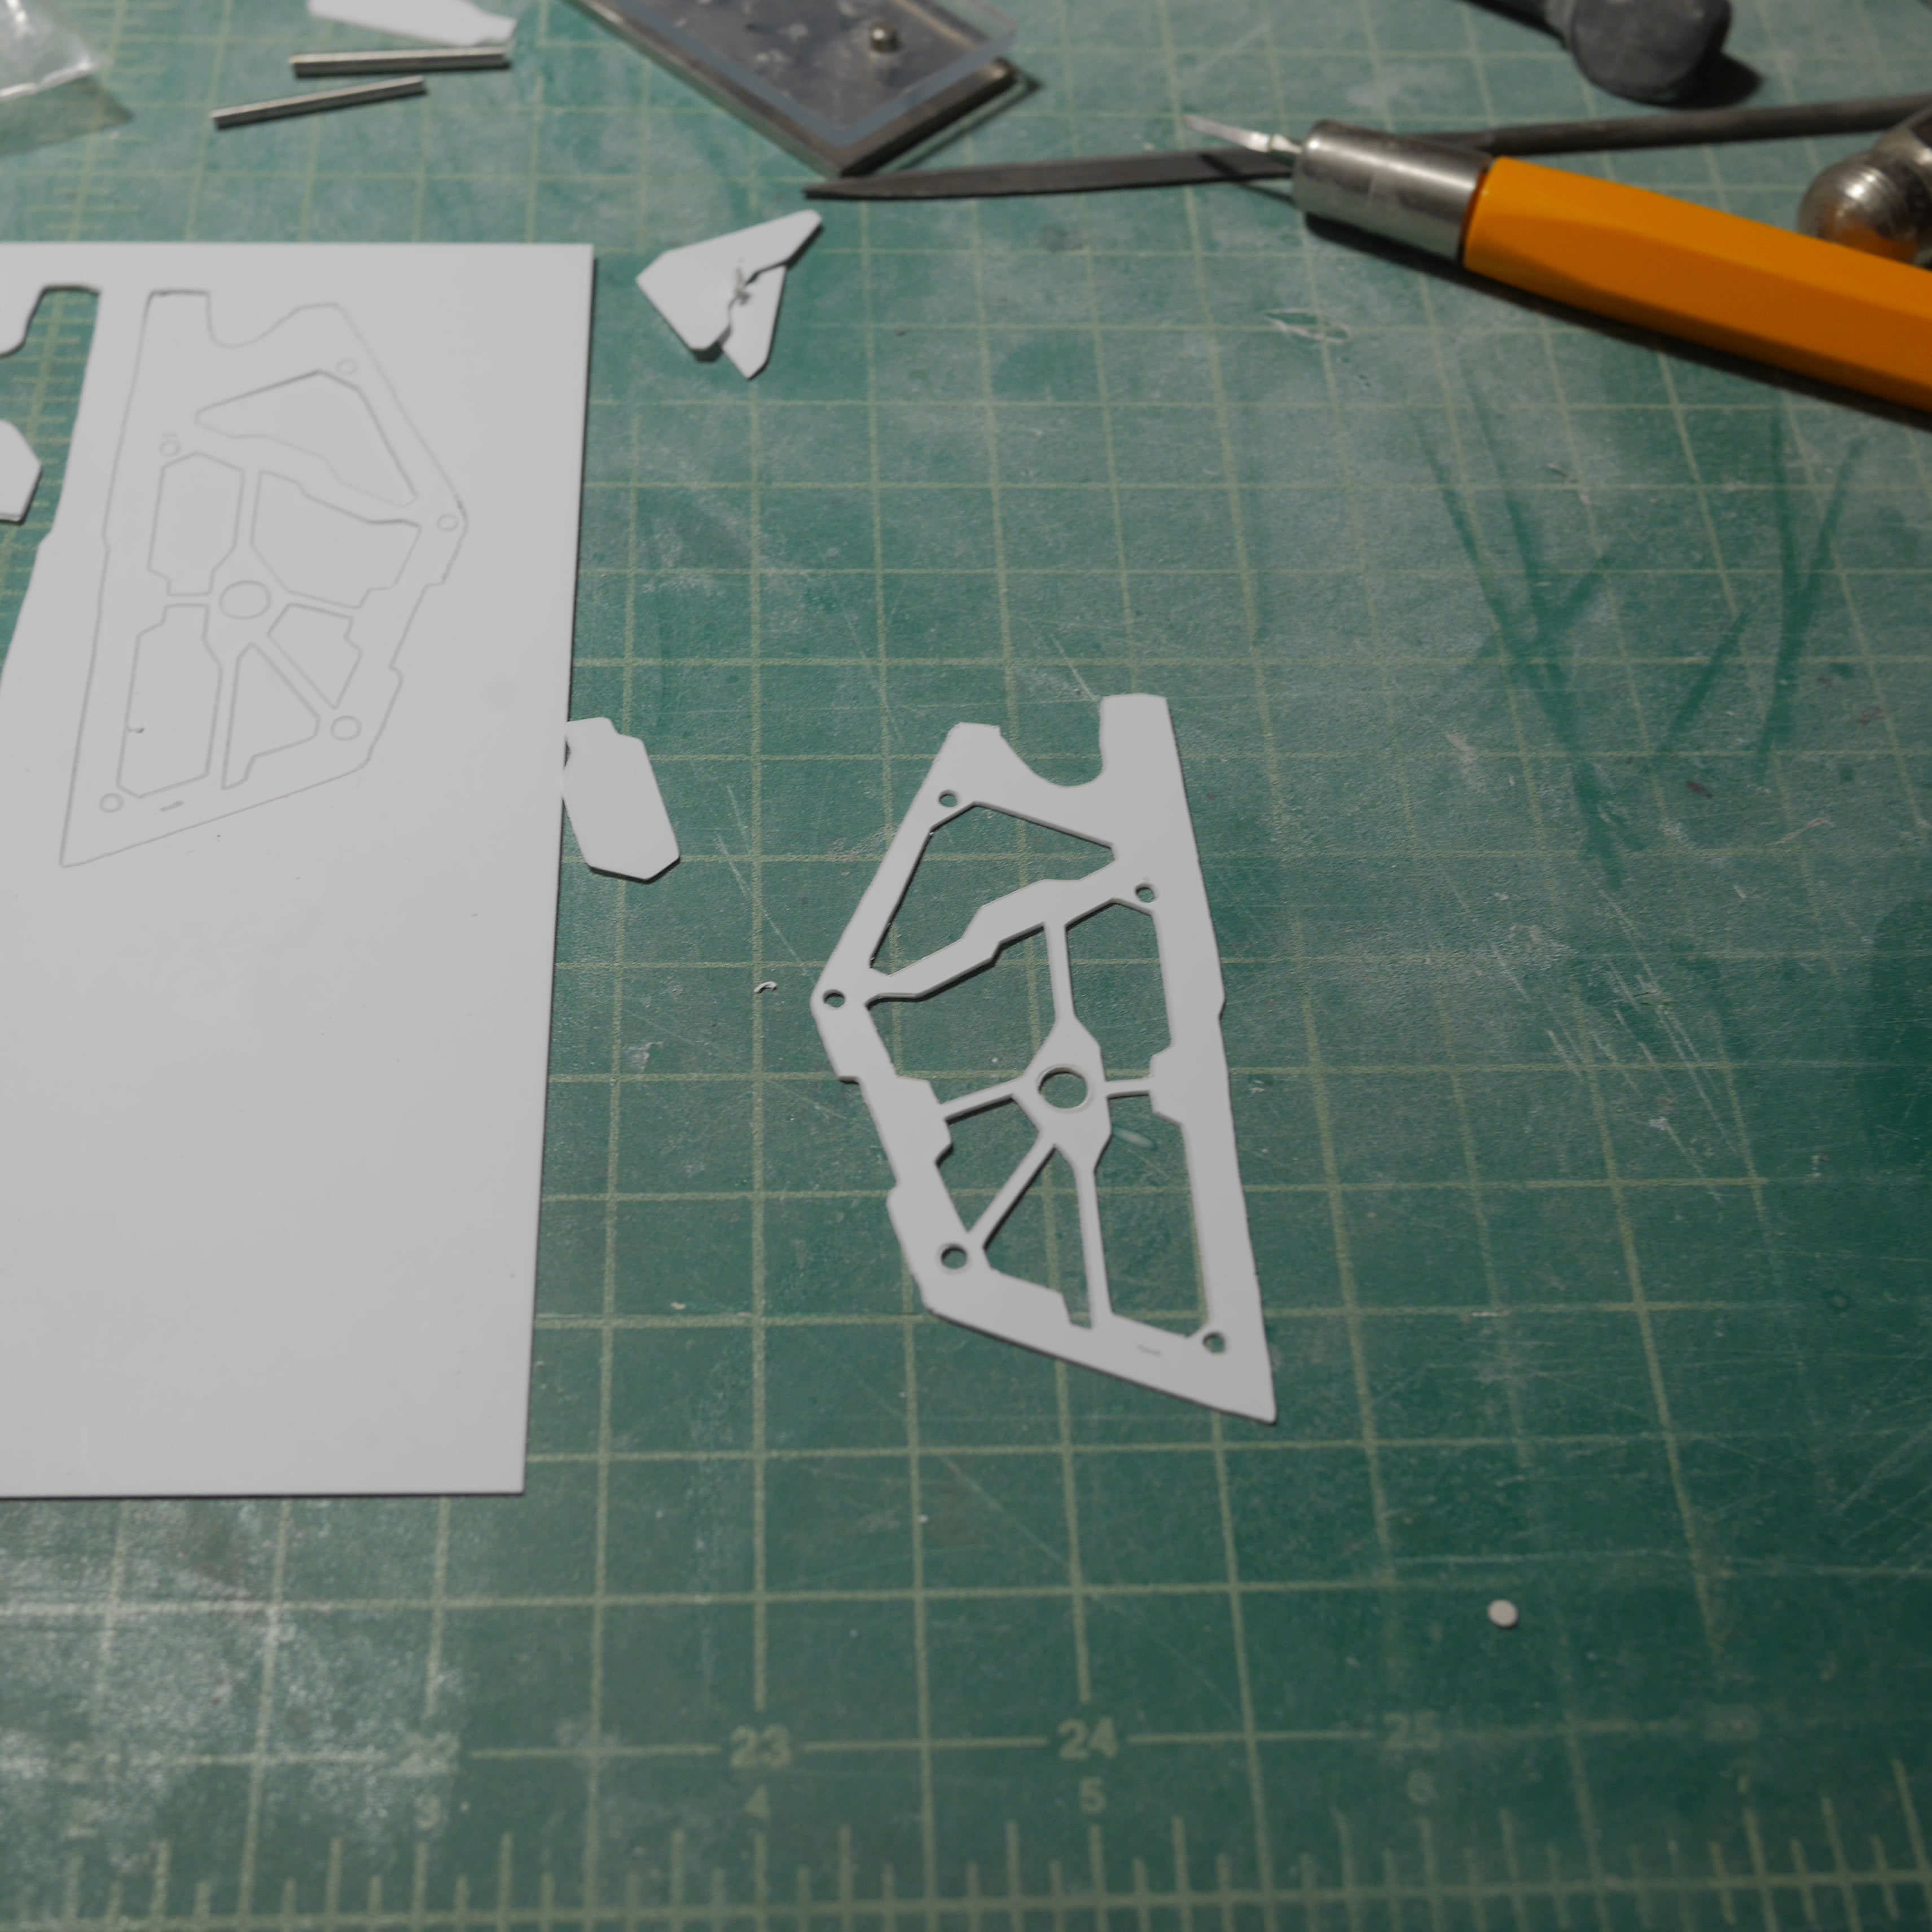
Trying to keep up with the shorter weekly walls of texts. I’ve got some pretty cool things to show for this update so there is a decent amount of meat here. We’ll start off with the front skirts. The back of the front skirts to be exact. In the first picture, this is a picture of the cricut design space software with a back skirt design drawn out. The steps leading to this was first painting the back of the skirts so that I have better contrast when scanning the skirt backs in the all in one printer. The scanned JPG file is then edited in gimp to clean it up and convert it to a transparency PNG file that is then uploaded to the design space software. Once there, it was just a matter of cutting and adding shapes to create the underskirt frame detail.
More after the jump.
Finished with the design, I make some measurements on the real skirts and use these measurements for the image in the cricut design software. I don’t need to be exact since putty will fill in any gaps or just sanding will take care of any overlaps. But I want to be as close as possible.
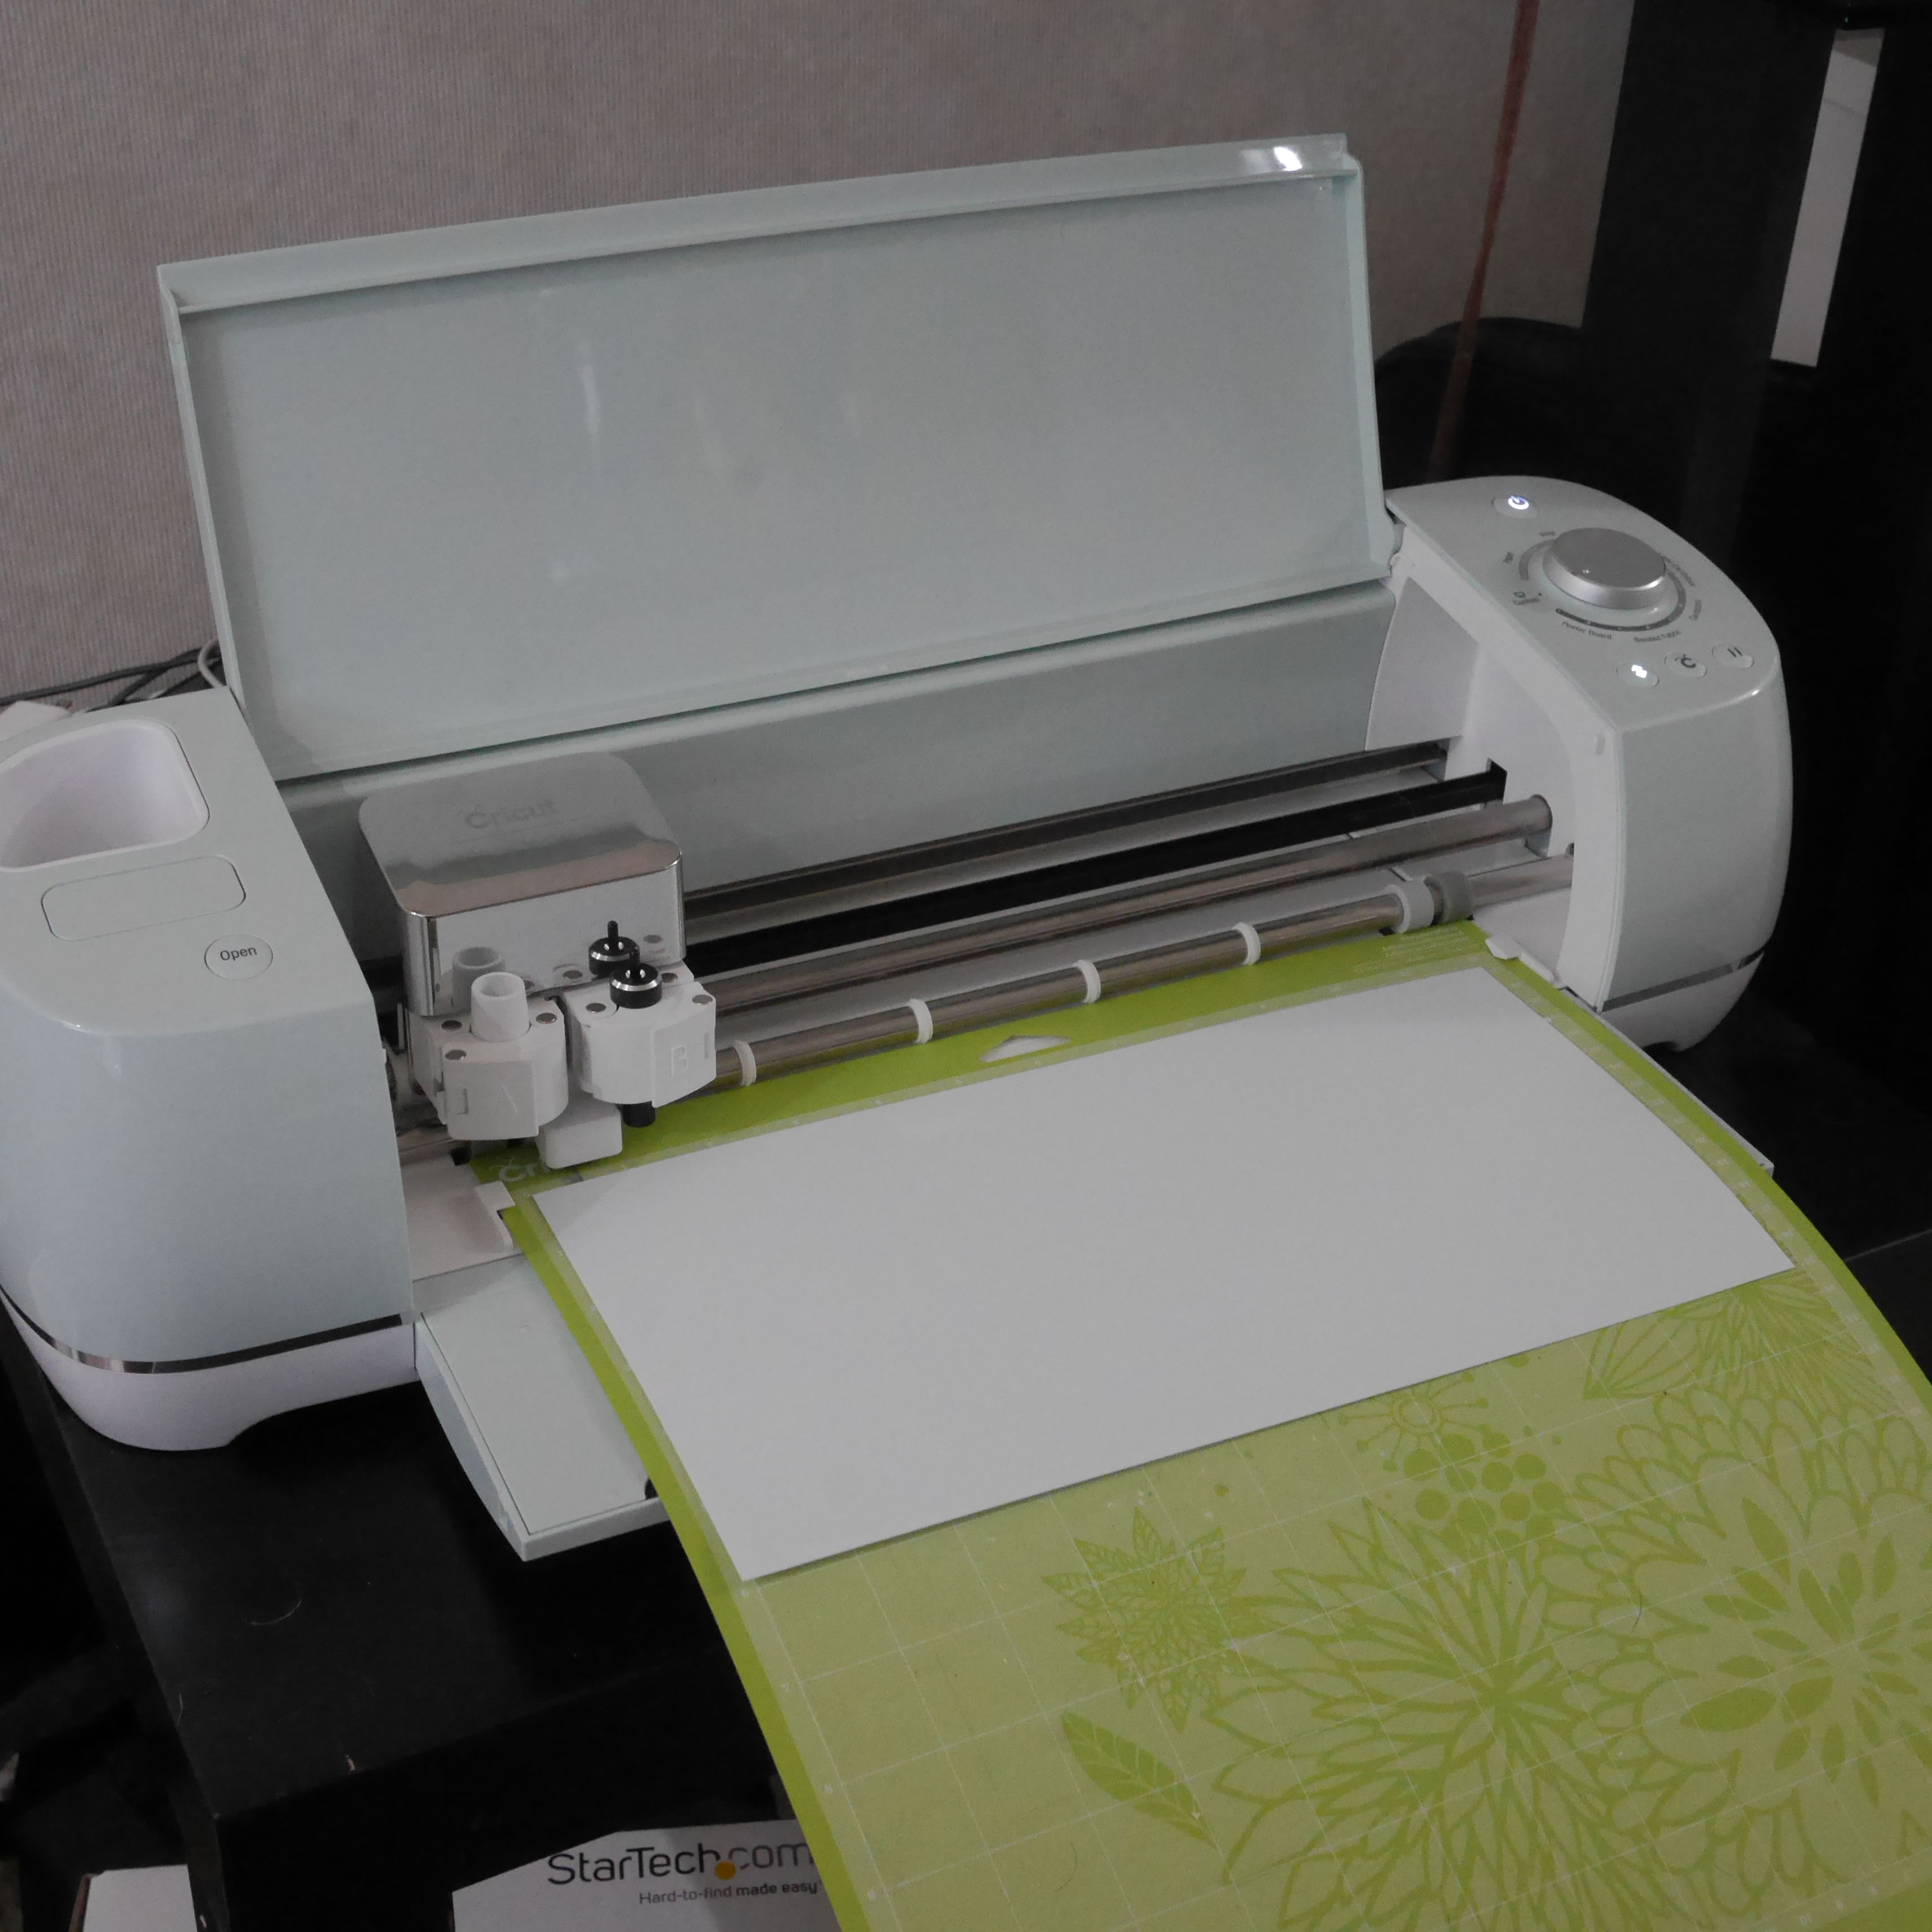
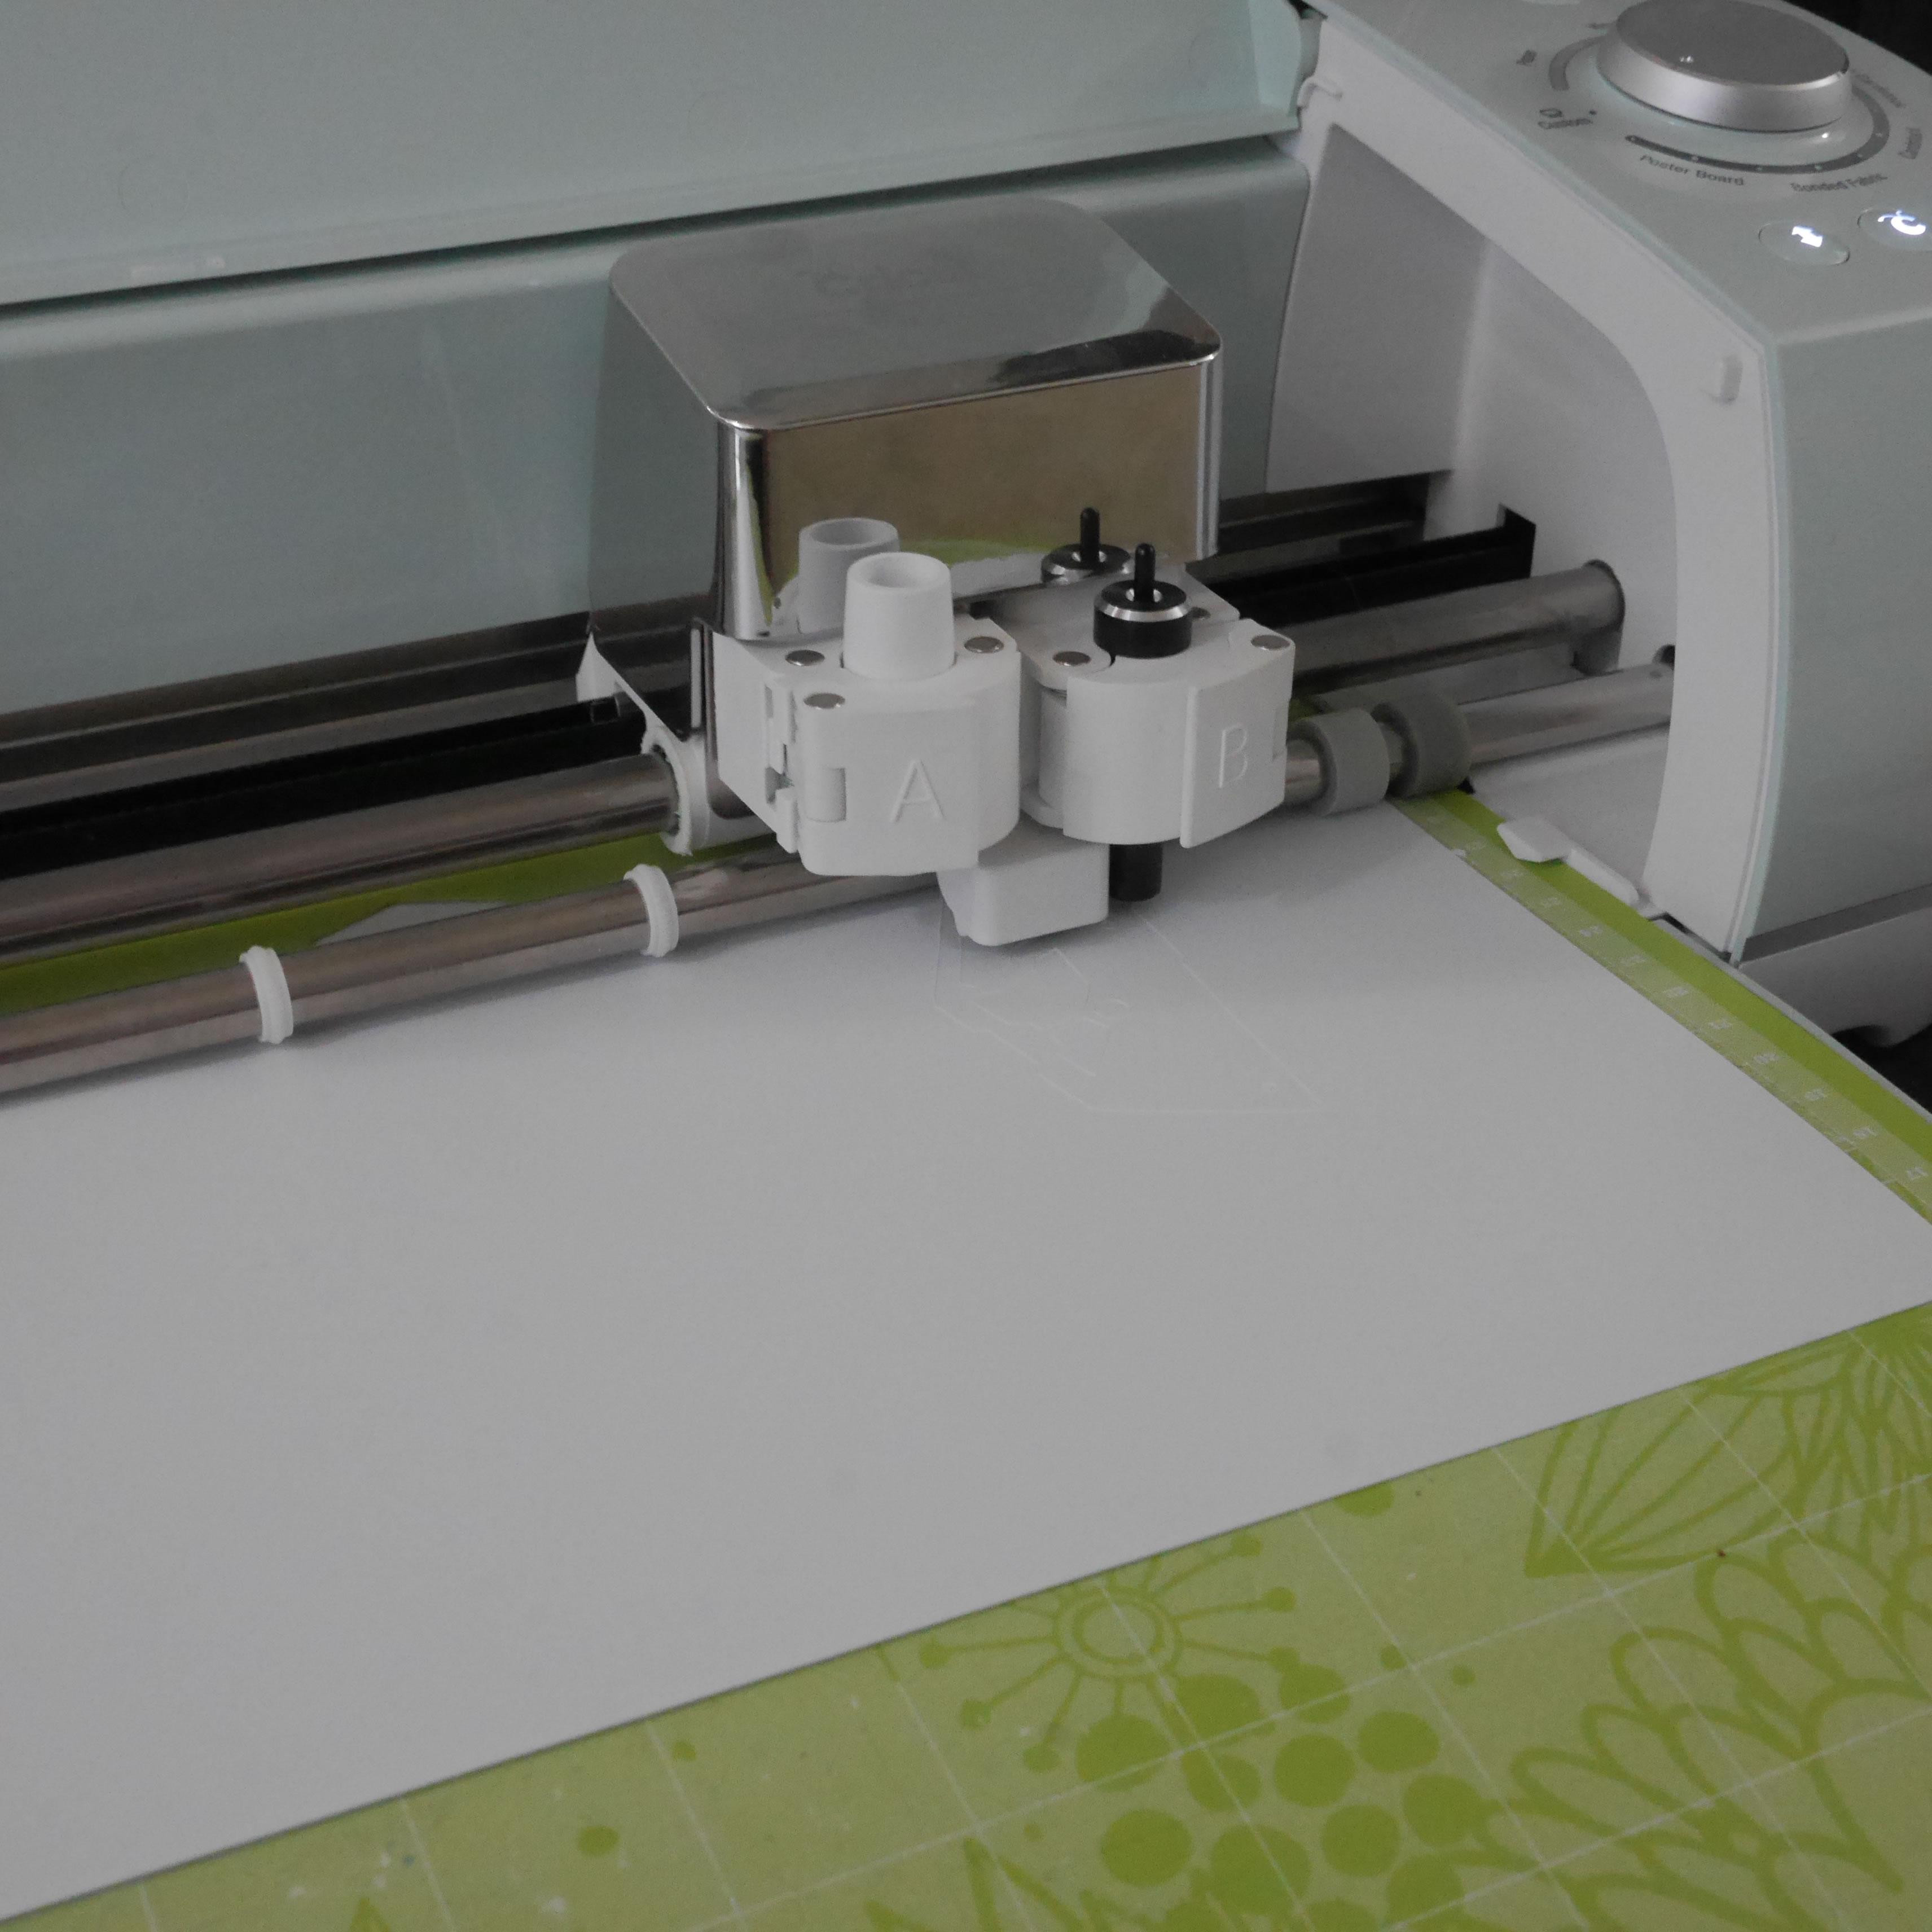
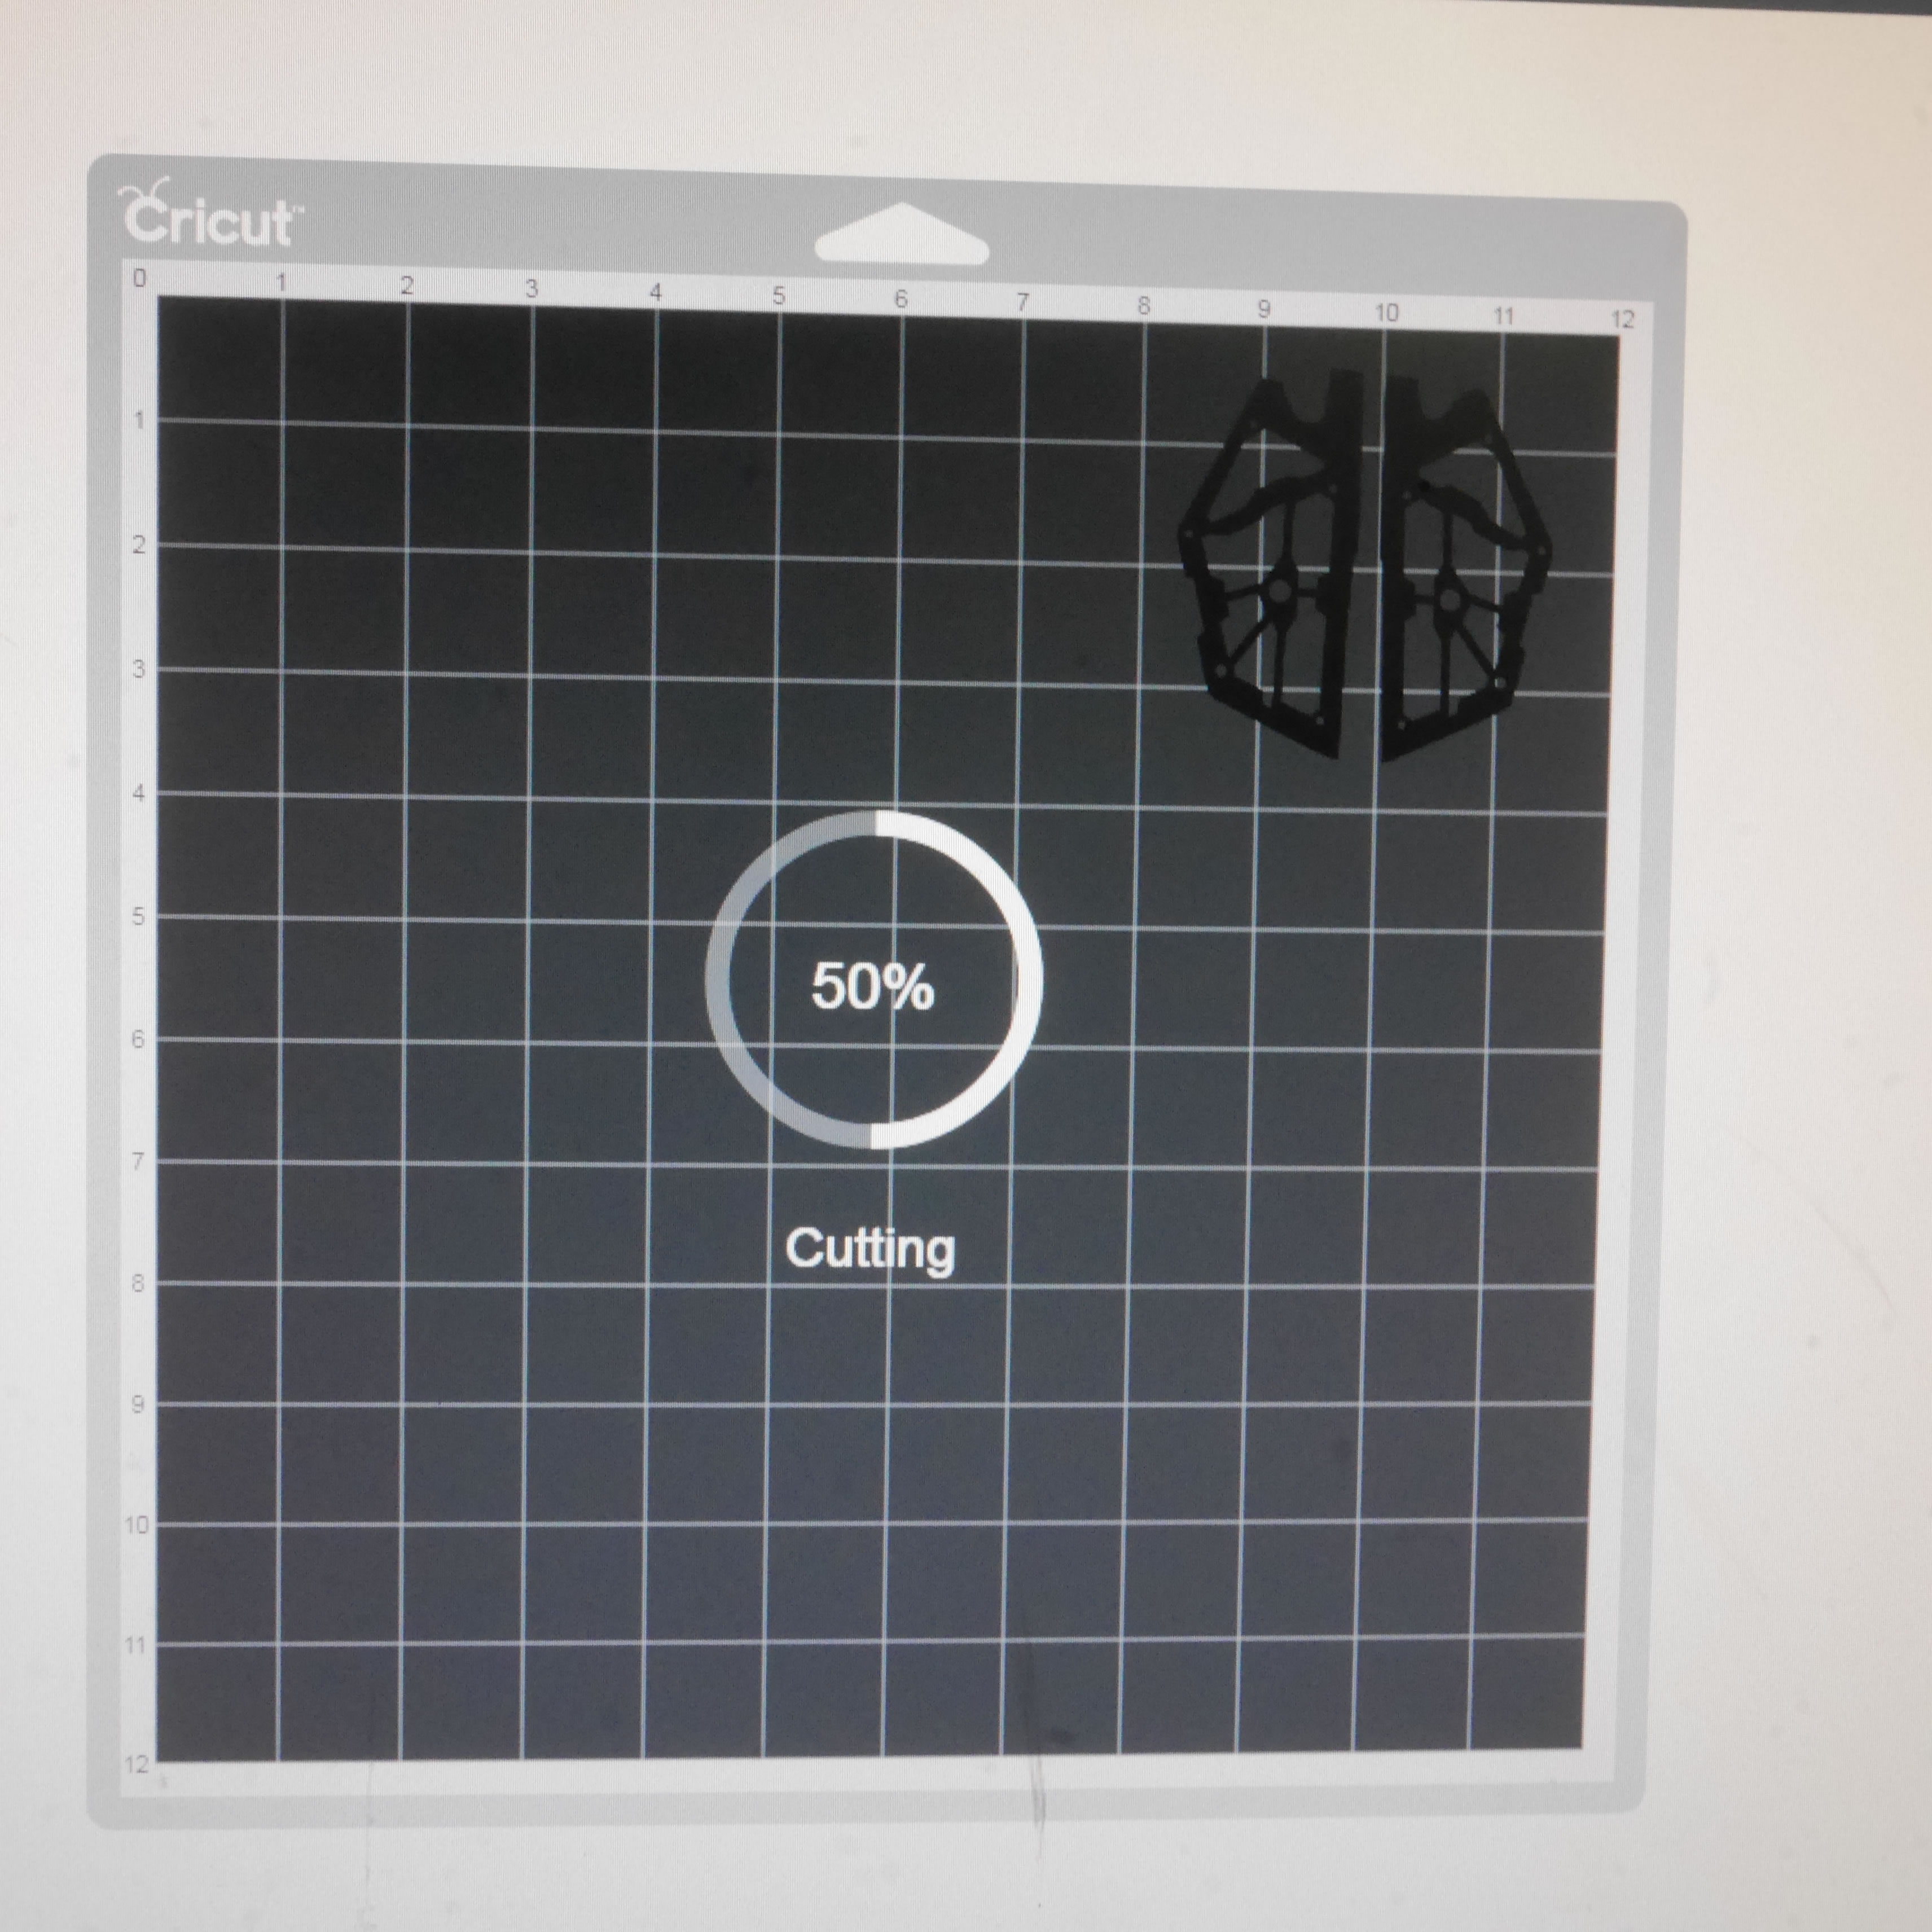
The dimensions are locked in, the design is sent to the cutter. I’m using a cricut air explore 2, the setting is for poster board, and the blade is the deep cut blade. The cutter runs with a .4mm thick sheet of styrene. One pass with the cutter will cut almost all the way through the plastic so that I can pop the plastic out or scribe/knife trace it to remove the excess. But a second pass with the cutter will completely cut through the .4mm. I can probably do this with slightly thicker plastic and get decent cuts just by running the machine on multiple passes. Below is the cutting process.
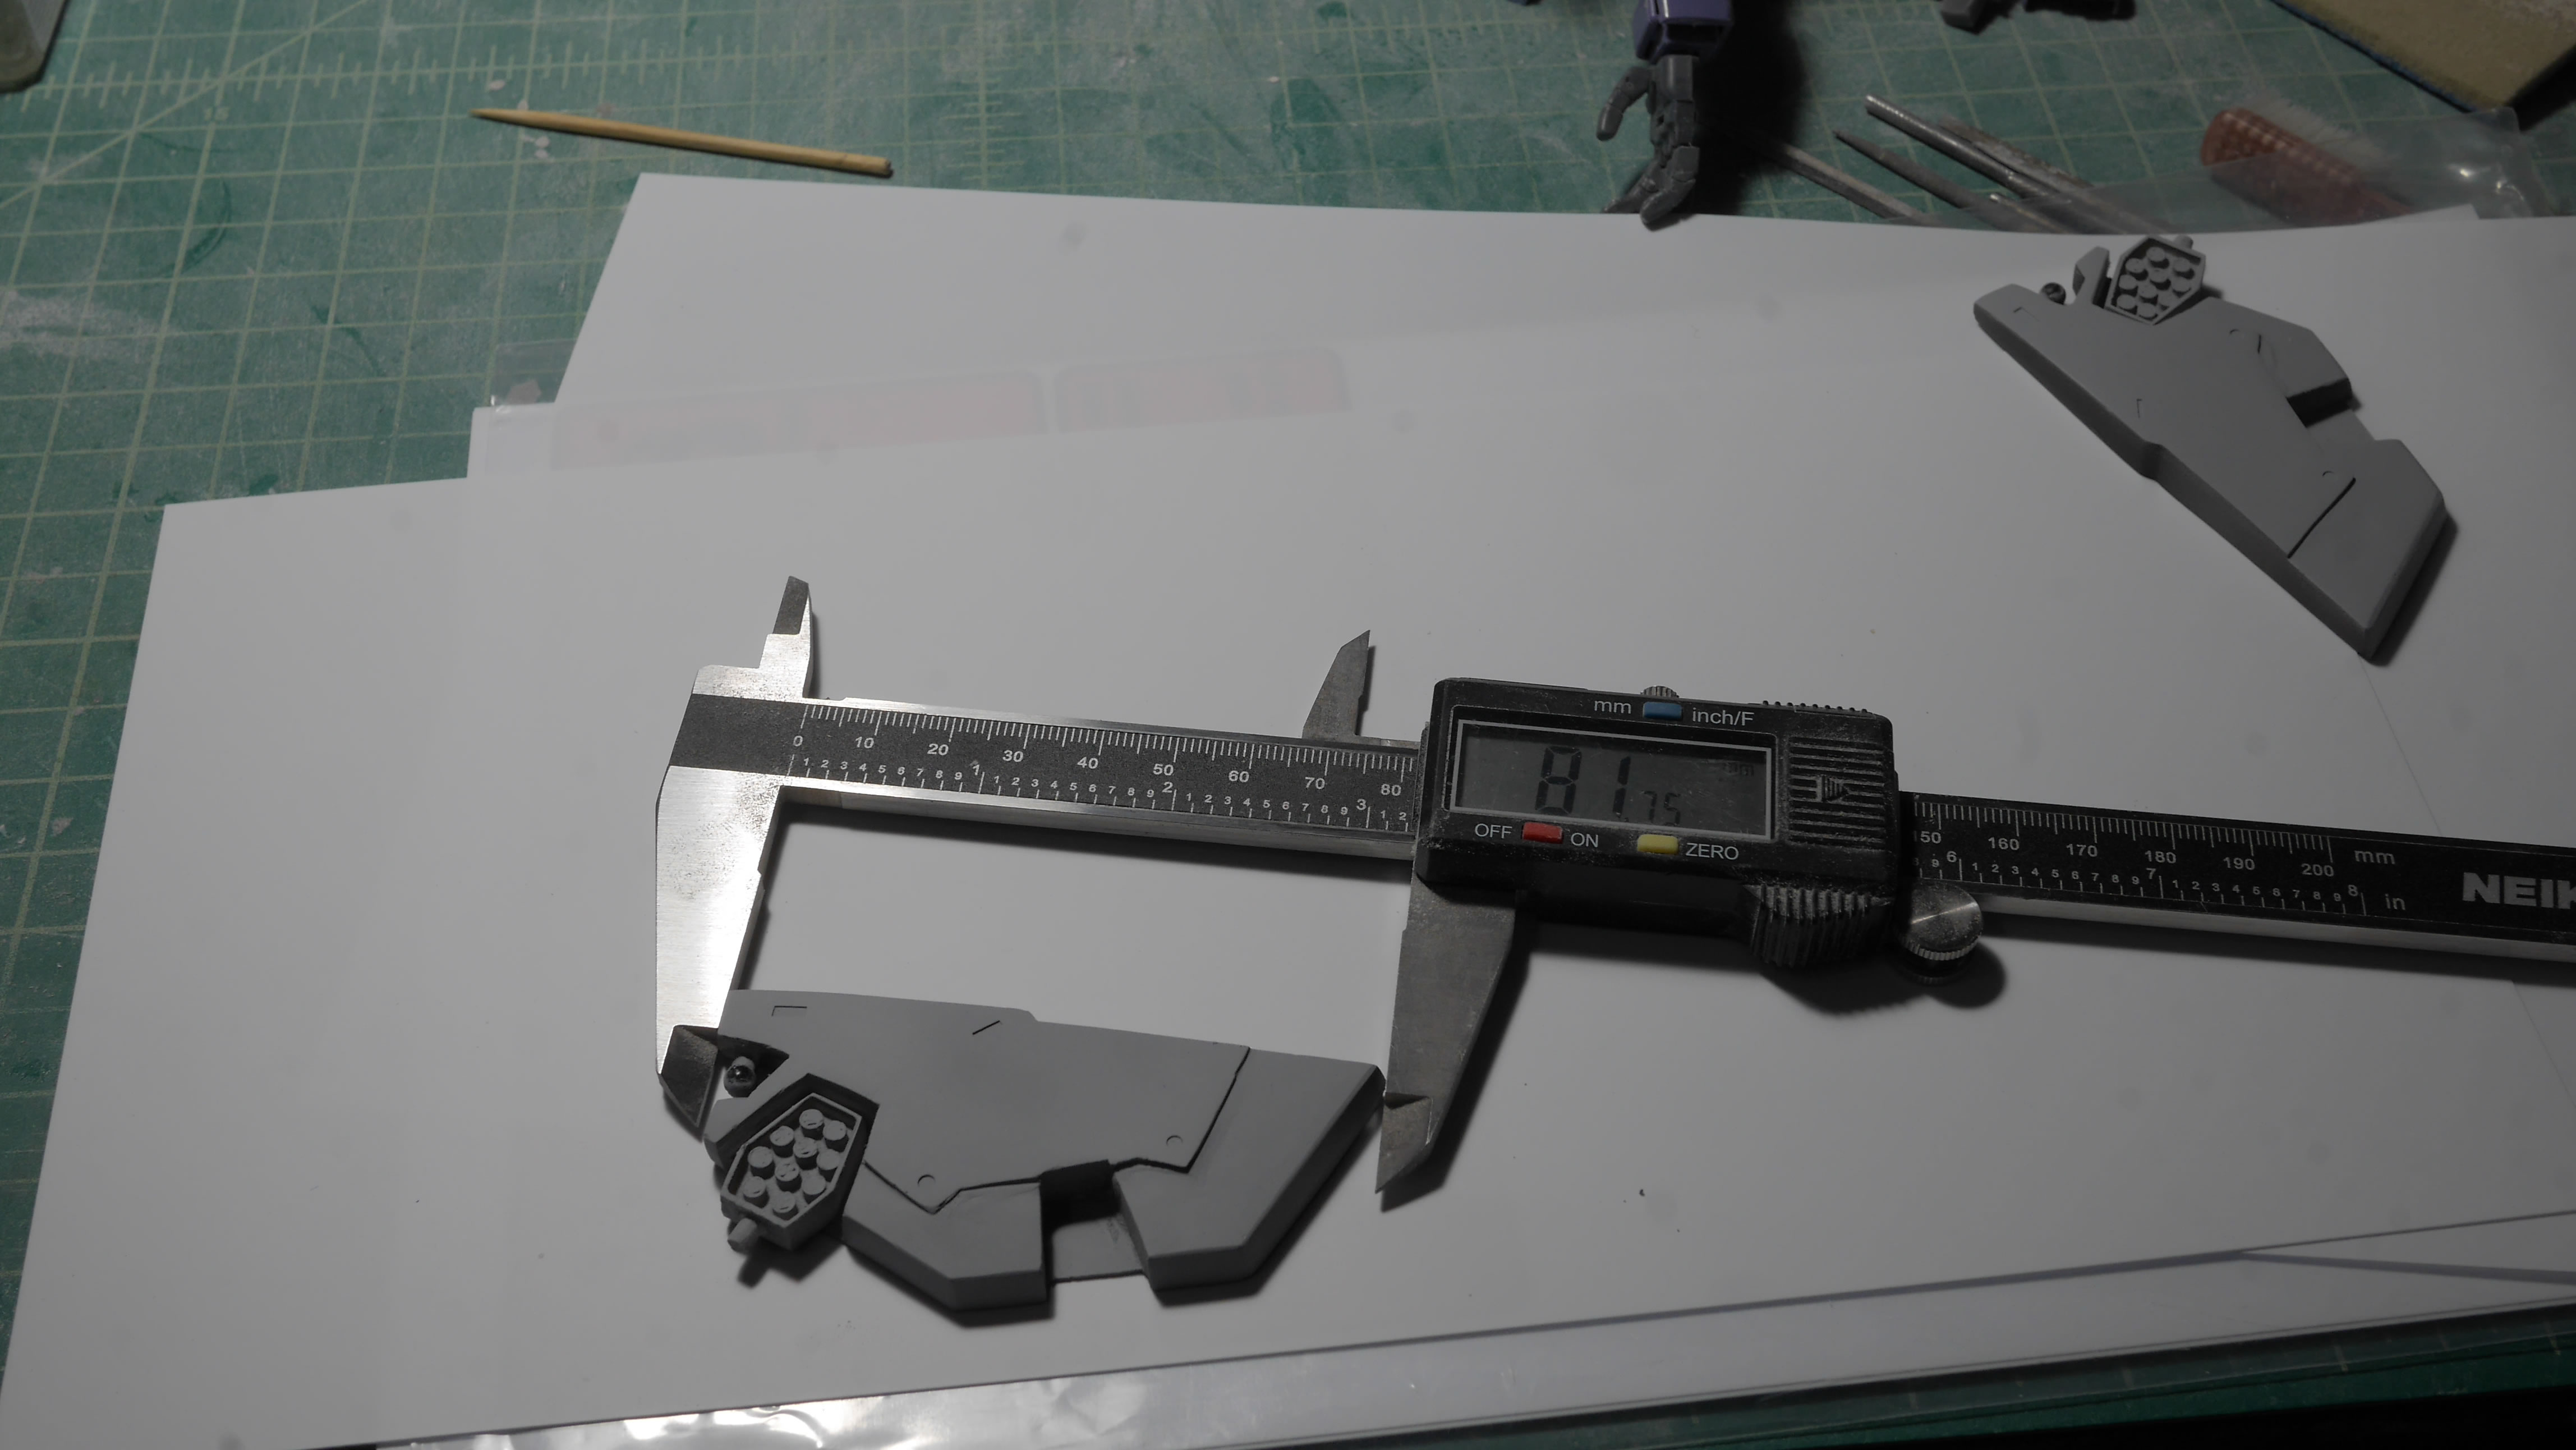
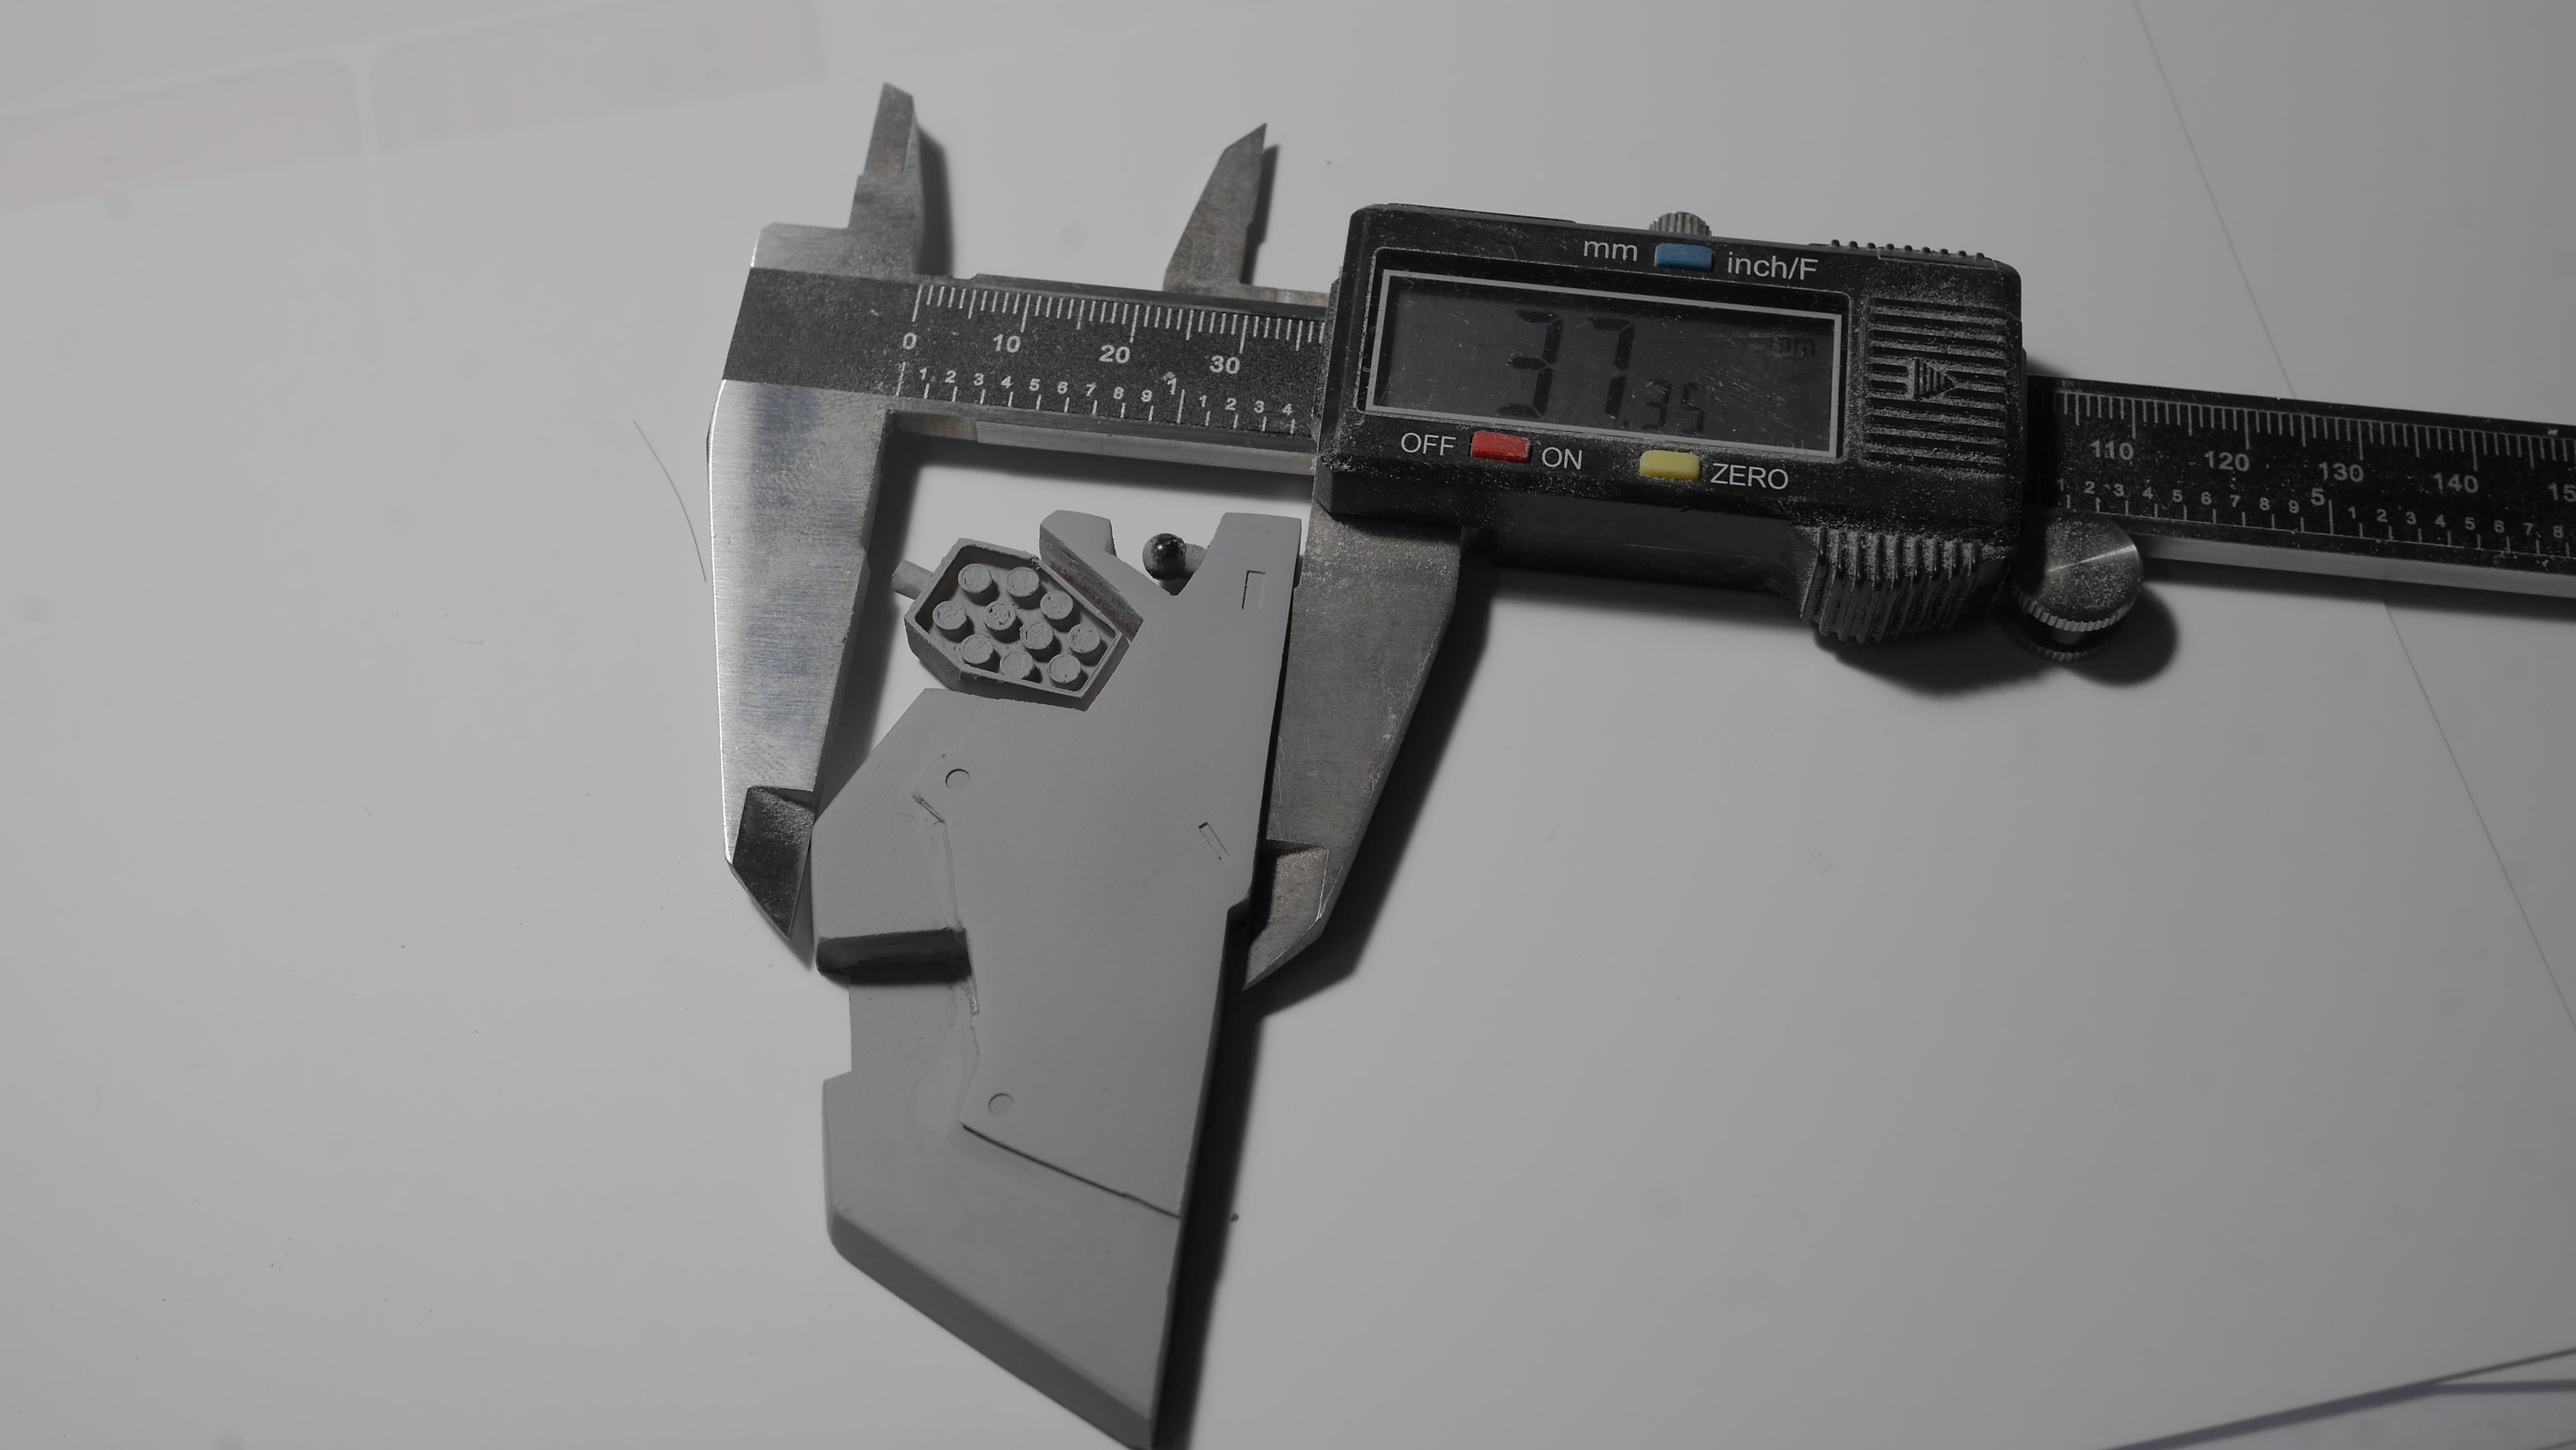
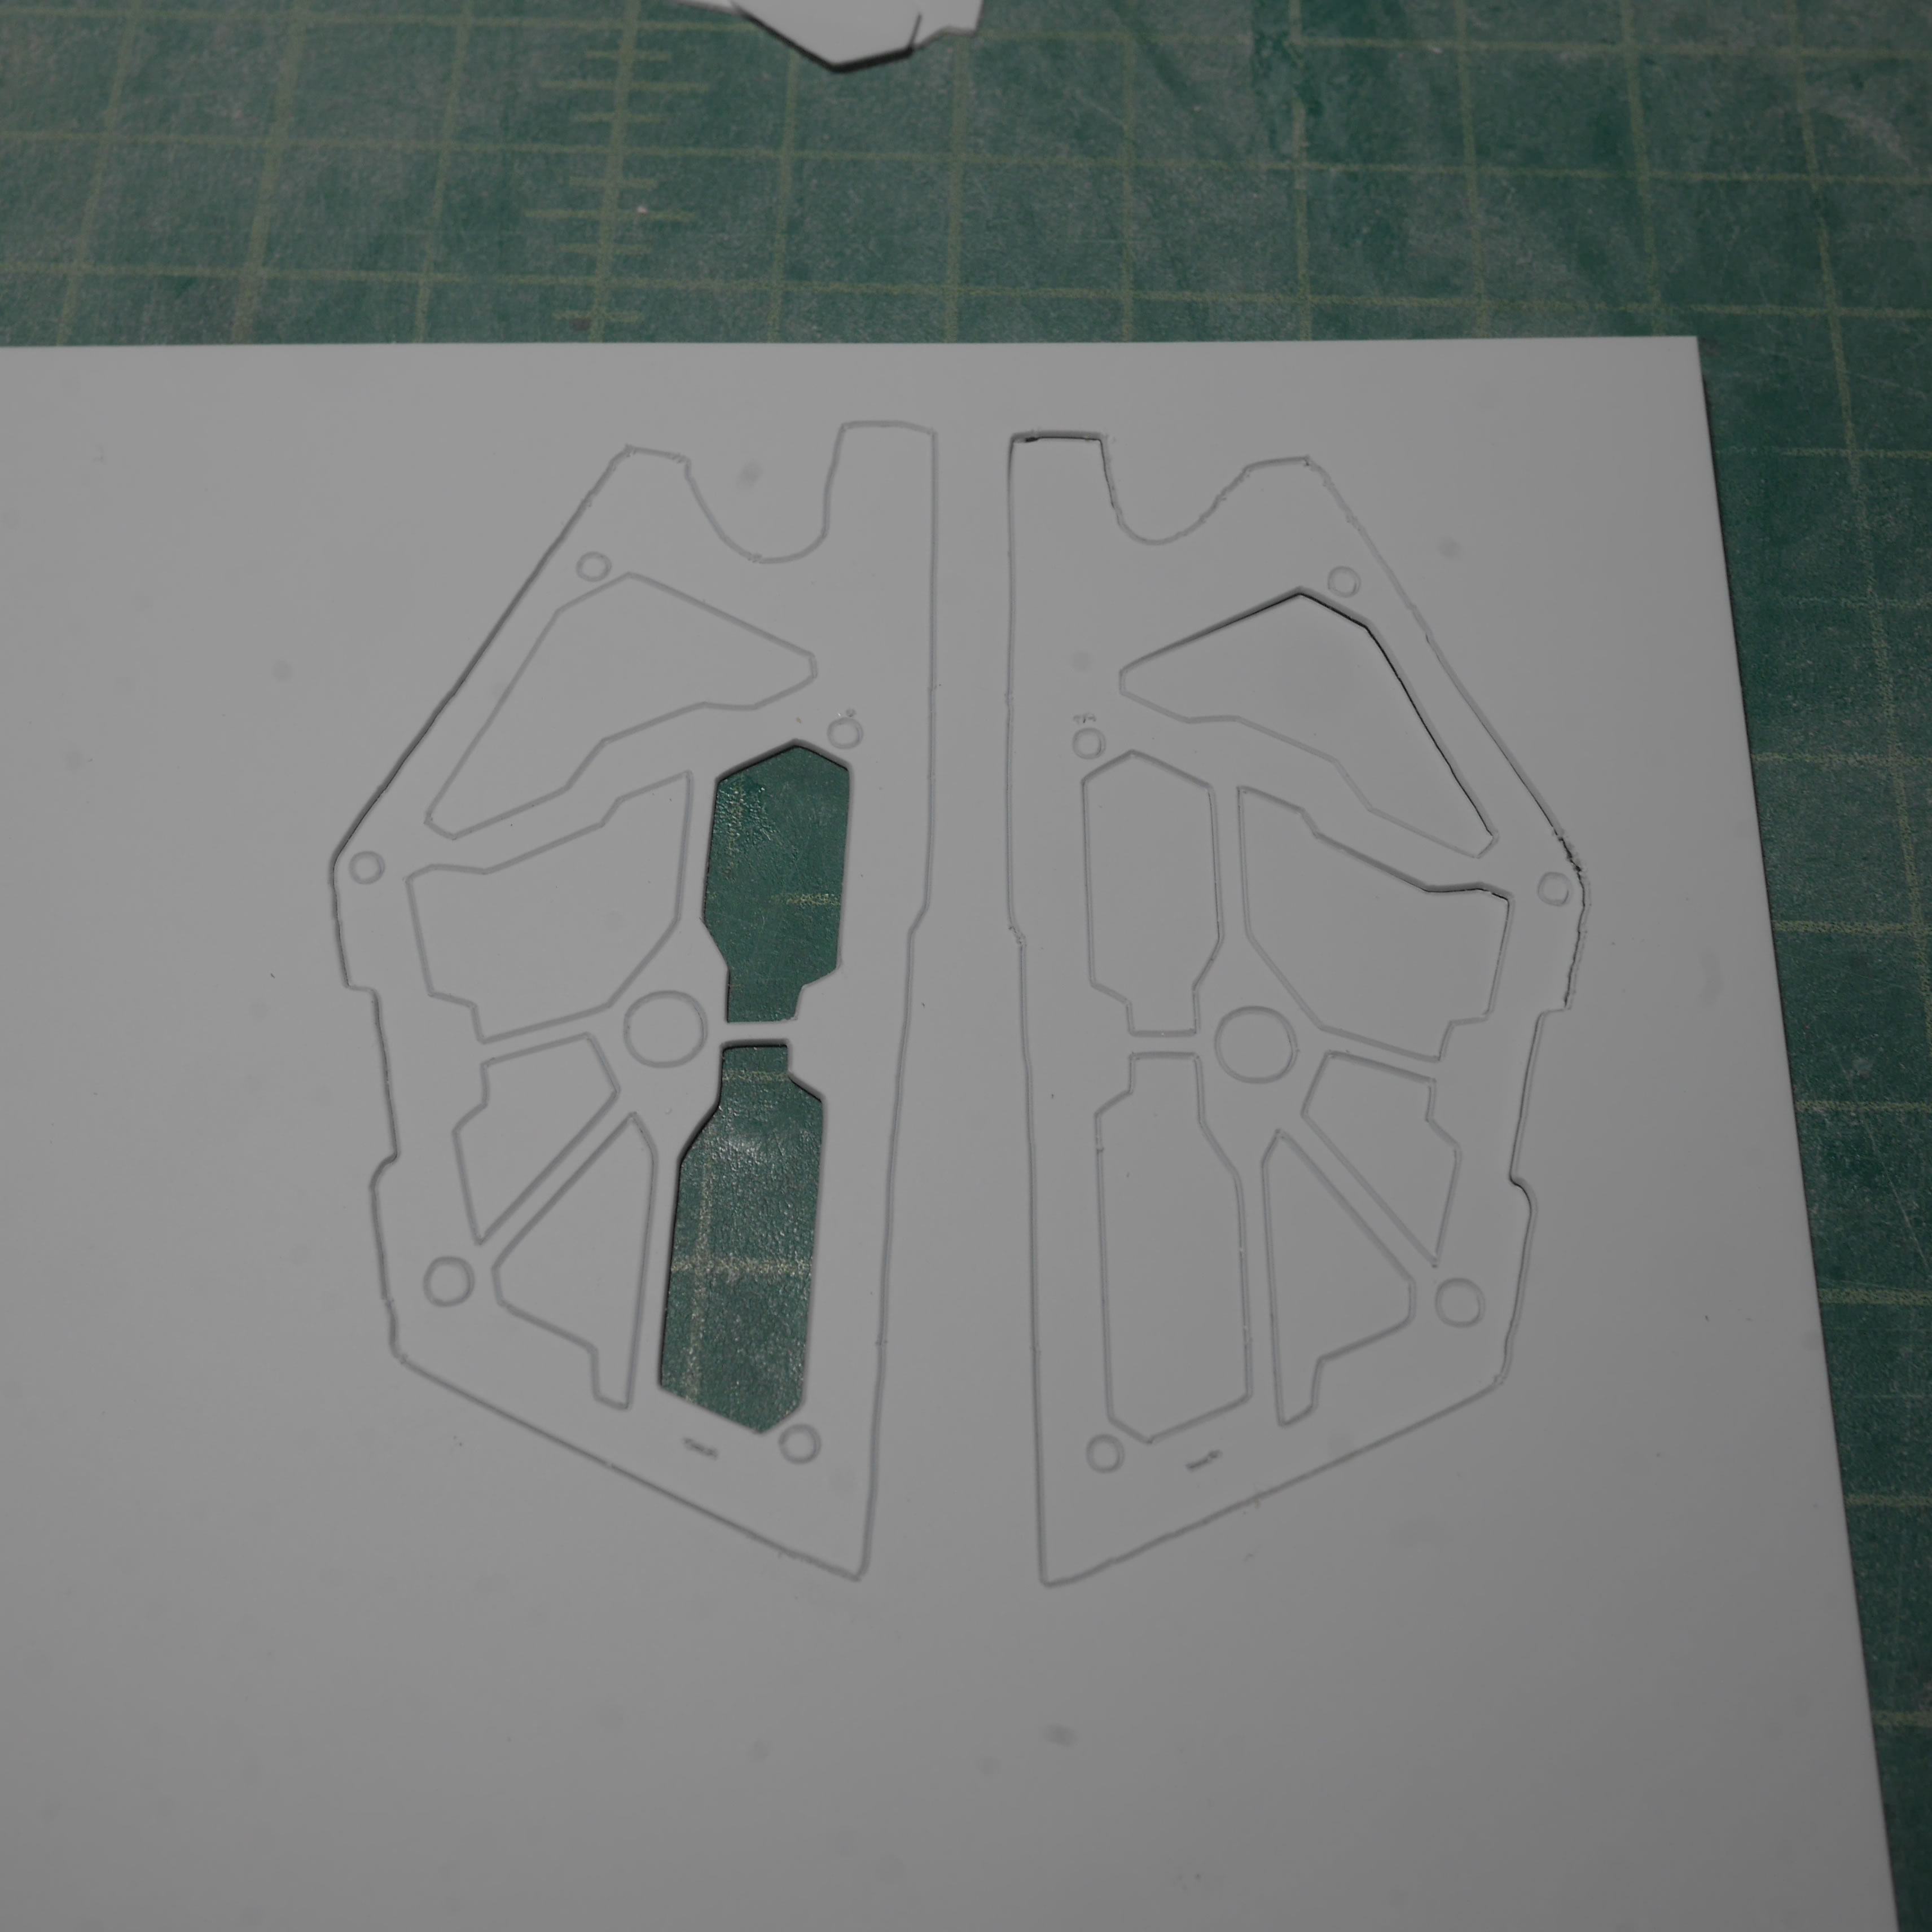
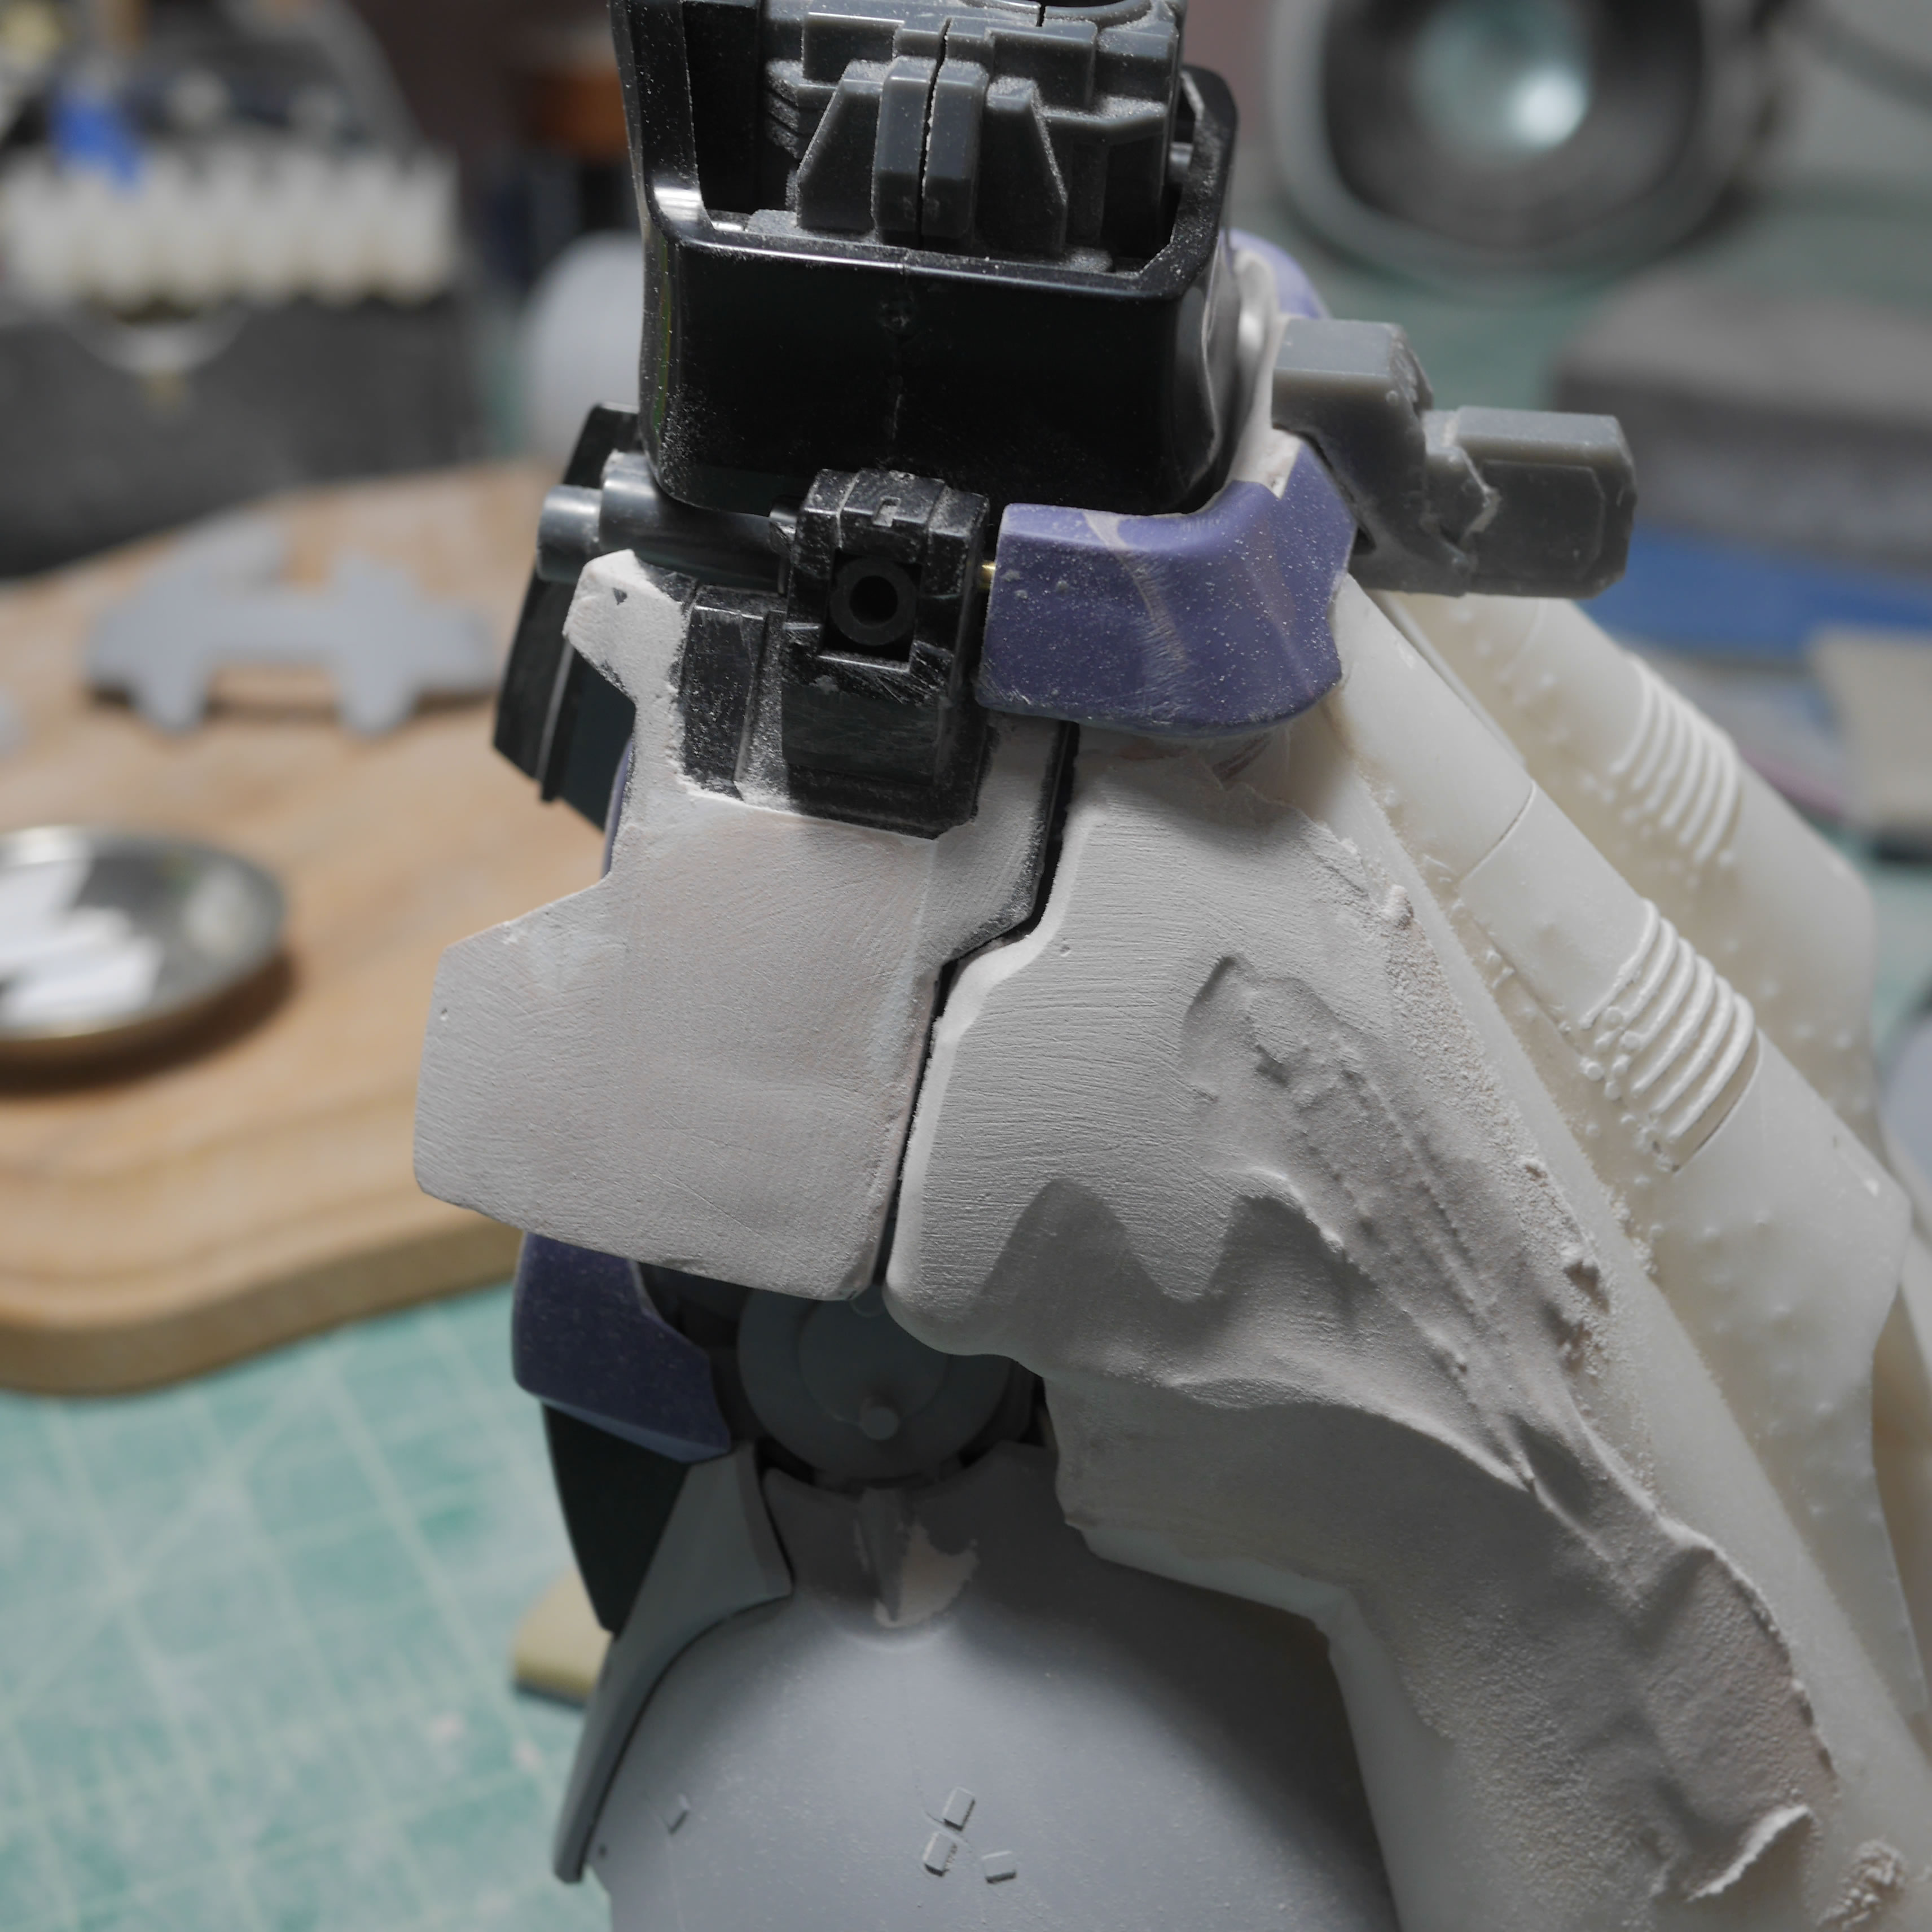
Once cut, the frame is popped out of the plastic.
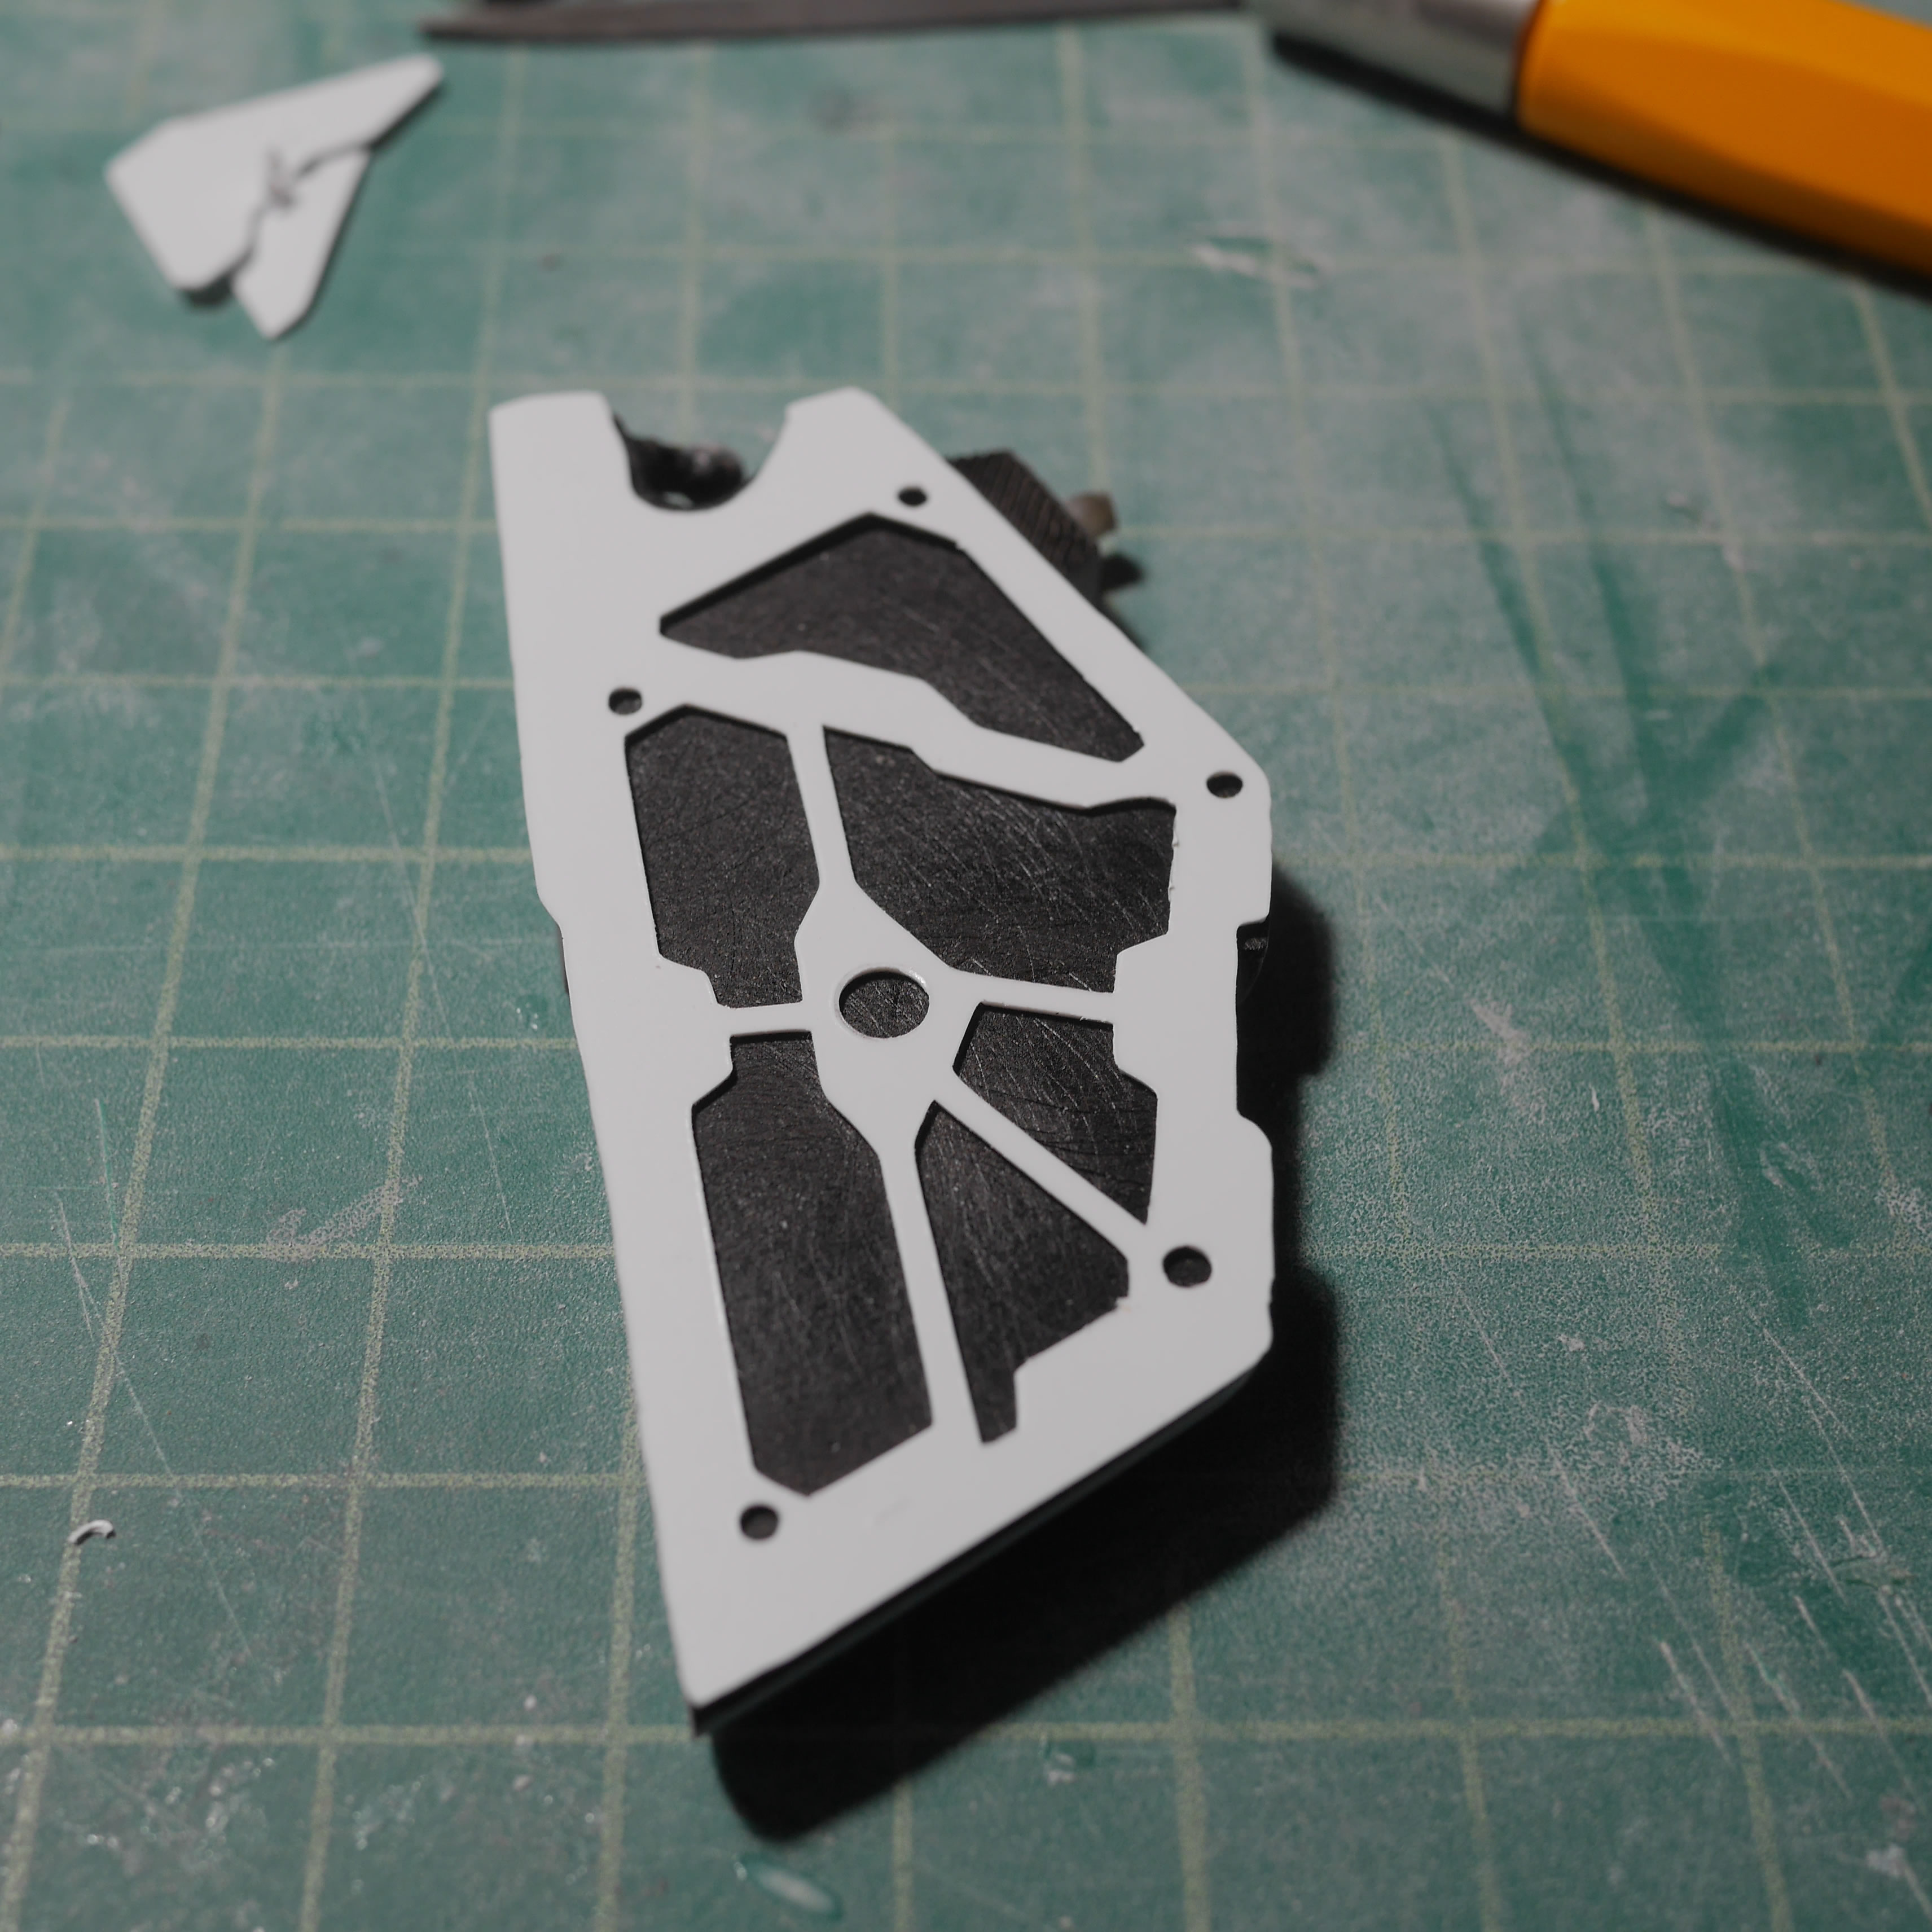
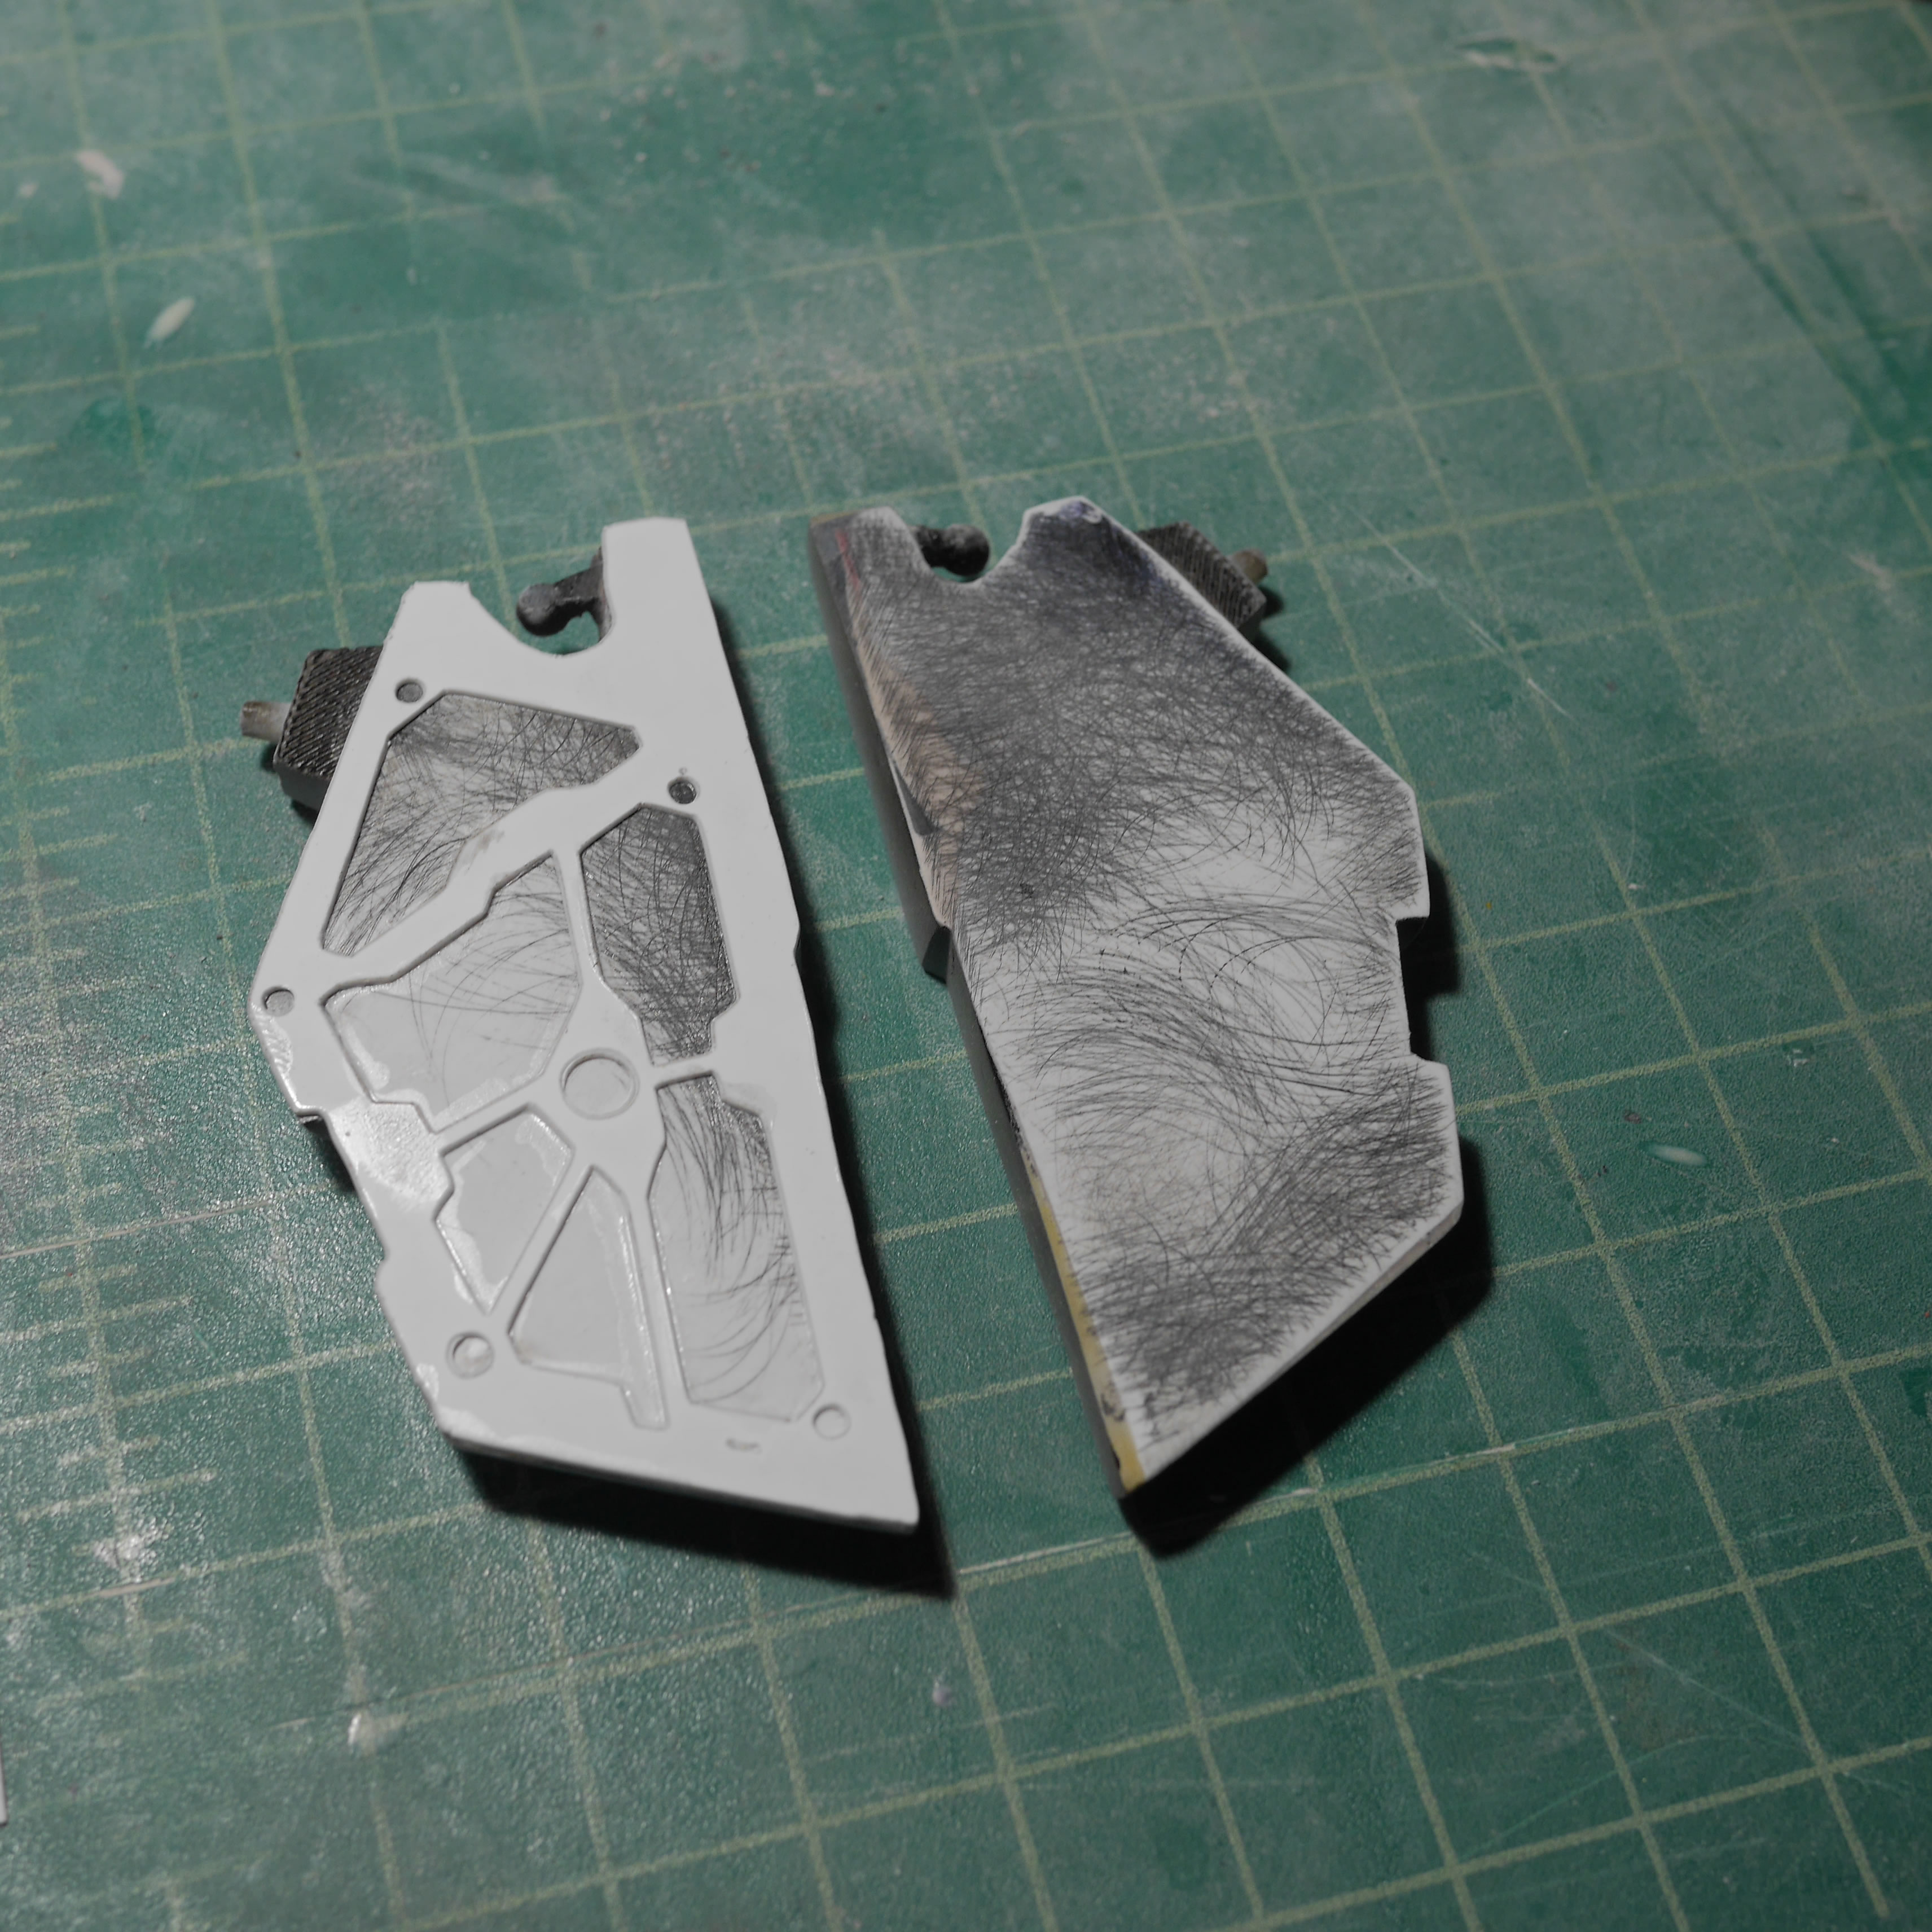
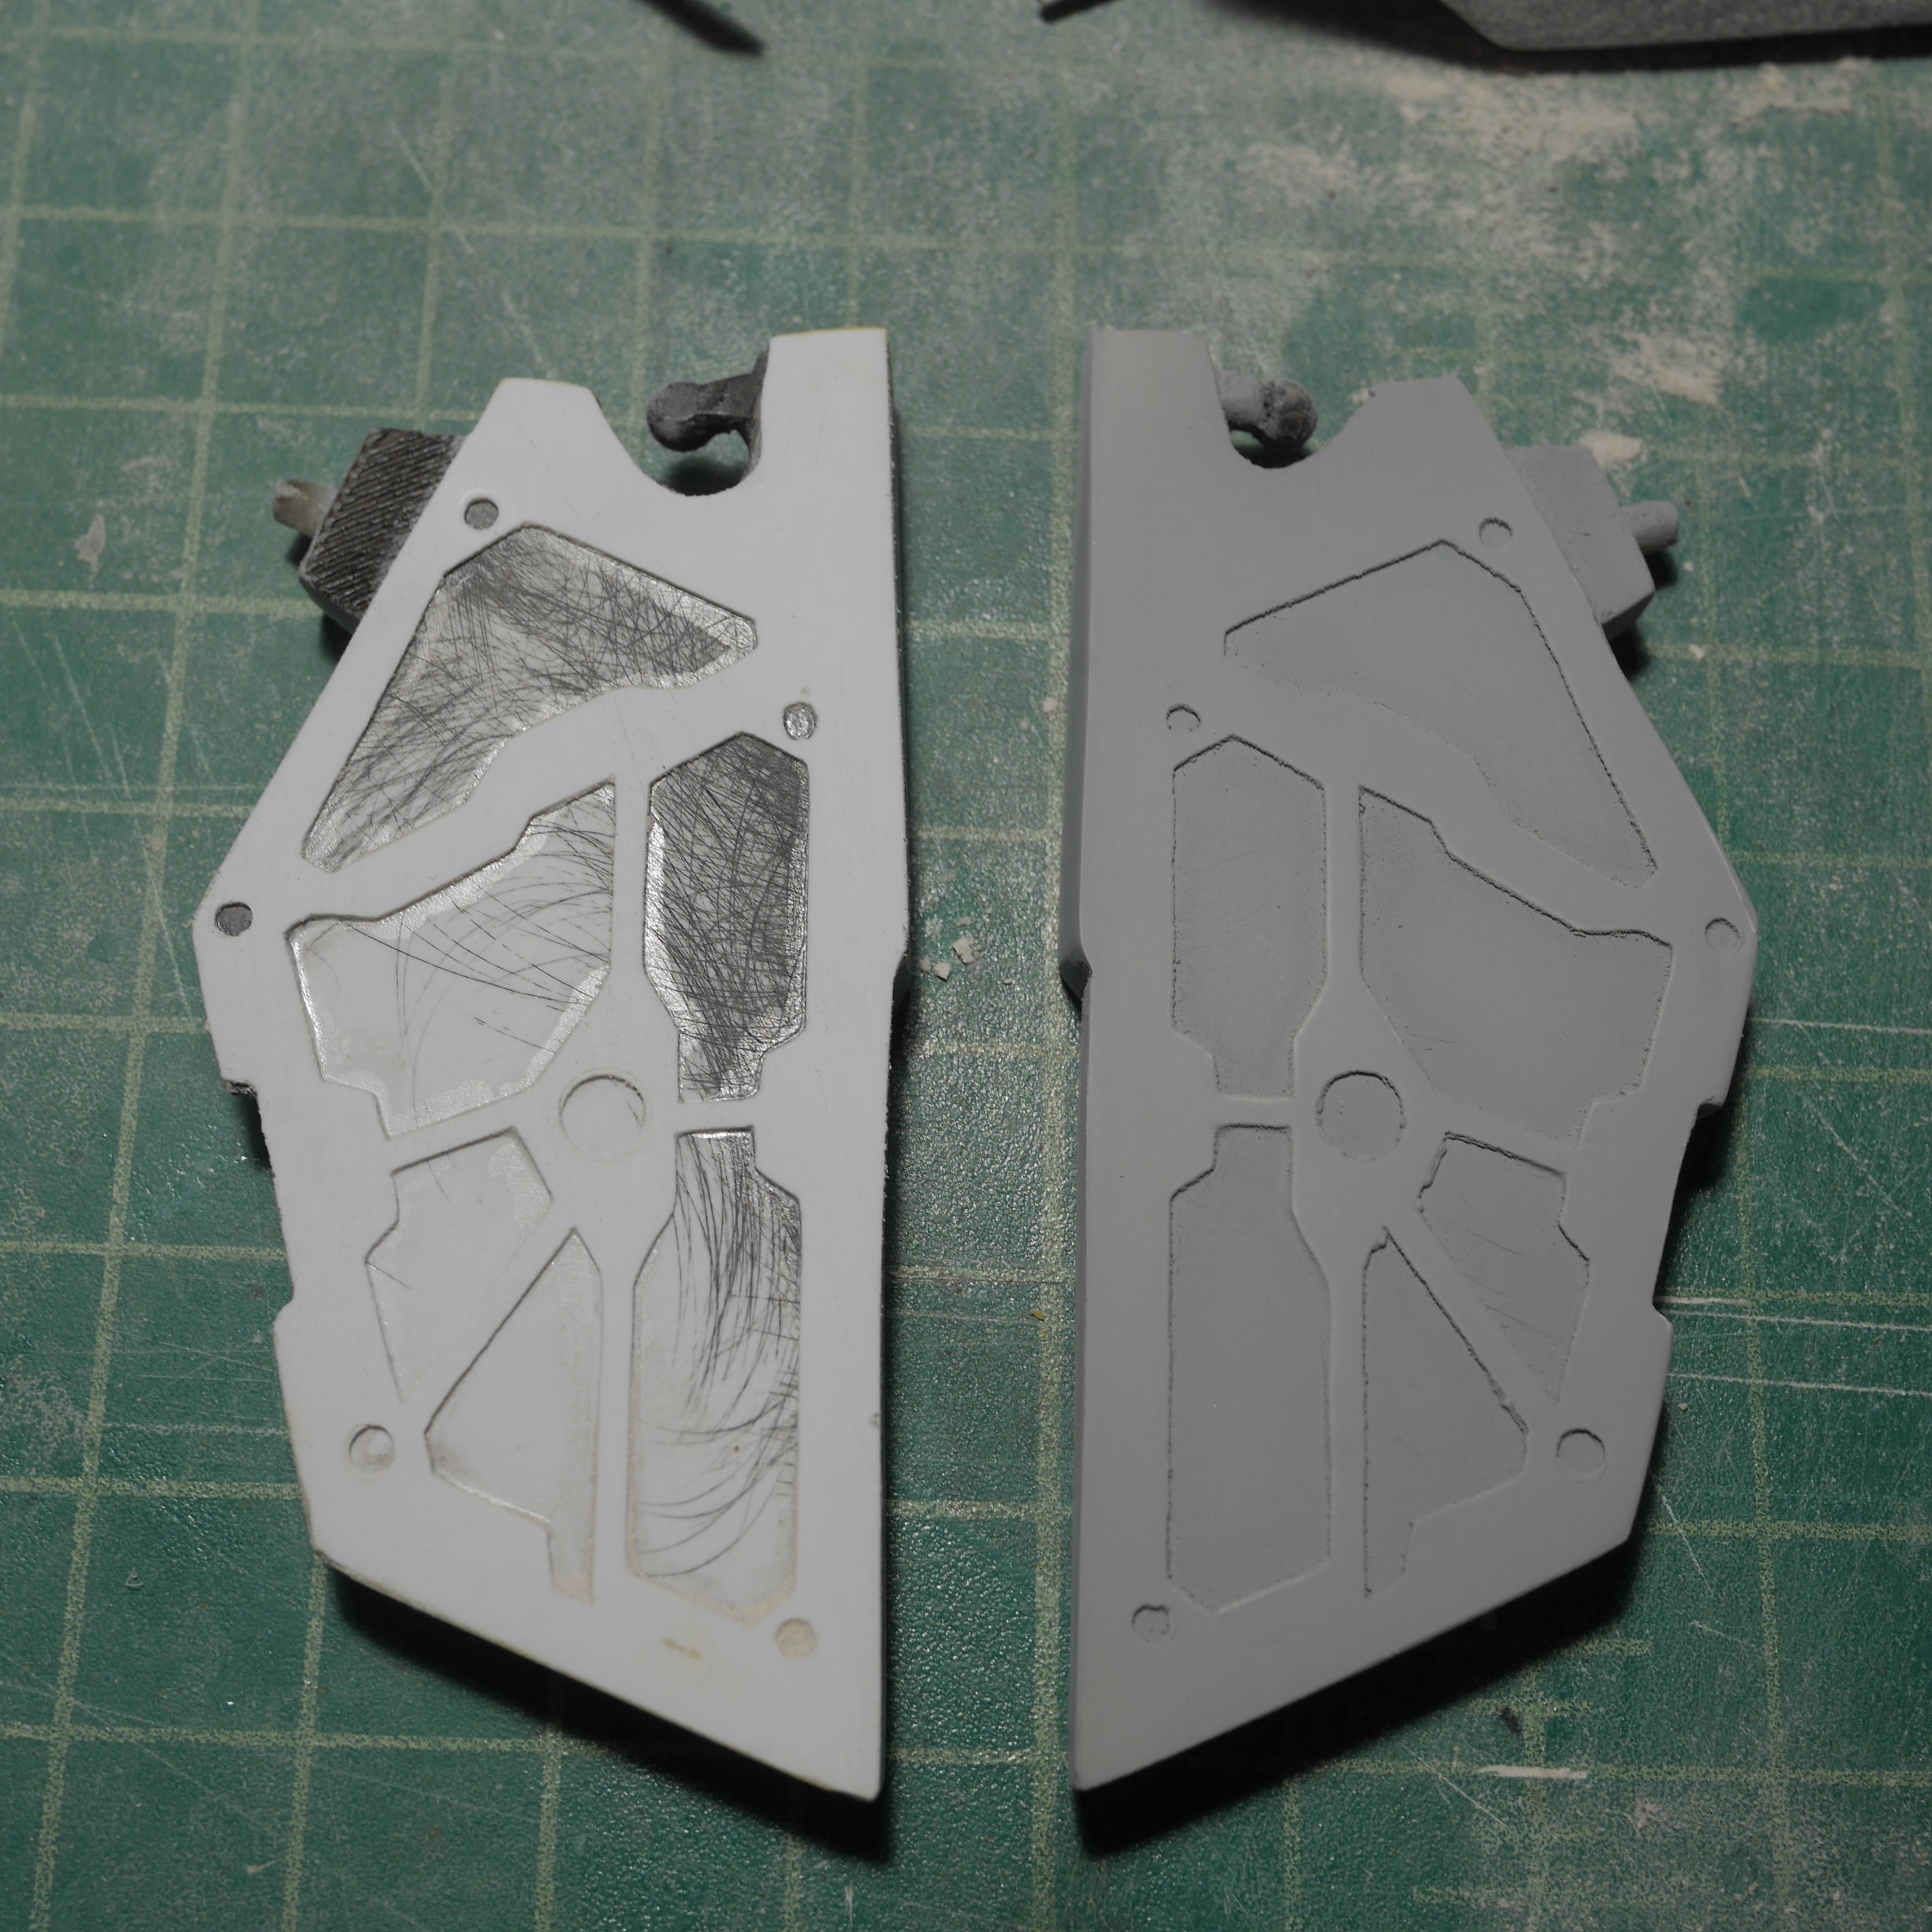
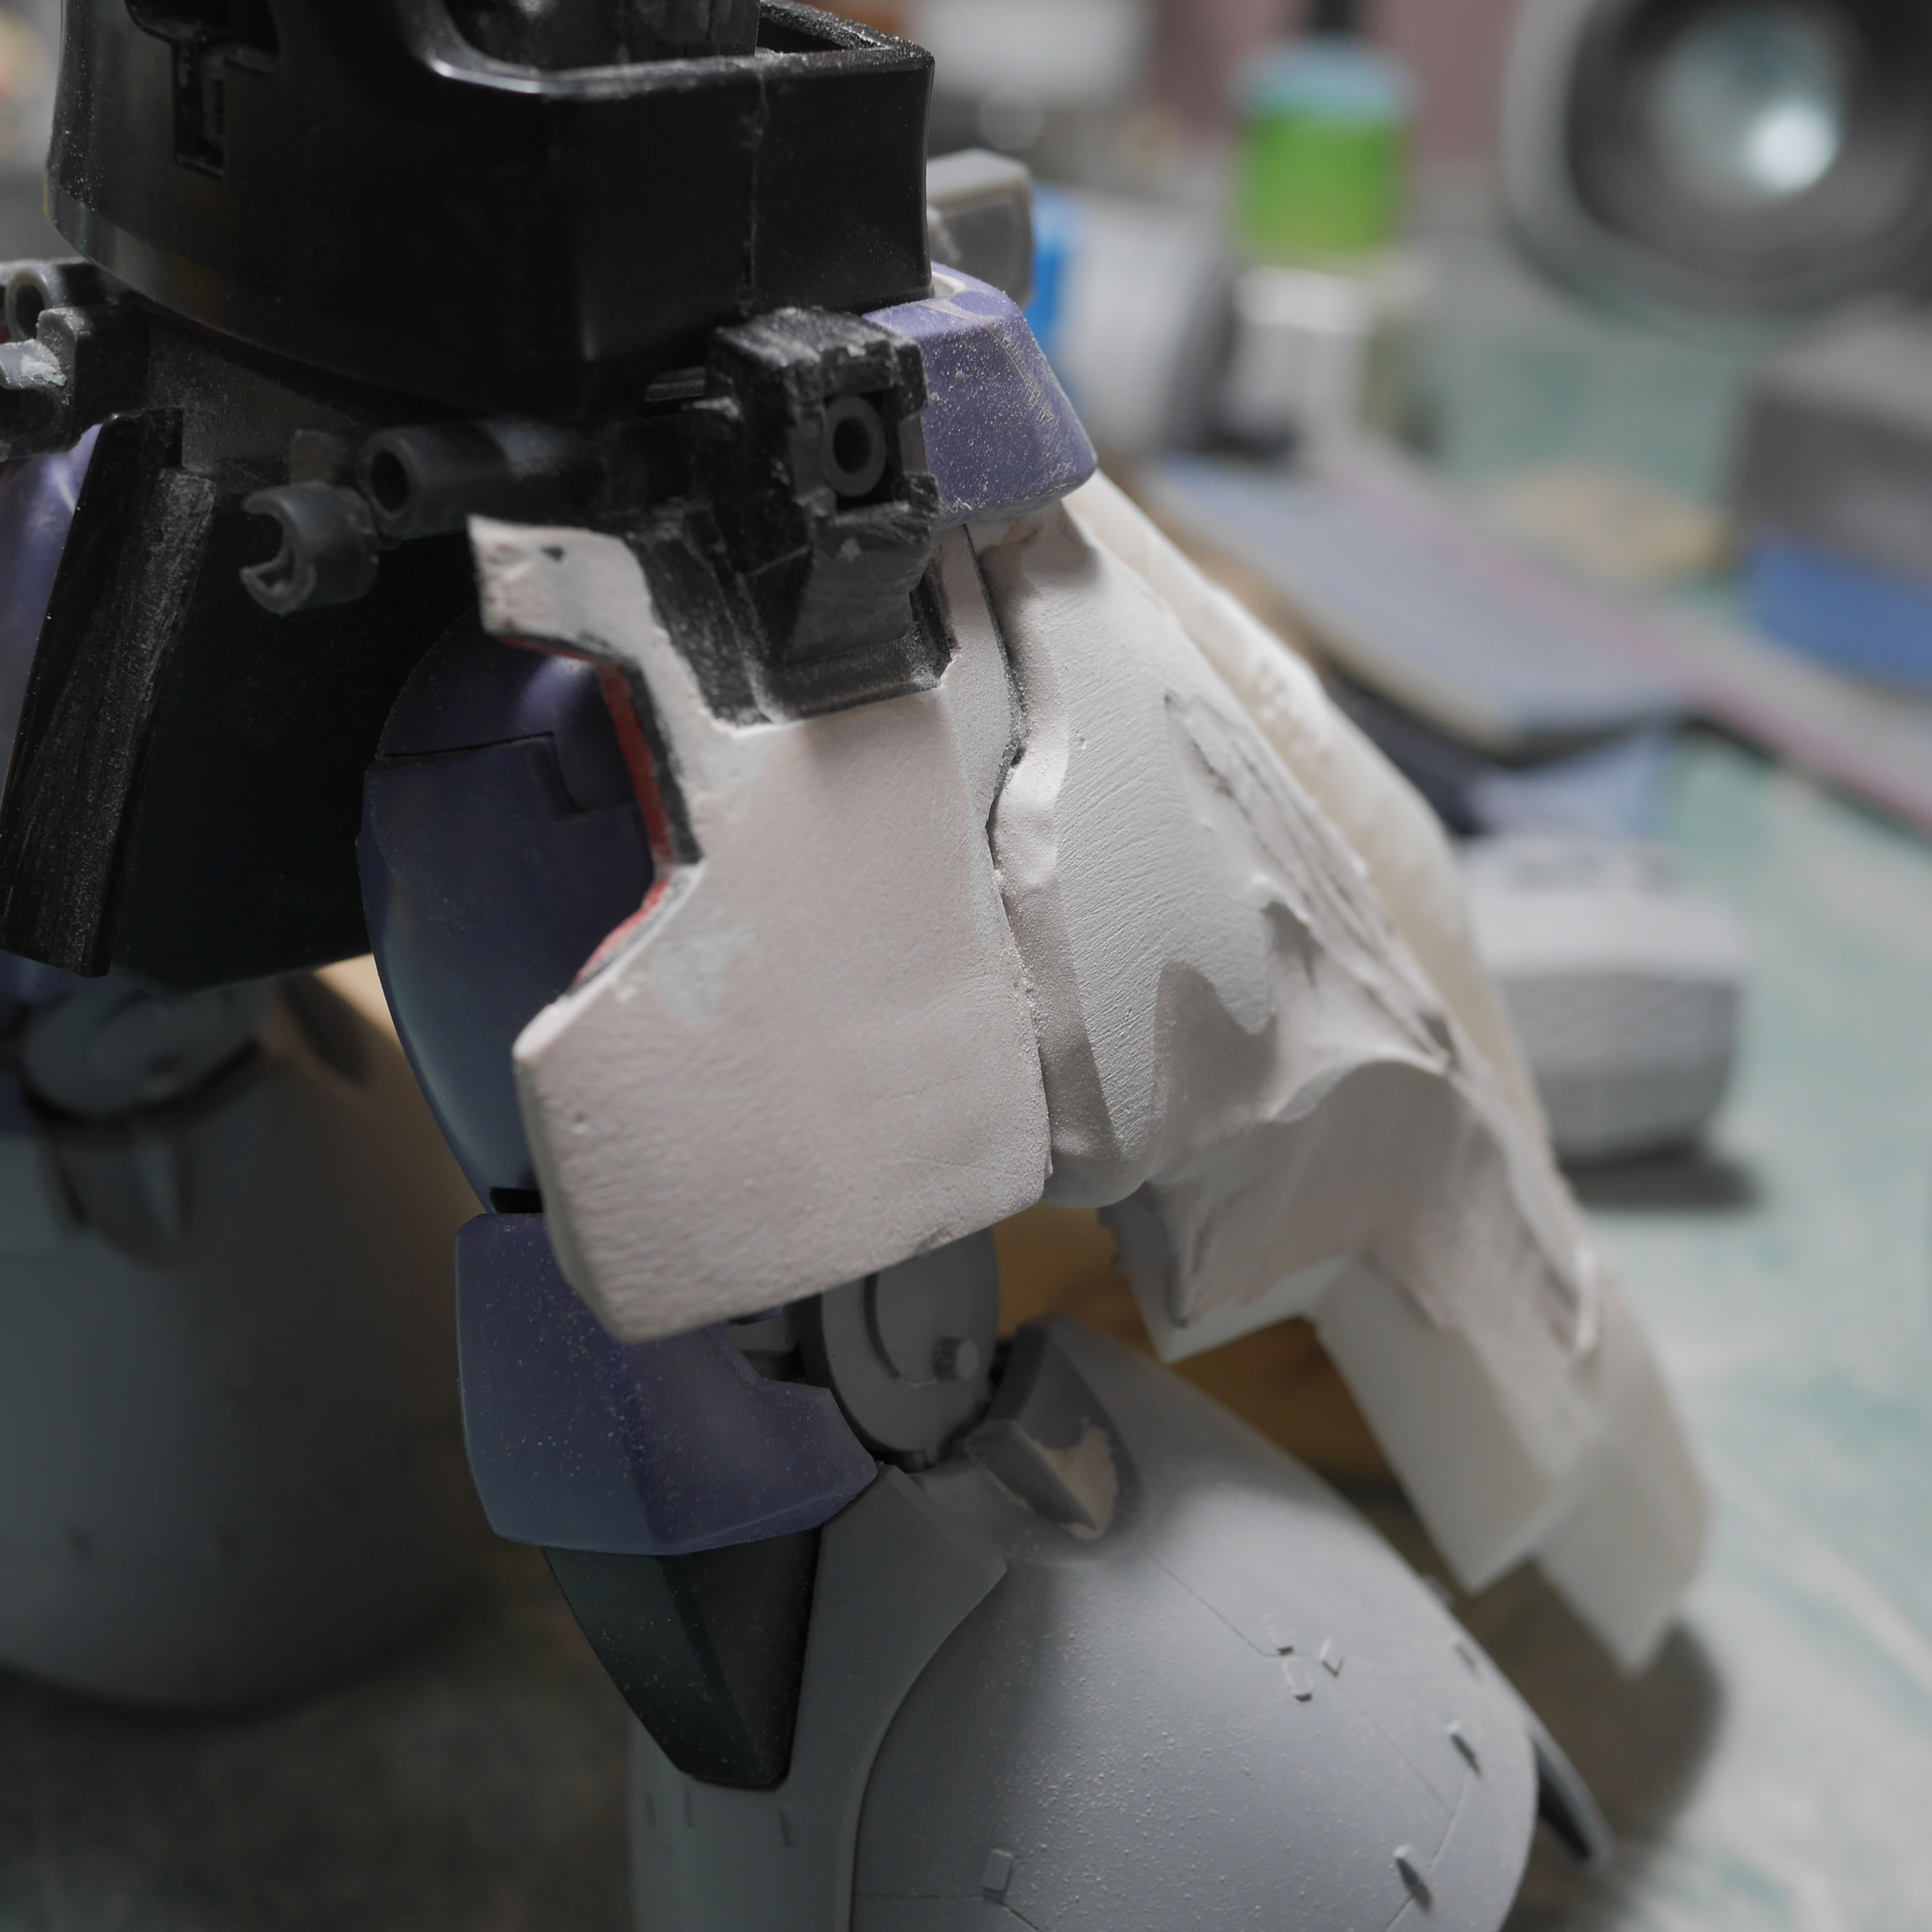
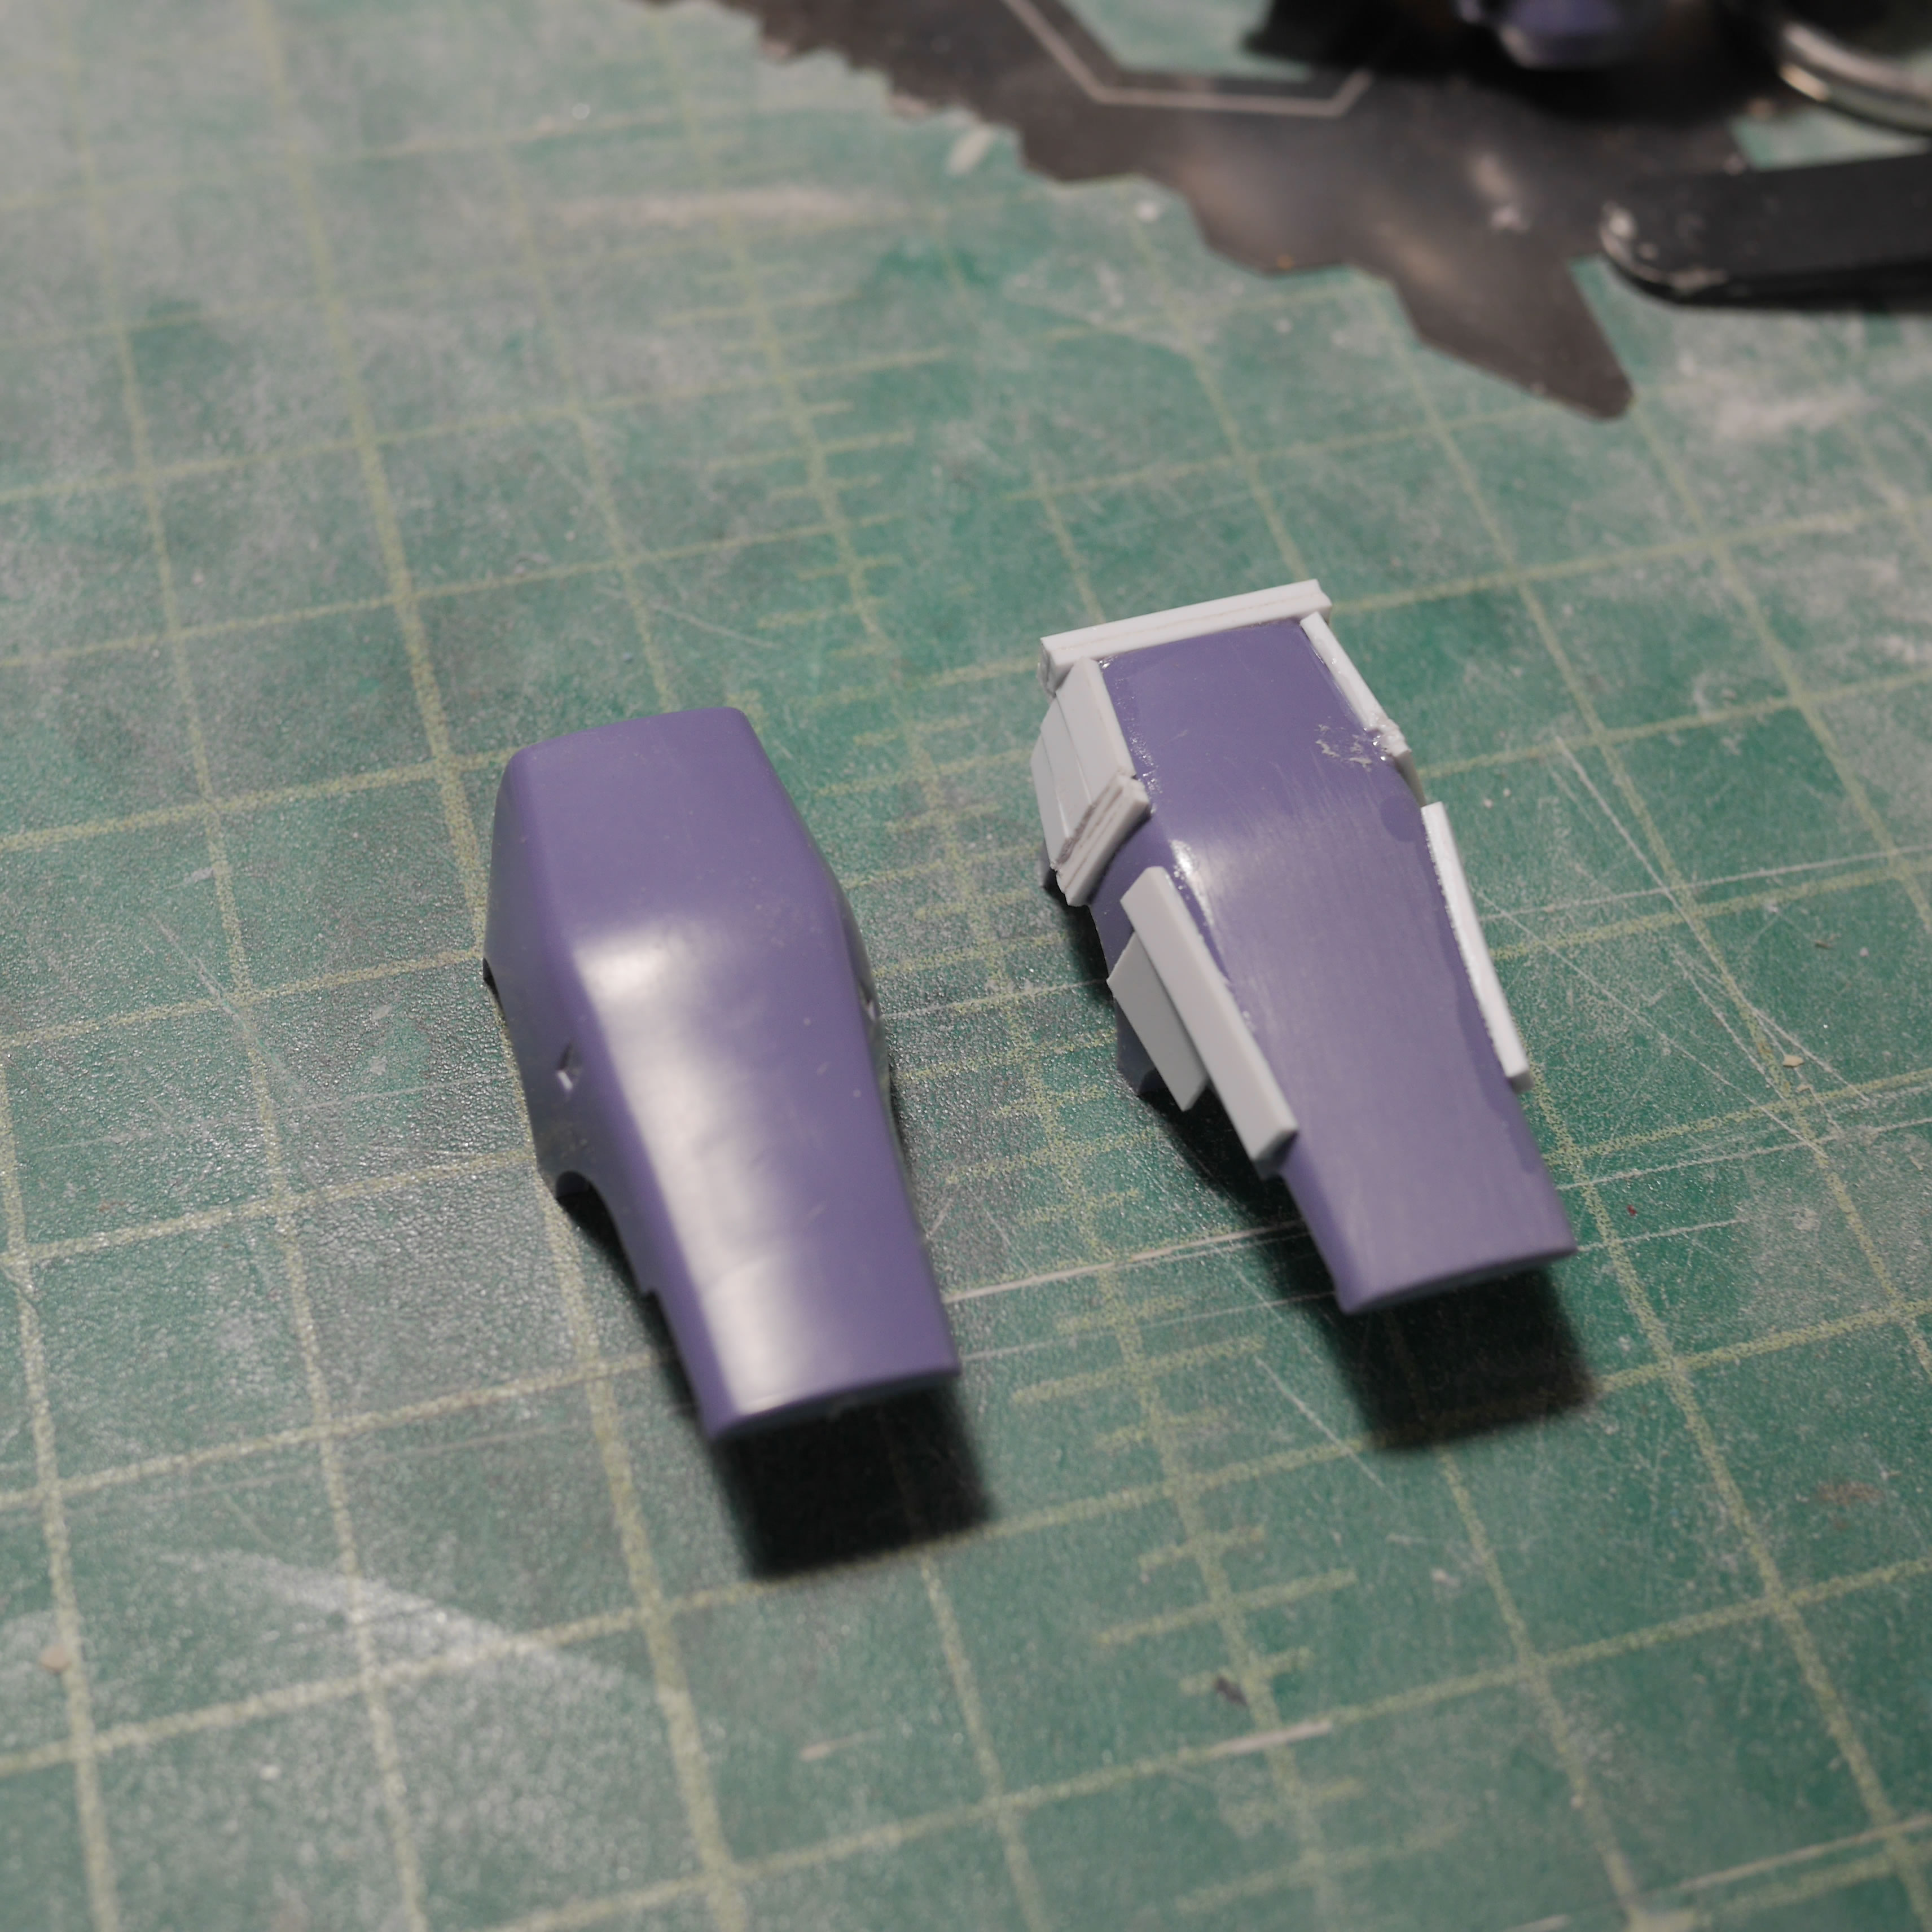
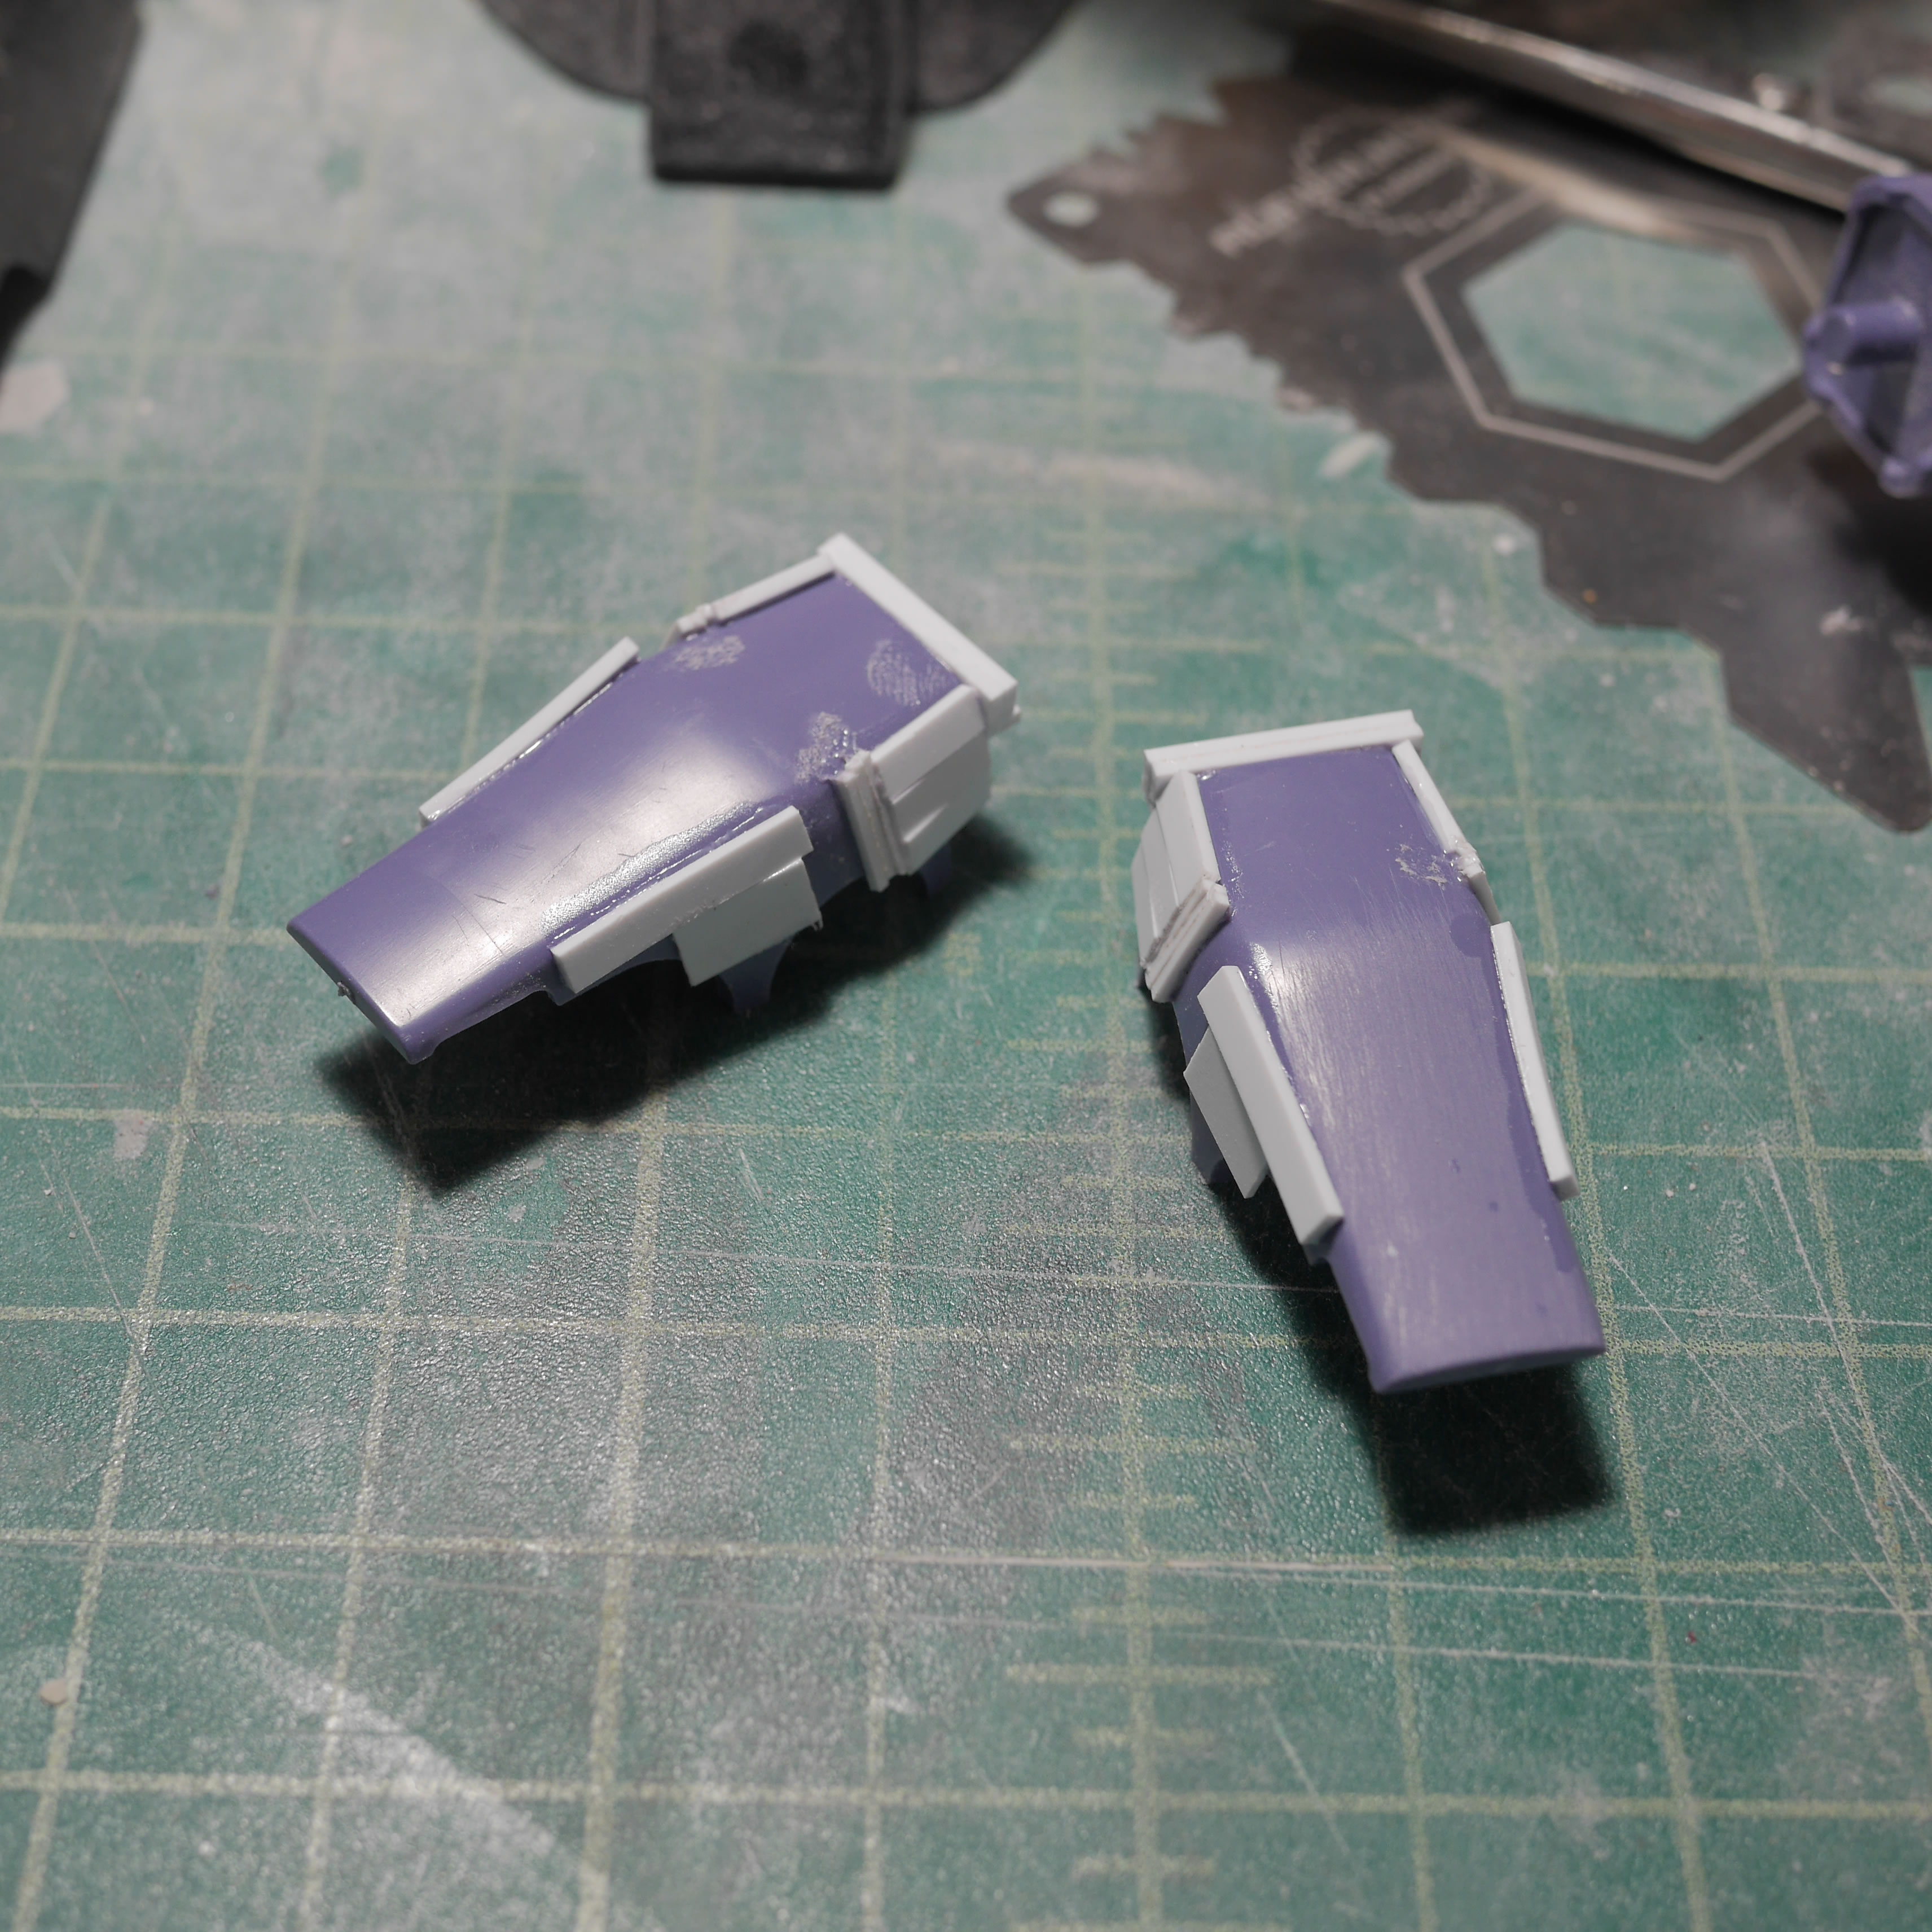
The frame is test fit against the back of the skirt and it is a pretty good fit. Since the back of the skirt was not finished (sanded smooth) I needed to sand it before gluing the frame. Since the back of the skirt is styrene, I just used tamiya extra thin cement to glue the plastic frame onto the skirt. After some small putty fixes along the edges to blend everything together, the skirt is primed and it looks like a solid piece.
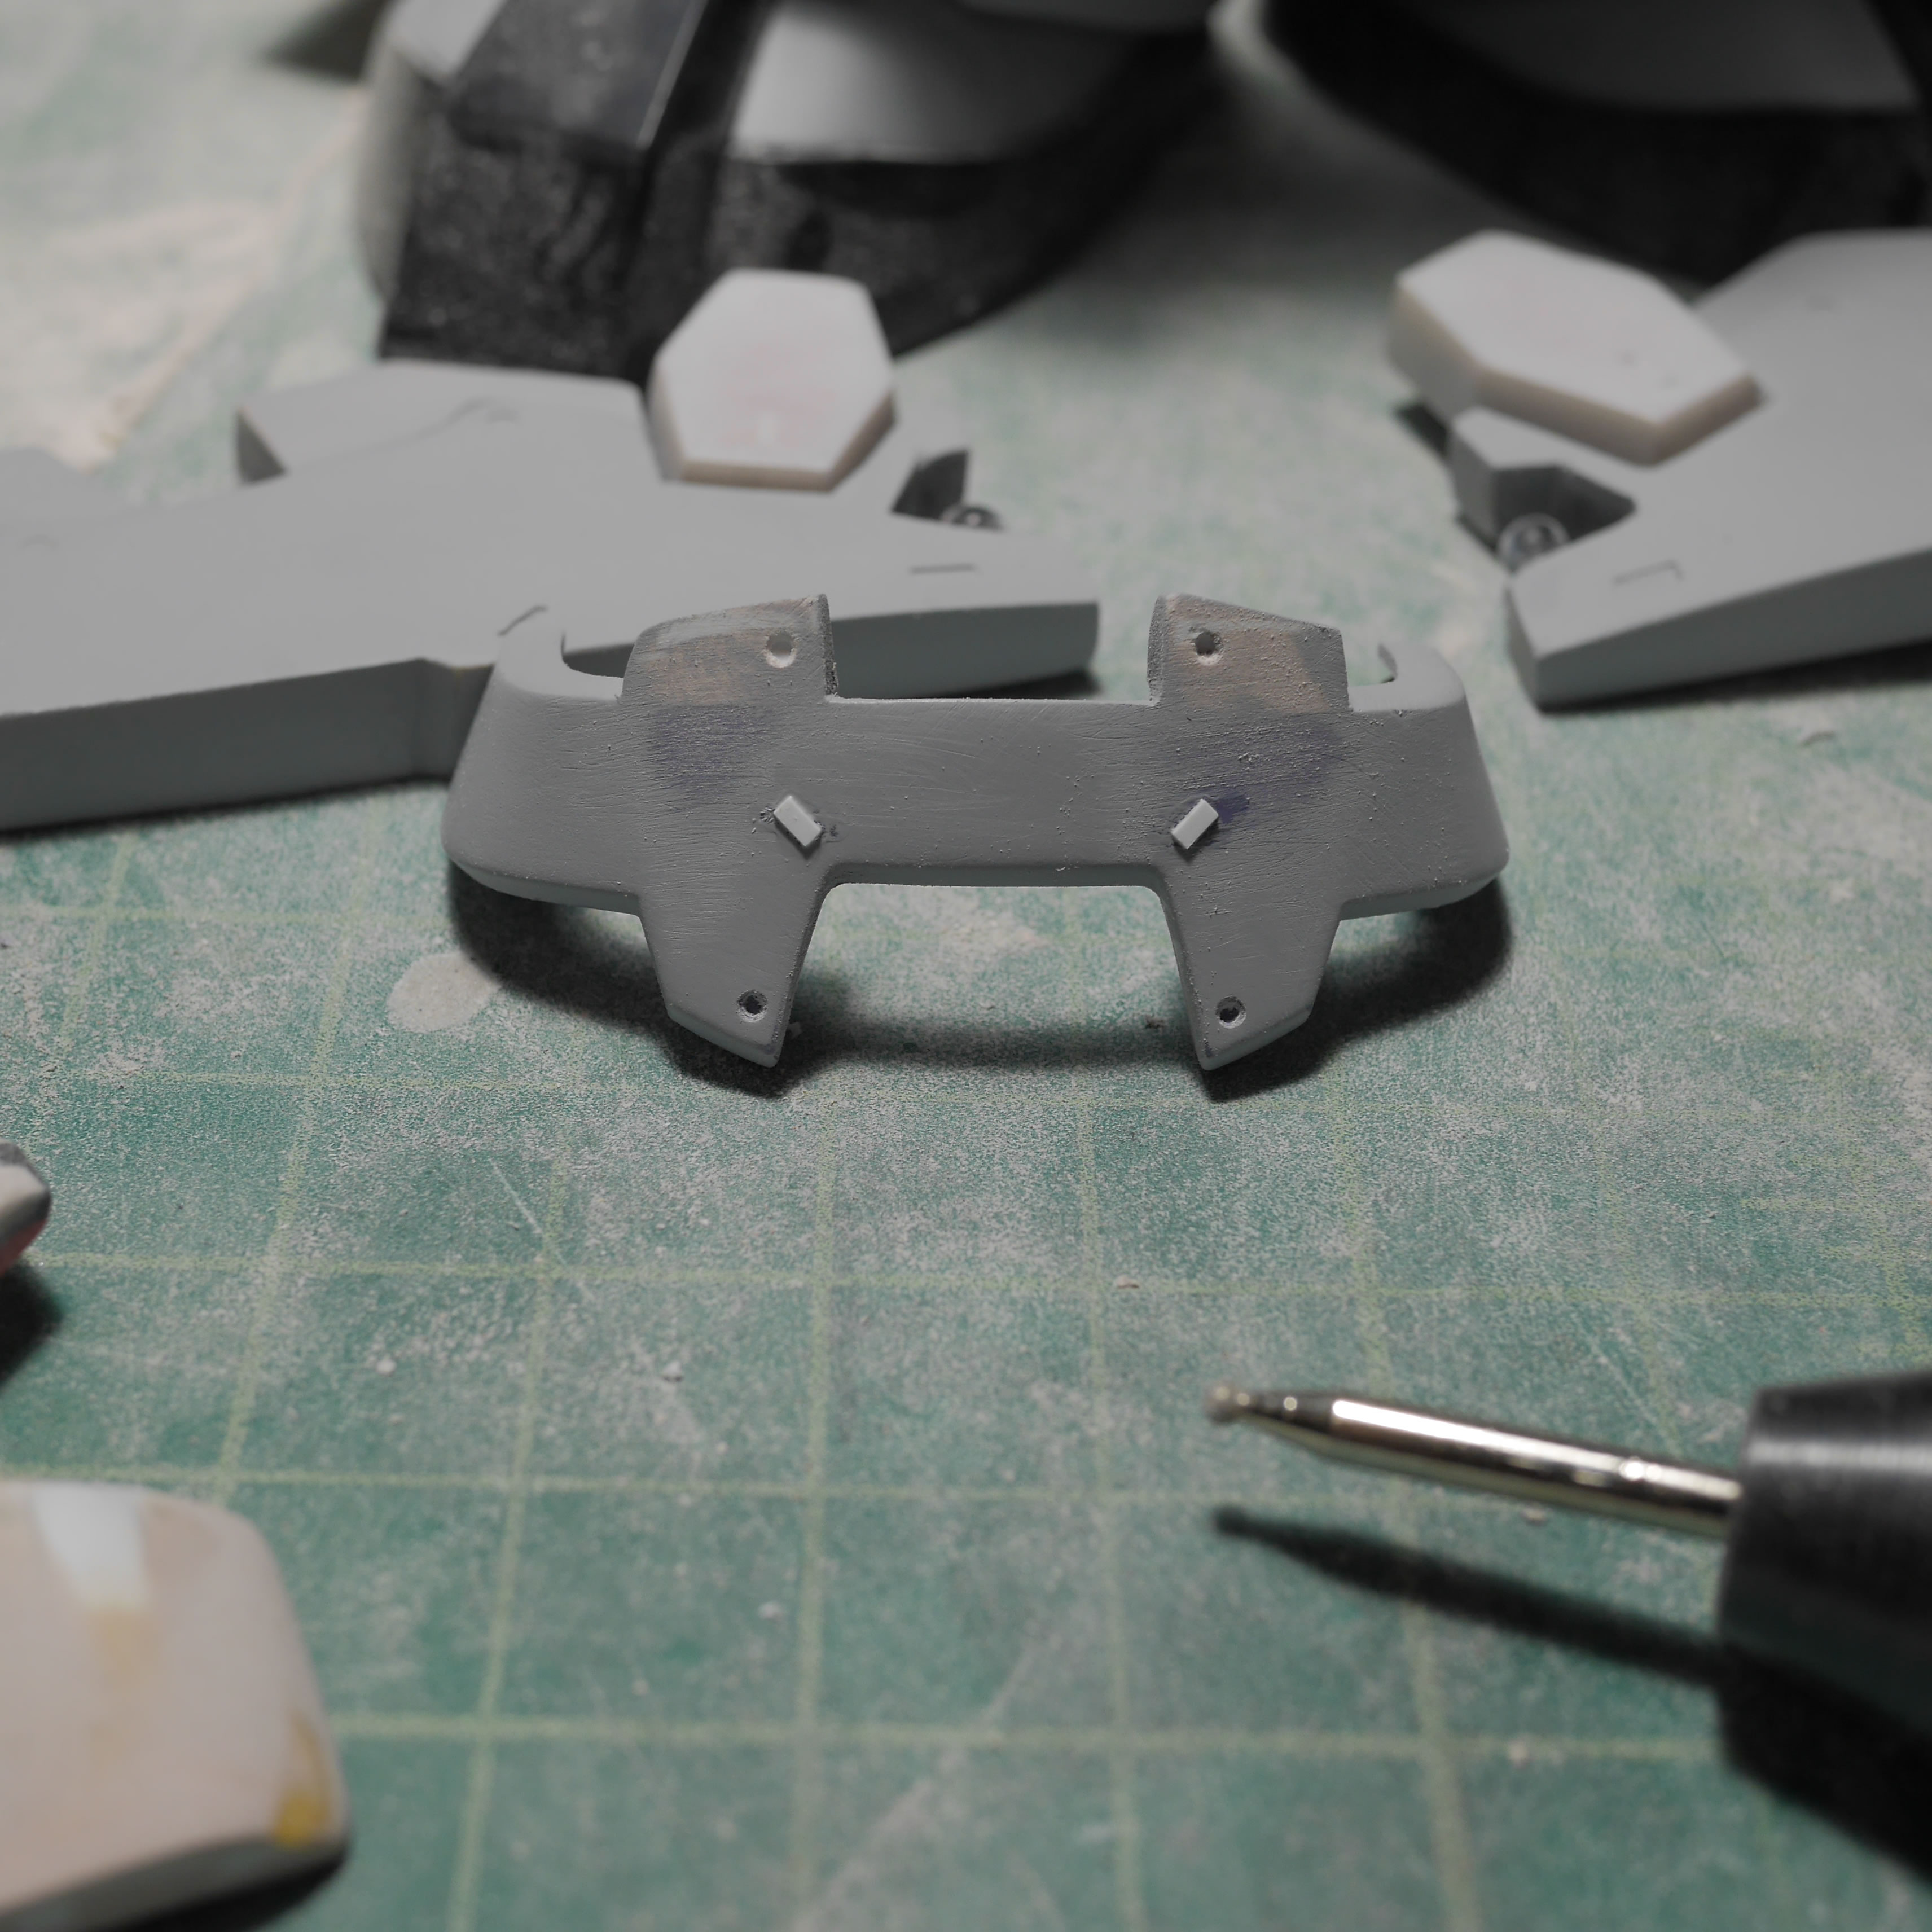
While working on the above, I did some continued work on the ammo drum to add in magnets so that the top and bottom frame can hold the drum in place and be removable for transport and ease of painting. The side skirts got some additional finishing after test fits with the front and rear skirts (shown later). The top of the skirt connection piece got some drilled out details and plastic strip details.
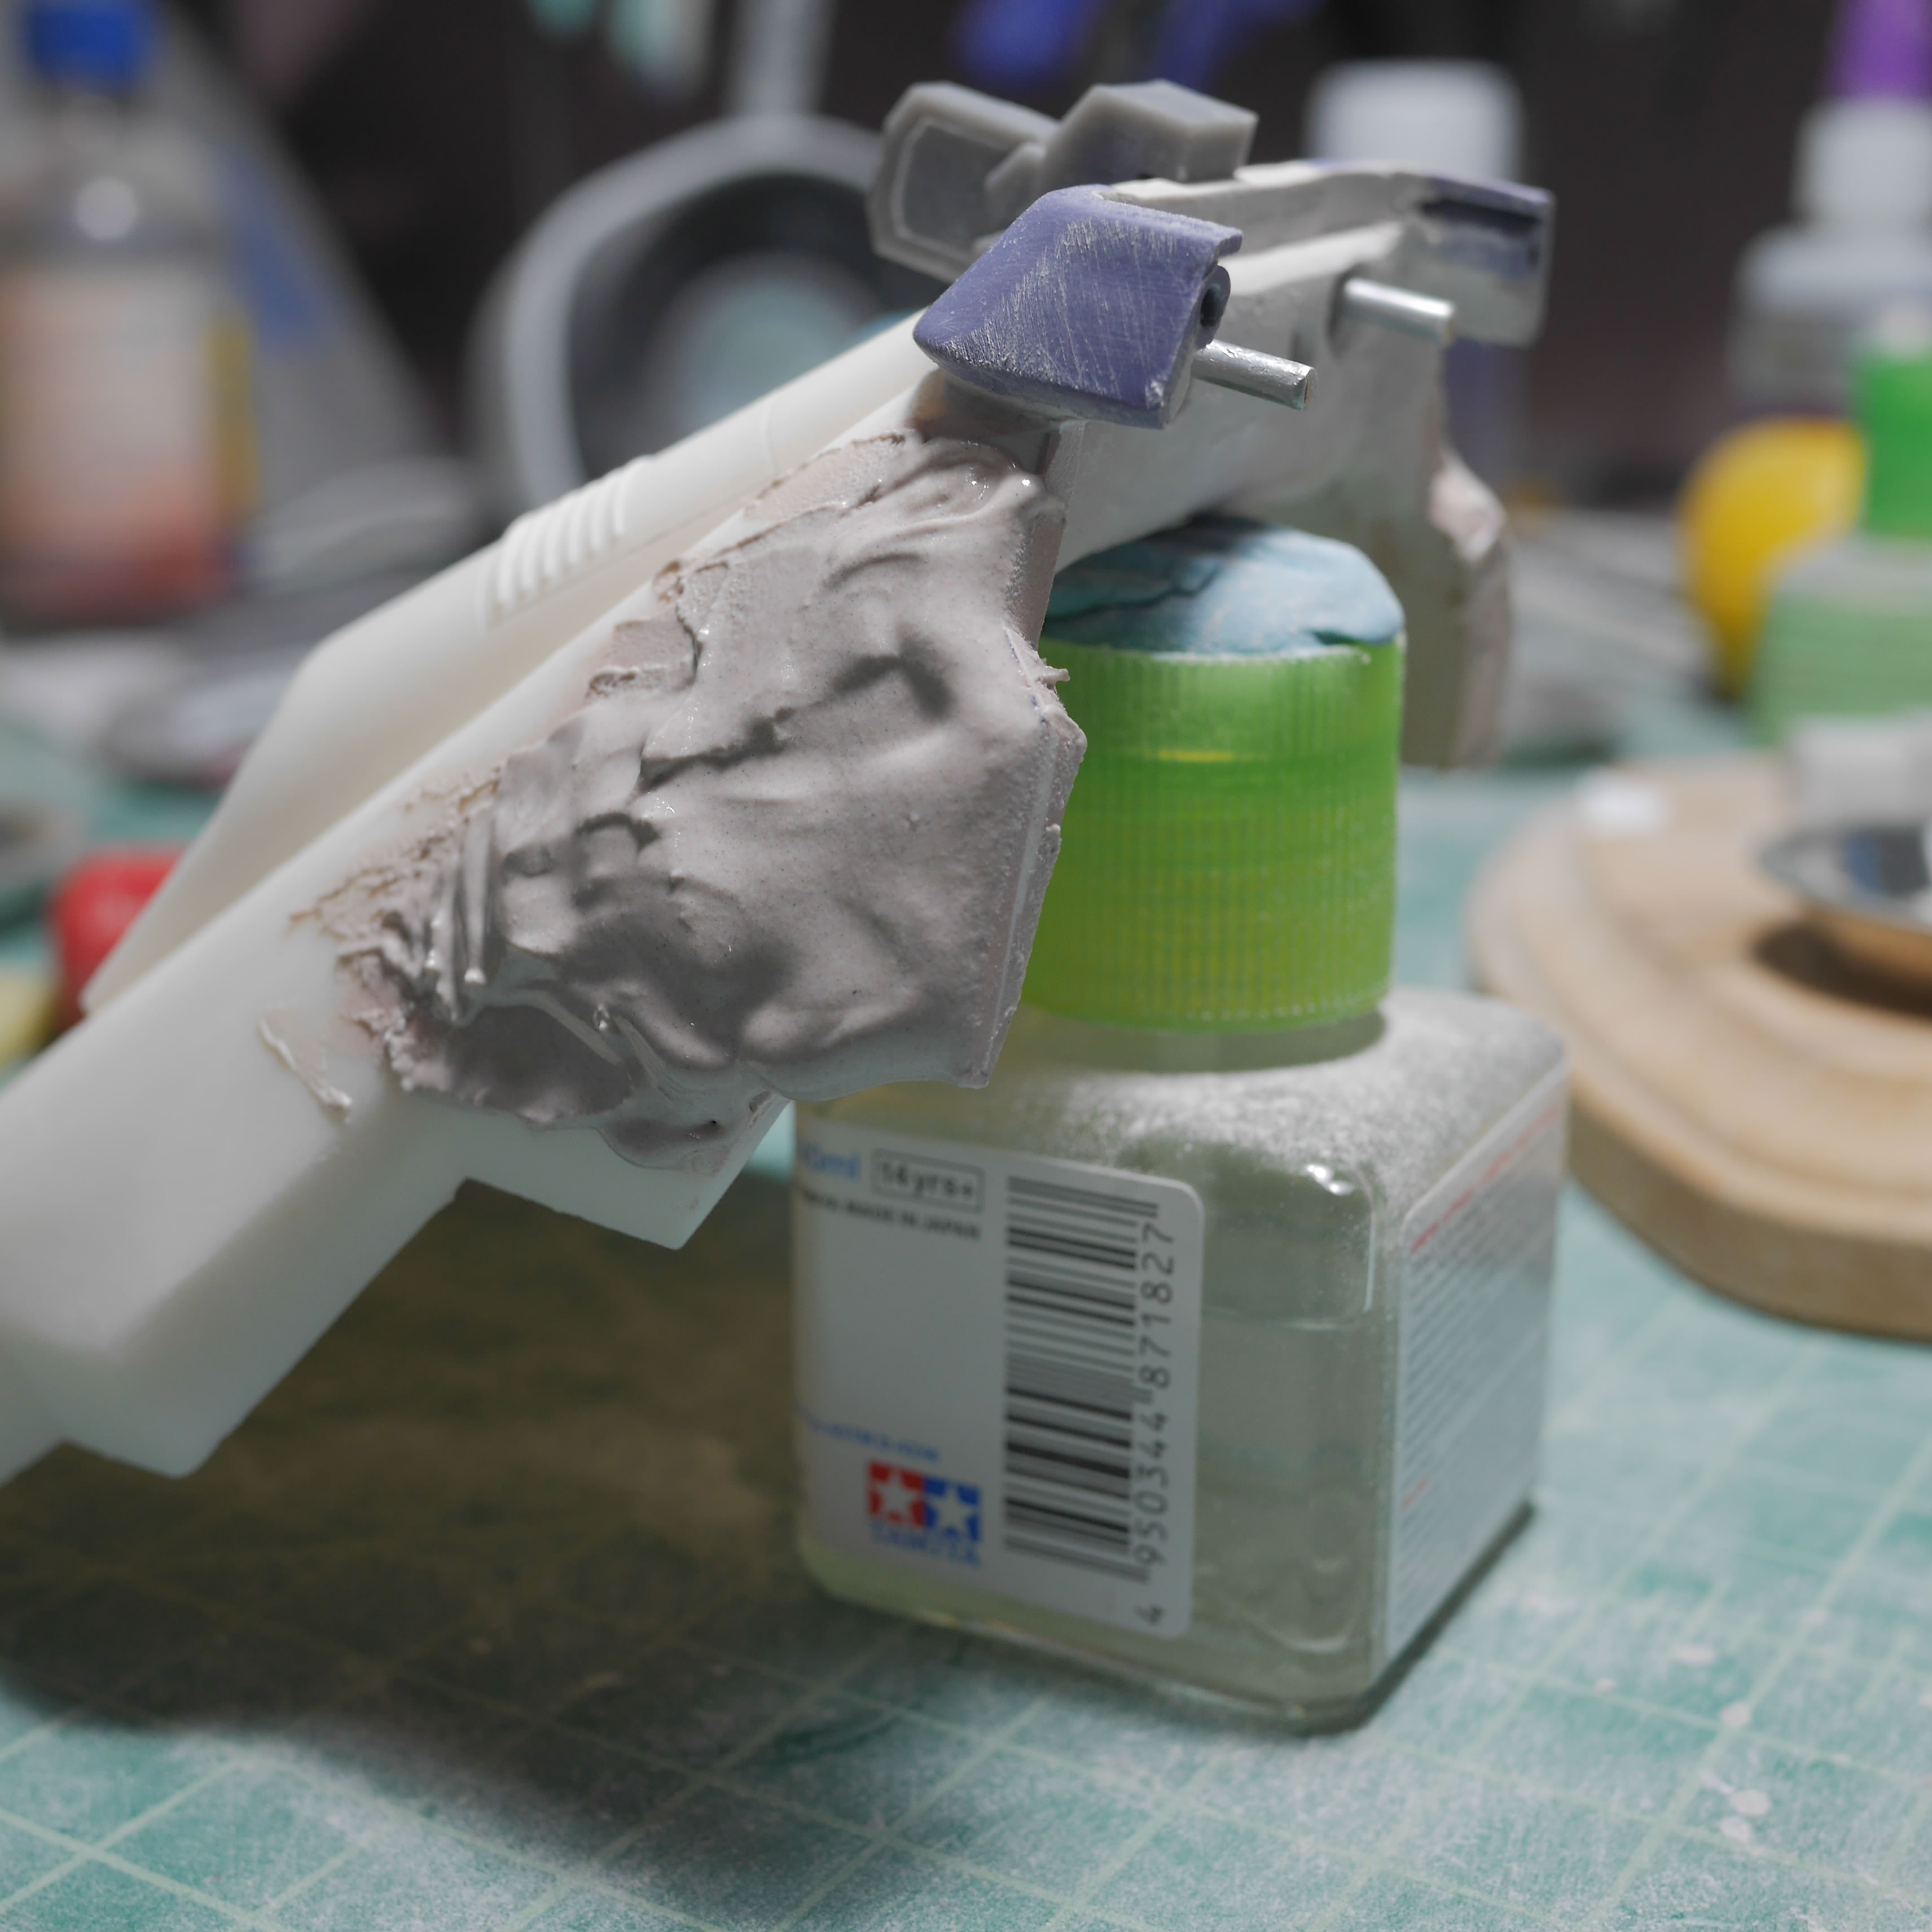
Rear skirt work continues with more bondo to build up the edges. There will be lots of test fitting against the skirt to get the correct shape for the meeting points.

The bondoed areas are sanded down and constant test fitting done to shape the edges. Note that the test fitting is done with just the waist piece. This comes into play as this was the incorrect test fit. Even when I had gotten the surface smoothed out and fitting perfectly, this test fit did not account for space with the legs. It also did not account for the spacing and positioning when the front skirts and front belt piece are in place too. An important lesson in planning. This is a 3 dimensional piece, and test fitting against only 1 of the multiple sides can have drastic problems if the other sides are not accounted.
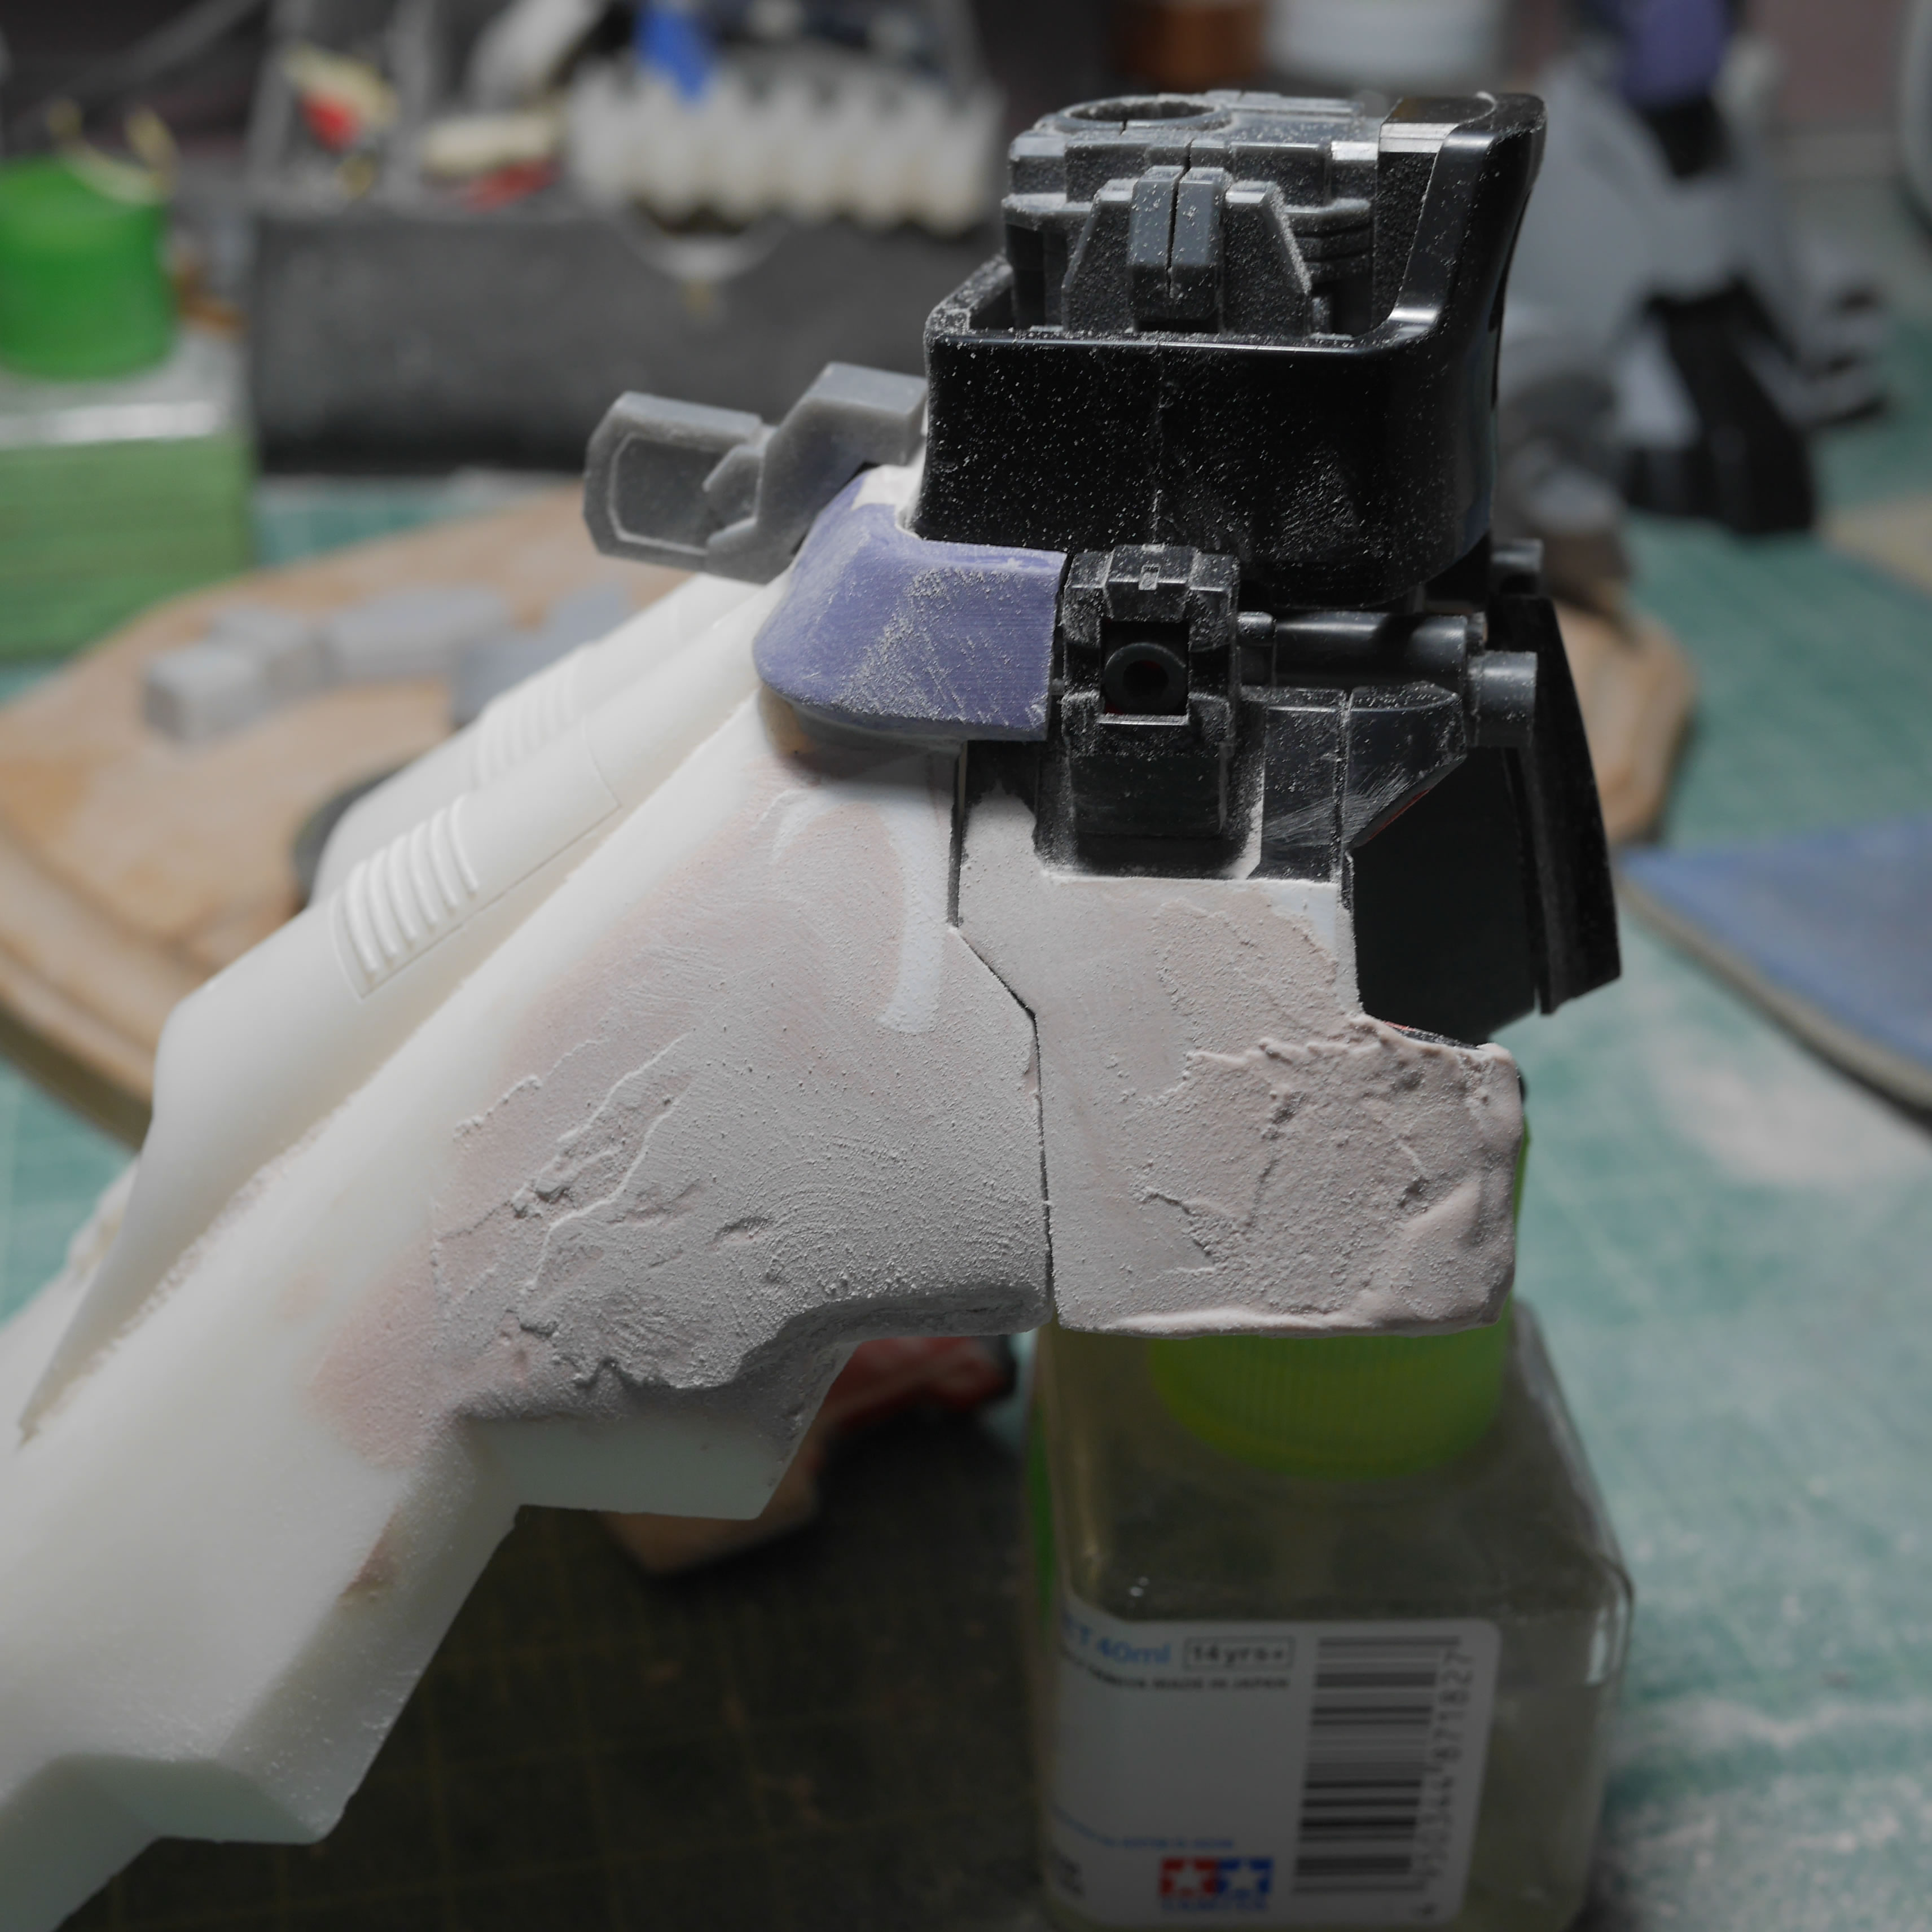
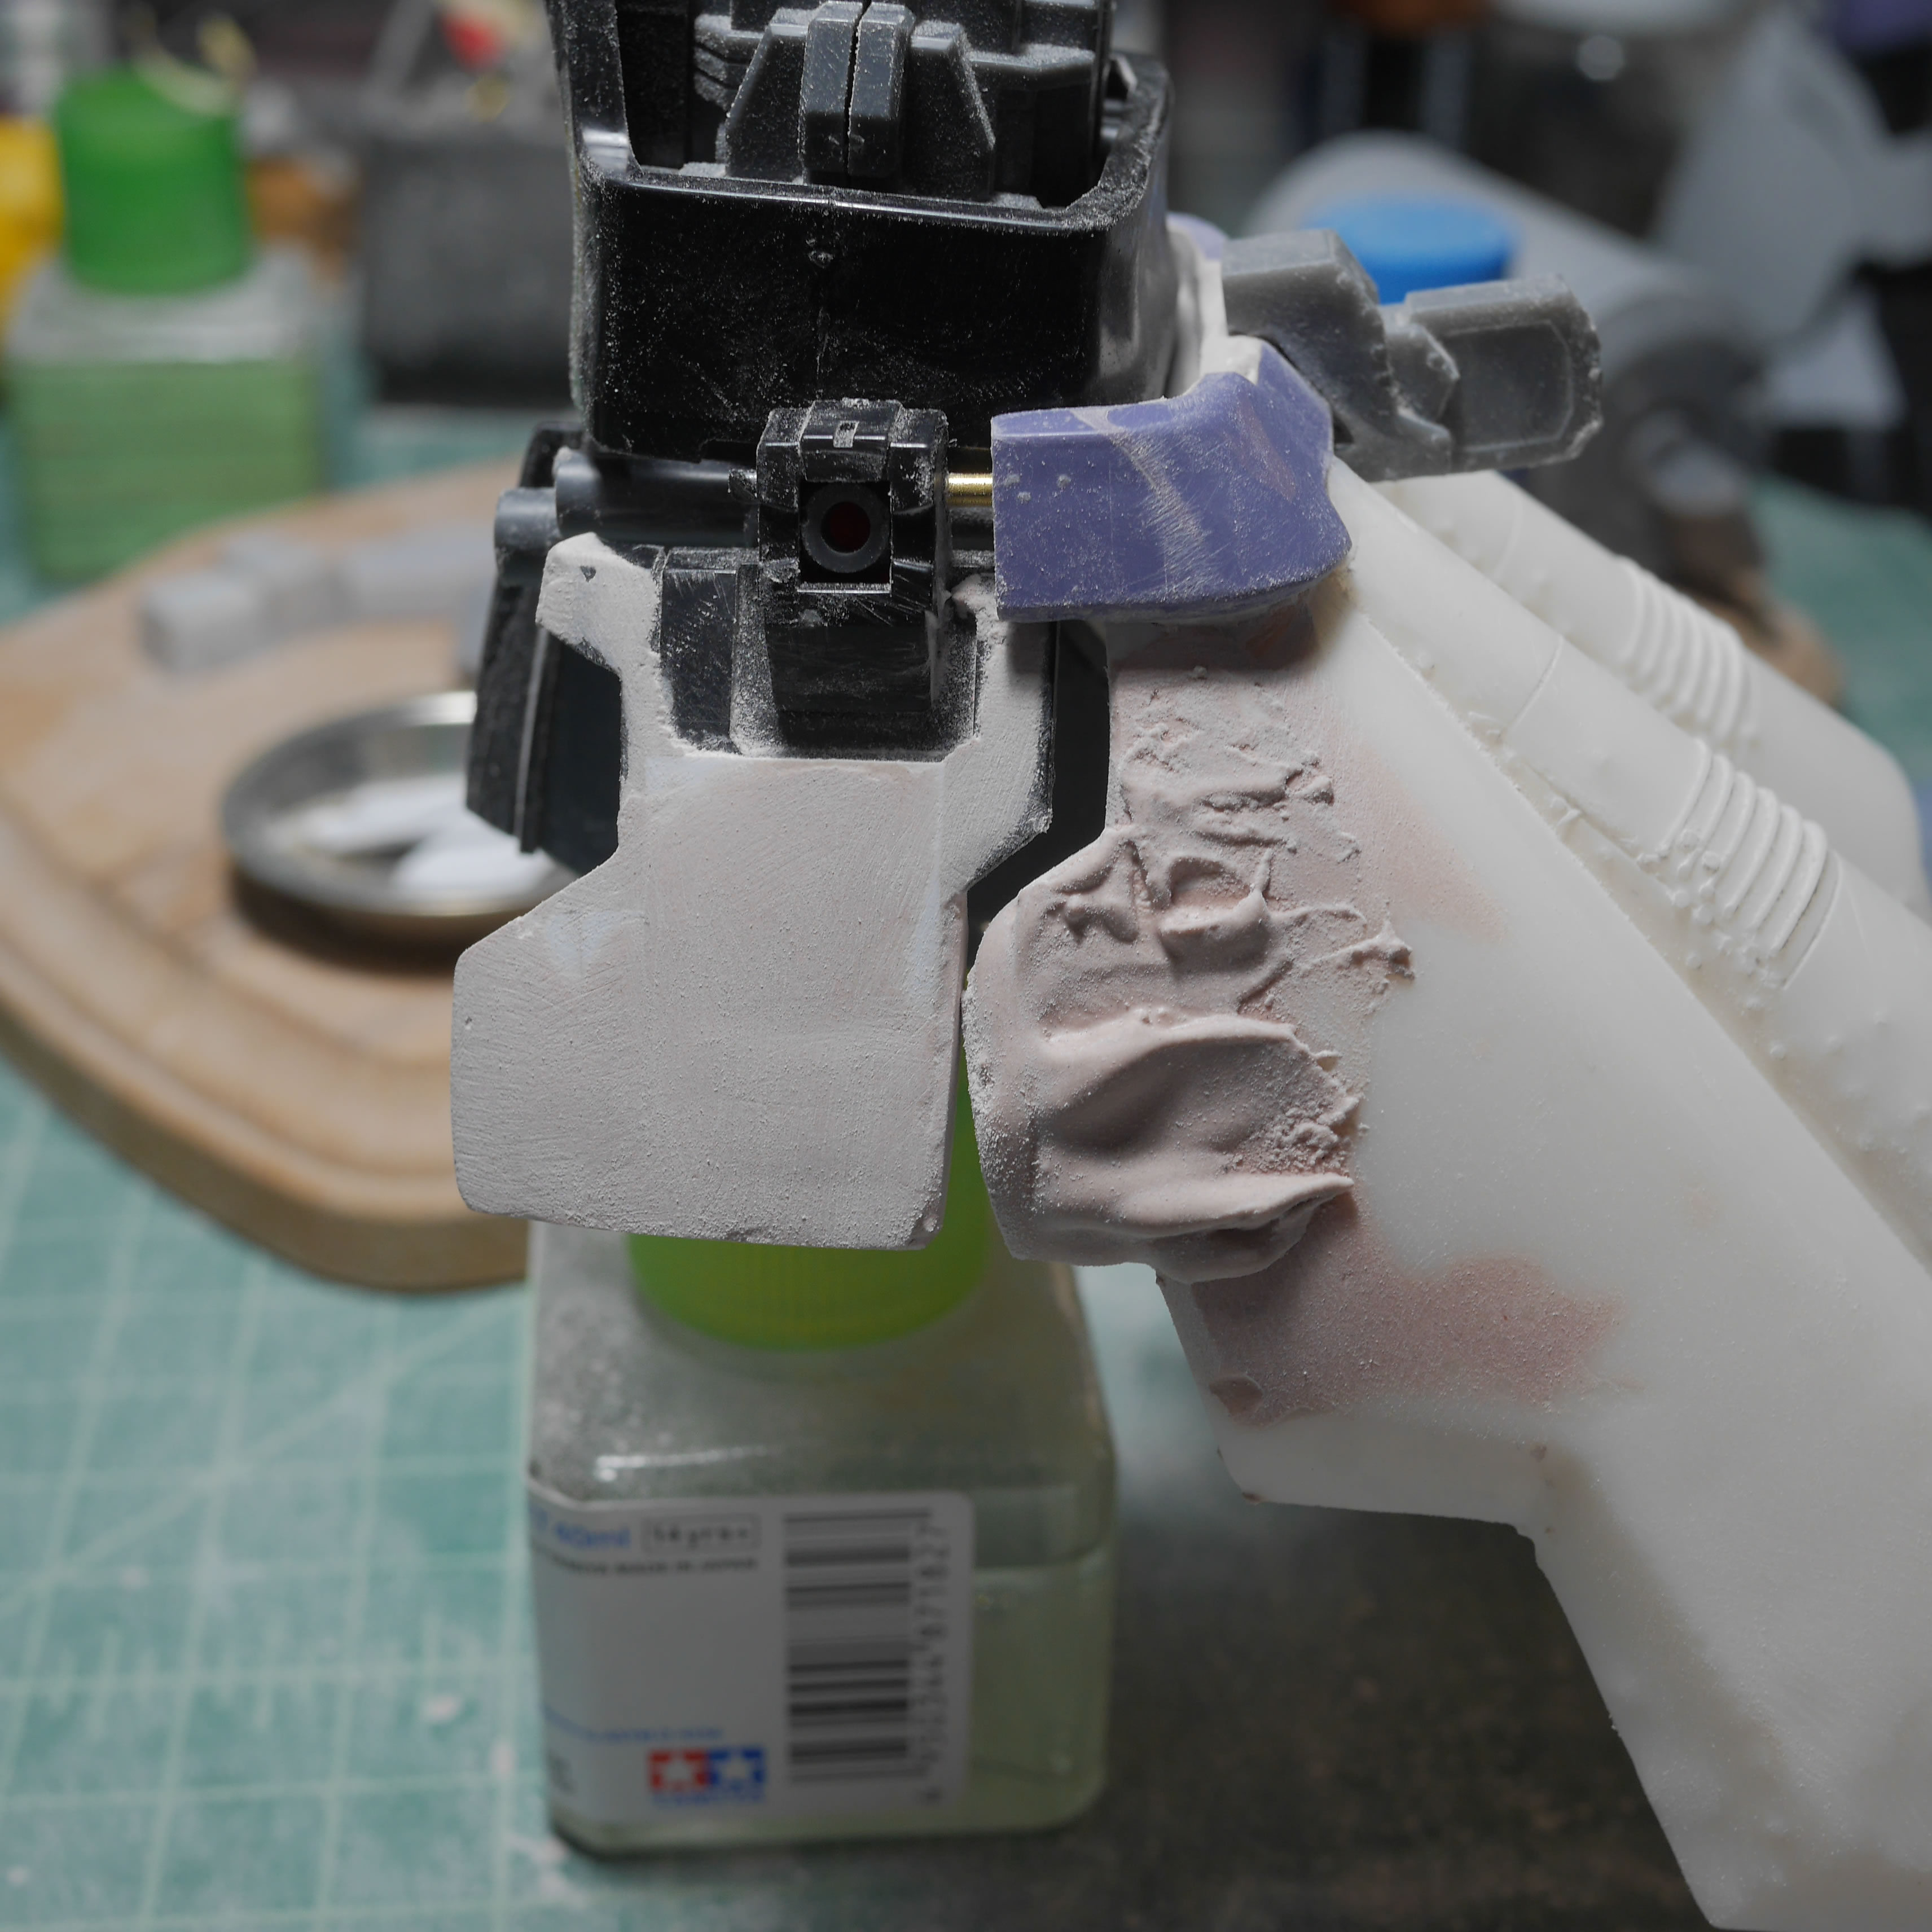
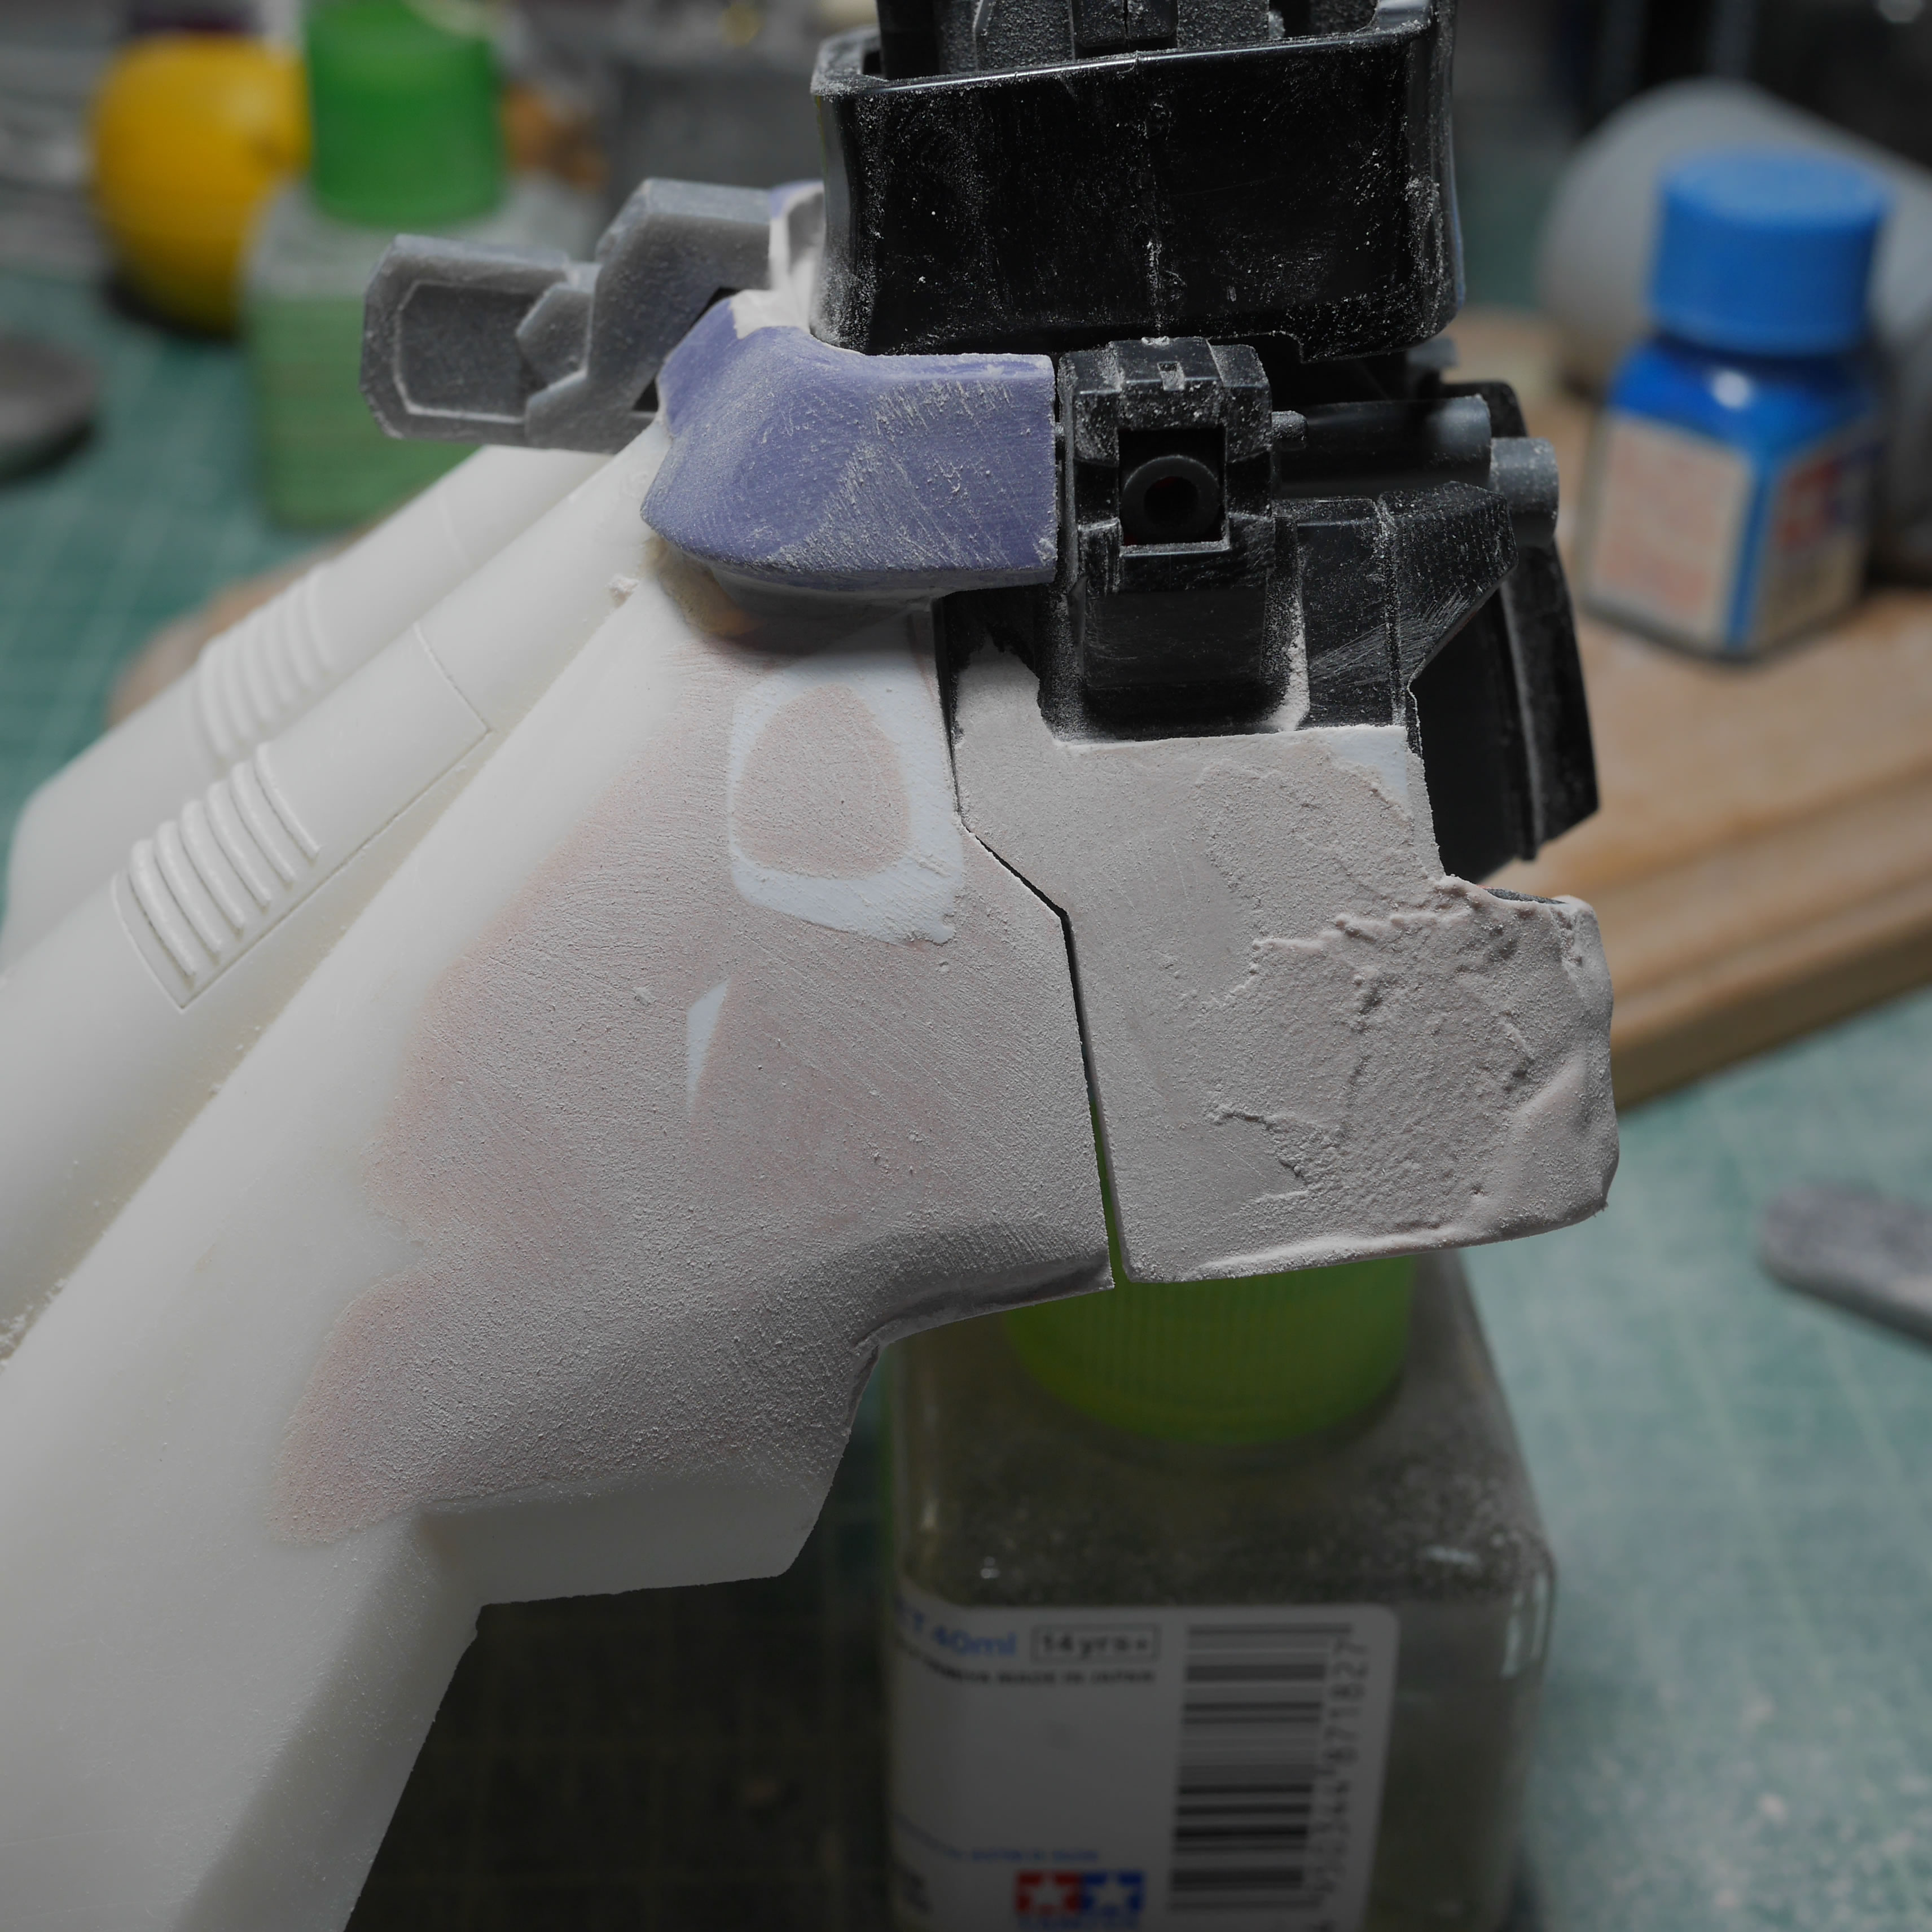
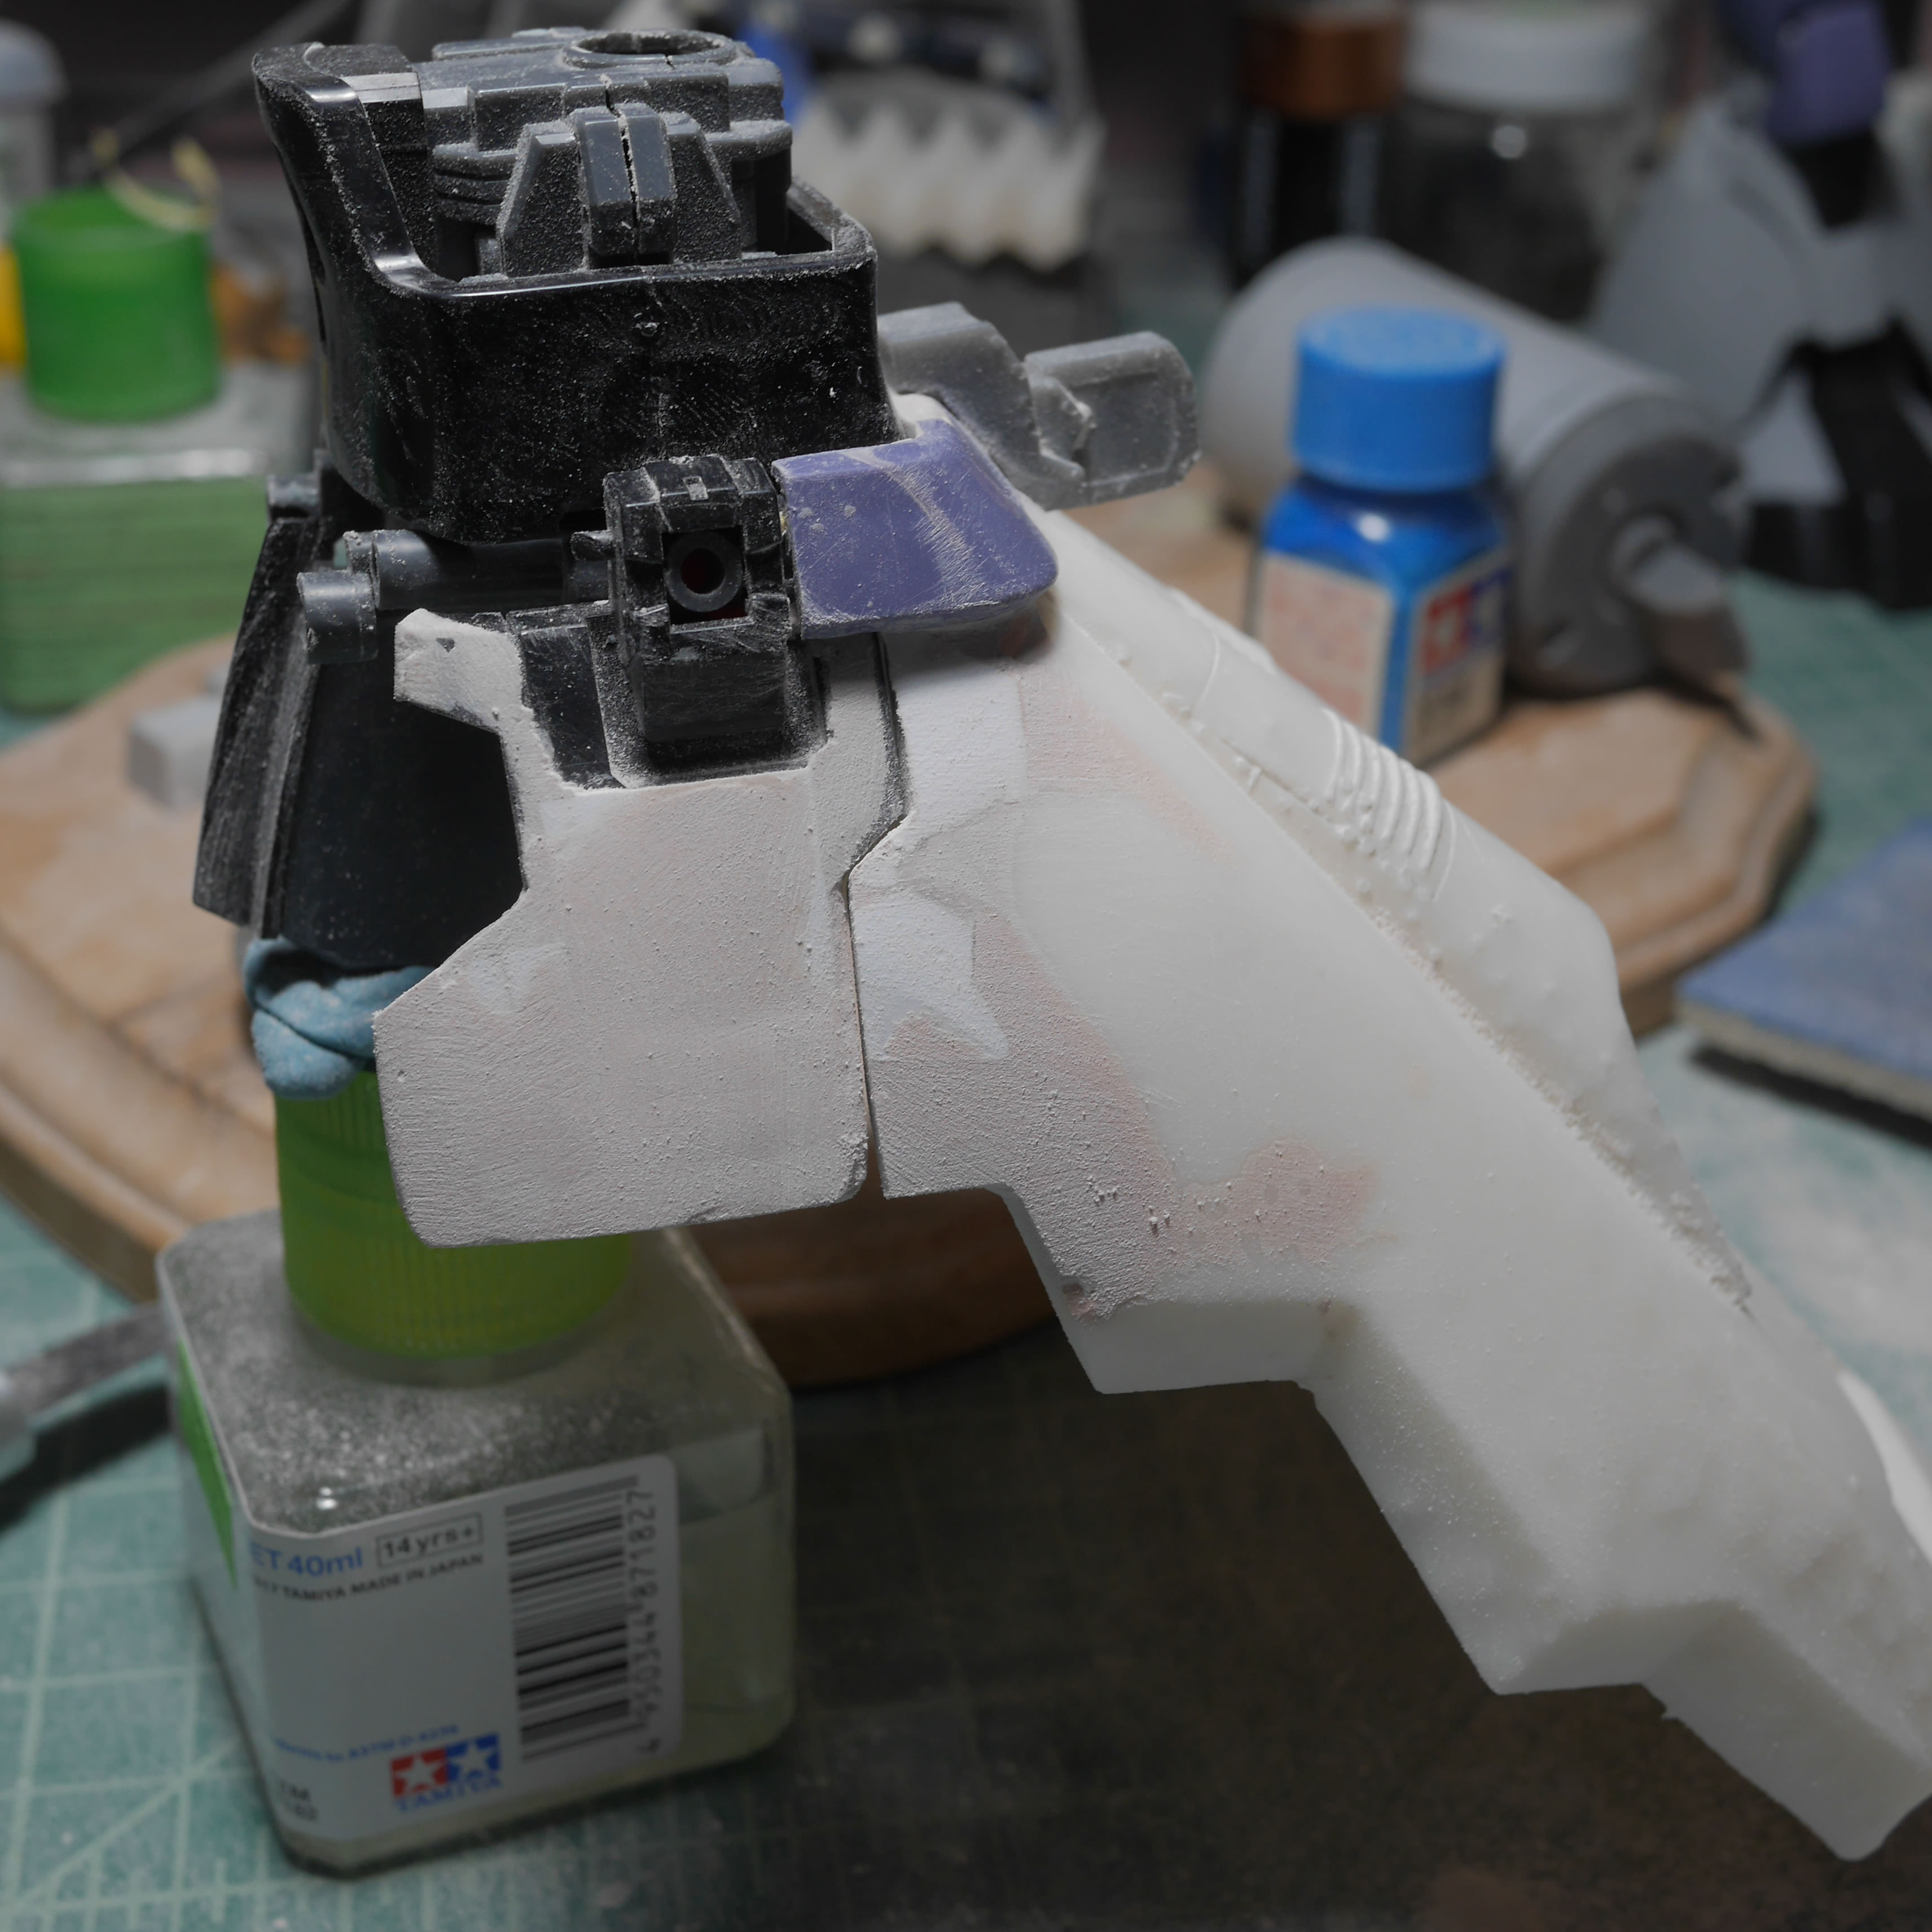
That brings us back to more bondo to rebuild what I had sanded. The legs pushed the side skirts out. The front belt and front skirts slightly change the position of the side skirts along that axis, so I really needed all these pieces in place while I test fit and sanded down the rear skirt. Learning my lesson here, I kept all the parts affecting the side skirts position static while redoing the sanding work on the rear skirt. My brain tends to go 2D when I should be thinking 3D.

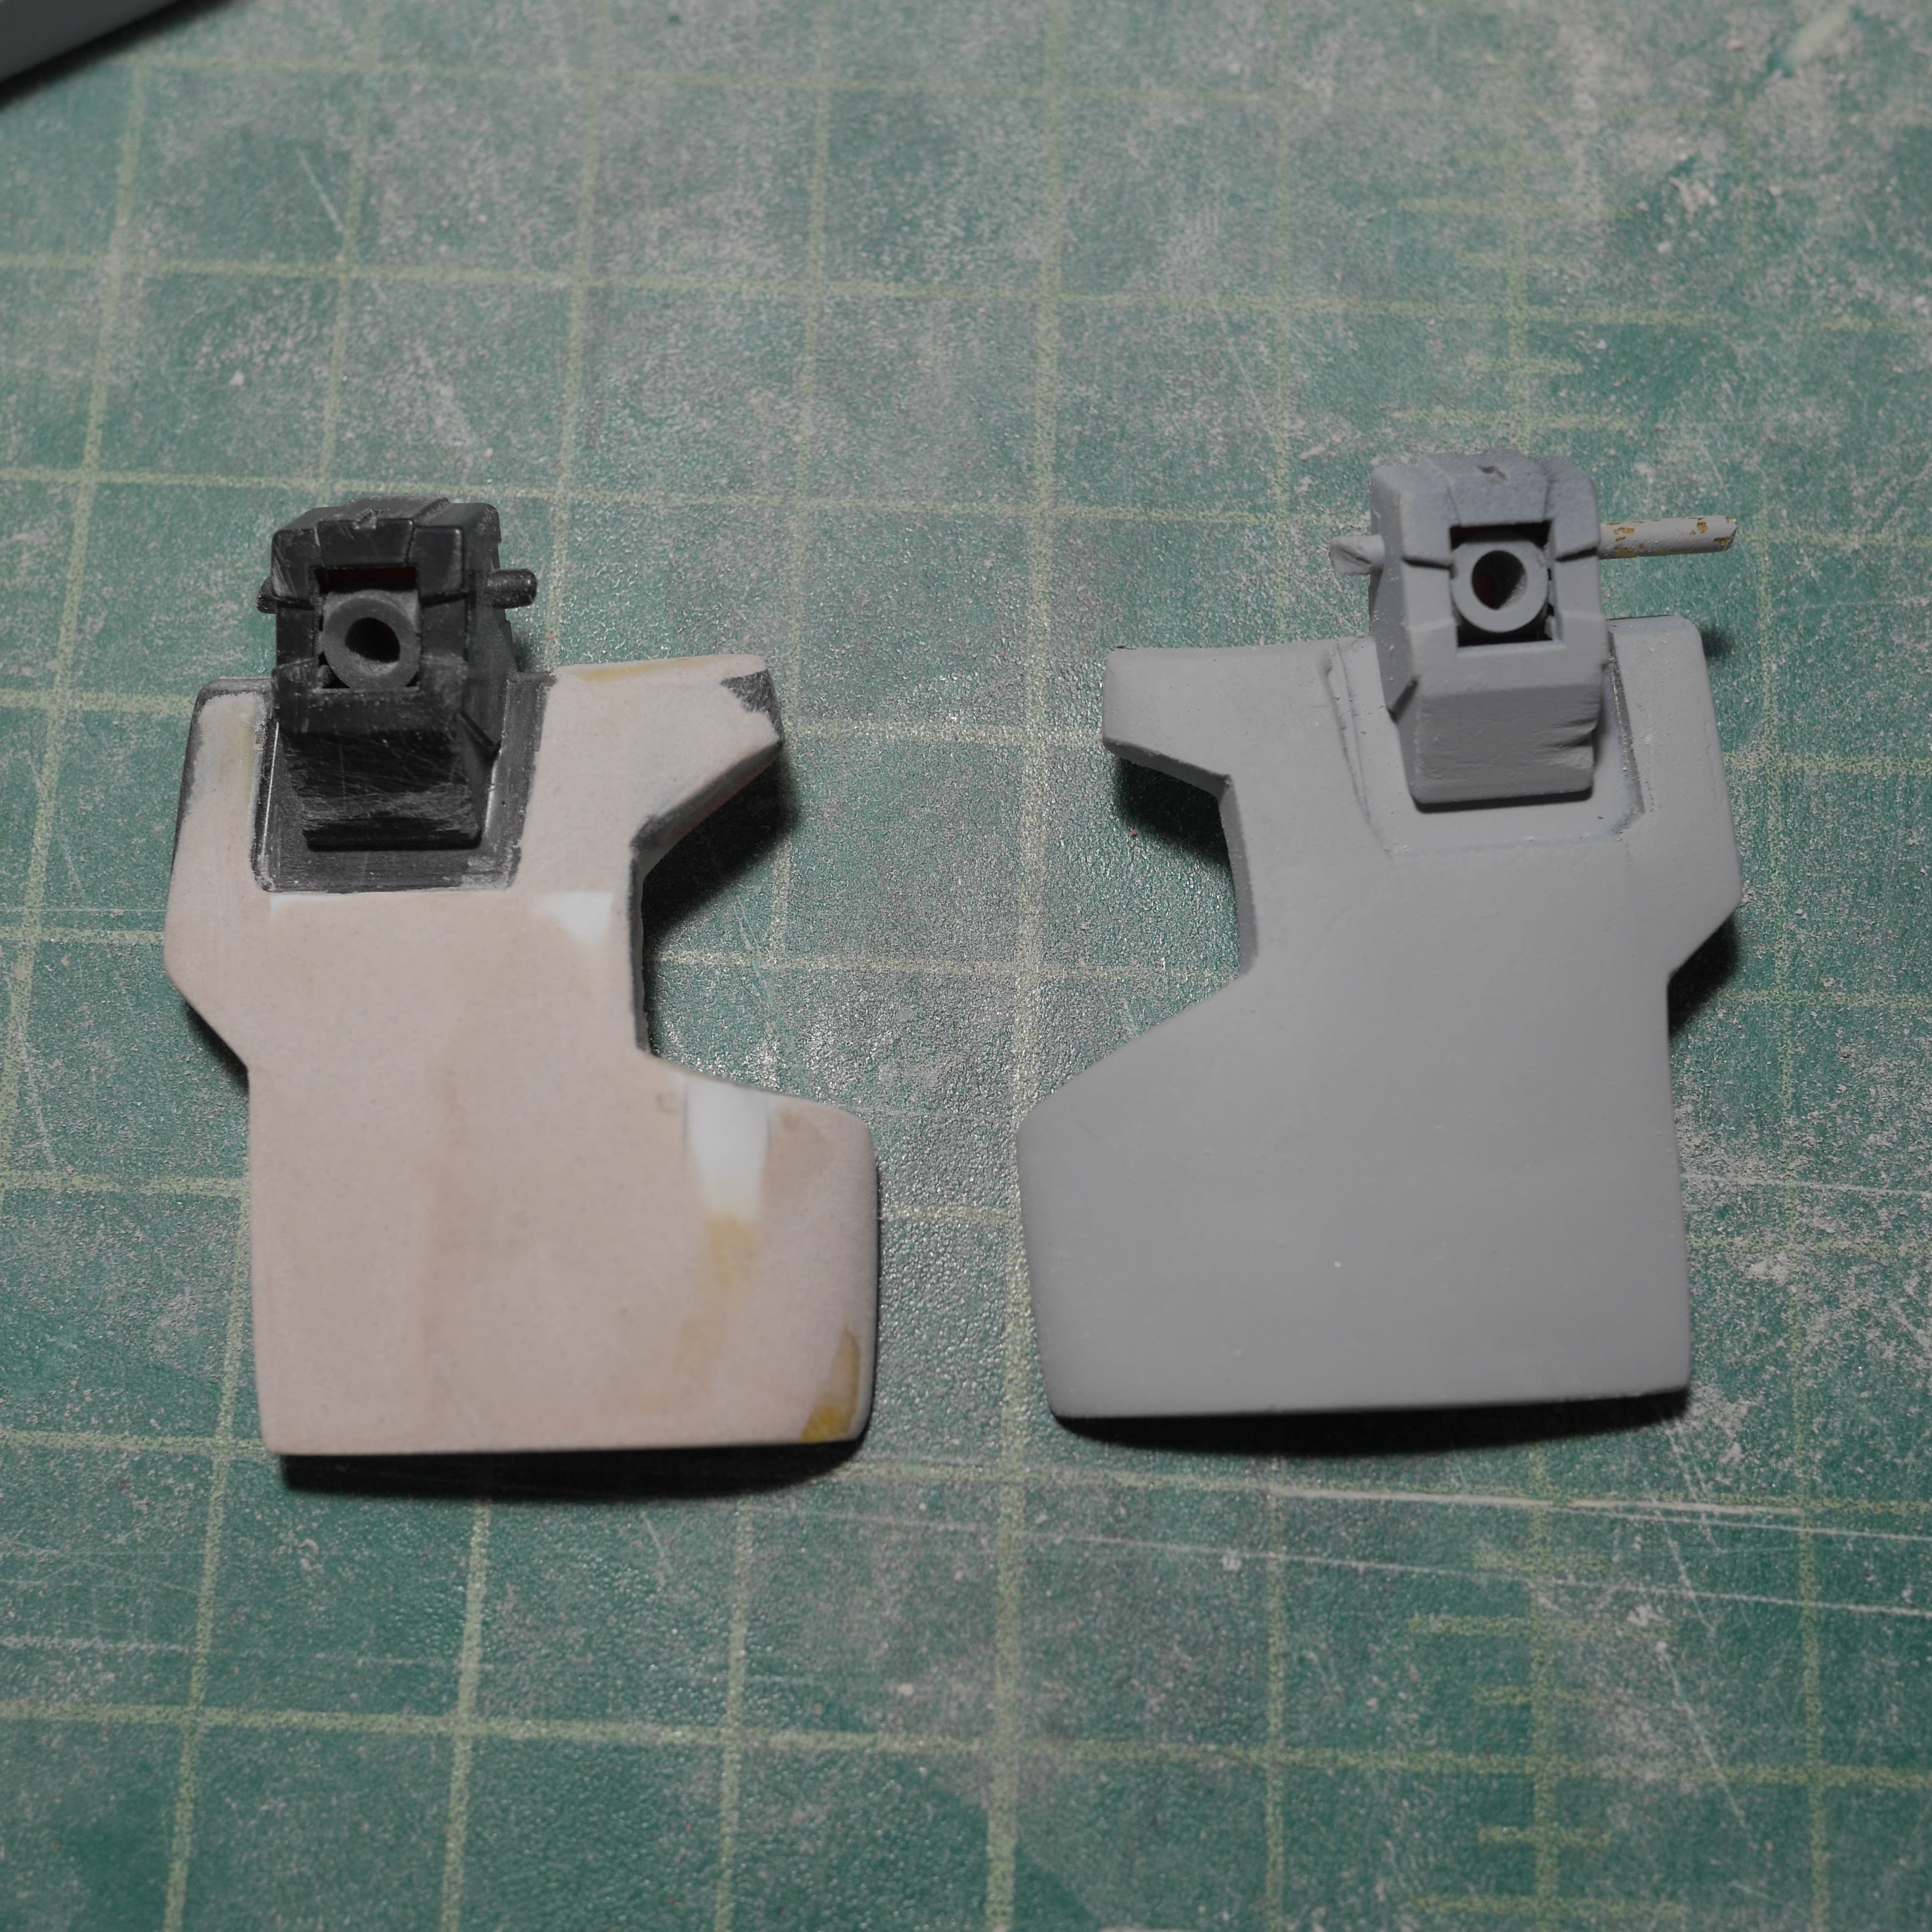
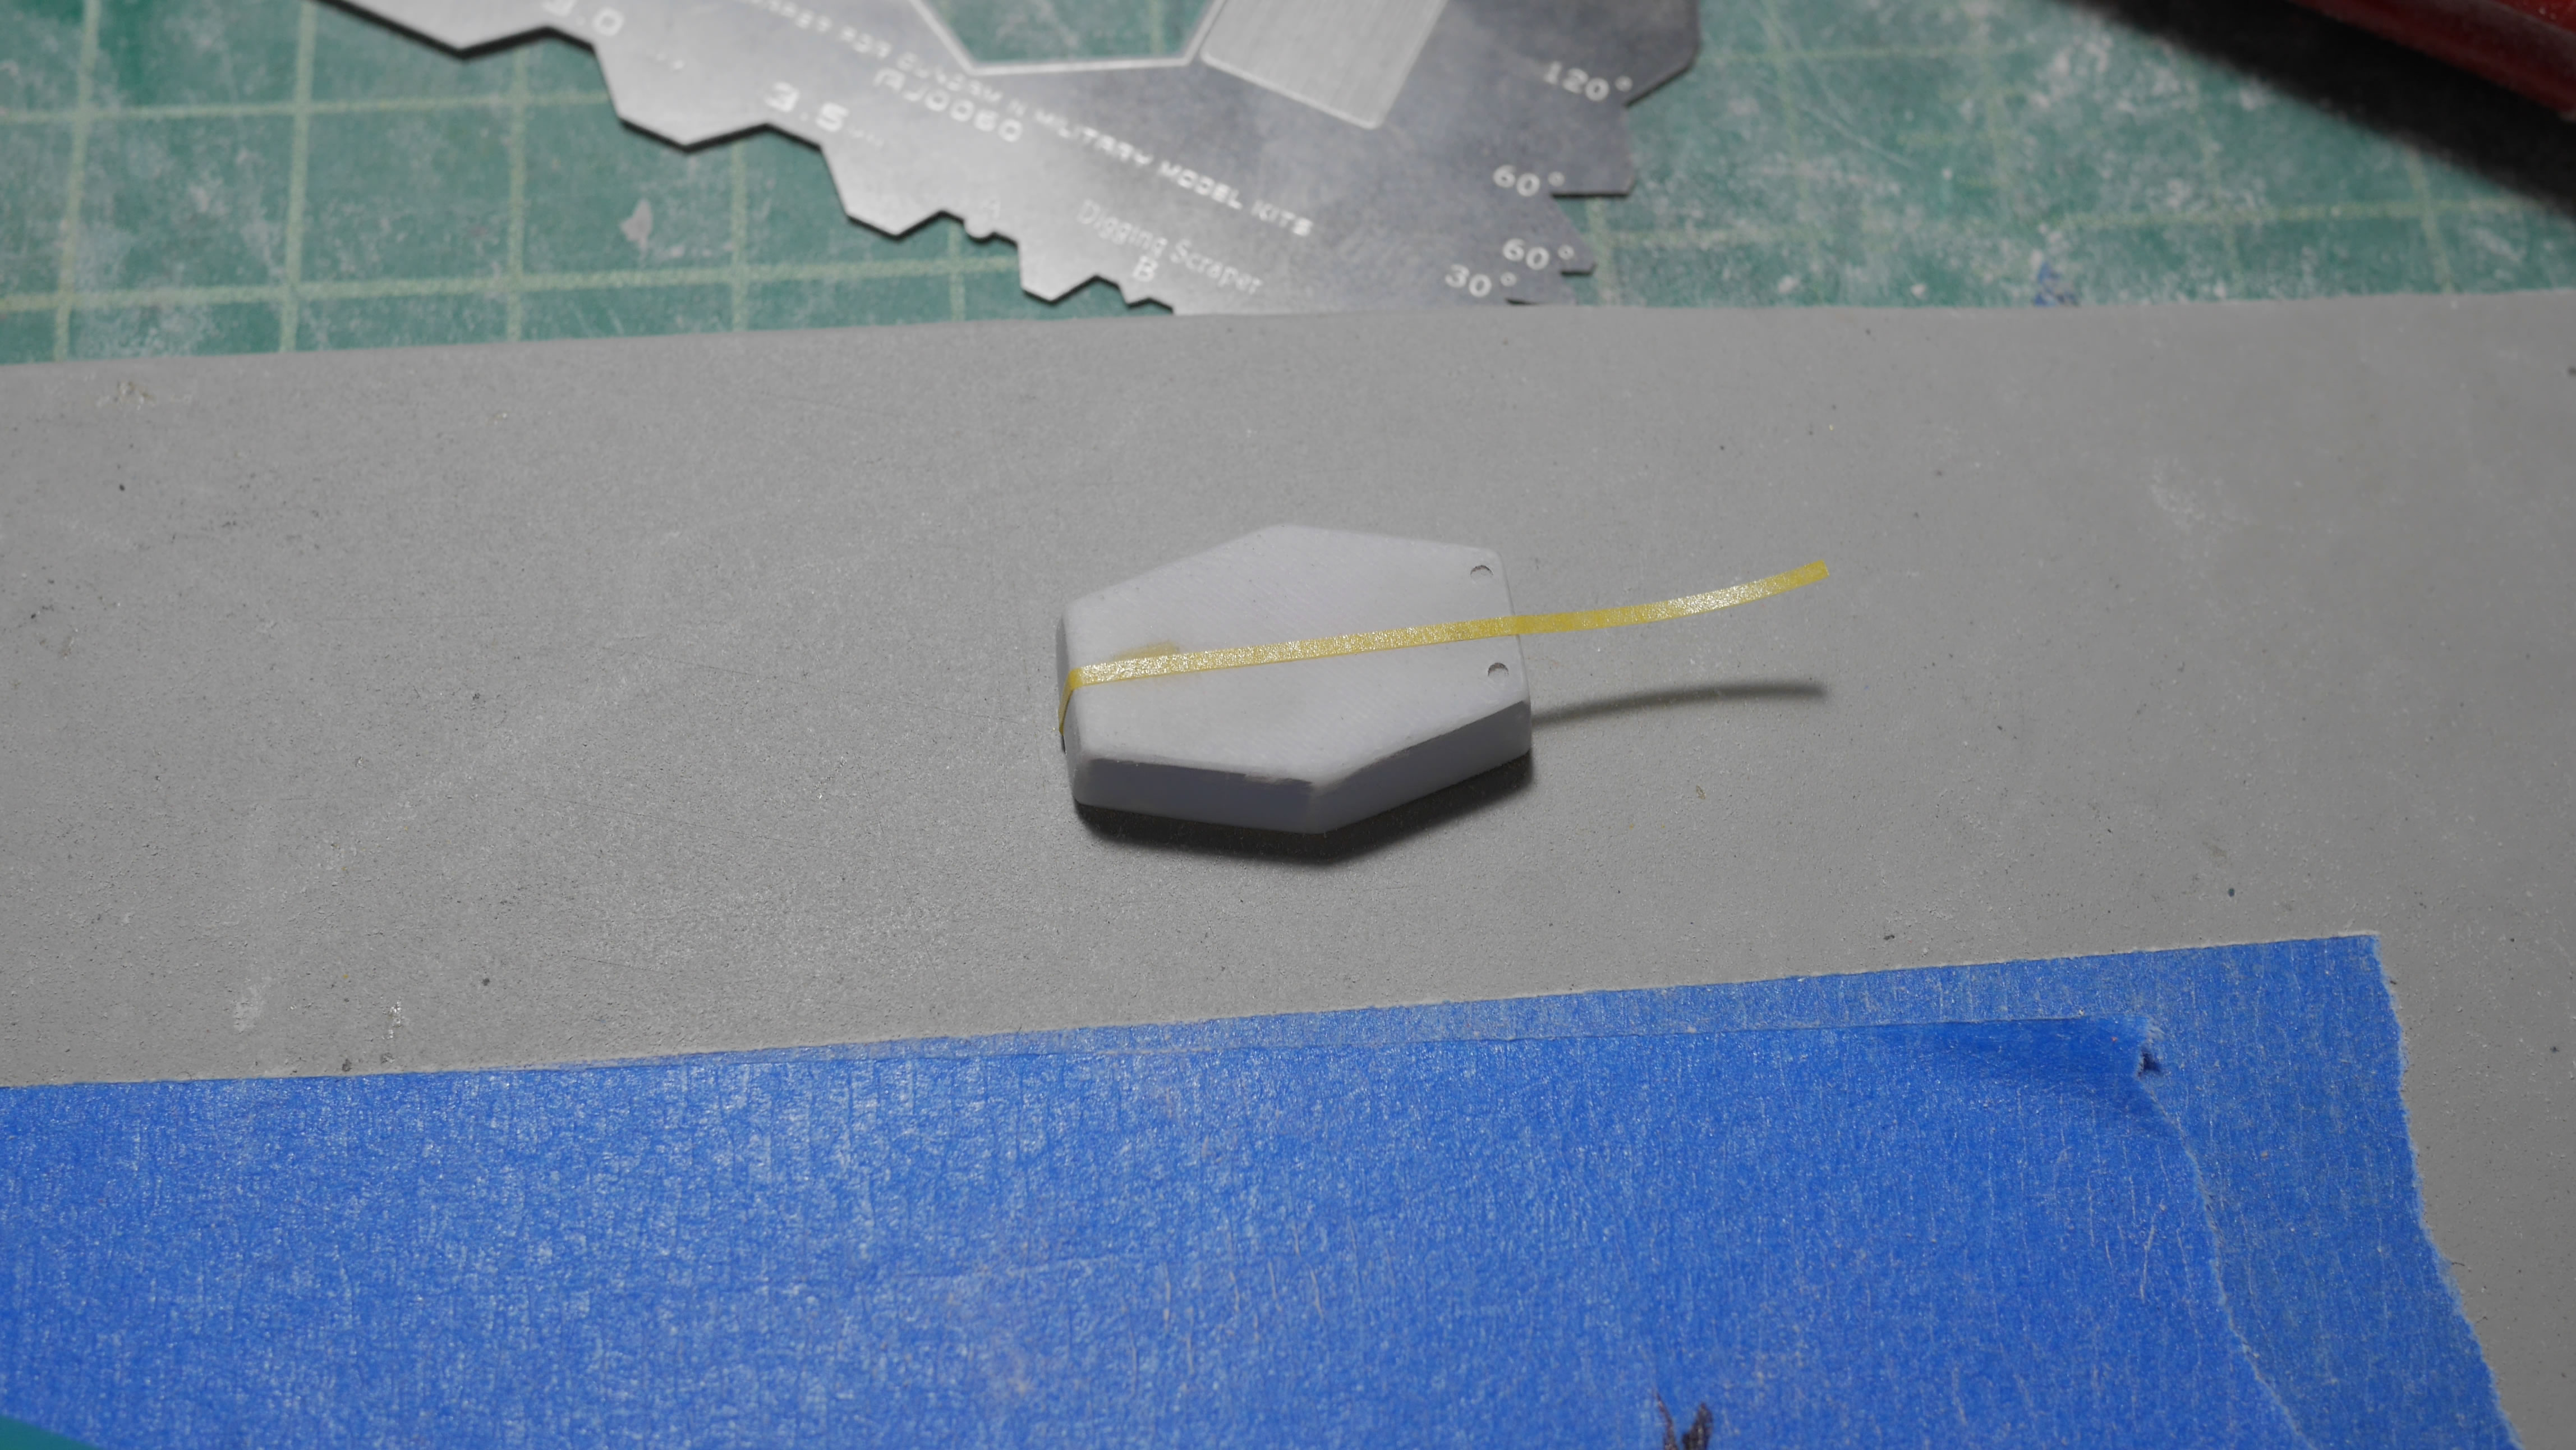
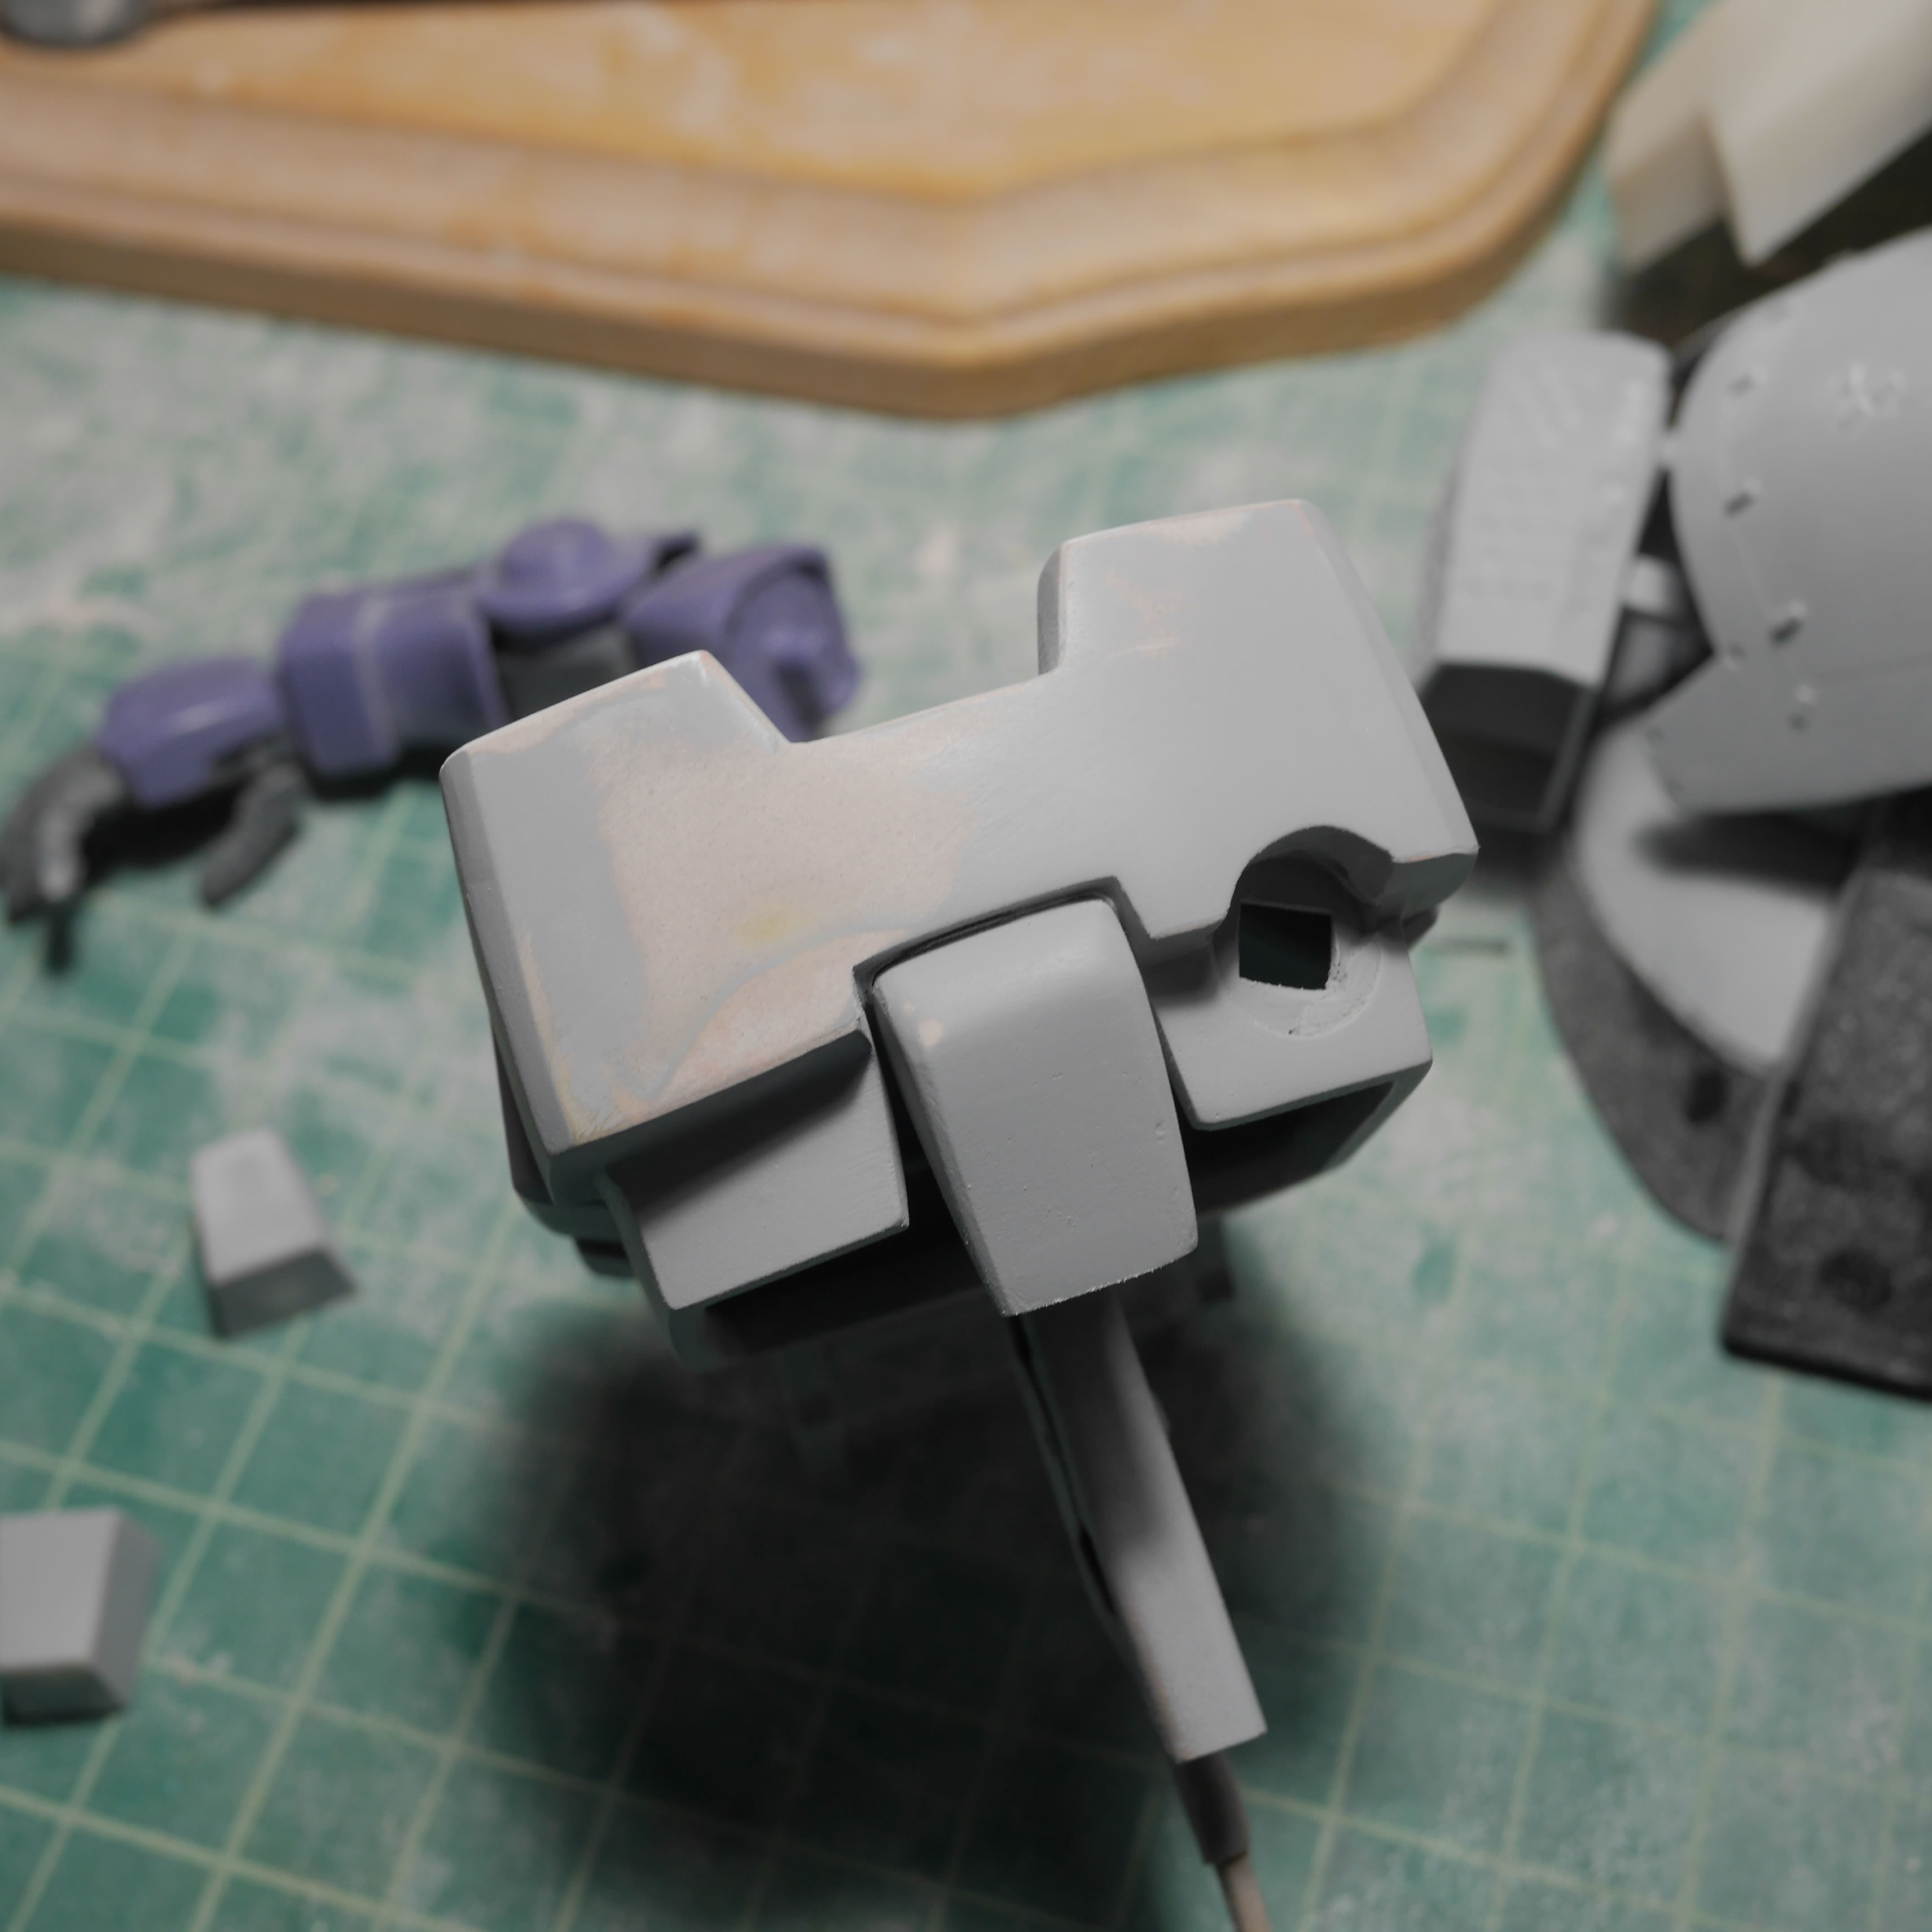
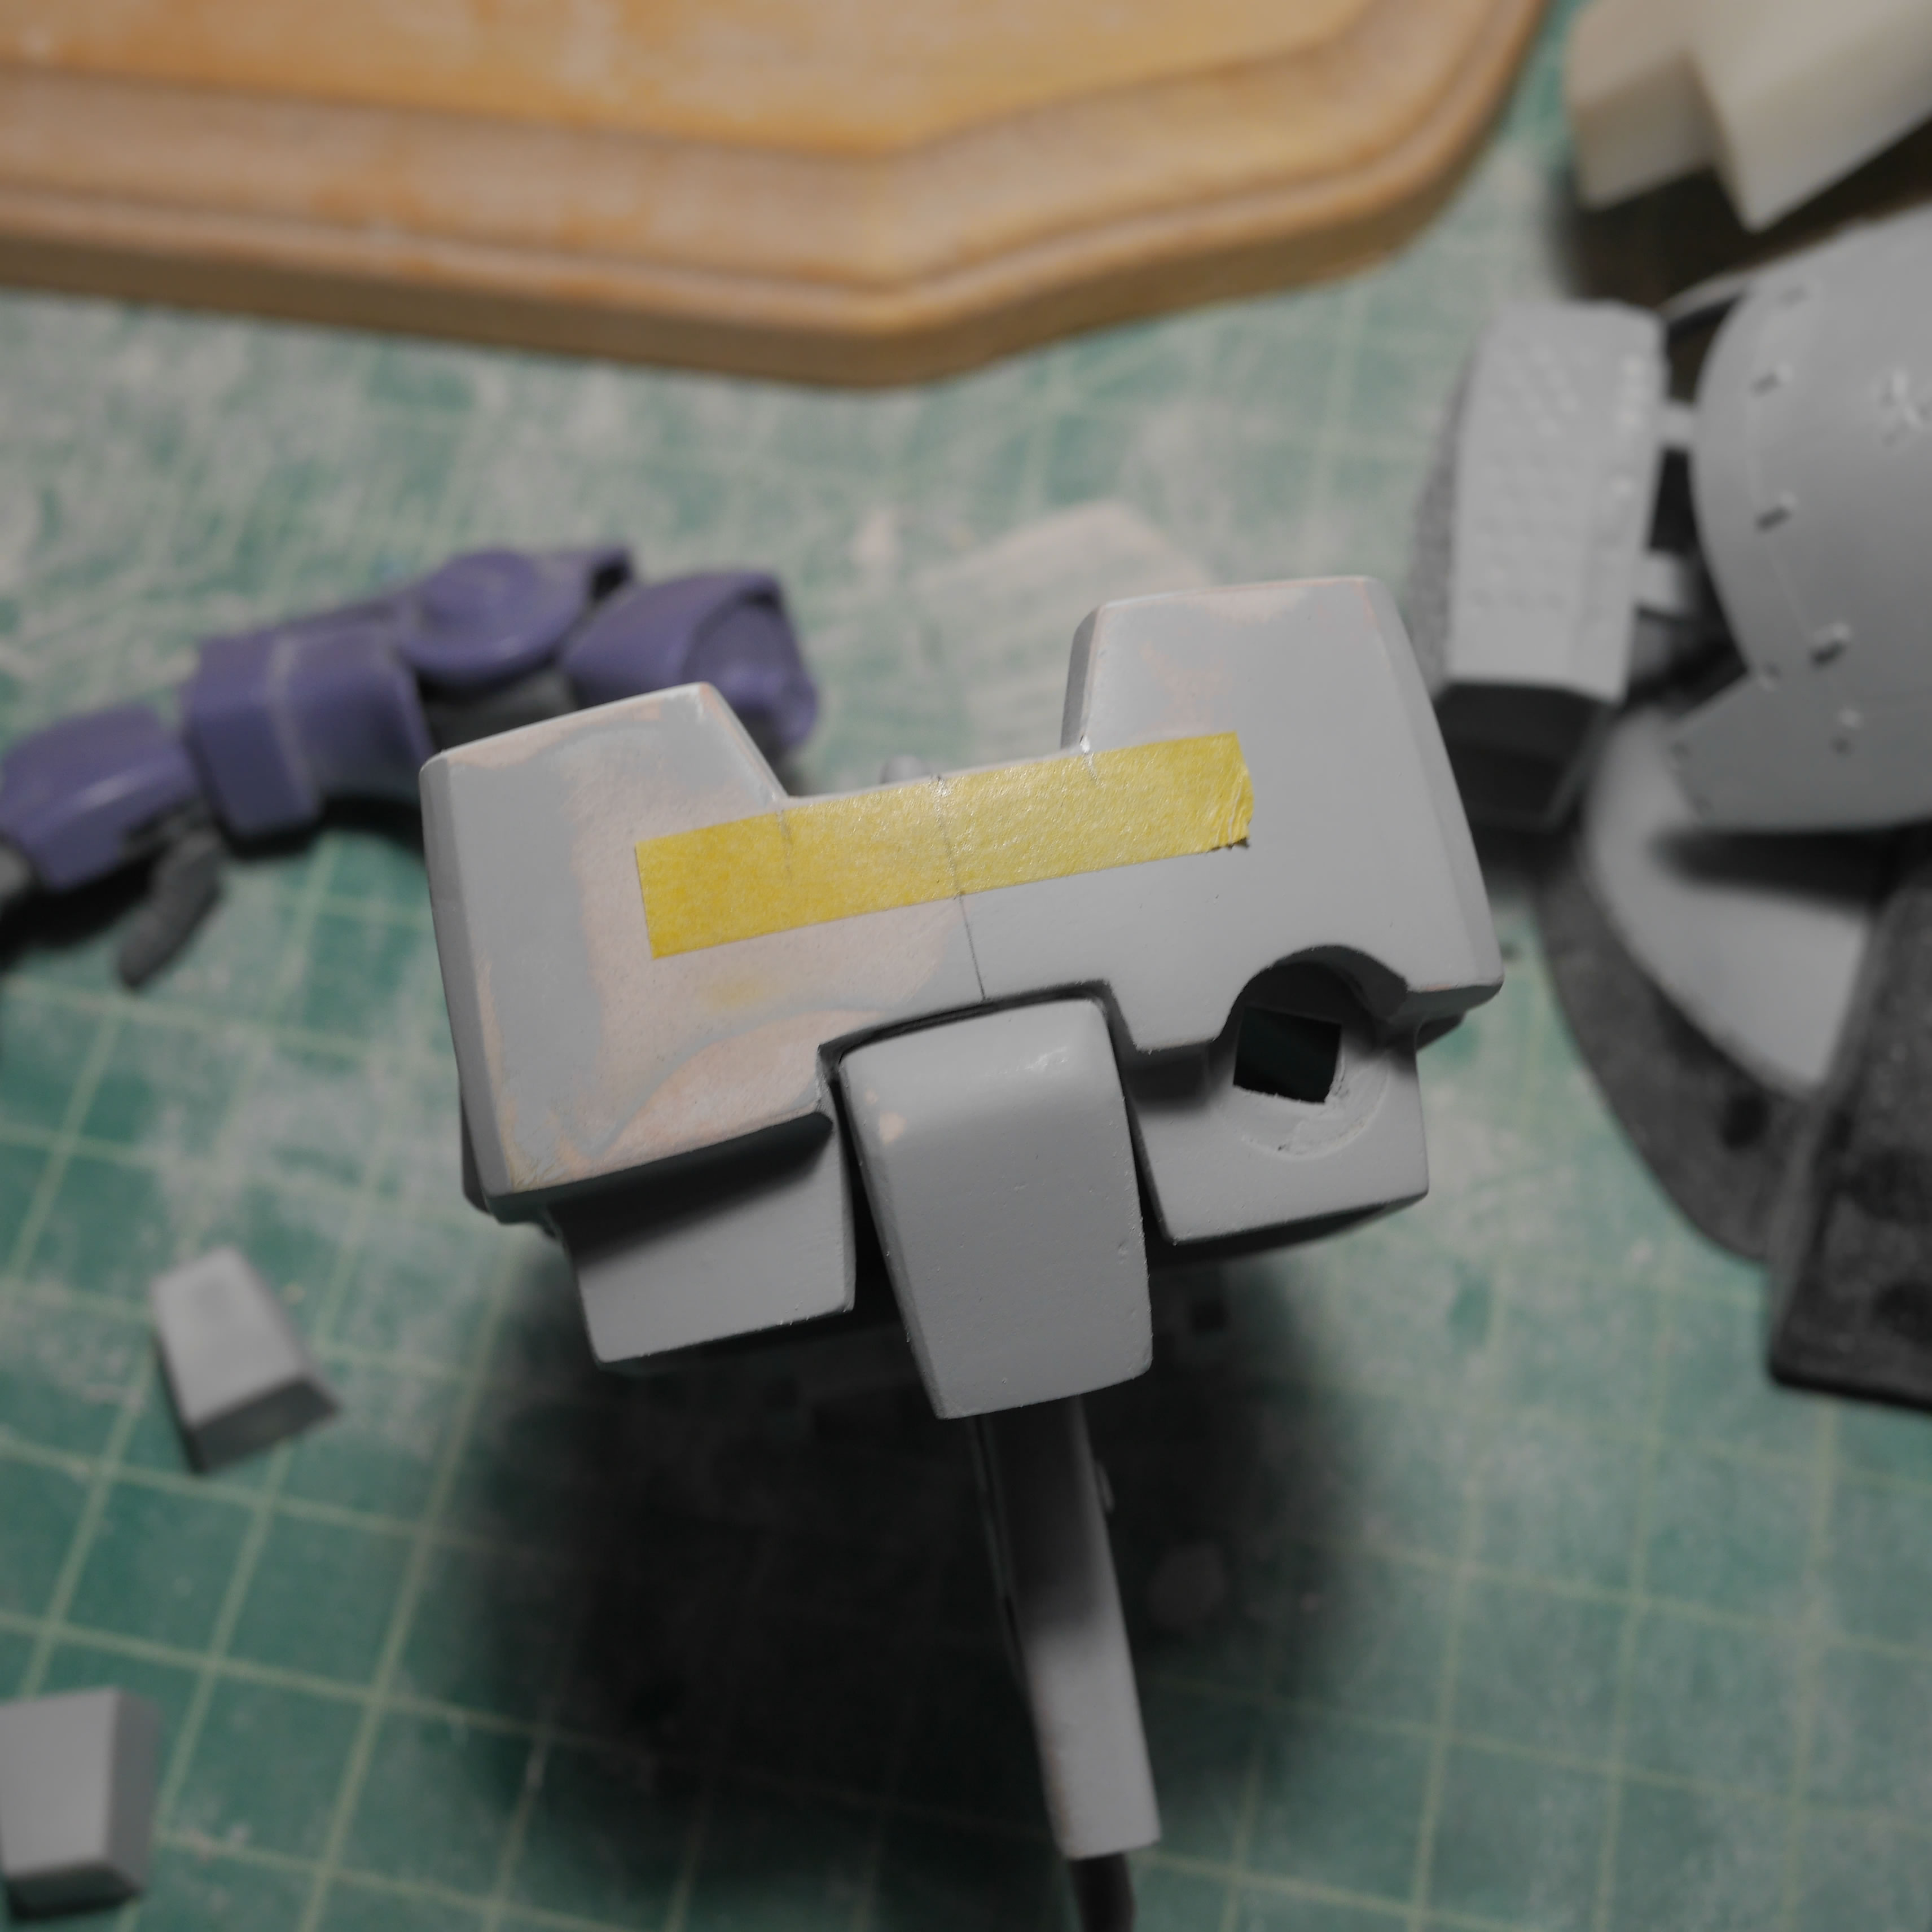
A few years ago, I picked up several tools from Hong Kong and there are still plenty of those tools that I have not used yet. The alexan scraper tool is one such tool. I used the scraper as a beveling tool and beveled the larger missile pod covers. I had also scribed details on the missle covers and when I did this, I eyeballed the measurements. So while it kinda worked for one of the covers, it didn’t for the second. Laziness in these small moments usually comes to bite me in the asshole later.
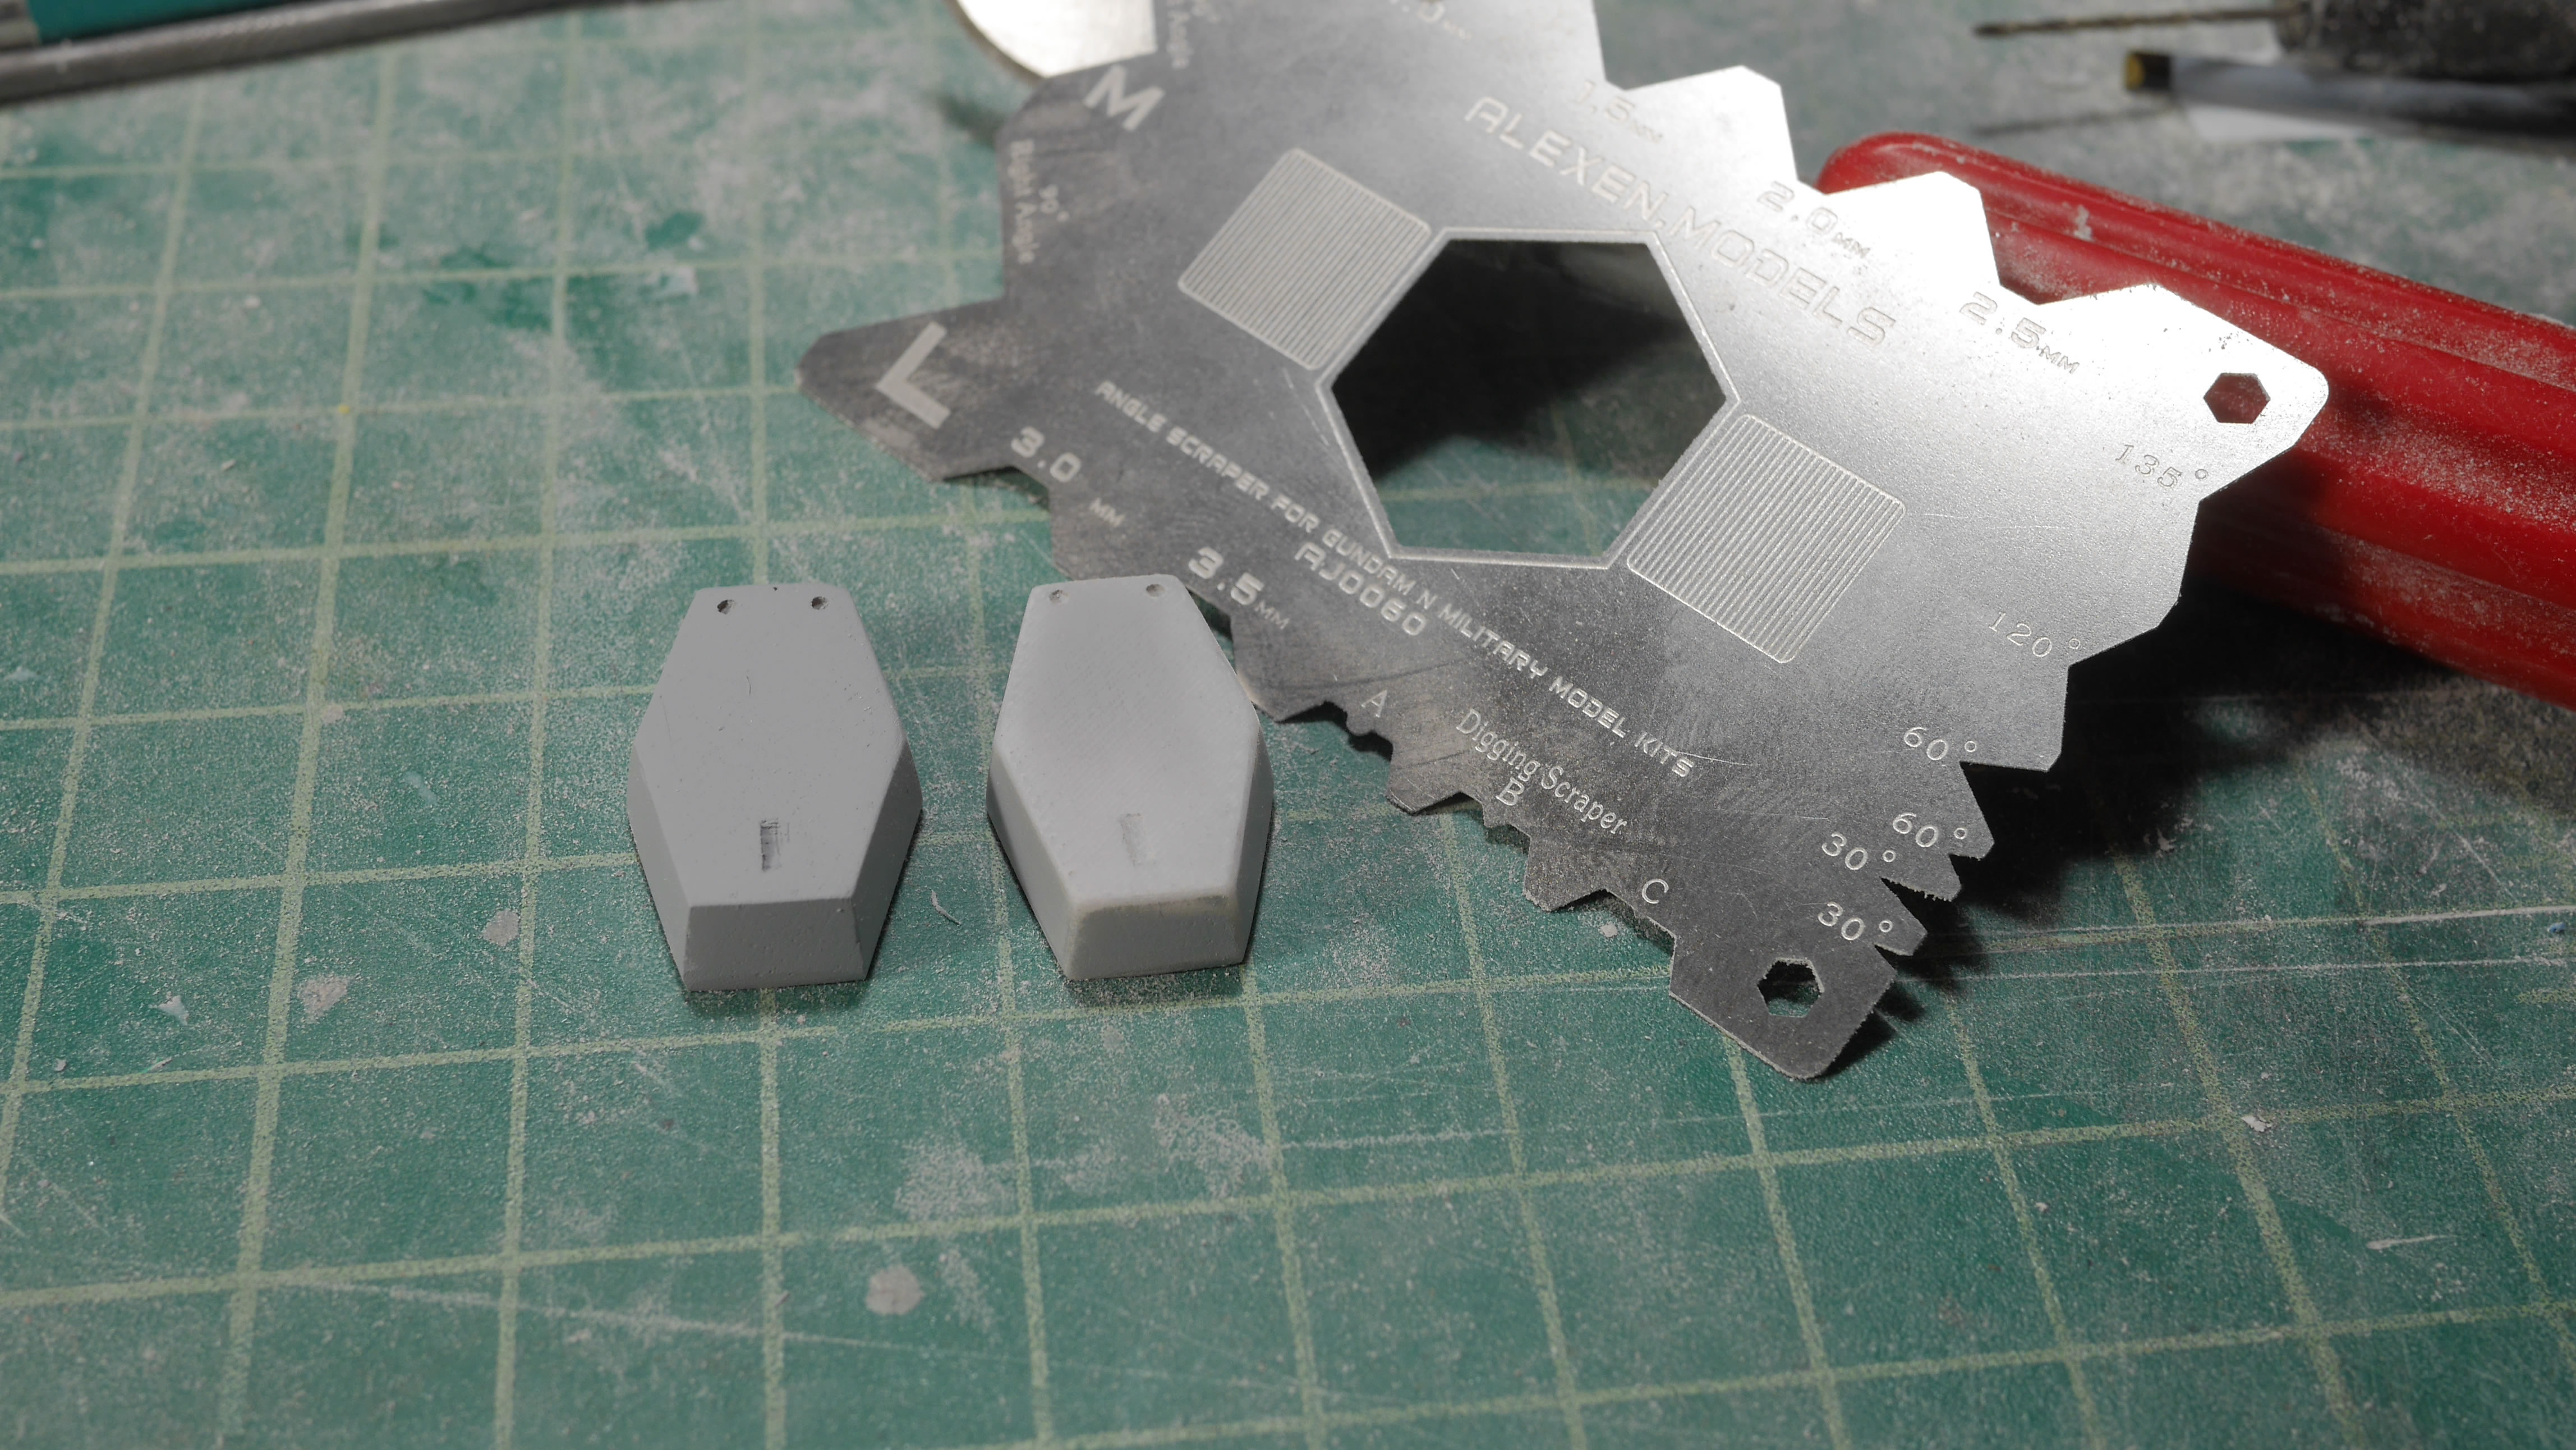
Light curing putty is applied and I went in with proper measurements to lay out the guide tape for rescribing in that detail bit.
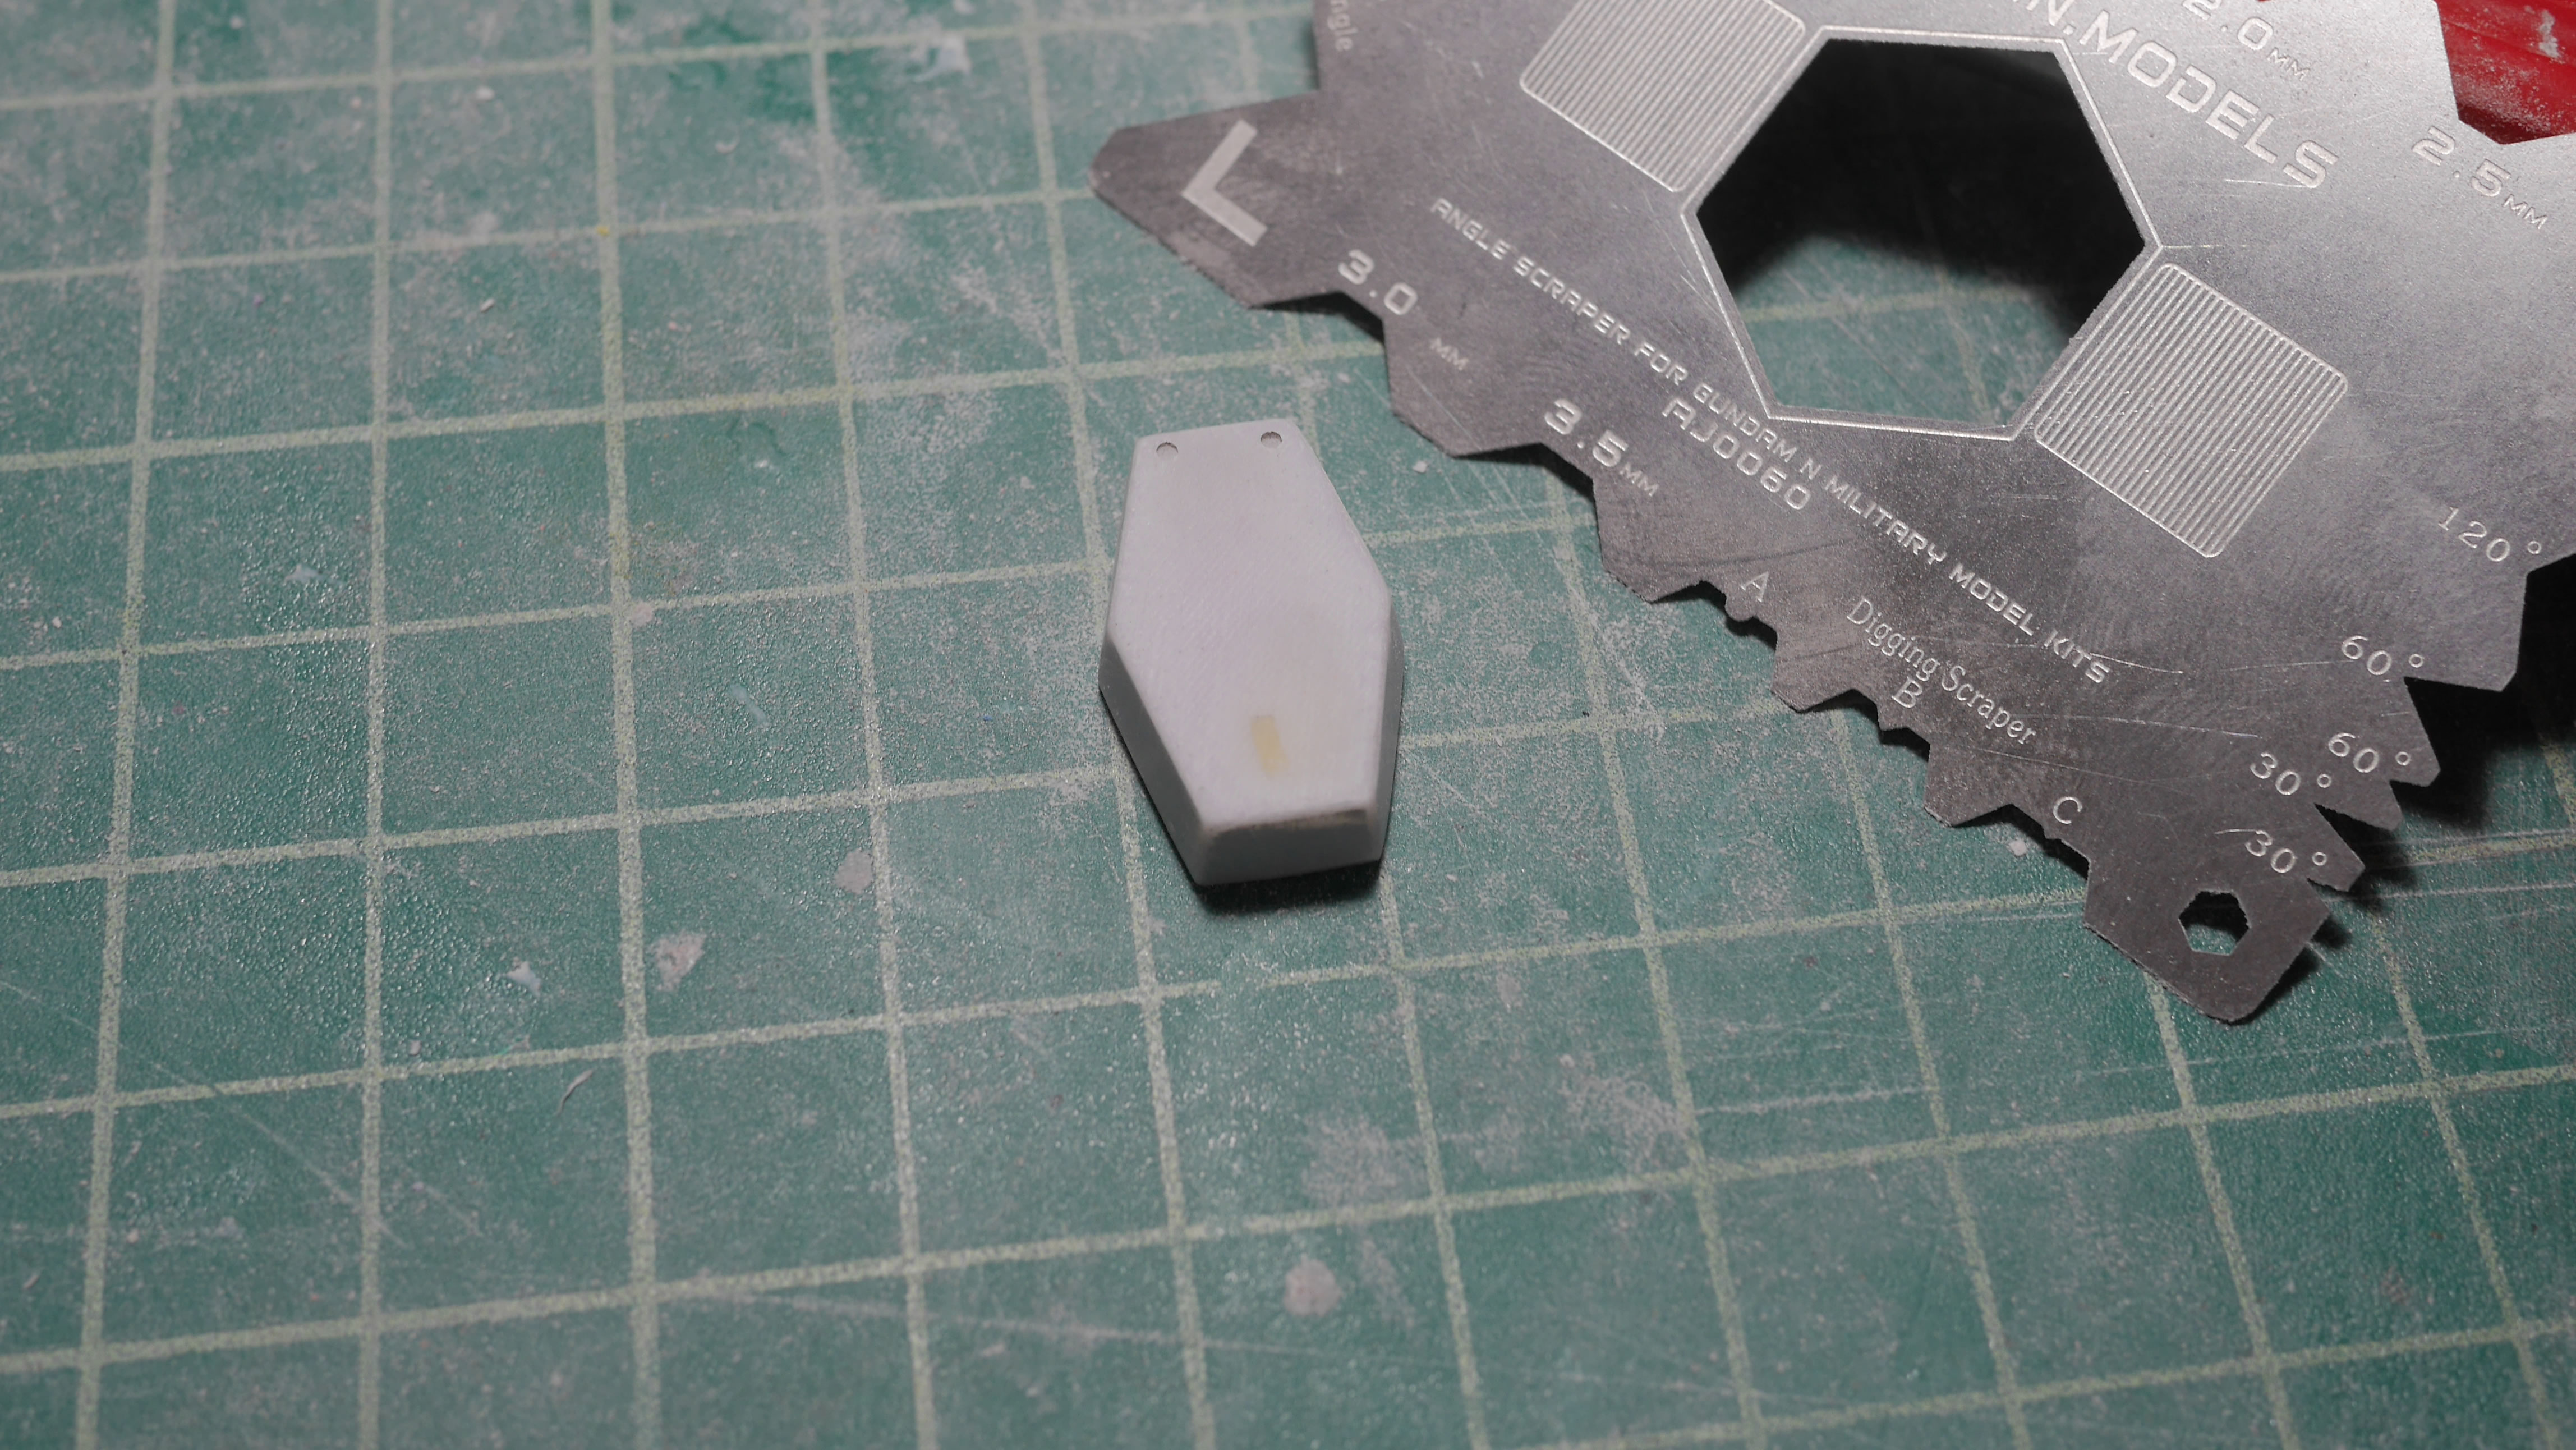
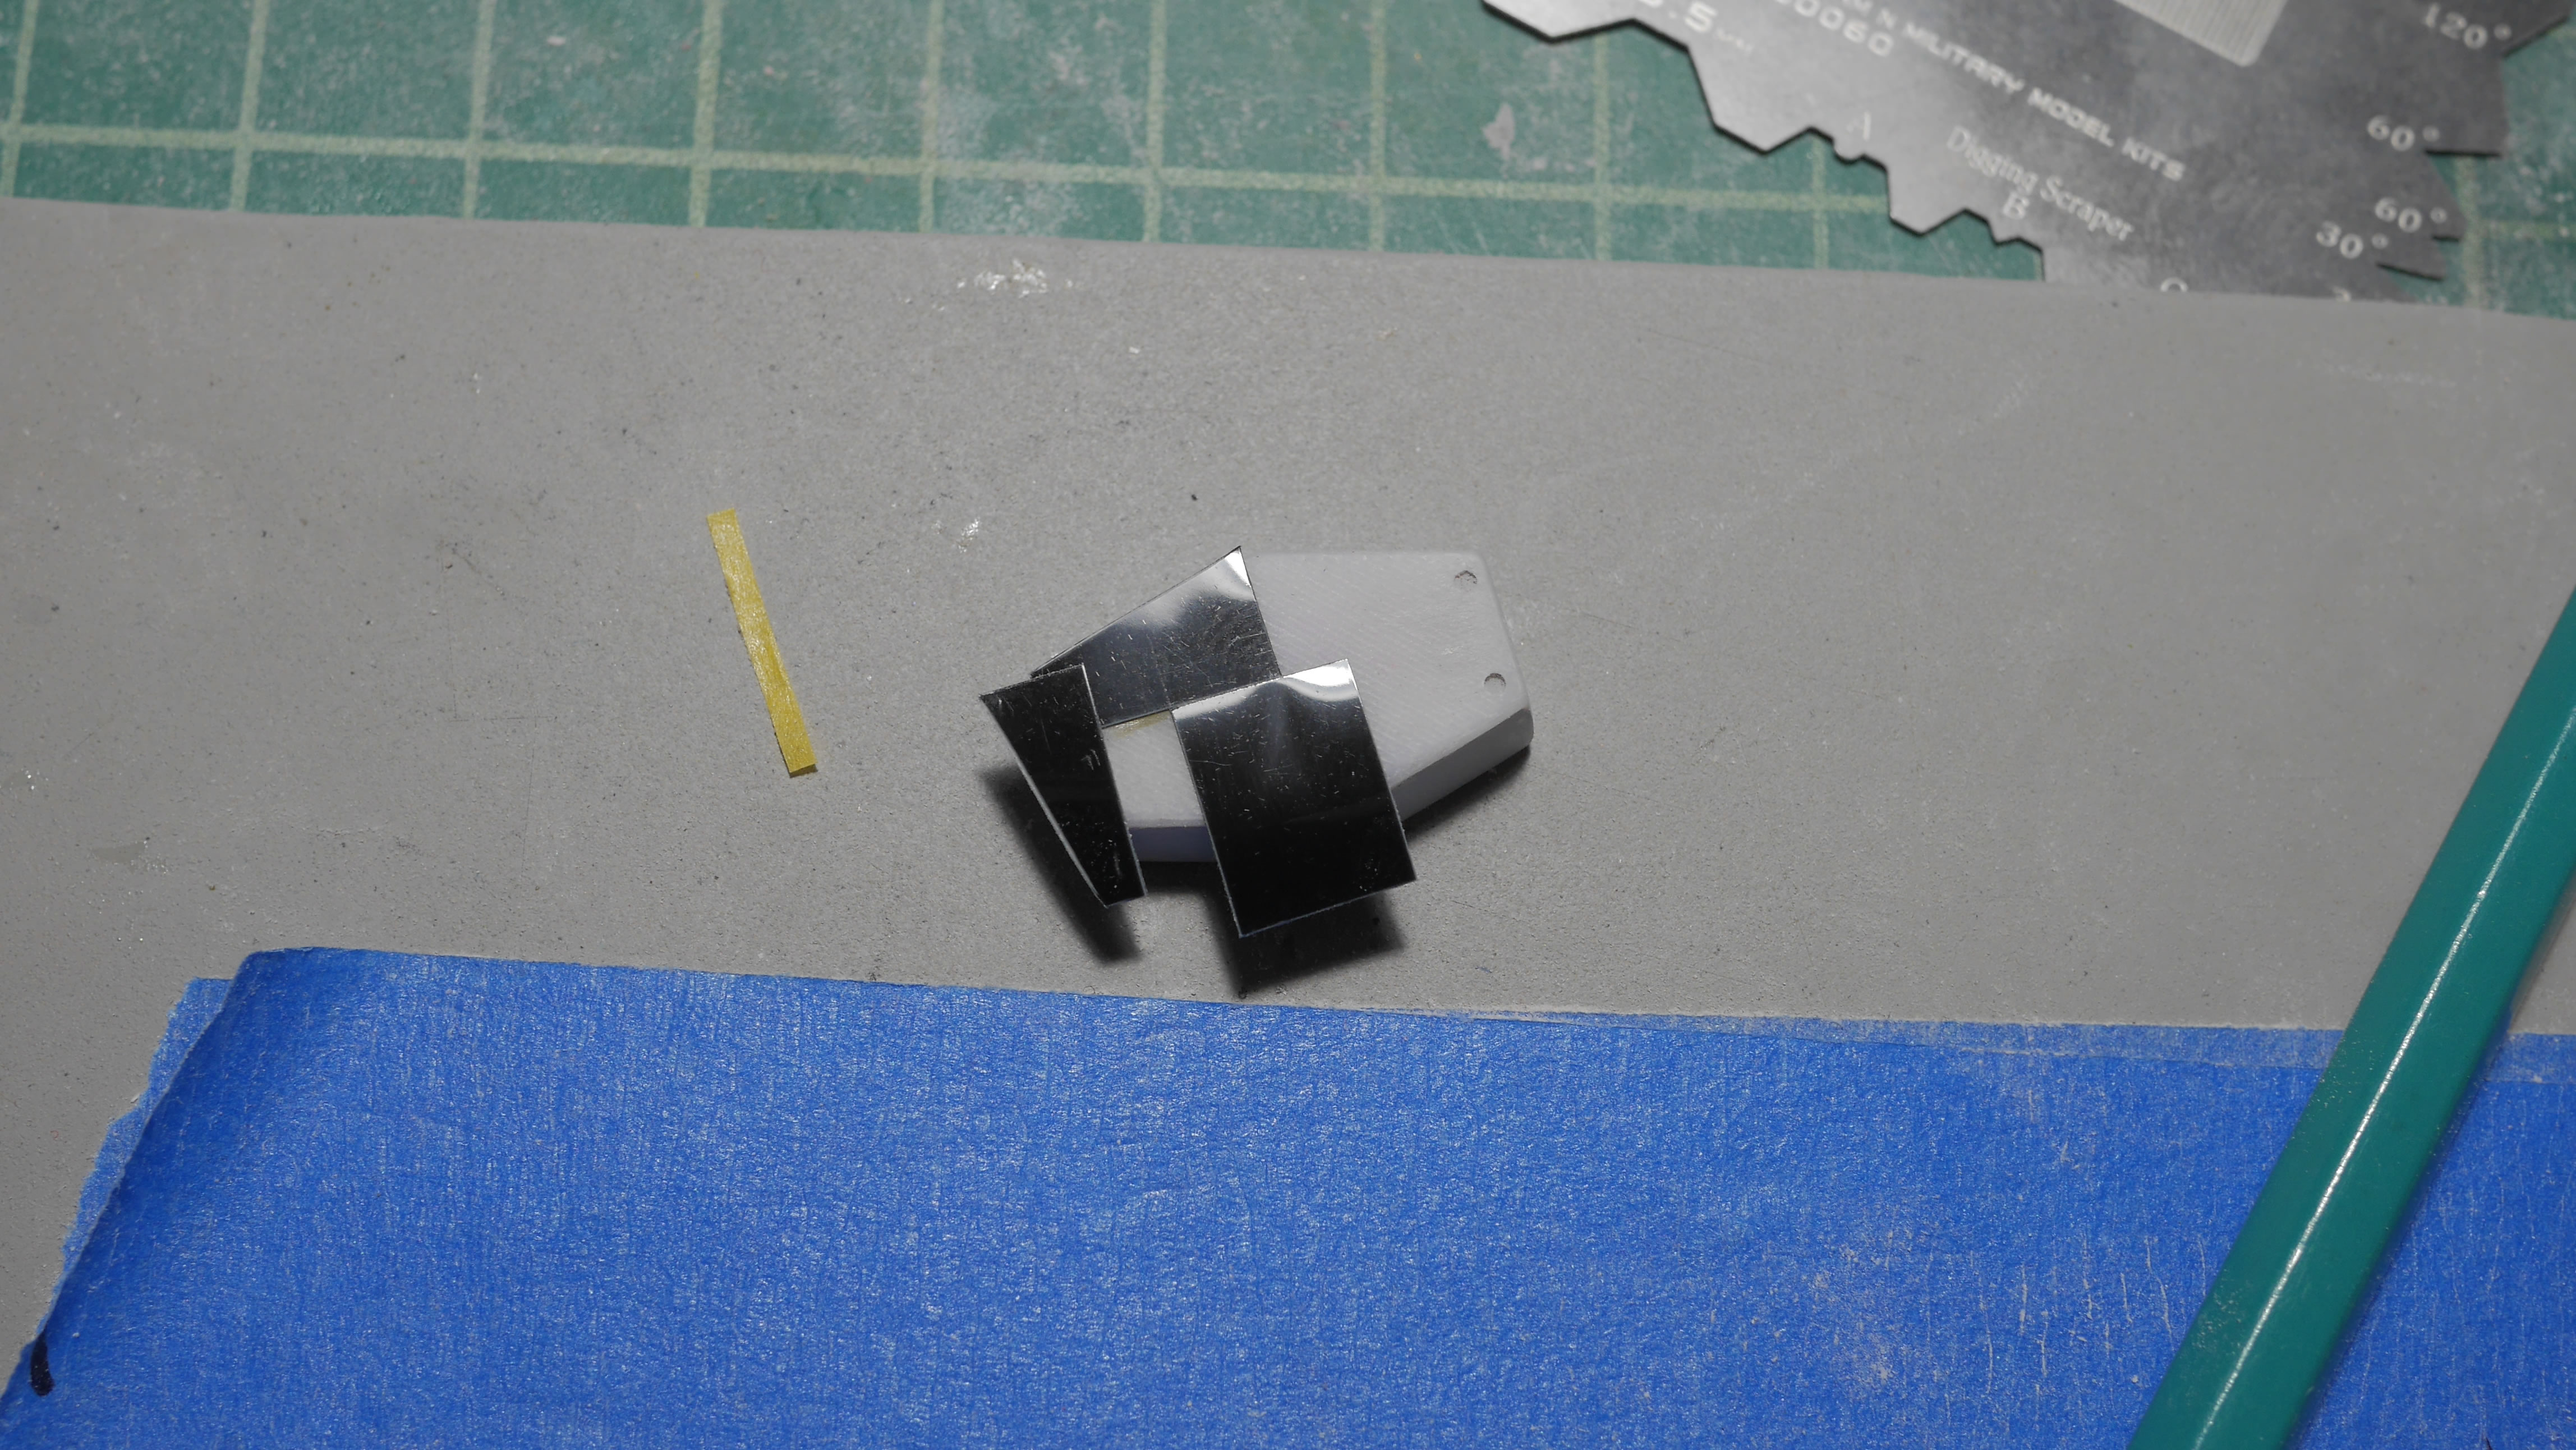
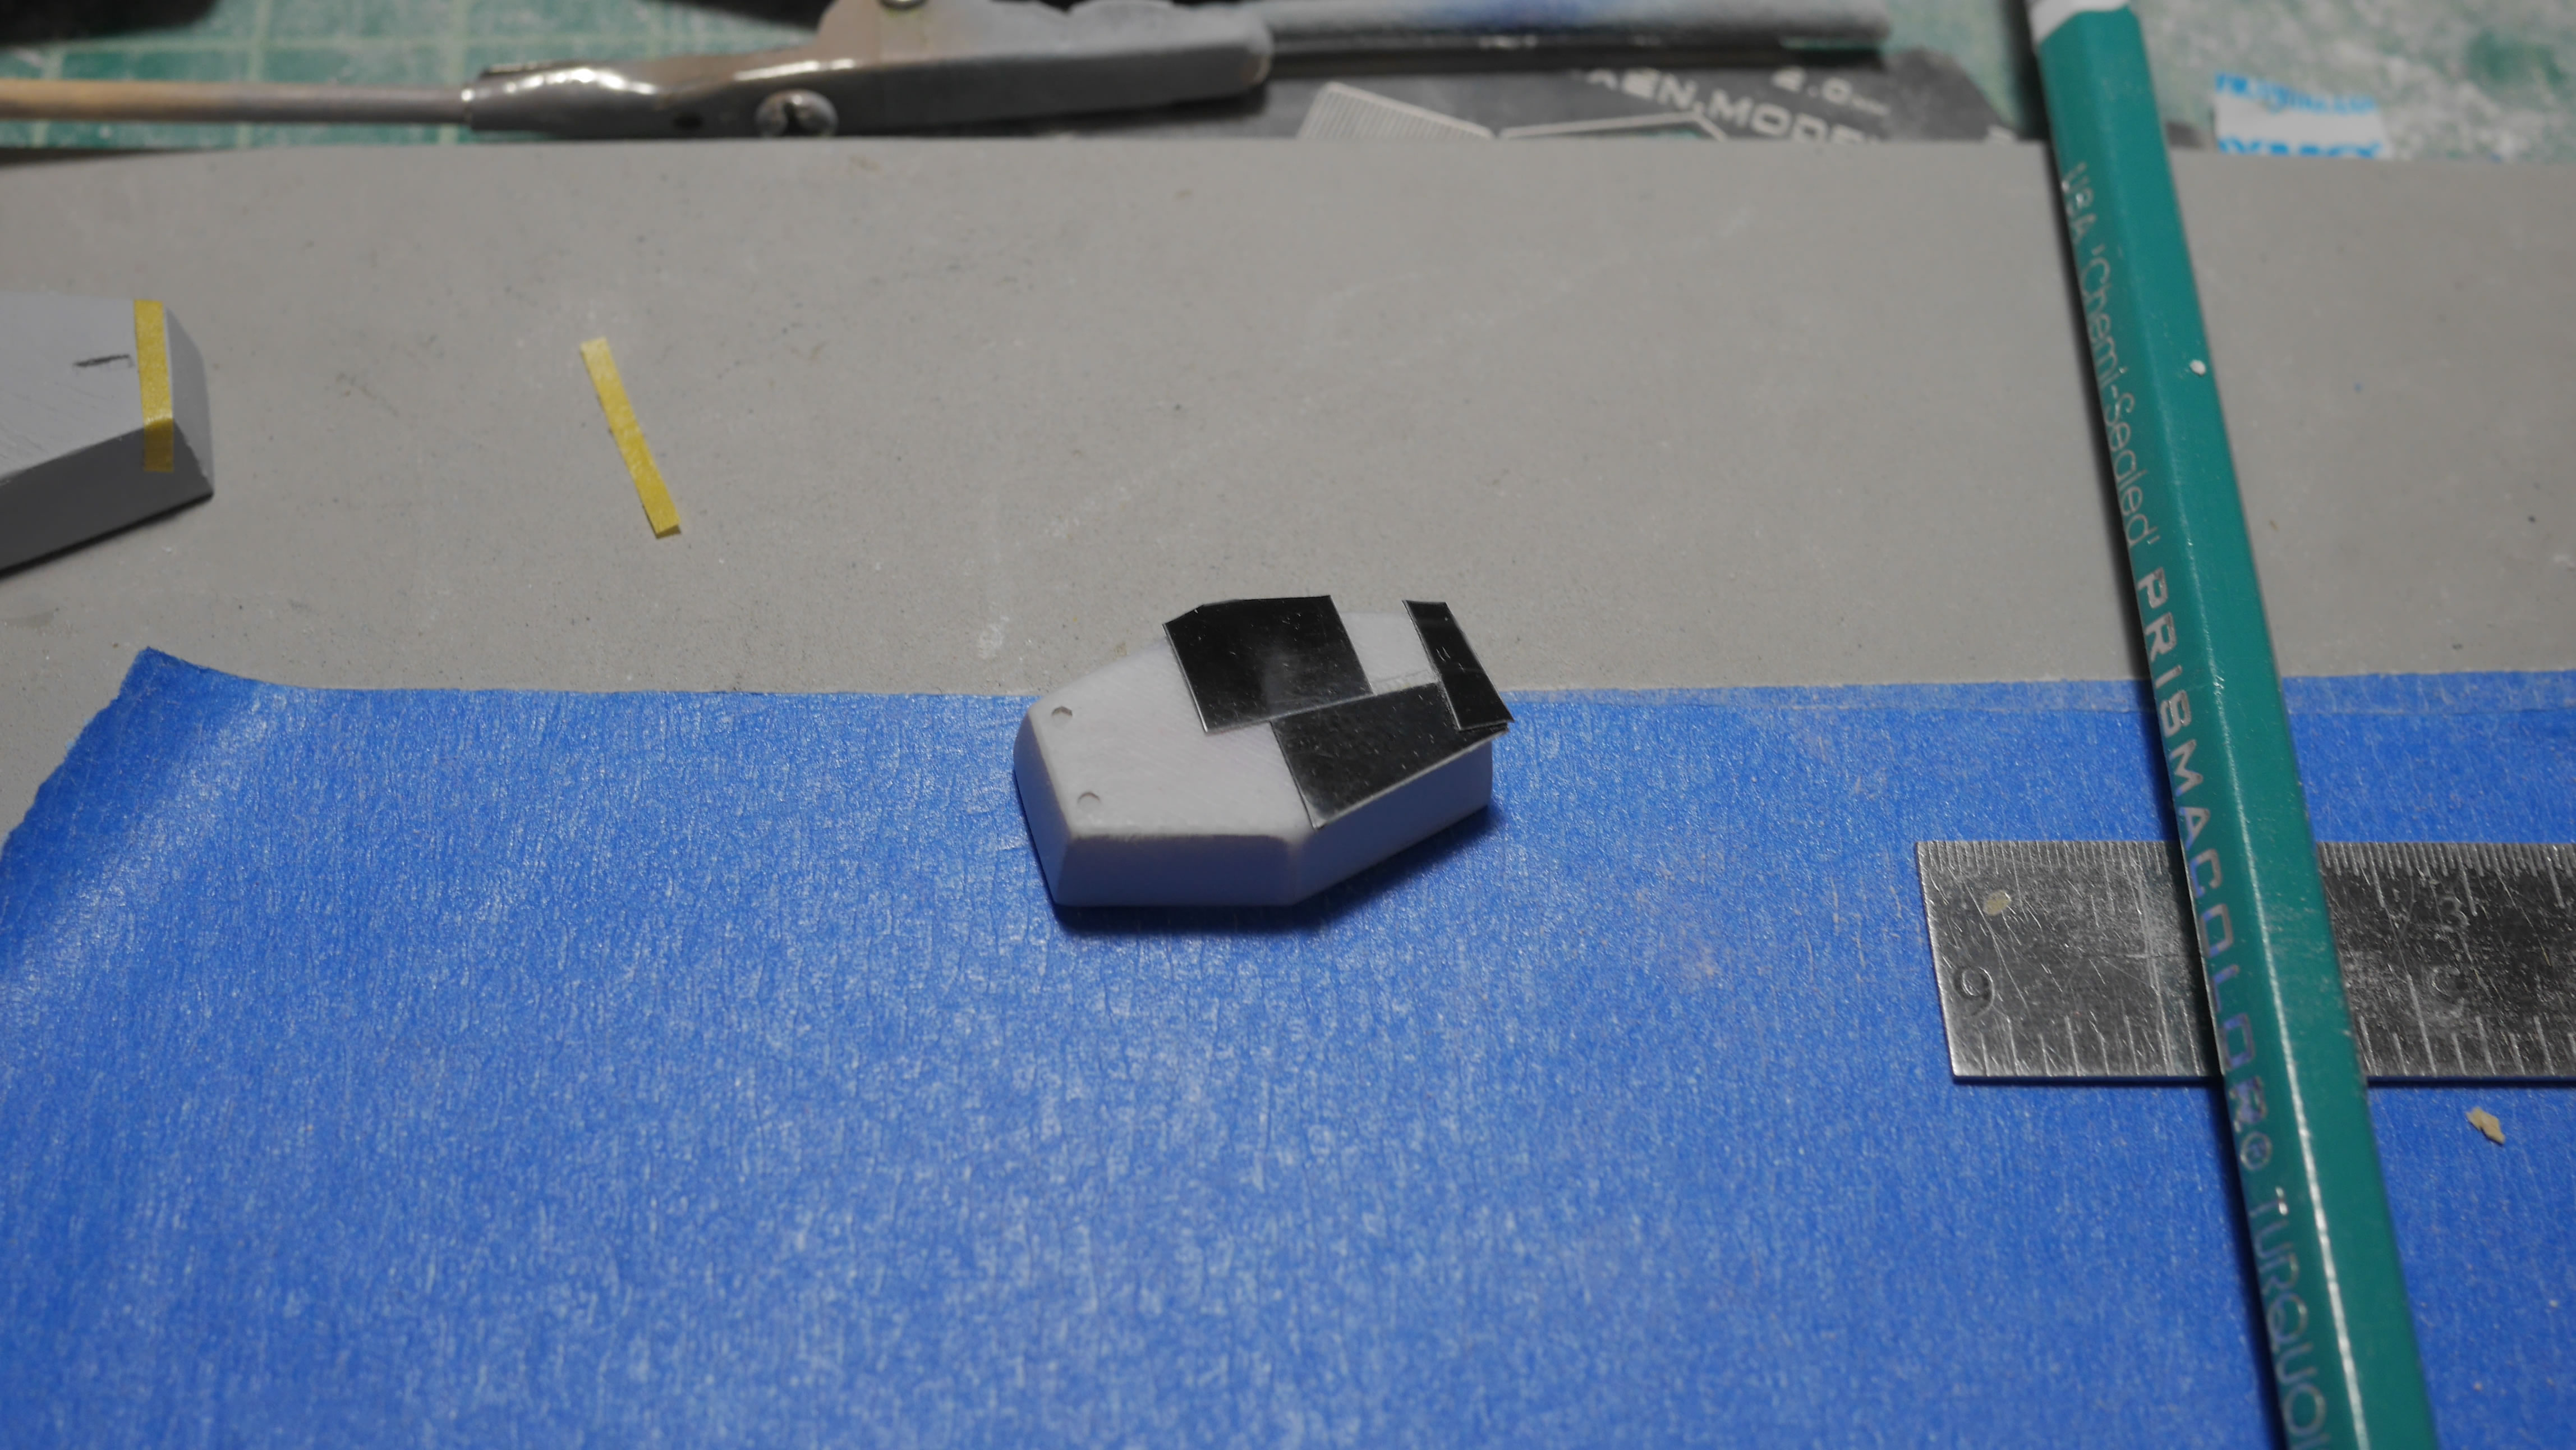
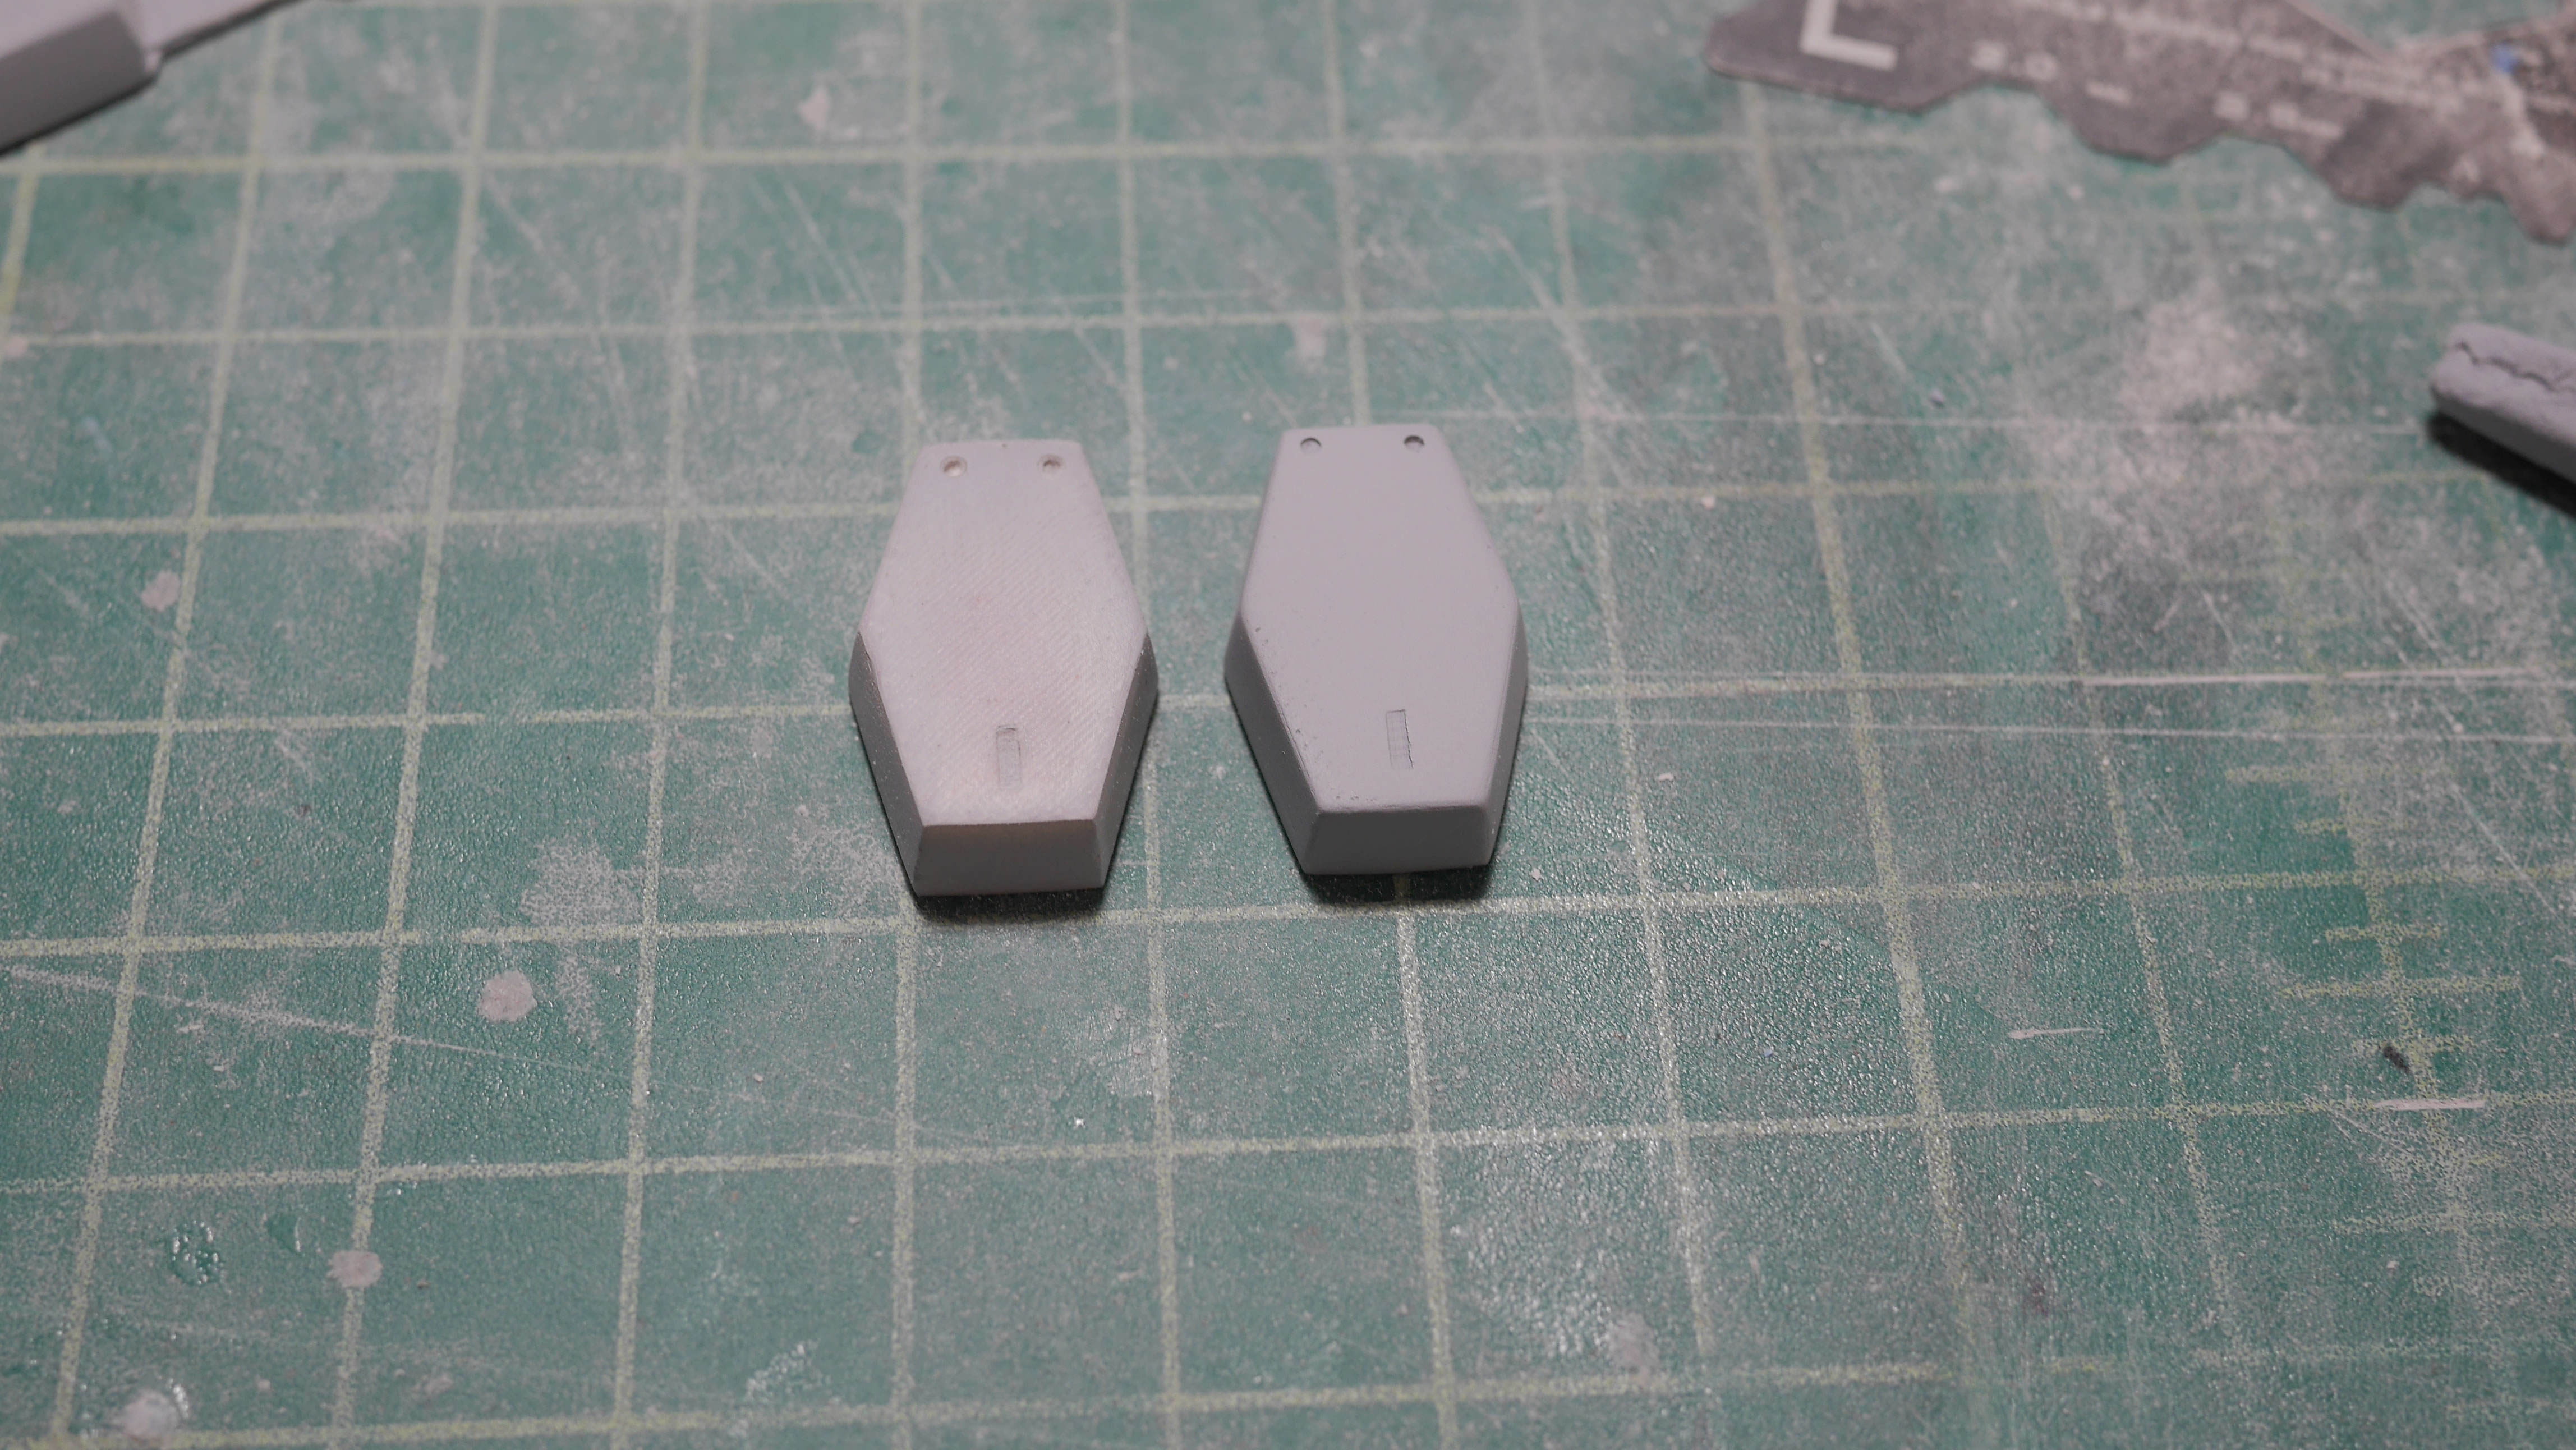
The fix is easier seen after the part is primed. But the first picture you can see where the putty filled in the skewed detail line and the new scribed detail. The lesson here is to just take the damn time to measure correctly. Also of note. Everything is fixable, so never be afraid of making mistakes; because you will make mistakes. Everyone makes mistakes when building.

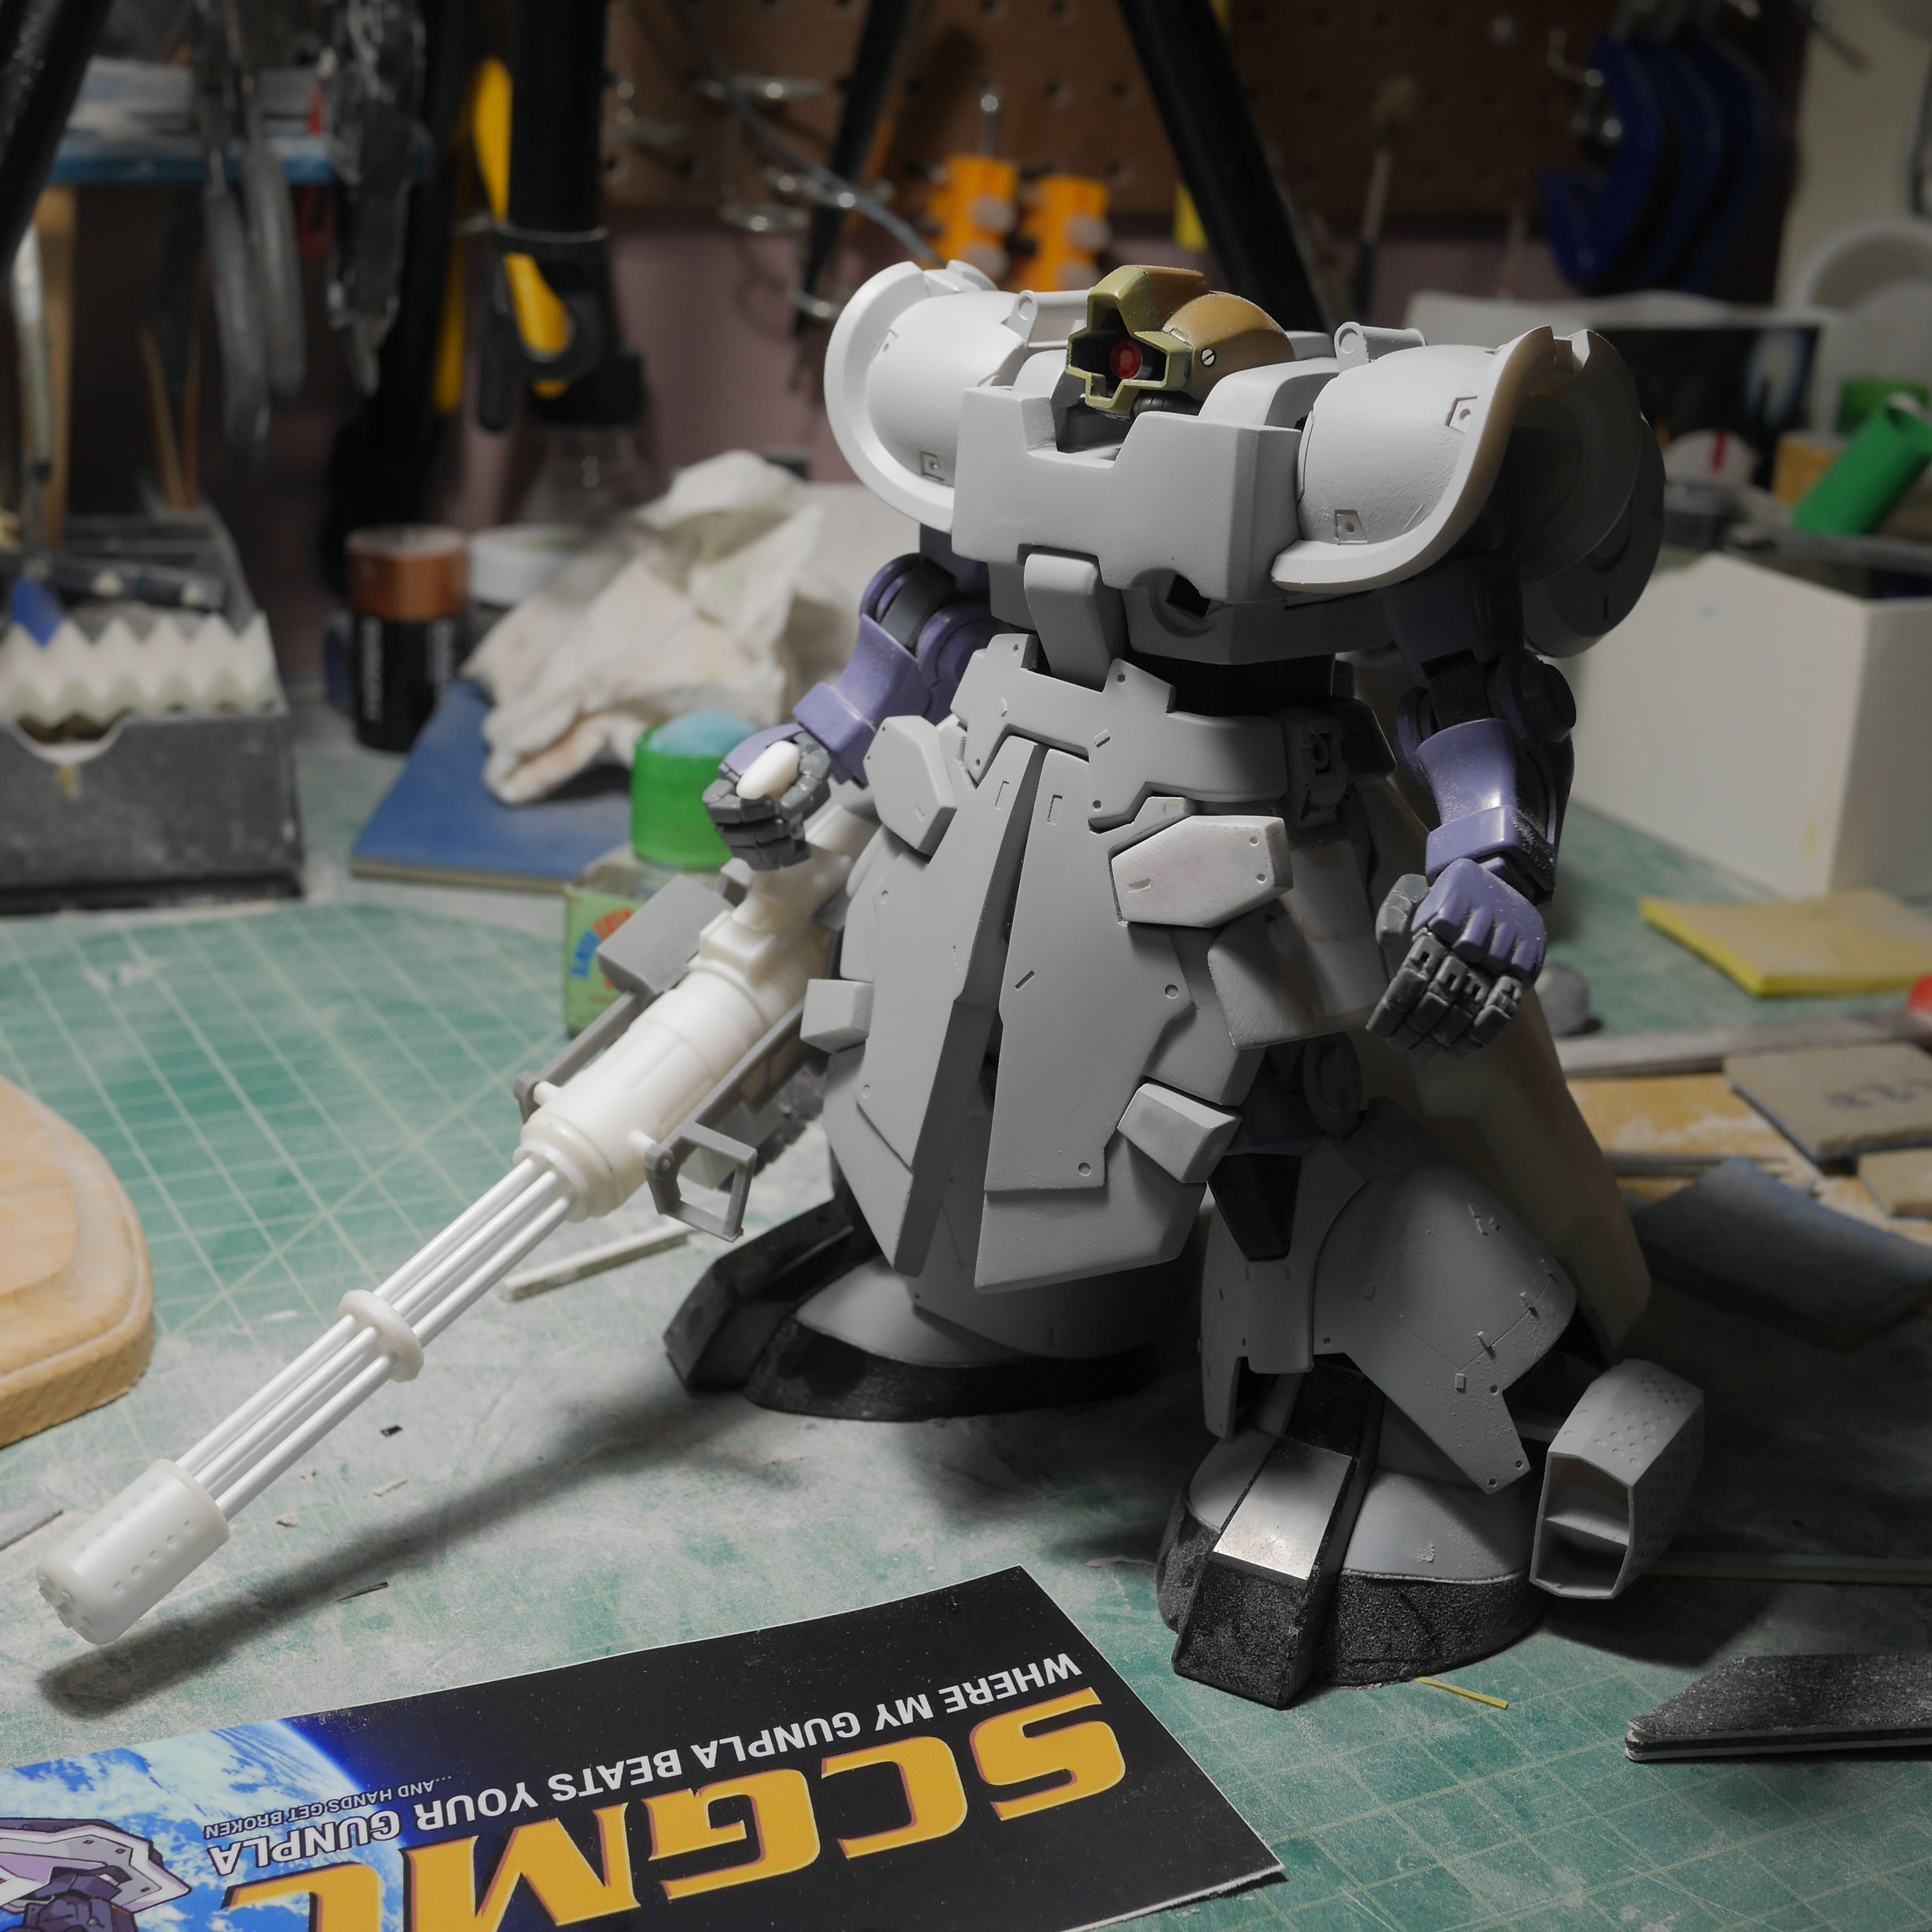
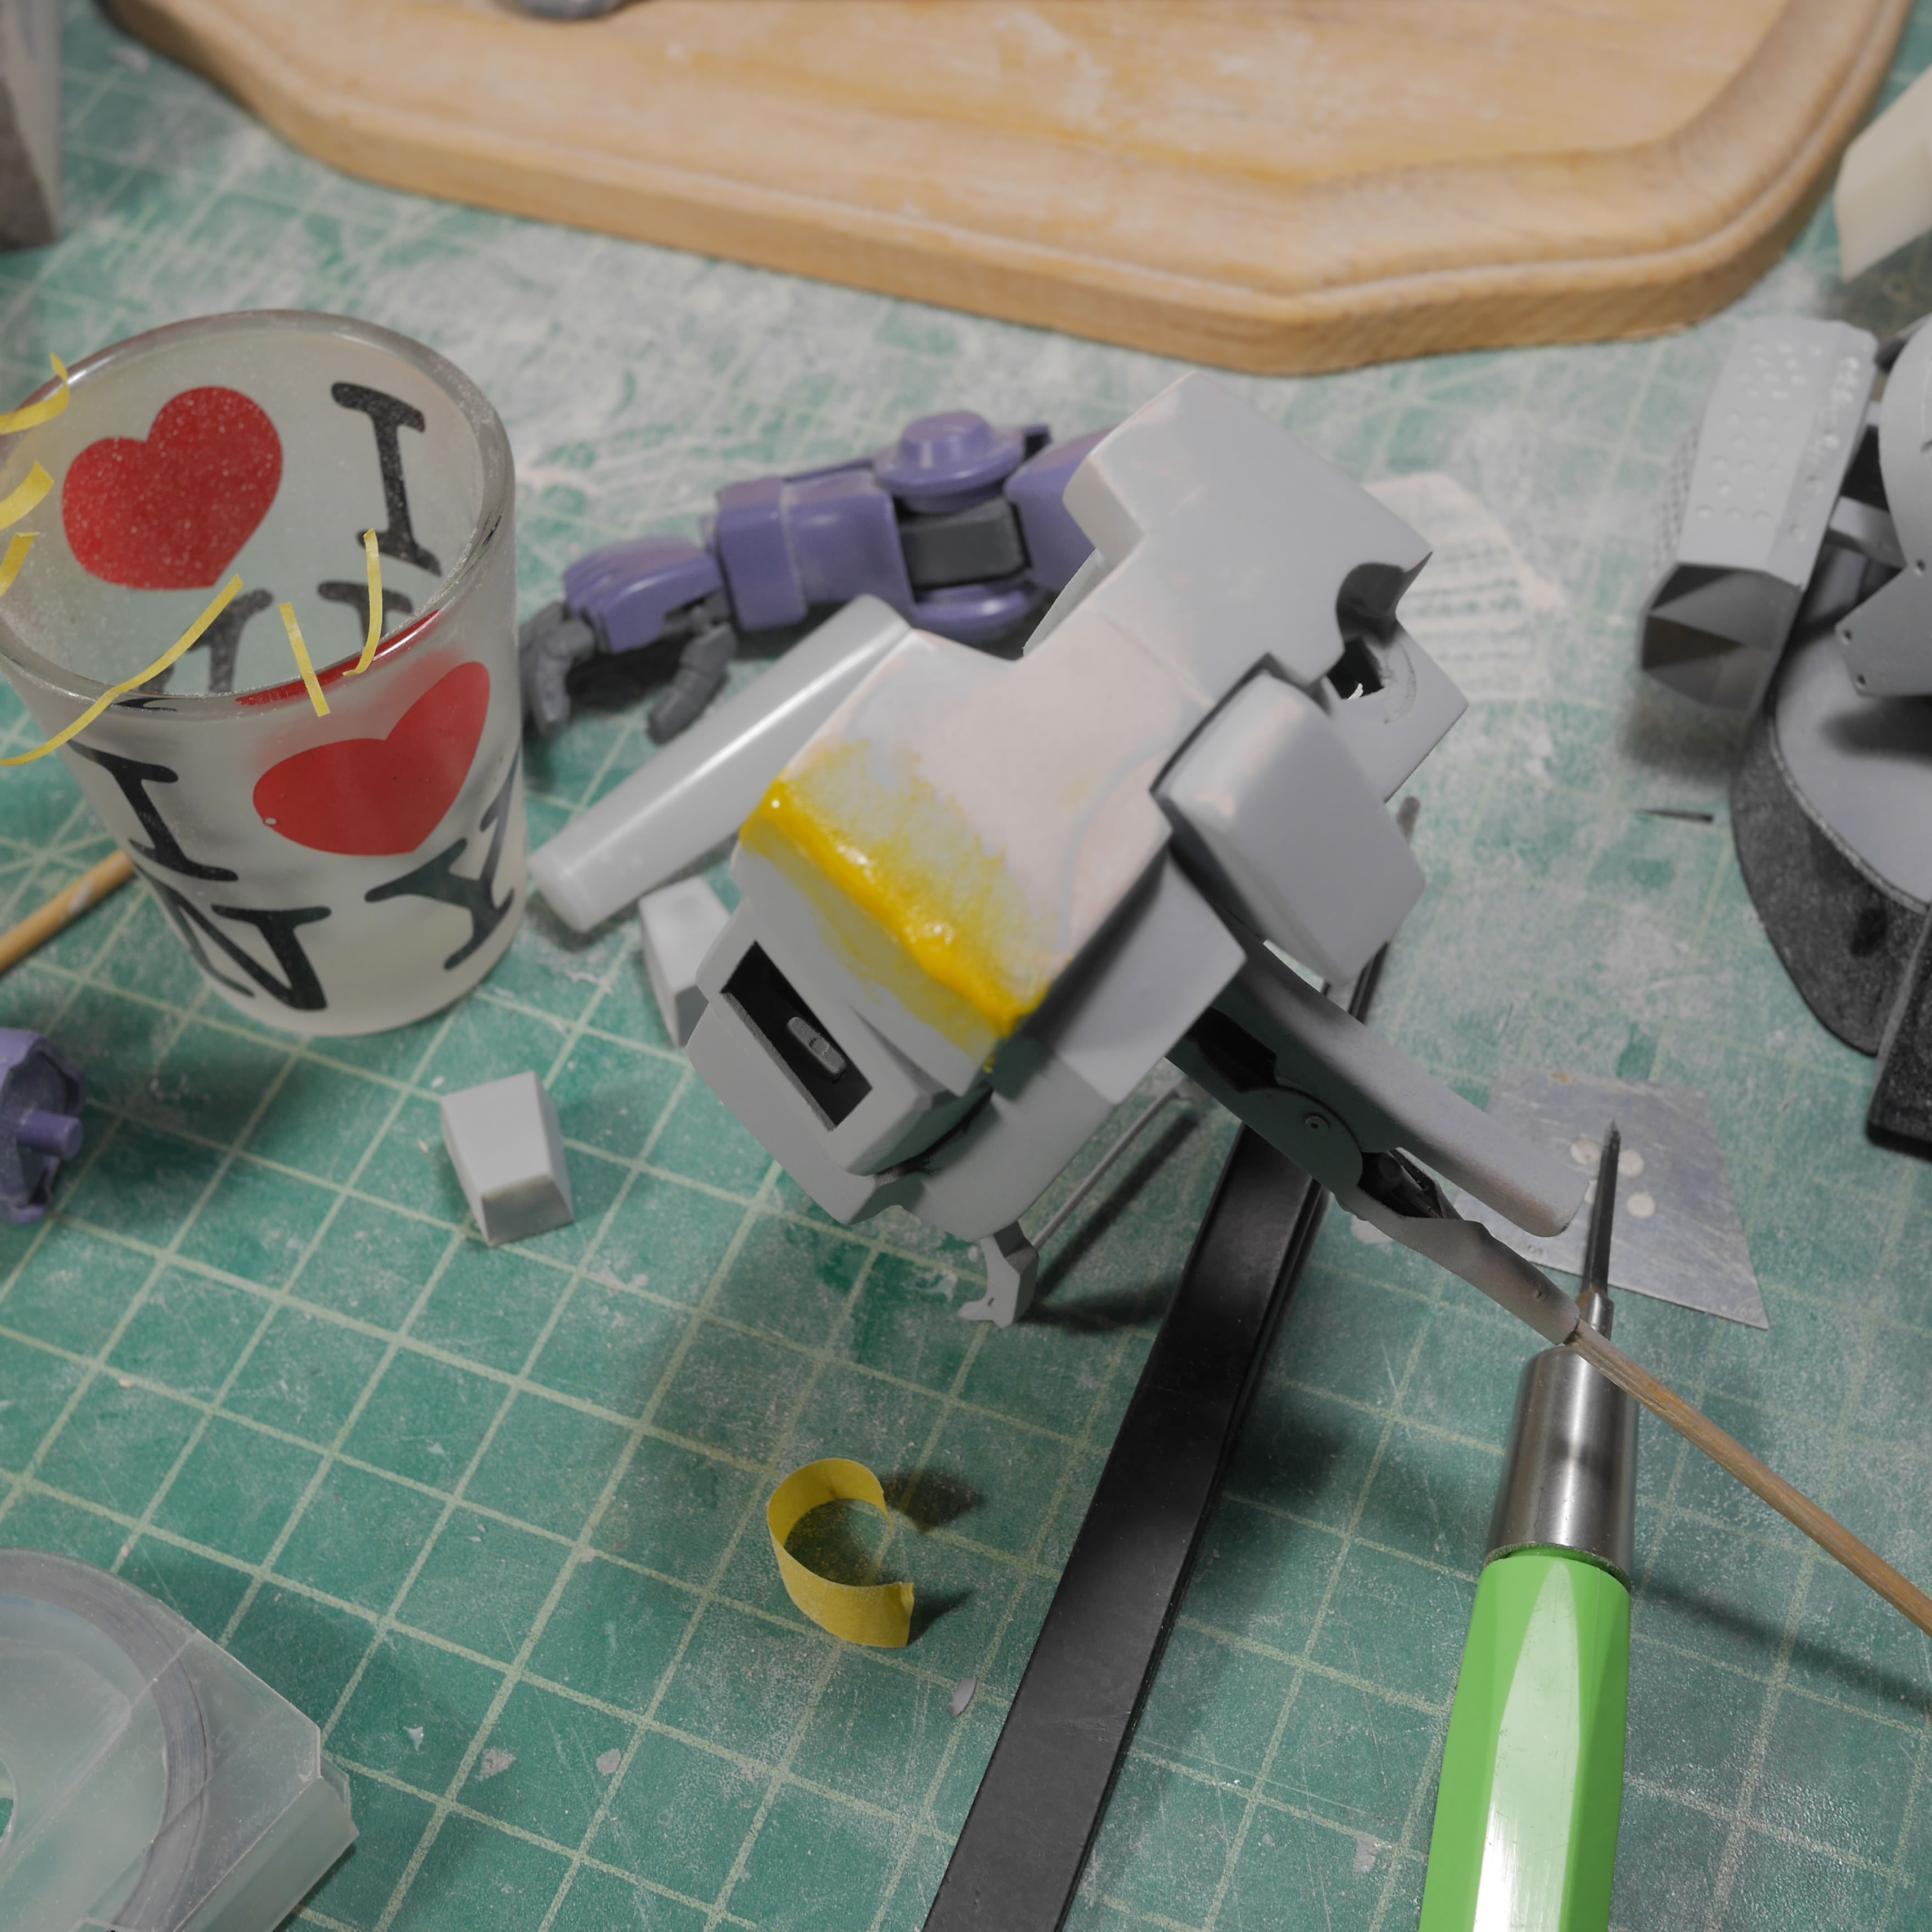
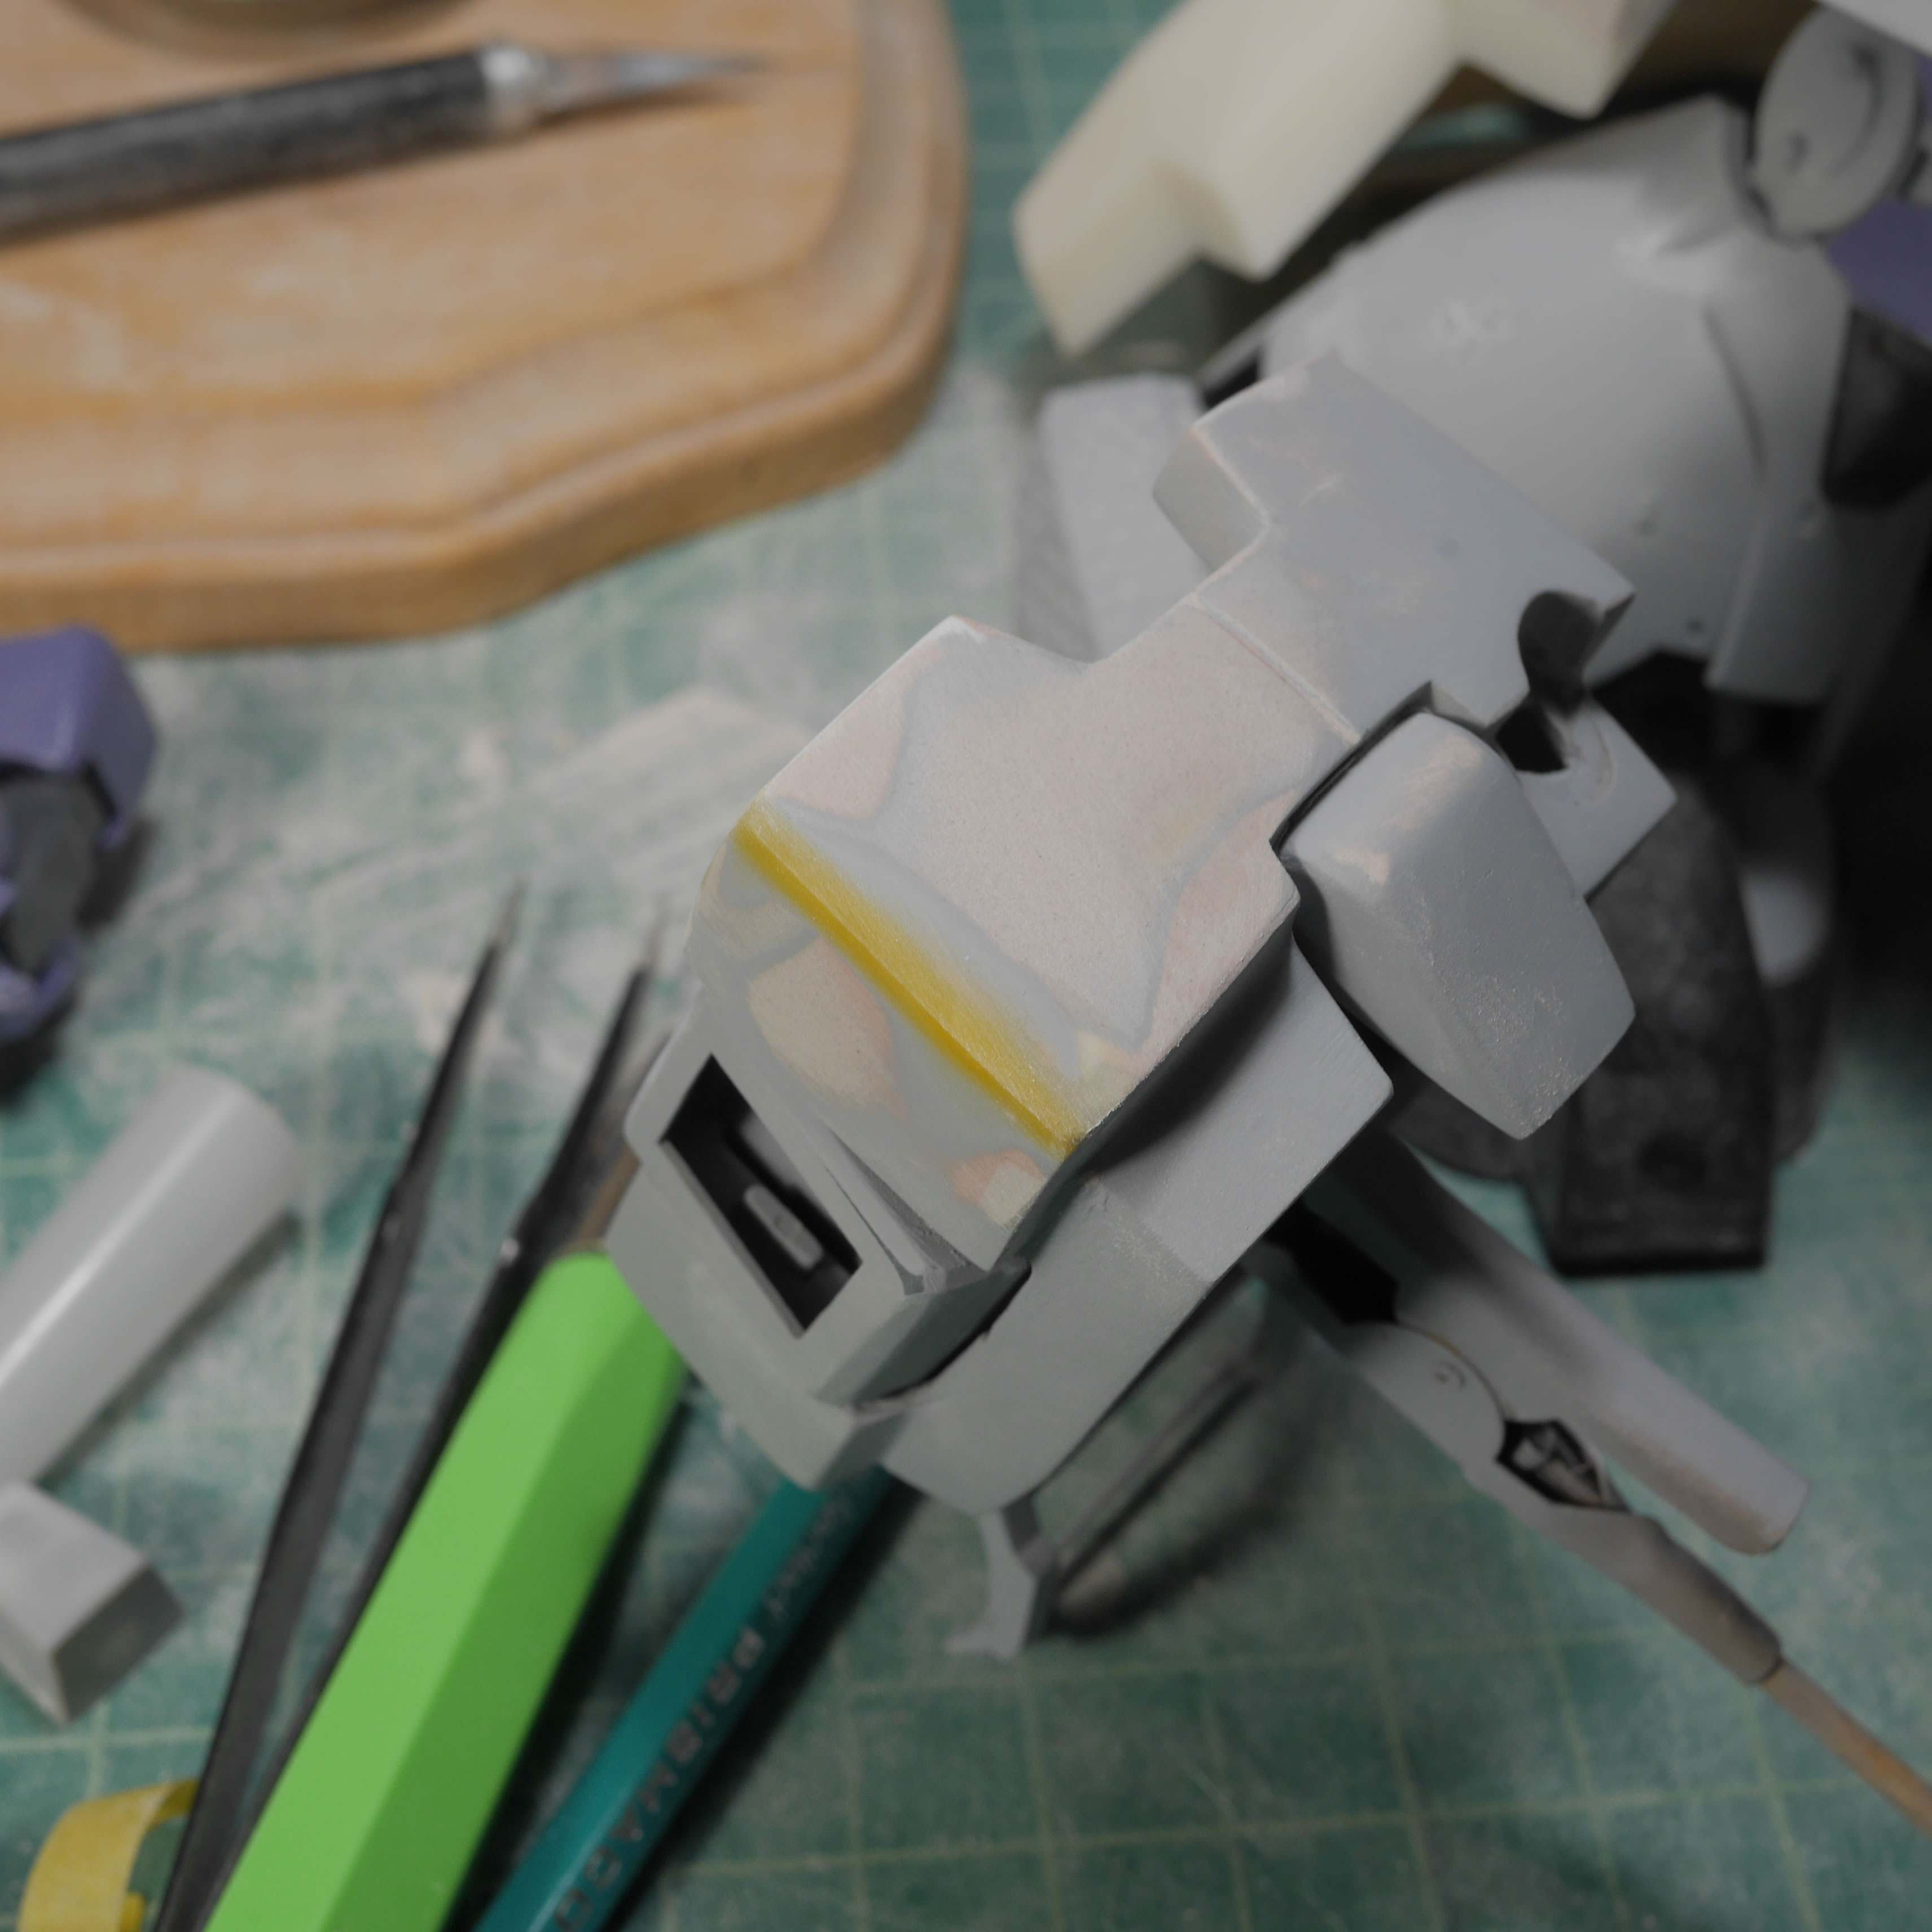
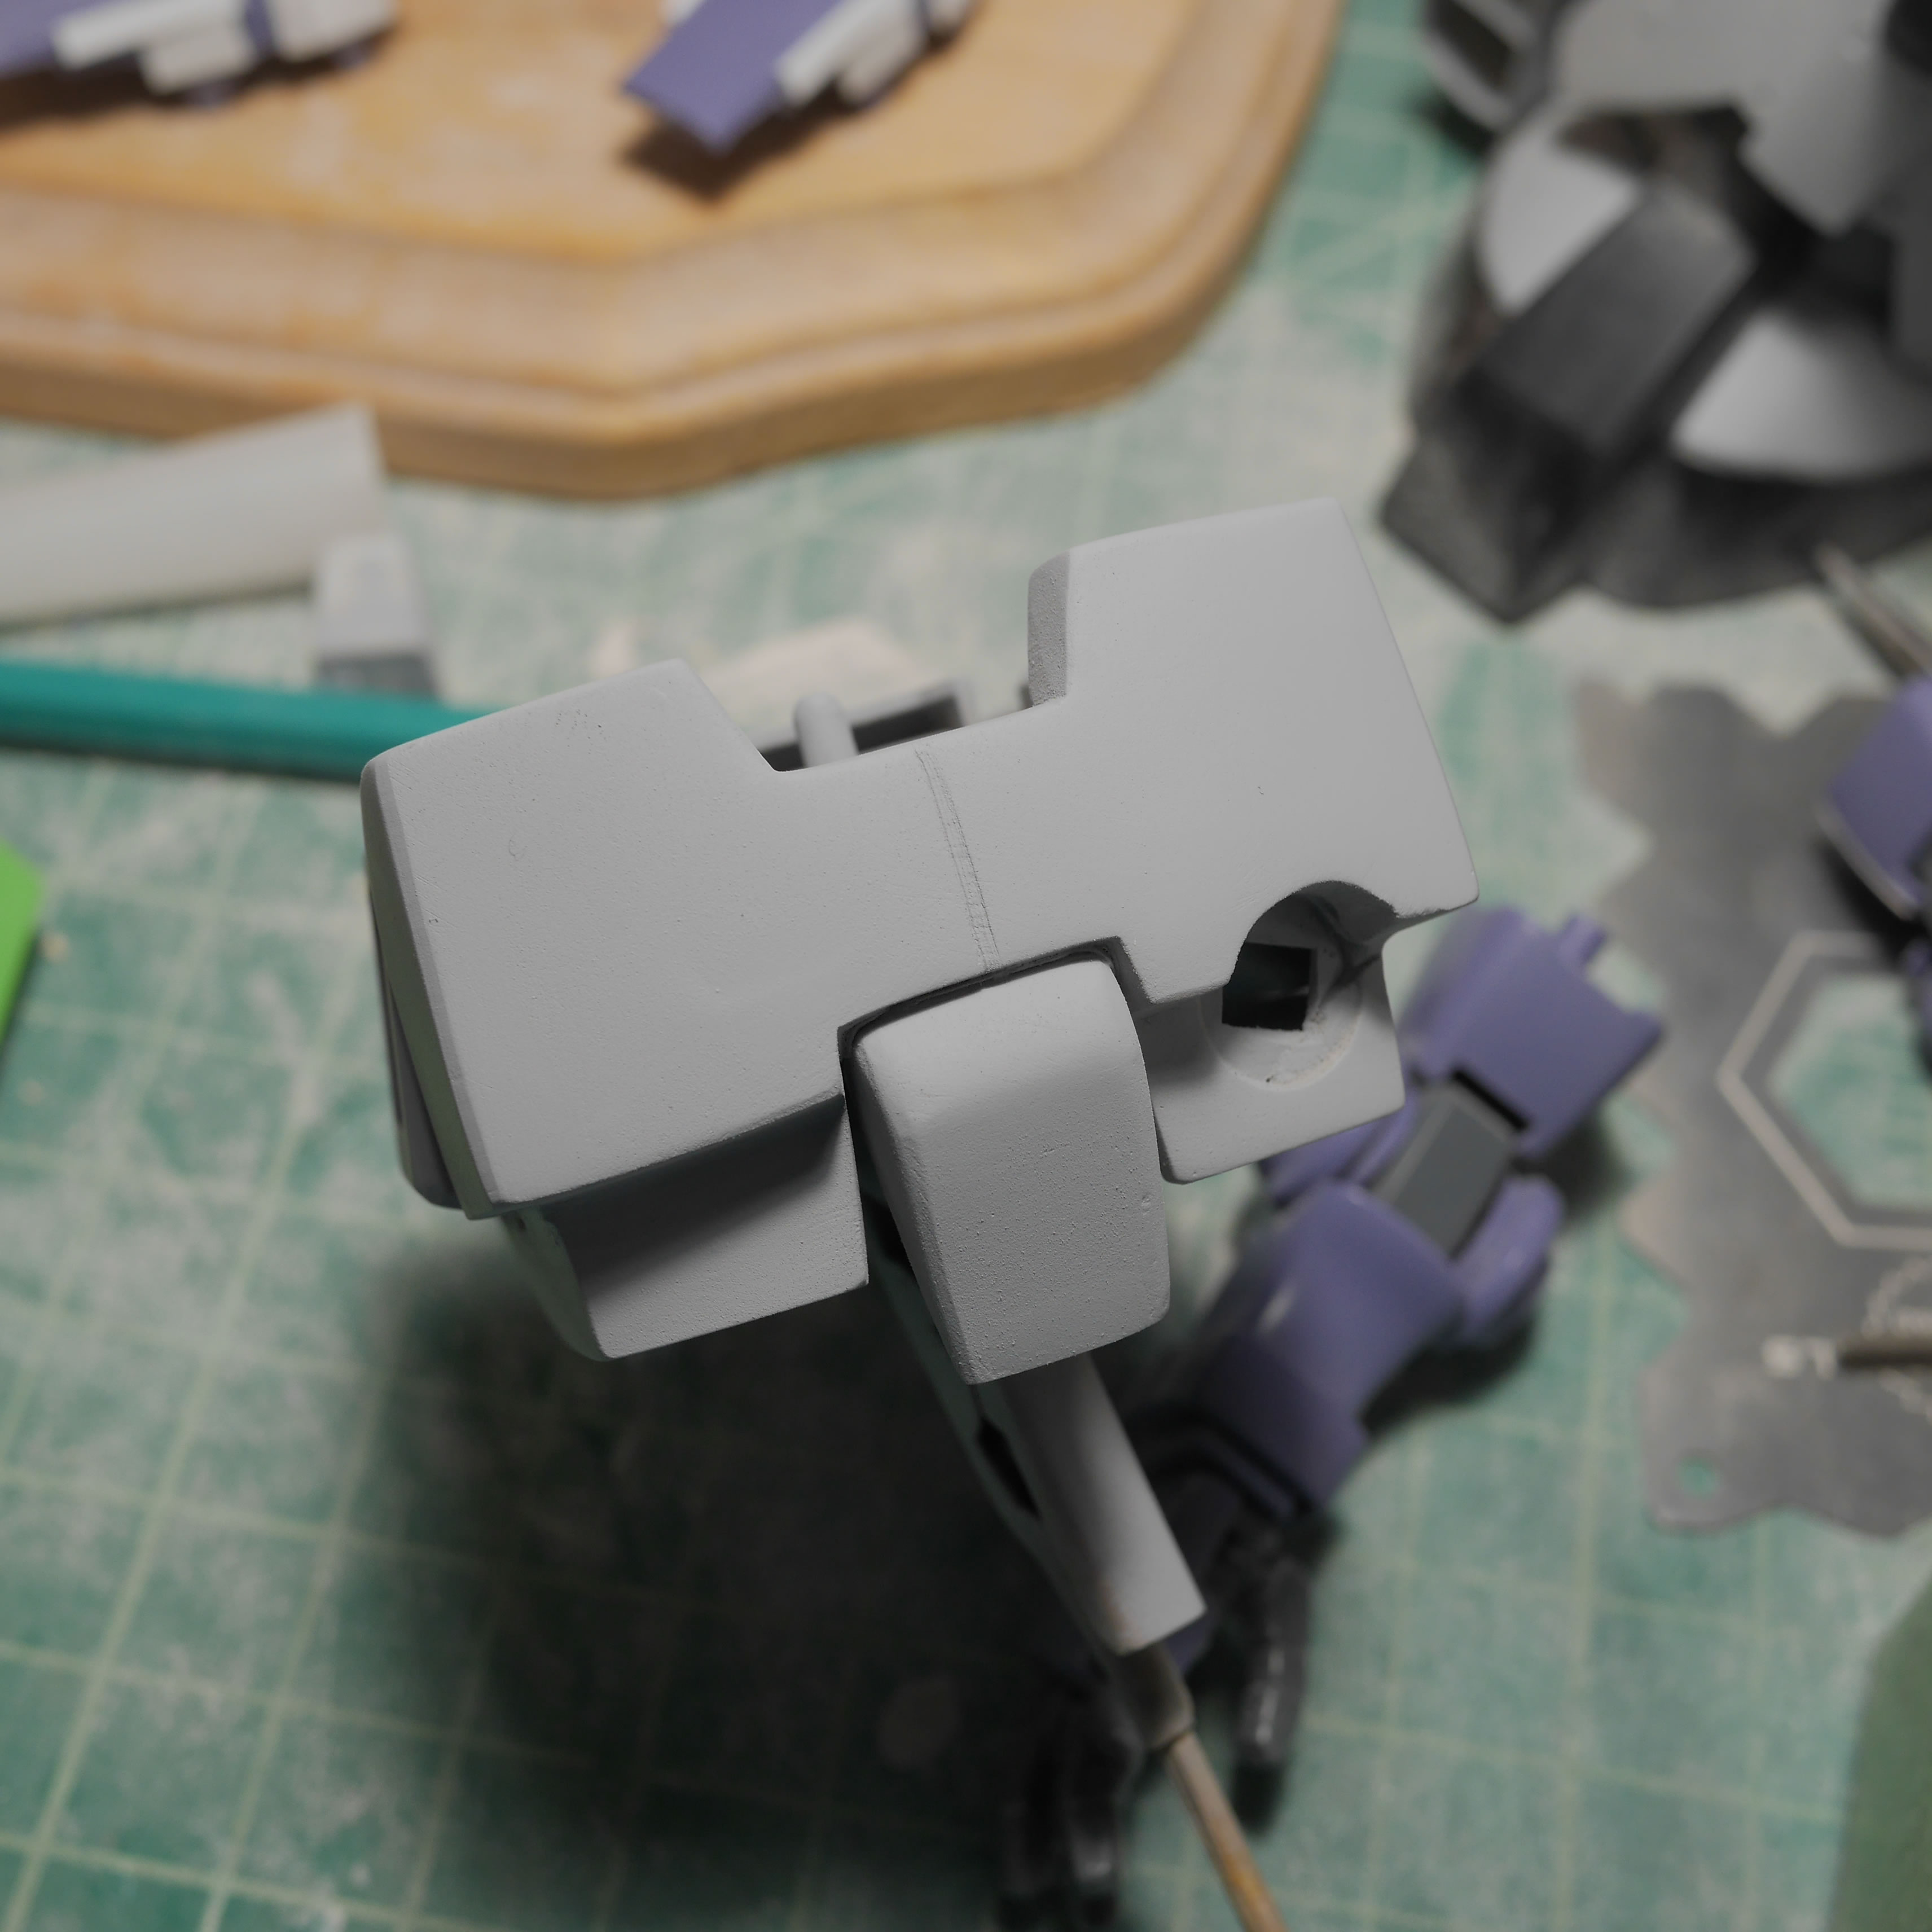
I joined the Mechanism live broadcast friday night and did some of the above work during the broadcast. So I did a quick dress rehearsal for the sake of the broadcast. This also works well as a before and after for the next stages of detail work – the chest detailing and fixes.
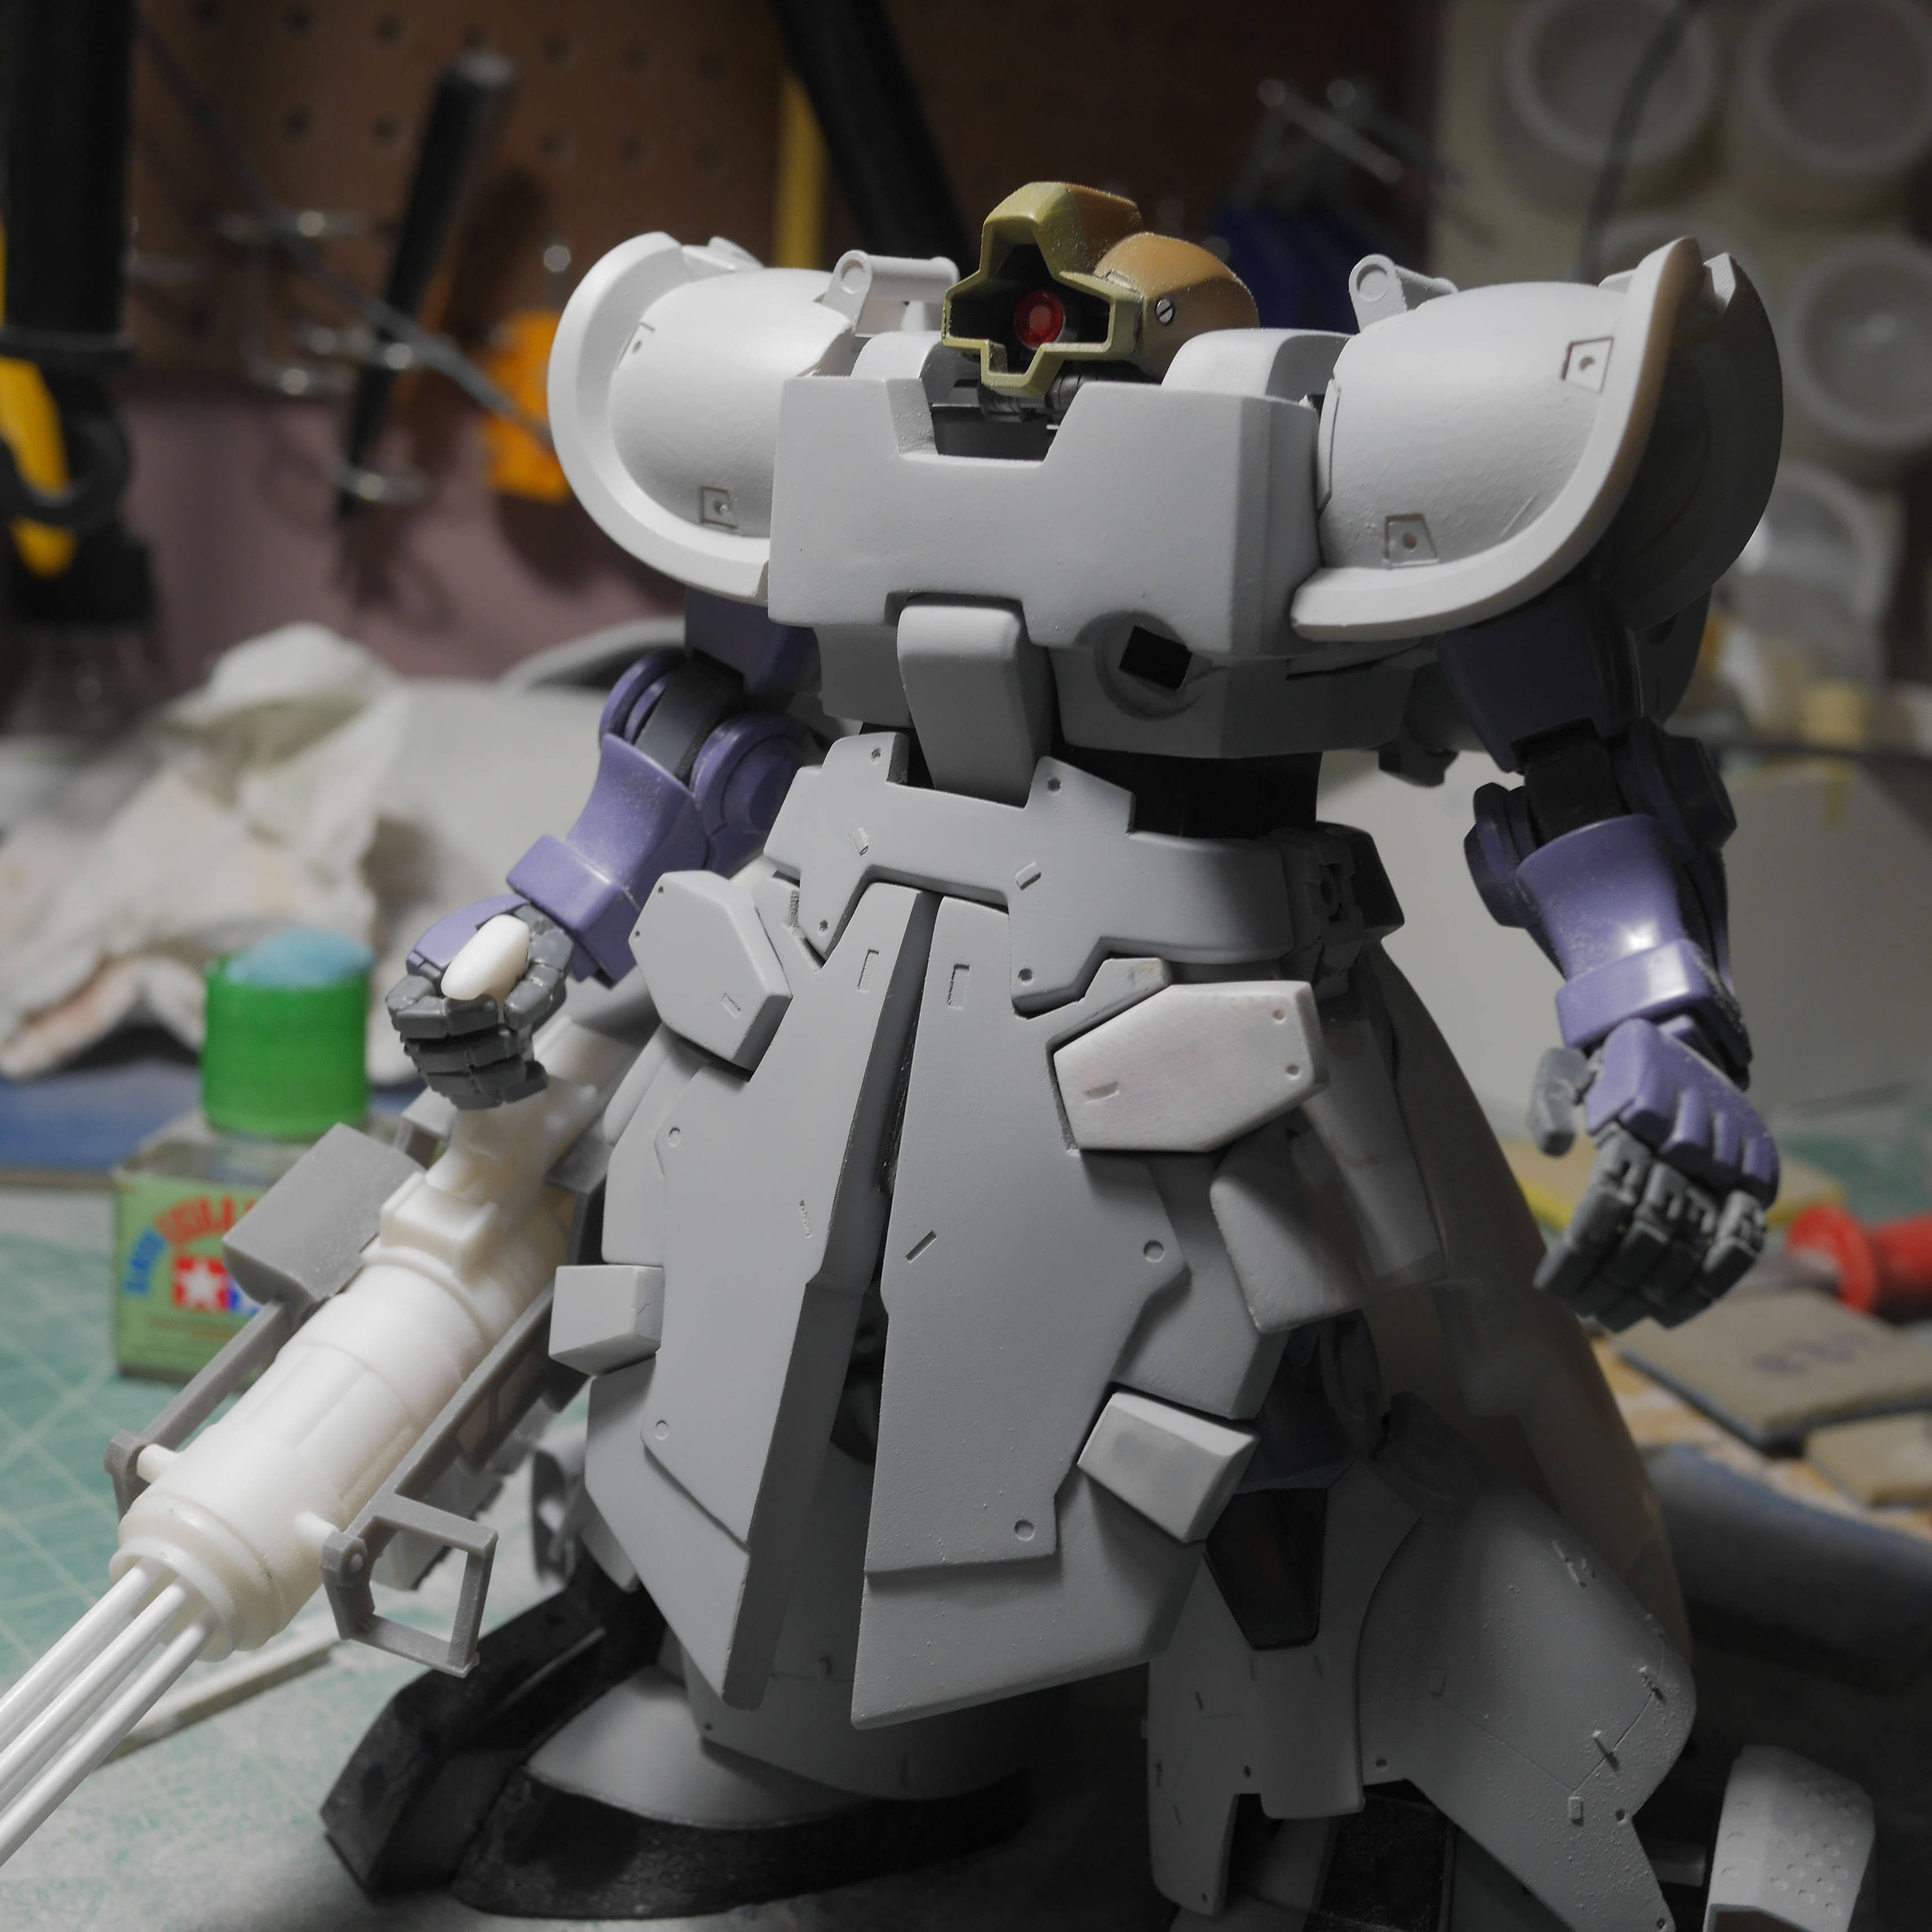
First detail piece I wanted is to scribe a line down the middle of the chest piece. I made the appropriate measurements and laid down the guide tape and scribed the line. The process is pretty simple and just a repeat of what I’ve done in previous scribing sessions. Measure first!
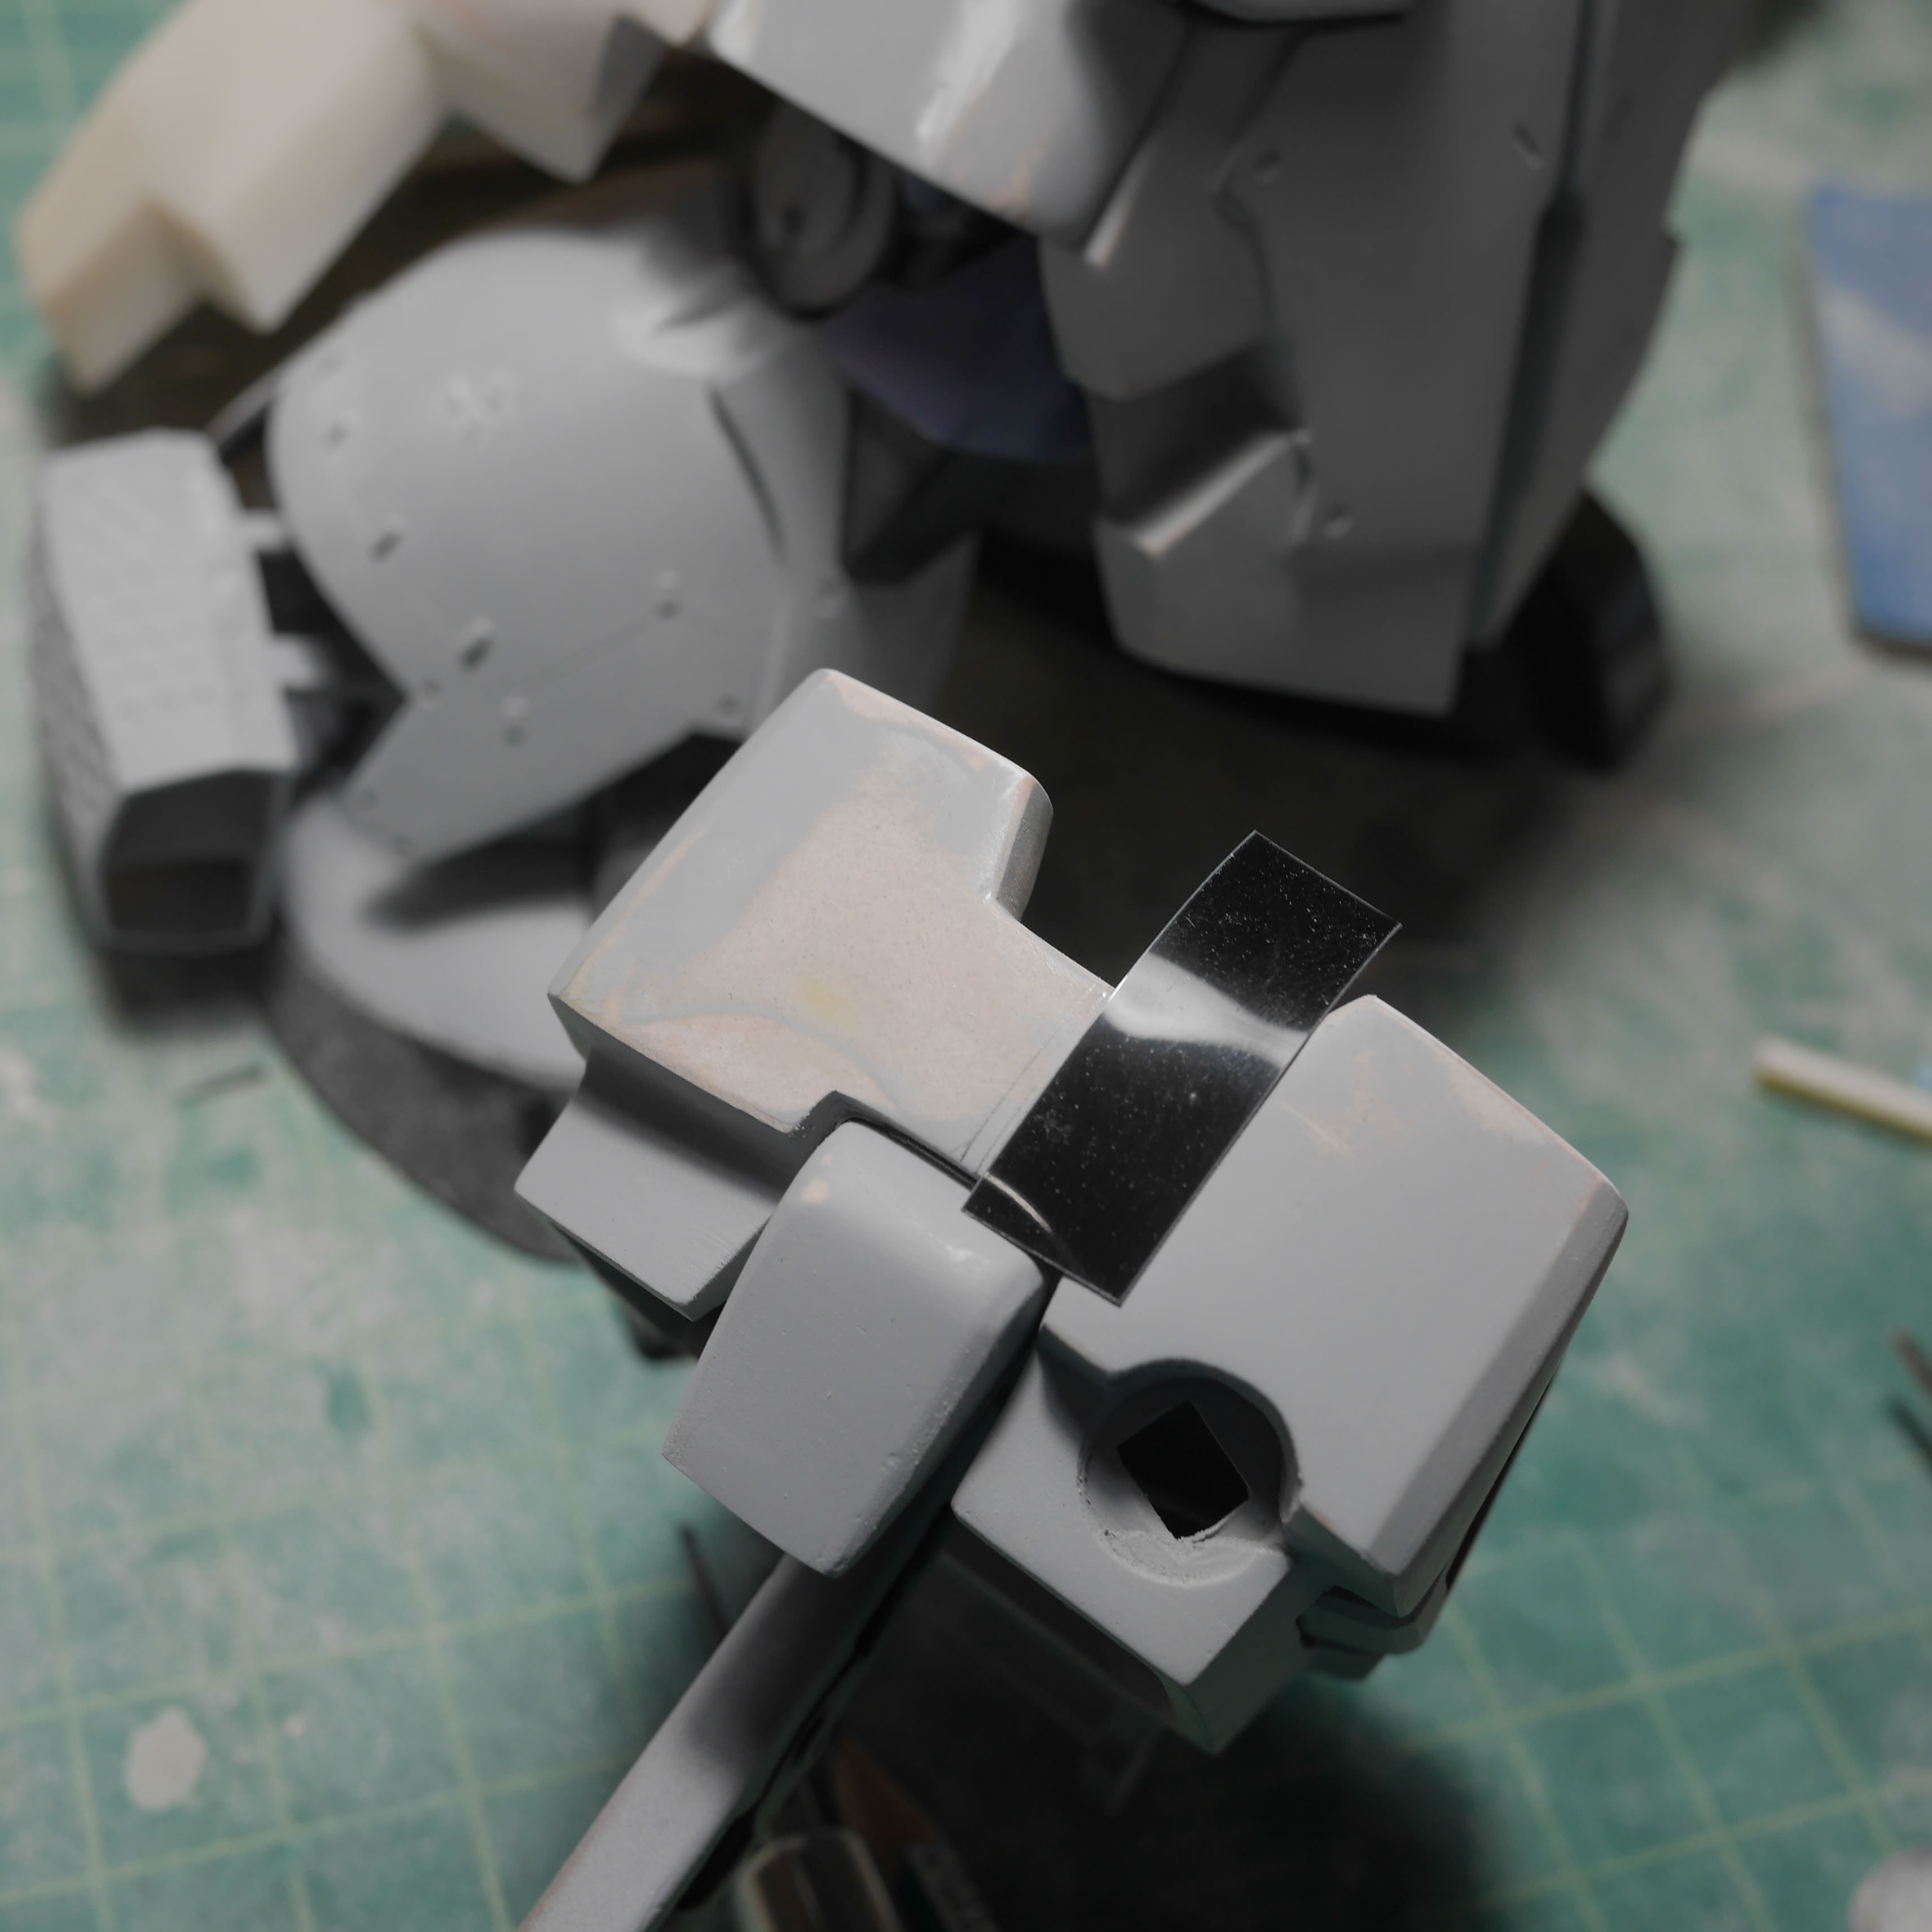
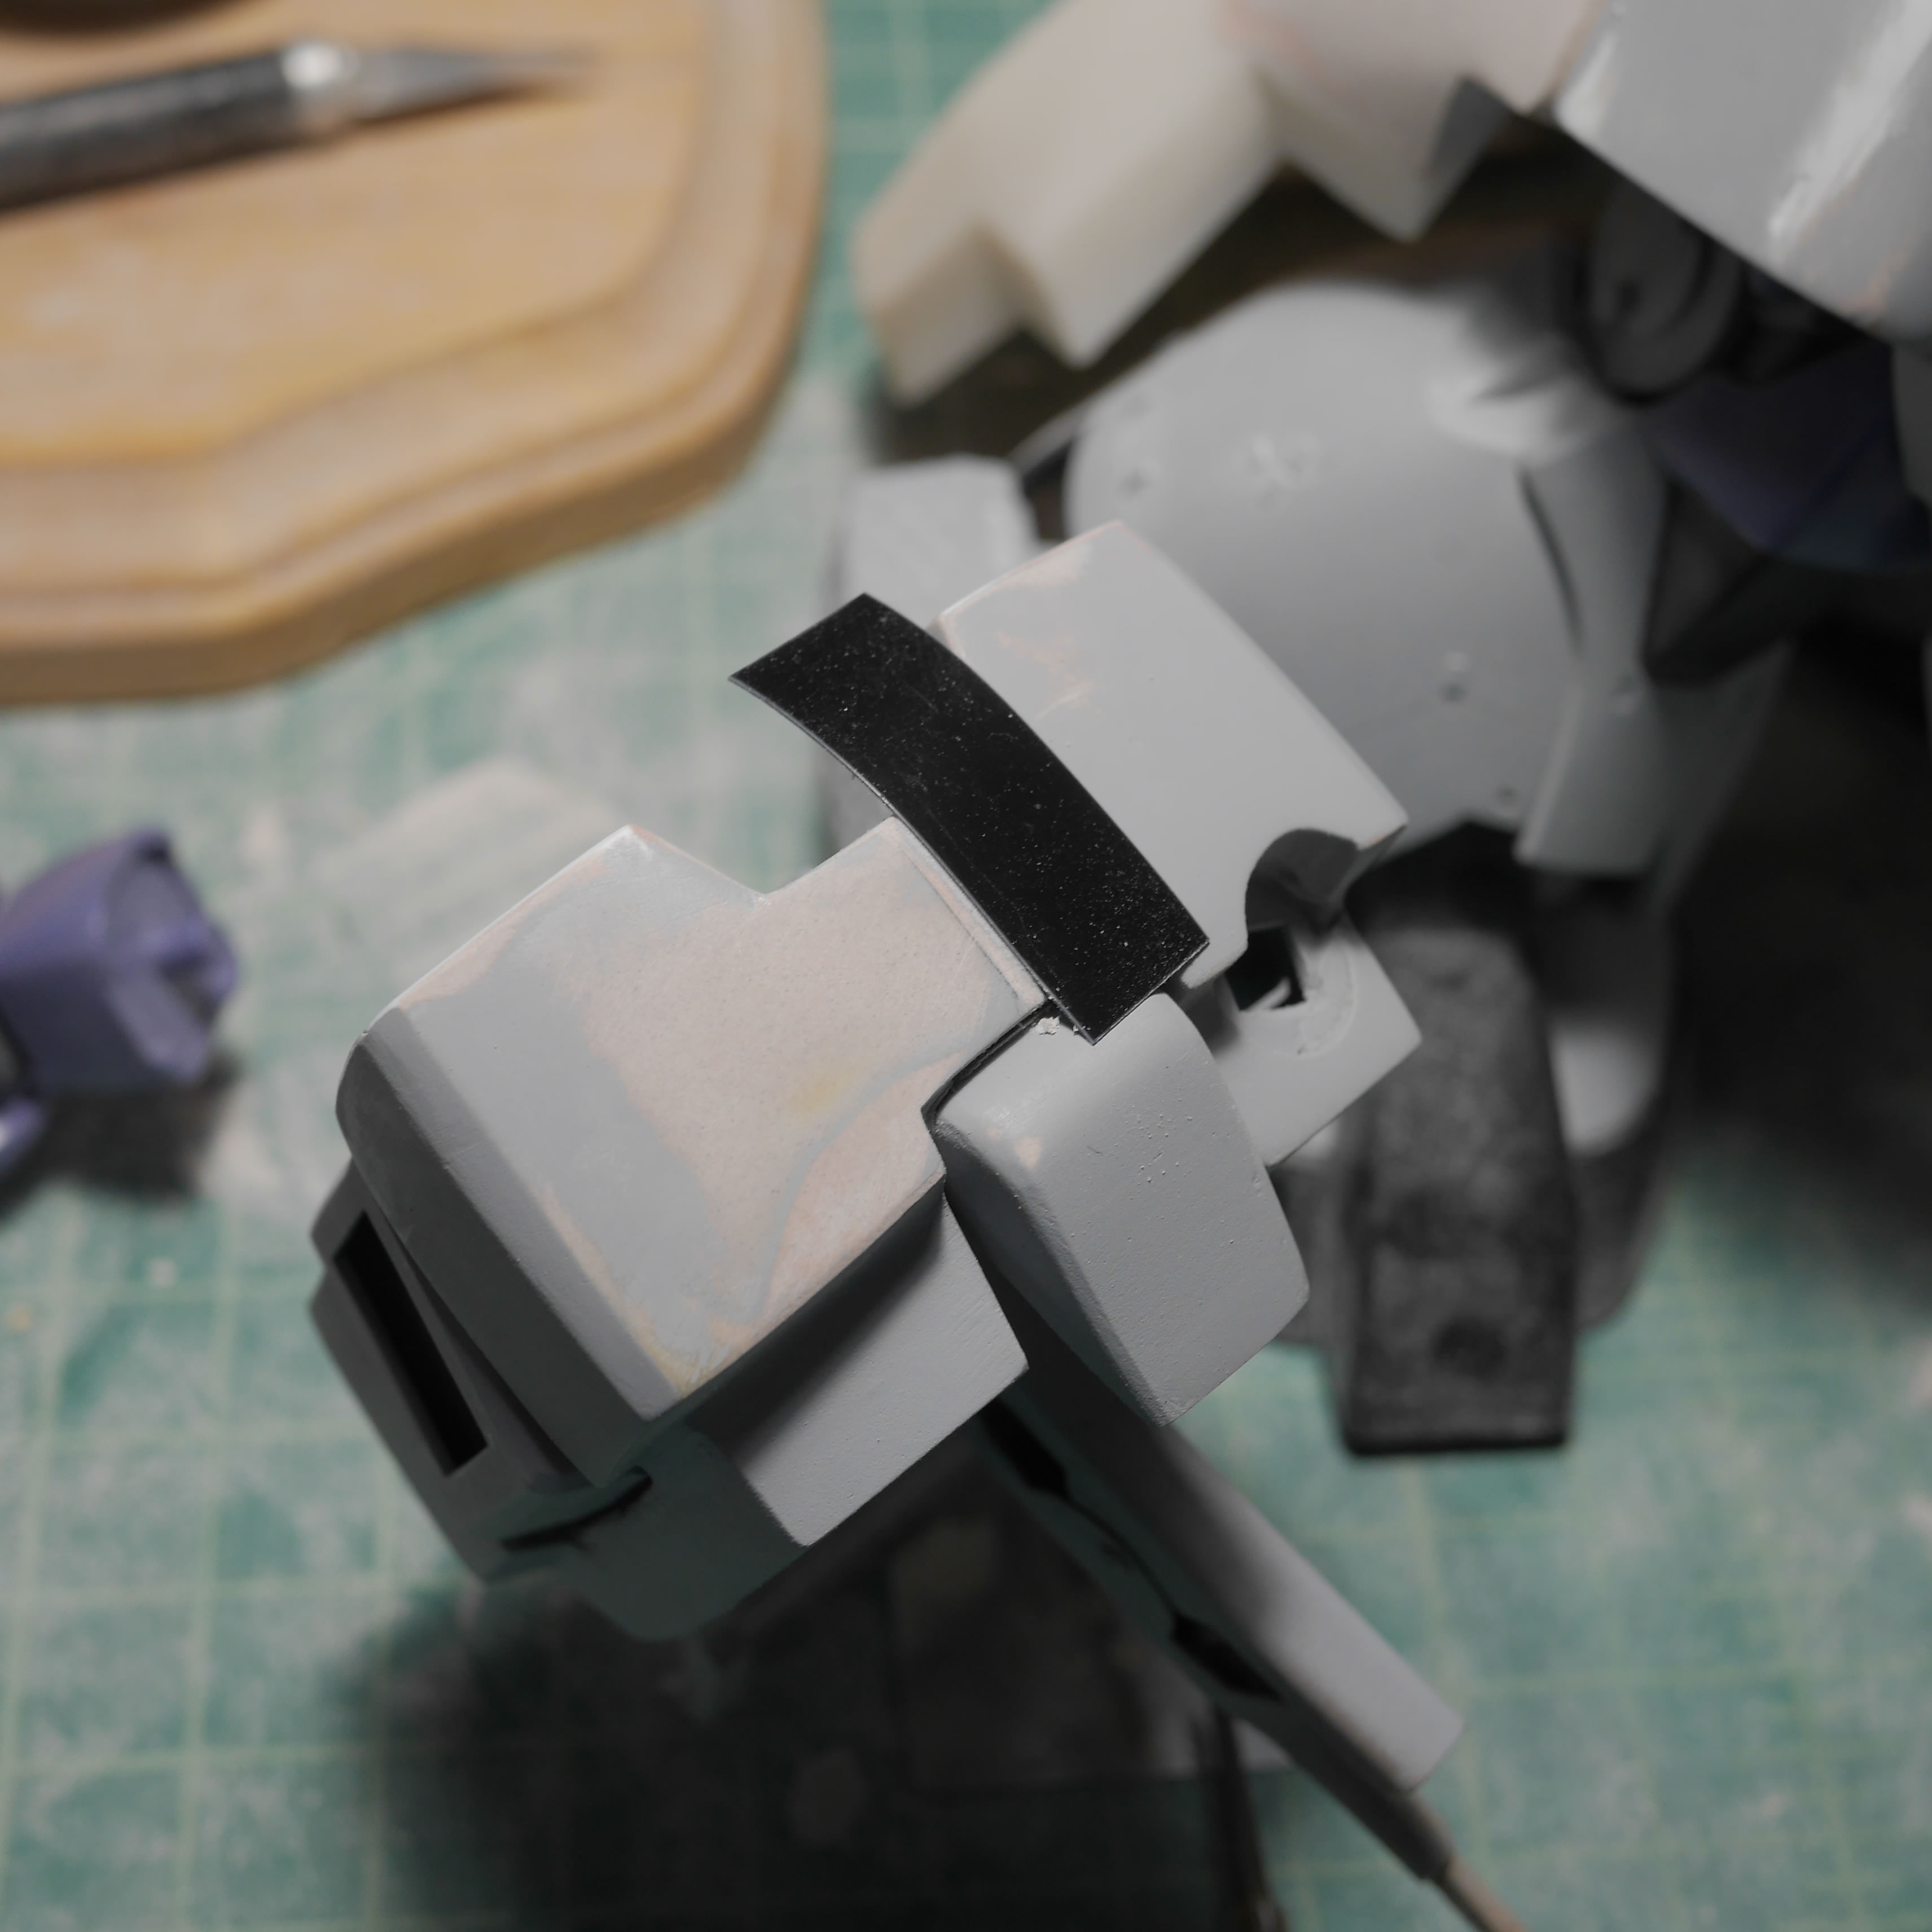
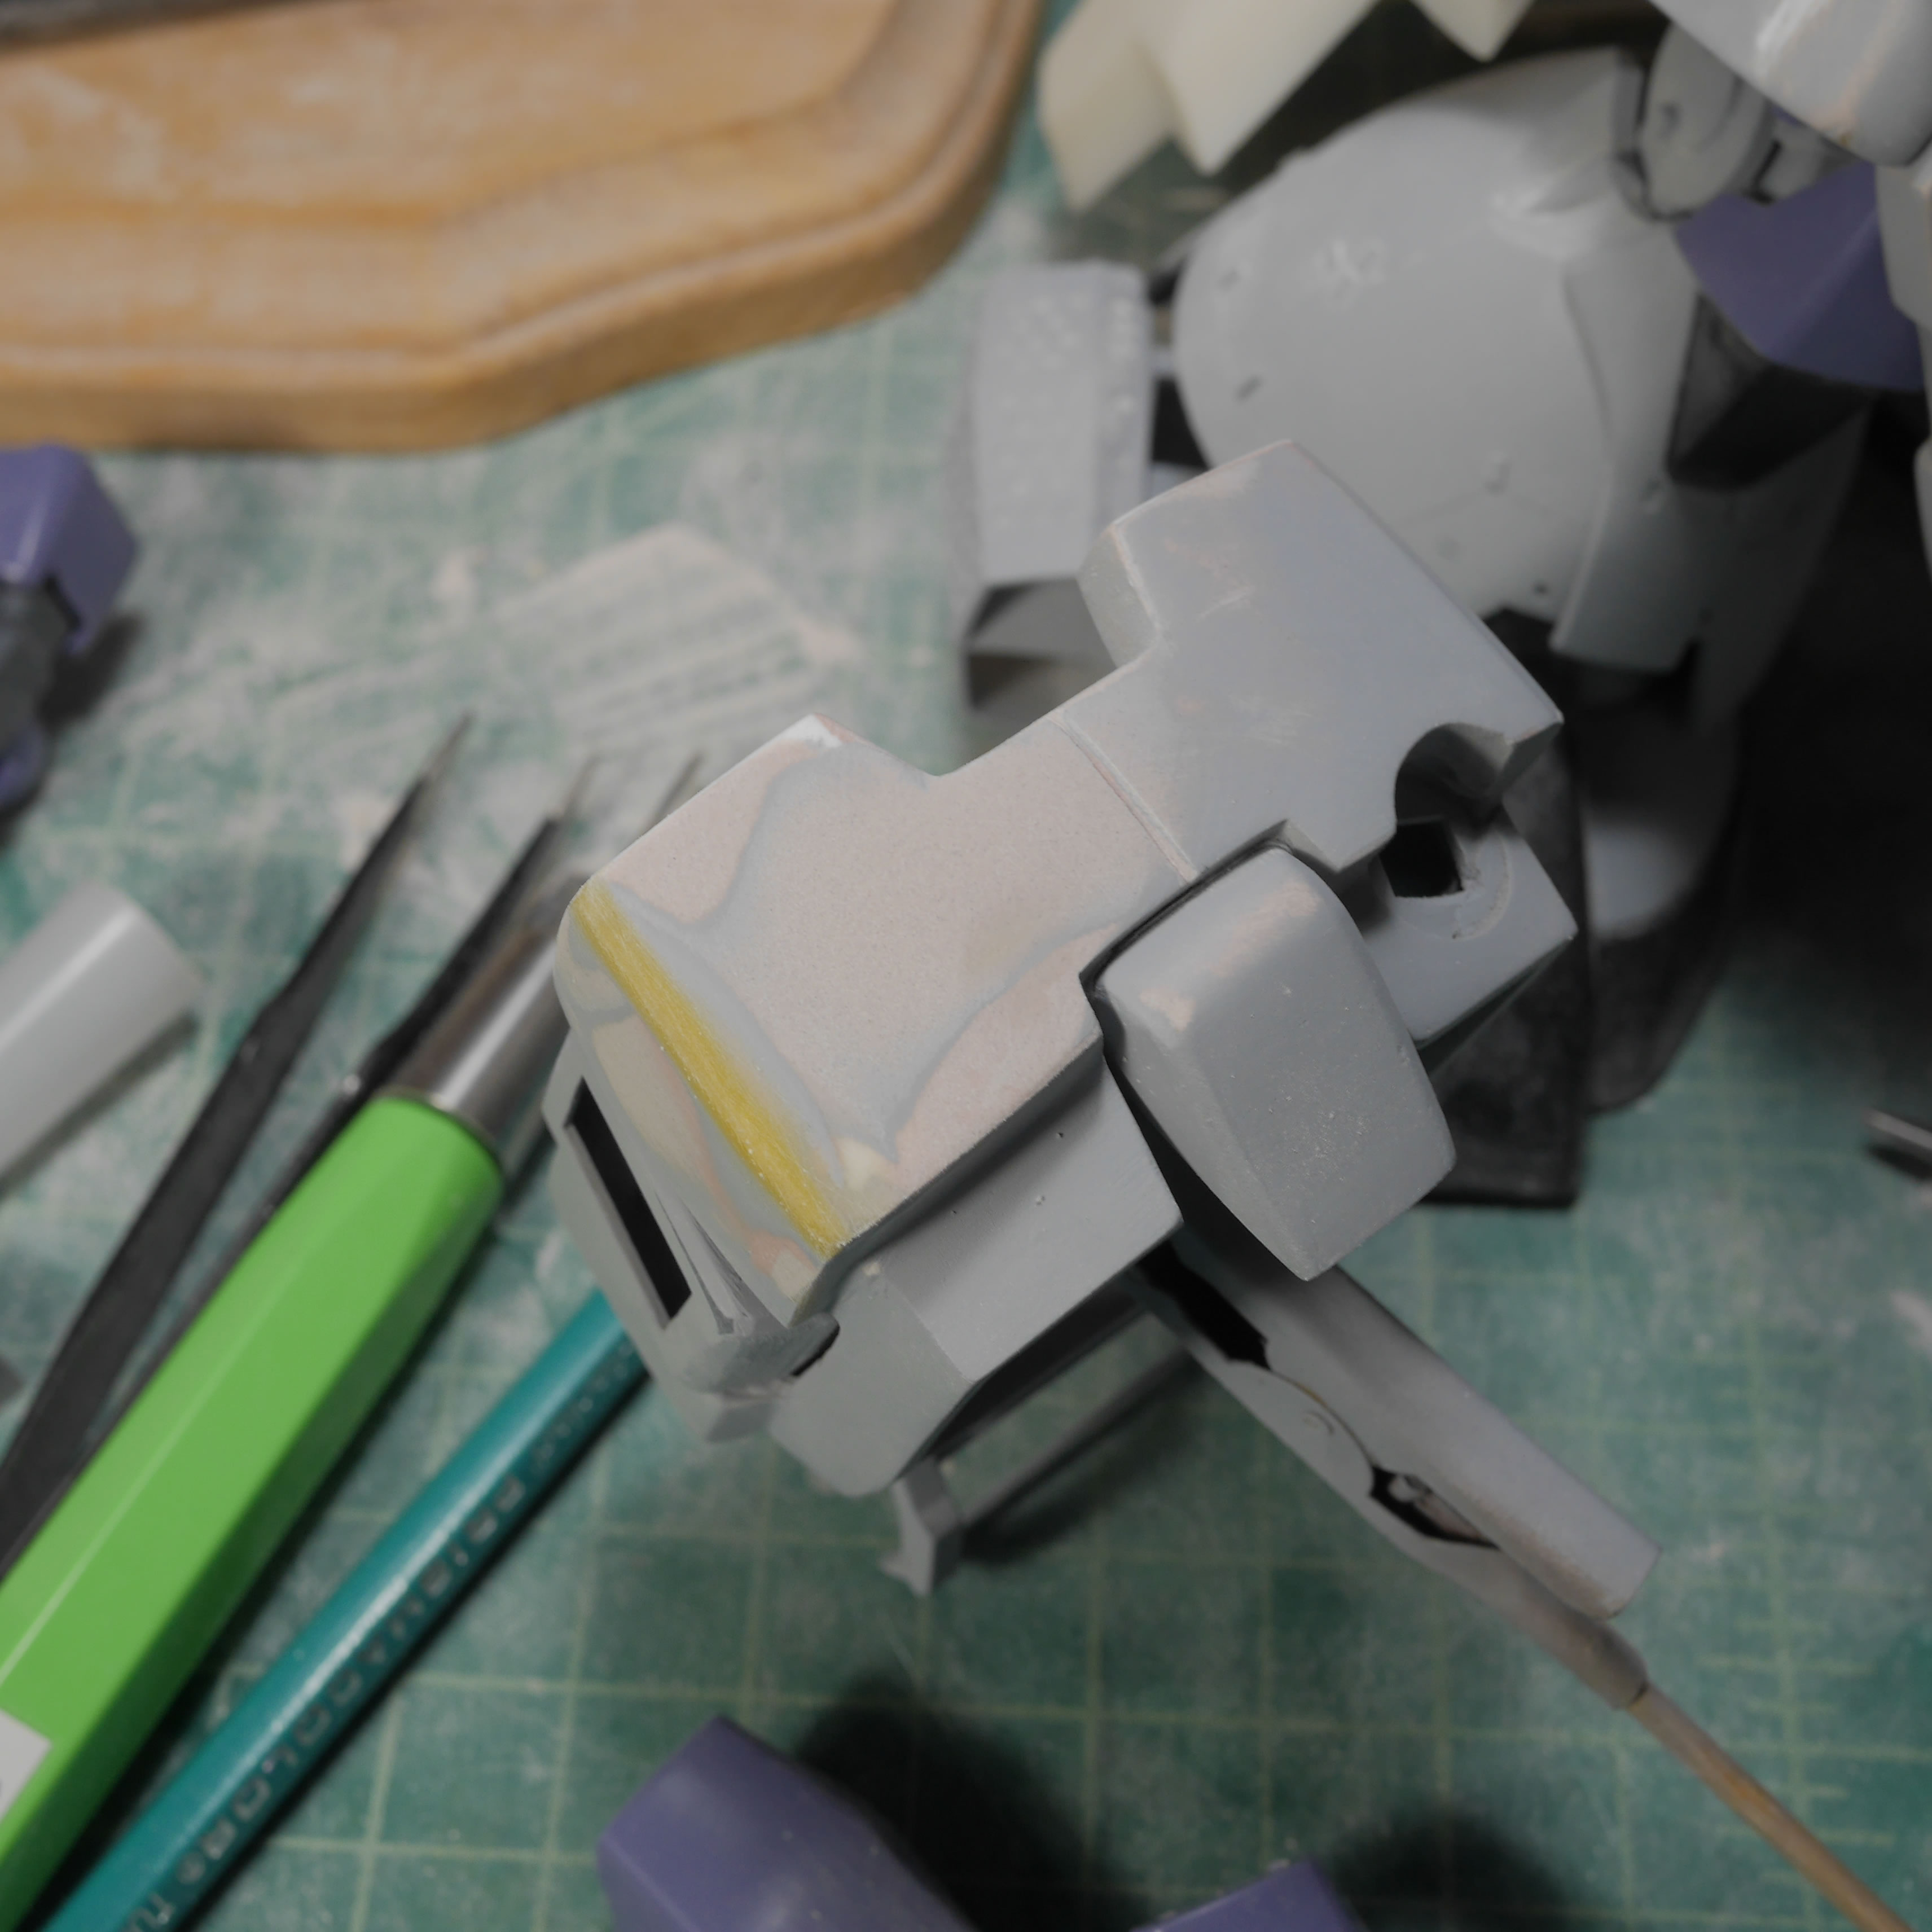
While scribing this detail line and planning out the other details I want to add, I realized that I didn’t like the bevel on the chest. The were not uniform because I had sanded the bevel by hand which has absolutely no precision. The best thing to do is to create a jig for hand sanding that makes things uniform. But since I recently rediscovered that I had a tool for scraping out bevels. Time to use that tool. But first, I need to rebuild the edges of the chest, effectively erasing the bad bevel.
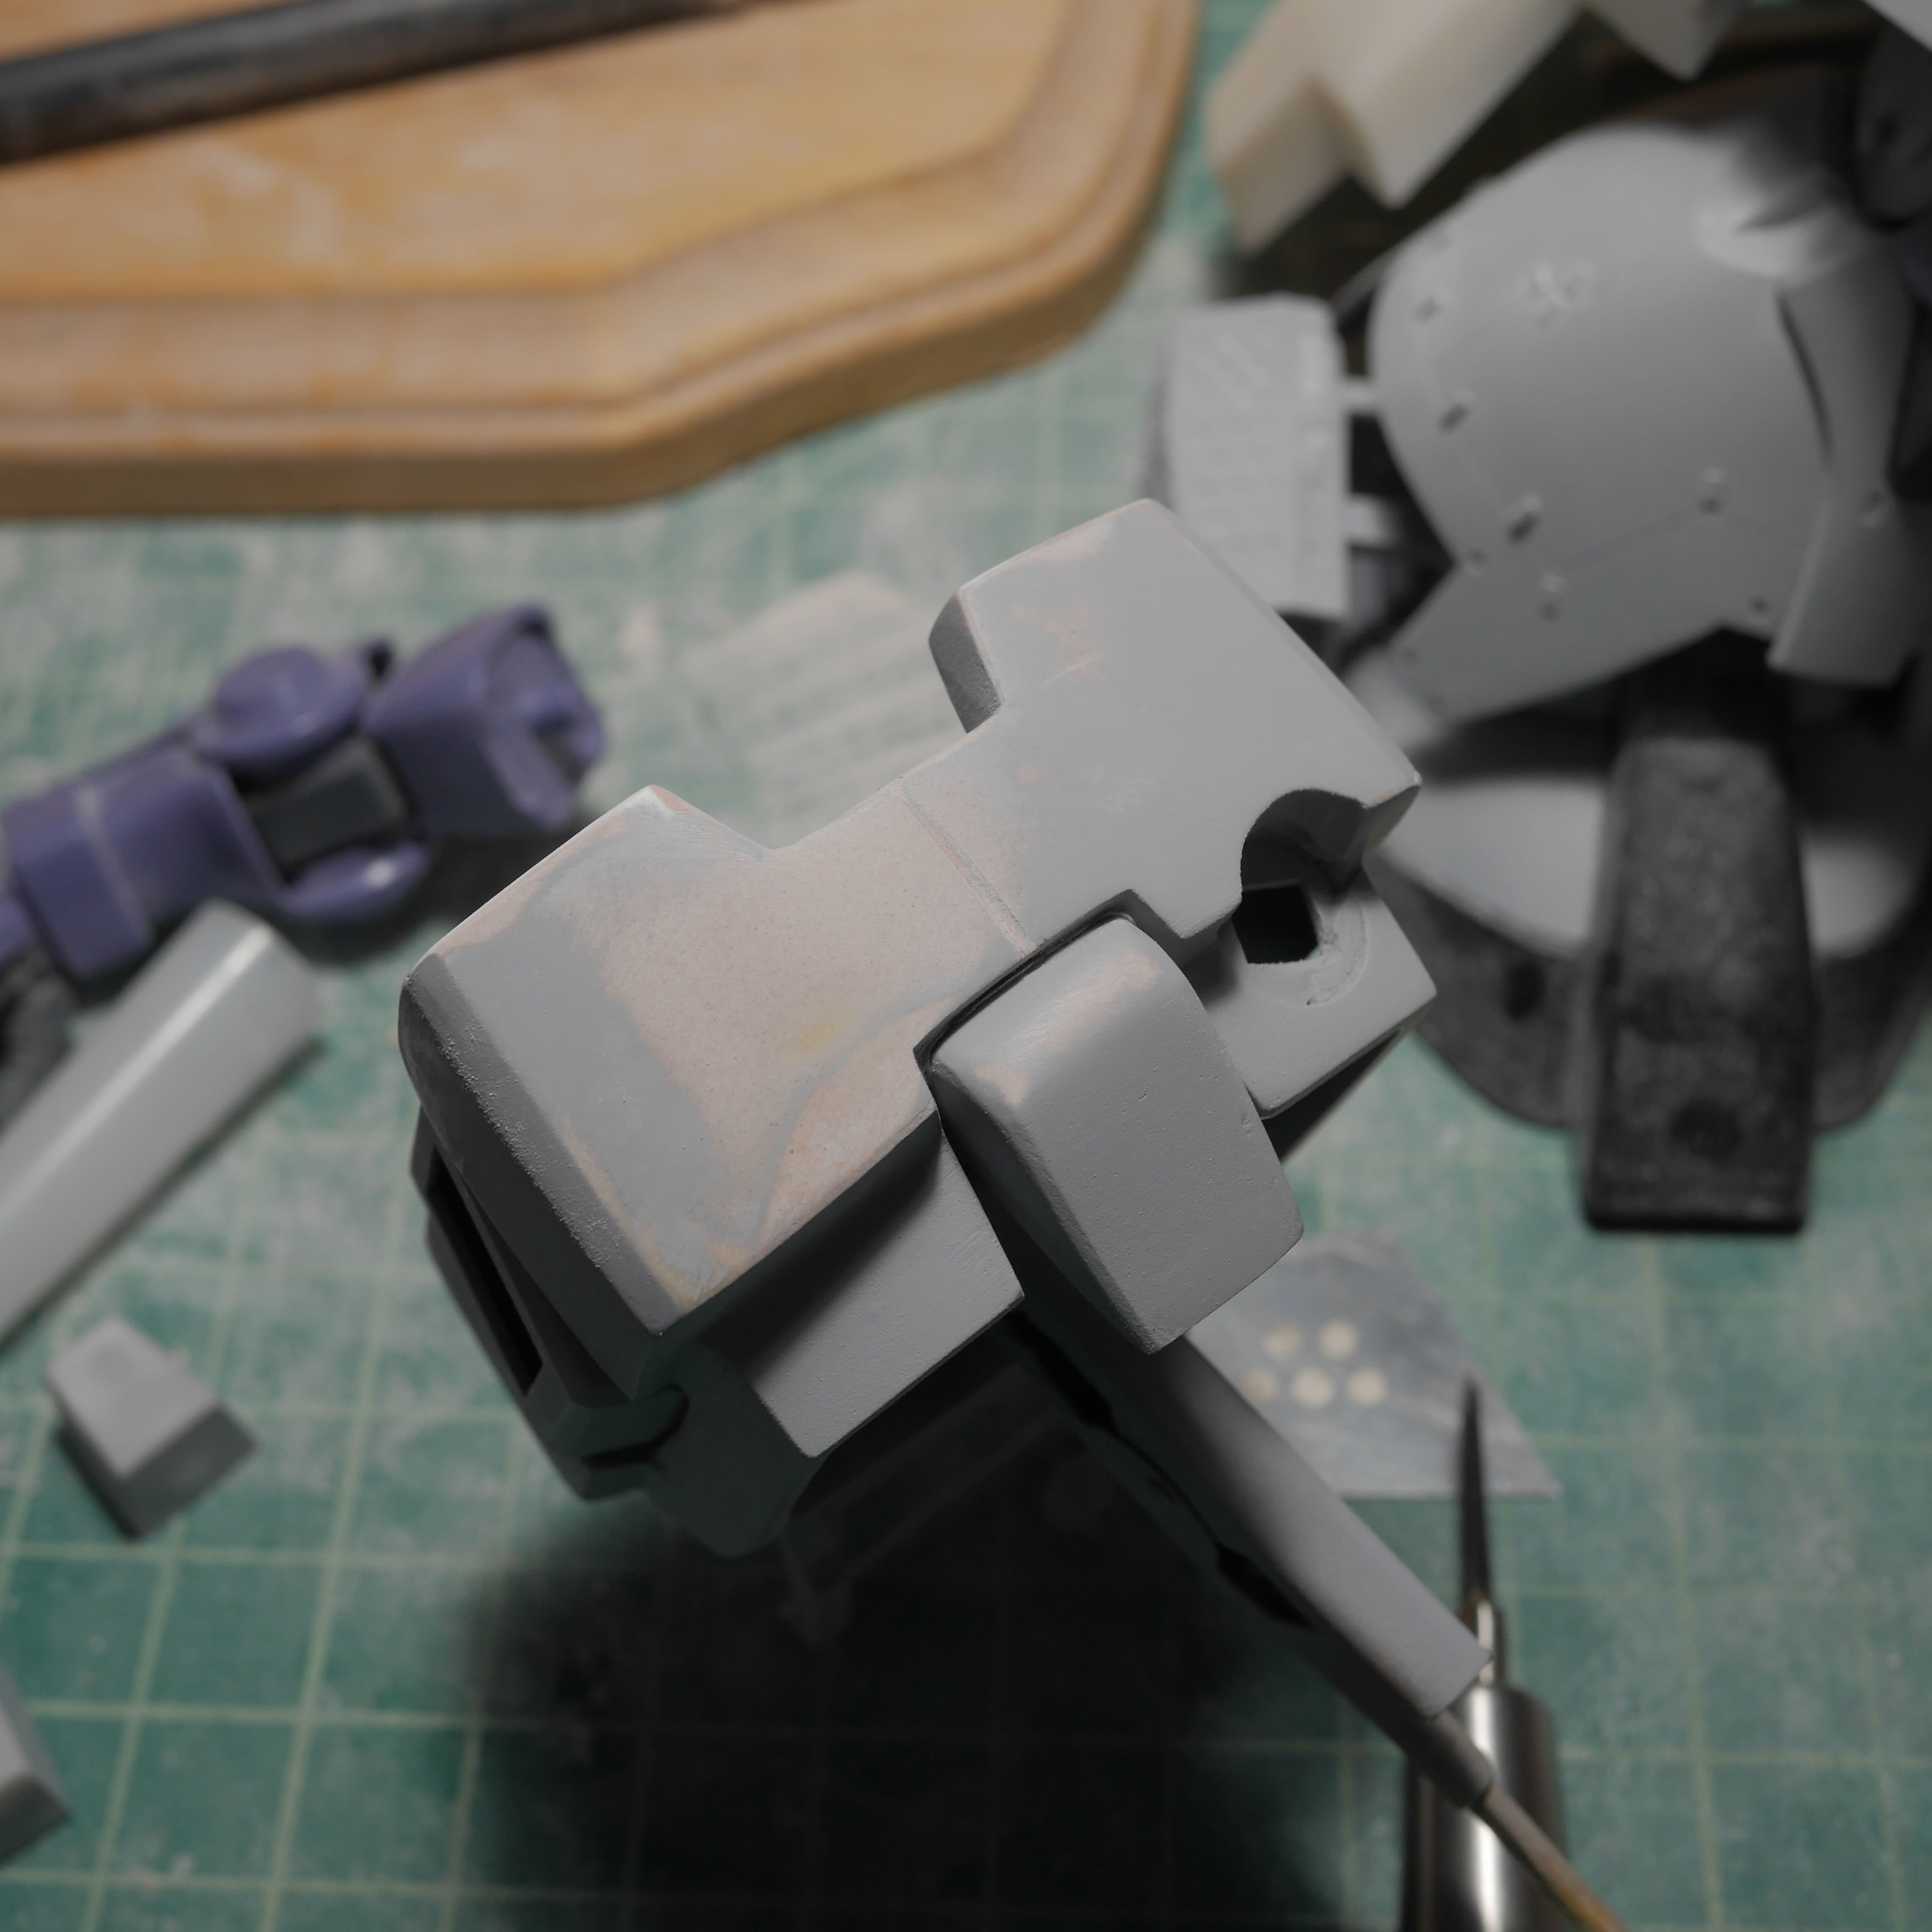
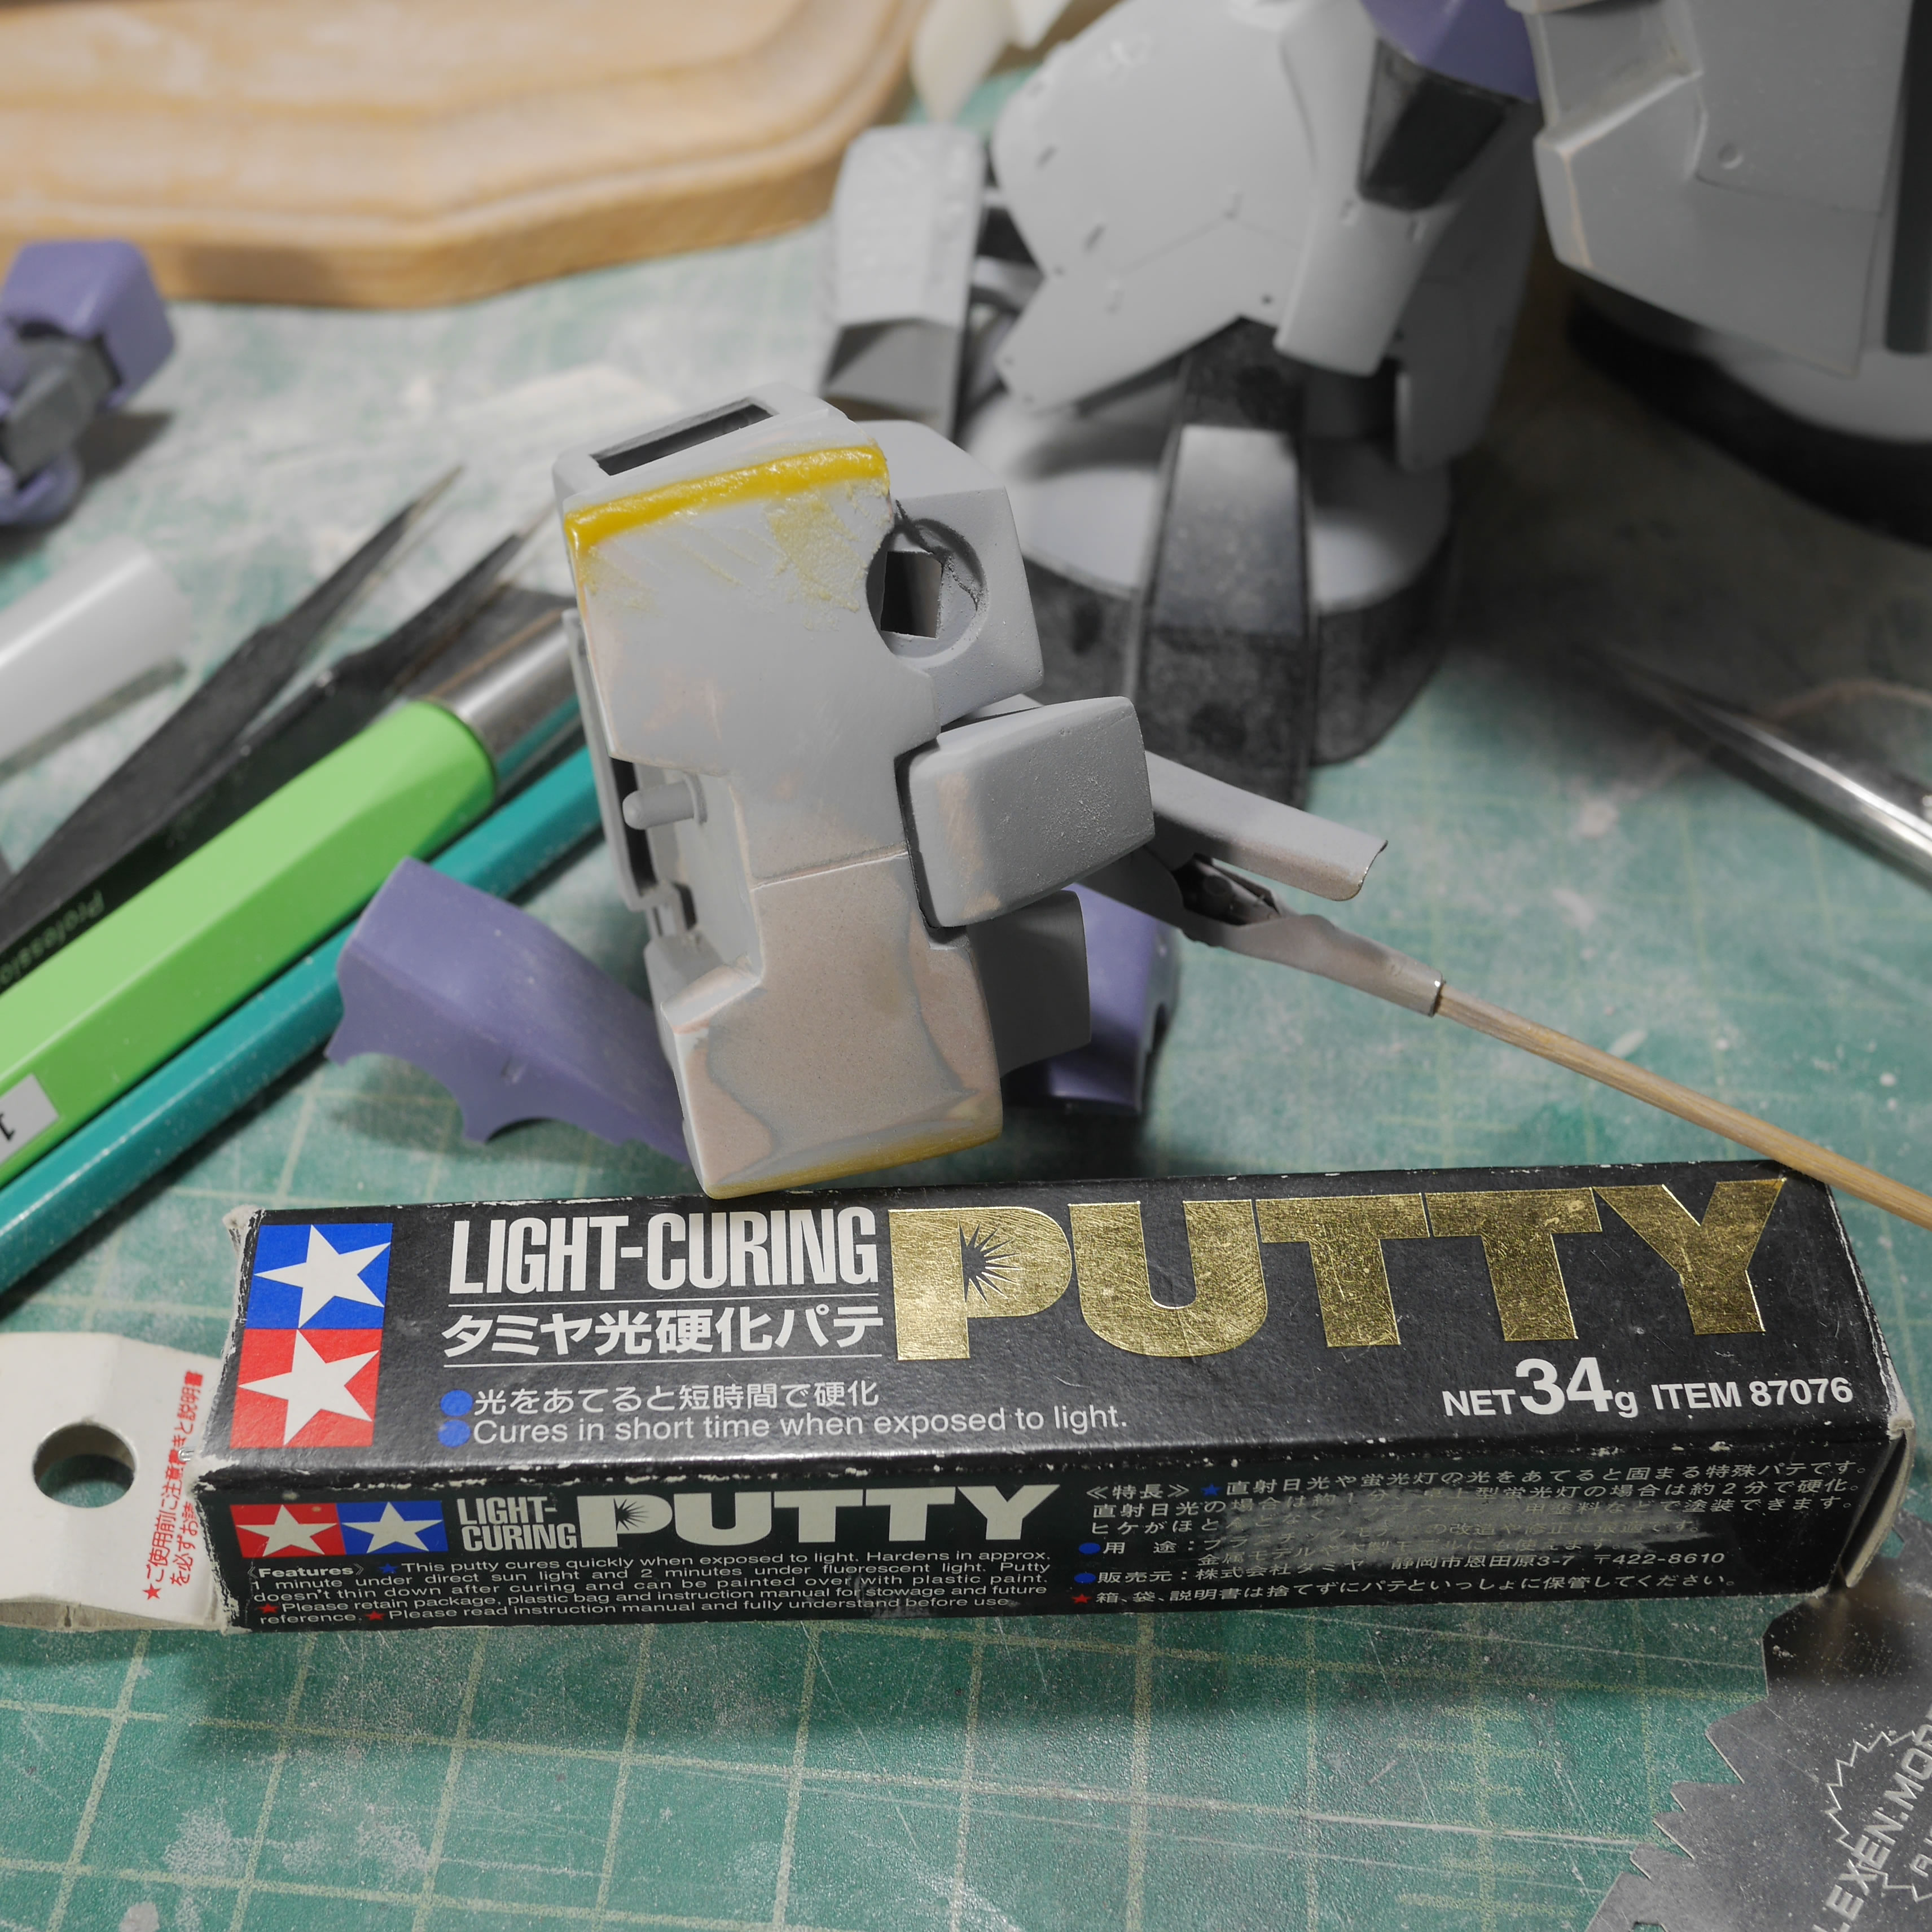
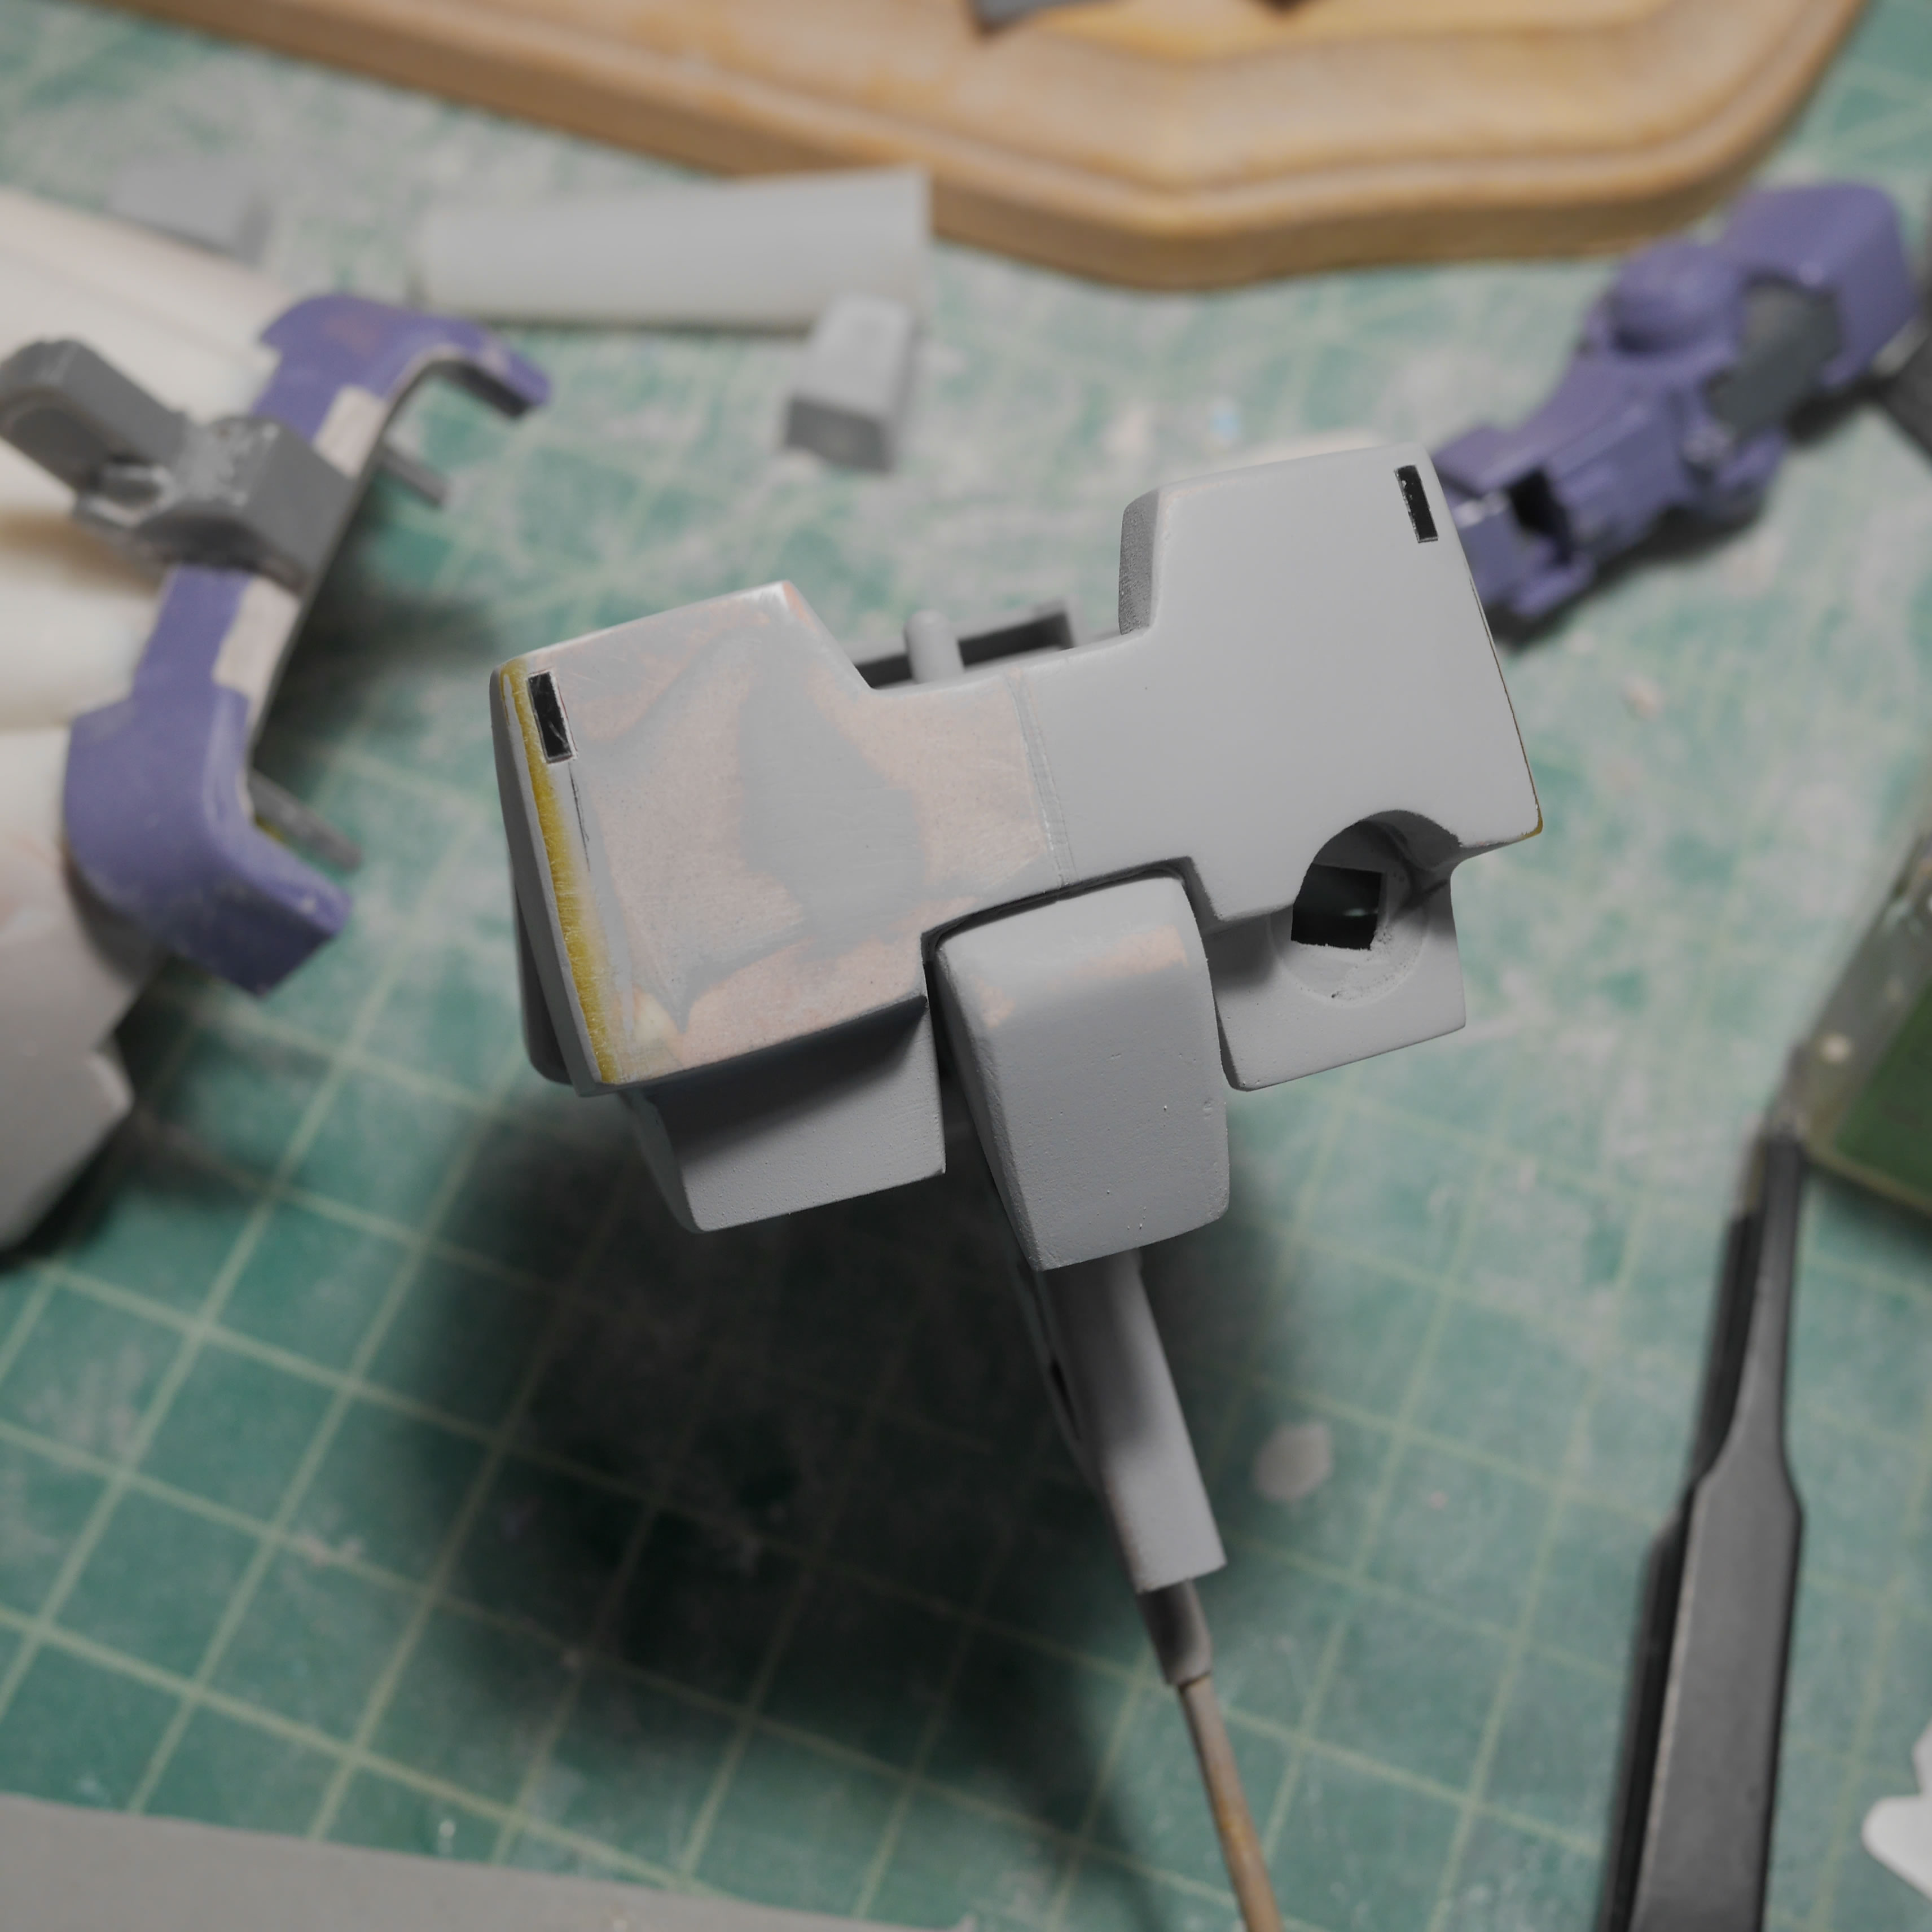
This is where light curing putty comes into play. I work on one side first by applying the putty to the bevel, place the part under direct lighting for a few minutes to fully cure, and sand the surface to recreate my hard edges on one side of the chest. The same is done to the other side. Light curing putty is an amazing tool for quick fixes such as this that does not completely derail the workflow. Once the edges are sanded to the correct edges, the beveling scraper is used to create a uniform and smaller bevel.
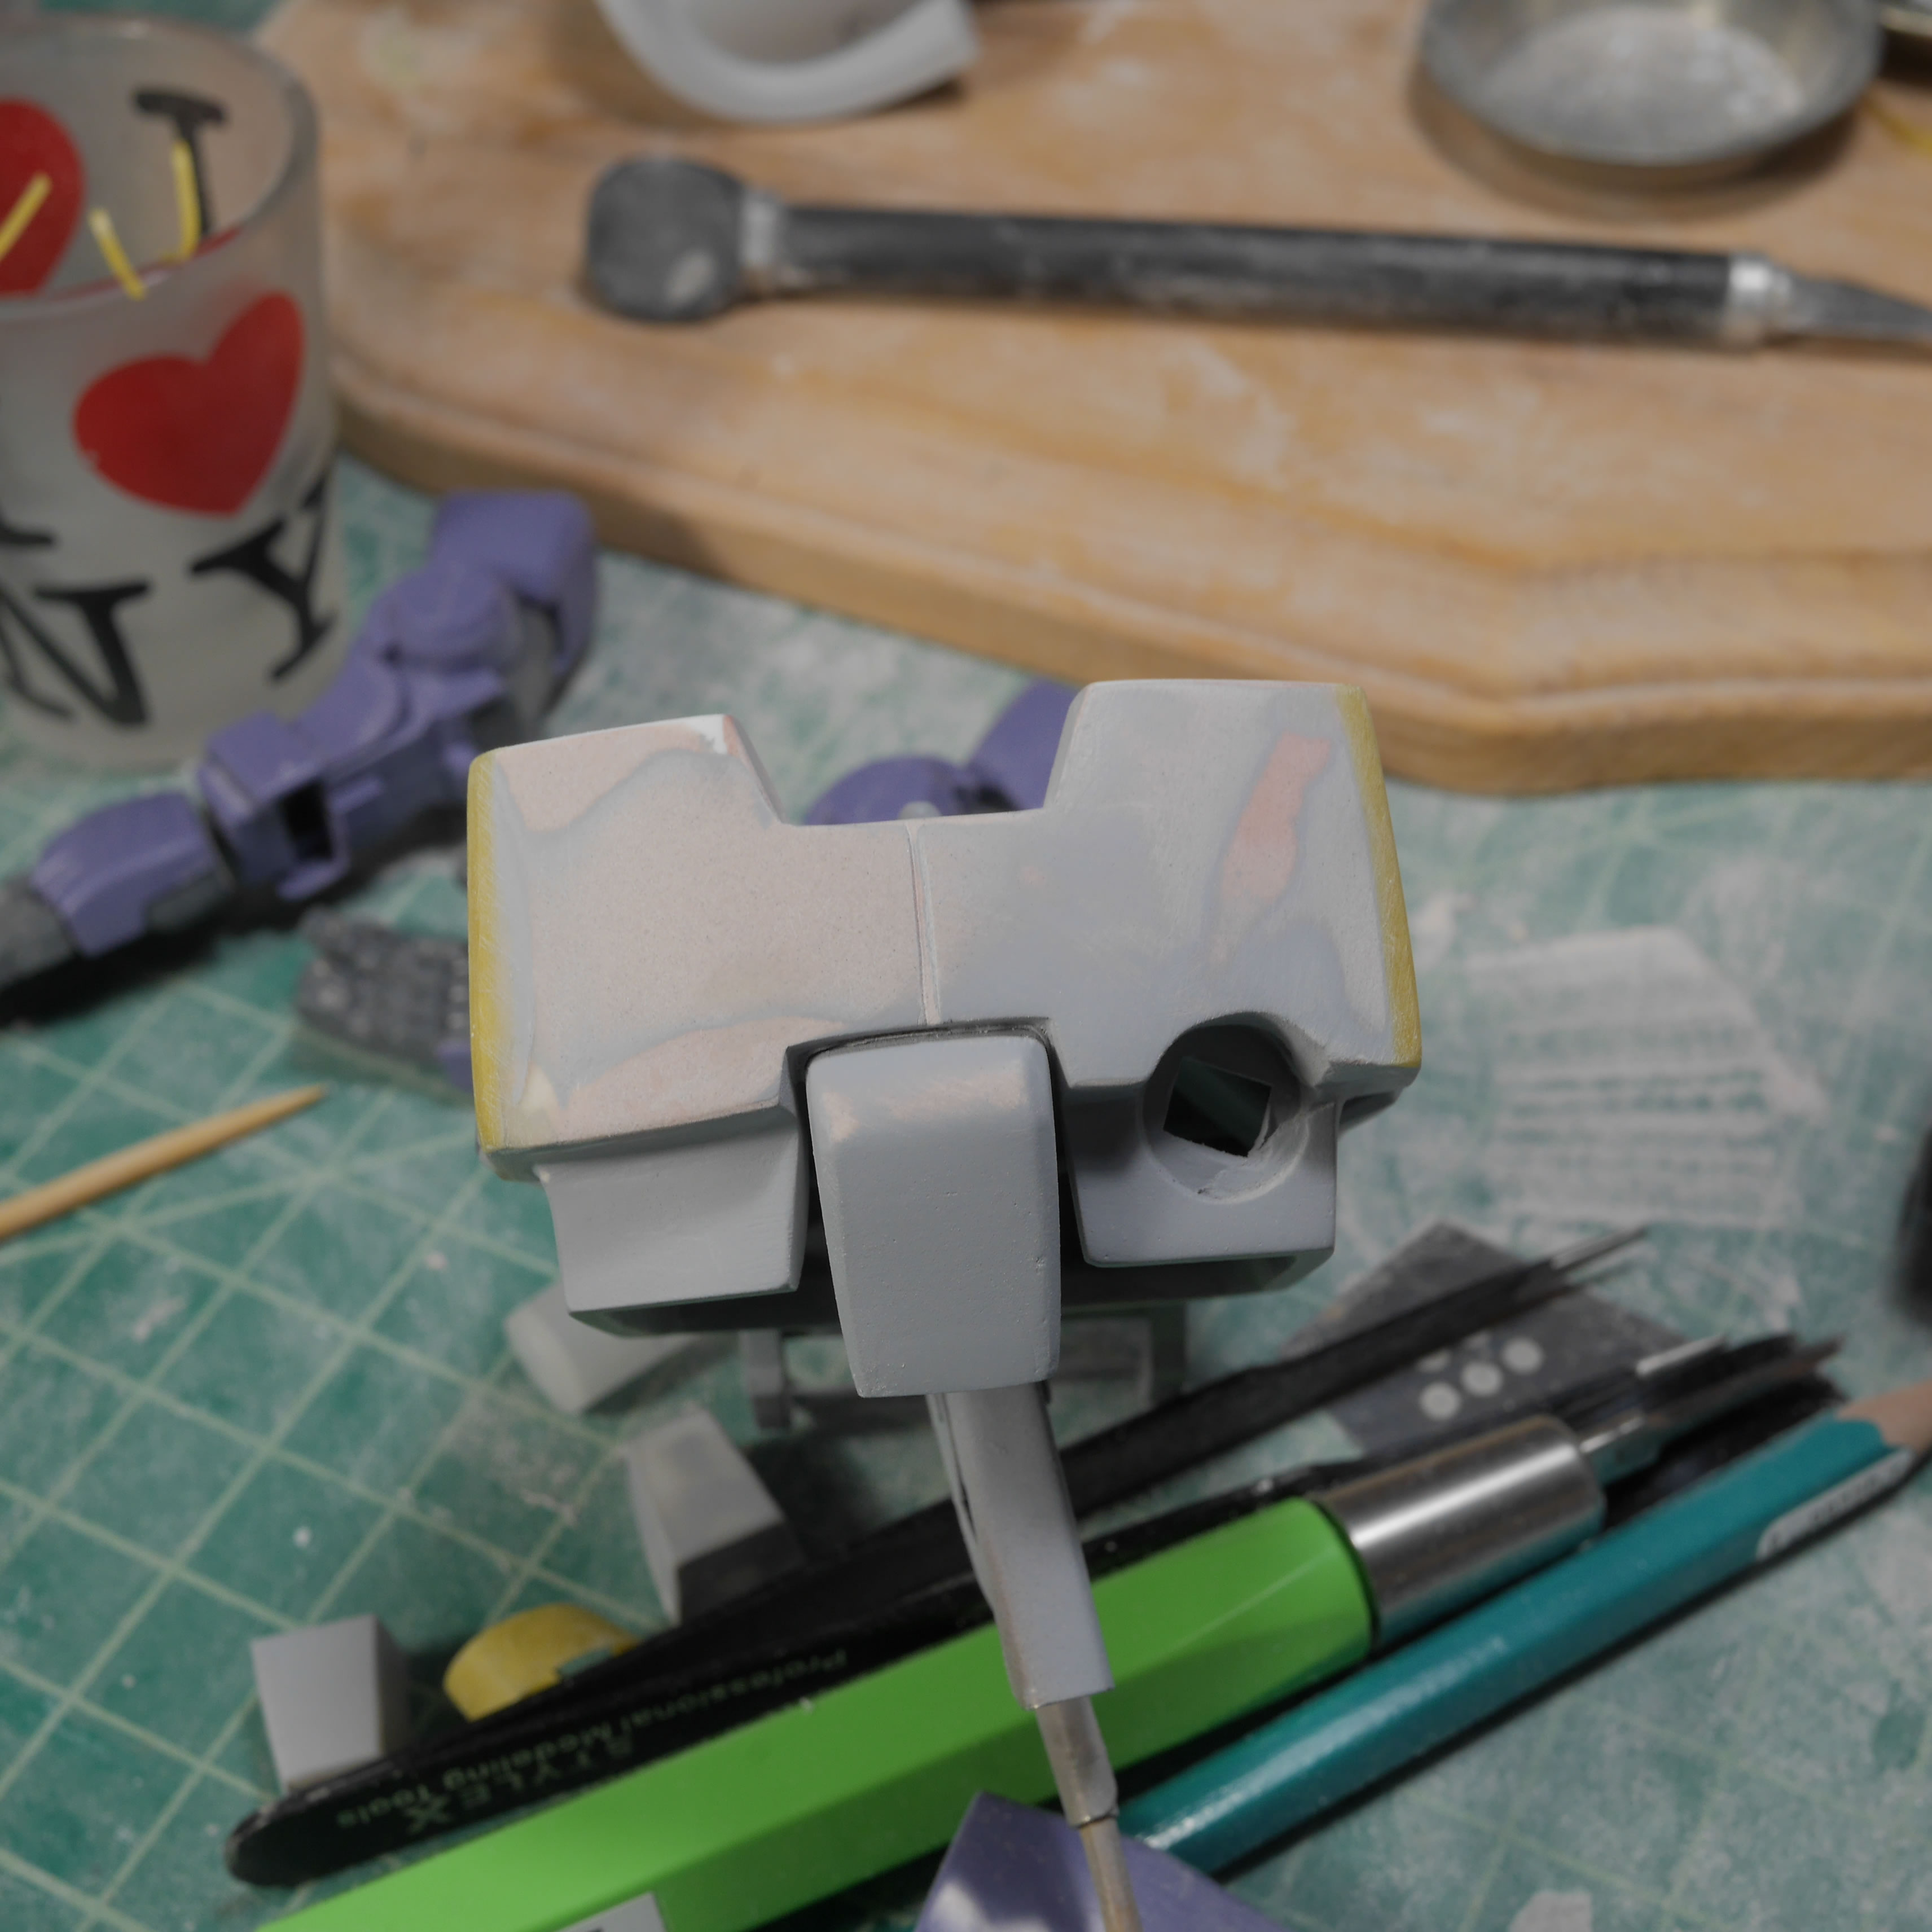
The unprimed visual is harder to notice; but easier to see once primed. Below is the before and after comparison both primed. I think the bevel looks better now. The added details later will further accent this. The last picture shows the guide tape in place for more detail scribing.
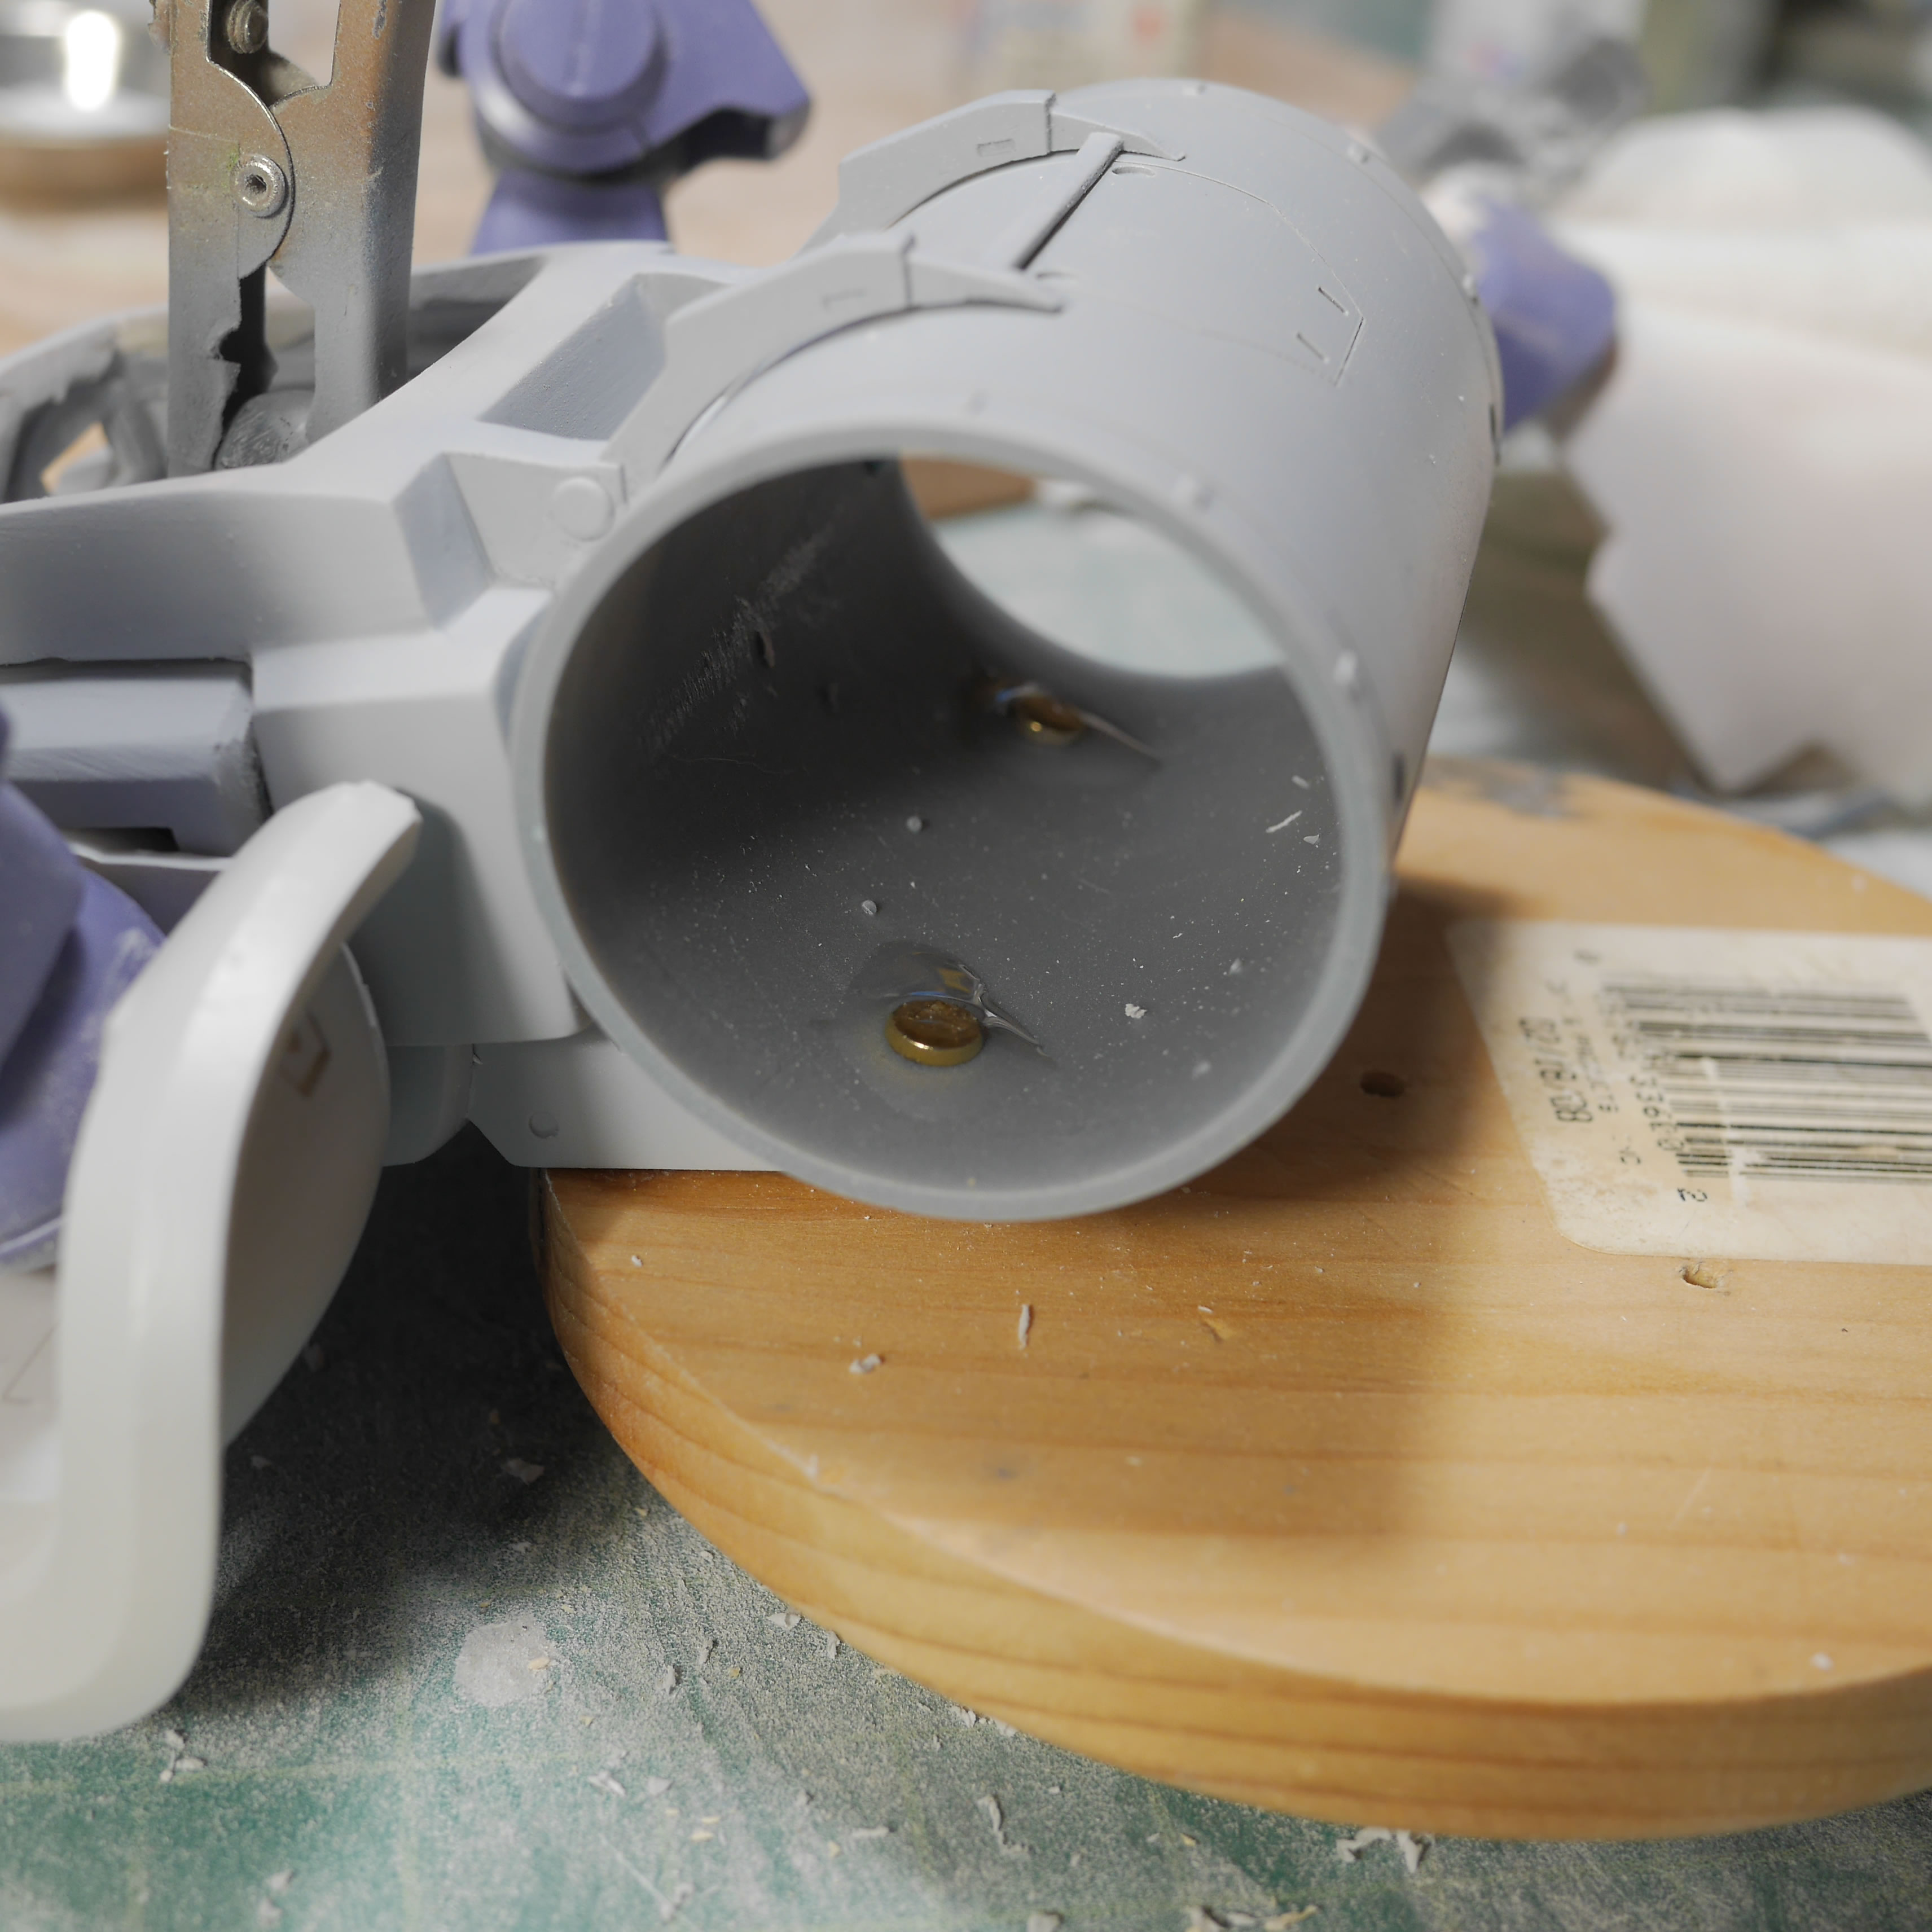
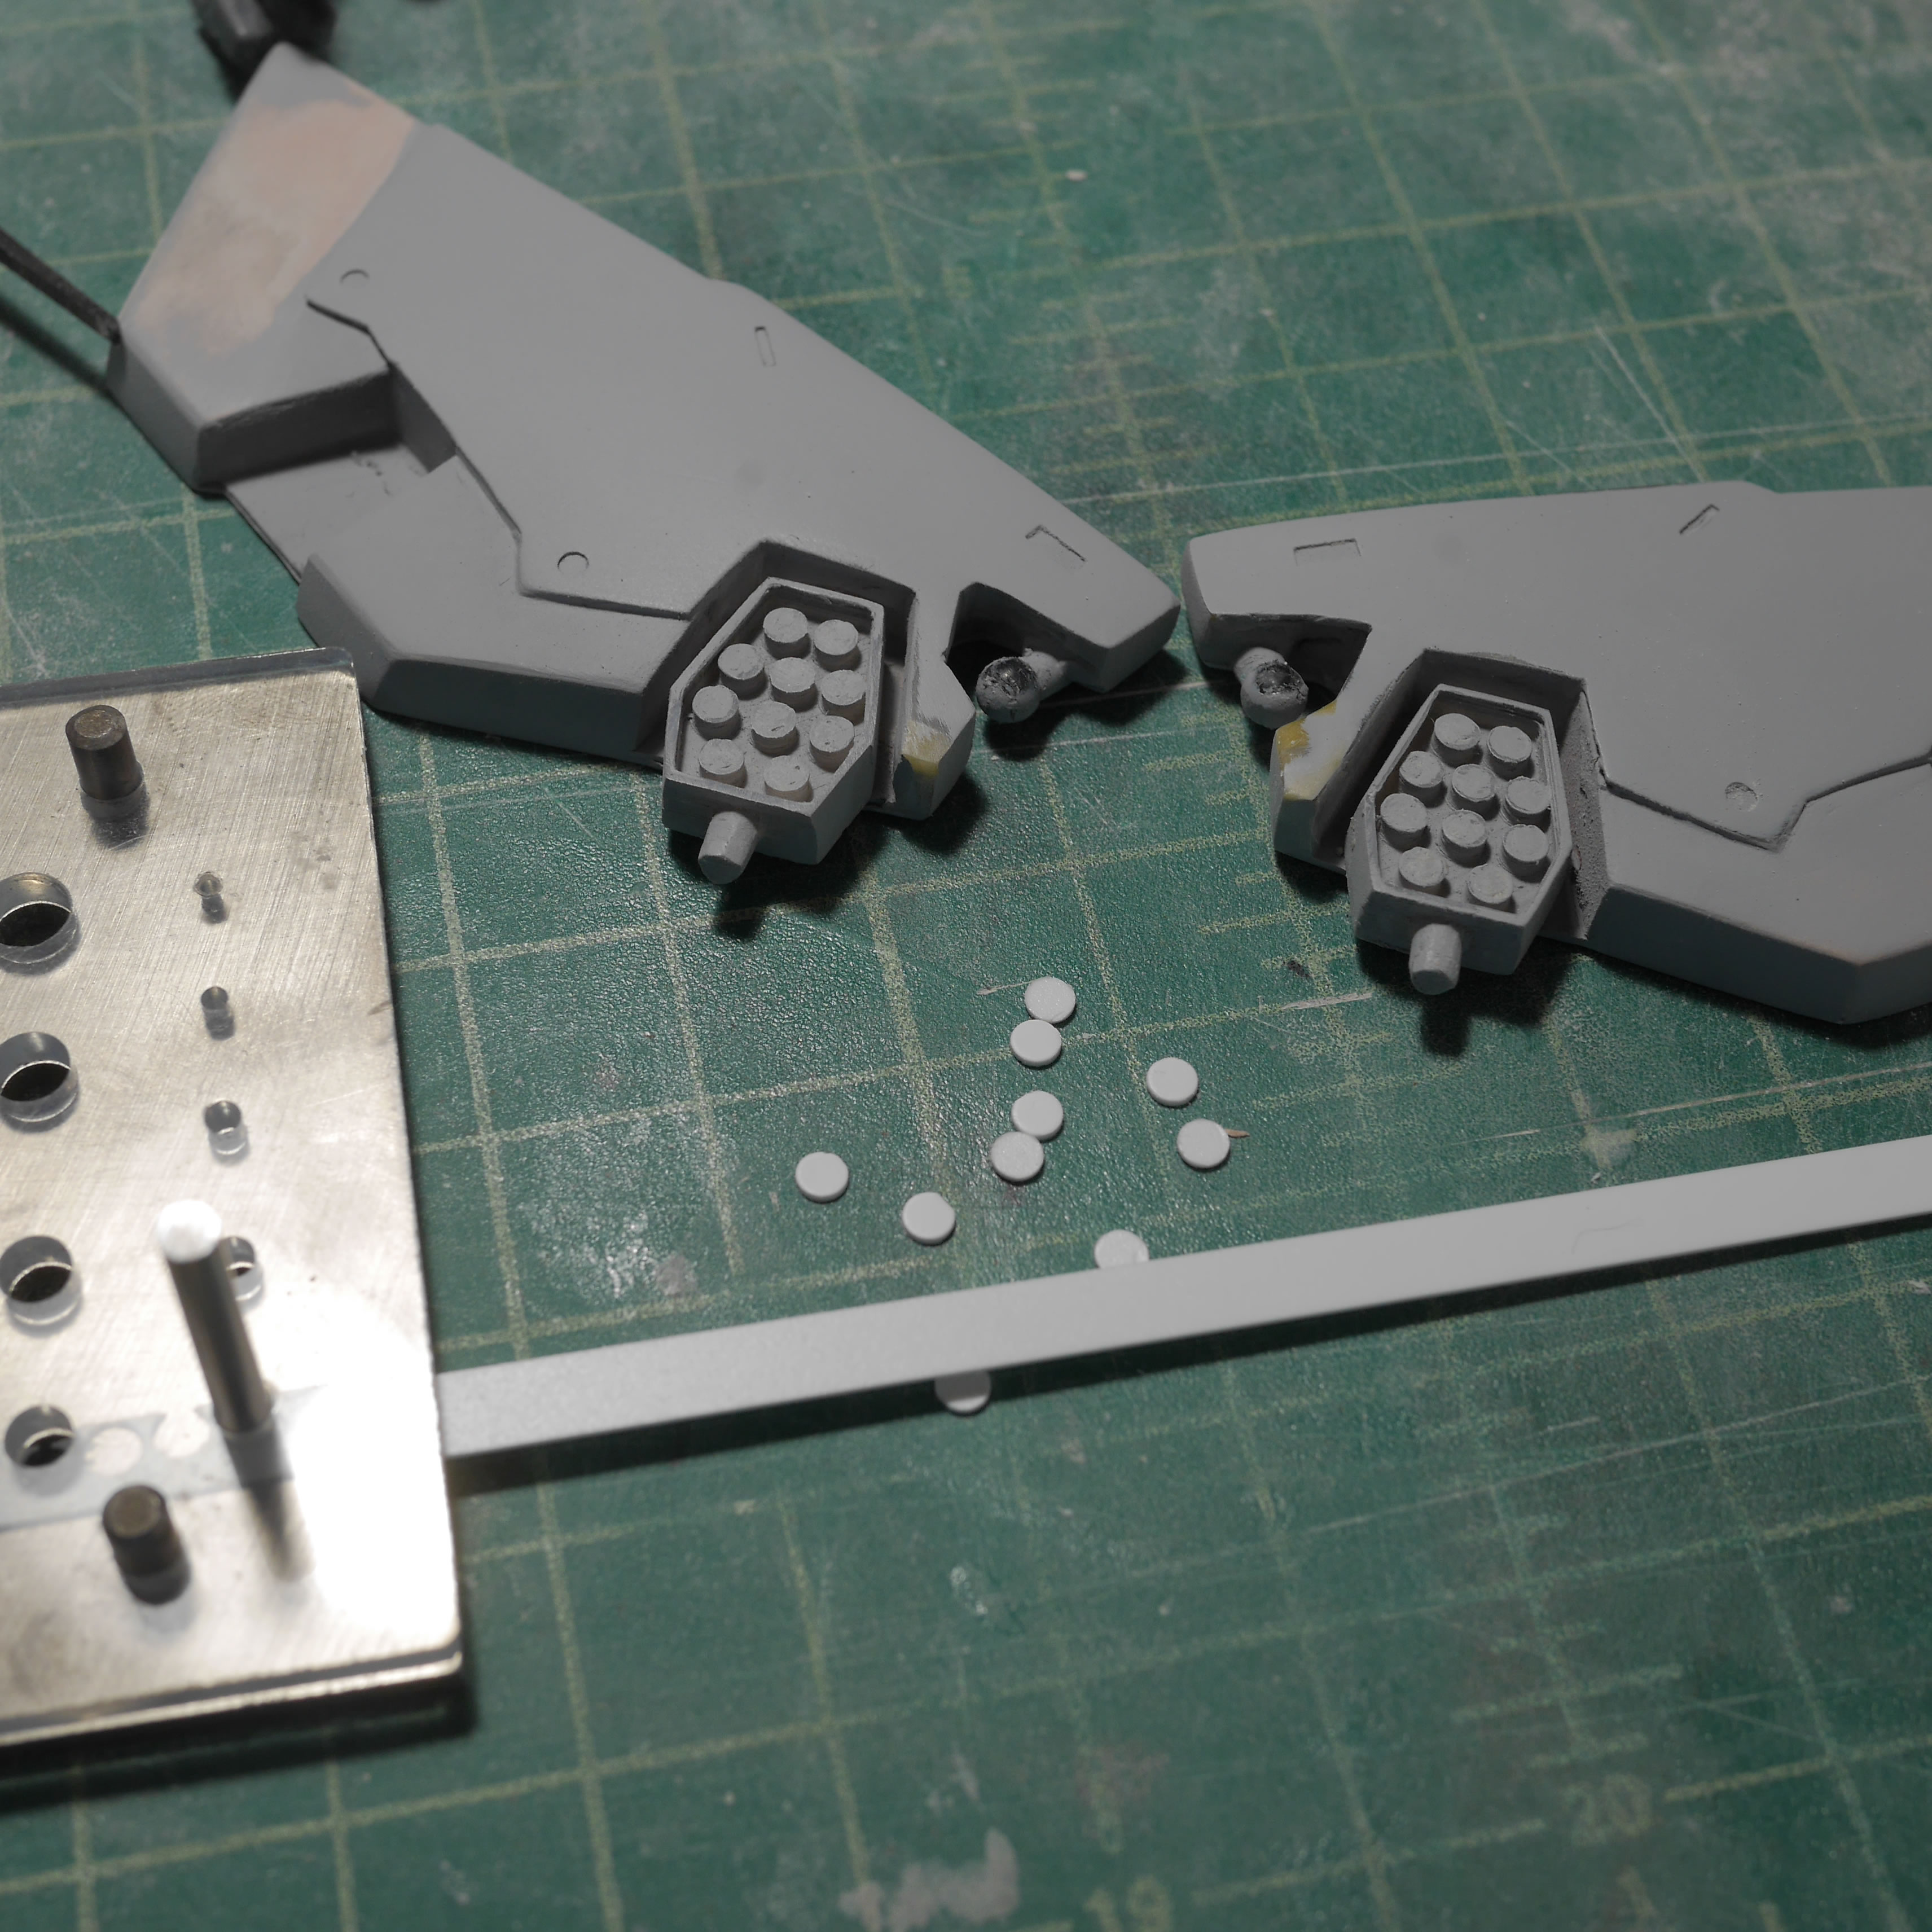
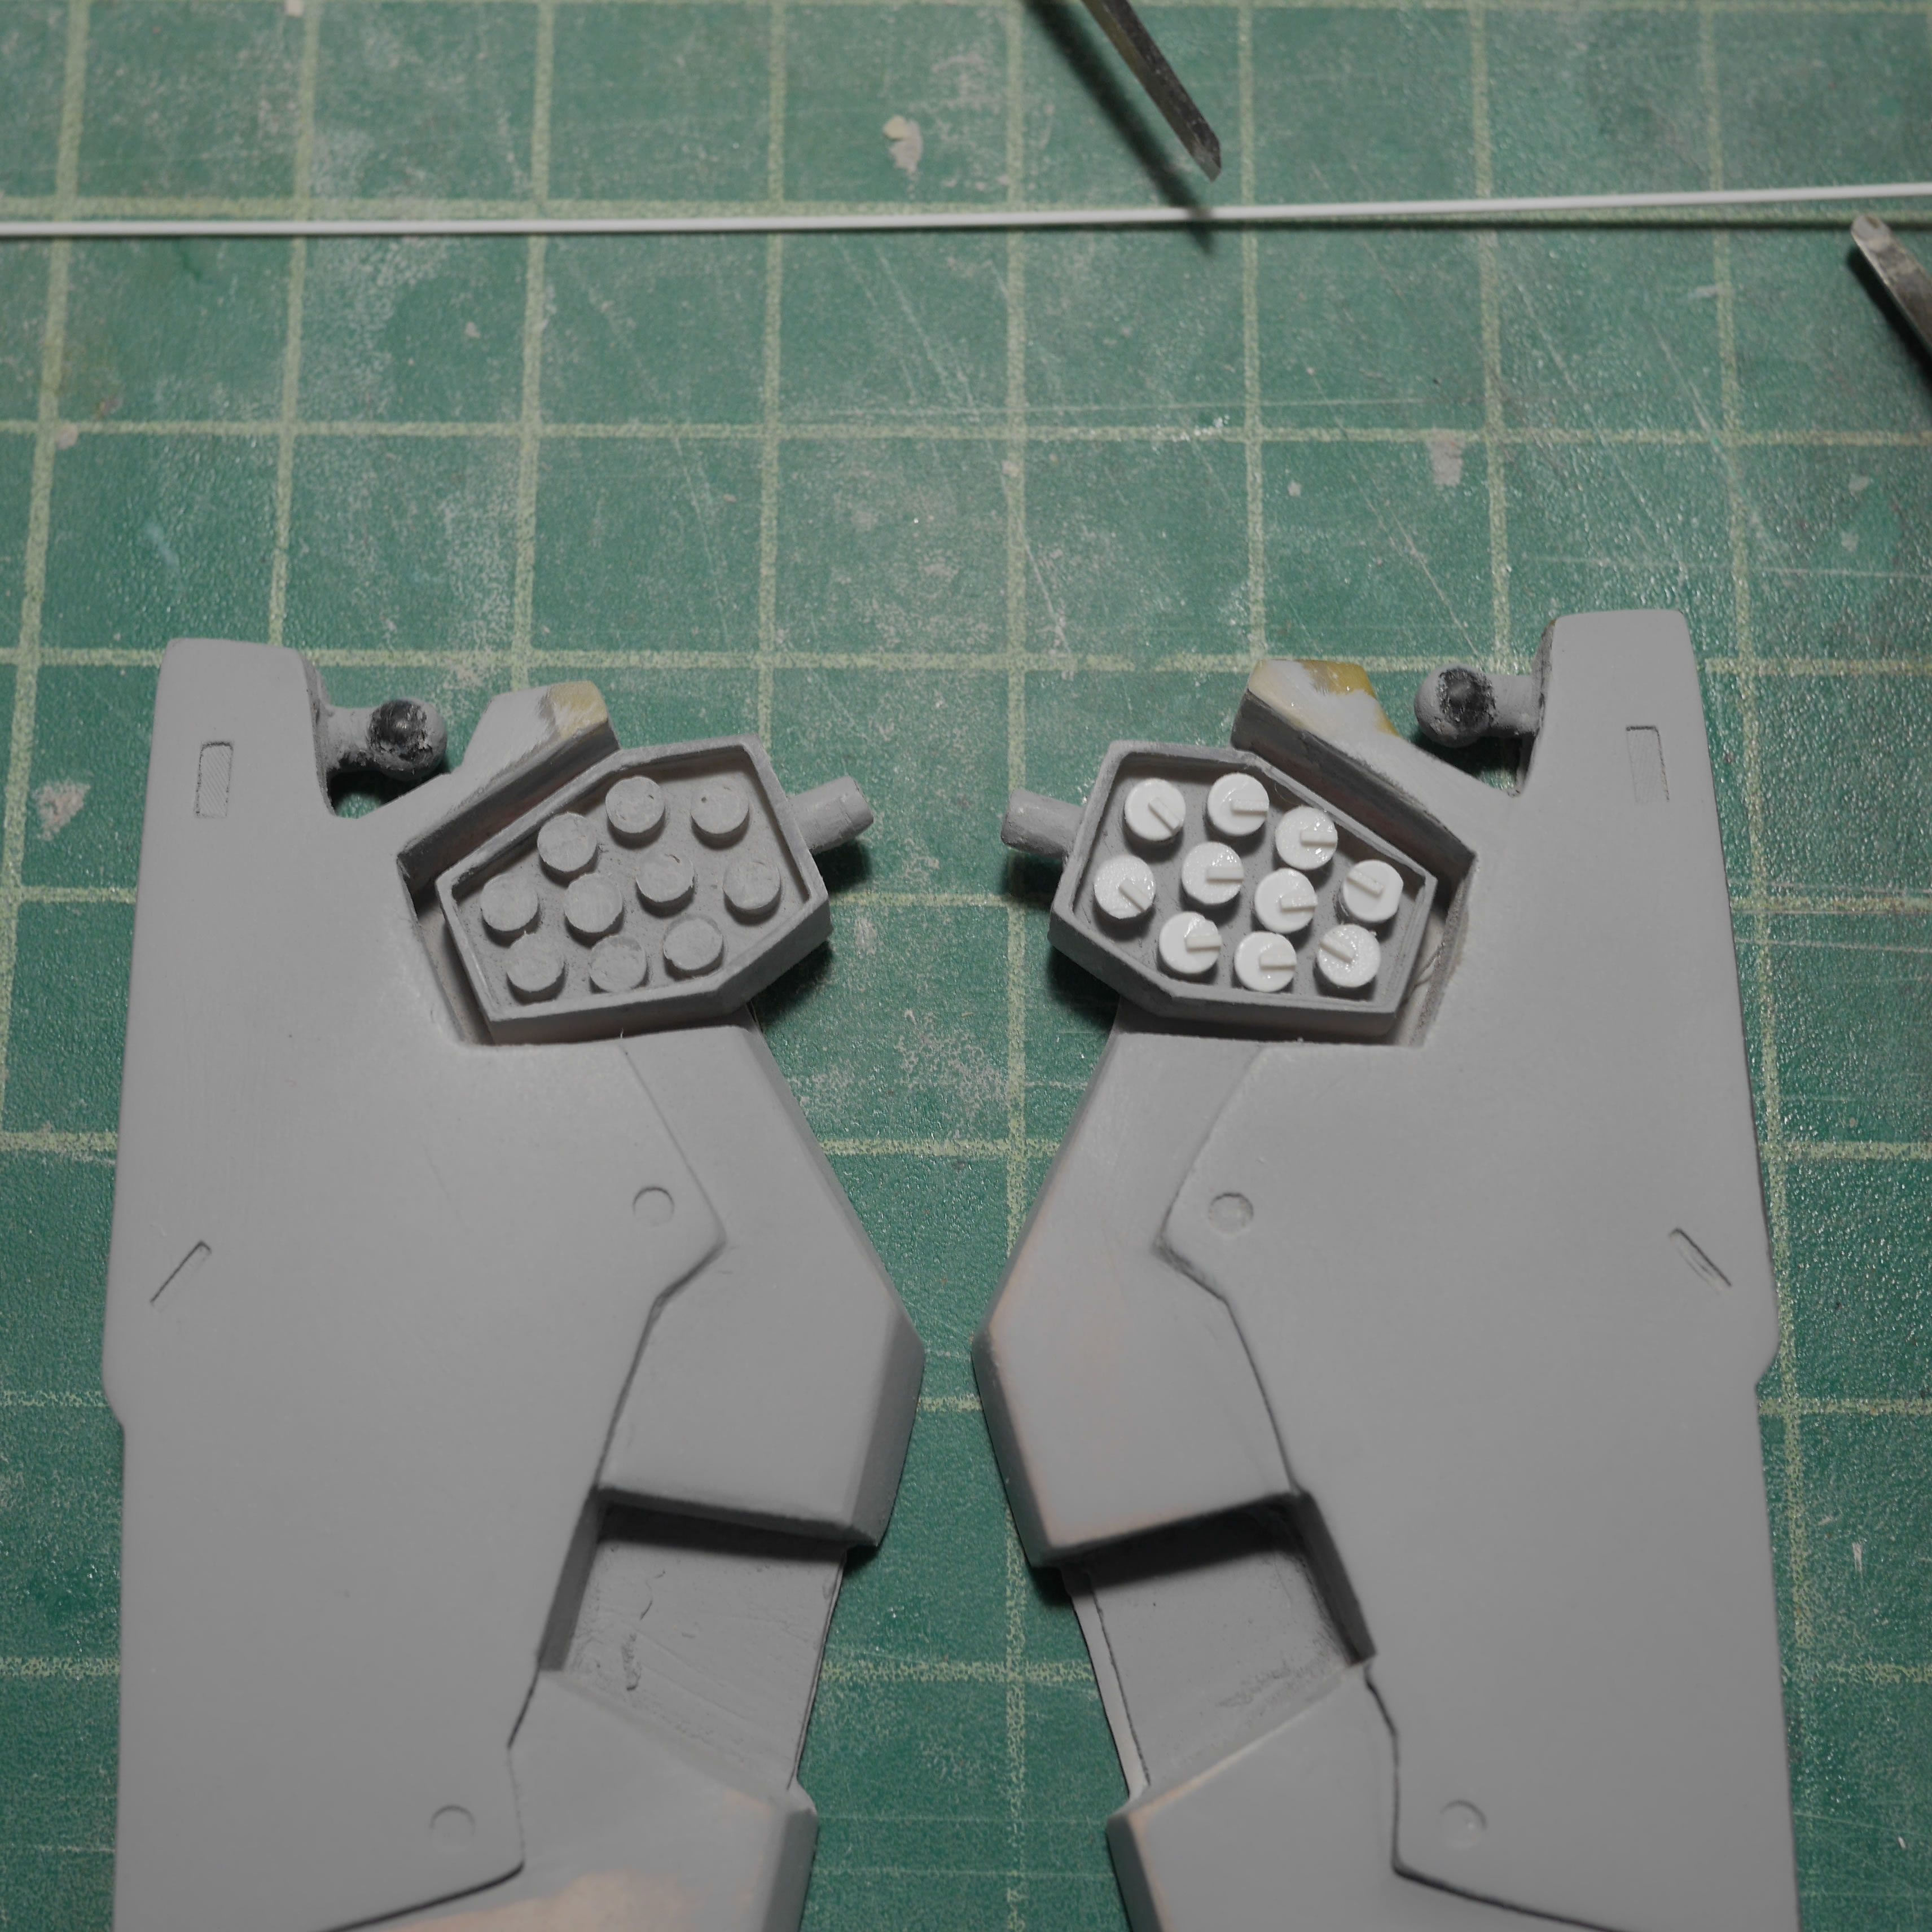
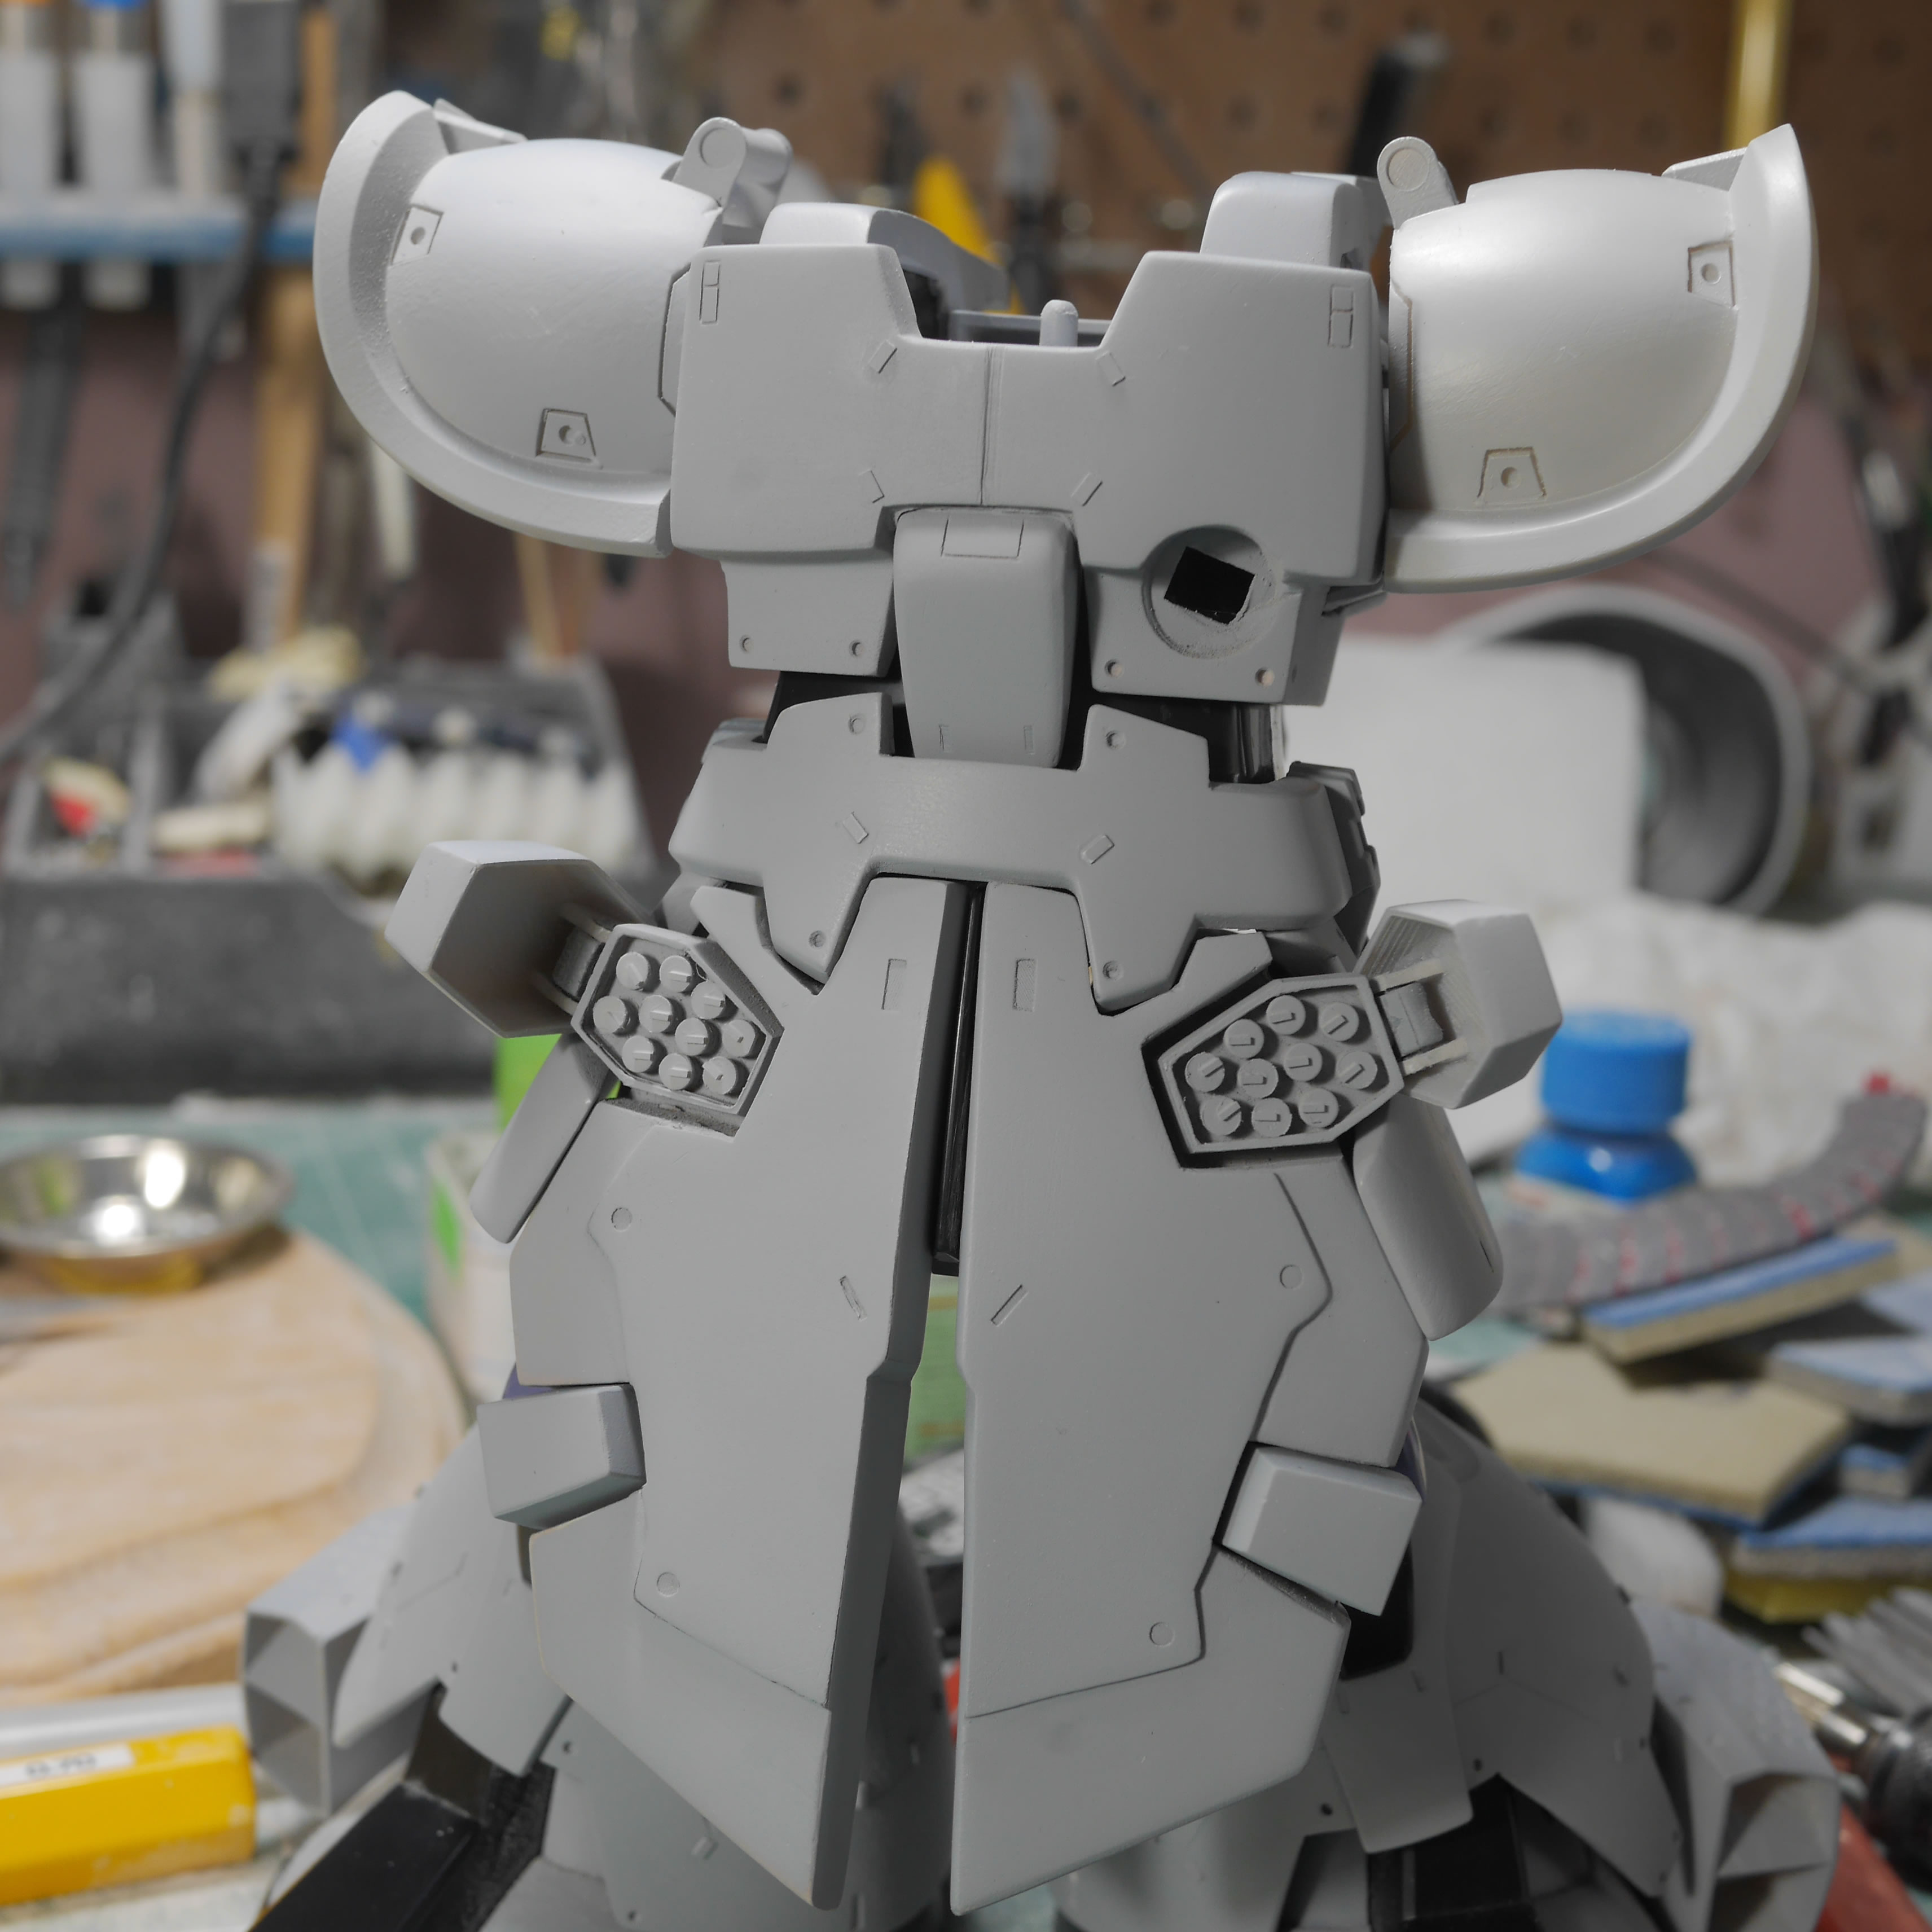
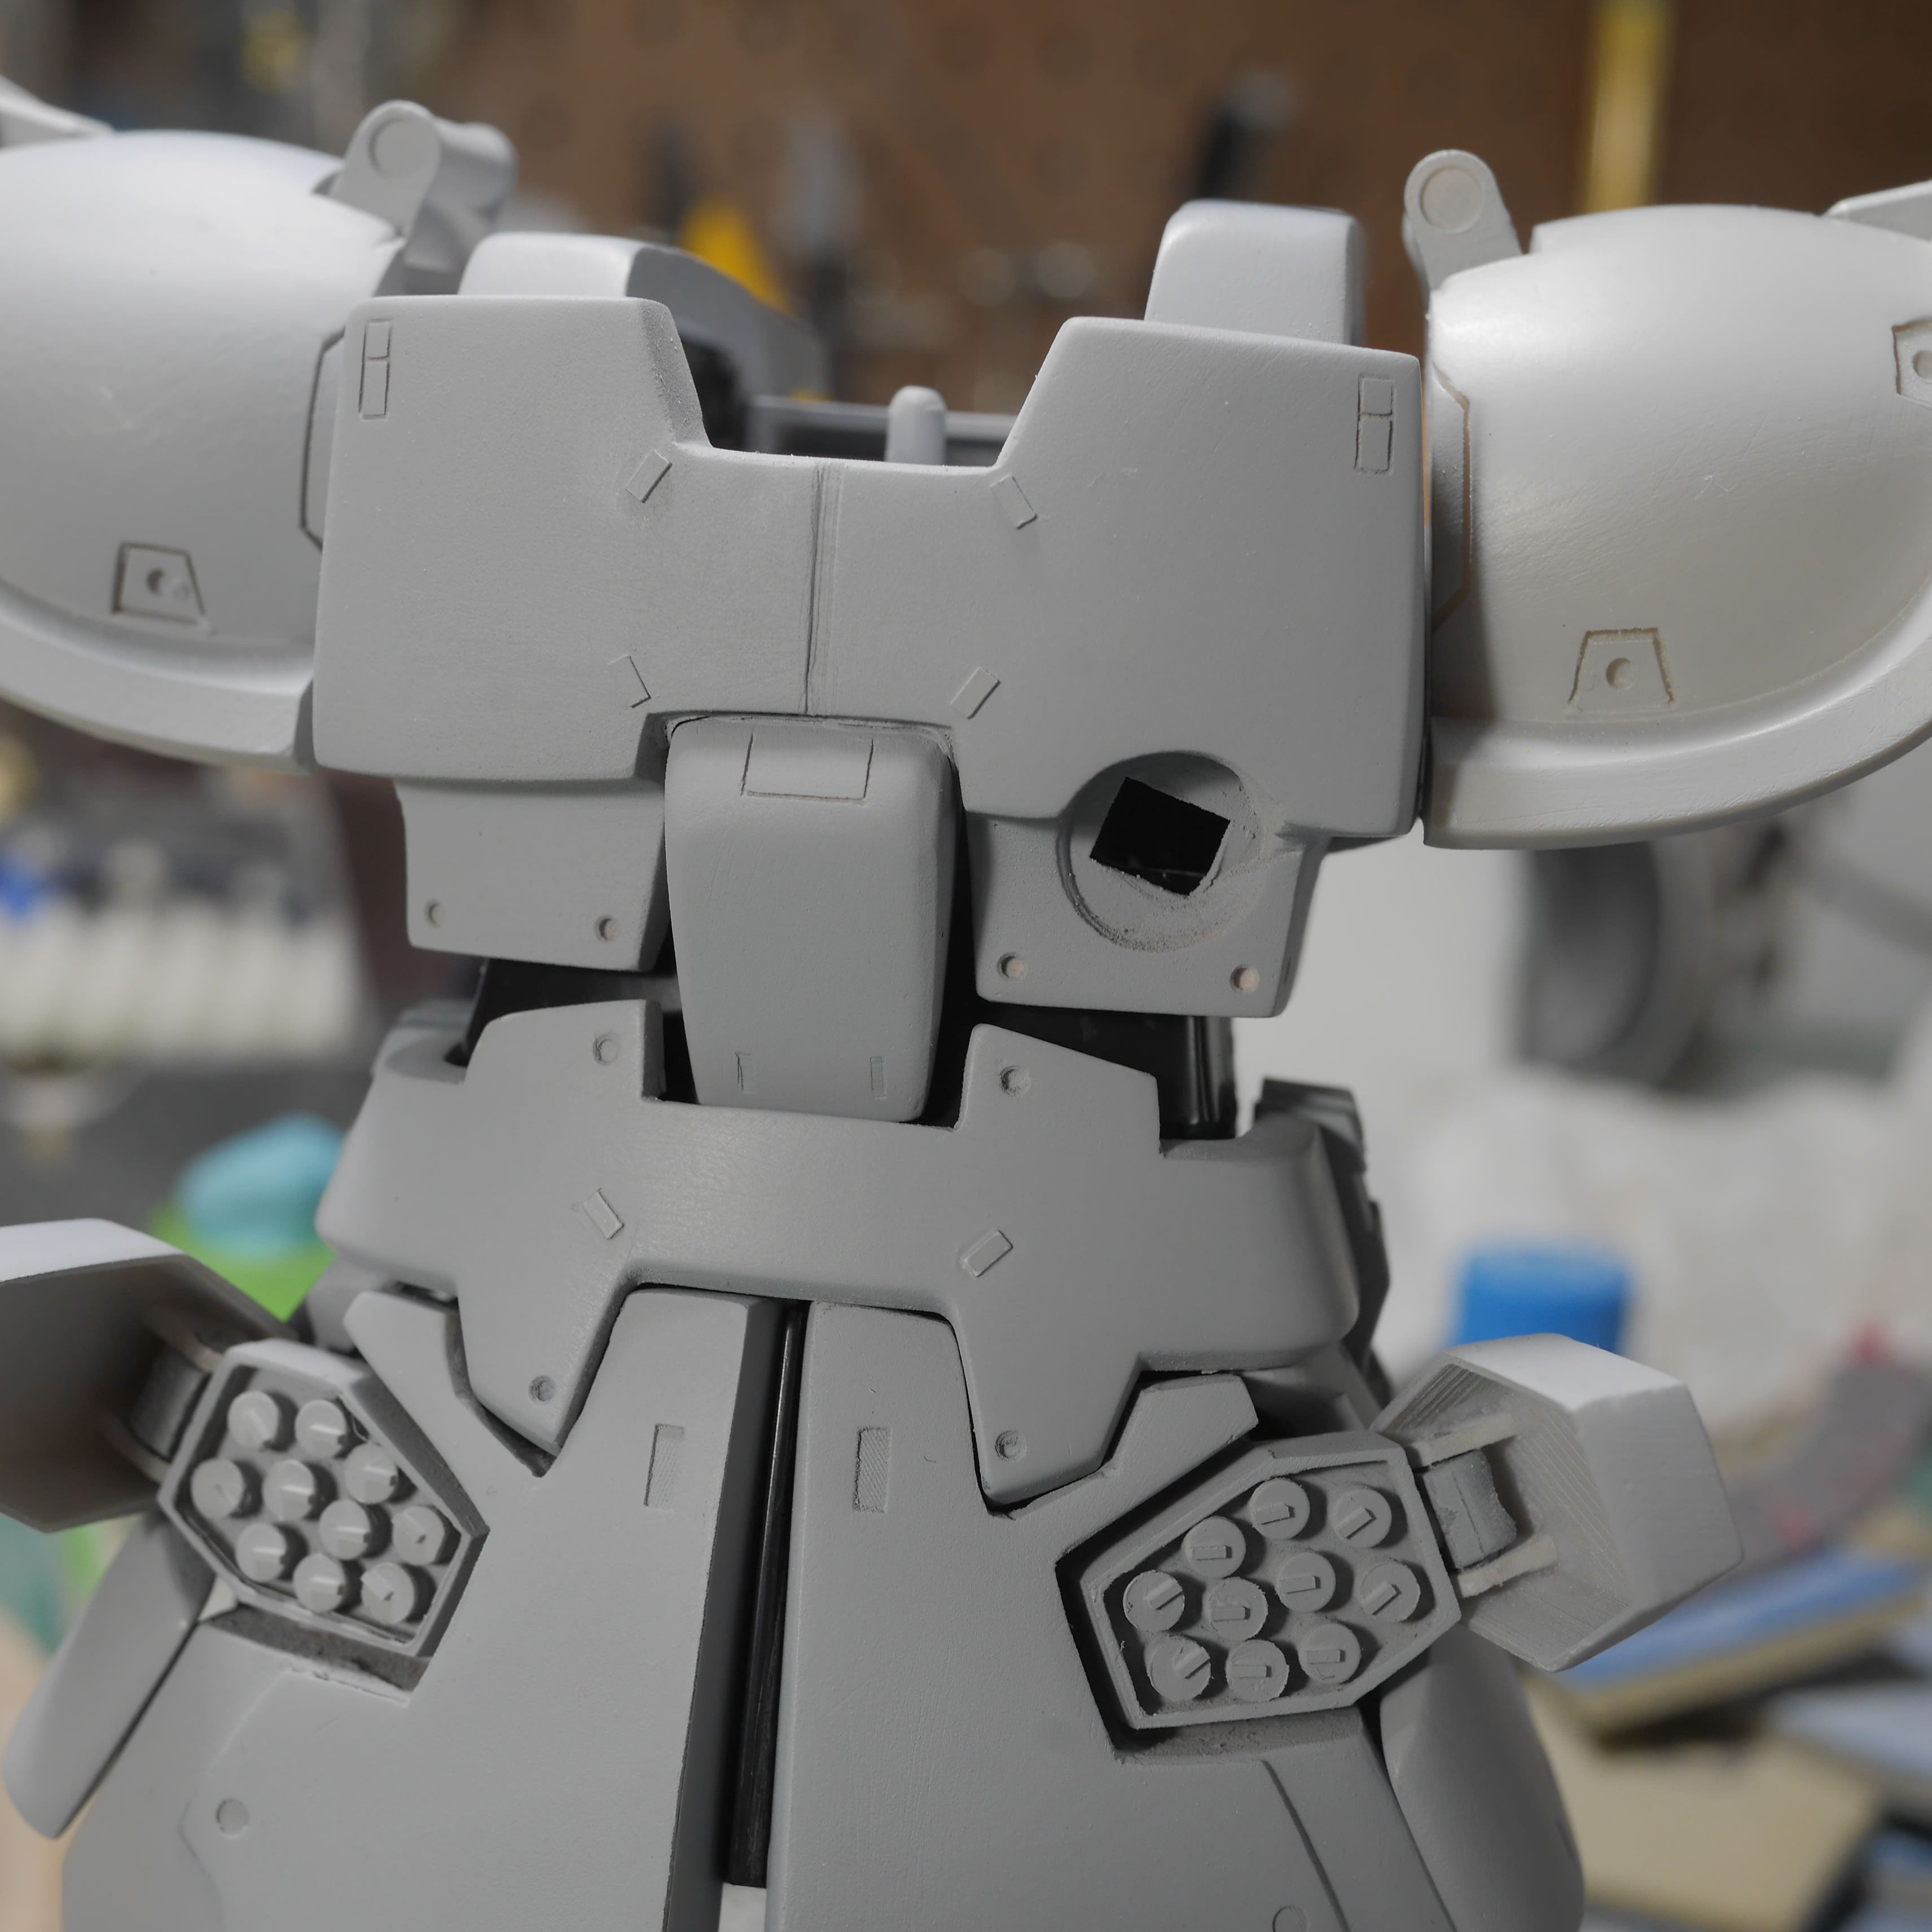
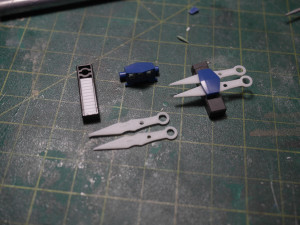
Next up is the work on fixing the missile pod’s missiles. These were originally 3D printed in the FDM, so the finishing isn’t very good and there were holes in the print. My first thought was to apply putty and sand down the filled in holes. But that would take much more work and sanding would be difficult. The easier thing to do is to just cut plastic circles out and glue those cut outs on top of the missiles. I have a punch tool that I can punch out different sizes of circles.
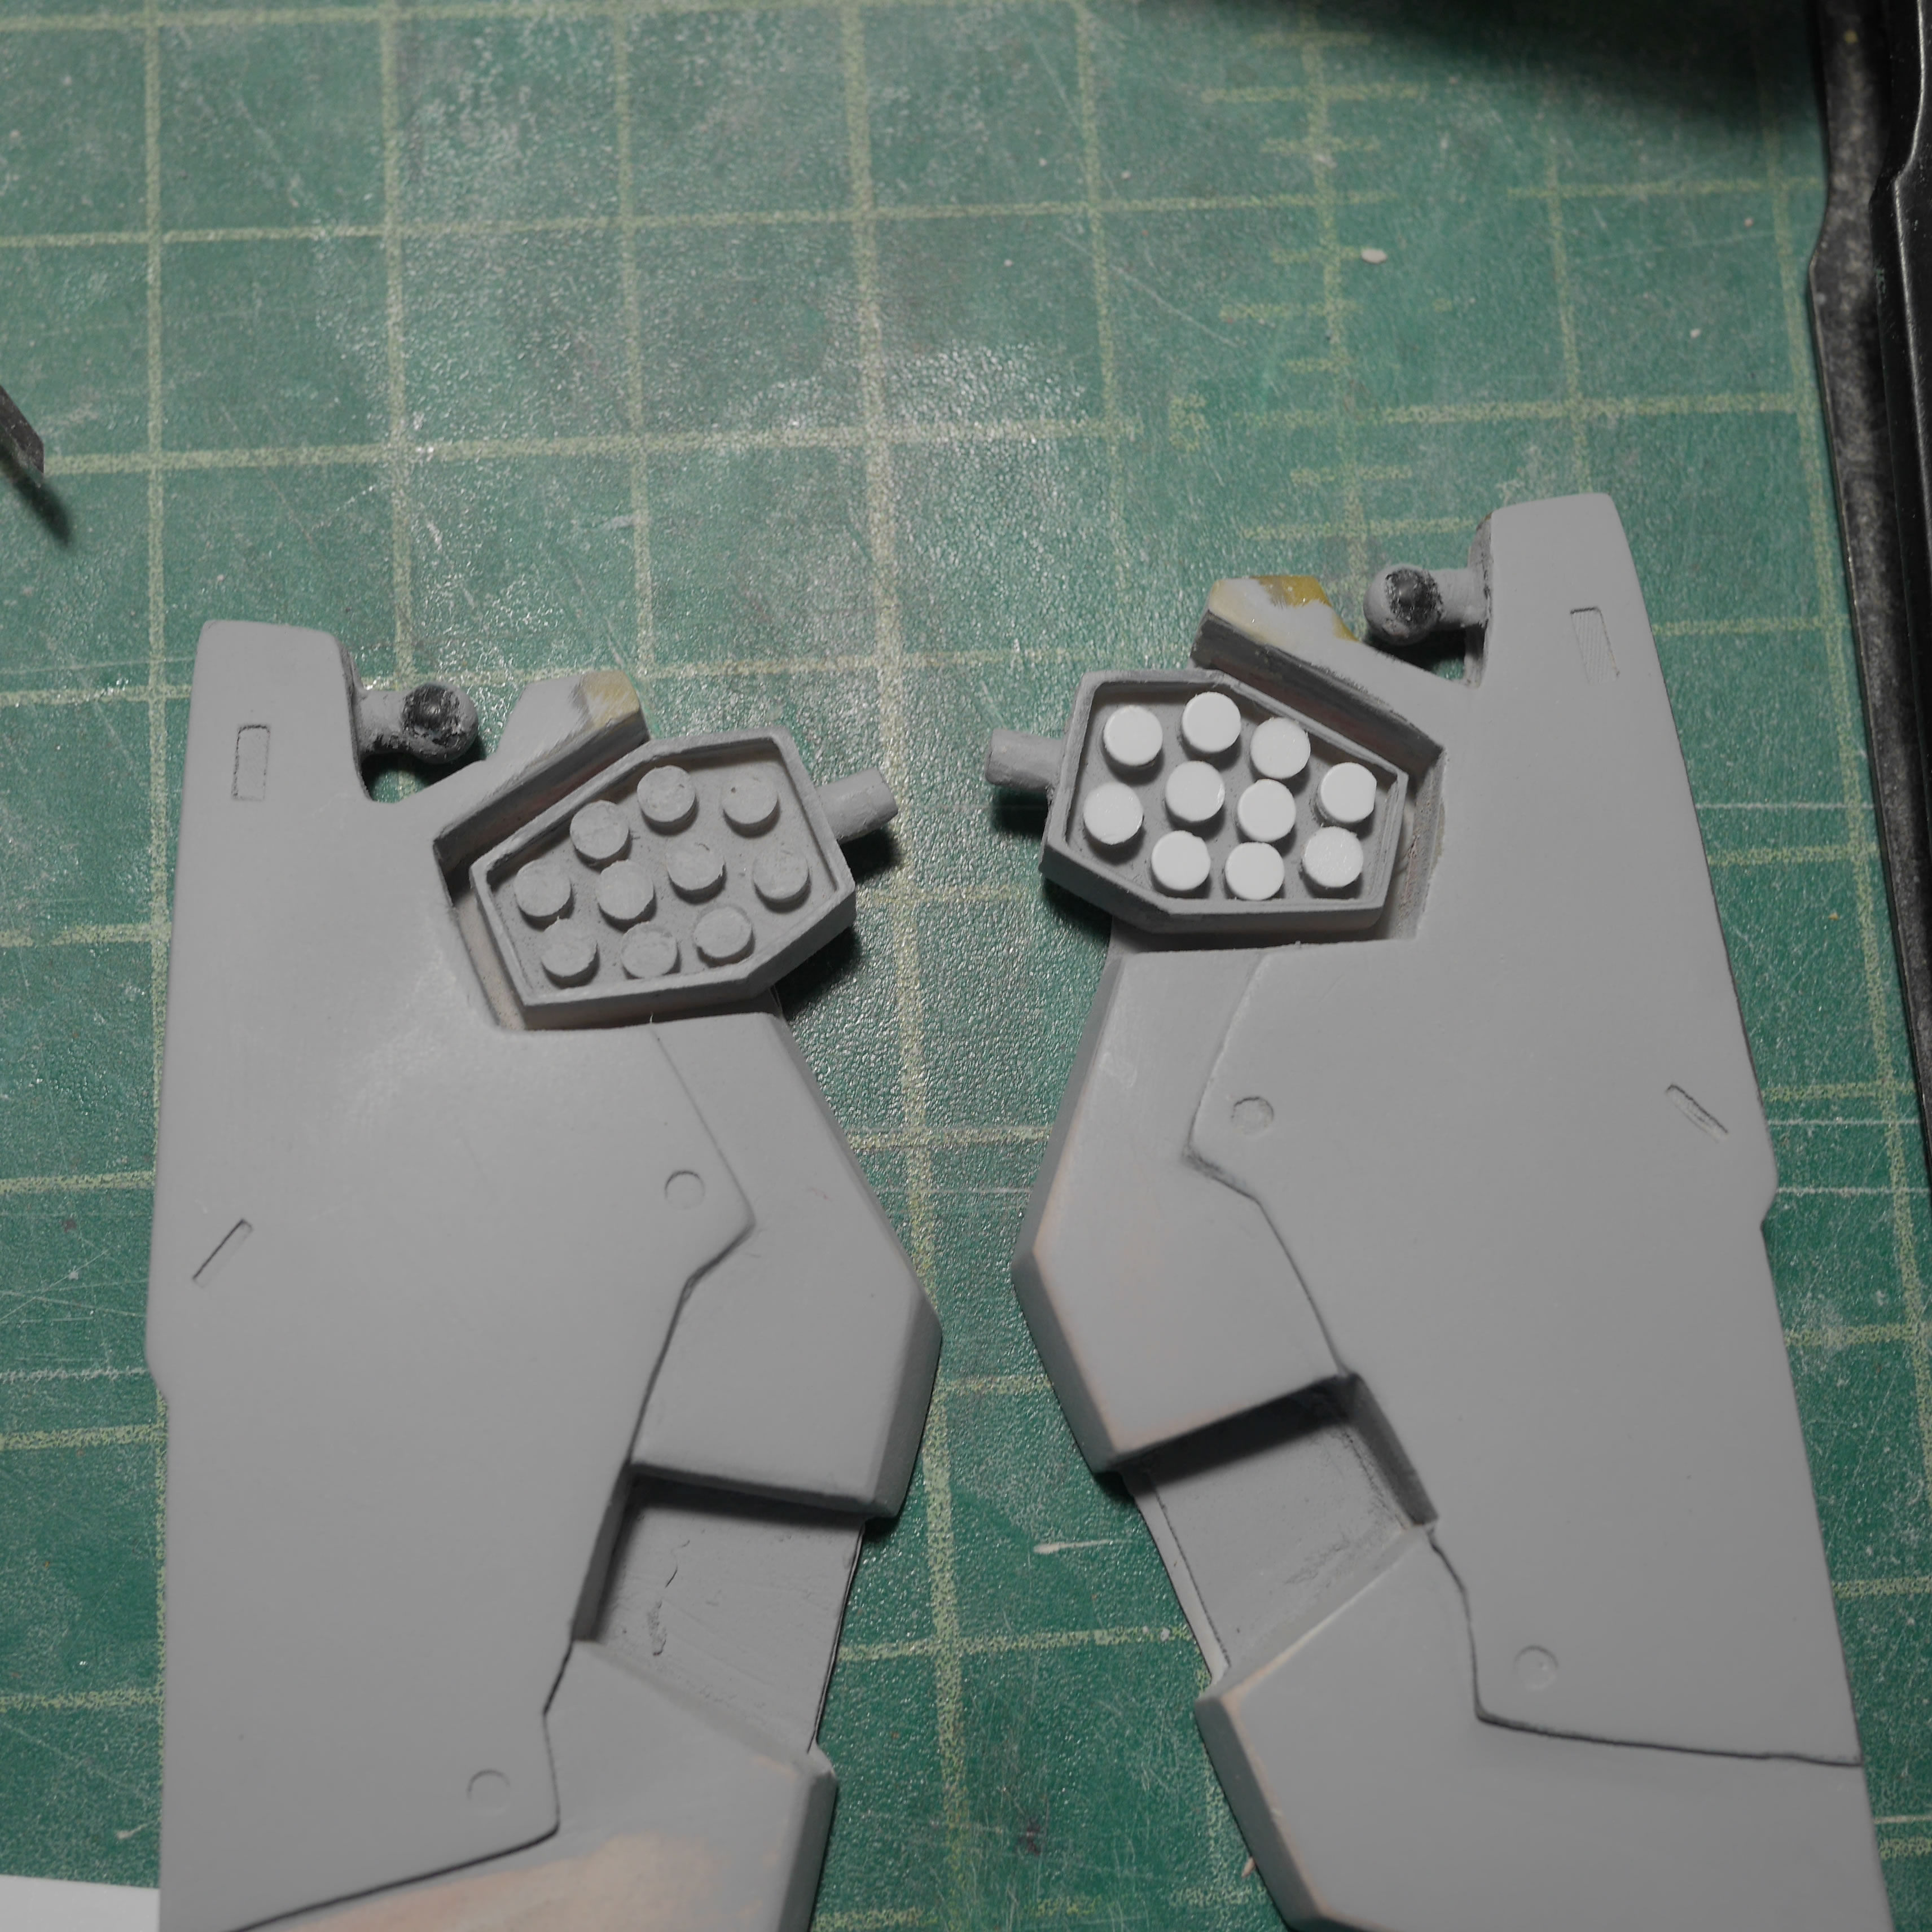
Once the circles are glued to the pods, another detail strip of .5mm x .5mm x 1.5mm is cut and glued to the top of these circles to finish the detailing.
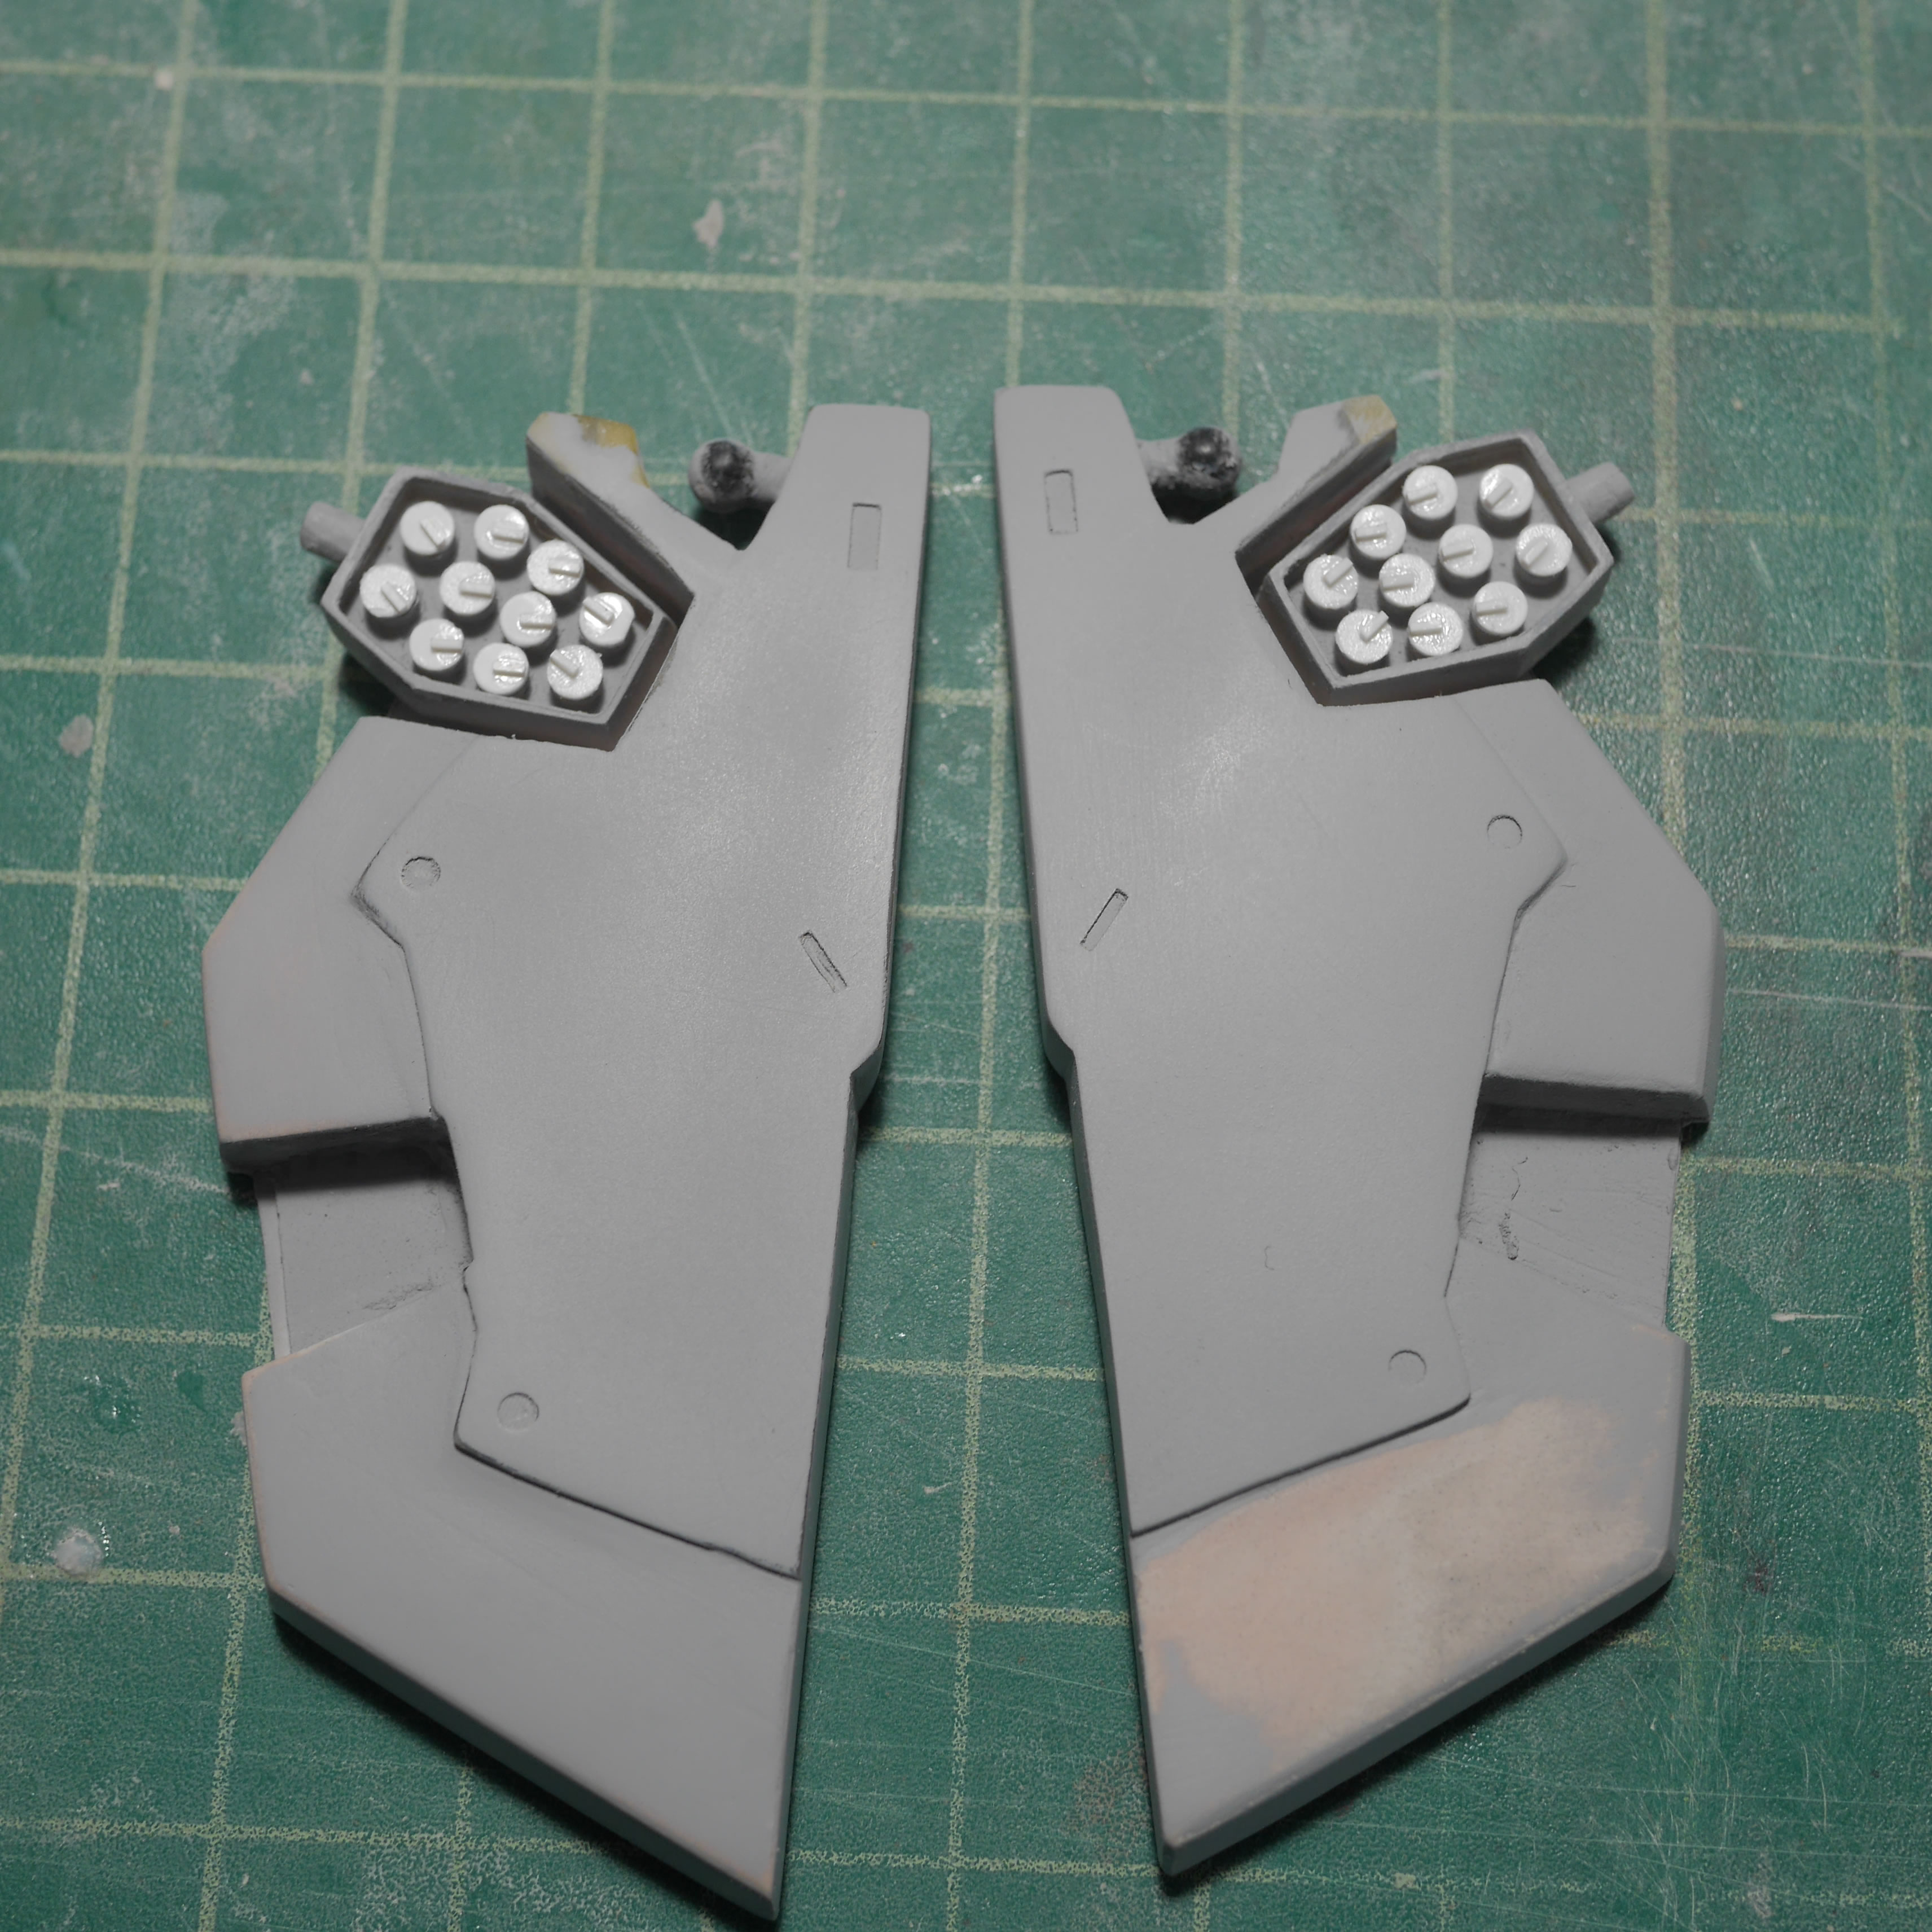
The chest detail work is done and after another priming session, I did a quick mockup to make sure everything still fits and looks correct. I bought the kit out to RoboToyFest that happened Sunday, June 9, 2019, as we organized that judged the RTF mecha contest.
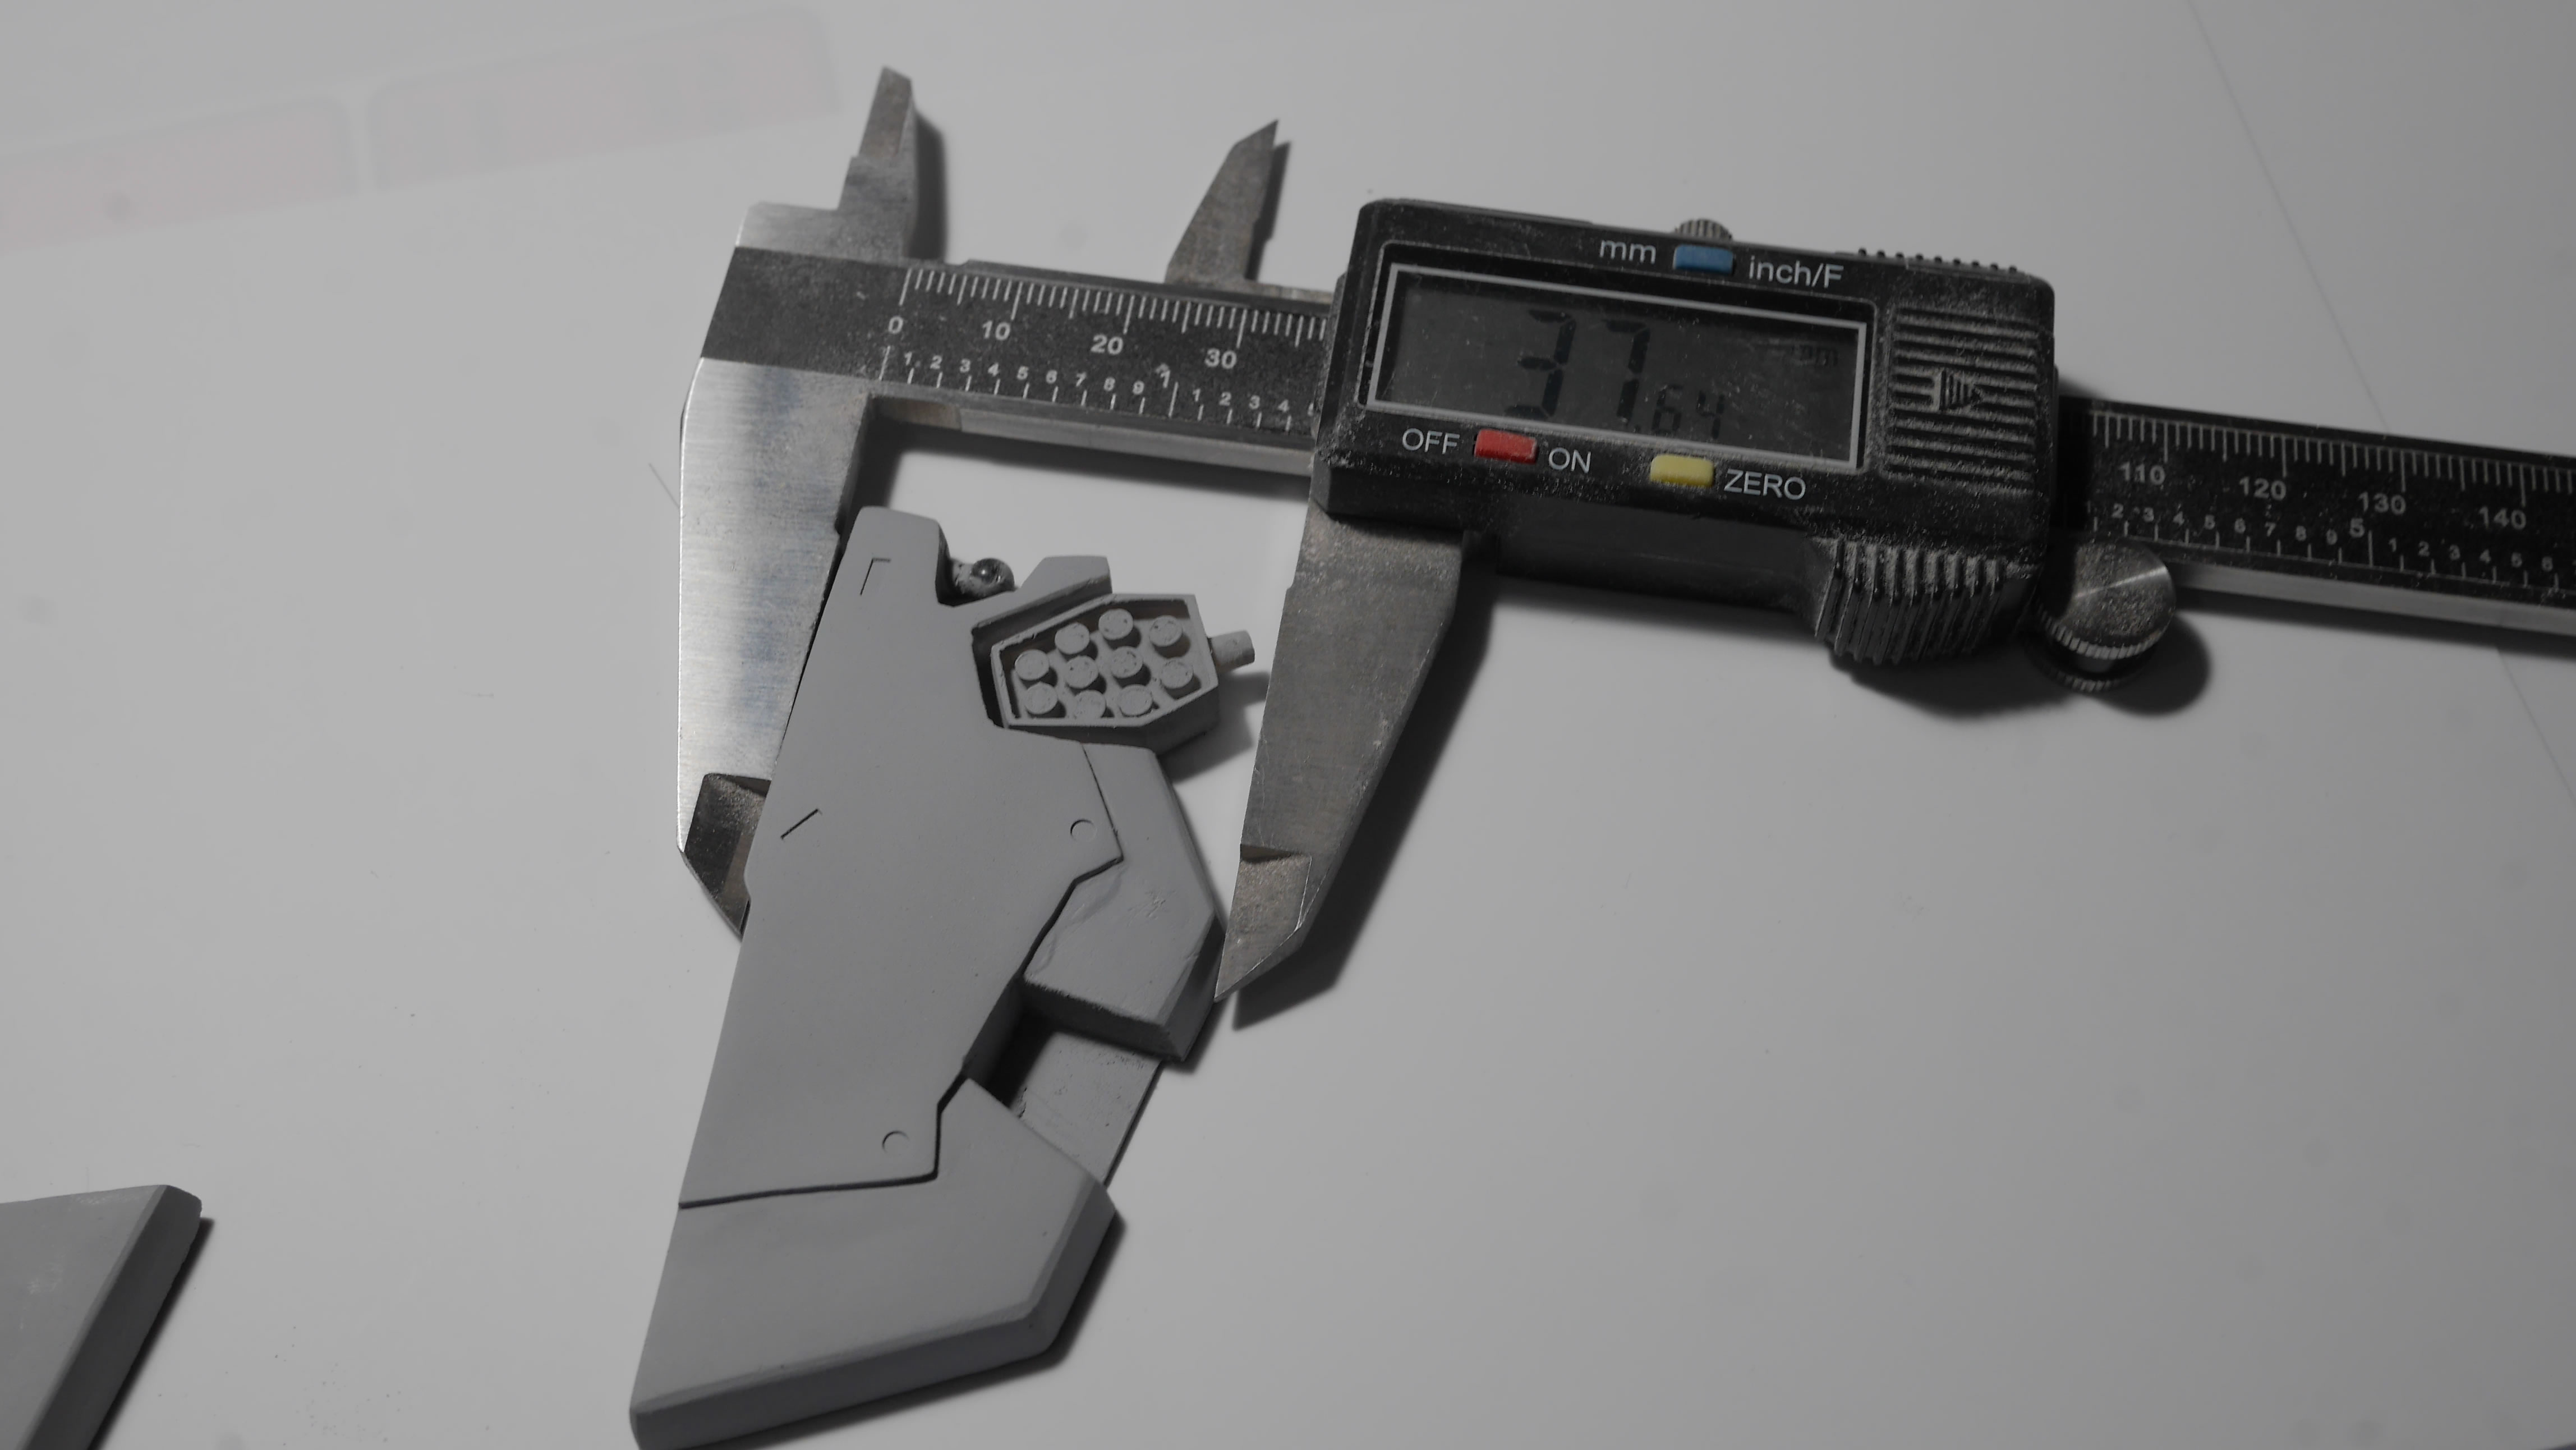
It was a busy weekend so I didn’t get as much work as I wanted. The very last bit of work is the beginnings for the arm modifications. My style of working begins with blocking out the area then sanding and cutting to sculpt. Plastic strips are cut and glued to the arm pieces Saturday night. At the tail end of Sunday night, I started sanding and shaping one of the arms.
So far so good, shorter walls of texts and I have a decent amount of visual work.
