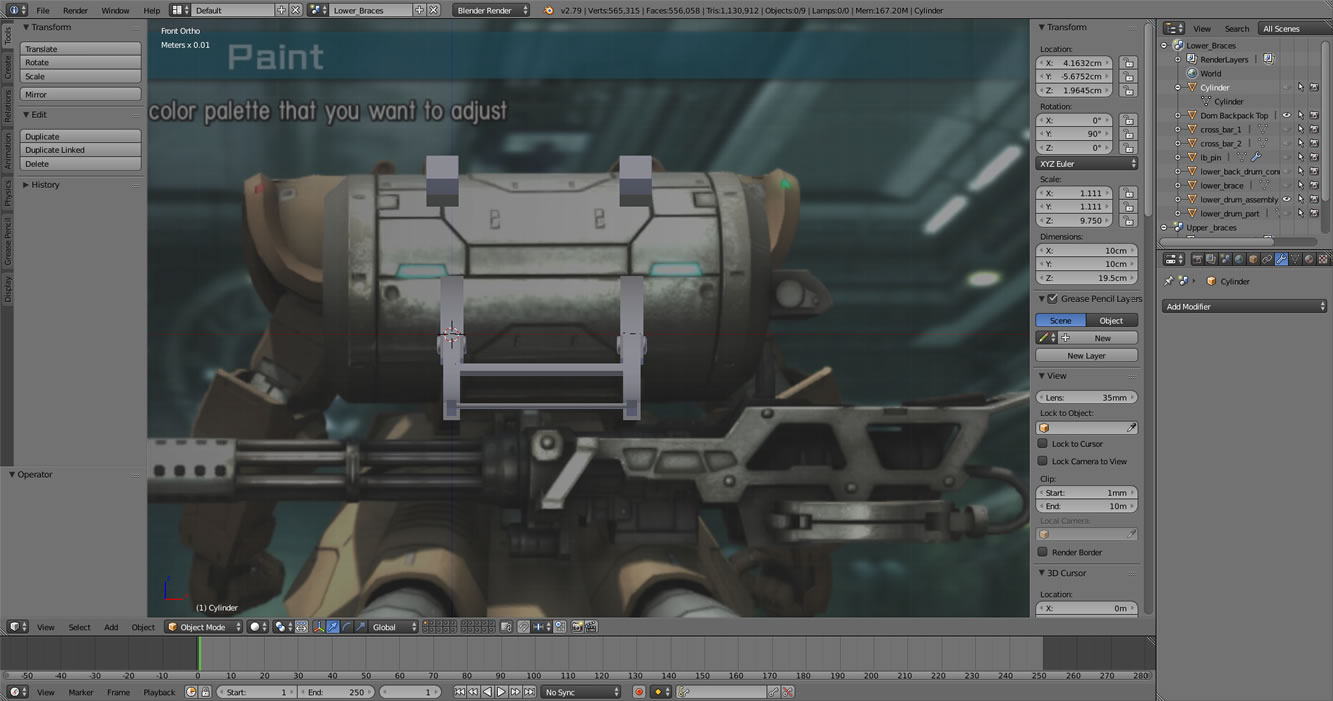
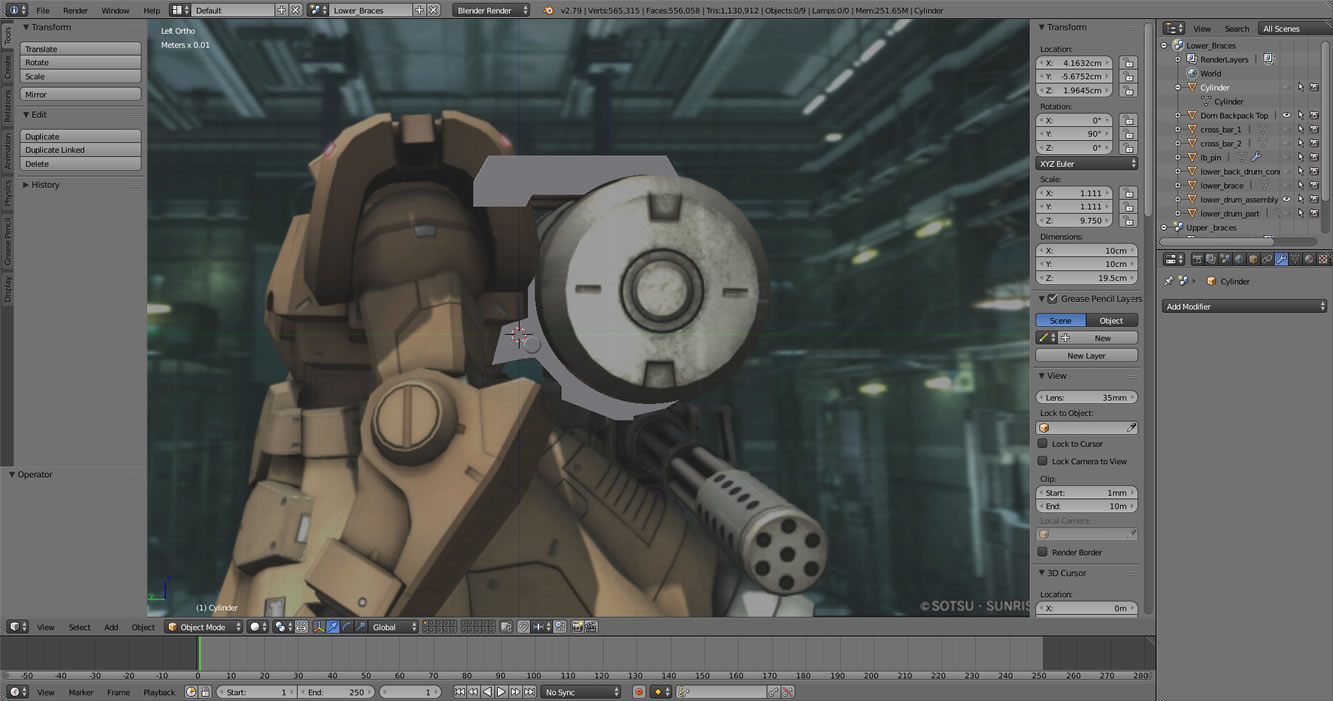
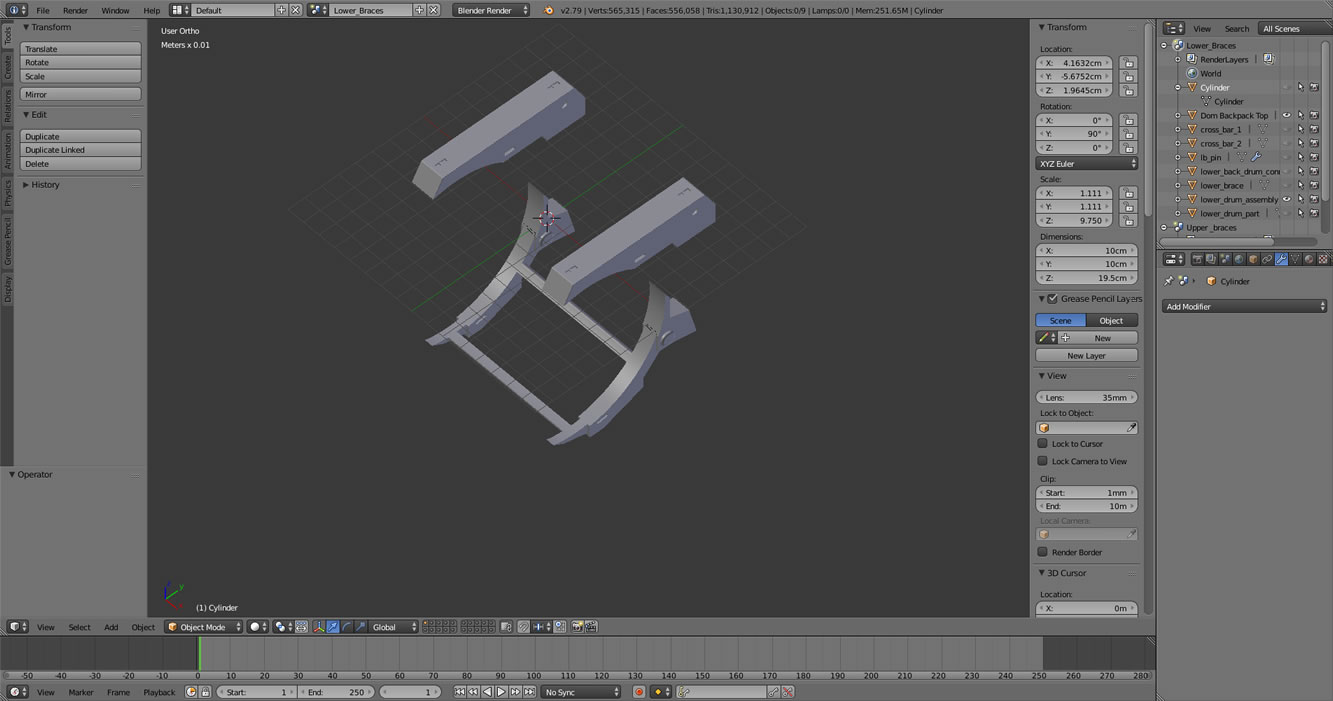
As I get more and more comfortable and knowledgeable in using blender to design objects in 3D, the more addicting this becomes. Using the image reference feature in blender, I’m able to quickly design out parts for the project. When I first started working on the project, I didn’t pay much attention to how the ammo drum attaches to the back of the Dom. So I created a connection part that inserts into the back. I will probably keep this as I continue to build; but as I did more research and looked at the Dom more, I found upper and lower brackets that hold the drum to the back of the suit. Using the reference pictures, I designed the upper and lower brackets.
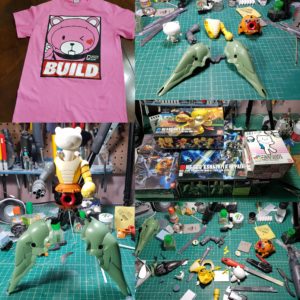
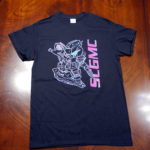
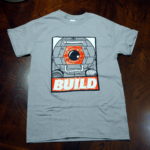
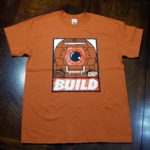
Also in this post, we recently printed some new shirts for this year’s SCGMC. Our new SCGMC mascot has its own t-shirt design. And since our theme this year is the “Ball”, we got a design printed on both a grey and an orange shirt for the two versions of the Ball from the various animes. The last shirt in the group is the judging shirt from SCGMC 2018 that we gave to our judging volunteers. Click on the images to get to the store, this is how we fund most of what we do for SCGMC.

More about the latest 3D designs for the Dom Barrage after the jump.
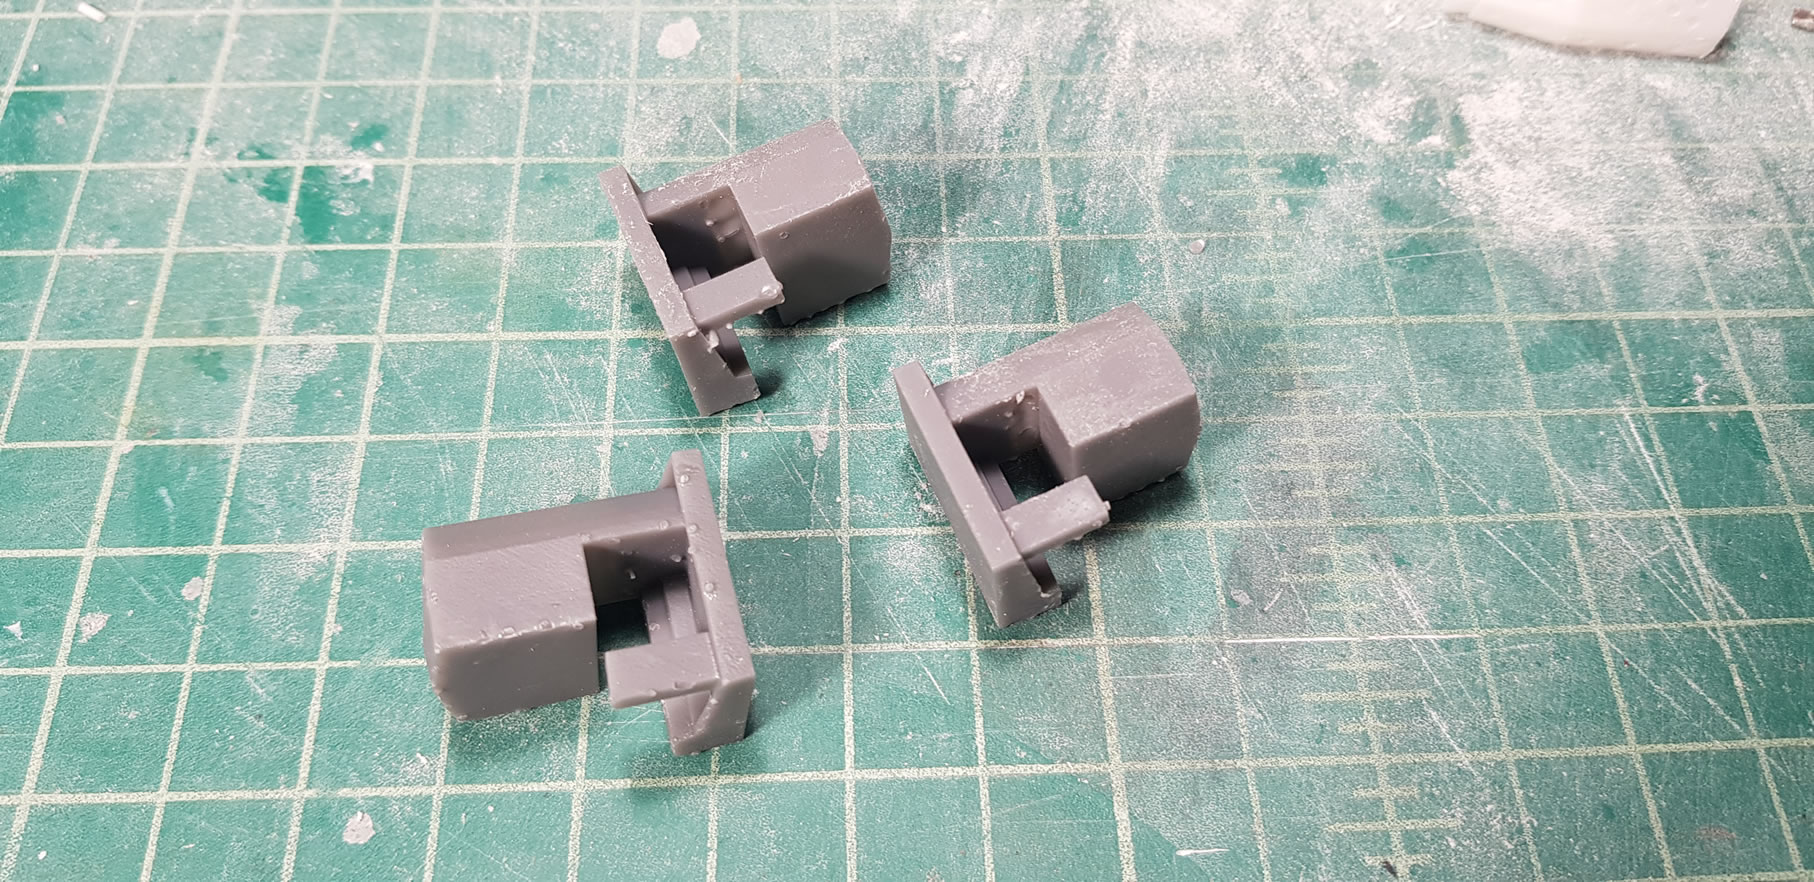
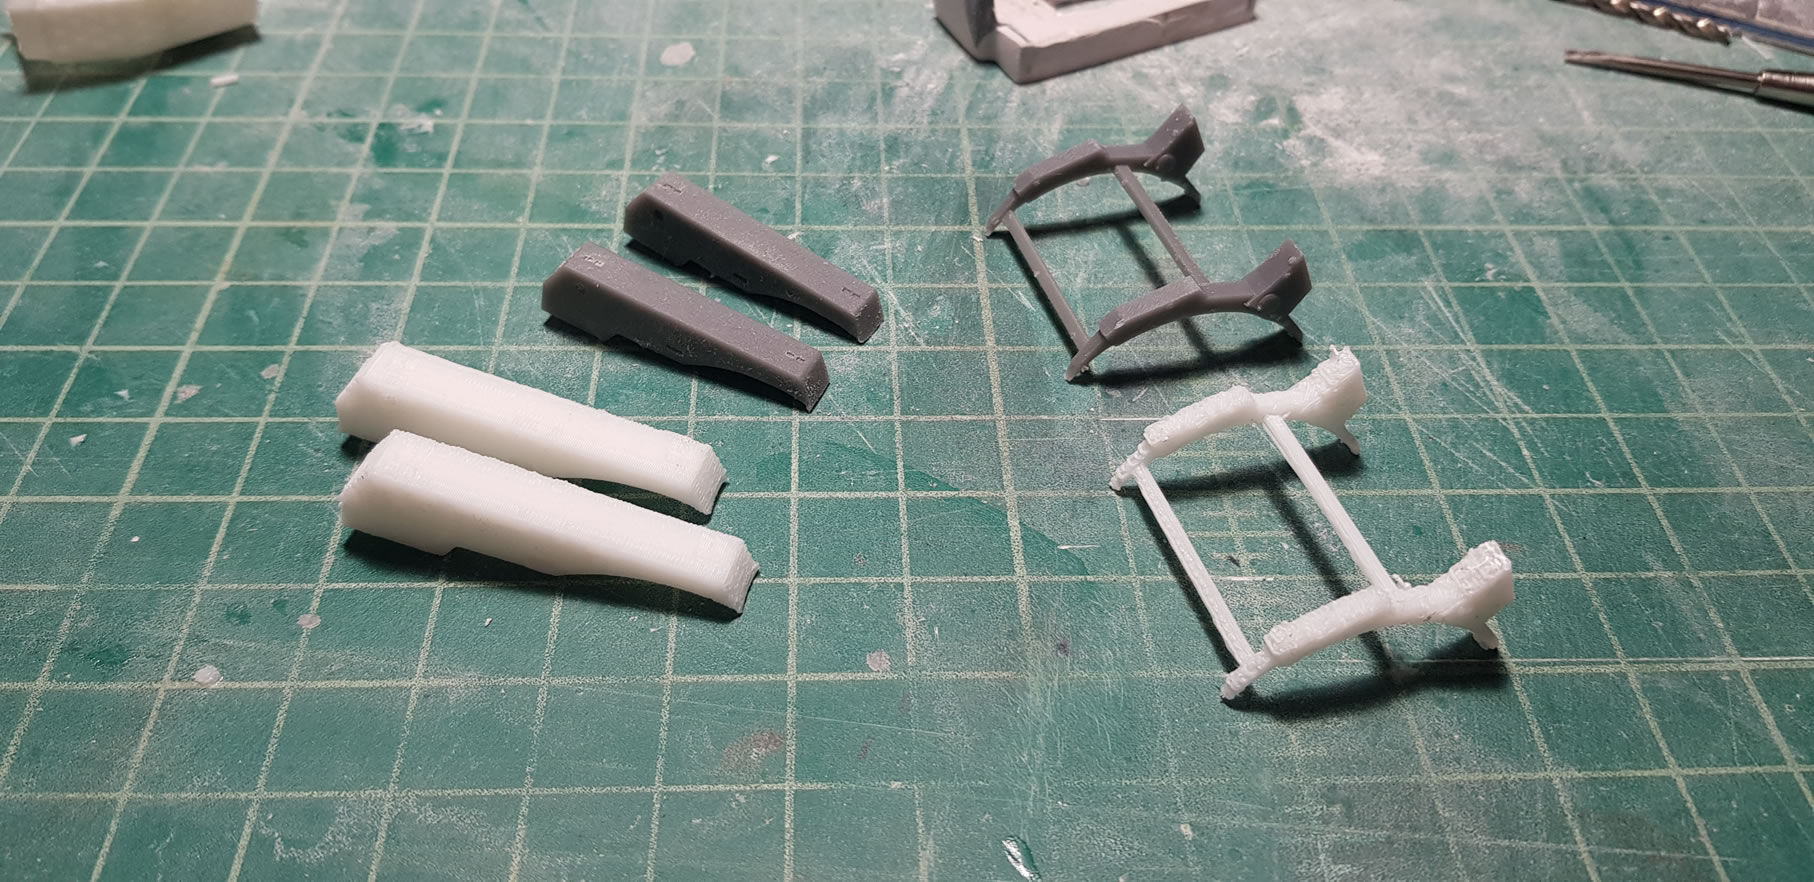
Going back to the feet details I printed from the last update; I needed connectors to these detail designs to the foot. Once they were designed, I printed in grey resin, for which I discovered has an even finer print setting of 25 microns verses the white resin’s 50 microns as the finest setting. These were connecting joints so I didn’t need 25 micron level of detail, nor did I need 50 microns. So I went with the 100 microns for the quickest print. I printed the connectors without thinking; and once they were printed, I went to test fit the detail bits and realized my error. Since there is a left and right foot, I needed to print a left and a right connector joints. I had only printed one side. Back to the printer, I made a mirrored version of the connector piece and a few hours later, I had the correct connector pieces.
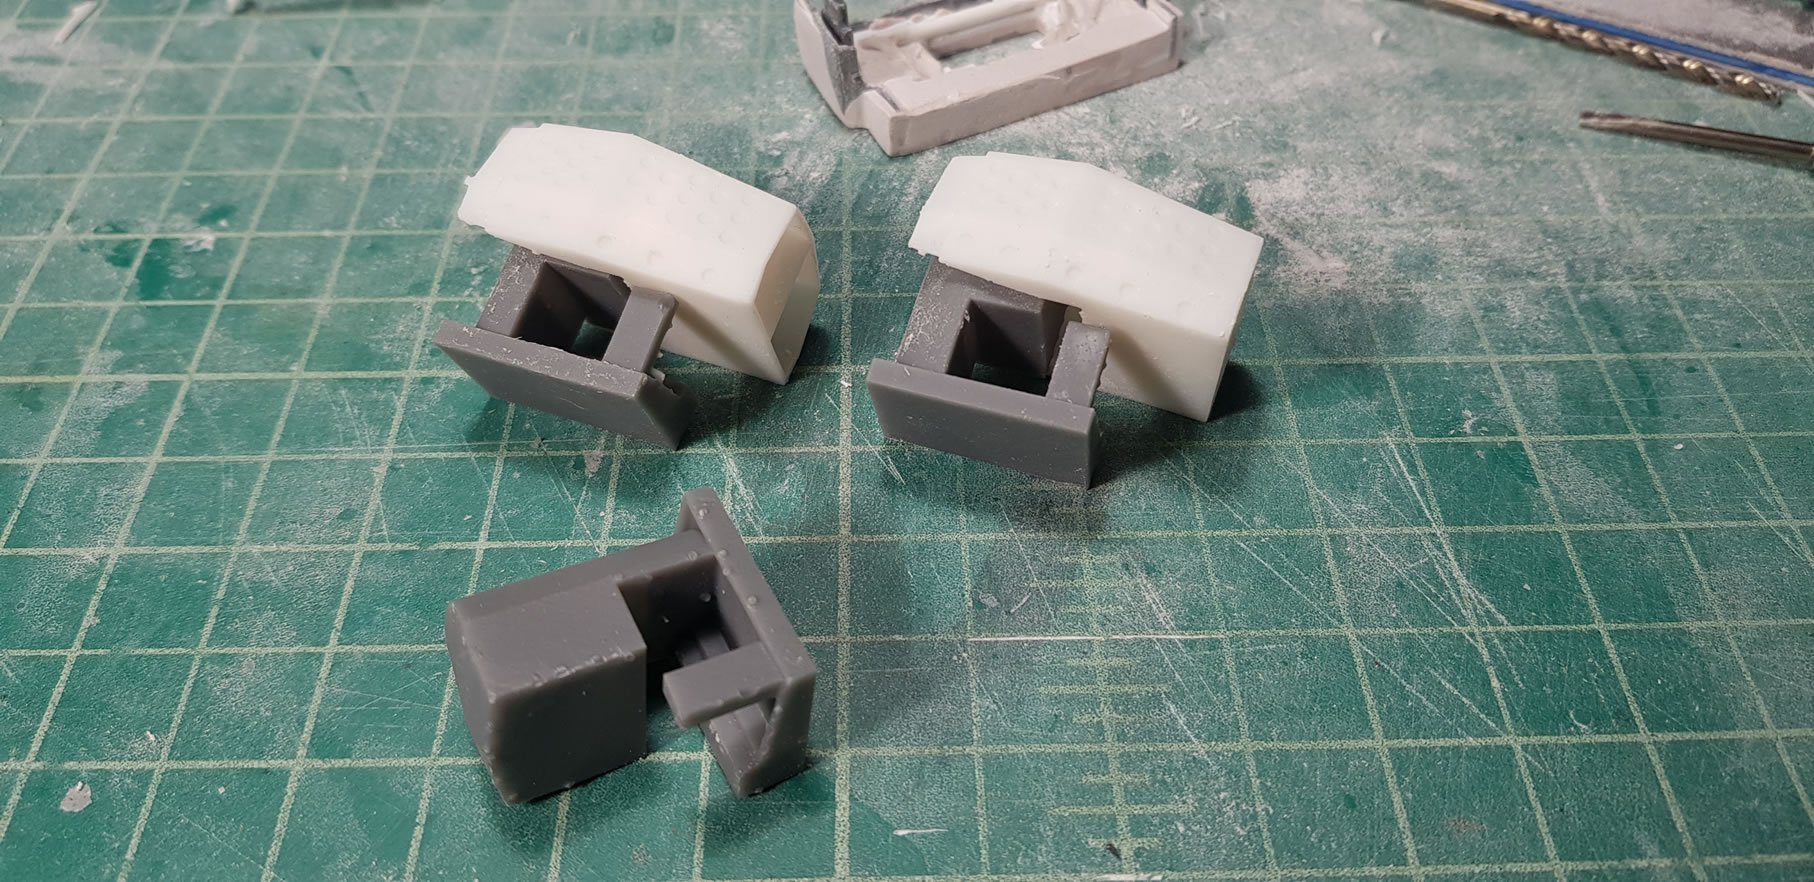
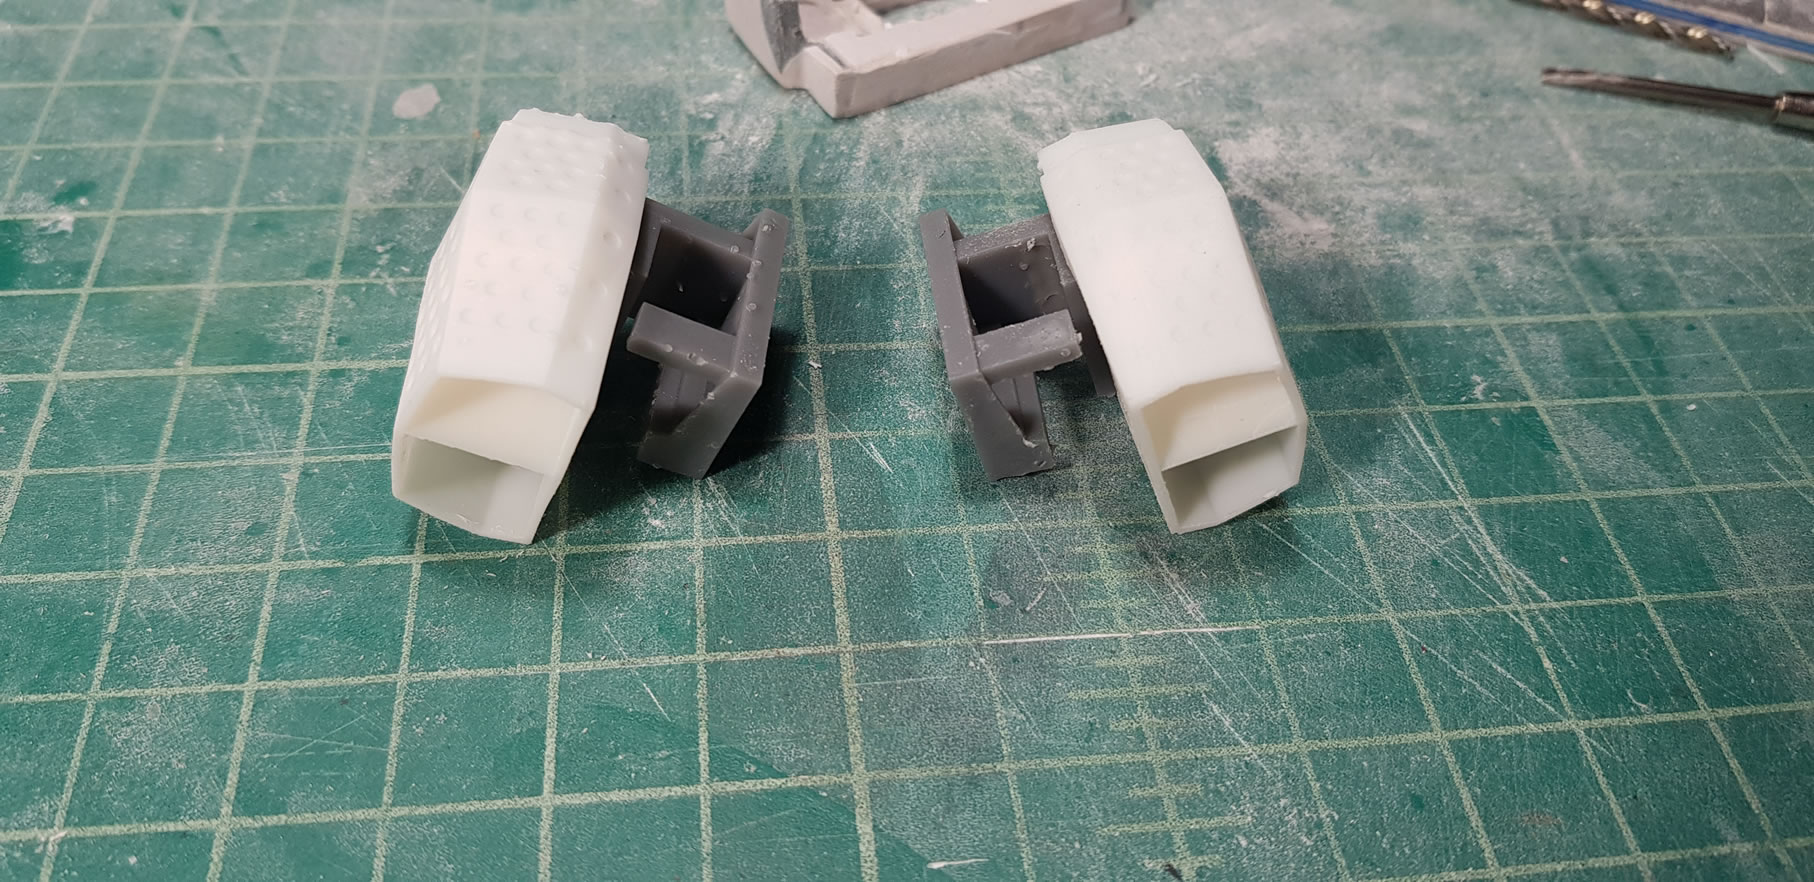
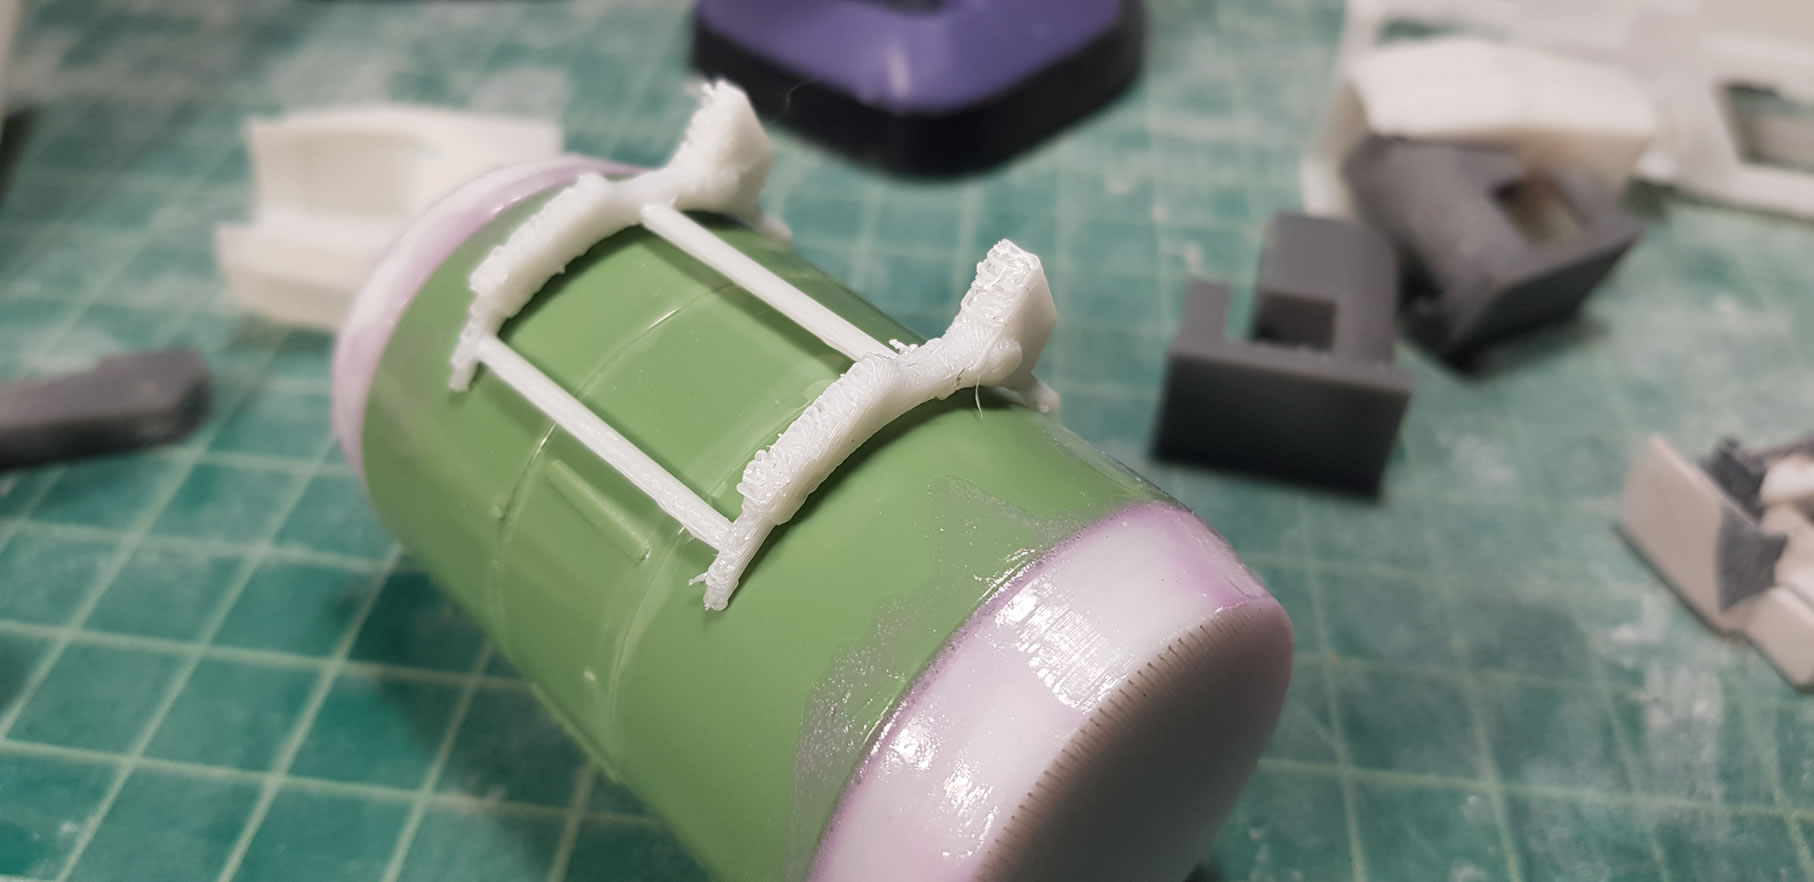
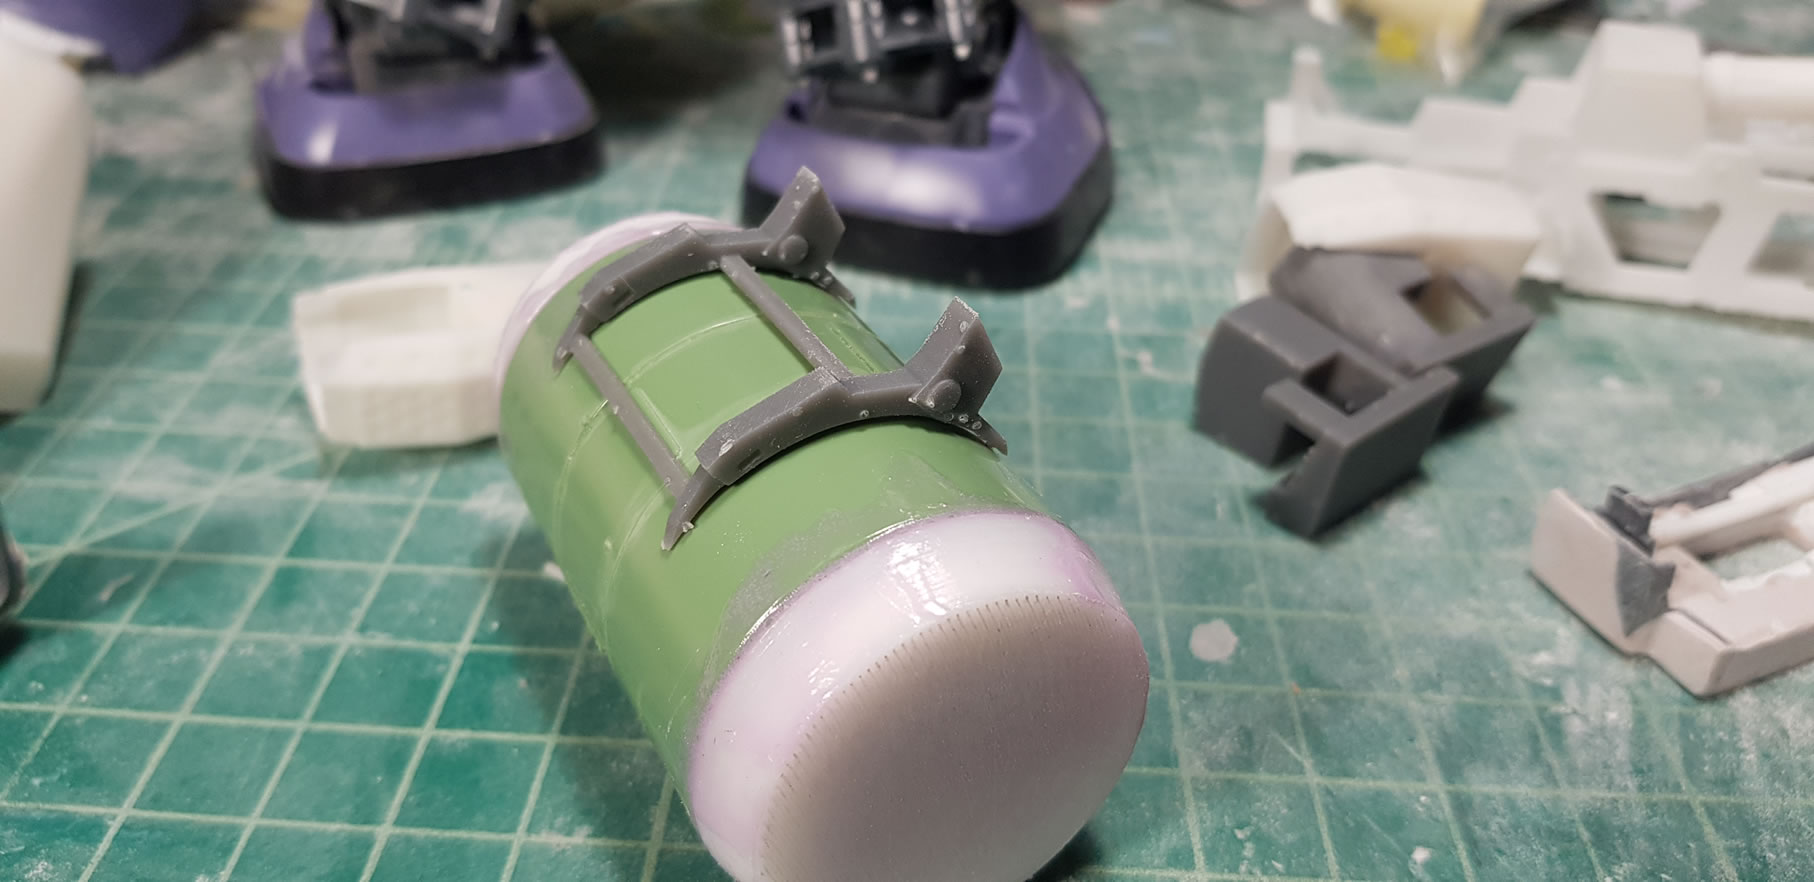
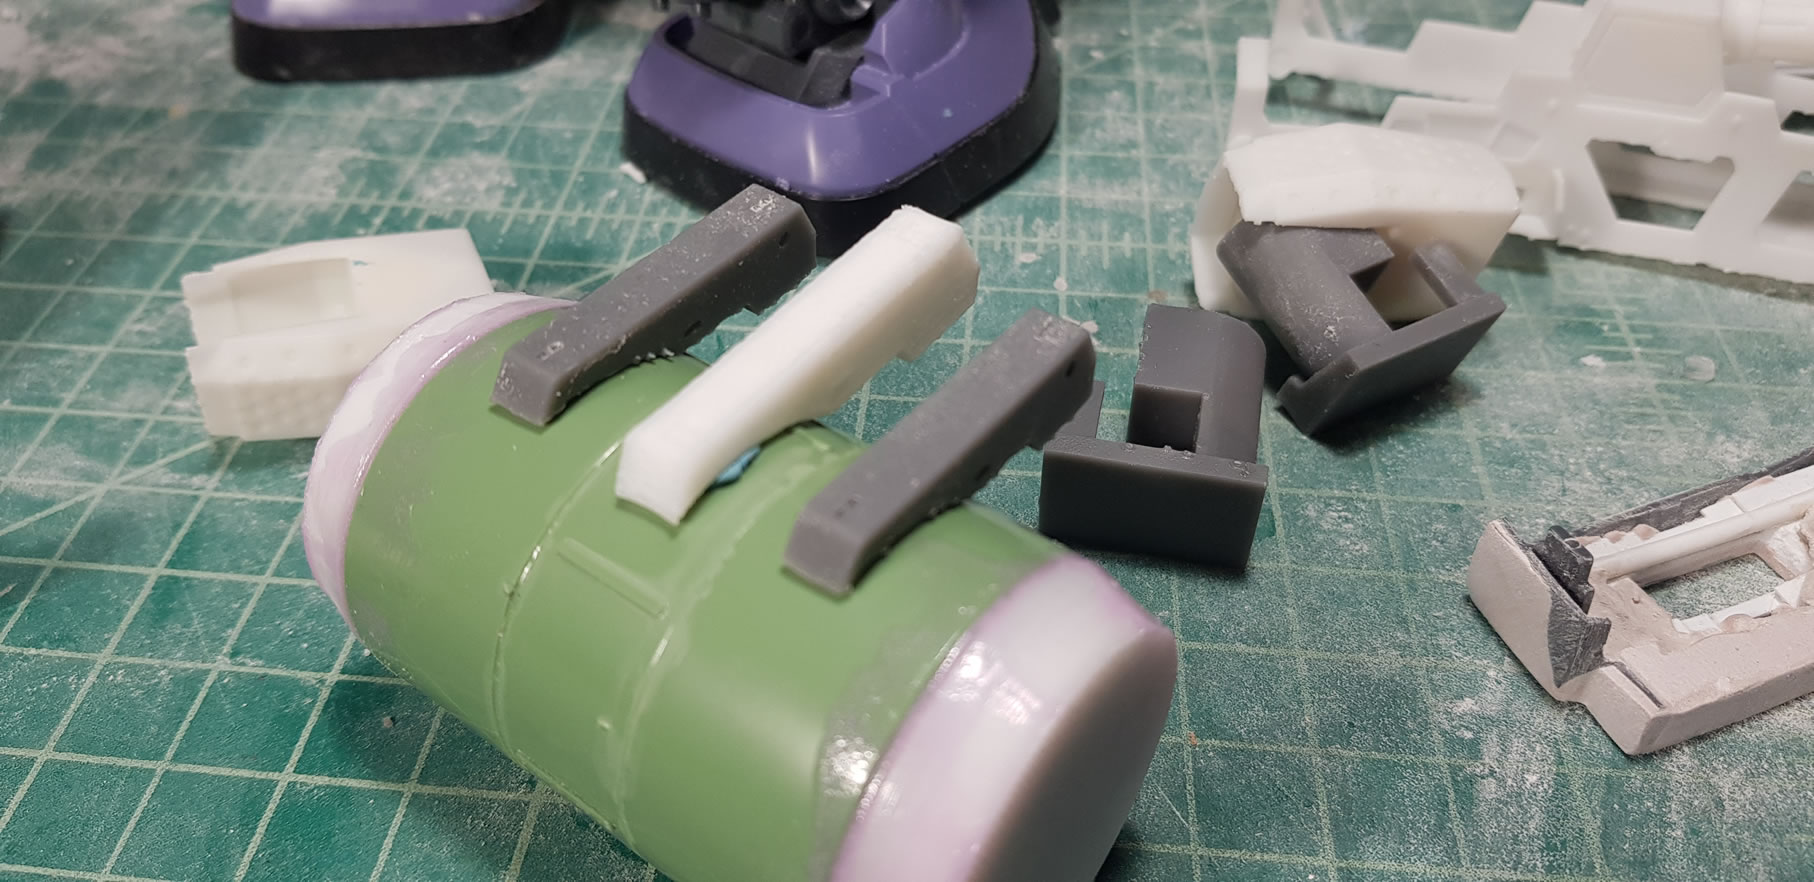
Going back to the ammo drum brackets, I printed the parts first with the FDM (white pieces) to help size the parts before printing in the SLA. I dropped the size of the upper brackets by 1 mm and raised the size of the lower bracket by 1 mm and sent this off to the form 2.
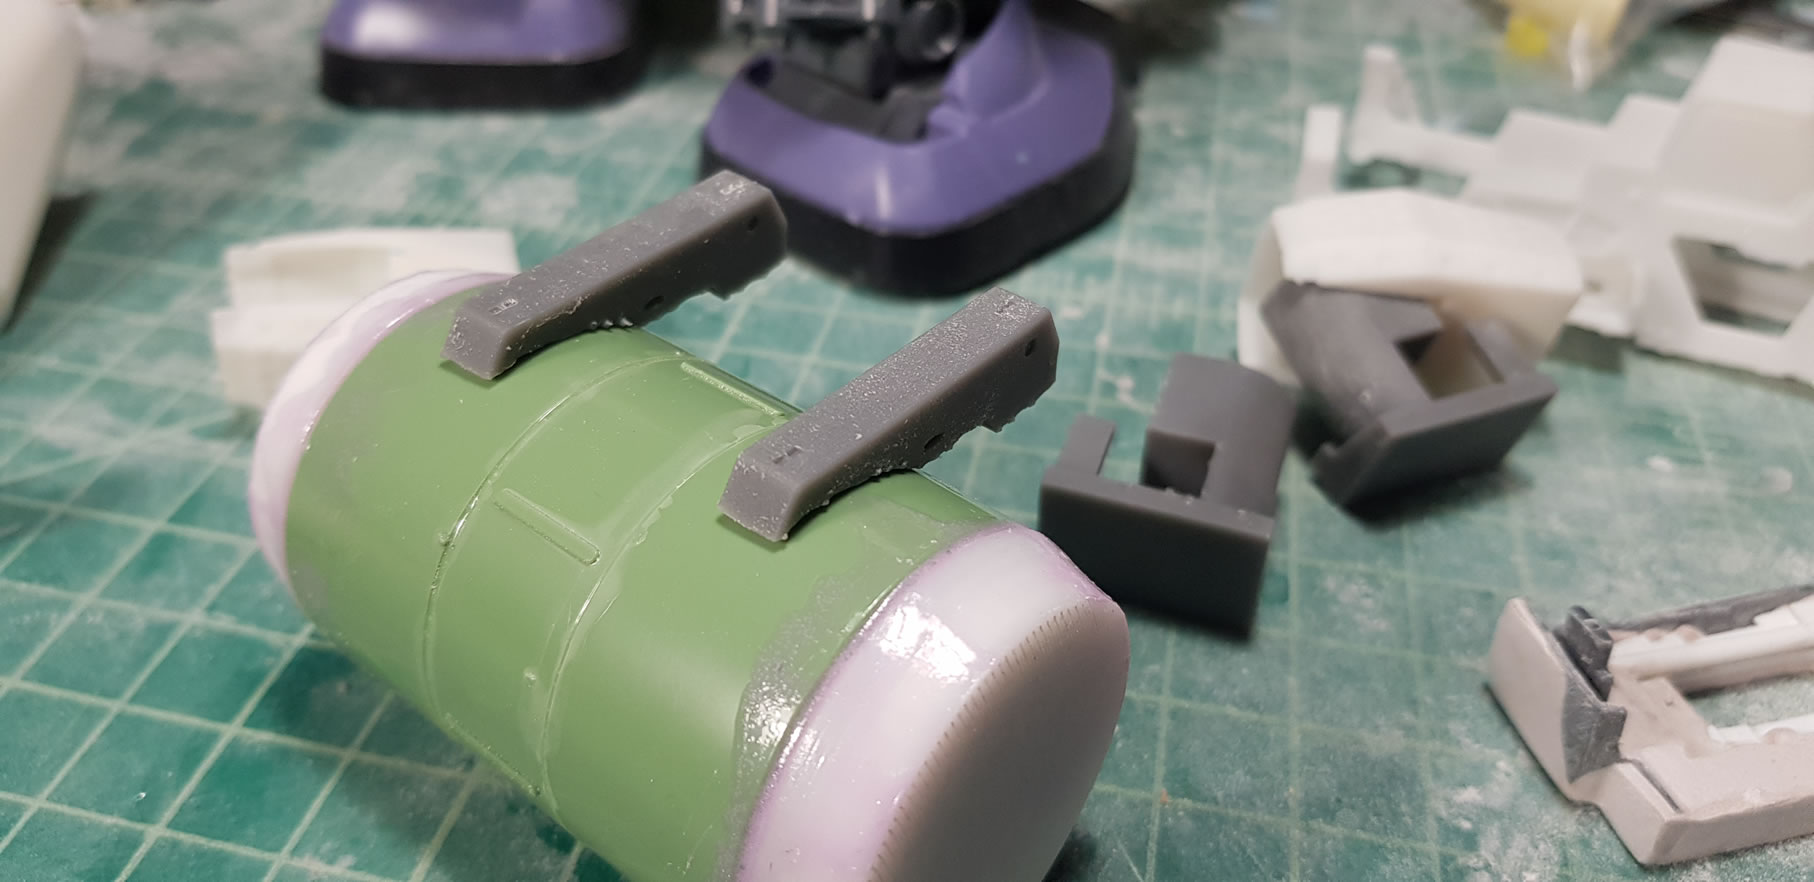
Below is the test fit against the ammo drum to be and the adjustments worked out quite well for both the upper and lower brackets.
3D design and printing parts is VERY addictive. There was a pretty big learning curve for me with blender and that took a bit of time with trial and errors upon errors. I am almost tempted to go back to the gun frame and completely redesign it from scratch with everything I learned since working on it. But now it seems like the most efficient use of time to design and print the parts and then combine them to the kit. Which is now the next step I need to work on, getting everything fit together. Actually, the next step is the clean up work on the 3D printed parts, then it’ll come to combining things.