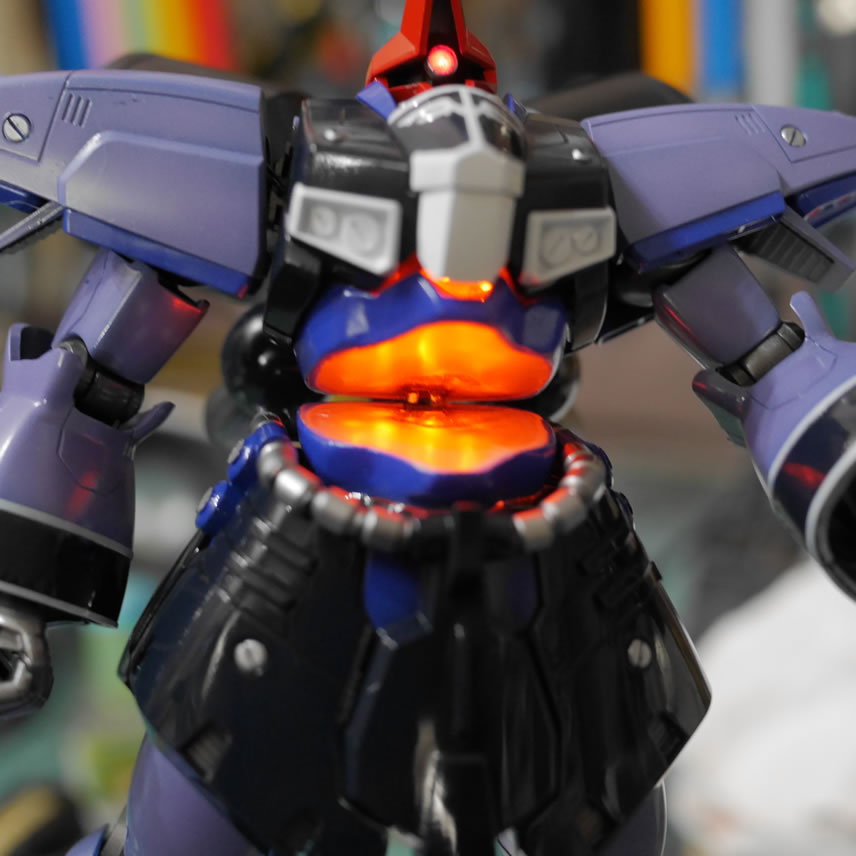
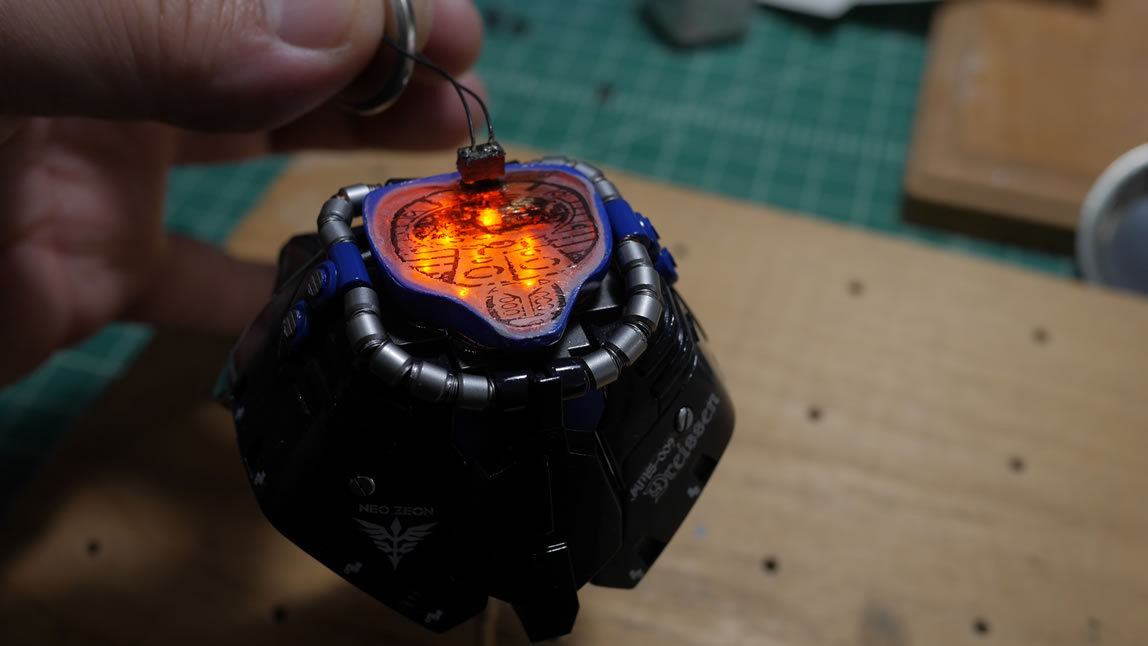
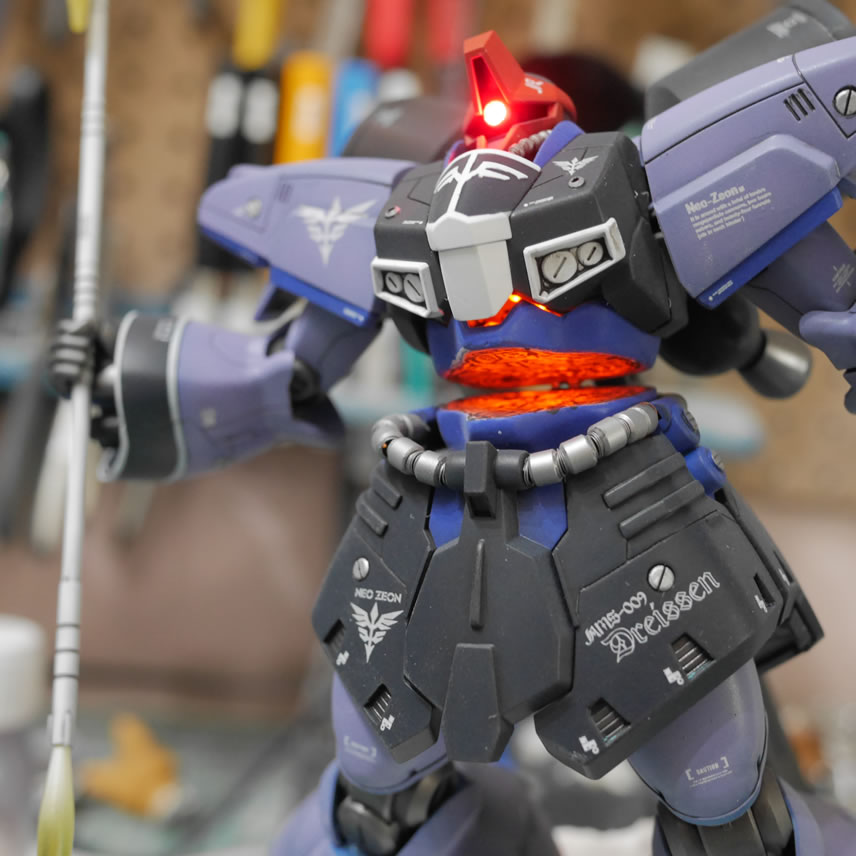
Last we left off, I assessed the project and started on the last bits to finish the damn thing. The chest piece that I melted is painted and back to normal. Another electronics test to make sure all the wire rework didn’t screw anything up. And the whole thing is gloss coated.
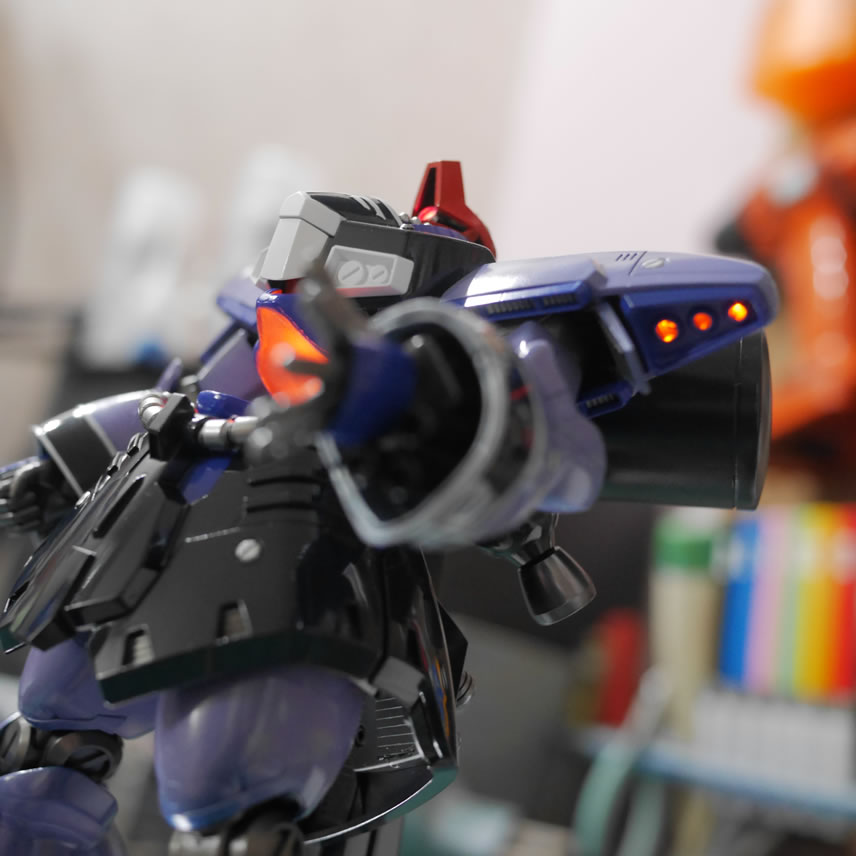
Since all the electronics are still working, I can continue this update after the jump.
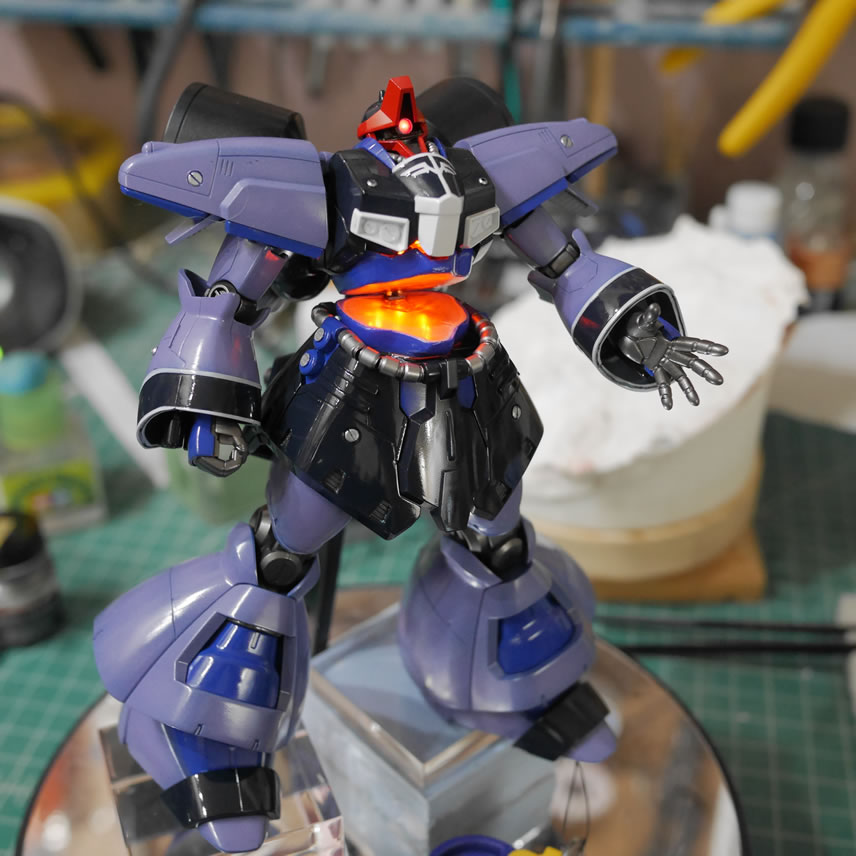
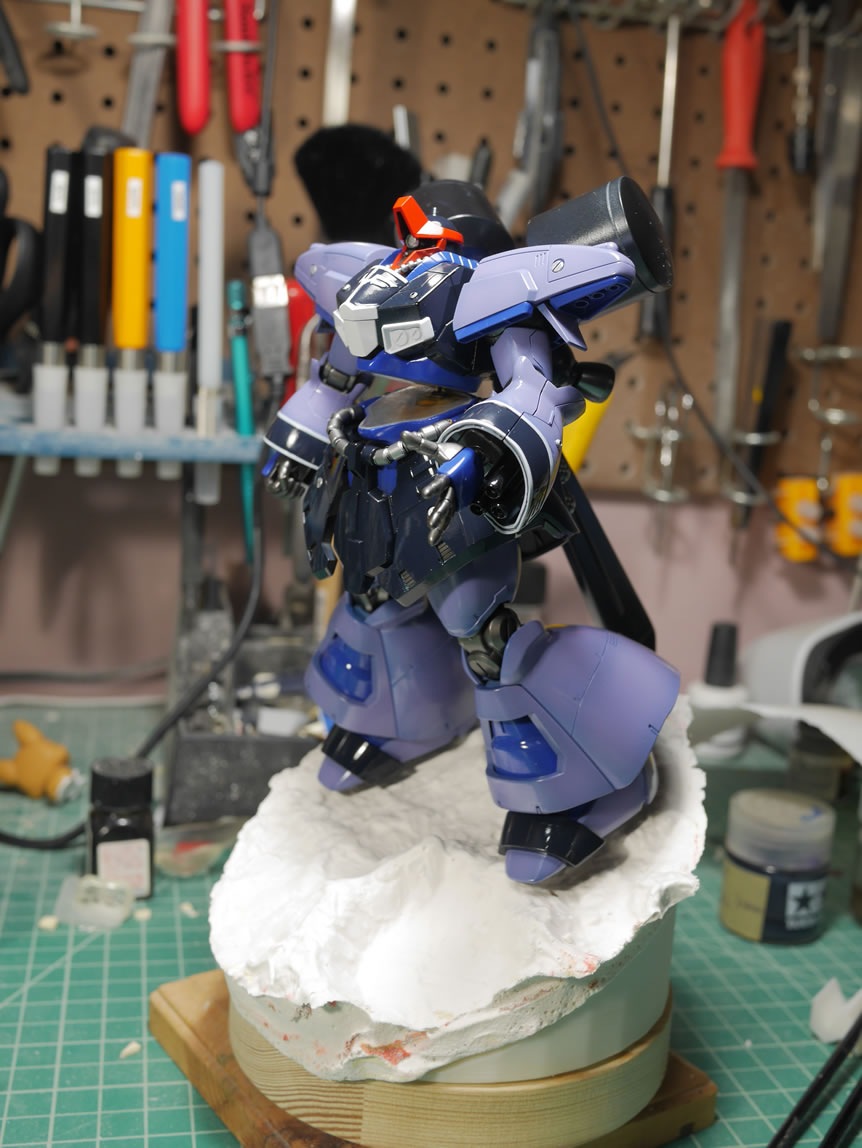
Turning off the lights, I get to work on making sure the thing looks decent on the base. The ceramic base is dry and I can get to work test fitting that. Angles look good so time to move on to the final bits of work on the Dreissen itself.
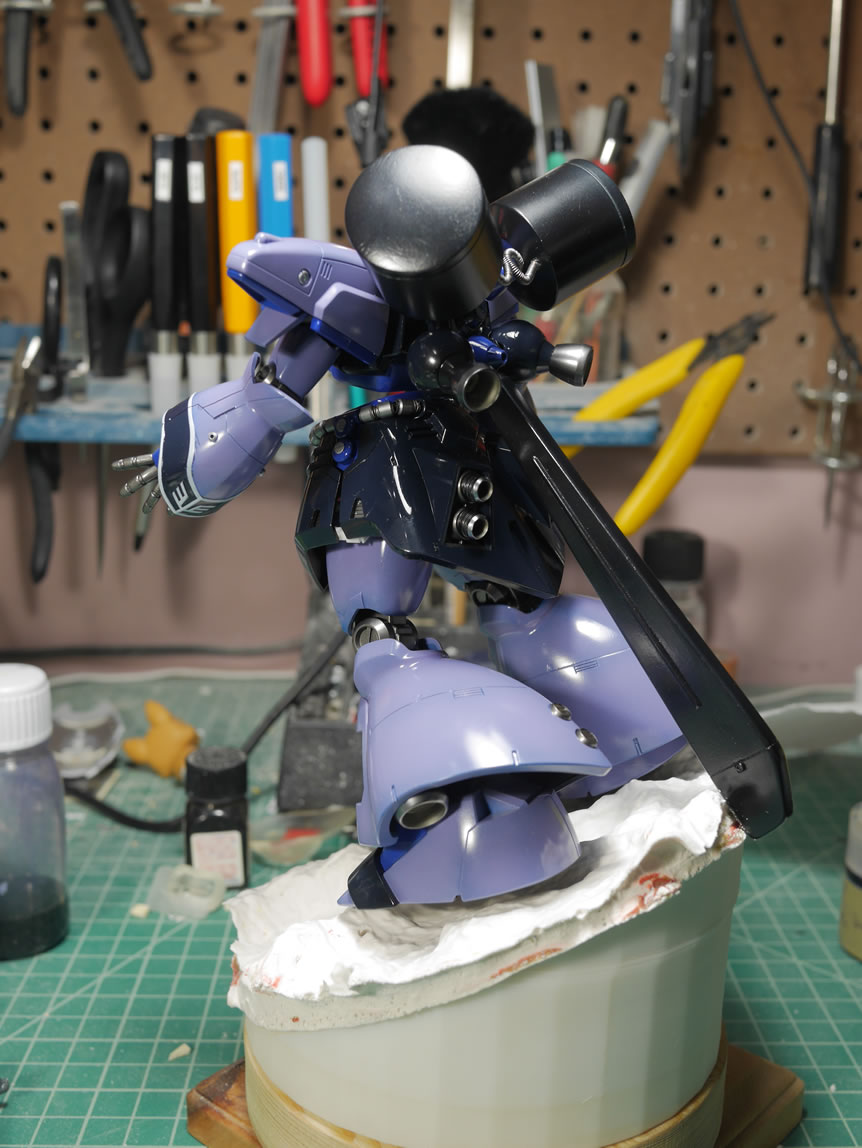
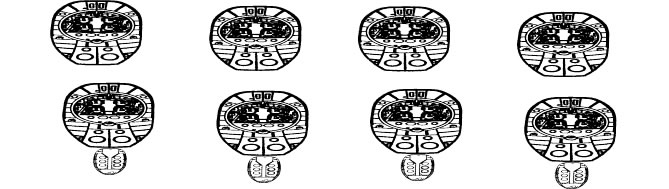
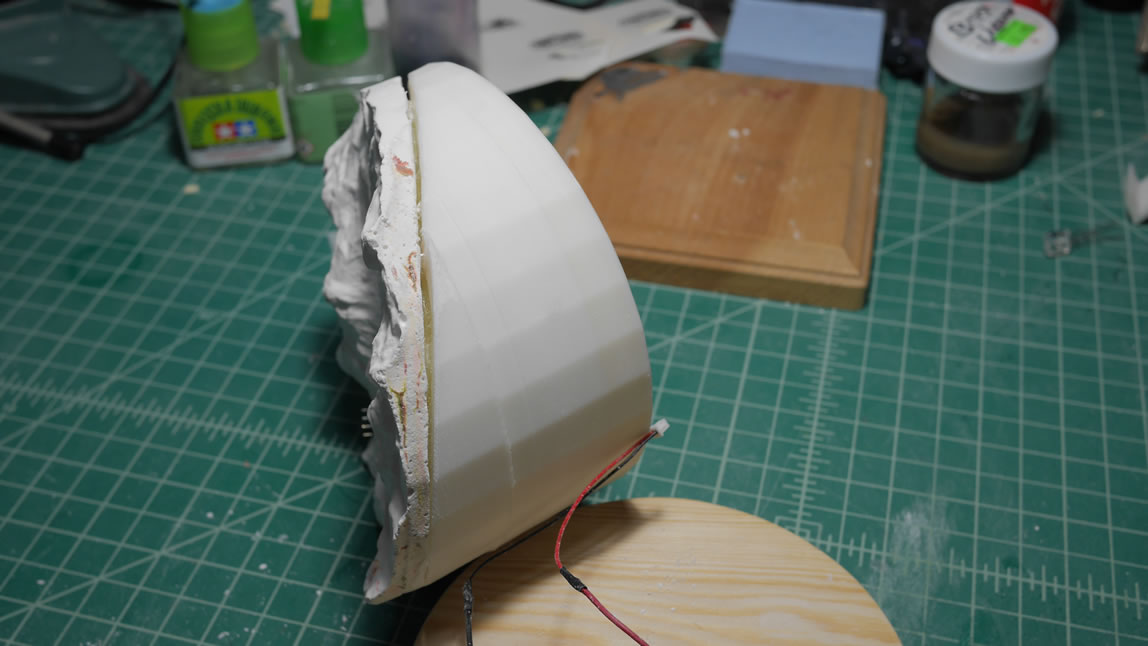
So I had cut the poor Dreissen in half as the original idea of the diorama had a Unicorn some distance away with Banagher running off to chase pseudo Char. We’re just going to have to imagine that he’s long gone since, well, Unicorn speed. So, back to the fresh cut. I wanted some internal details so that it’s not just a blank light bulb that was cut in half. I searched for something that would work as a decent template and came across some submarine cross sections. This was almost perfect. I just needed to manipulate it a little to fit my needs.
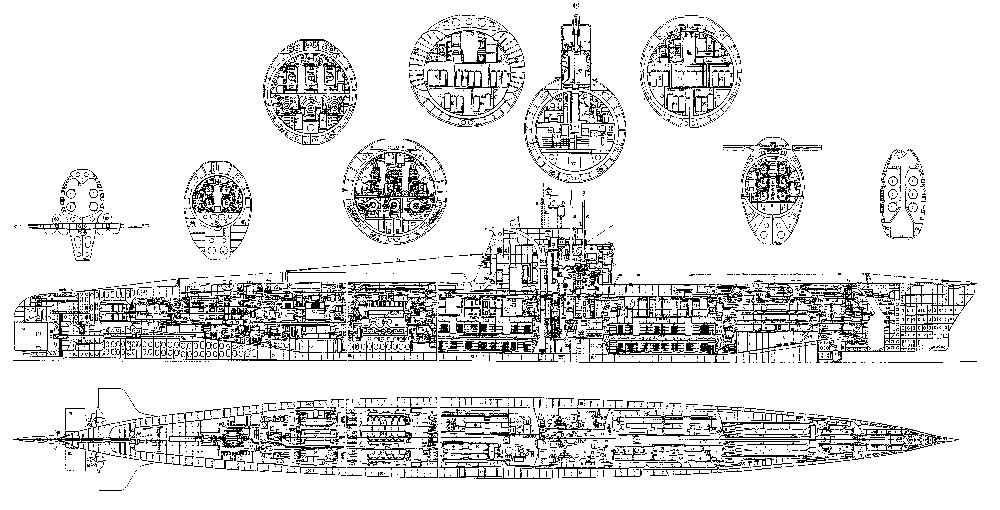
I gimped this since I don’t have photoshop and started messing with two of the subsections. Getting it better fit against the Dreissen’s cutaway sections. Lines were darkened a bit and the round subsection was stretched.

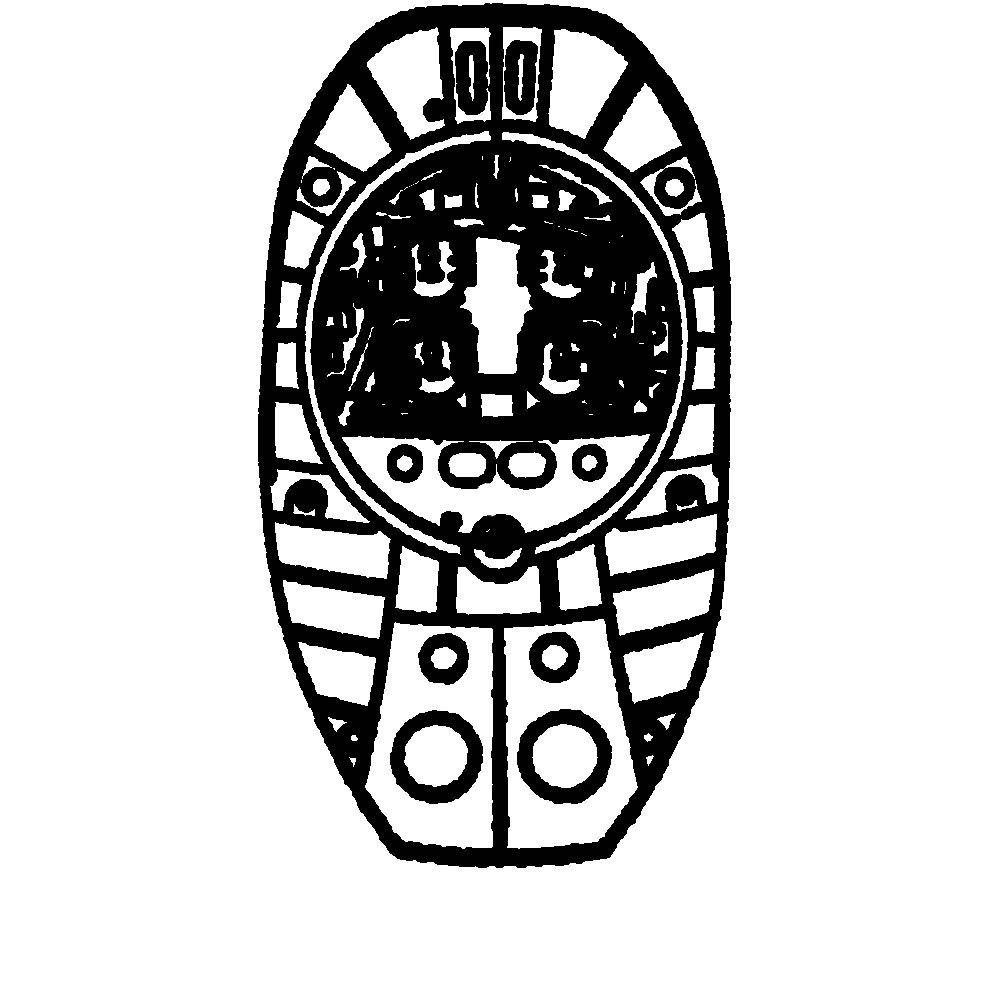

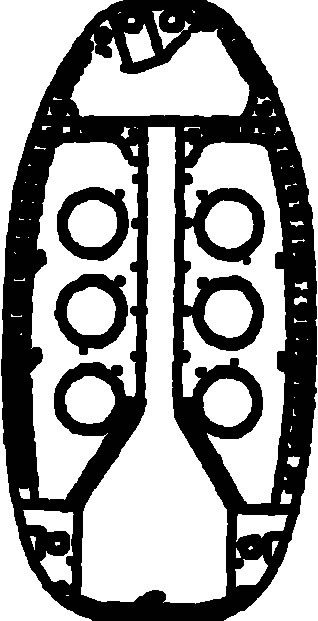
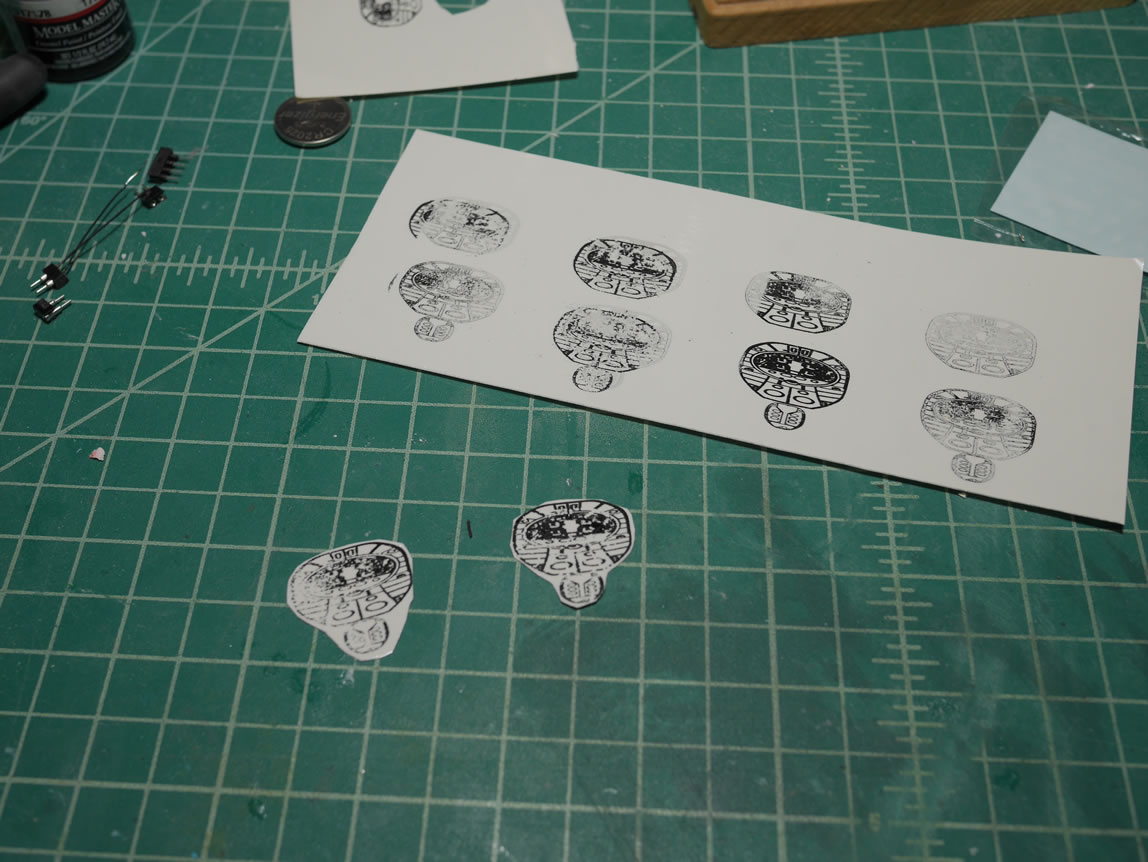
Once I was done here, I ported them to Adobe AI, yes, I know, why not just use AI. Well, I’m more familiar with gimp, and AI has some cool vector features. The images were vectorized and then more stretching and stacking to get a few images that I could measure in some test prints and then print on a clear water slide decal sheet.
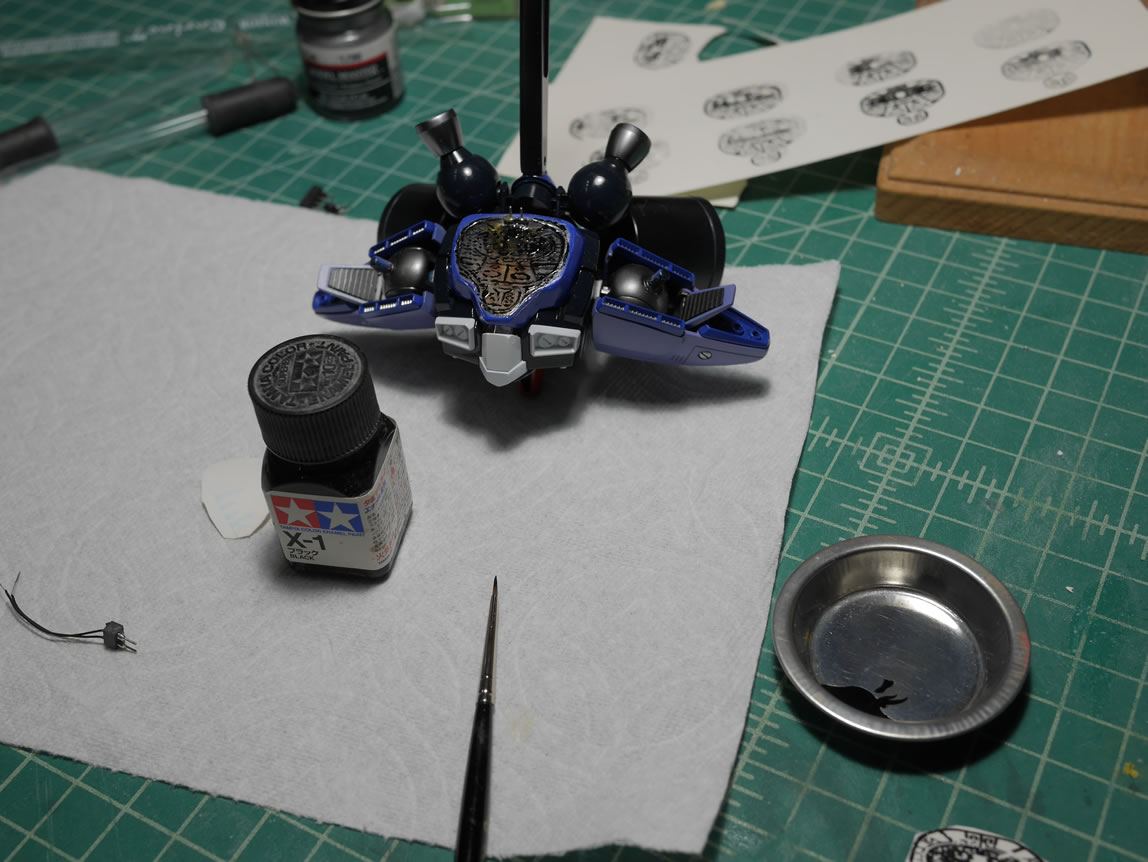
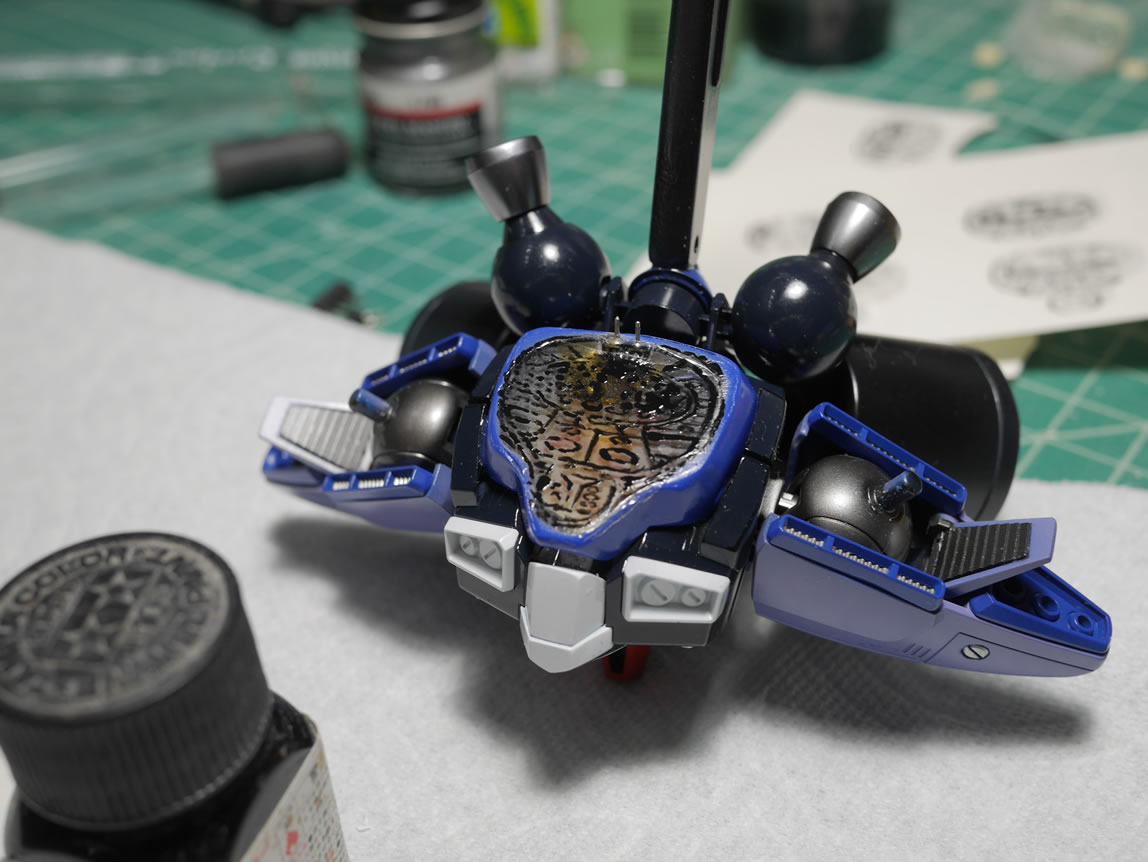
Decal sheet is printed and sprayed with a lacquer clear coat to help seal in the ink. Allowing this to properly cure is key. Skipping out on the clear coat or curing of said clear coat will get you an inky mess and blank decals. Learn from my experience. I cut two decals out and I’m glad the printer kinda screwed up the printing. Some broken lines will really work here. The decal is dipped in water and slid into place.
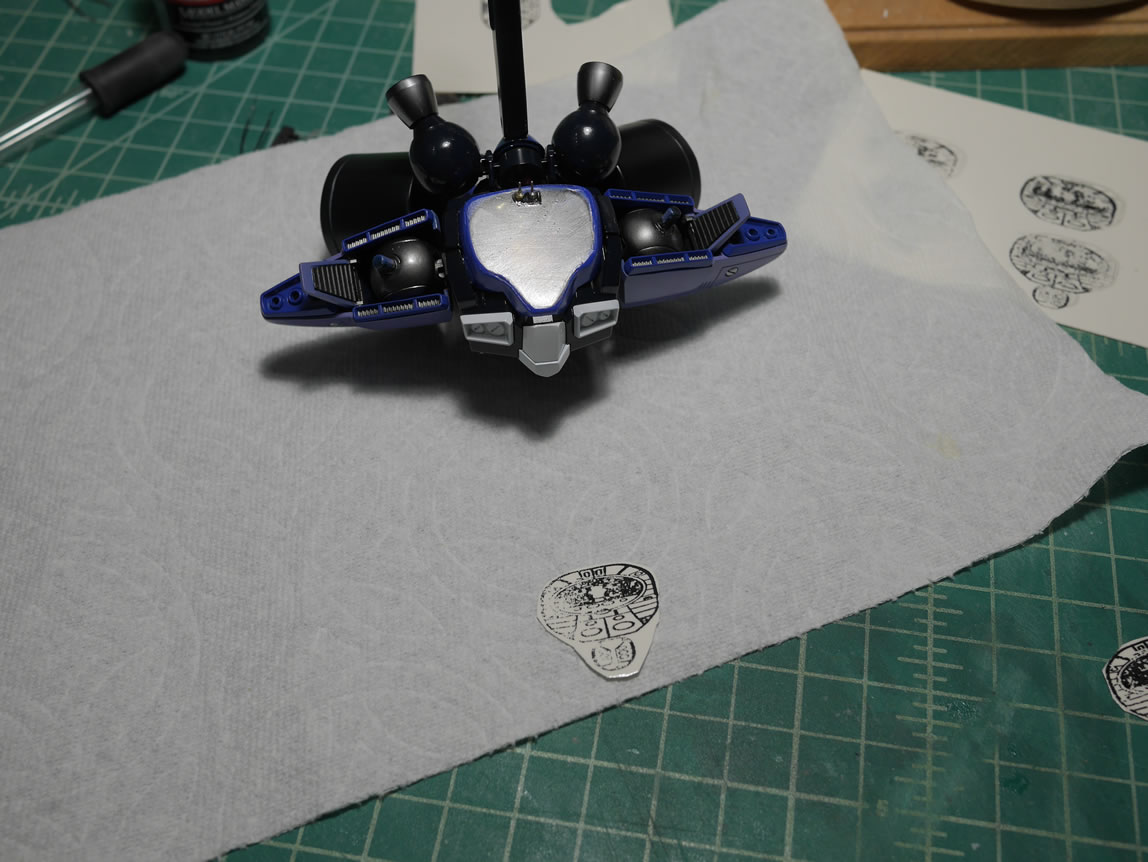
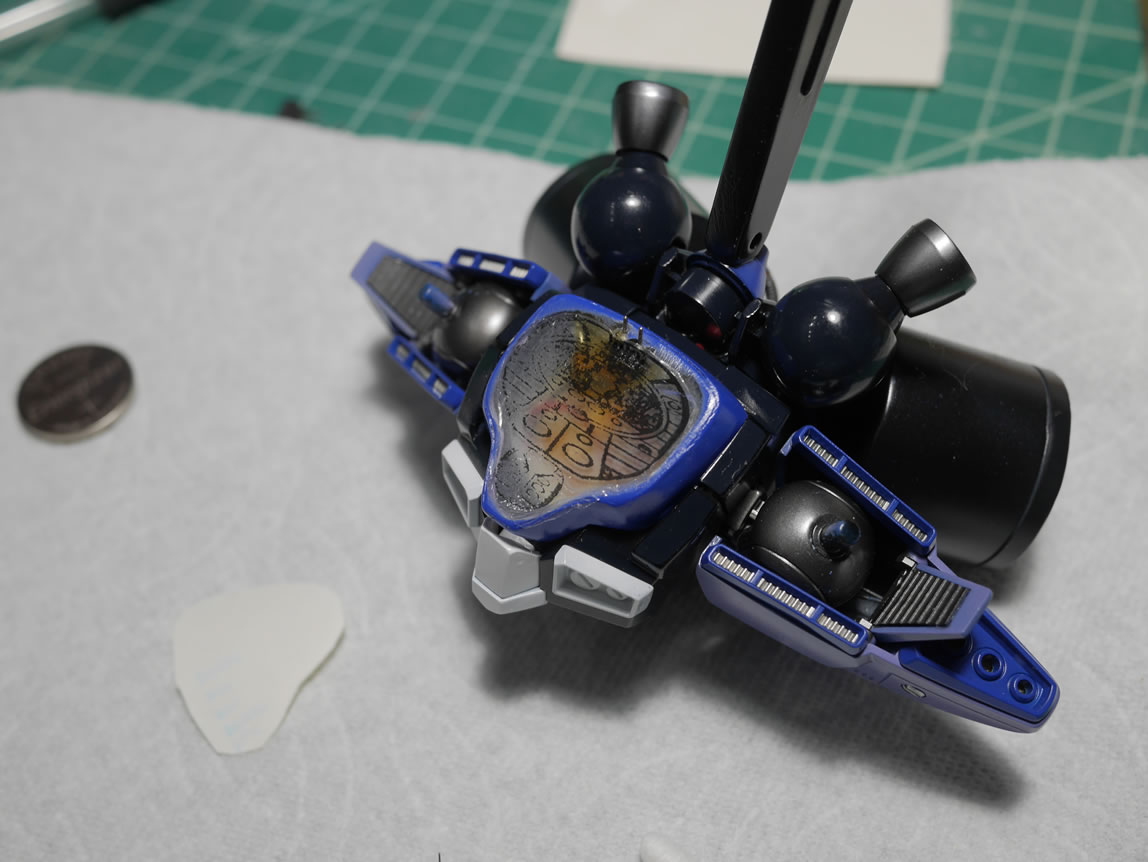
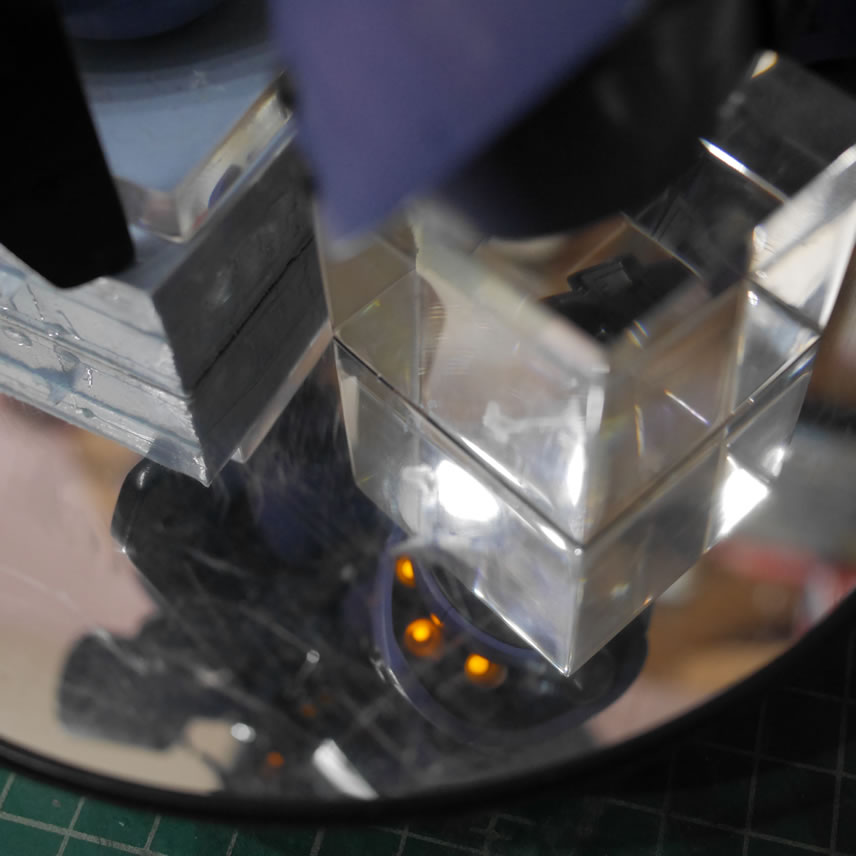
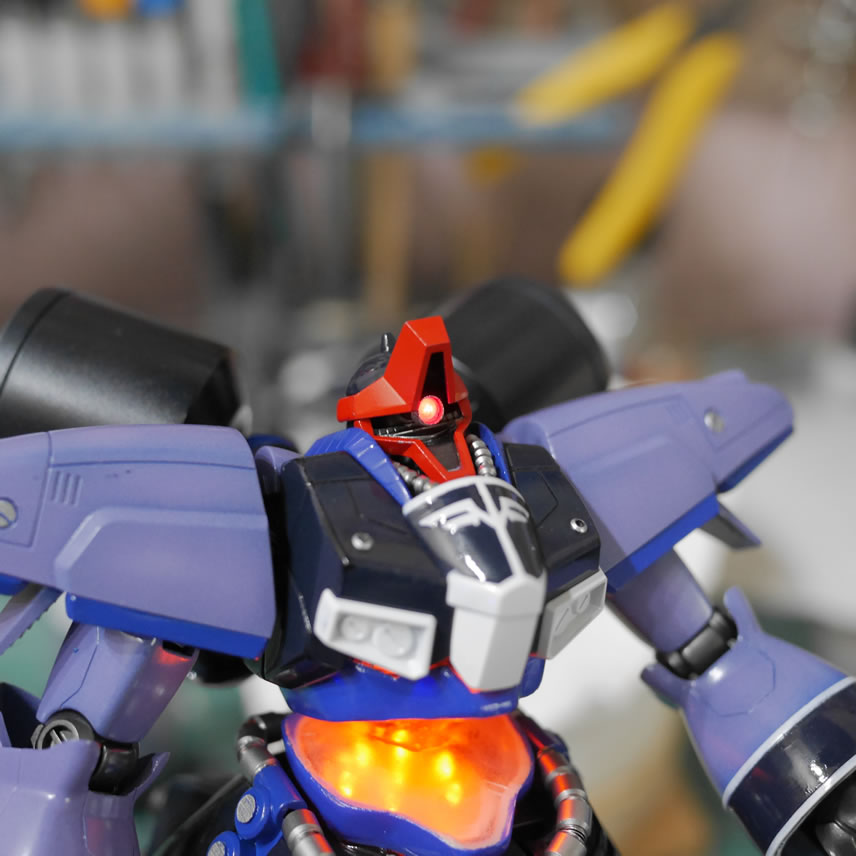
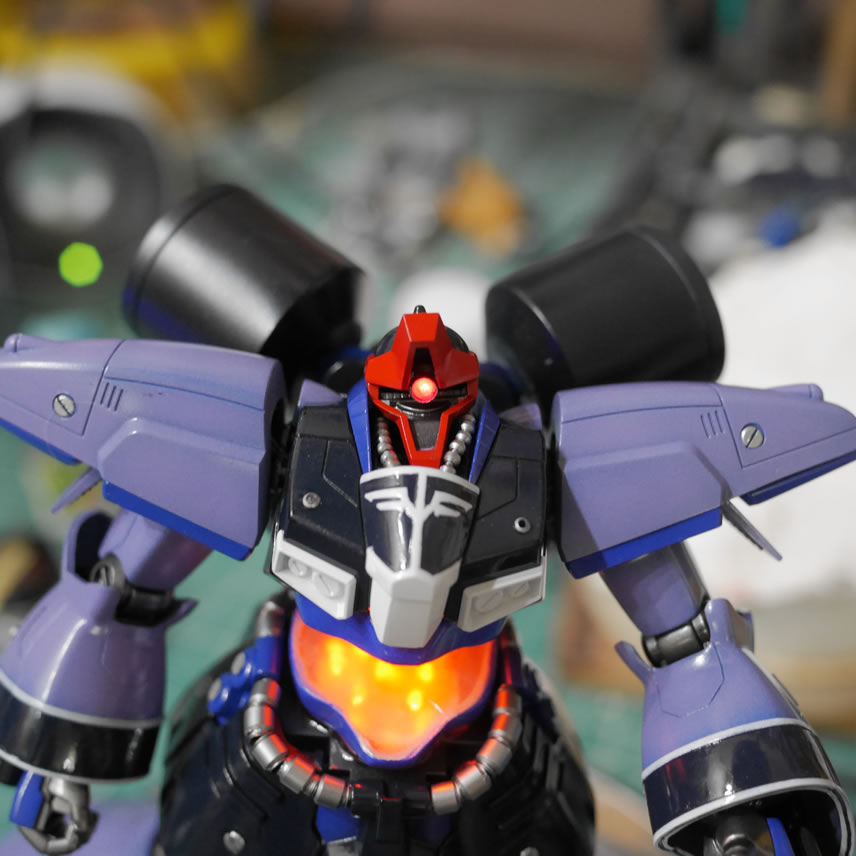
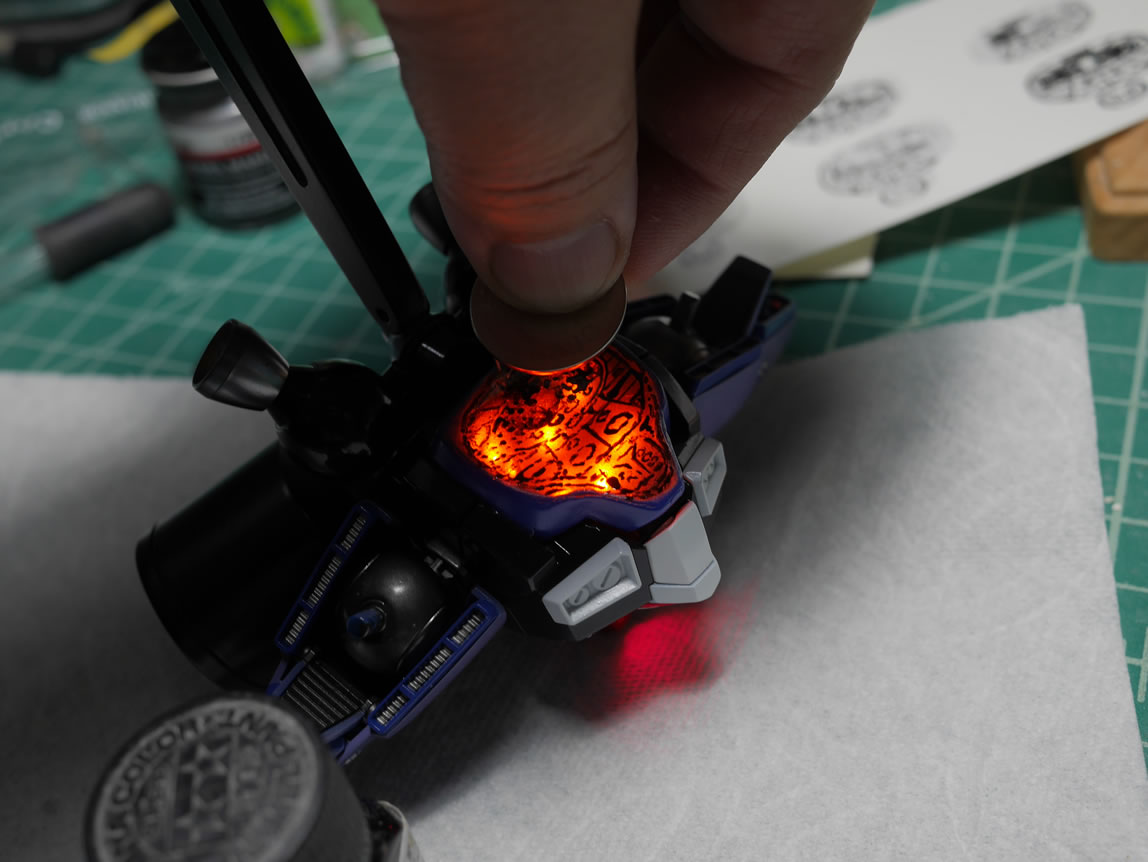
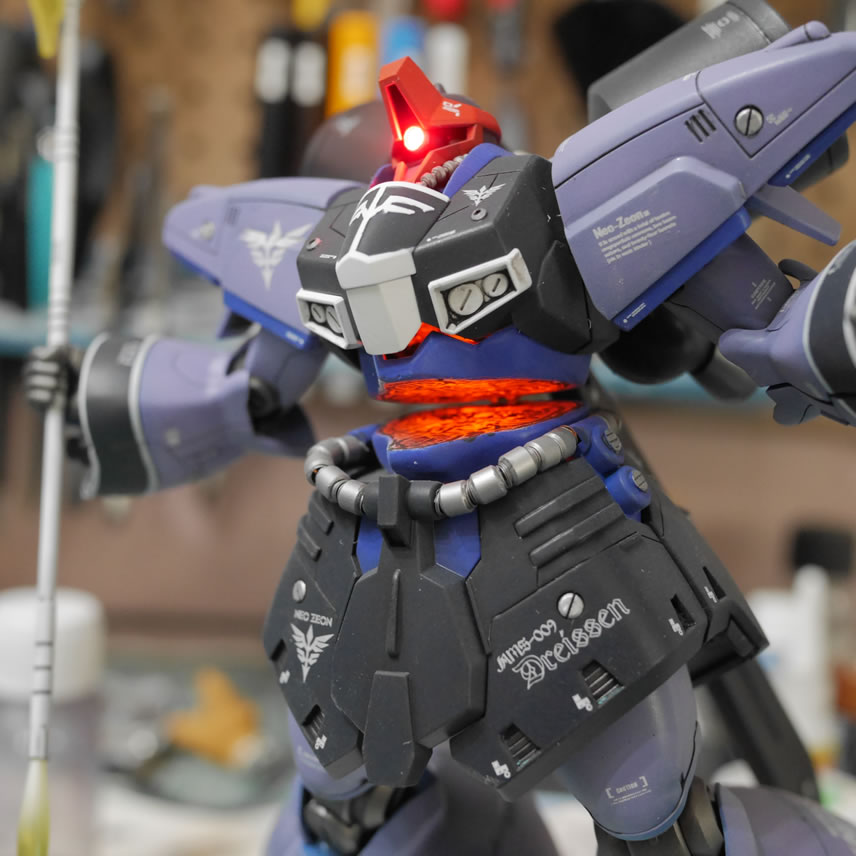
A little test with the light clearly shows that the decal alone isn’t going to do things. Something I already knew going into this. I just needed the decal as a template from where I can “trace” with a fine brush and some enamel black paint. Adding in a few more lines here and there to round everything out, I do another quick lighting test to see how it comes out. It’s looking better. Time to let that dry and move on to actually finishing the kit.
The other decals. Funny, I didn’t even remember buying “Dreissen” decals. Or, Dreissen ver Unicorn decals. But there were also in the box along with Unicorn and Geara Zulu decals. I guess my original plan was to have a Zulu in the mix too. I used these decals as well as decals I picked up from my local hobby shop: Robot 4 Less’s Simp Decal Sheets They are nice decals and already precut, so no need to trim the decals after cutting them from the sheet. I need to go back and just pick up a bunch more warning labels. In no time, I completely lost track of time and the decal process took about 5 hours.

Friday rolls around and I get a delivery. My dehydrator came in, and now I can seriously speed up my drying process for paints. I use the lowest temp setting of 95° and run it for about 2 hours. This seriously speeds up my work time. I was able to gloss my decals, dry them in 2 hours, and get to panel lines.
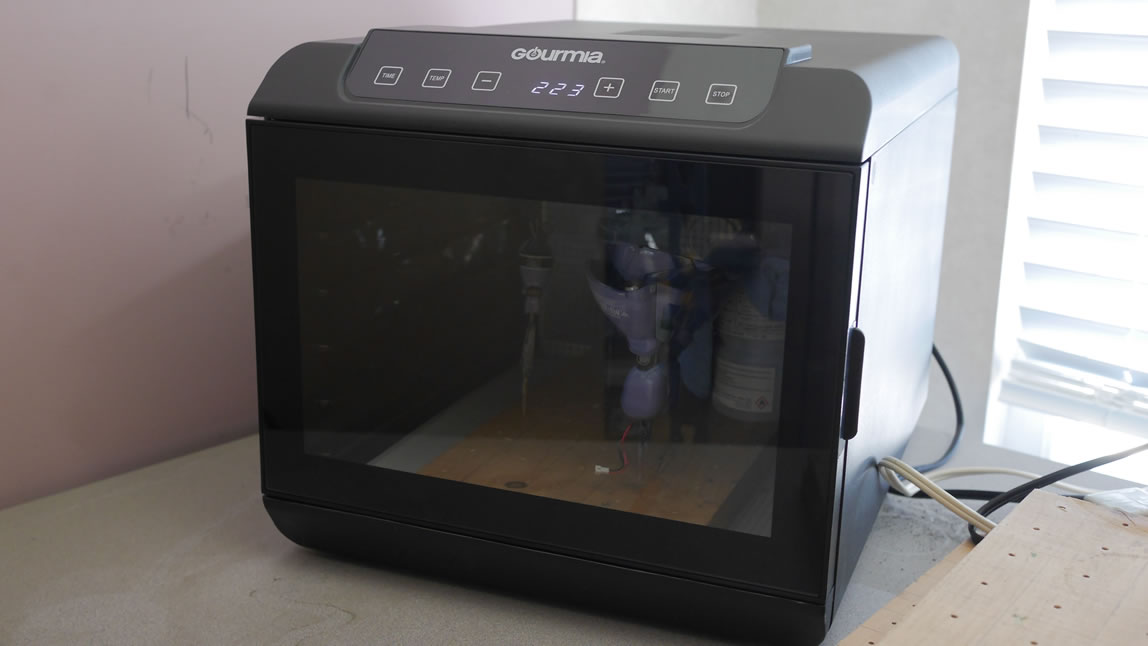
Panel lines were done, the parts go back into the dehydrator for 2 hours and I can do the clean up.

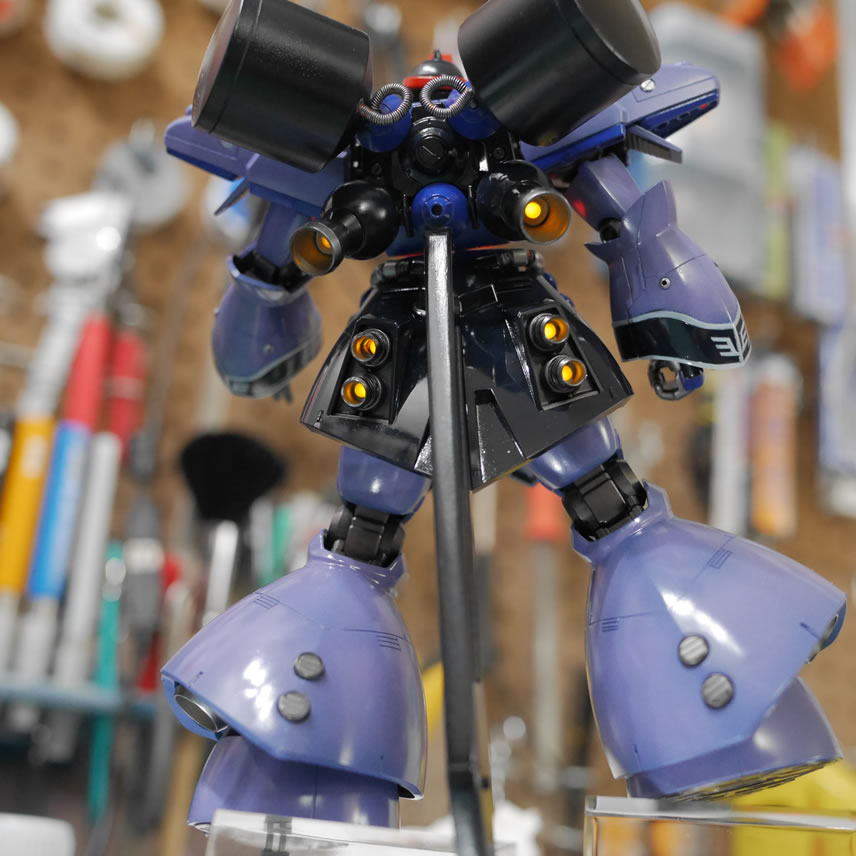
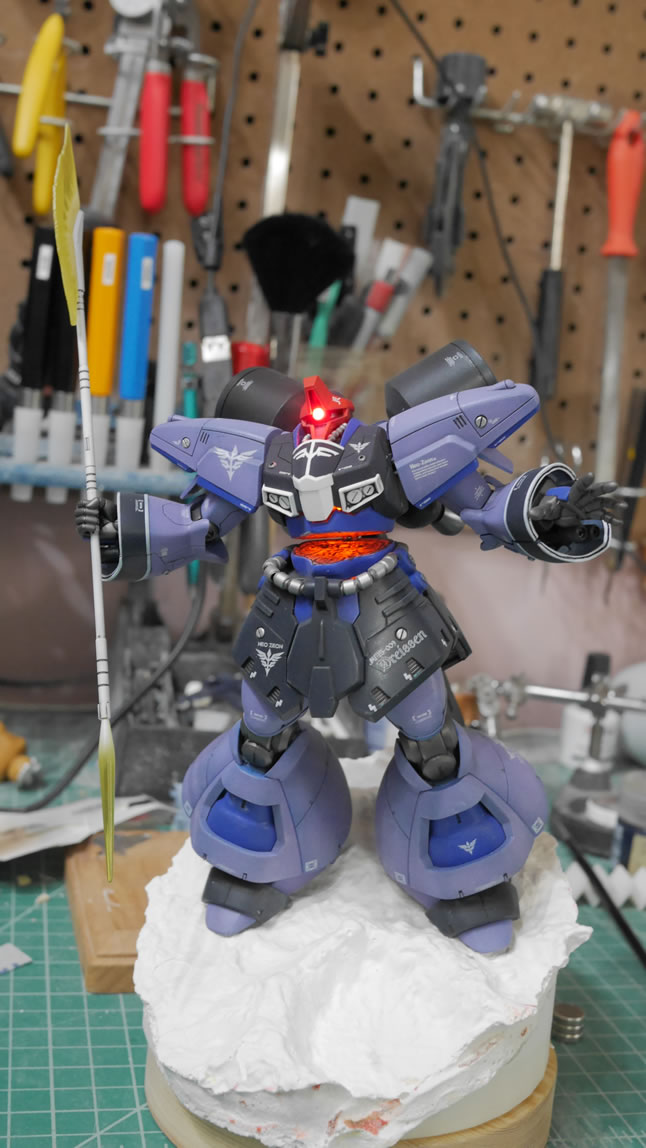
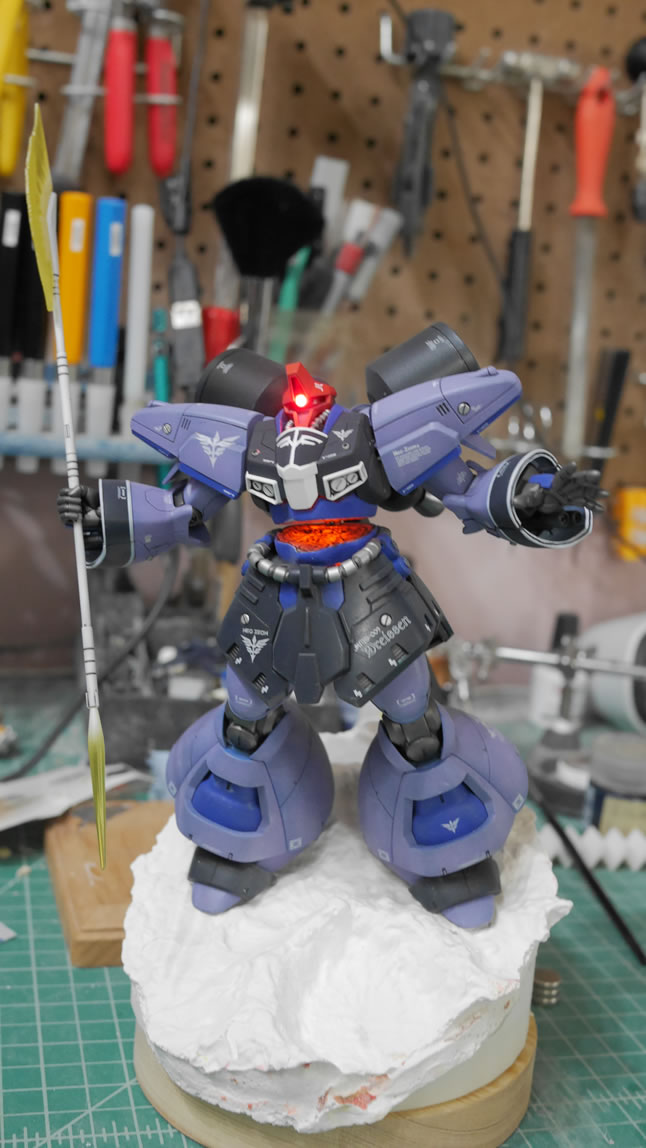
A clear flat is sprayed and then once again, back into the dehydrator for another 2 hours and the damn thing is pretty much done. What would have normally taken at least a day of drying/curing between each layer of gloss/decals/gloss/panel lines/clear flat, I cut done to about a day. I should have bought one of these damn things much sooner. Another electronics test and full assembly test against the base so I could start working on the thing.
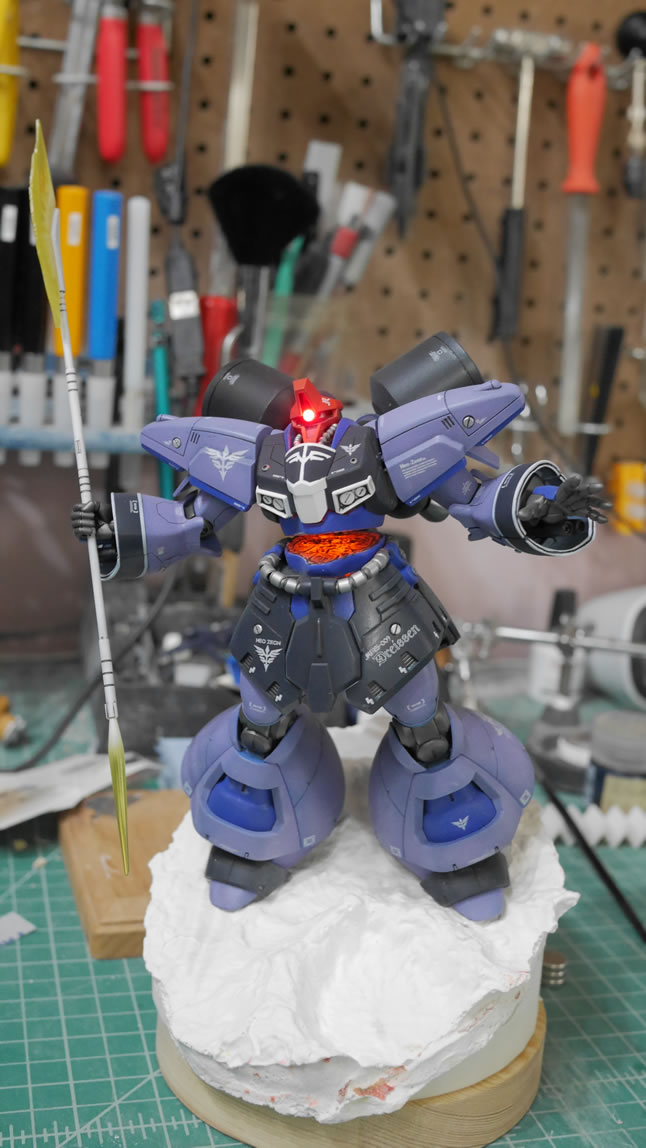
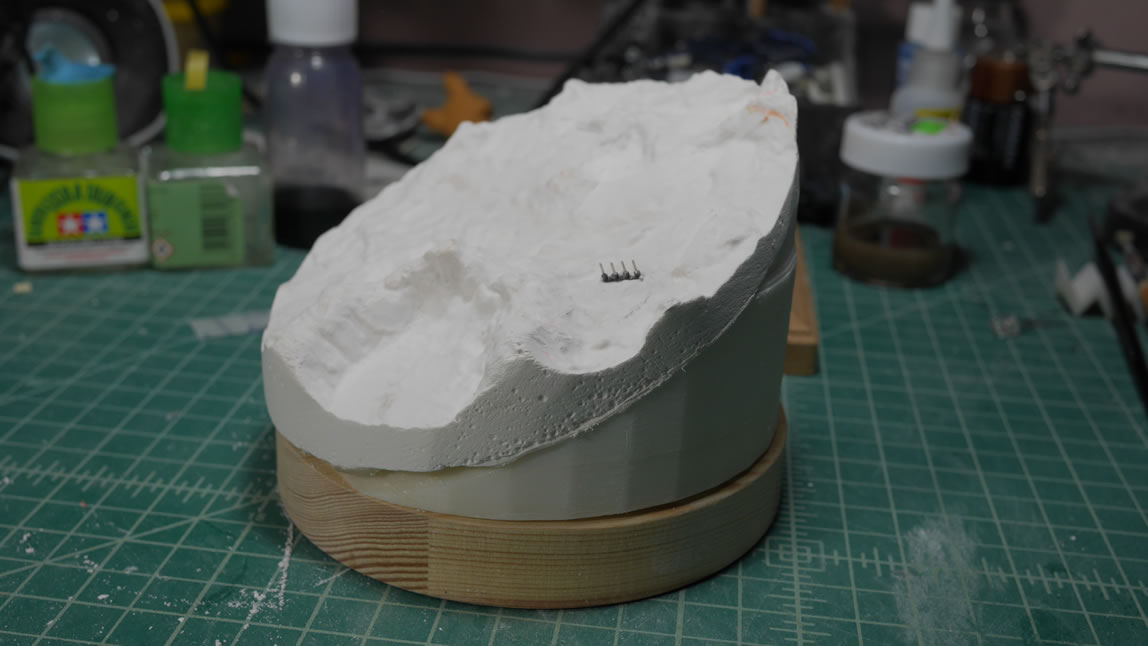
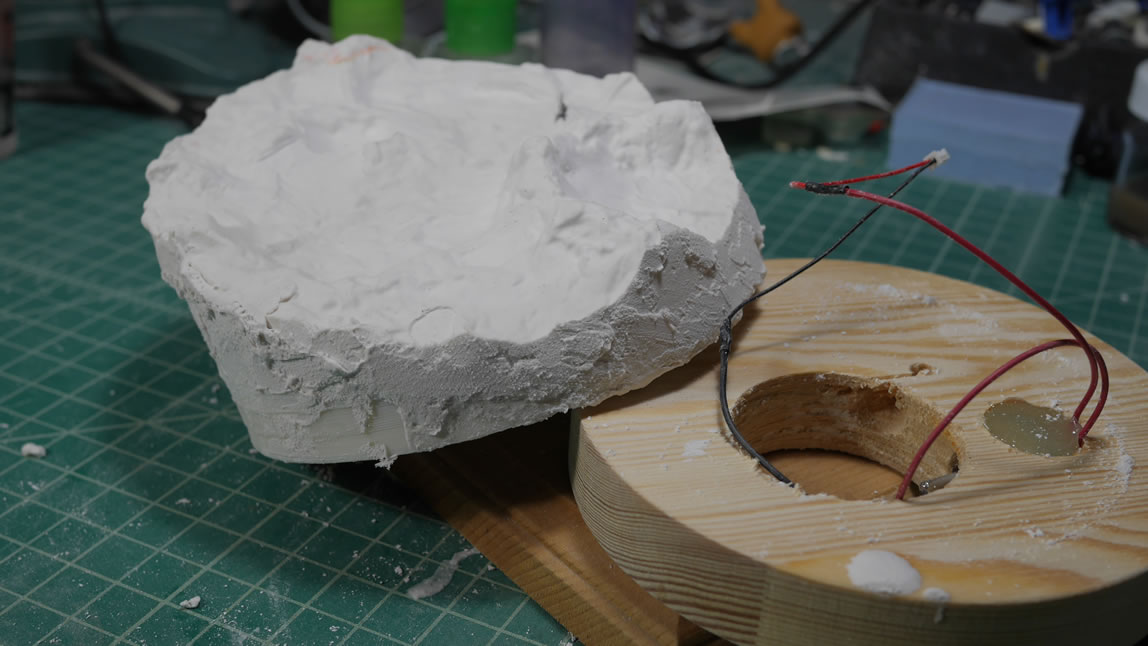
Setting the completed Dreissen aside, I think I will return to it and add another layer of enamel paint to the cut away sections. I want more definition there, but that can wait, on to the base. With the measurements and wiring done for the base. I get to sanding and filling the base so that it fits nicely on the wood block. I used more hydrocal for this as I can really quickly cure the stuff in the dehydrator.
Next update will probably finalize the build and if all goes well, the end of the week will see some completed pictures.