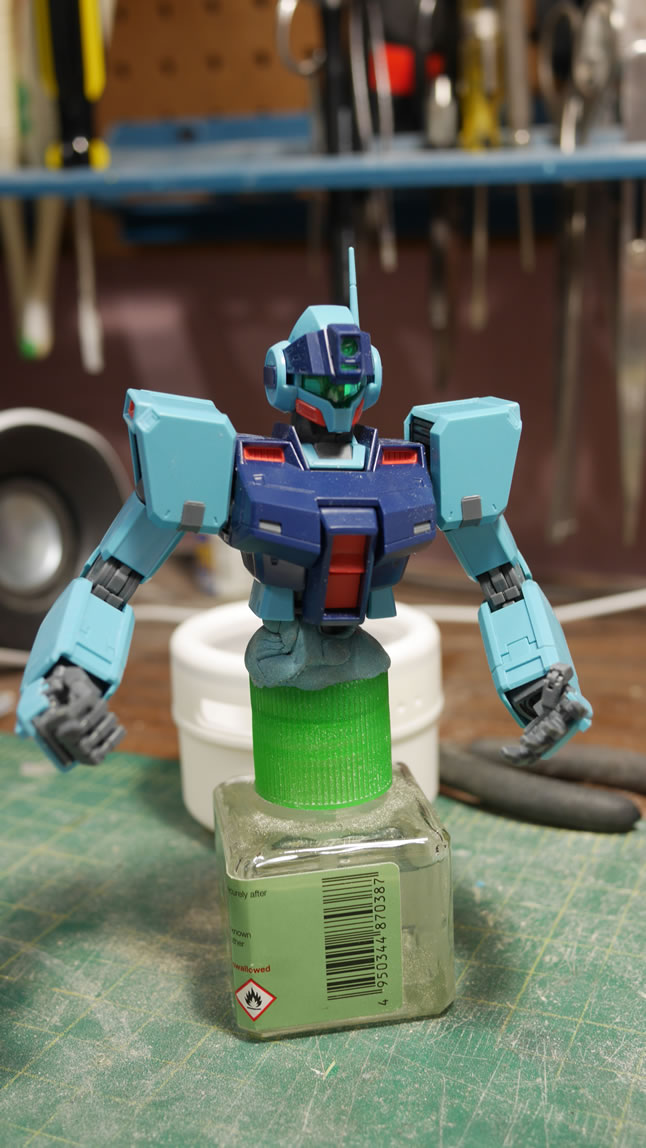
What better way to start off a new year than with a brand spanking newly released Master Grade GM Sniper 2 kit? Even better is that I have the motivation and some ideas bouncing around in my head for the kit. It was released about 2 weeks ago and I got the kit late last week. The little free time I had was spent cutting, sanding, and snapping the kit together. I didn’t finish the snapping process until last night, 1/30/2017.
It is a cool looking kit and came together well. I have some reservation on frame made of abs like plastic. I’m going to have to be careful when I paint to keep from making the frame too brittle. As cool as the kit is stock, it will definitely need some customization. First and foremost, that God awful sniper rifle will need to be updated.
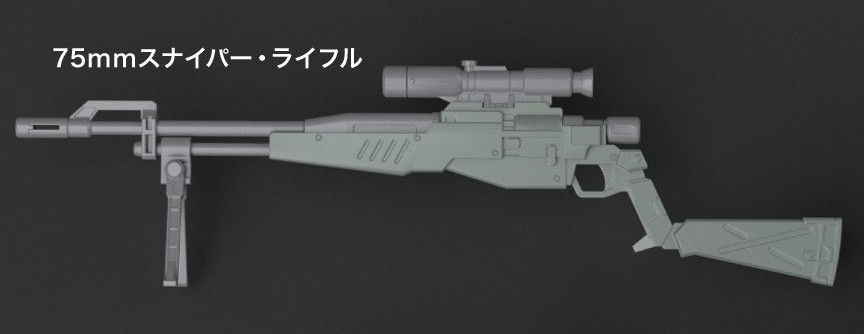
Prior to the kit’s arrival, I had already started the process for updating the rifle. I found a damn cool looking sniper rifle online from Fall Out Las Vegas.

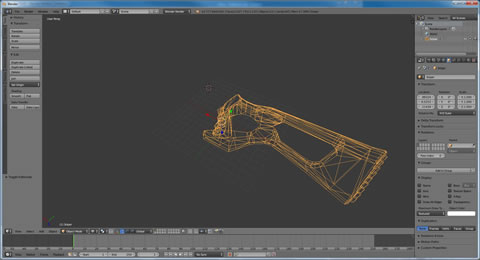
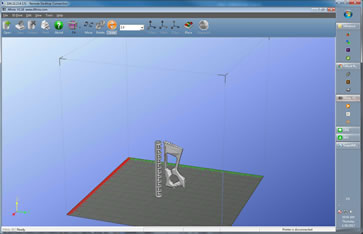
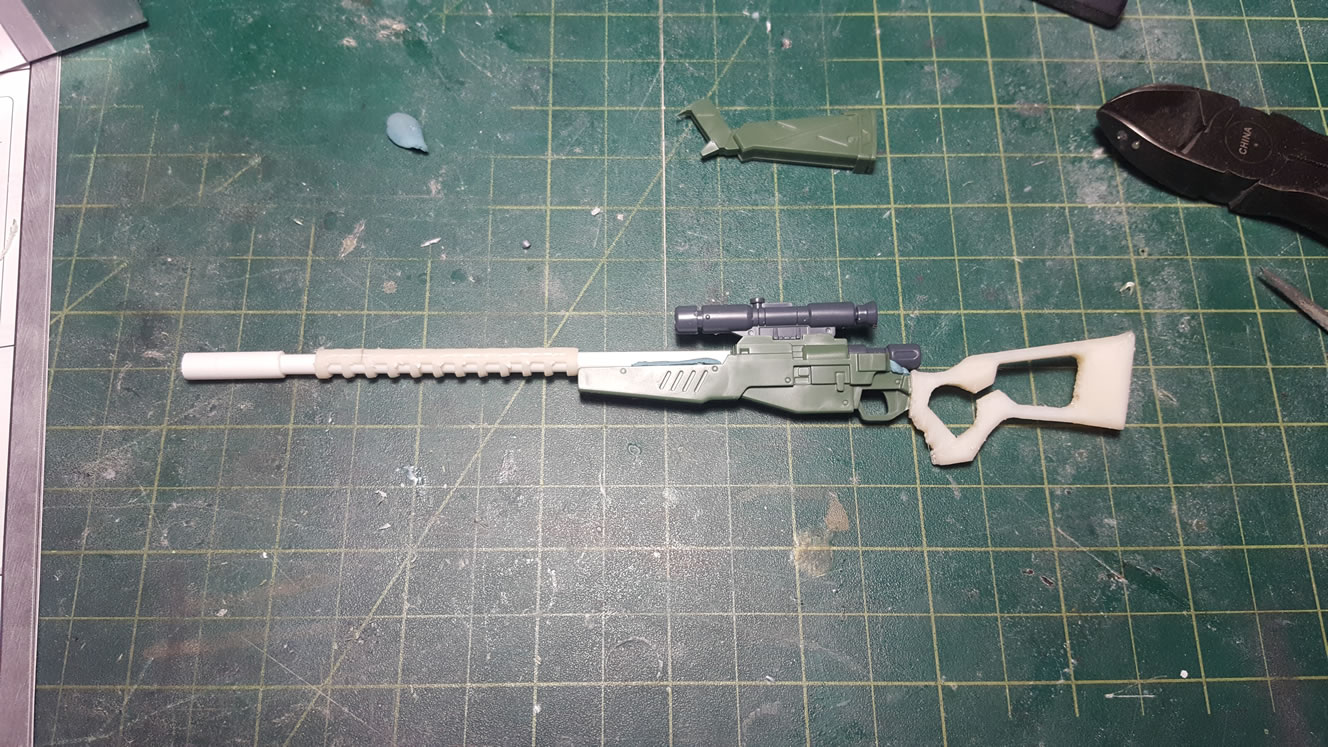
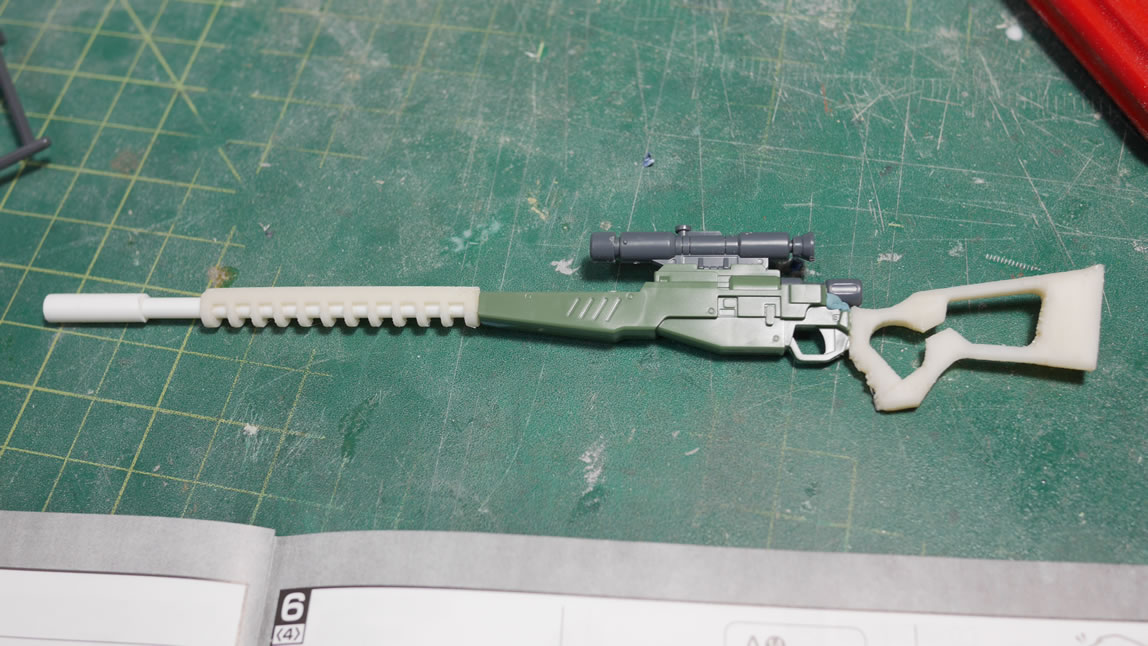
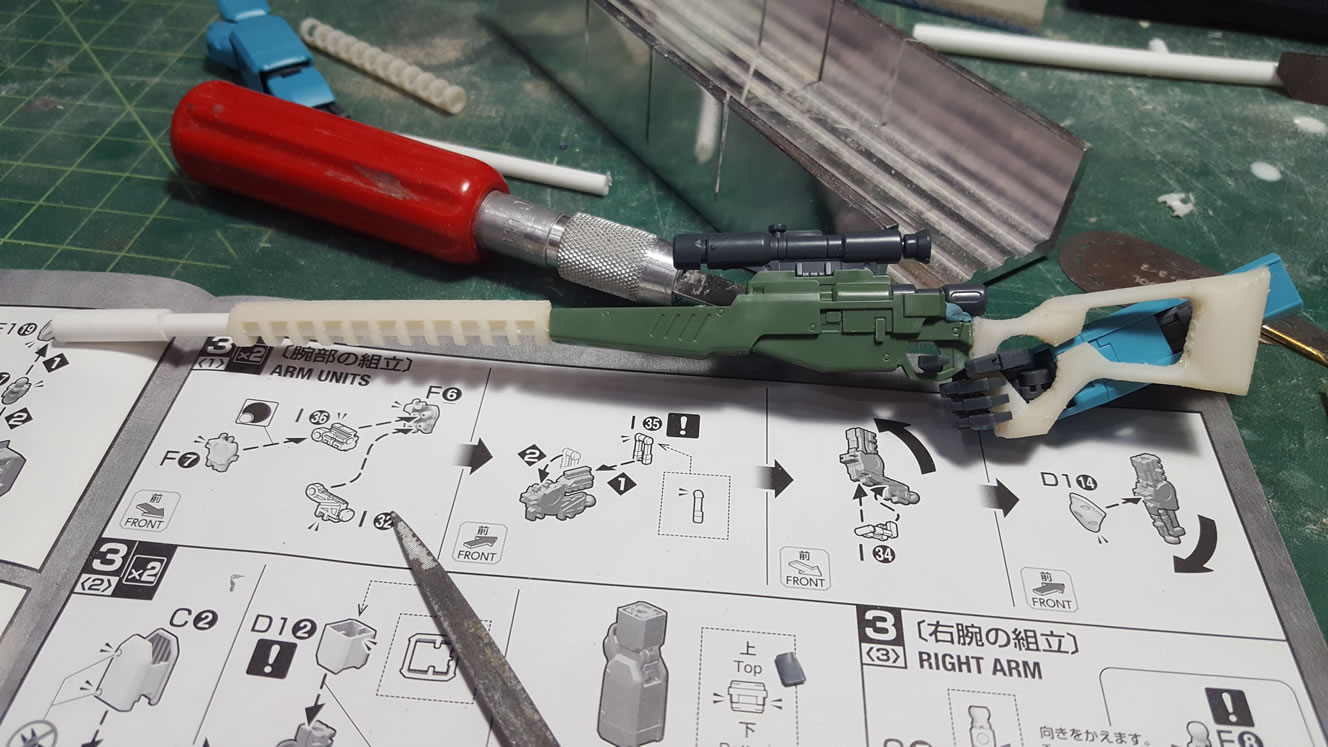
Everything starts with Blender; the free 3D rendering software I used to create new parts for the kit. A new stock and a new barrel is drawn, then saved off as stereolithography files (STL), and then sent to my Afinia H479 3D printer using ABS for creation. Since I didn’t have the kit on hand yet when I was drawing out the new barrel and stock, I just guessed and printed a rough estimate.

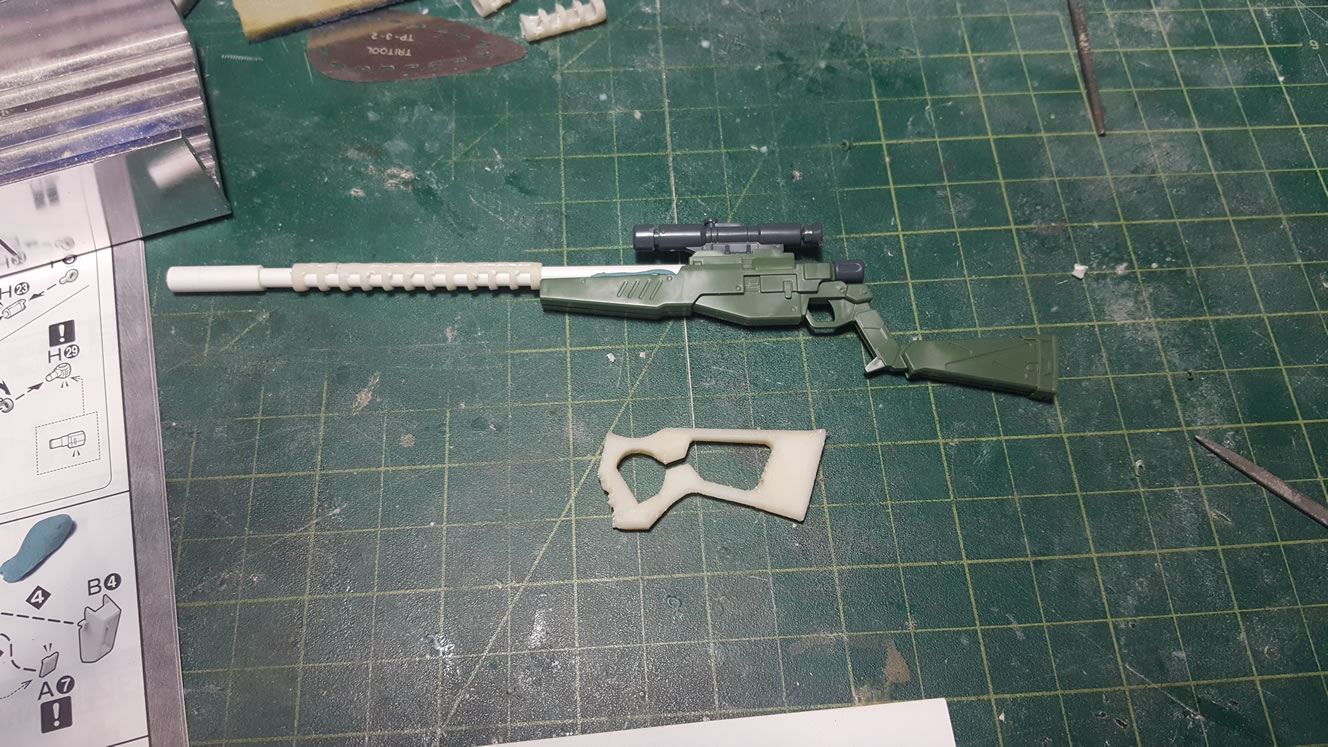
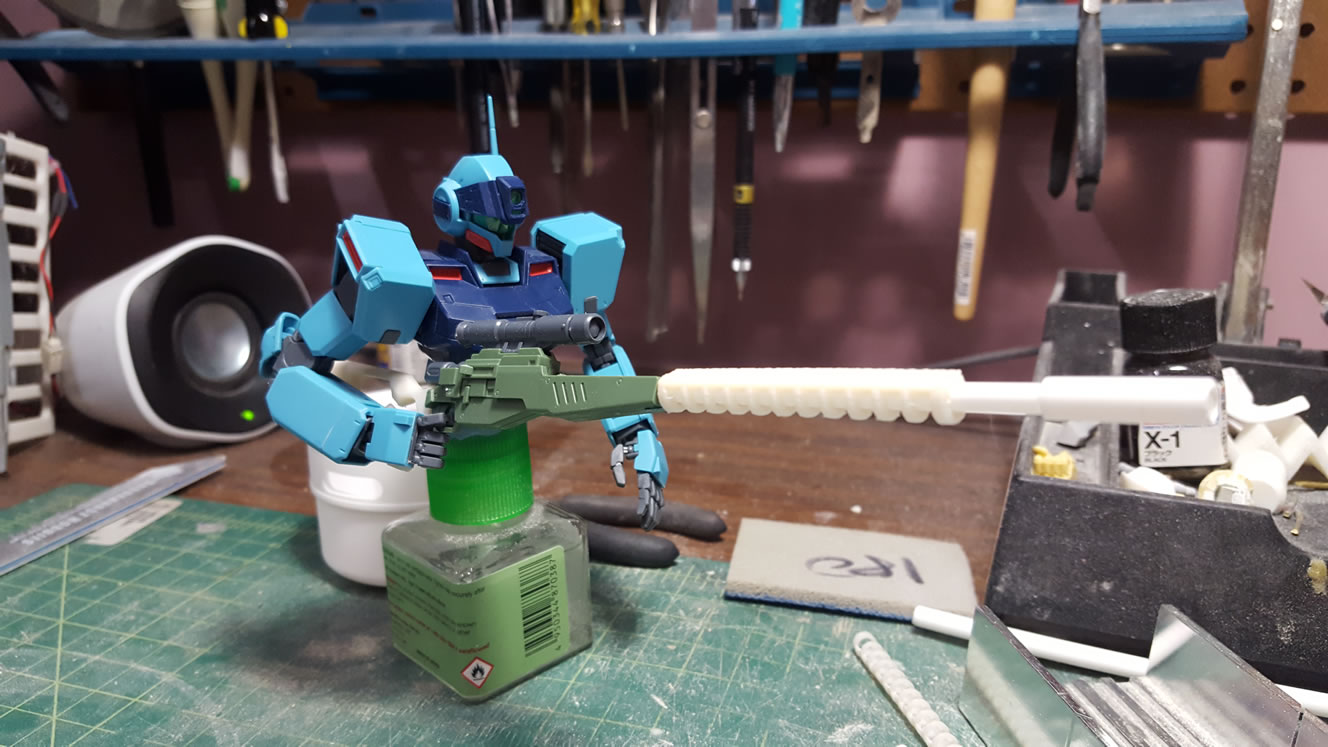
The kit arrived and I couldn’t wait to test out the printed parts. The fit was pretty decent. I’m actually quite surprised. But it is still a rough mock up. I just wanted to get a quick look and feel for the rifle. I think this is a marked improvement over the original design. I was never a fan of that oddly bent rifle stock for the original weapon. After looking at the mockup for a while, I felt that the barrel was a little too small. So I edited the blender file and printed a new barrel. The print was only slightly larger, but I think visually, the bigger barrel looks better.
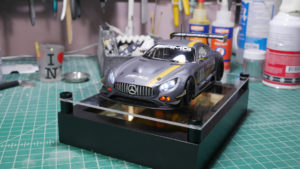
On to cutting, sanding, and snapping. In the past, I’ve just cut and snapped the kit together and worried about sanding when I took the kit apart for mods or cleanup. In recent kits, I’ve discovered that I missed some clean up areas. So this time around, I sanded as I cut and snapped. The progress is slow as my weekend was busy with a panel at Anime LA Friday night. It went as well as we expected too:

But did much better than we expected and the first Spruefest event at Brookhurst Hobbies this past Saturday. ThoseGundamGuys descended on the event and ended up taking home about 10 awards in total. Freddy, Nate, and I took 2 awards a piece with Nate taking Best of Sci-fi, and Dan took 4 awards. We met a few other gunpla builders and spread some word about our group and SCGMC, so hopefully we’ll see some more new faces soon.

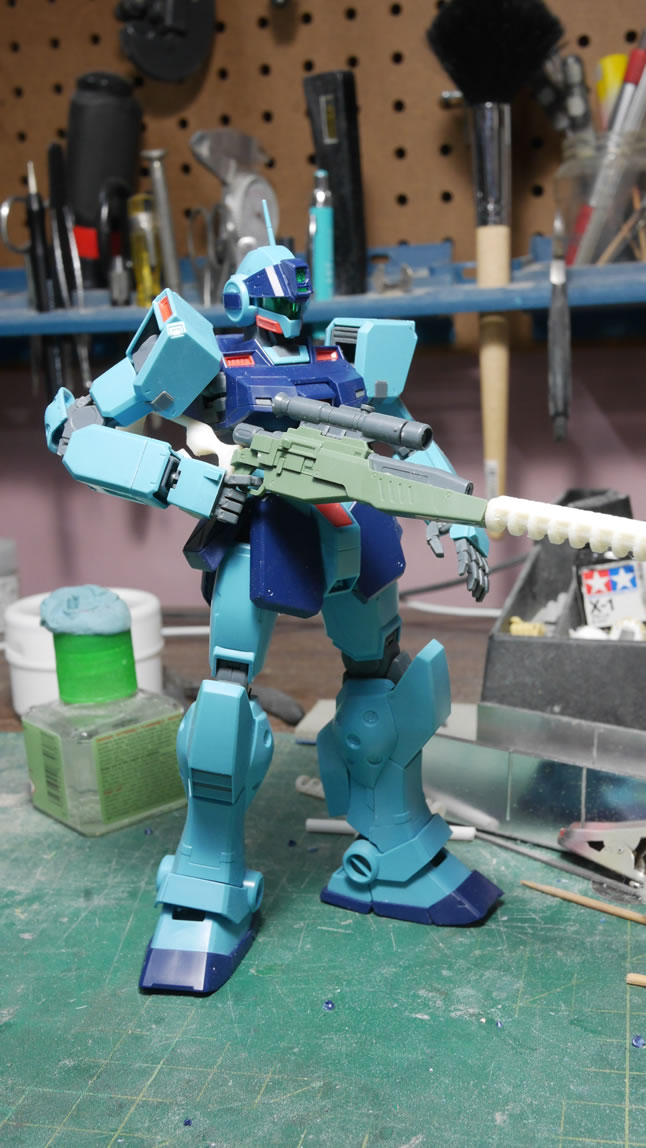
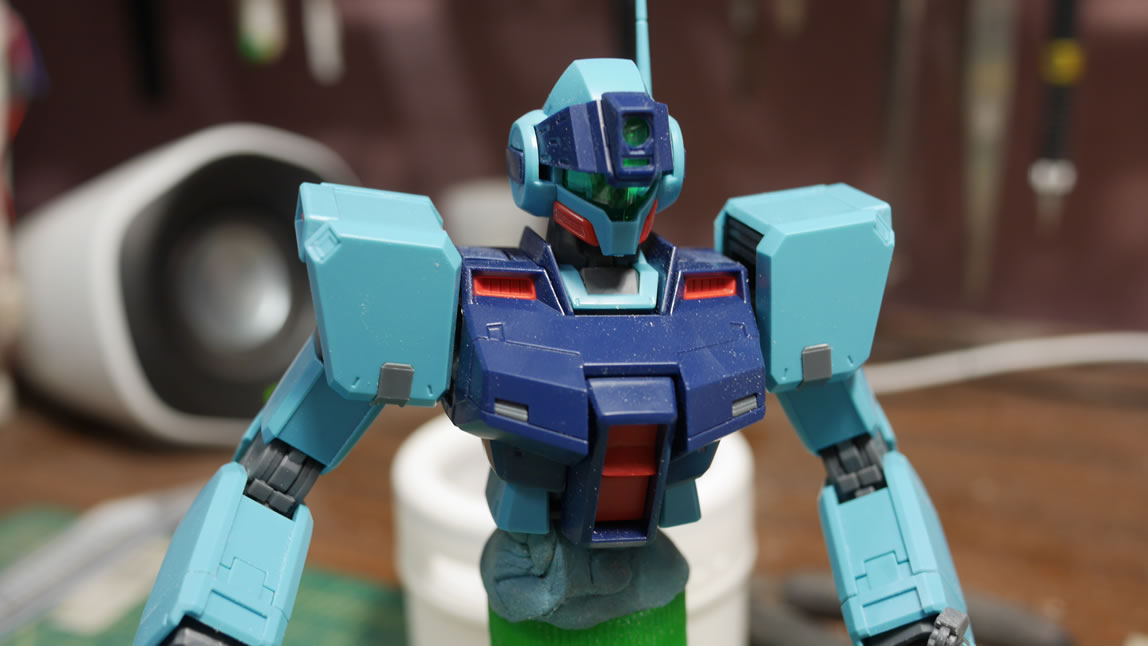
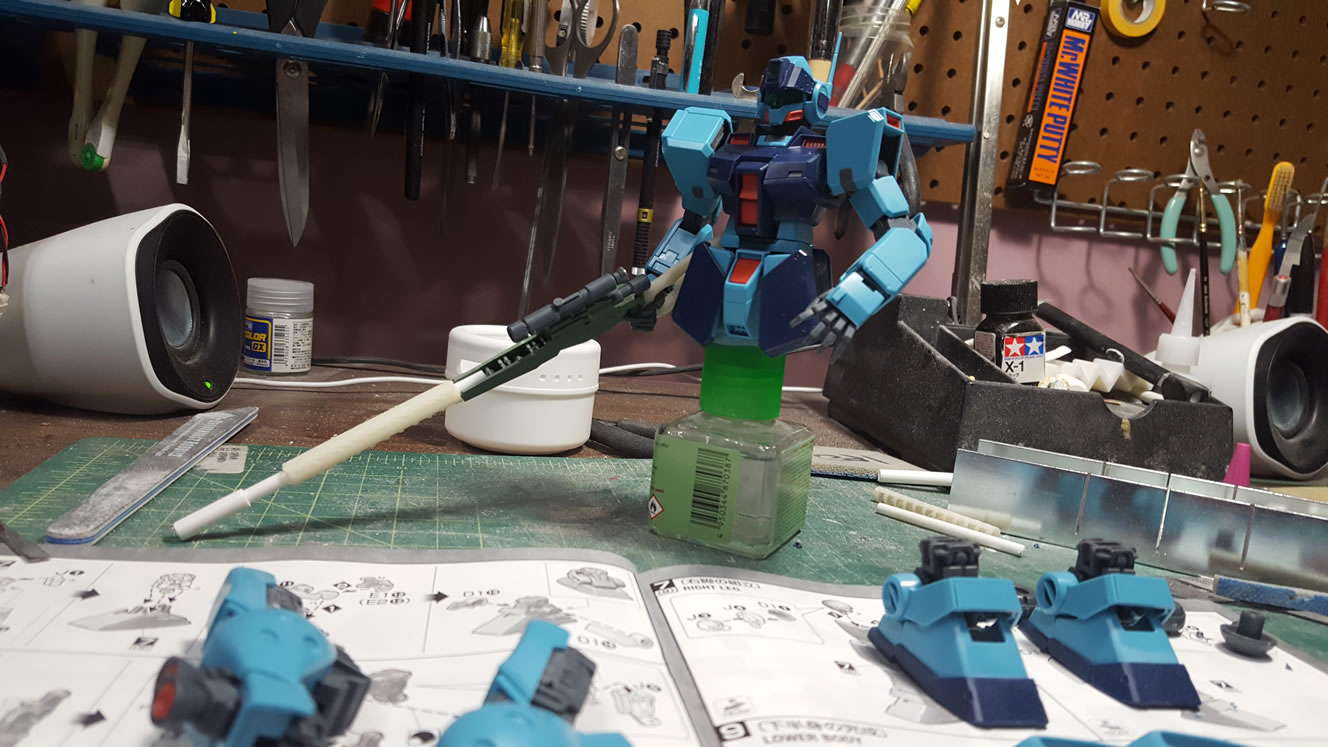
But back to the project. Cut, sand, snap, and repeat. I find that getting the entire kit together gives me a better opportunity to visualize some of the mod ideas bouncing around in my head. It also gives me the chance to take some before the mods type of pictures.
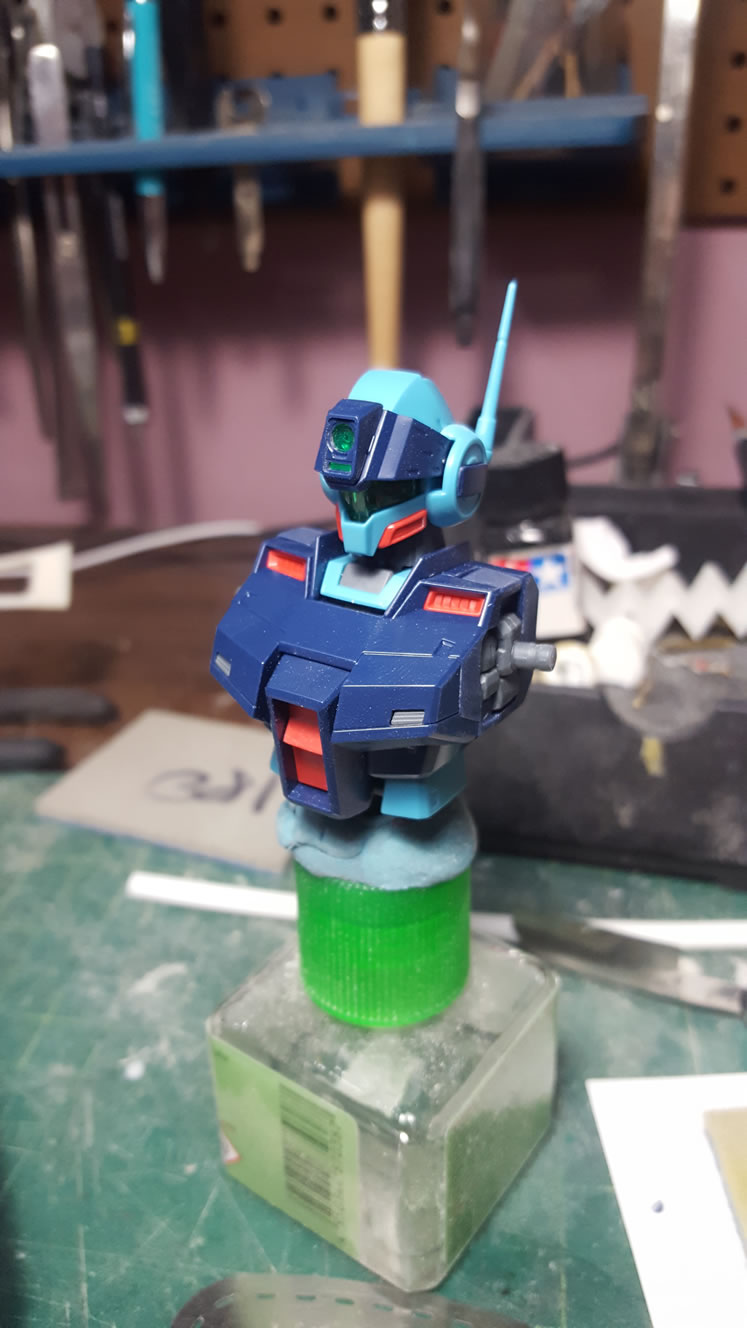
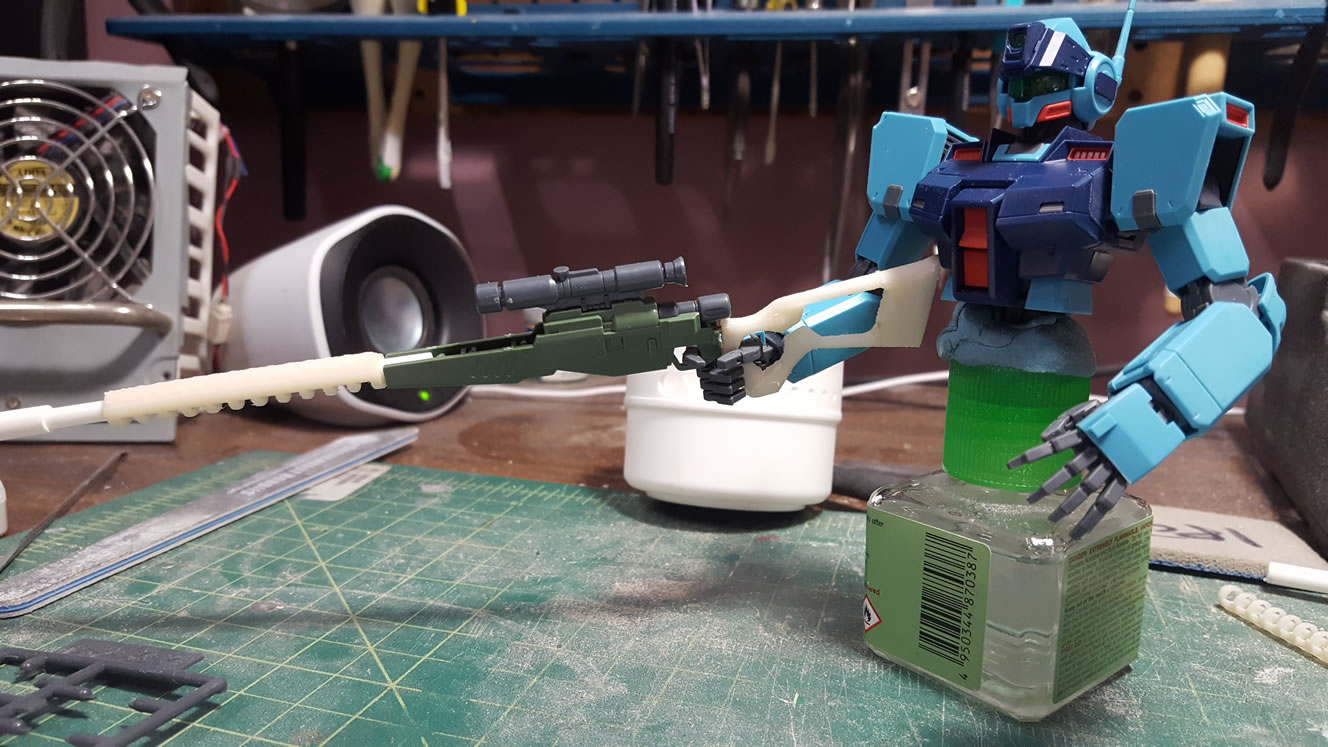
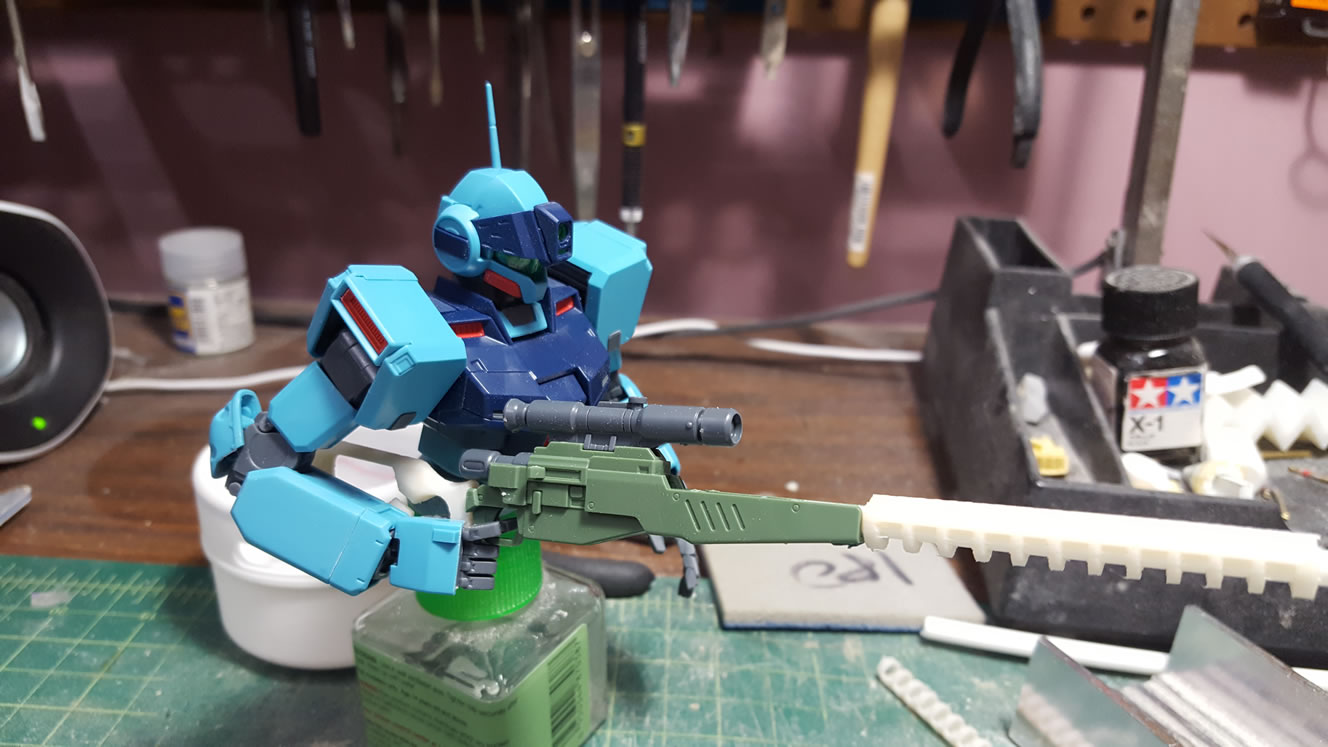
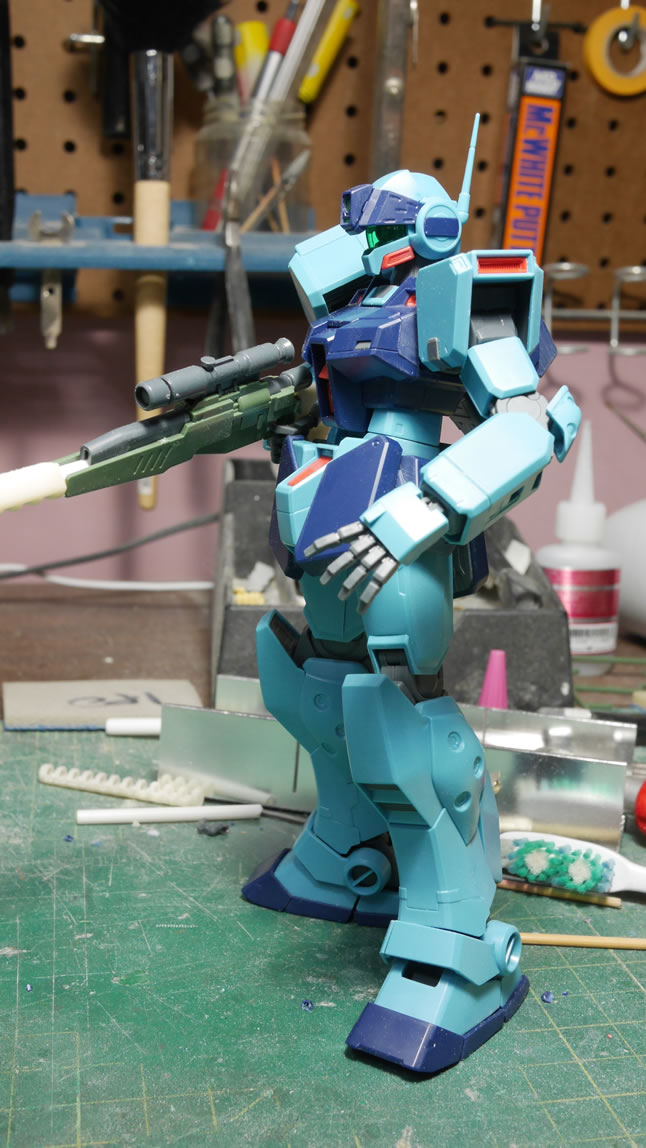
Granted, I’ve already jumped the gun so to speak and started cutting up the stock rifle. But that damn thing is so ugly that it seriously needed that attention so that I could focus on the important parts, the actual kit. Once I got the arm and hands assembled, I could mate the rifle and the arm together to see how much more I will need to modify. To my surprise, I only had very little to modify. The hands have a plastic slot that slides into the stock rifle’s grip. Since the new grip doesn’t have this slot, that needed to be removed. The printed grip was slightly bigger, so I sanded down the insides for the hand to get a good fit. And that’s all the modification to the hands I needed. Not too shabby. The new stock doesn’t look too big or too small, and everything fits perfectly. A few different poses and it all still work as designed. I’ve posted the progress so far on a few FB pages as well as reddit and got some inquiries for selling these mod parts for folks that also don’t care for the standard GM Sniper 2’s rifle. I will need to finish the mods and clean up these parts before I can make a mold and make casts. If folks are interested, that pretty damn cool too.
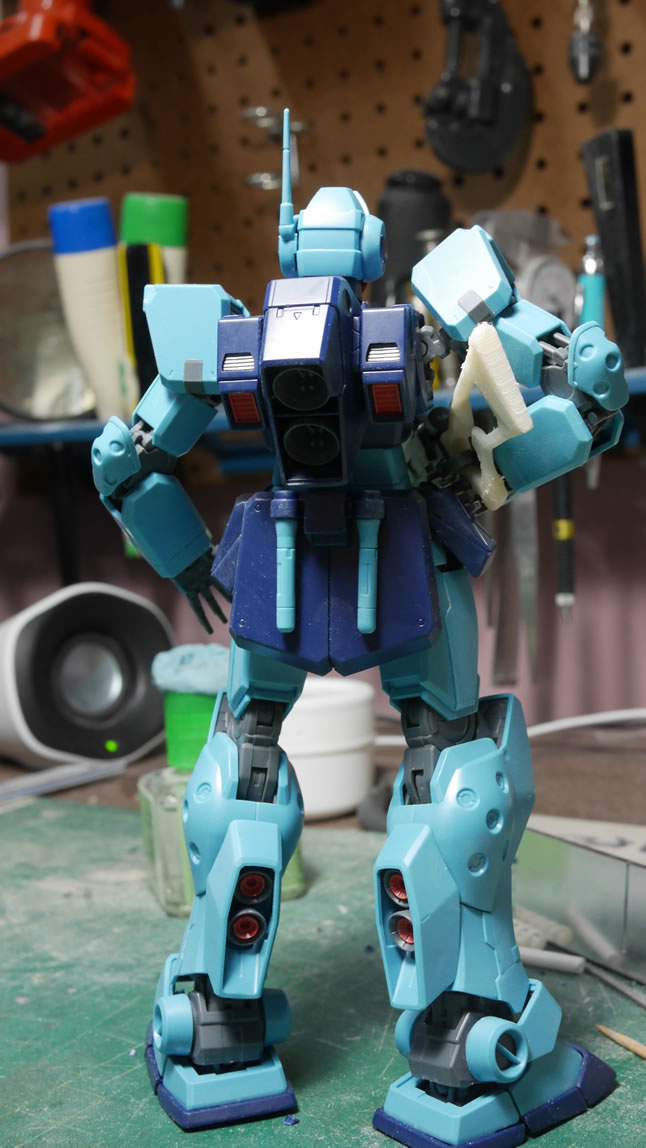
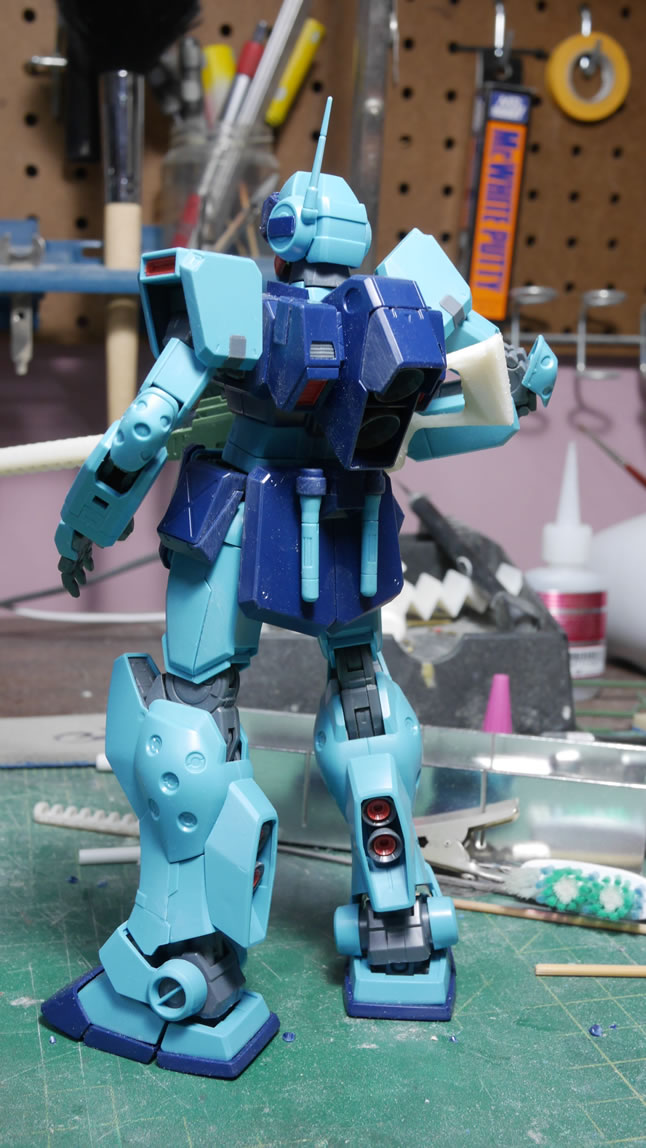
Last night saw the last bit of work for cutting, sanding and snapping. The legs and the backpack pieces came together.
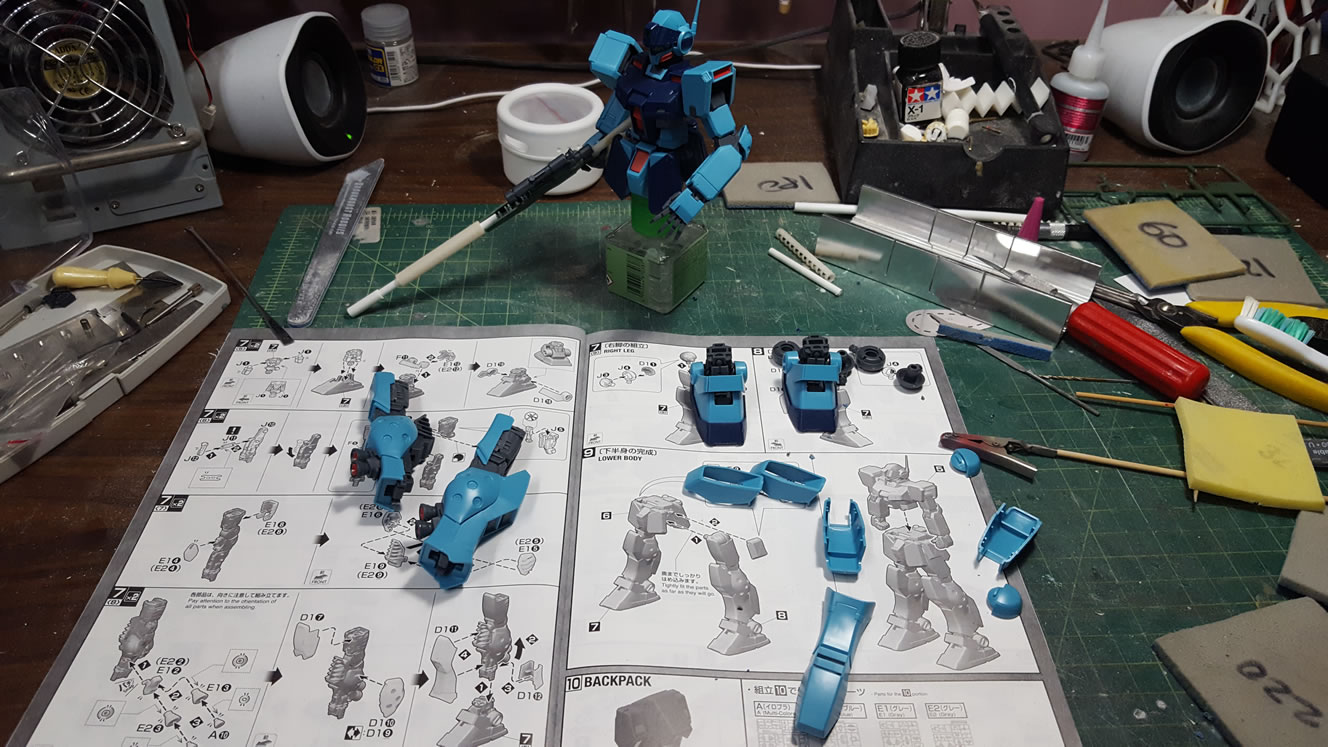
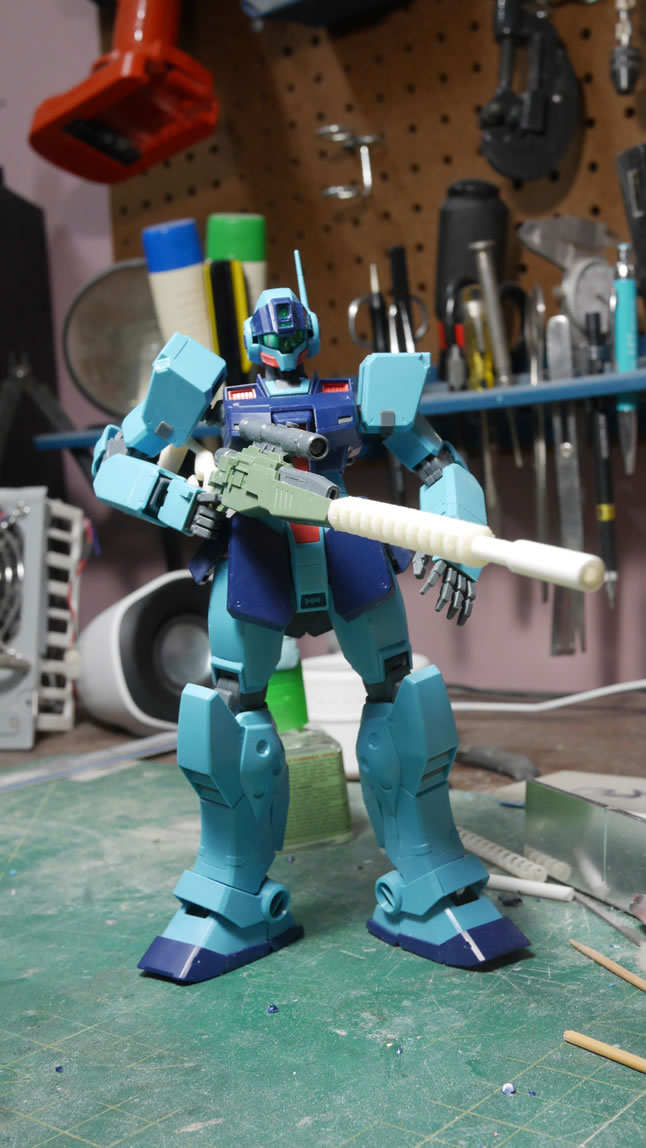
Now that I have my completely snapped kit and take the “before” pictures. The real mess can surface.
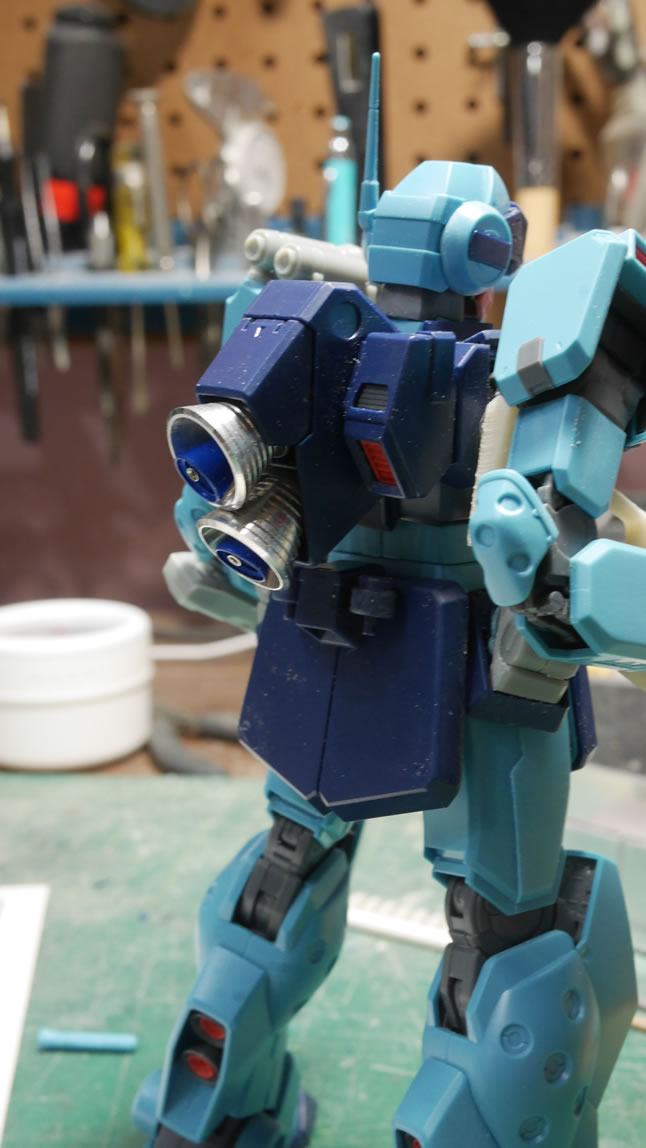
The first small mod is to beef up the backpack thrusters. I have some metal thrusters so I started playing around with a few different configuration options. The below pictures are still in the middle of that decision tree through bubble. But the rough idea is there.
Next up, I took some parts from a GM Spartan conversion kit and started to add those to the left shoulder, the waist armor, and the left arm. There will be some further refinement, but this is a pretty good starting point for slapping on things to the rather plain looking sniper.
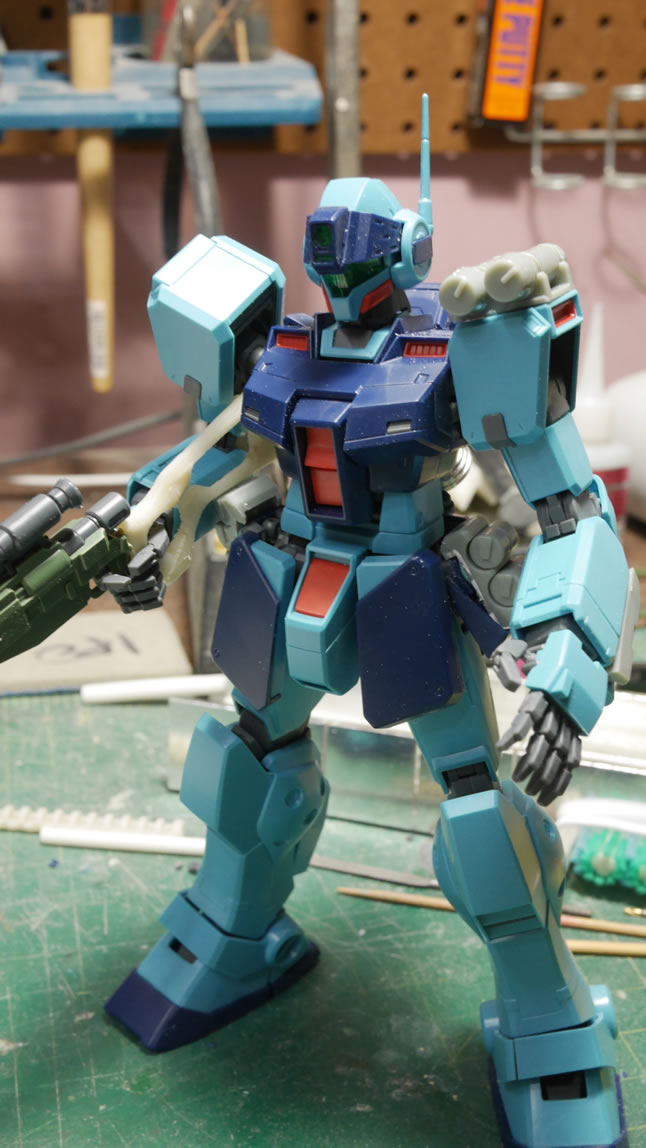

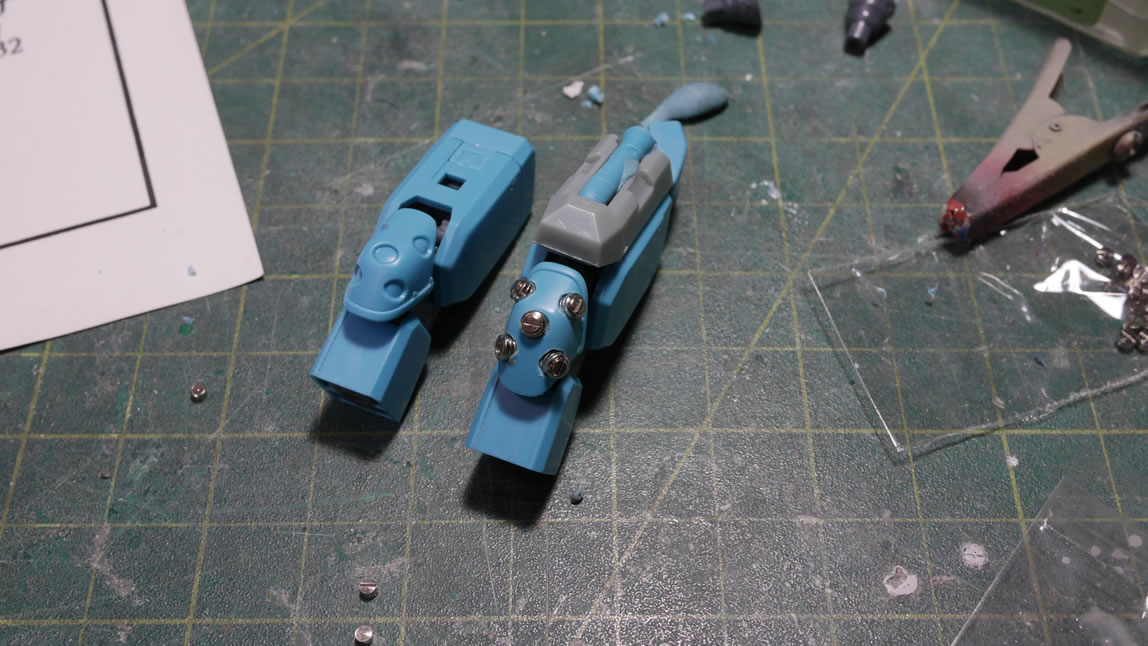
Next up are some metal details for the leg parts. There is some detail in the stock plastic, but I want something that stands out a little more, so I have these 3mm 2 part detail bits. I will be doing the outer calves with these metal accents.
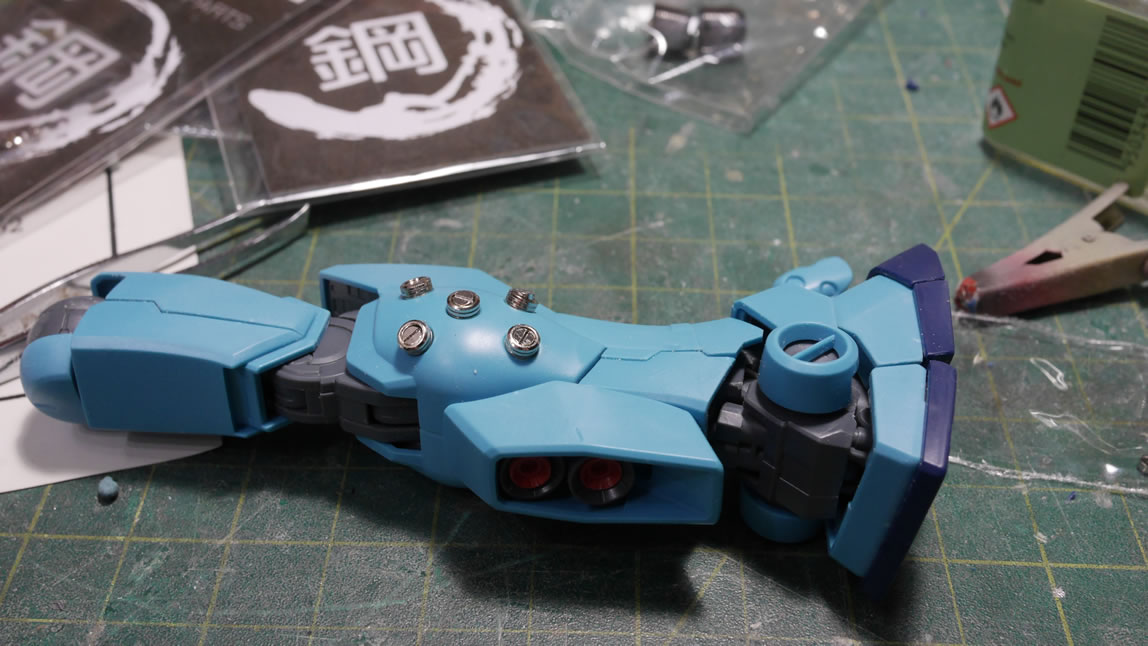
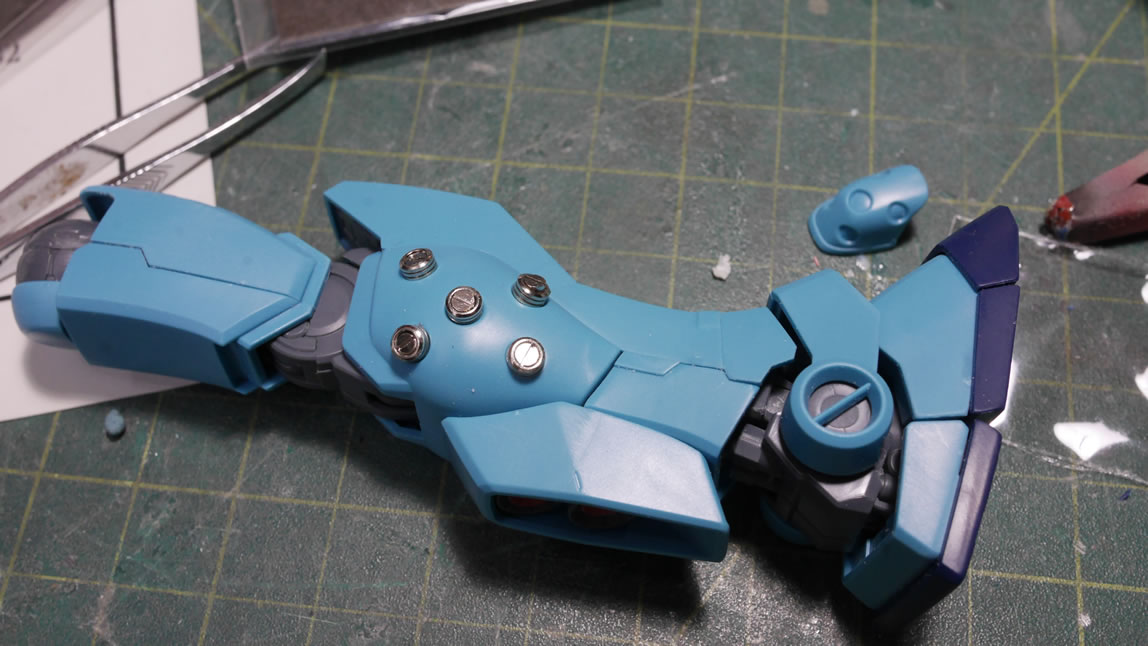
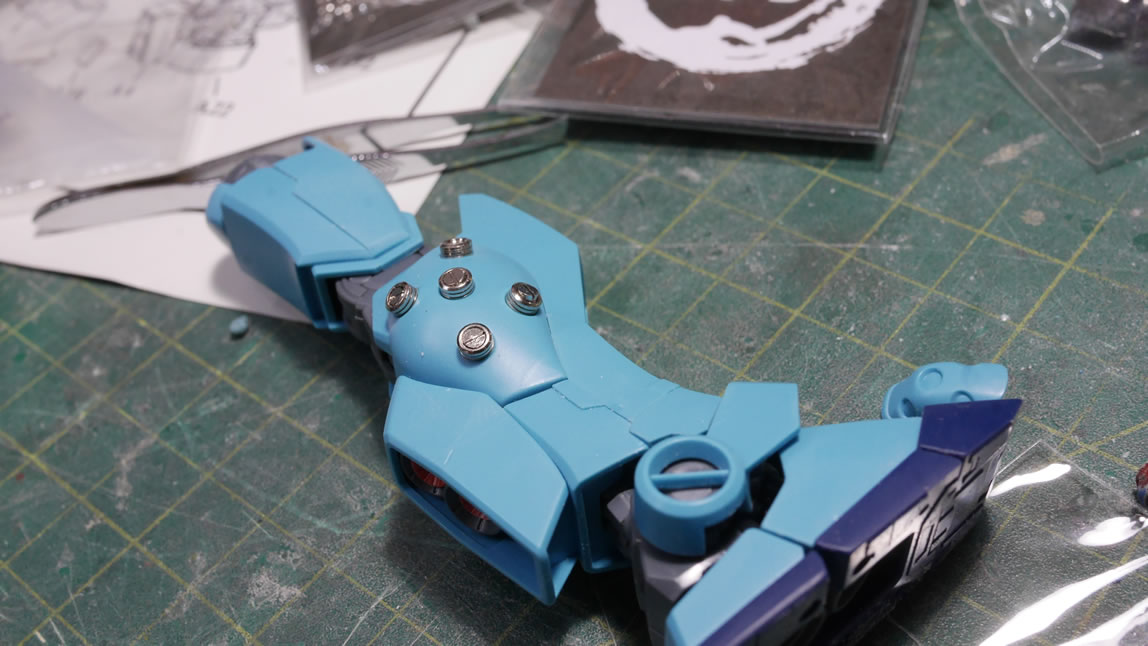
I used a smaller 1.5mm 2 part metal accent piece for the elbow cover part. I drilled into the elbow parts a bitso that I can inset these metal pieces slightly.
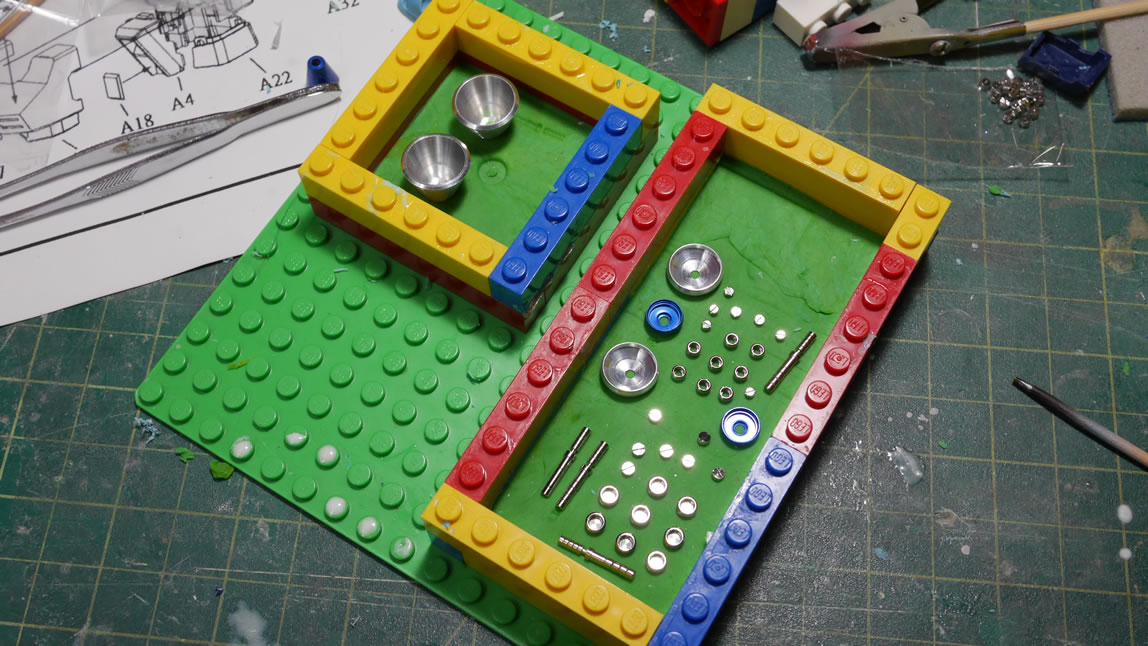
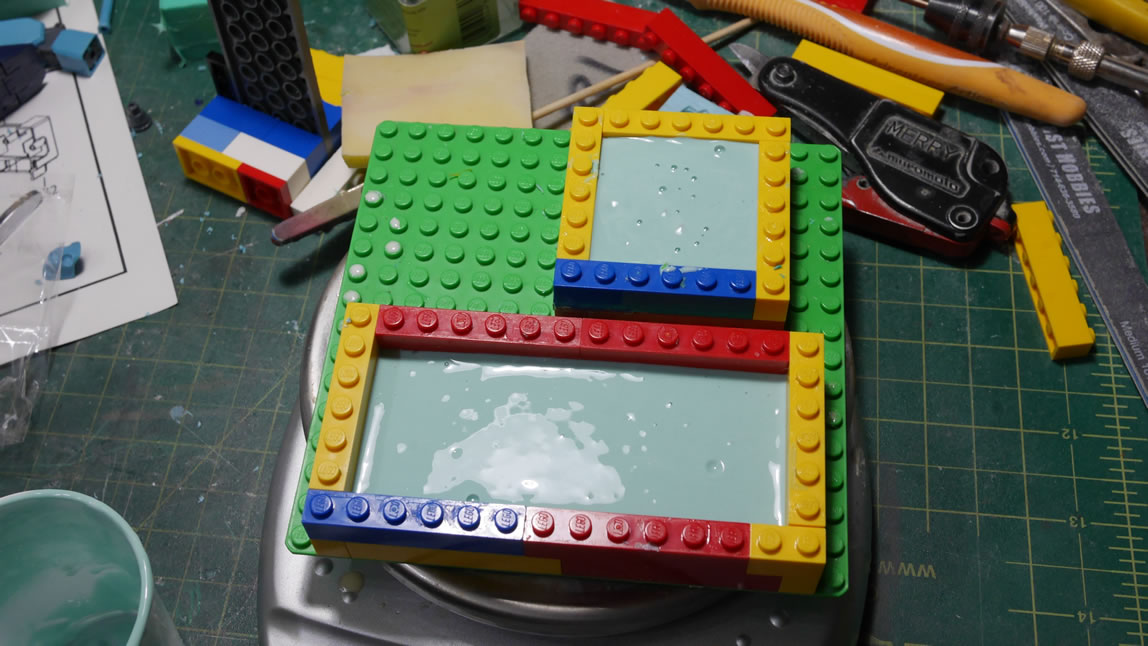
Since I have a limited supply for the metal accent pieces, I don’t need to actually use them since I can make a mold and have resin copies made. The resin copies will be lighter and easier to paint. I’m also making copies of the backpack thruster pieces now that I settled on a specific thruster configuration. Here’s the first step in the molding process; making the first of a 2 part mold. A box build with legos, some play dough as a base layer, the parts, then pour in the mixed silicone and throw the entire assembly into the pressure pot to cure.
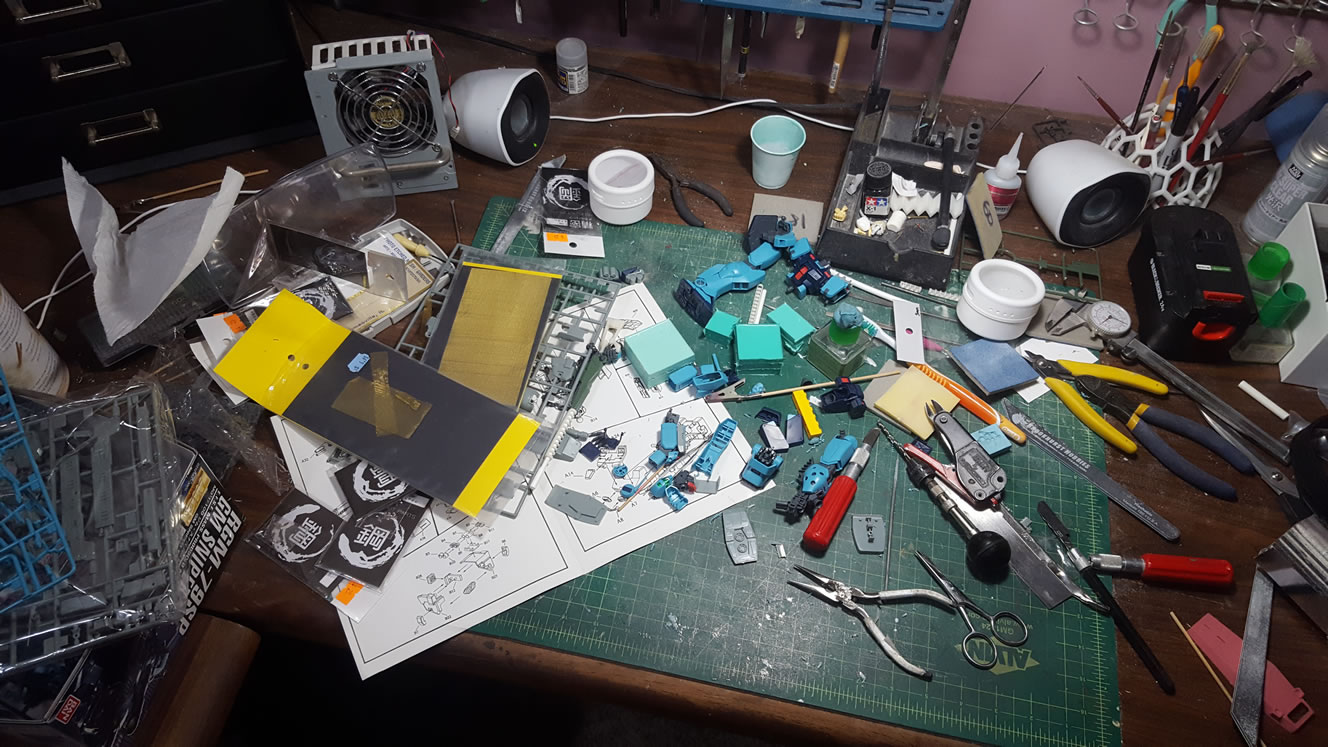
As usual, the nice and clean workbench becomes a complete disaster area during the modification phase. This is where all the real work starts happening. Motivation is still pretty high, and there are still so many ideas that need to make their way onto the bare Bandai plastic.