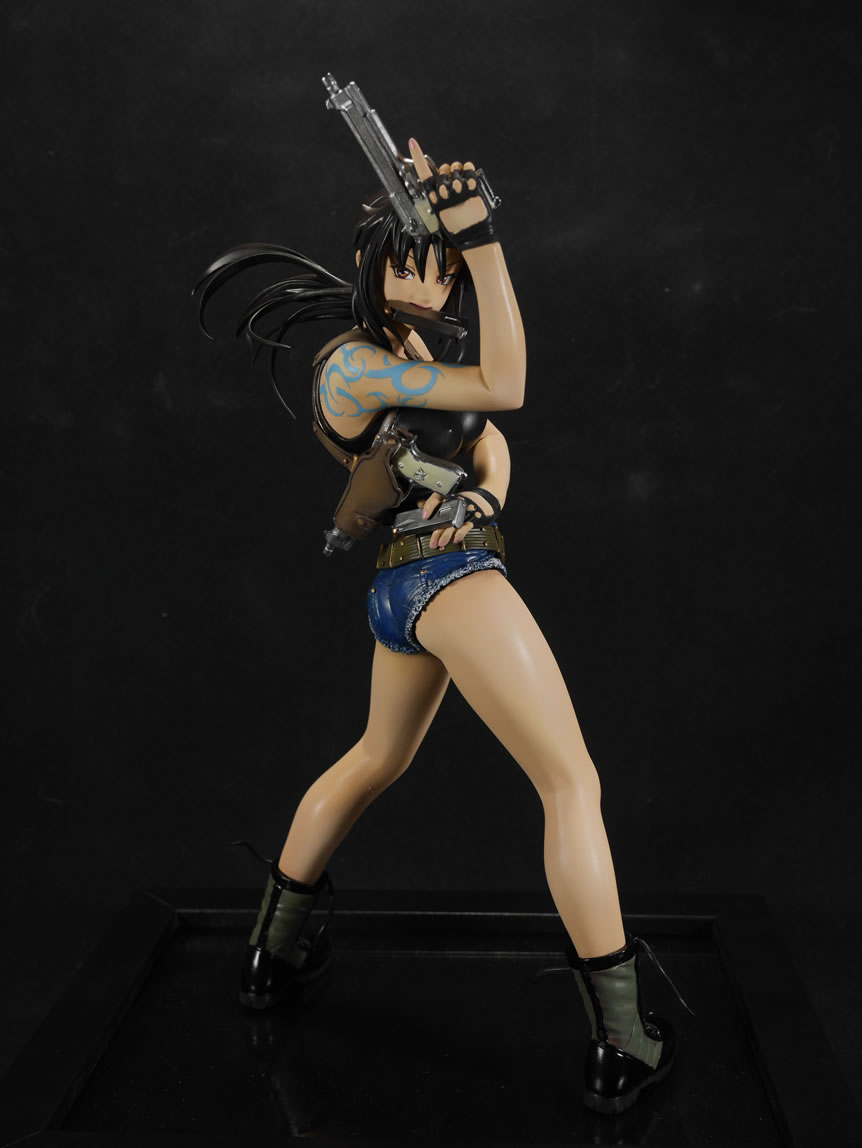
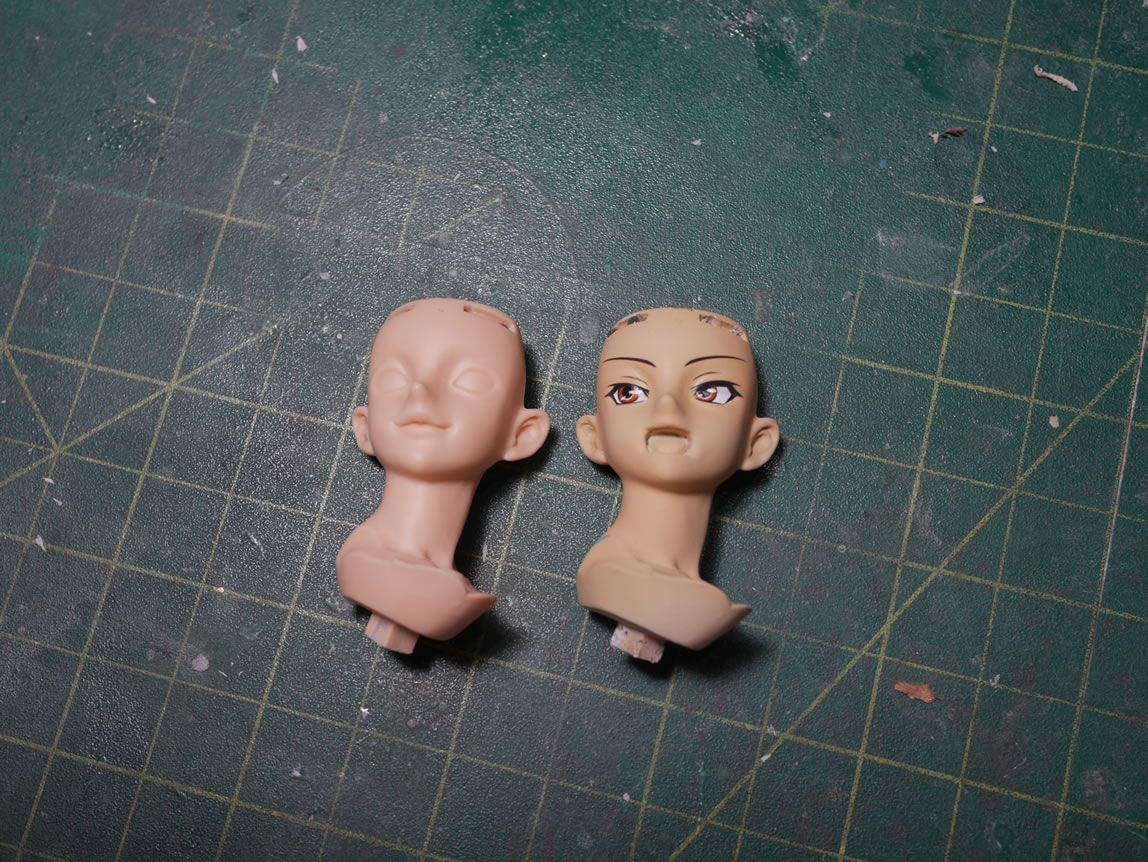
I made a post with progress on the kit up through last Friday. Work has continued over the weekend but to keep from flooding the site with small updates that don’t really make much sense without context, I continued to work and take progress pictures and ended up finishing the damn thing last night. Here’s the final build progression and at the bottom, the full gallery of completed pictures. Since this kit came with colored resin, I figured I’d pull a picture from the first progress post and show what this looks like compared to the painted kit.
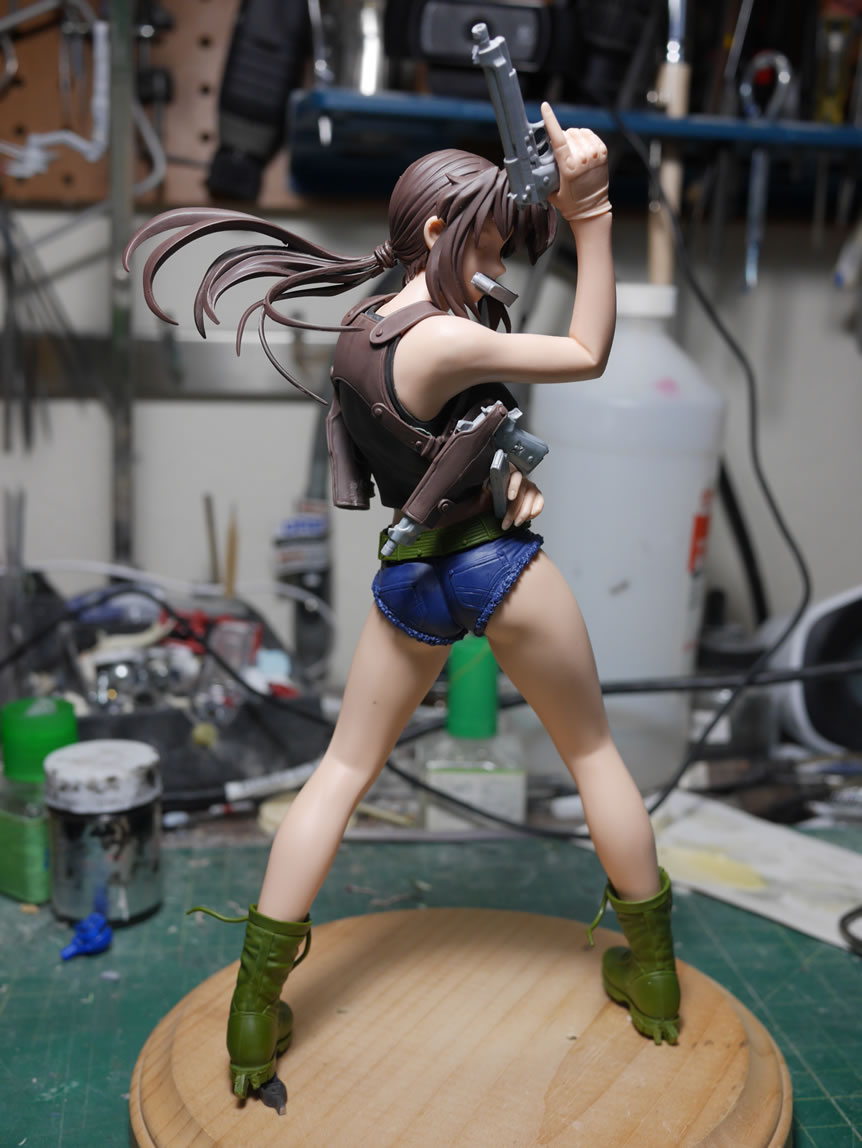
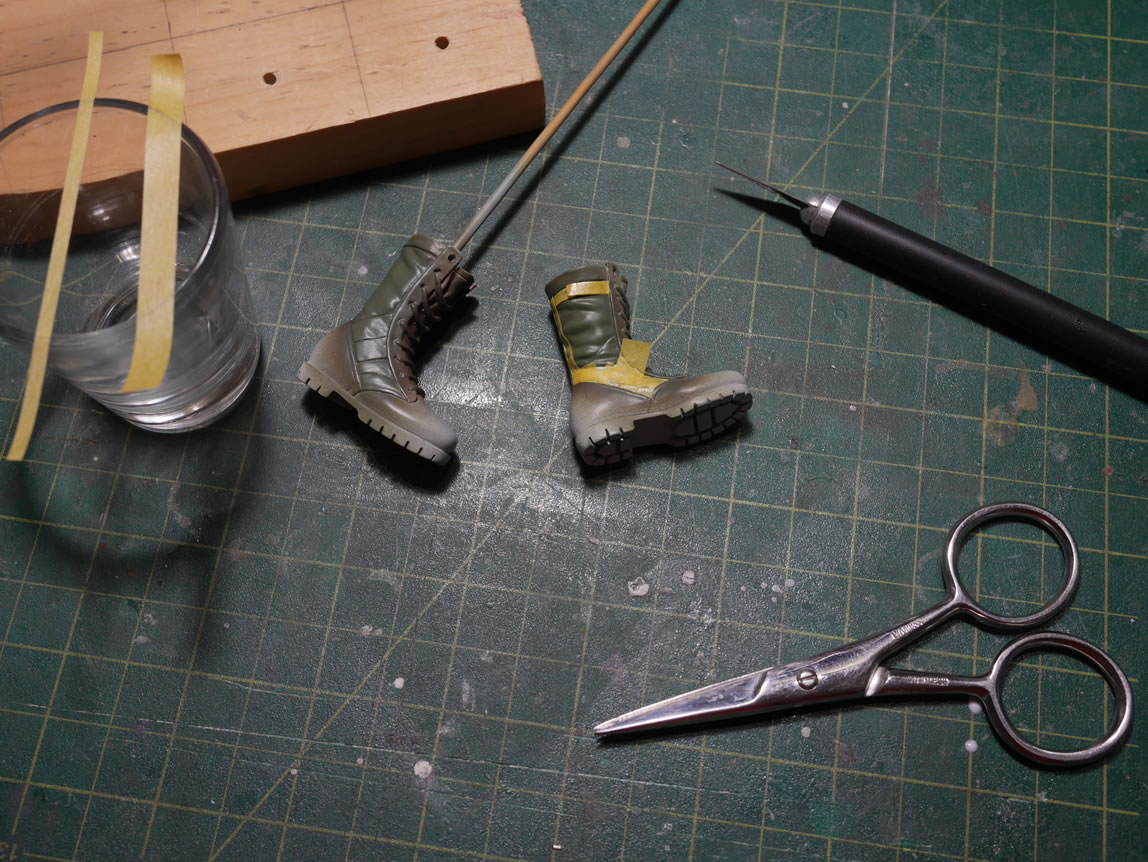
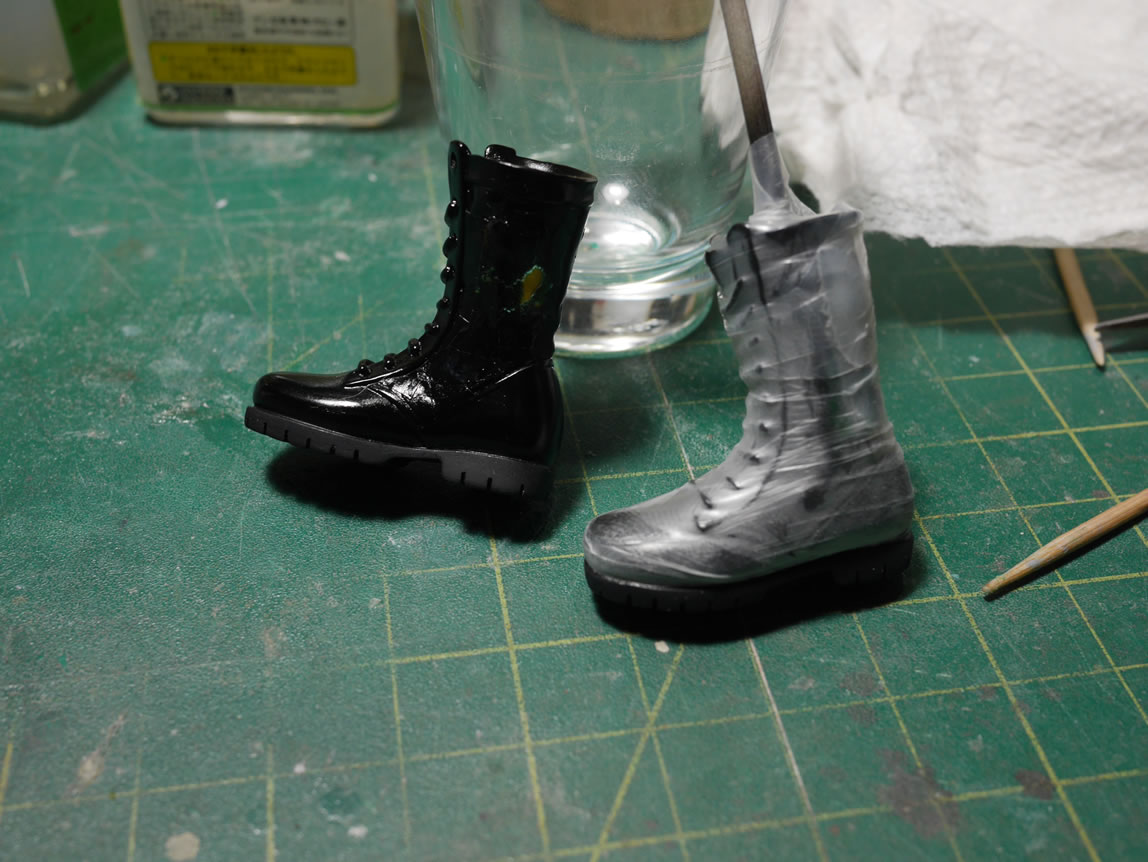
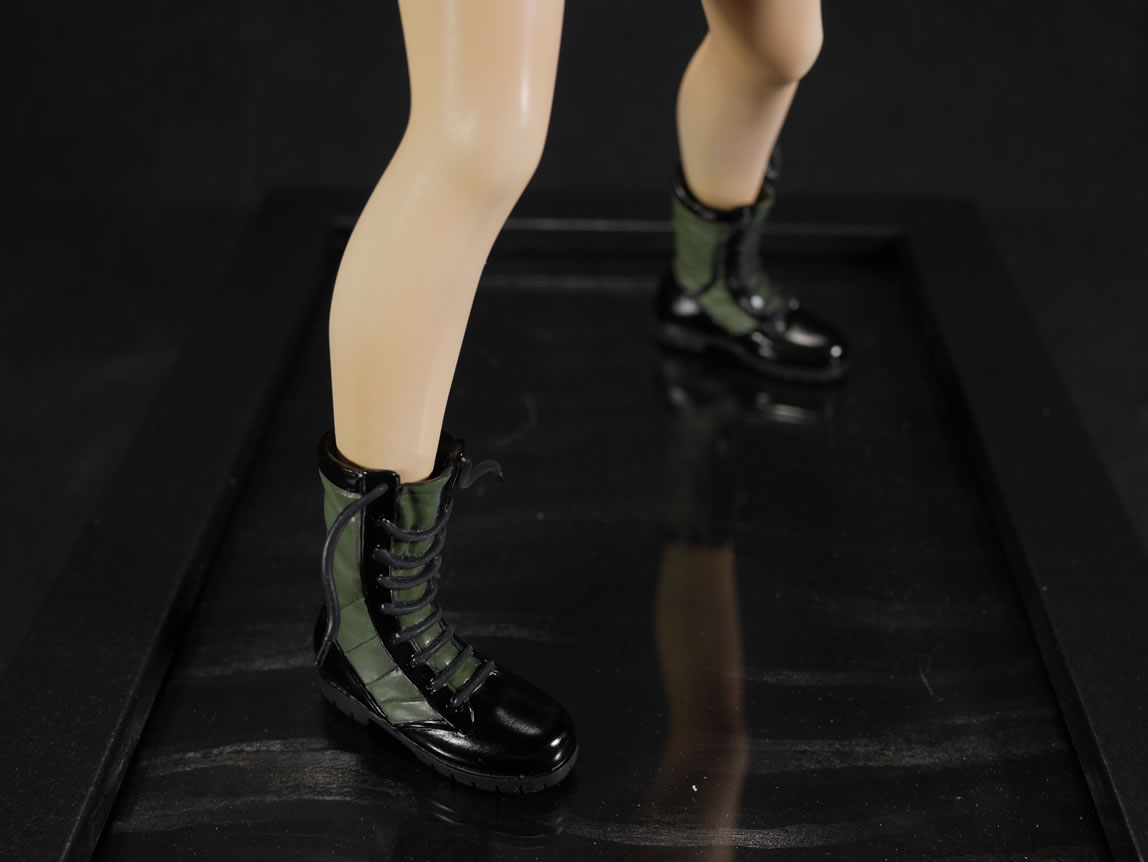
I last left off; I had gotten some parts shaded. Once cureds I can get to masking the boots. The parts separation is amazing on the kit, but there is a small amount of masking needed. The boot’s canvas sides are masked off then painted with gloss black.
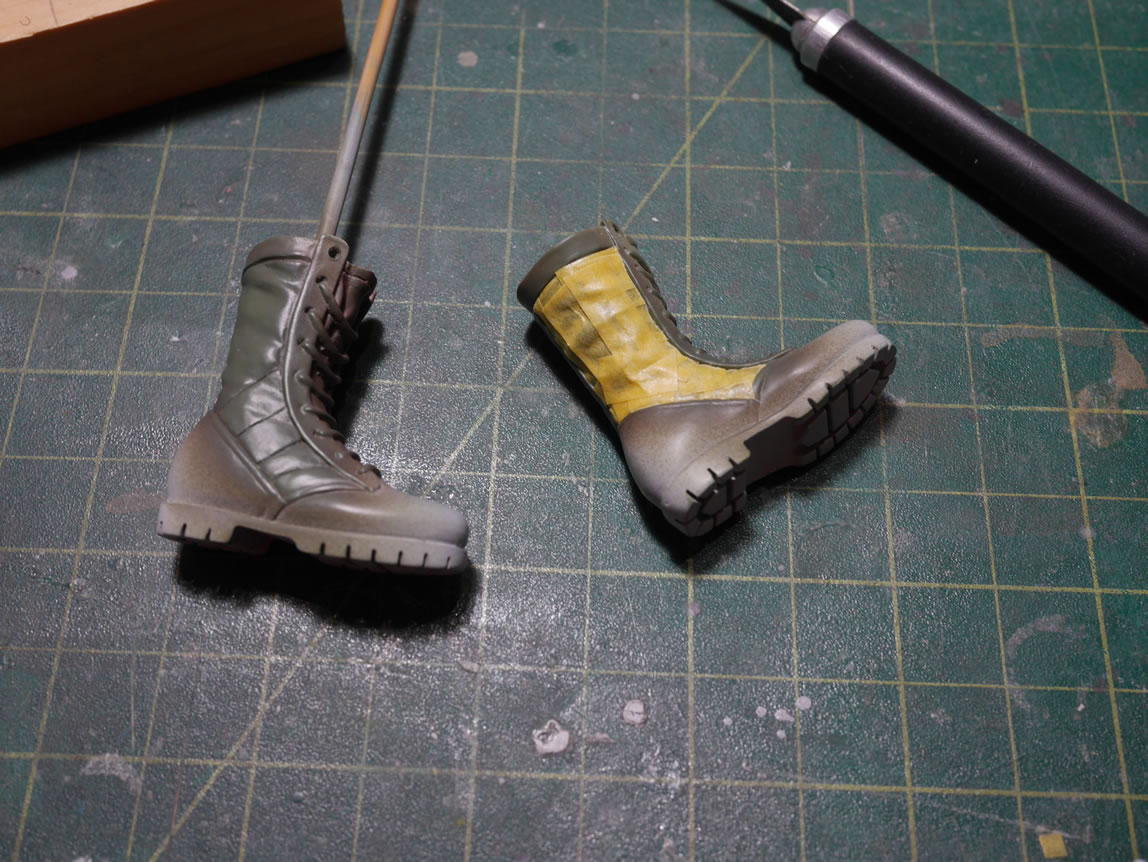
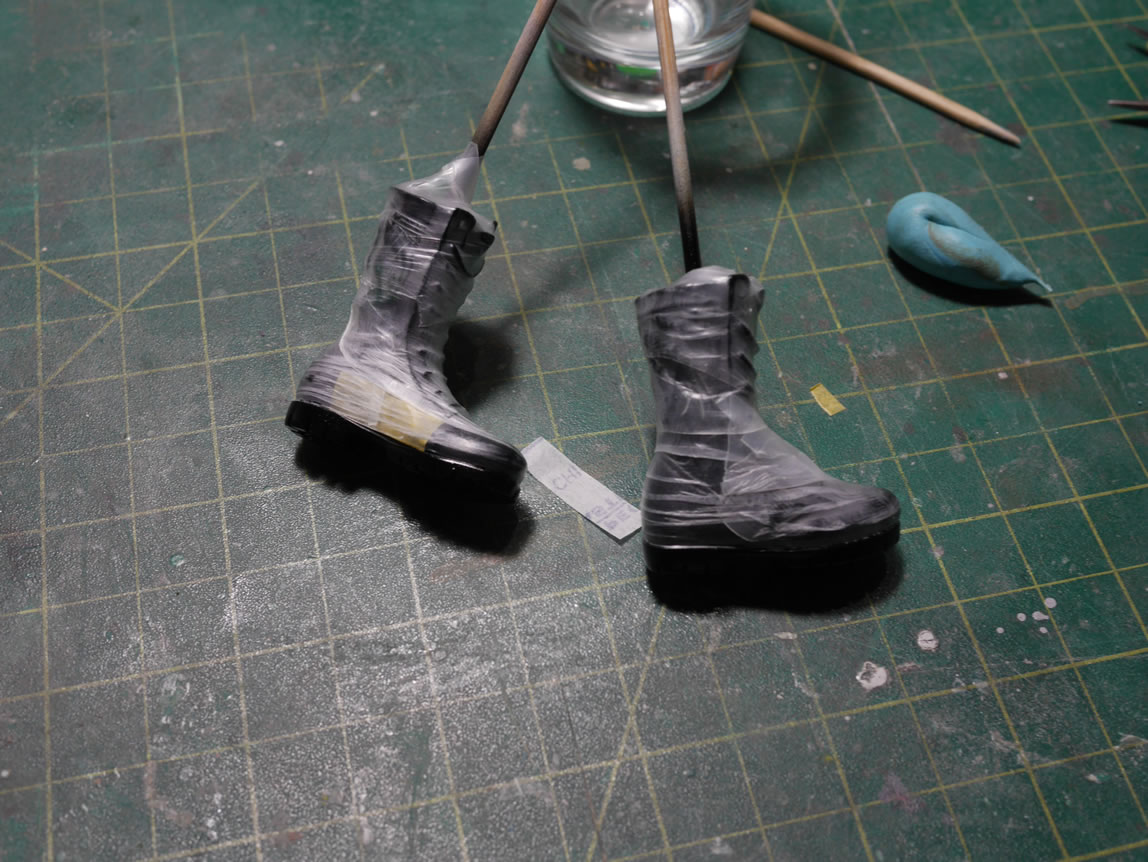
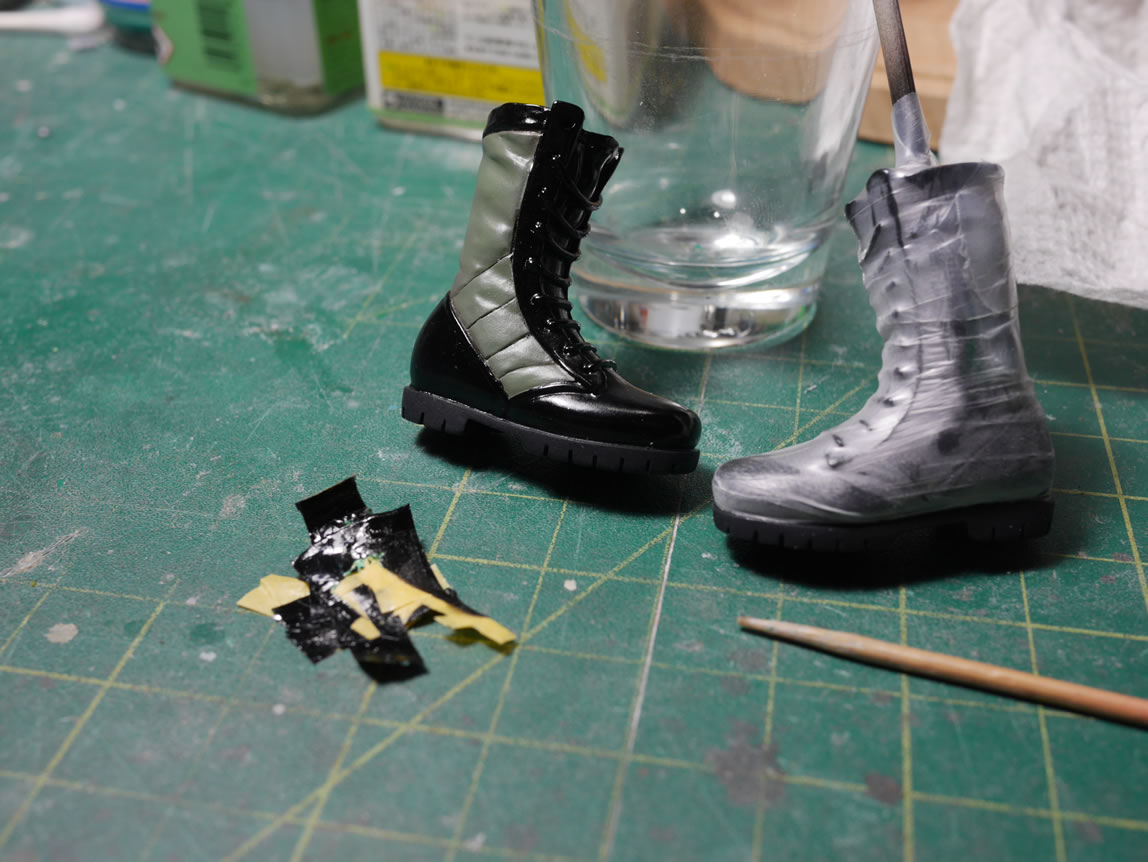
With the black cured, I masked off the top part of the boots so that I can spray a flat coat over the sole to create a rubber look that contrasts with the glossy part of the toes. The tongue part was hand painted. The entire boot was then masked off to flat coat the laces.
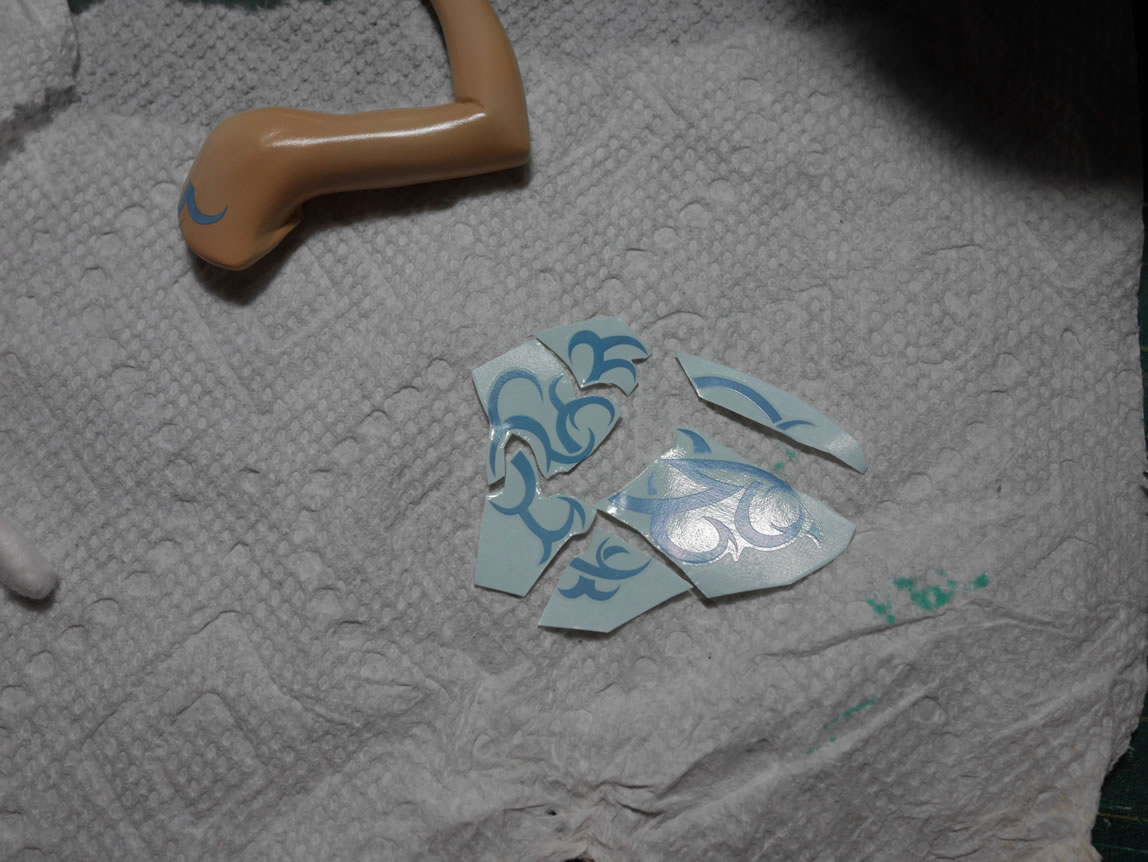
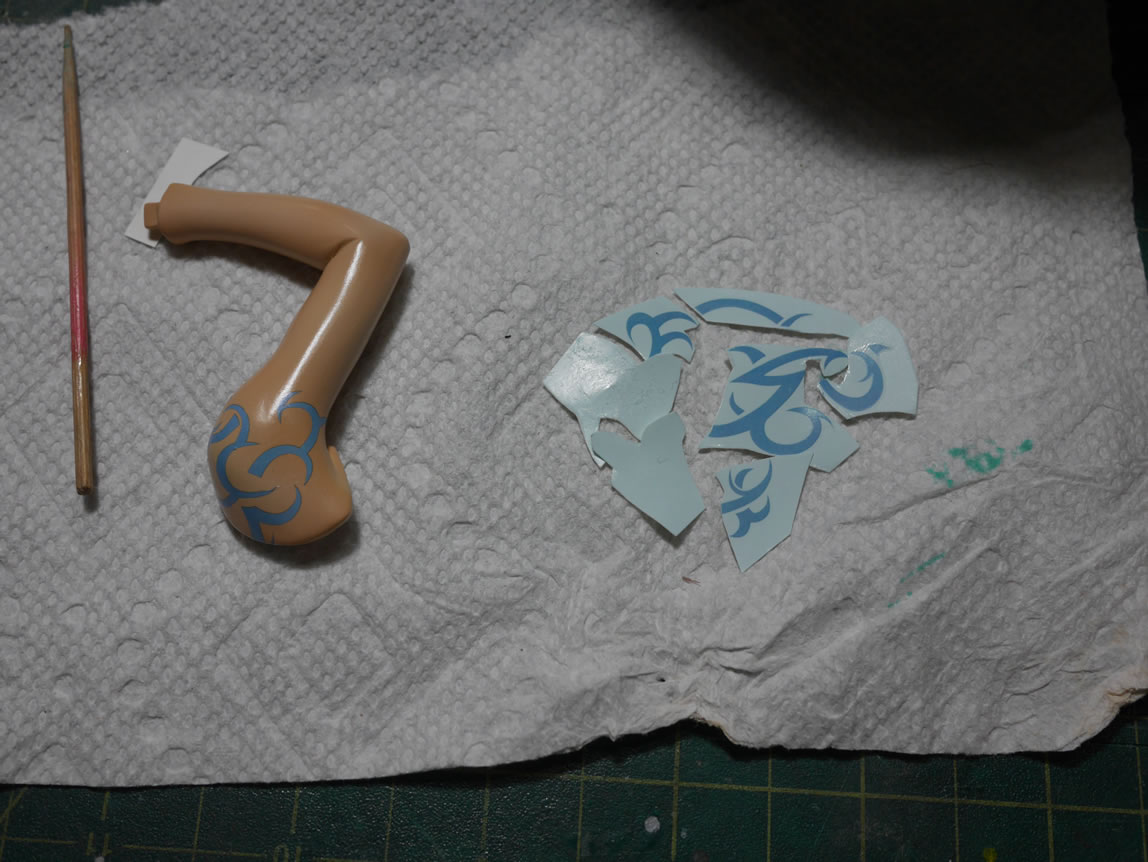
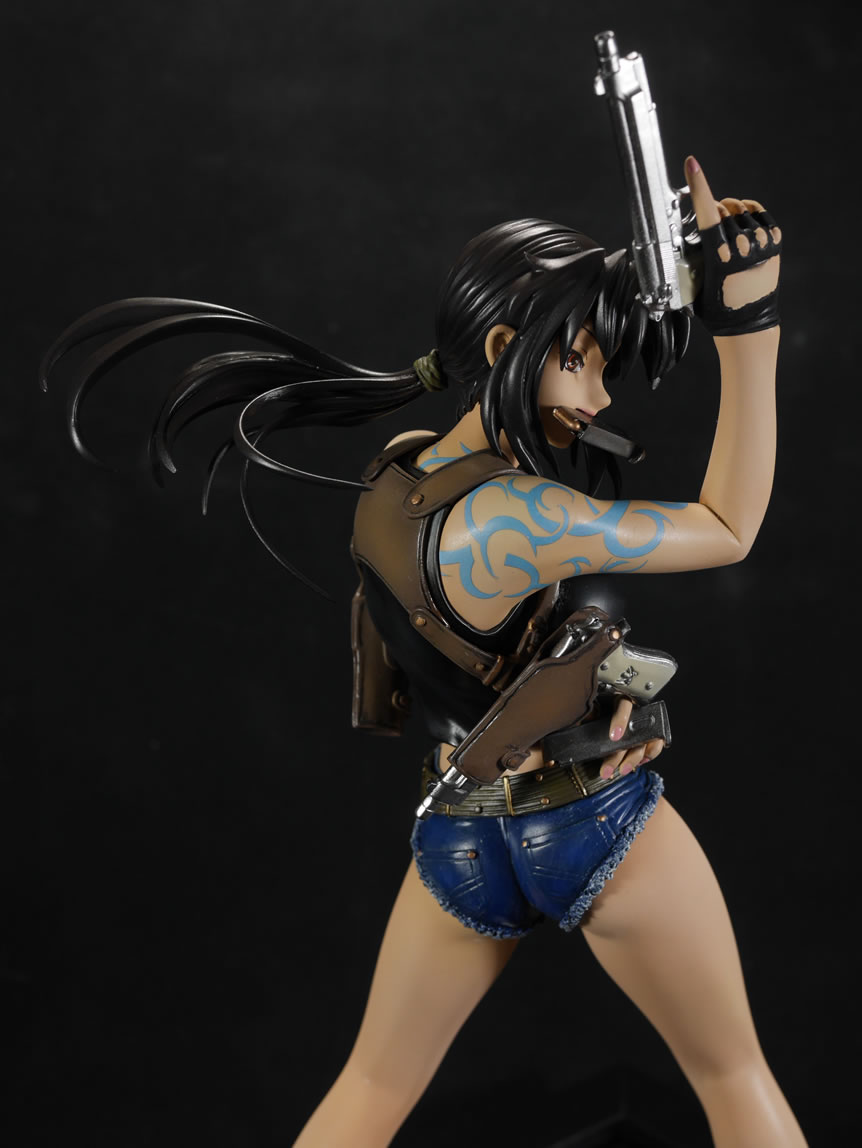
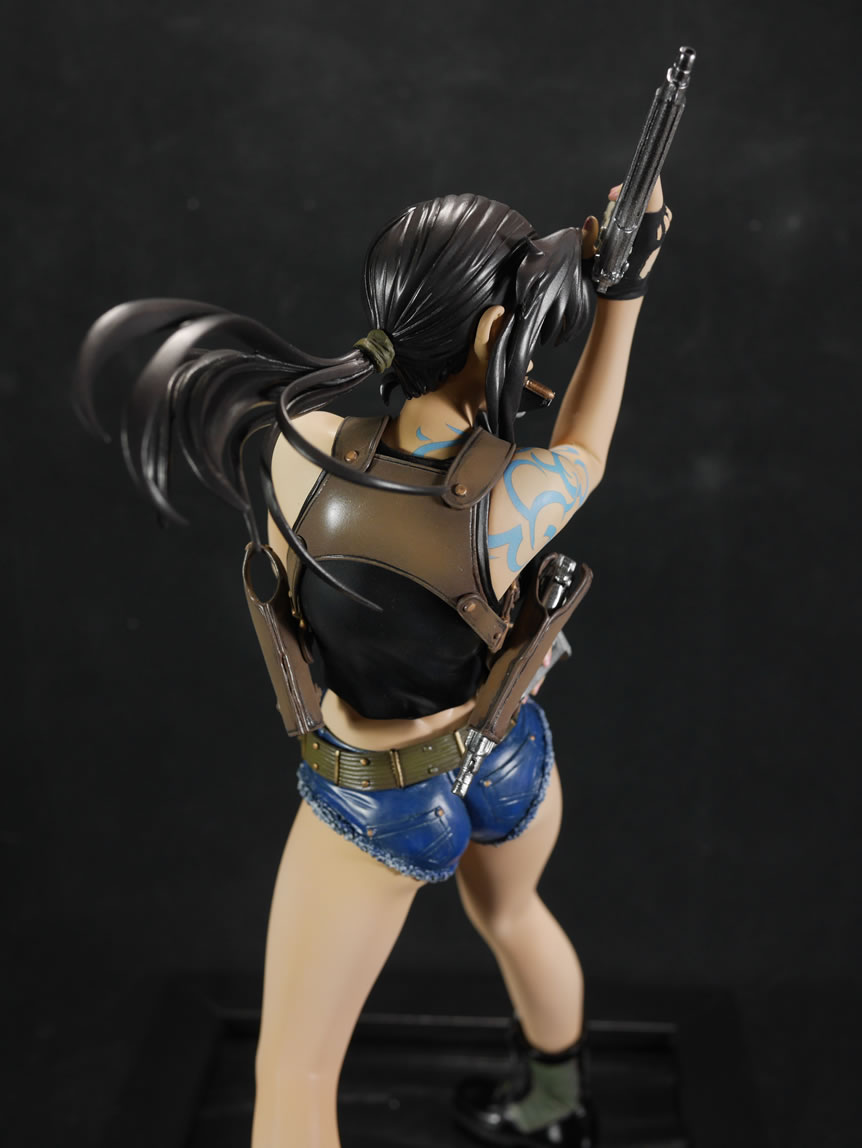
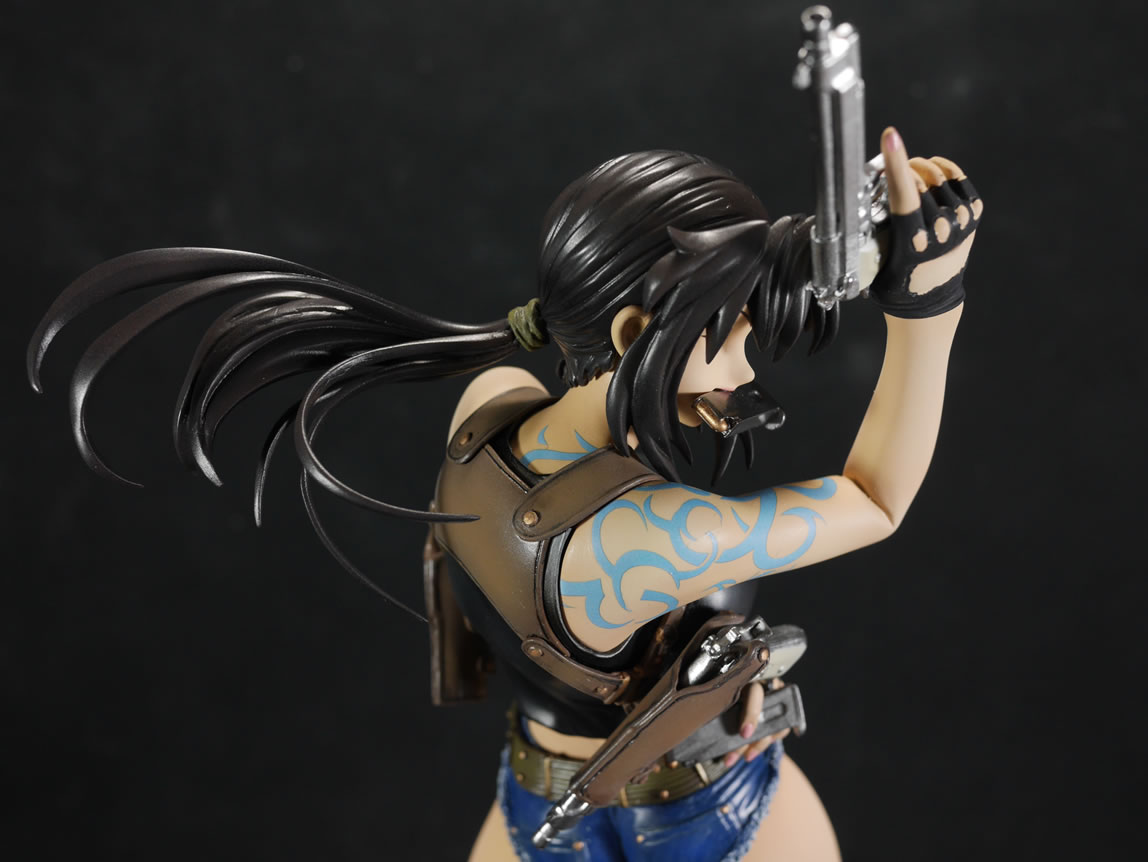
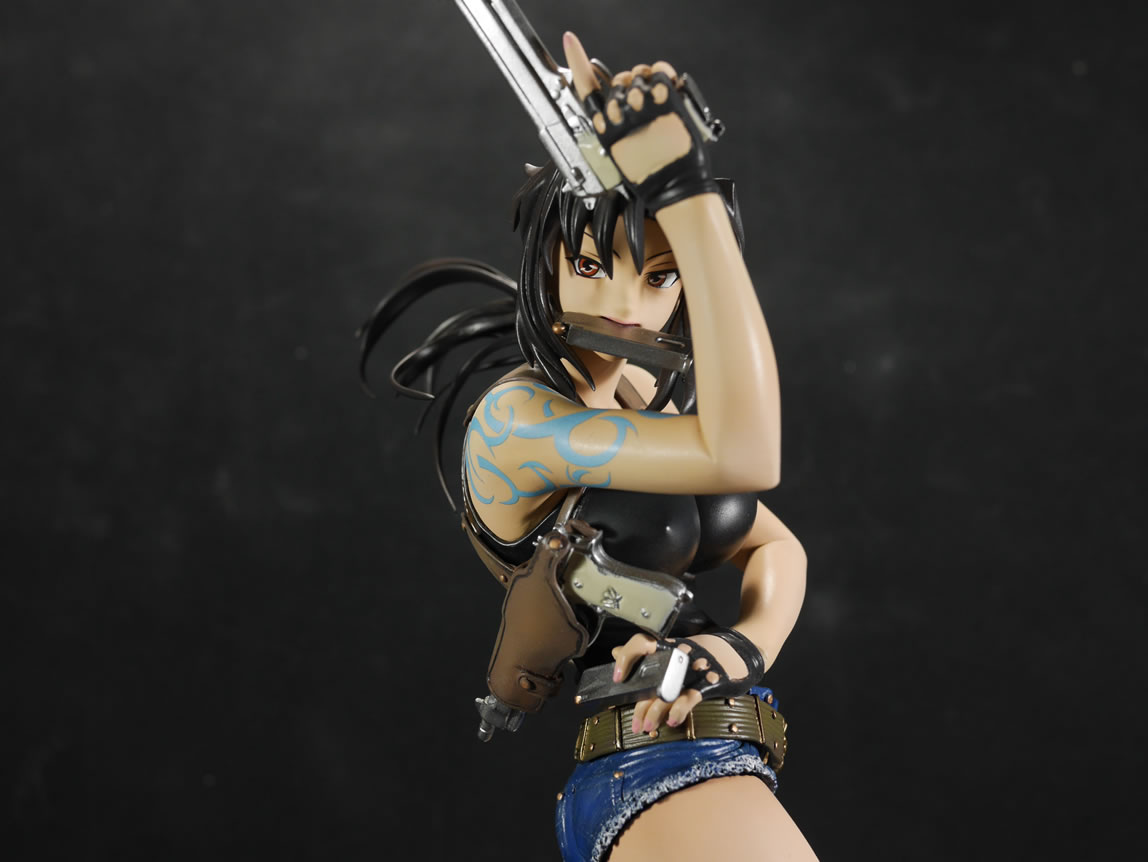
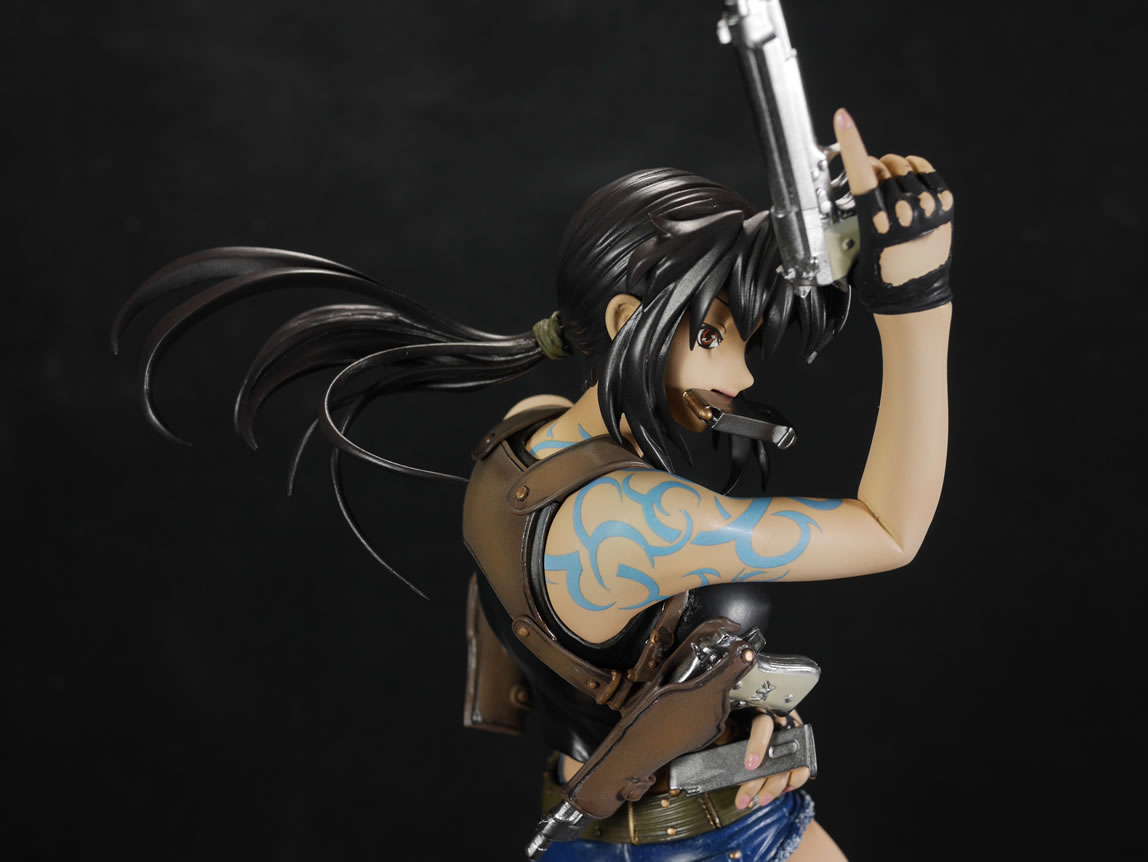
The arm tattoo came as a water slide decal; a very nice feature. And they also give you two of every decal; so if you screw up, there’s a backup; and screwing up is just part of the game. My first attempt to apply the decal failed miserably as I tried to do it as one whole piece over some complex curves so I was getting wrinkles all over the place. I gave up on that decal and went to work with the backup. I trimmed the backup decal into smaller sections. This made for an easier and less frustrating decal session. There were still some wrinkling, but some patience and mr decal softer helped reduce that. Once the decal softer cures up; the decaled areas are sprayed with clear gloss to help protect the decal as well as hide any residual decal lines. Once this clear gloss cures, a flat coat is sprayed to finish work on the parts.
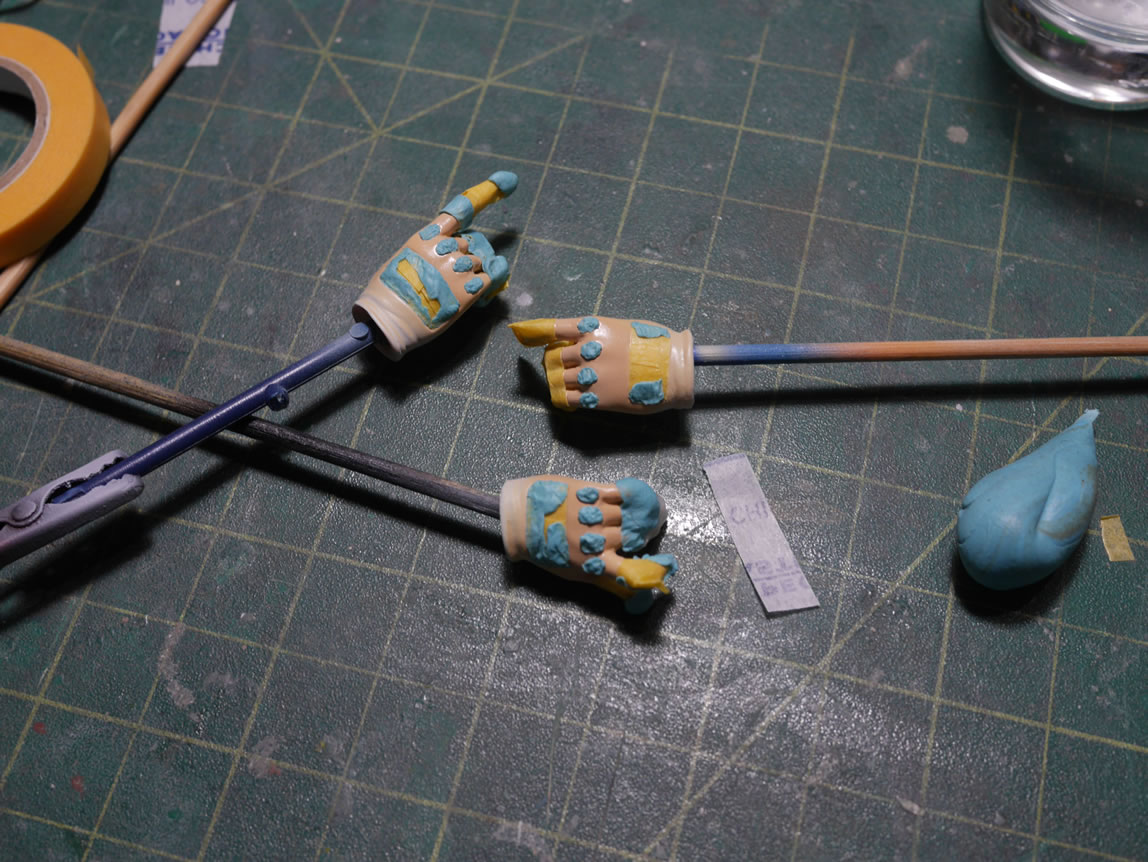
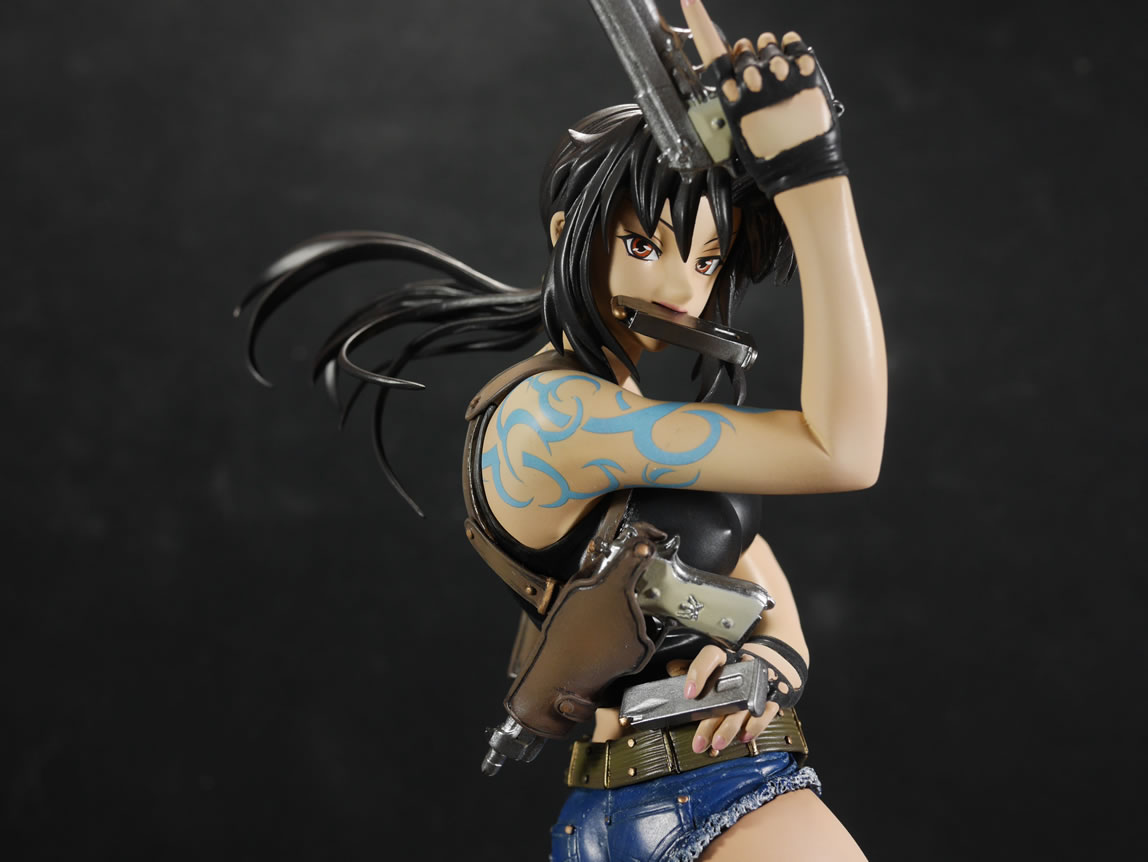
Exposed skin areas for the hands were masked off using masking tape and sticky tack. The the gloves were painted black. A flat coat is sprayed and once cured, the fingernails are hand painted with enamel pink.
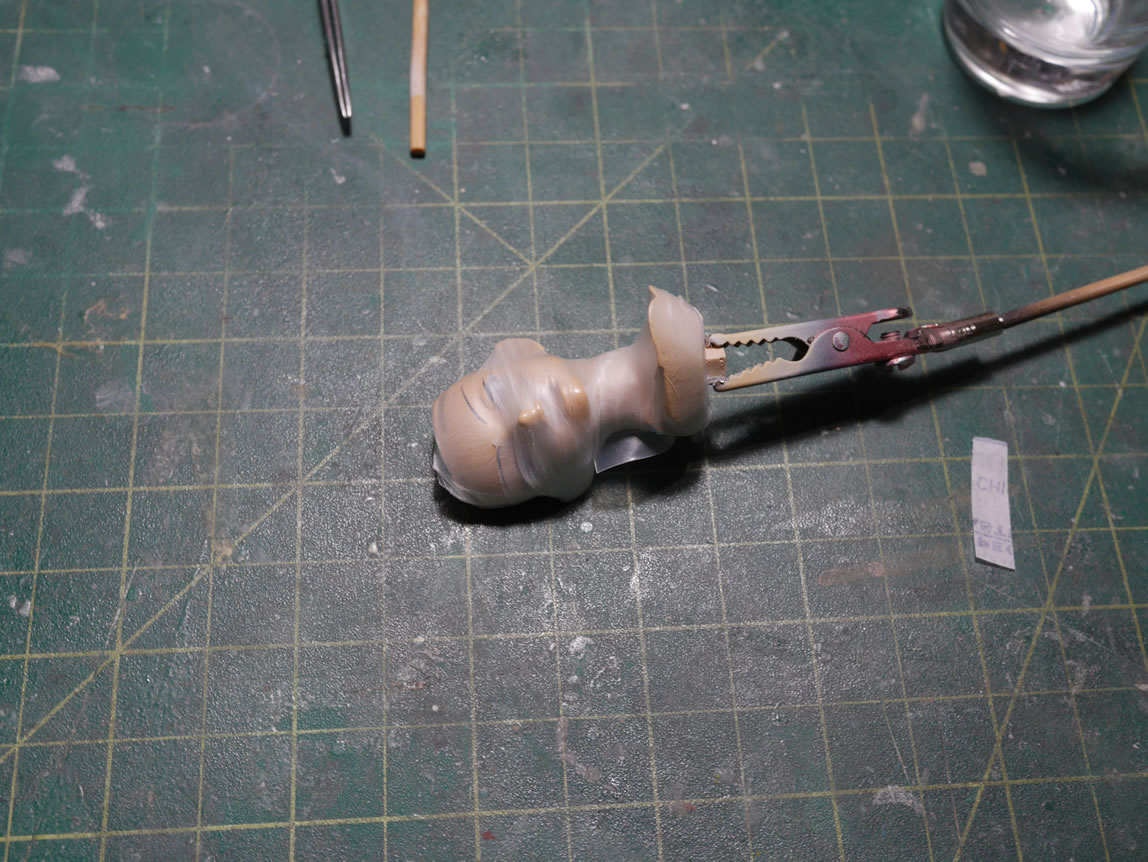
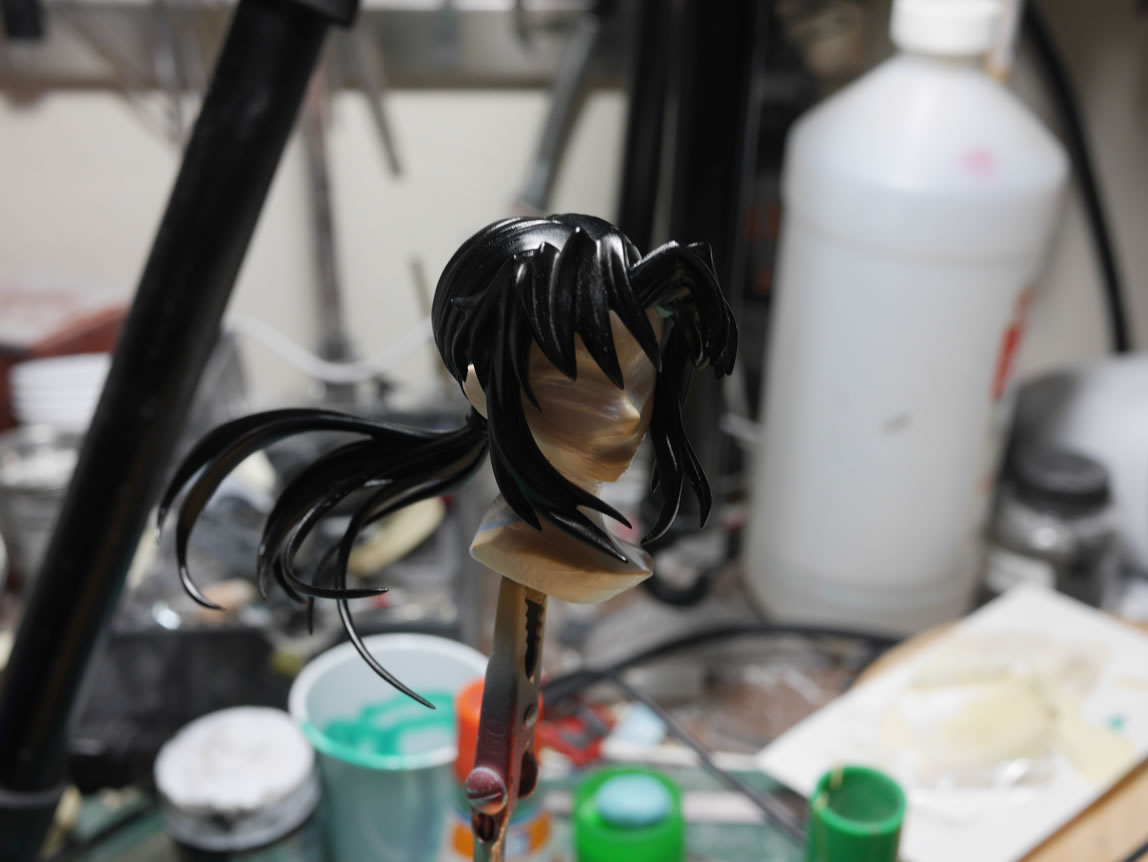
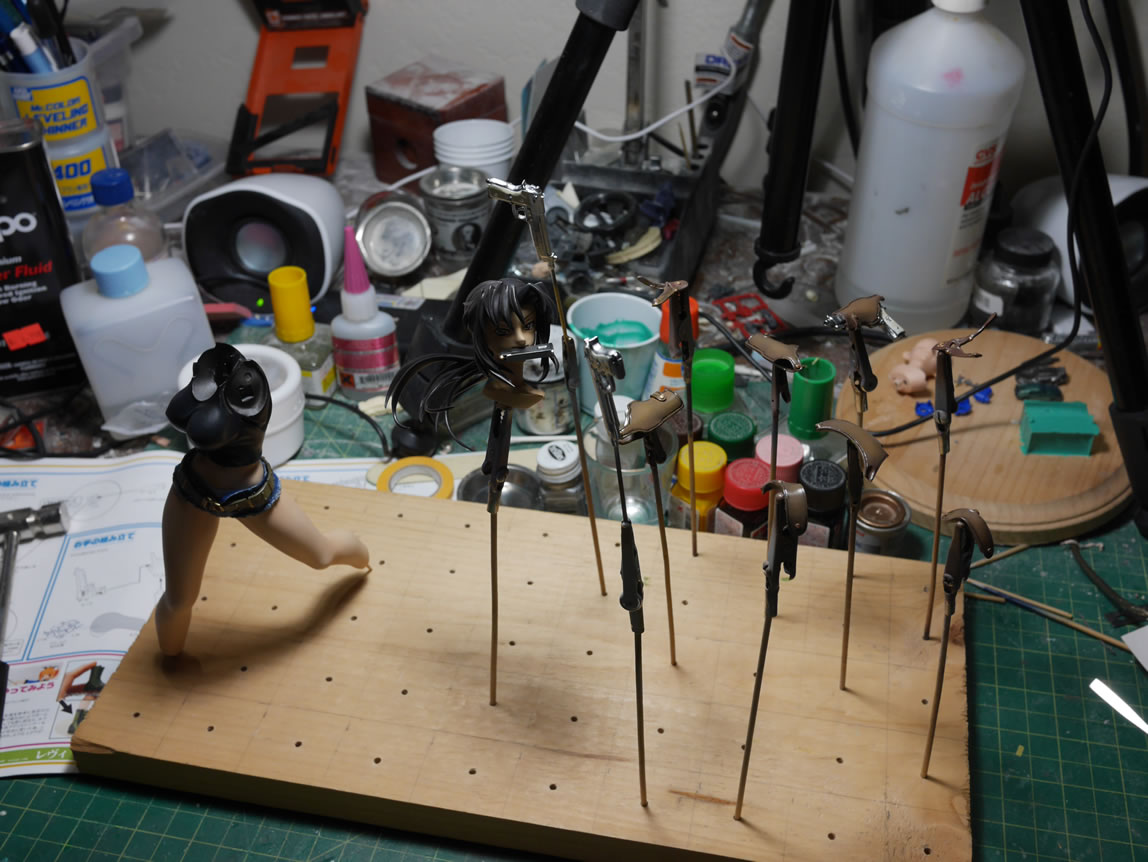
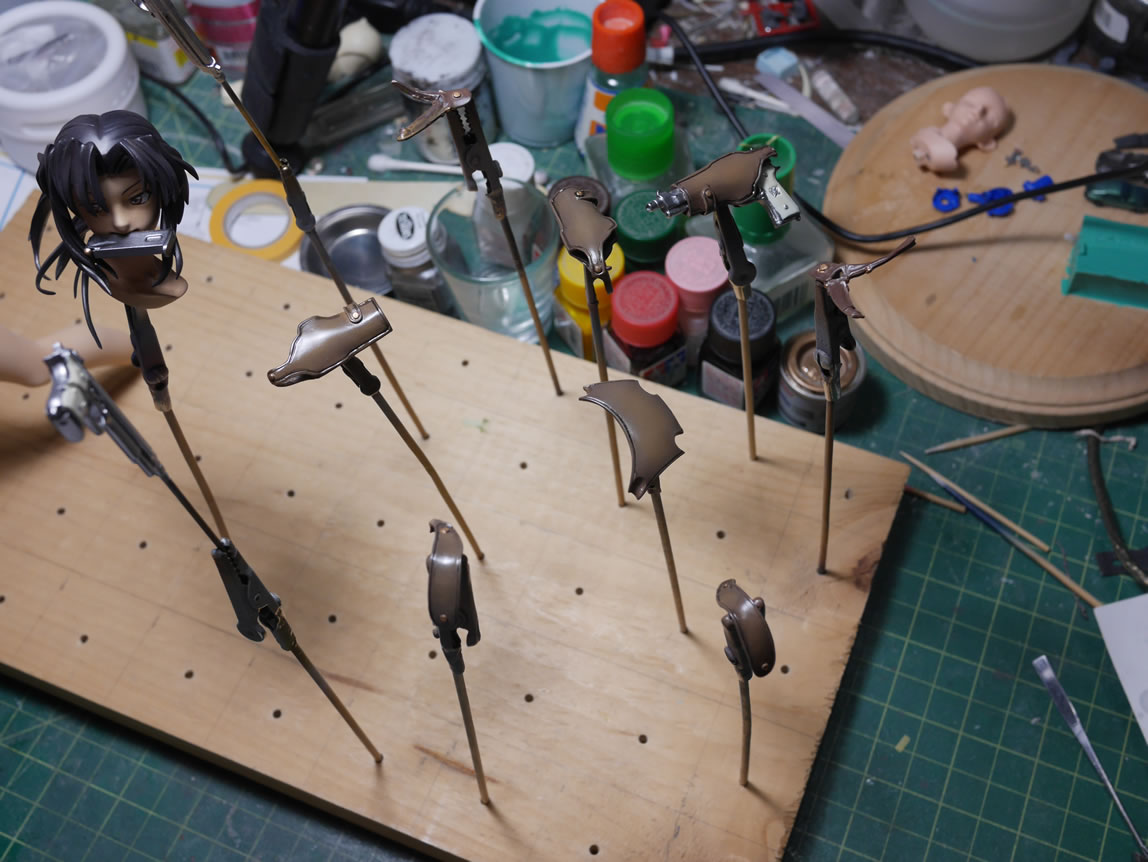
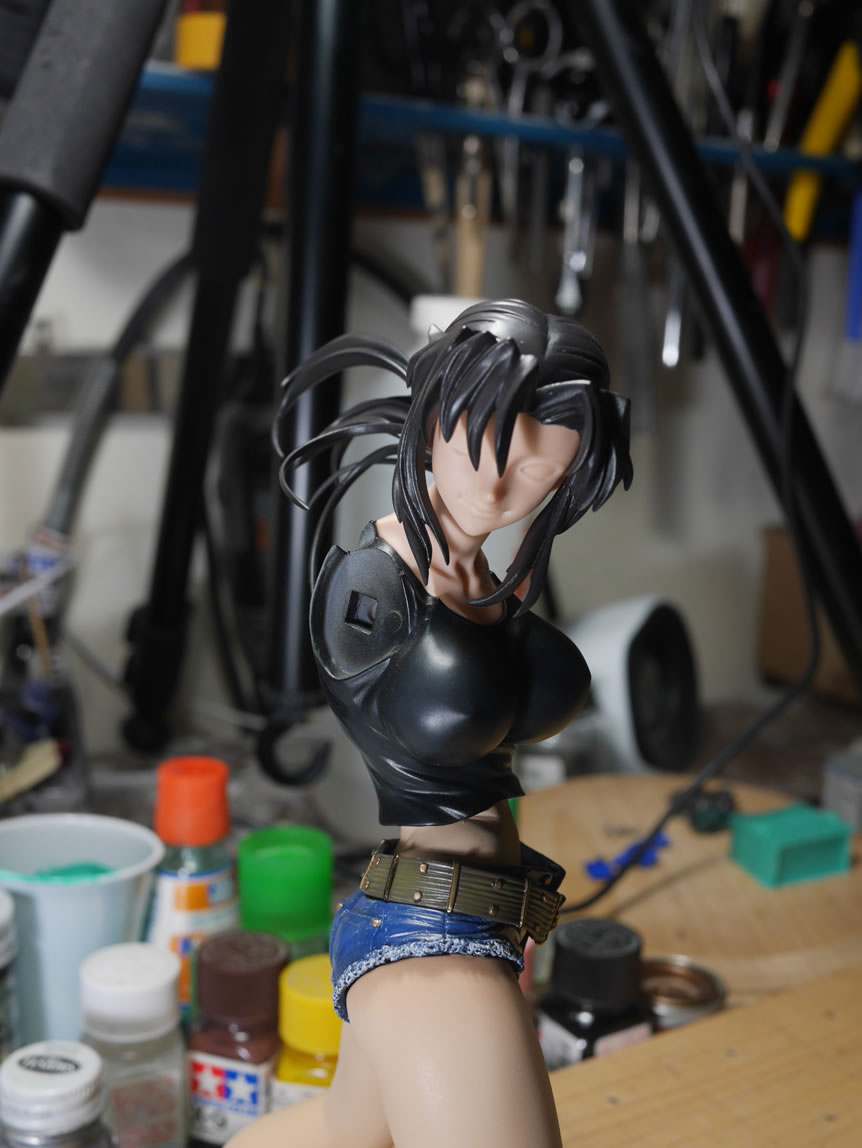
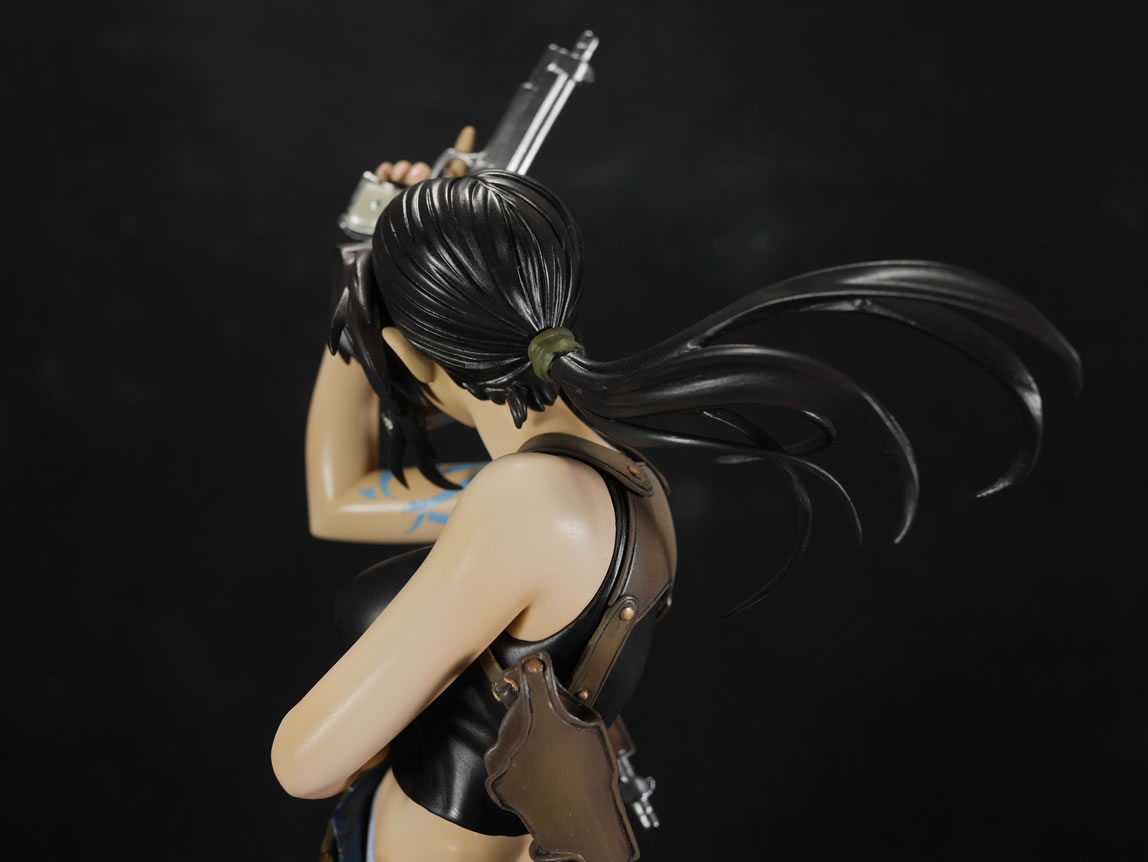
The head is masked off with parafilm. Over this, I sticky tack on the hair pieces so that I can shade the hair. I do this so that I can shade the hair as one unit and not have to worry about mismatched shading. Granted, this makes painting a little more difficult. In hindsight, I could have done the highlight shading for the hair pieces separately, then put it together and blended everything.
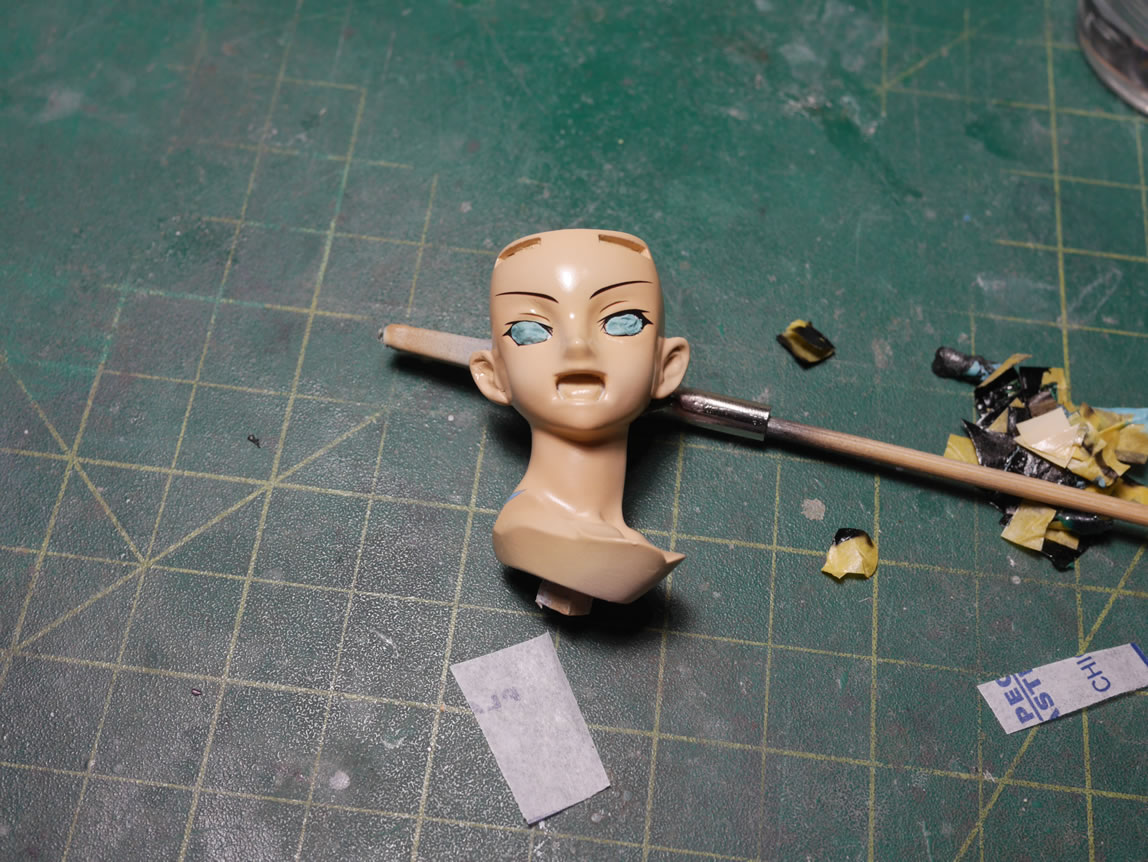
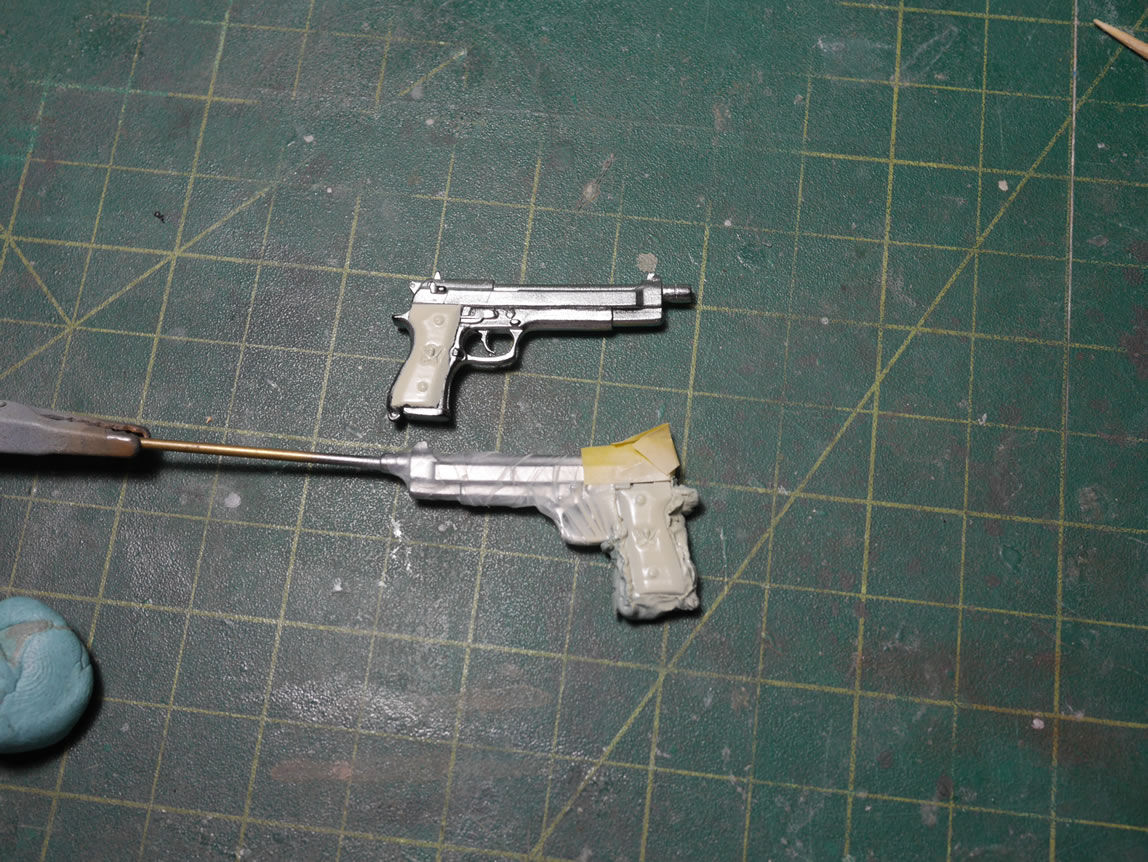
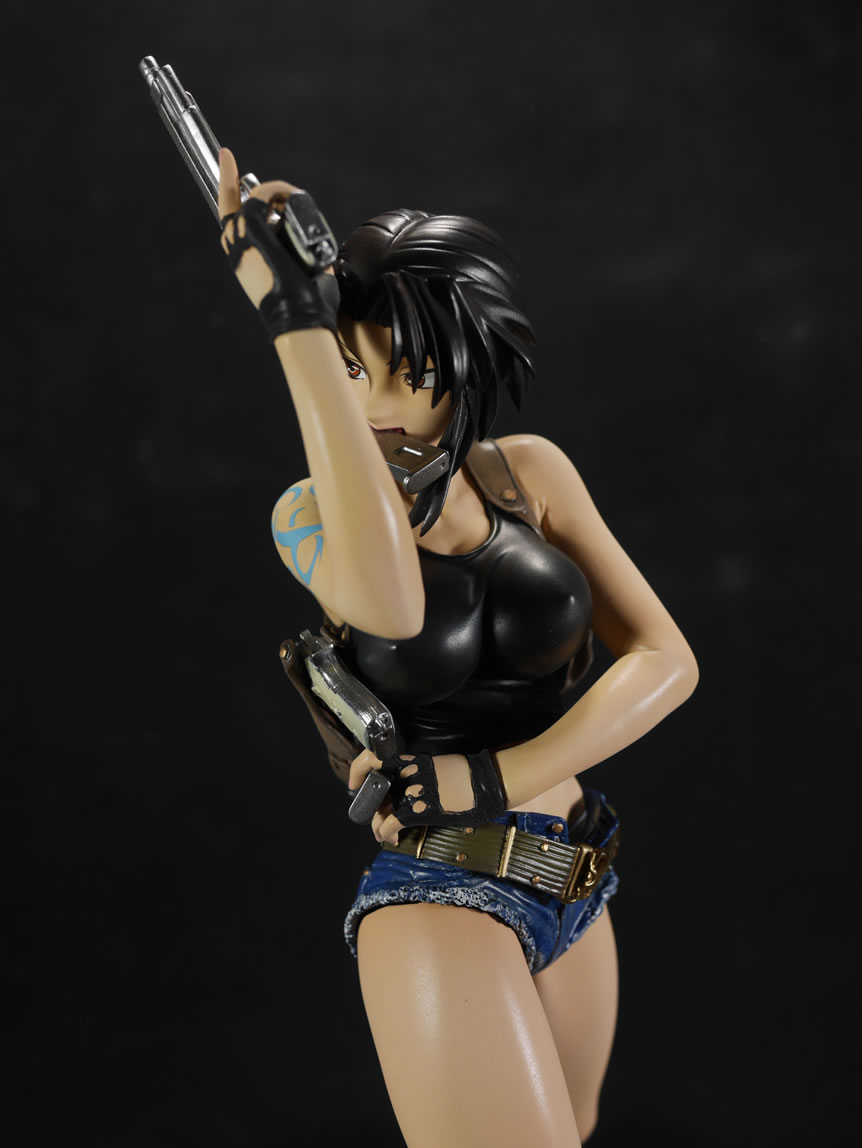
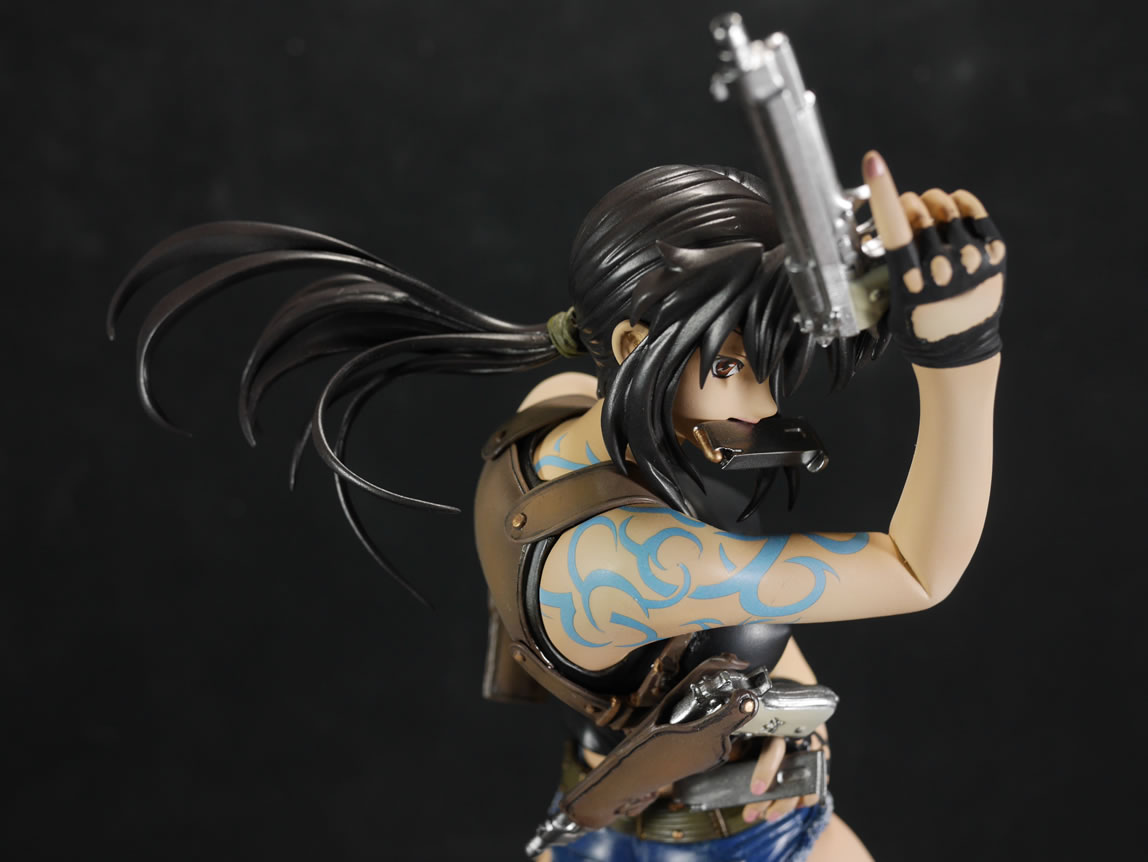
The eyes were glossed and then masked off so that the bust can be flat coated. The guns are masked and painted an ivory color as close to what her cutlasses look like in the anime. I actually used my light skin tone mixed with more white base to get the color for the grips. Details on the grips were hand painted with enamel silver.
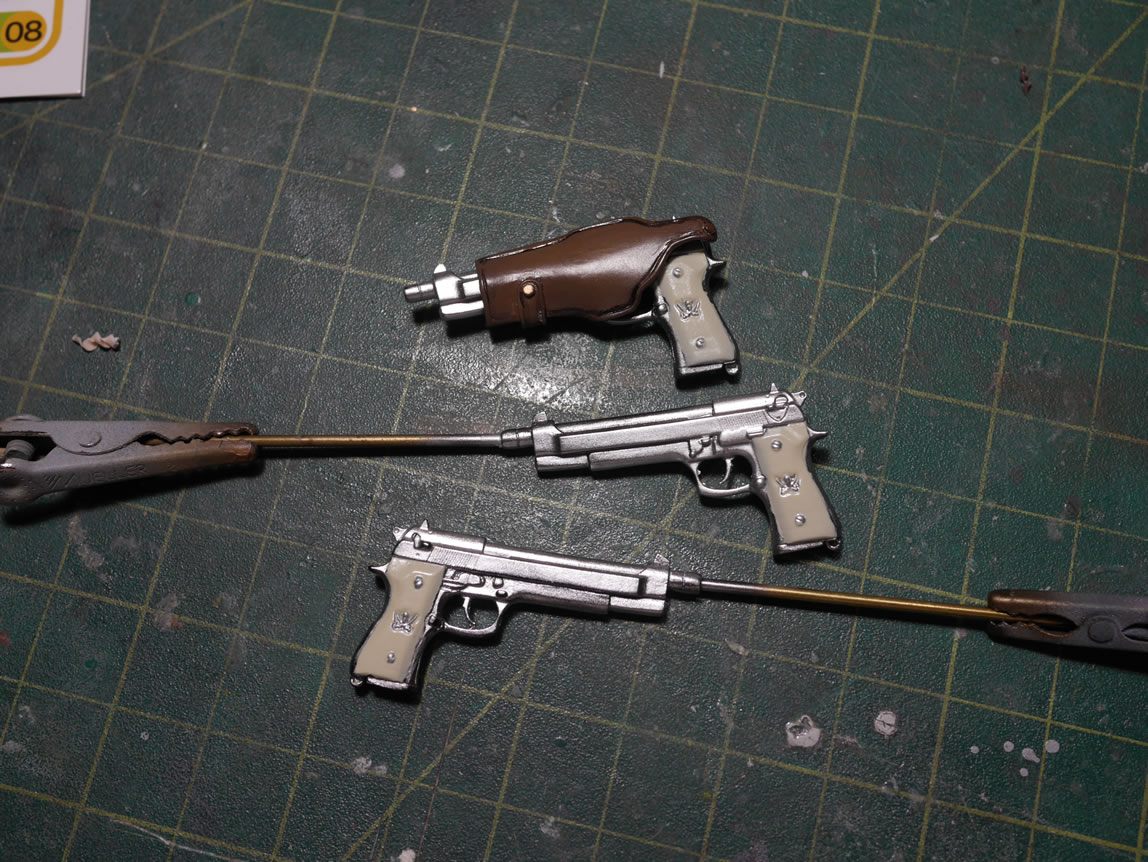
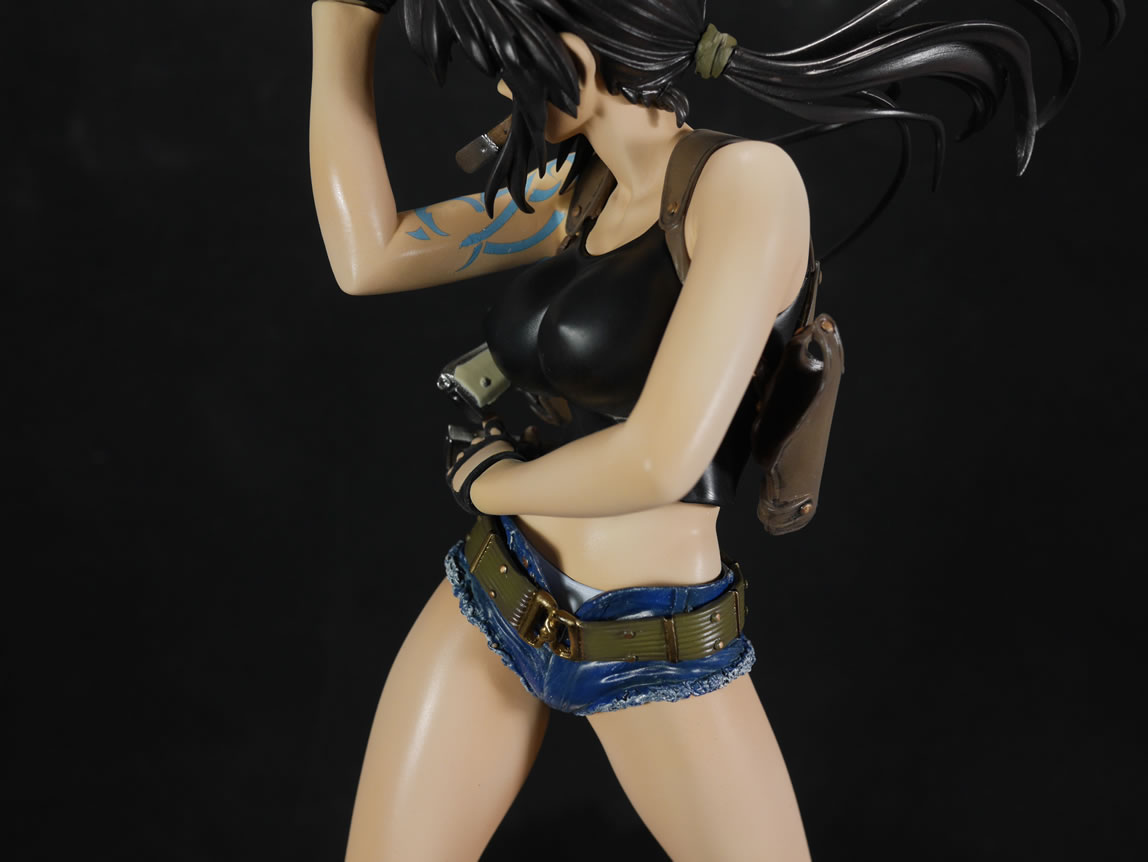
The kit is starting to come together. The holster rig is weathered with a fade and a wash, then flat coated and glued together.
Skin color comparison with the colored resin skin tone and my skin tone. It’s nice that the kit came with option parts, so I ended up adding magnets to the second head since the hair parts are all connecting with magnets anyways. Which means I still need to paint up the second head – which may or may not happen as I rather like the version with the gun magazine in her mouth.
With that done, this was a relatively quick build. The resin was very nicely cast and I only found one real pin hole. The other holes I needed to fill were done to fill mistakes in drilling. The parts fit was amazing and color separation is good enough to paint small details and clear coat everything to finish it; so for those looking into getting into resin figure kits, I highly recommend the Volks Charagumi line of kits. These are basically a bandai style resin figure kit.
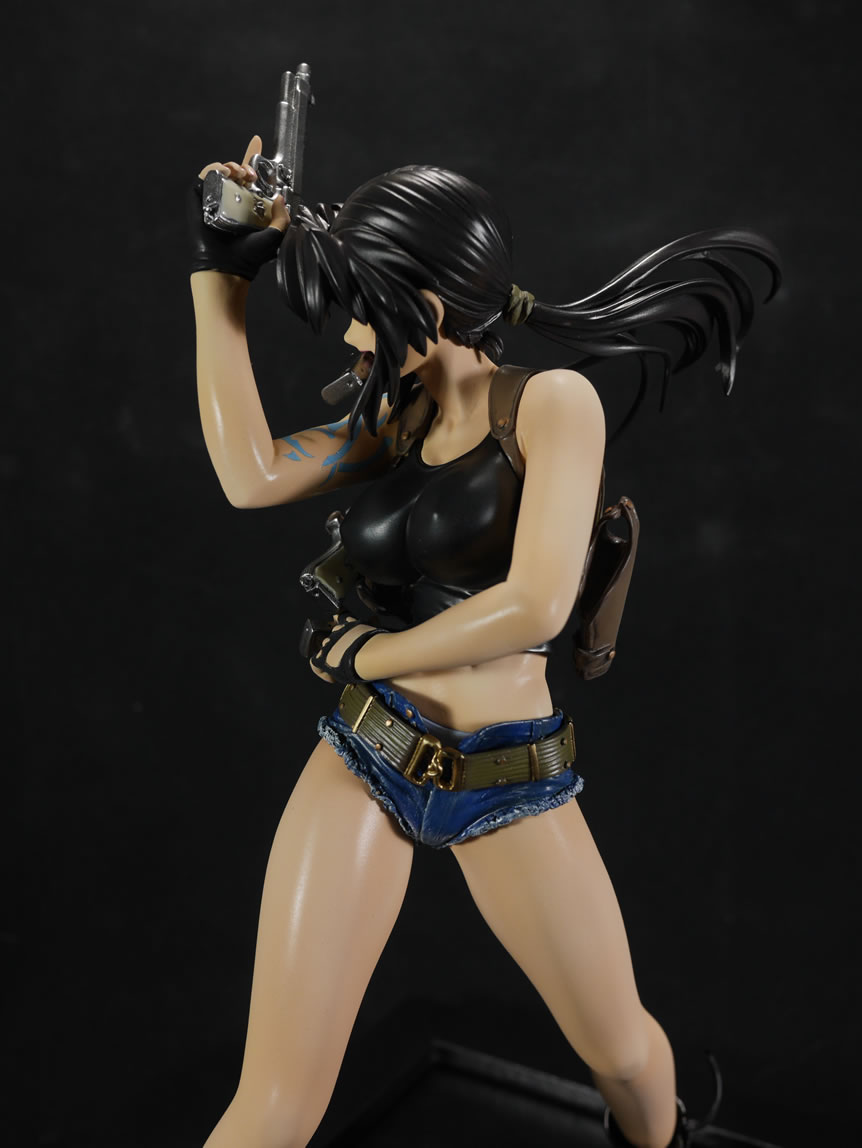
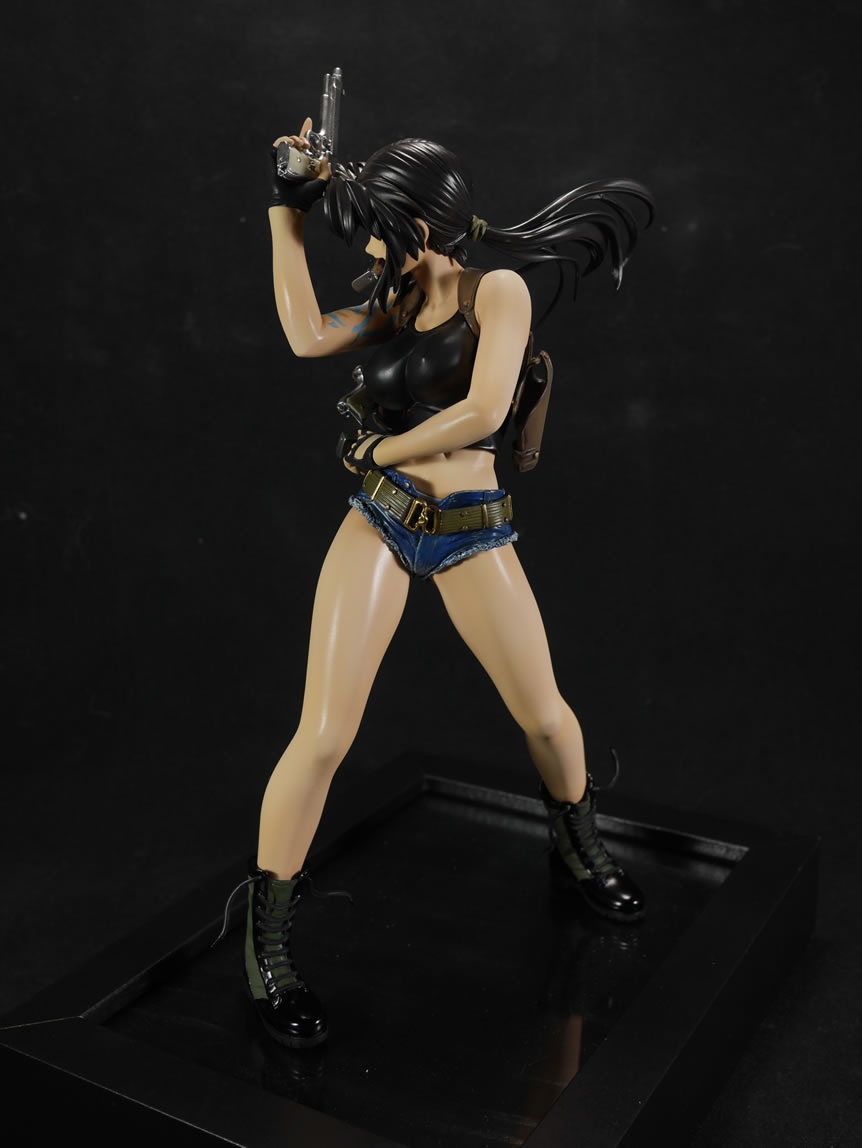
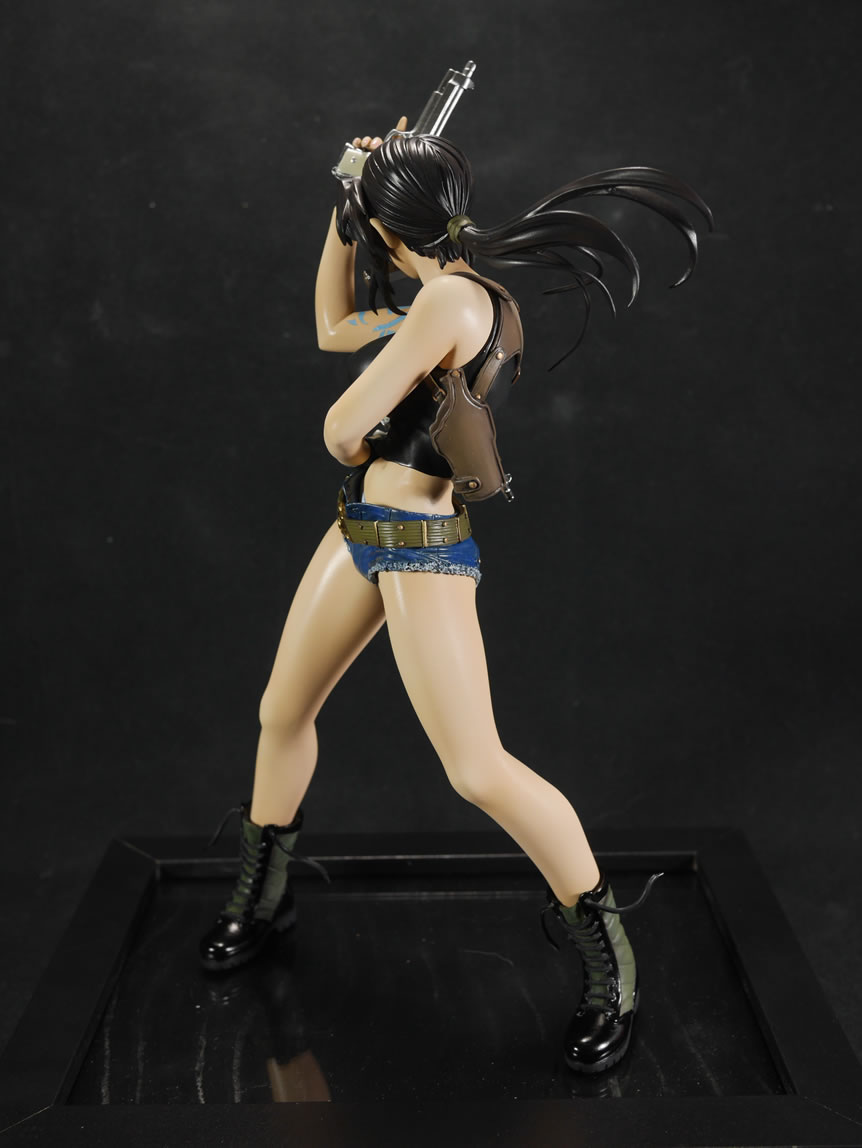
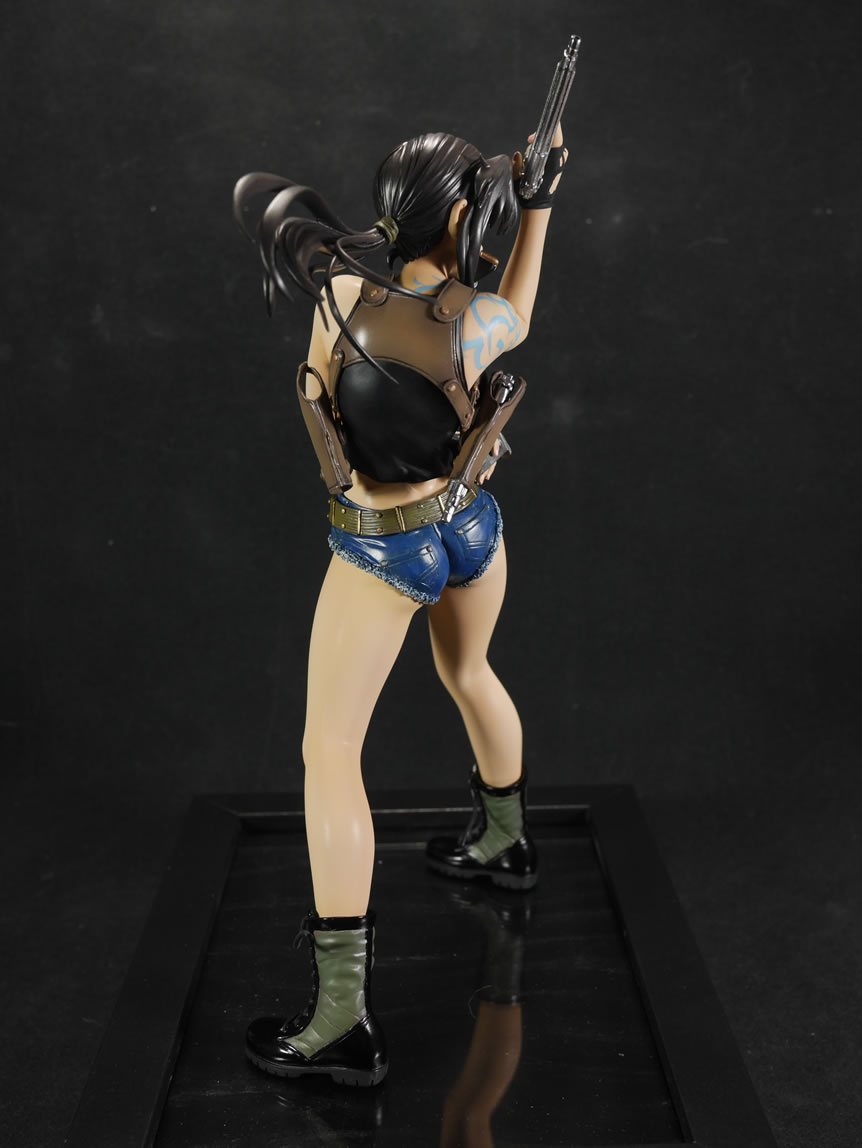
Full Gallery
|
|
|

|
|
|
|
|
|
|
|
|
|
|
|
|
|
|