A little under a month ago, I started working on a Morrigan figure sculpted by JYOJYO (also known as OOXOO). Of all the Morrigan figures I’ve seen, this is definitely my favorite and what I believe the best looking and best proportioned. The Morrigan pretty much started as I was finishing the Midnight Zaku. Additionally, about a week ago, I started work on my part for the SCGMC raffle prize. More information about both kits following the jump.
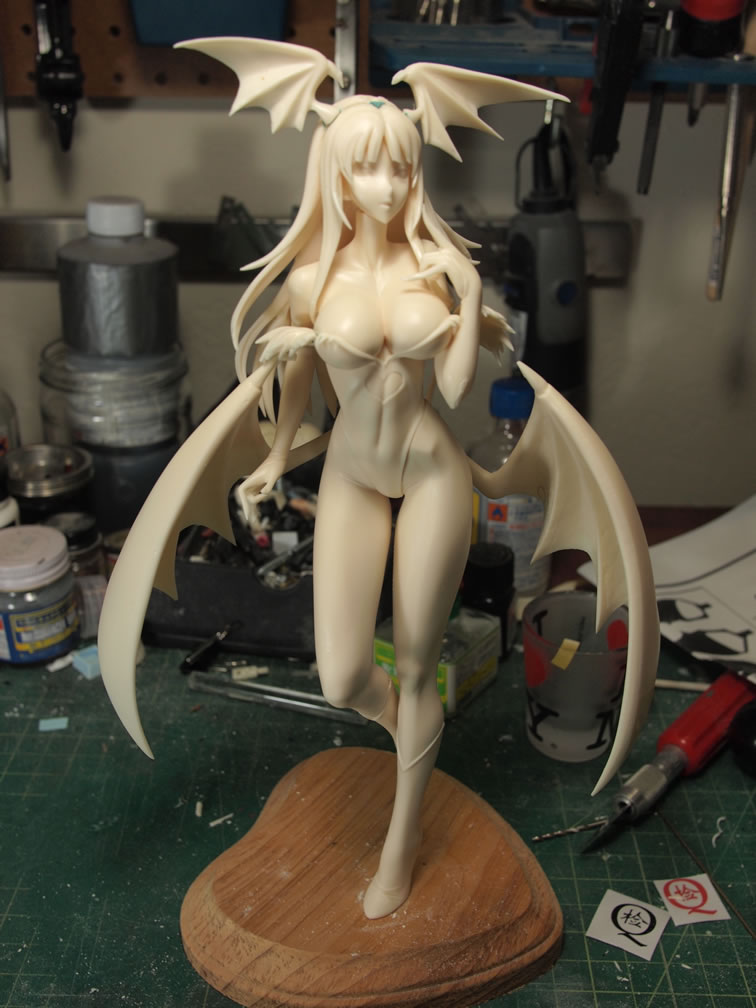
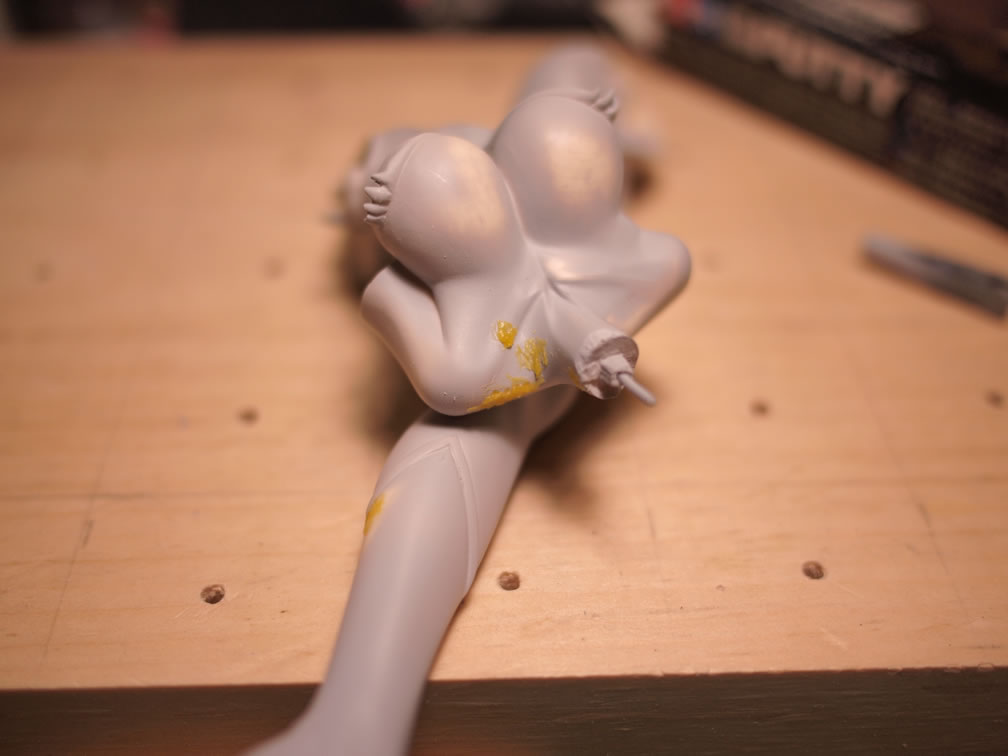
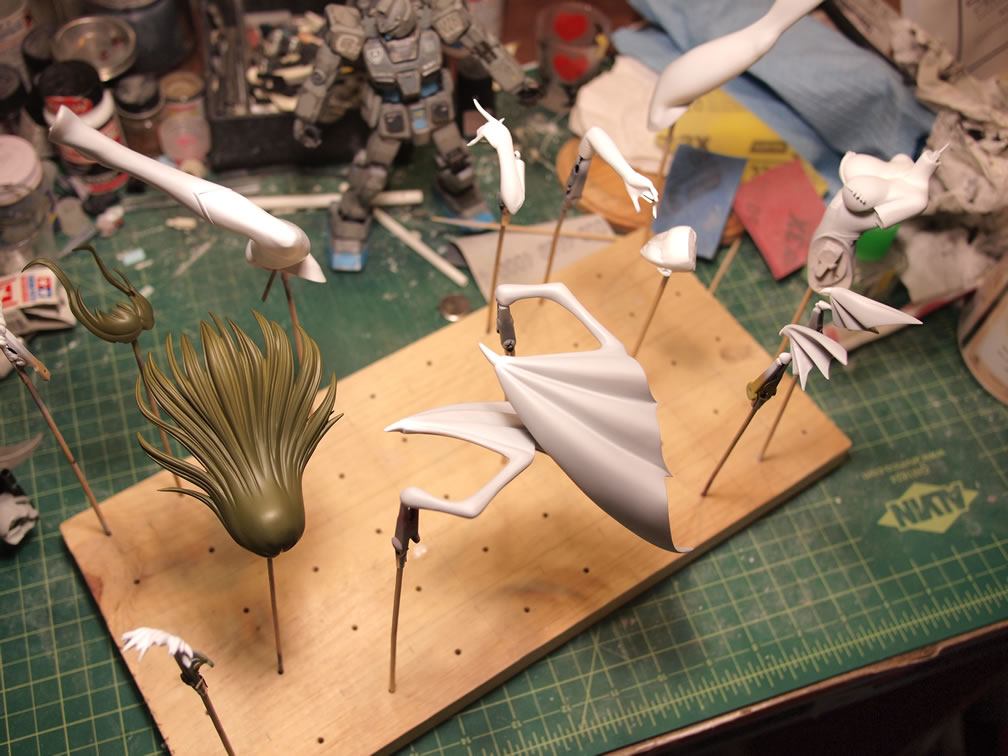
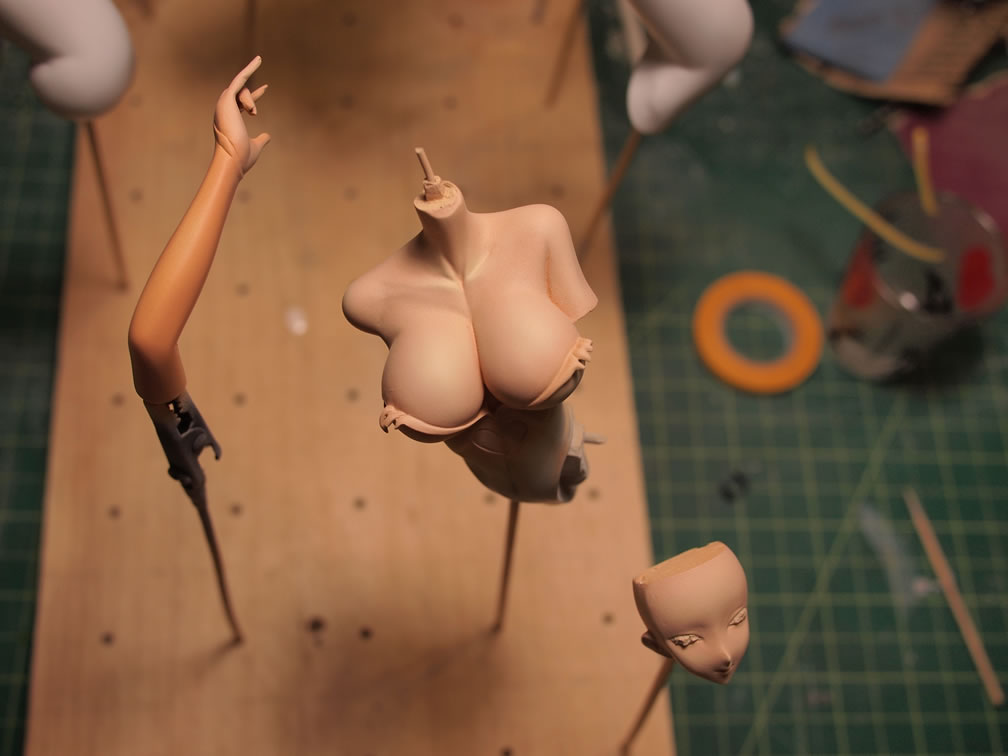
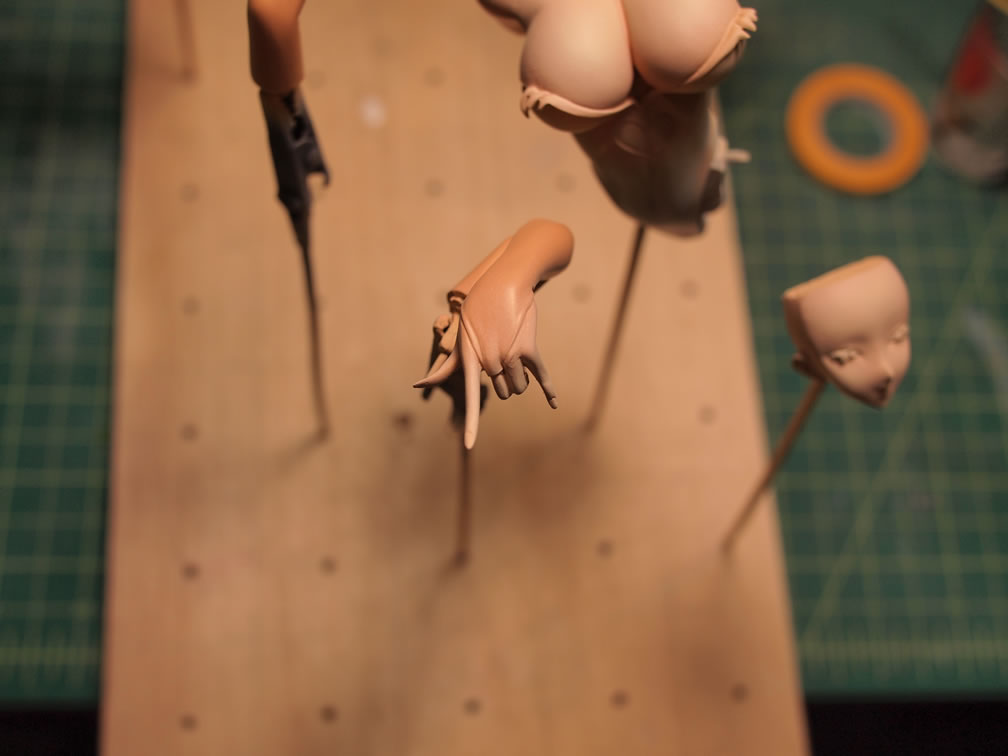
Starting with Morrigan, she was quickly sanded and pinned together. It has been a while since I last worked on a resin figure, about a year or so. But it felt good to get some resin dust flying as well as bring out Mr Creepy Keroro G-3 for some size comparison as well as to help hold Morrigan up as she’s standing on one leg.
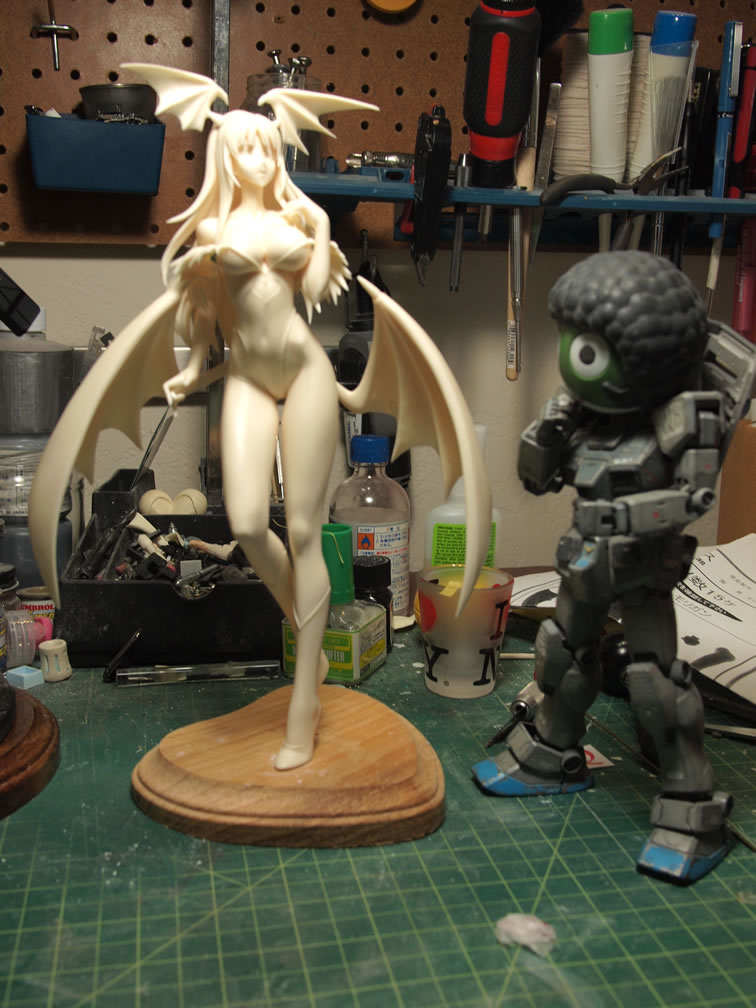
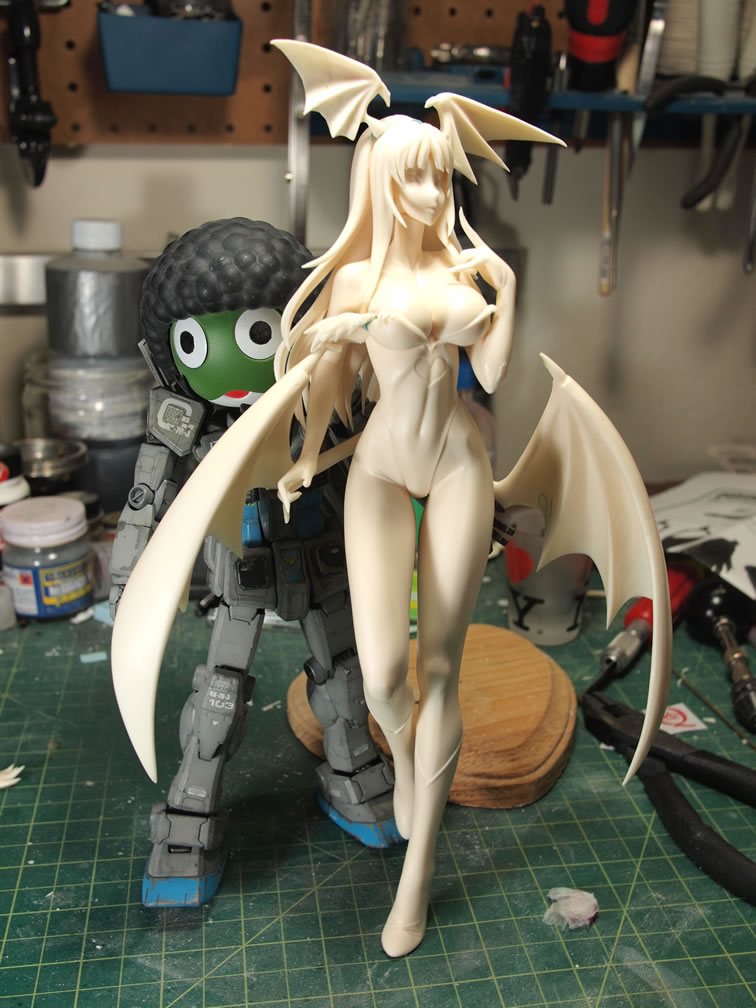
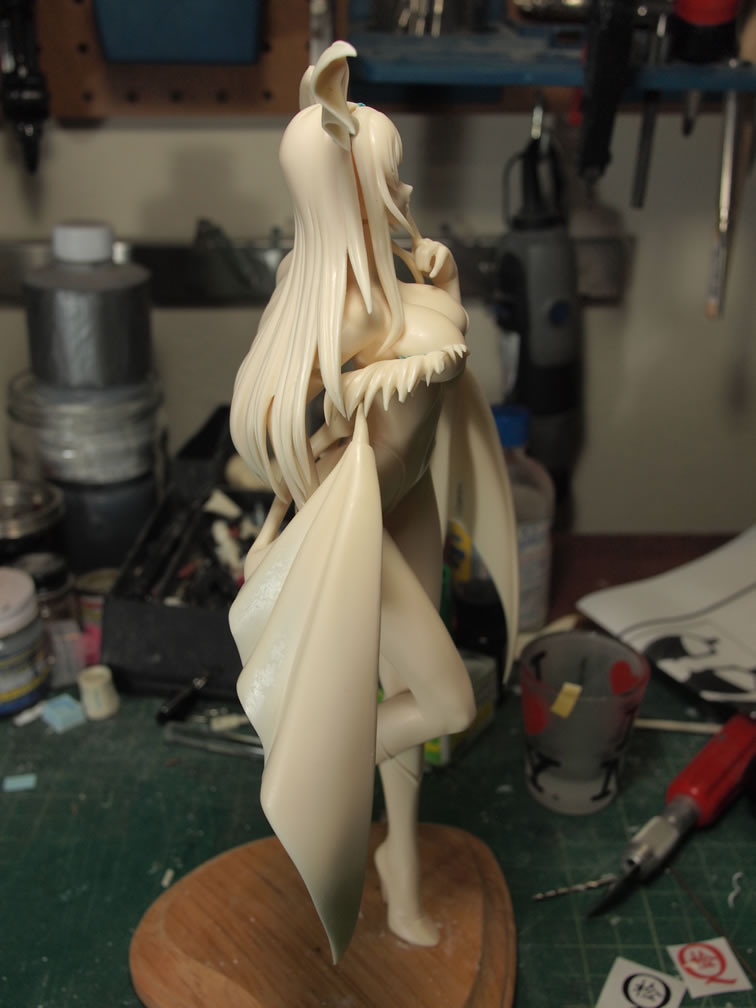
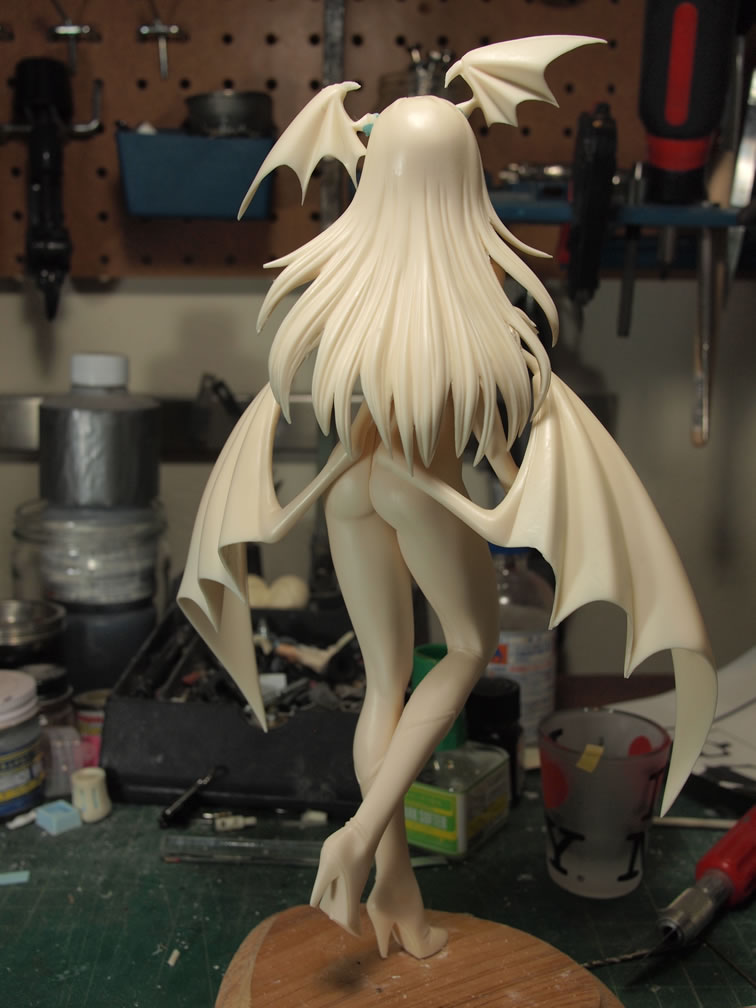
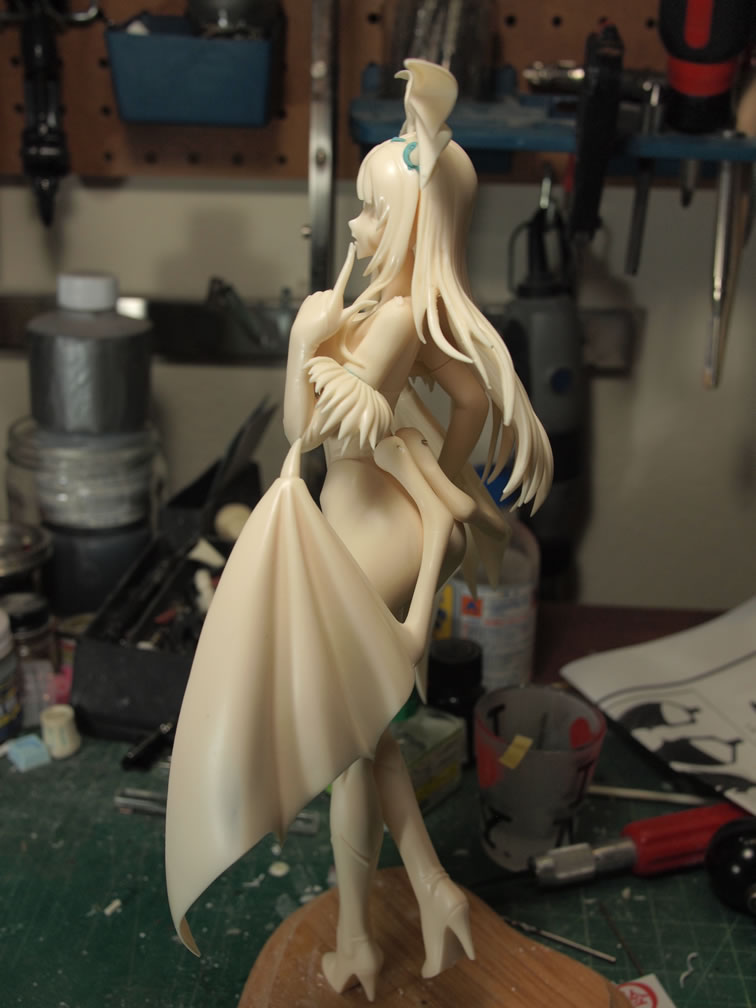
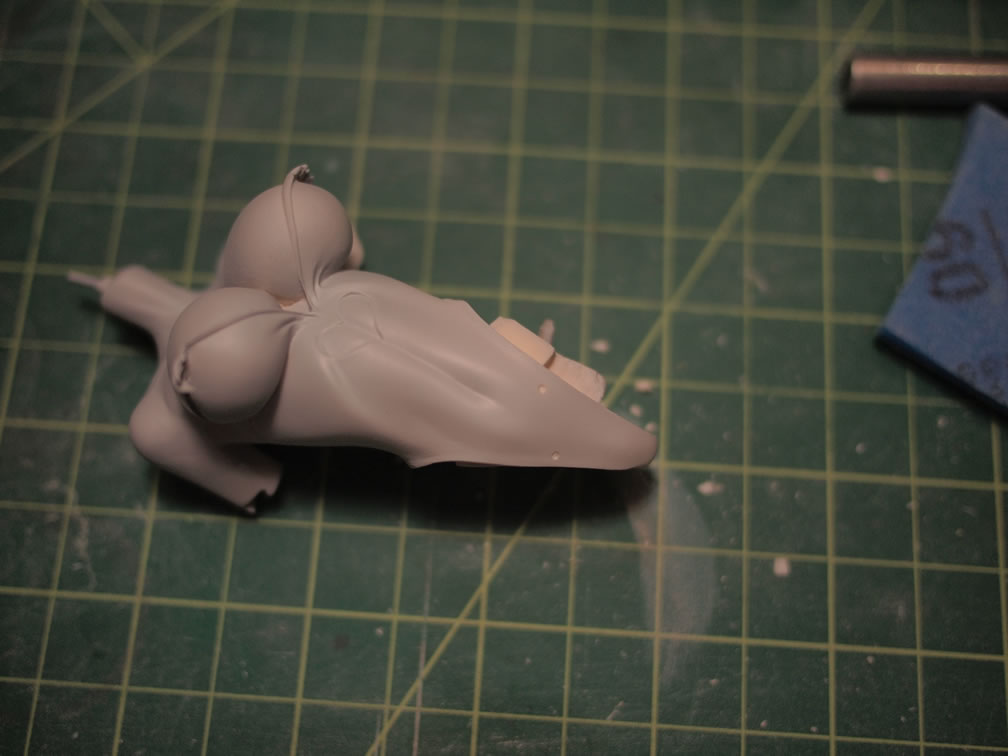
Here’s the mock up without Keroro-G3. The potential problem areas where the wings attach to the back as well as the two part hair pieces. The rest of the areas just need standard sanding and priming. At first glance, there doesn’t seem to be too many pinholes that need fixing.
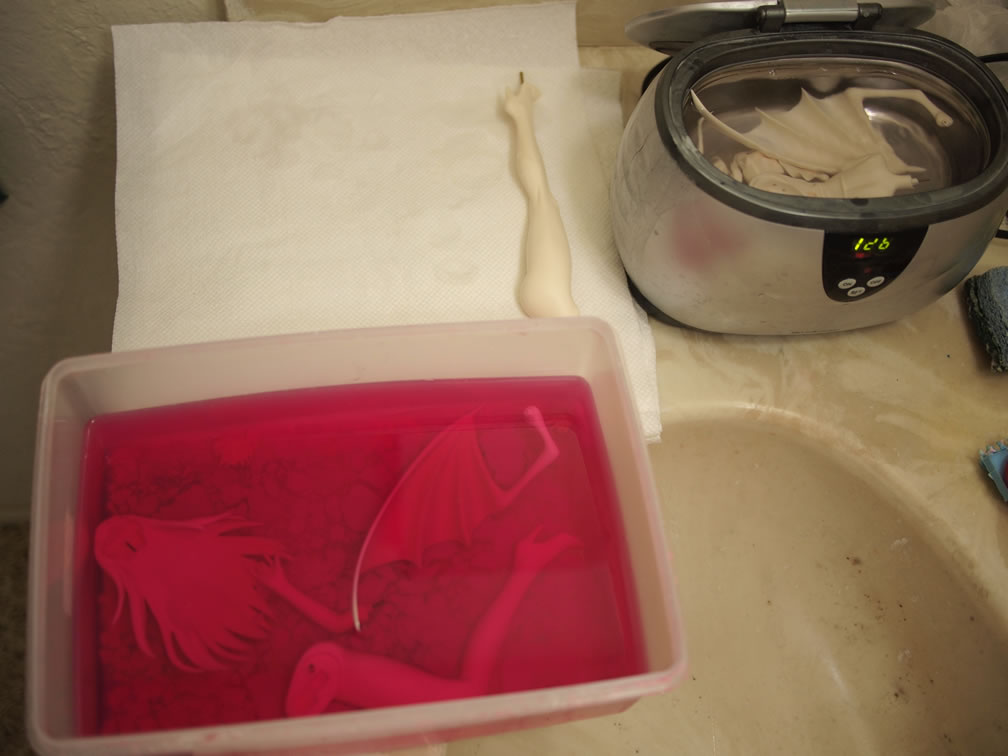
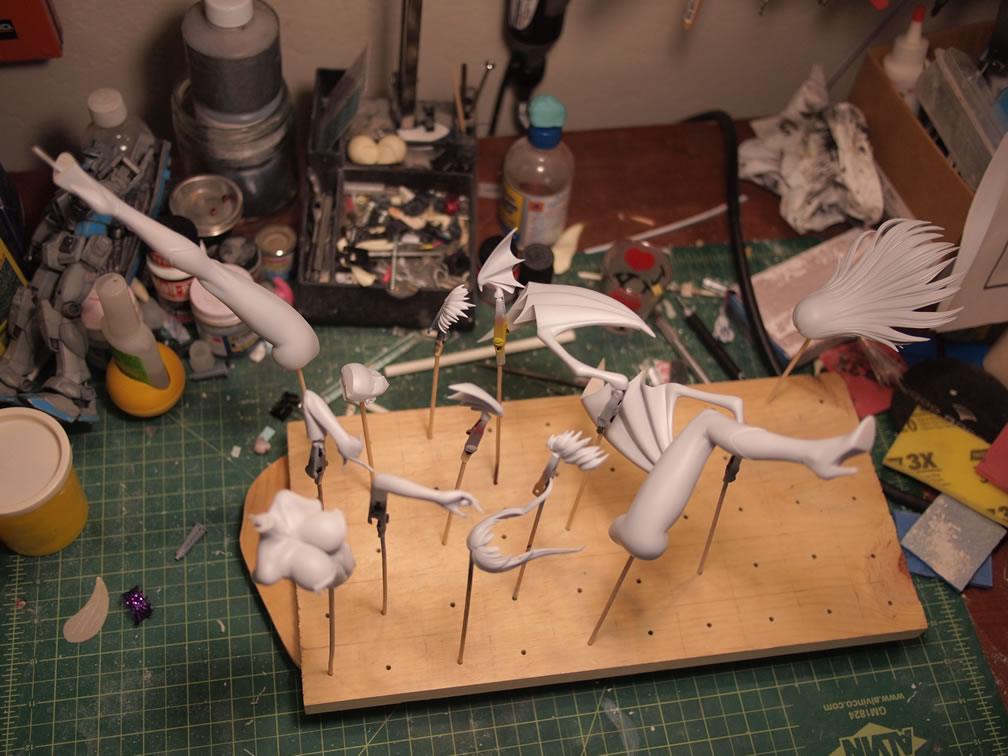
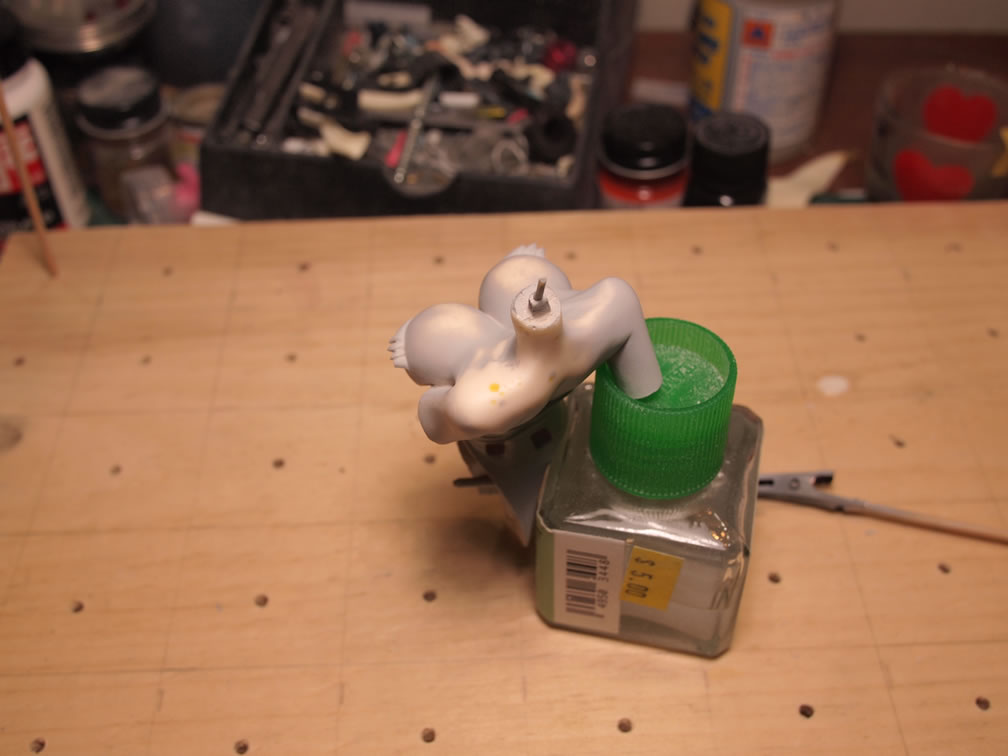
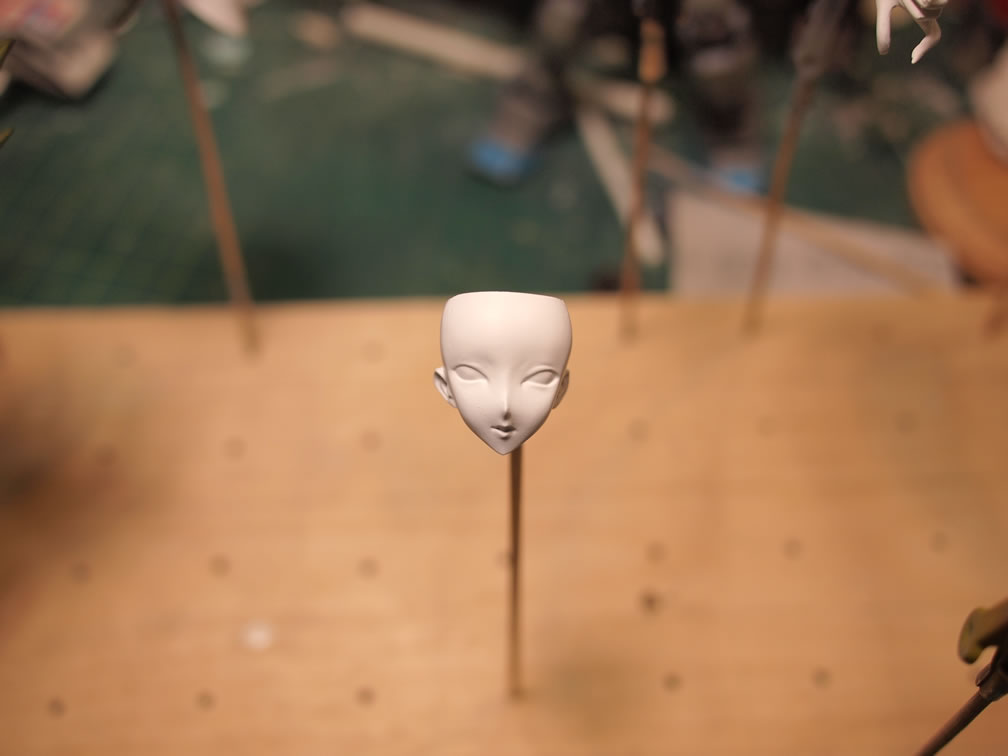
The mold lines and excess resin is removed and the whole kit is sanded then placed in a box of industrial strength cleaner to sit overnight. This help clean off the resin dust and any mold release still left on the resin parts. The following day, the parts are pulled from the cleaning fluid and then placed into the ultrasonic cleaner to do a final scrubbing. Once the parts are dry, they’re placed on skewers and ready for the first layer of primer.

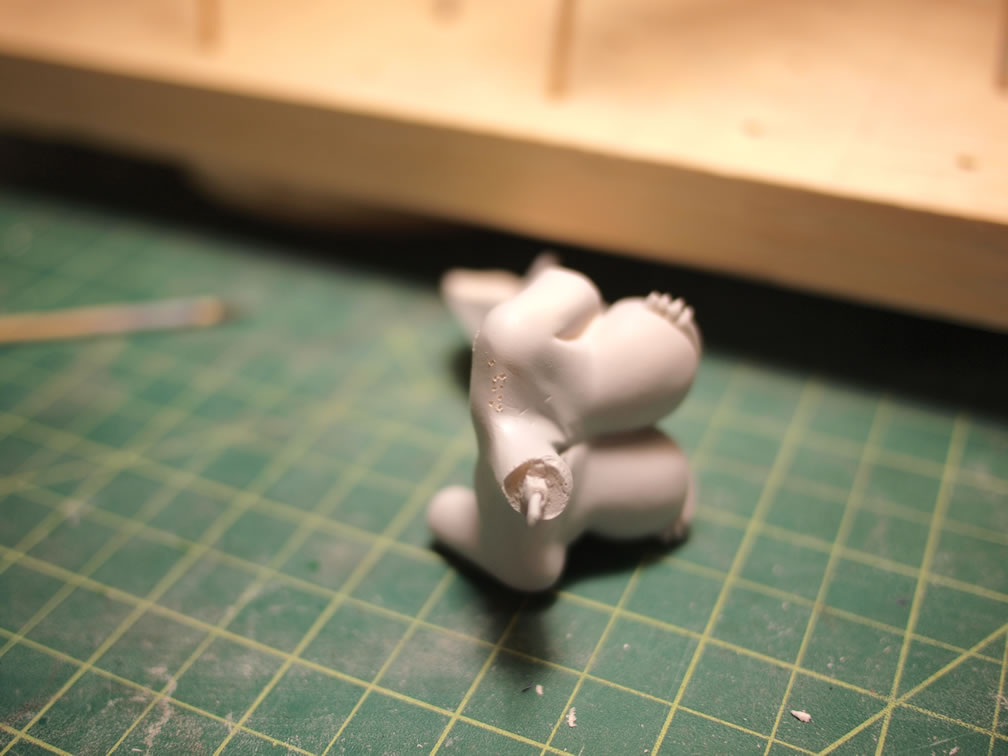
The initial layer of primer shows all the missed flaws in the resin surface. Air bubbles that need fixing and rough sanding spots are easier seen after priming. There are air bubbles here and there and these small holes need to be opened up with a hobby knife and then filled with light curing putty.
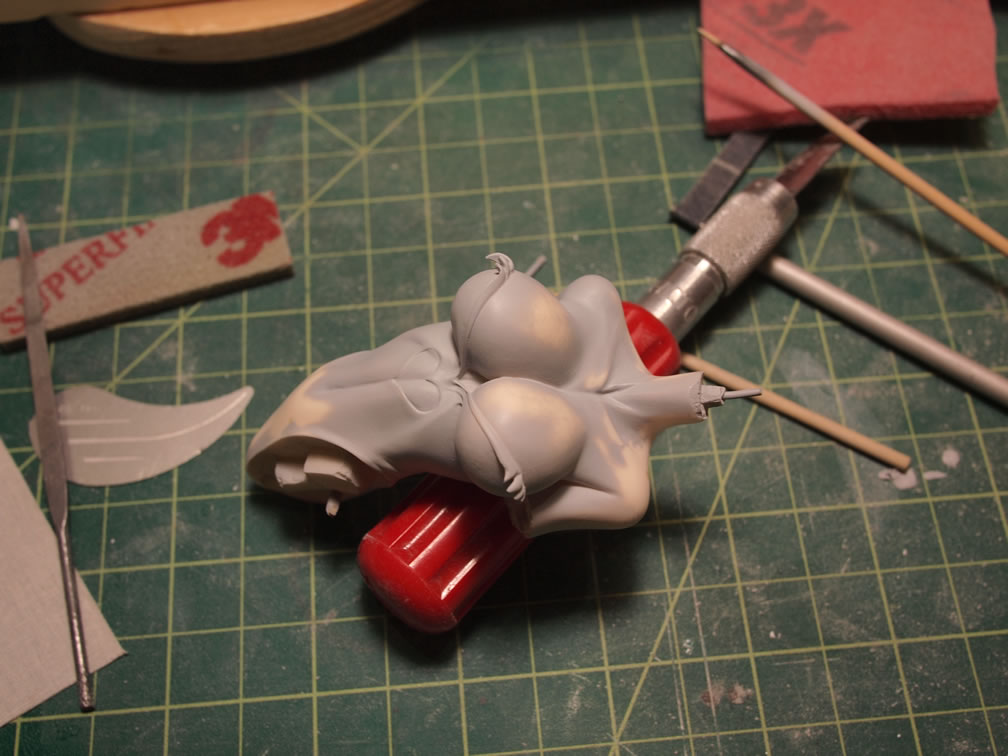
All the rough sanding spots are fixed. And with the puttied areas fixed, the parts are primed again. Another check against the parts after the second priming shows most of the parts fixed, but a few other areas that still needed attention. This process is repeated until all the parts are relatively defect free, then the actual color painting can commence.

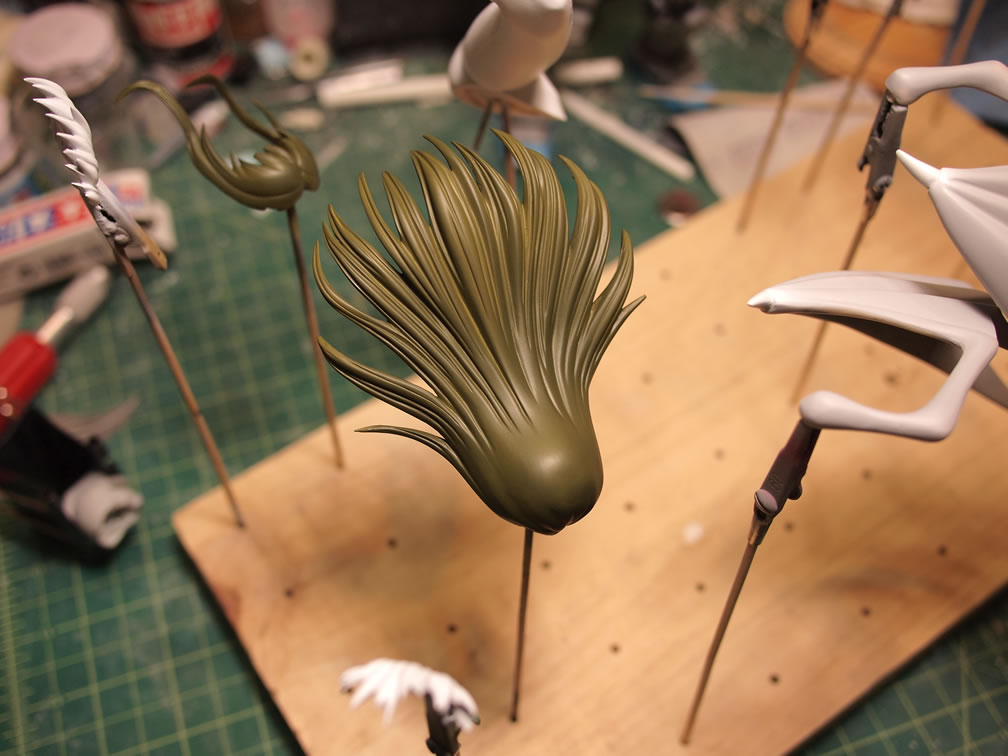
The hair is painted with a dark green and the exposed skin areas are painted with white base primer to remove the grey primer color. In previous models before I started using Mr White Base, I found that the grey primer may bleed through and give the final skin tone a little bit of a grey look which just makes the figure look dead. The hair and white primer is left to cure over night.
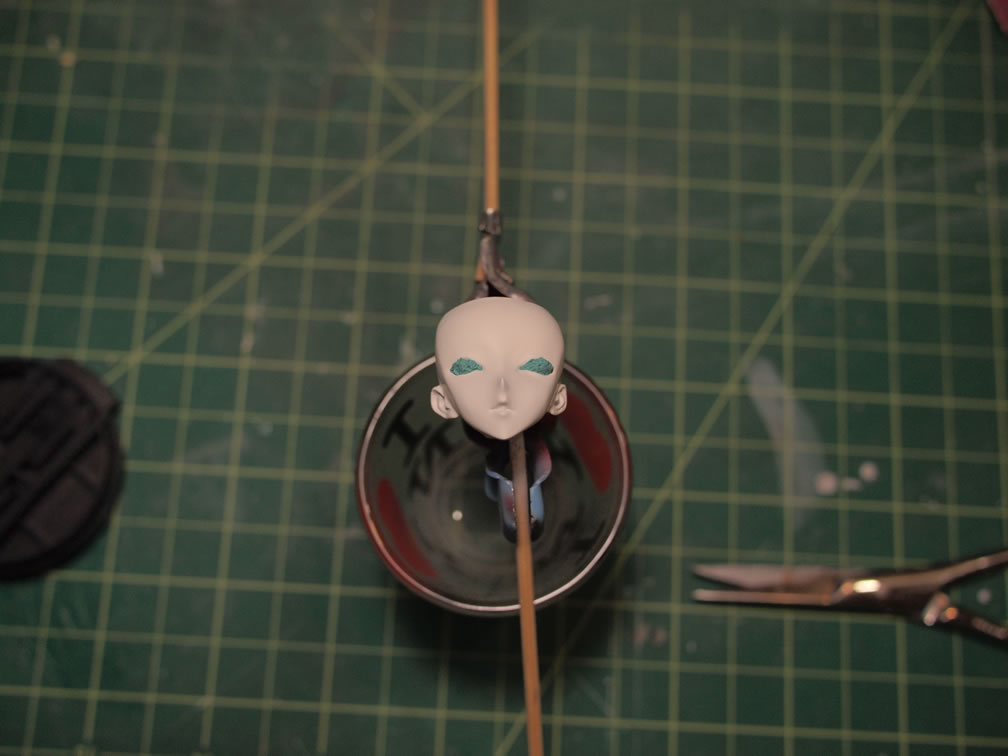
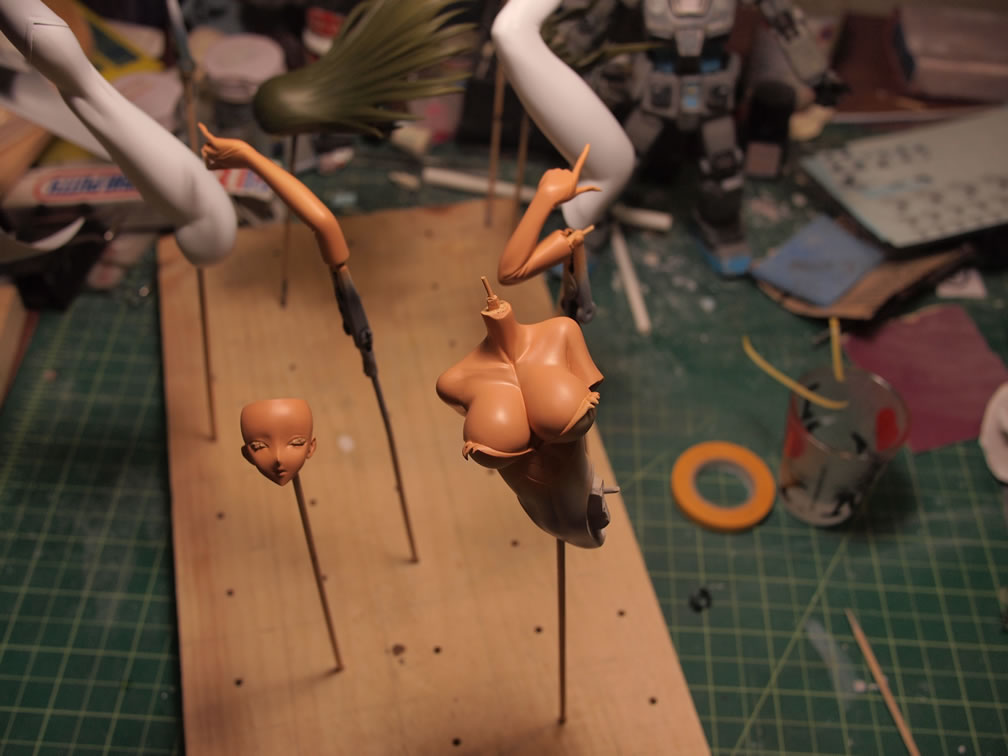
The skin tone is my usual batch of skin tone. I start off with a dark tone first, the follow this up with a lighter tone and blend everything together. The eyes on the head are masked off before the skin tones are sprayed.
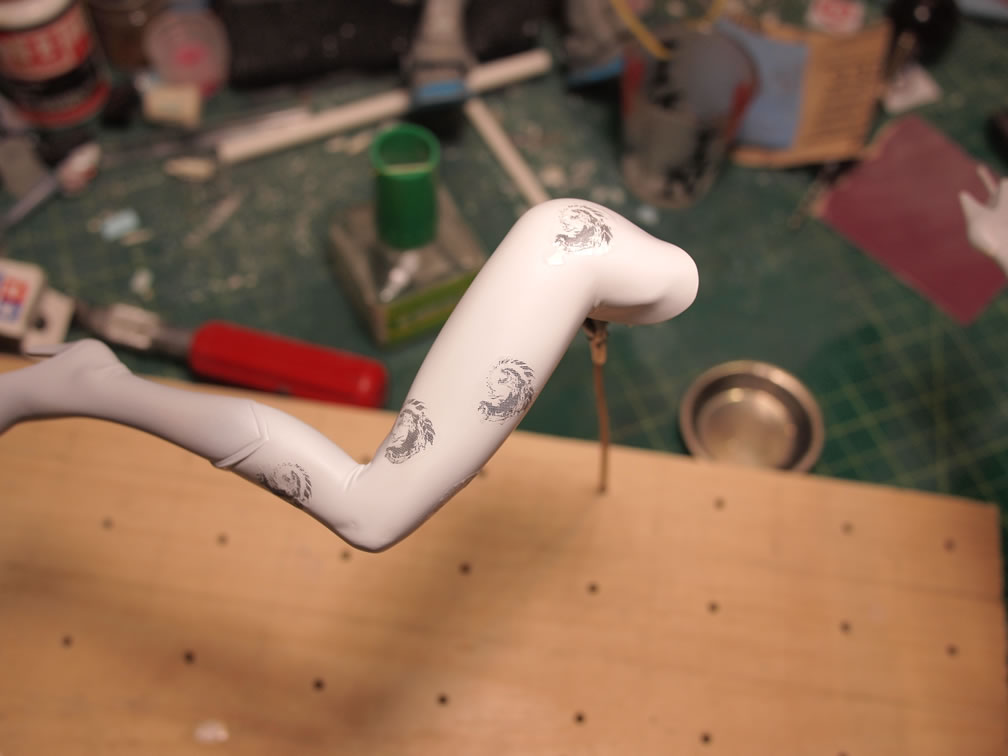
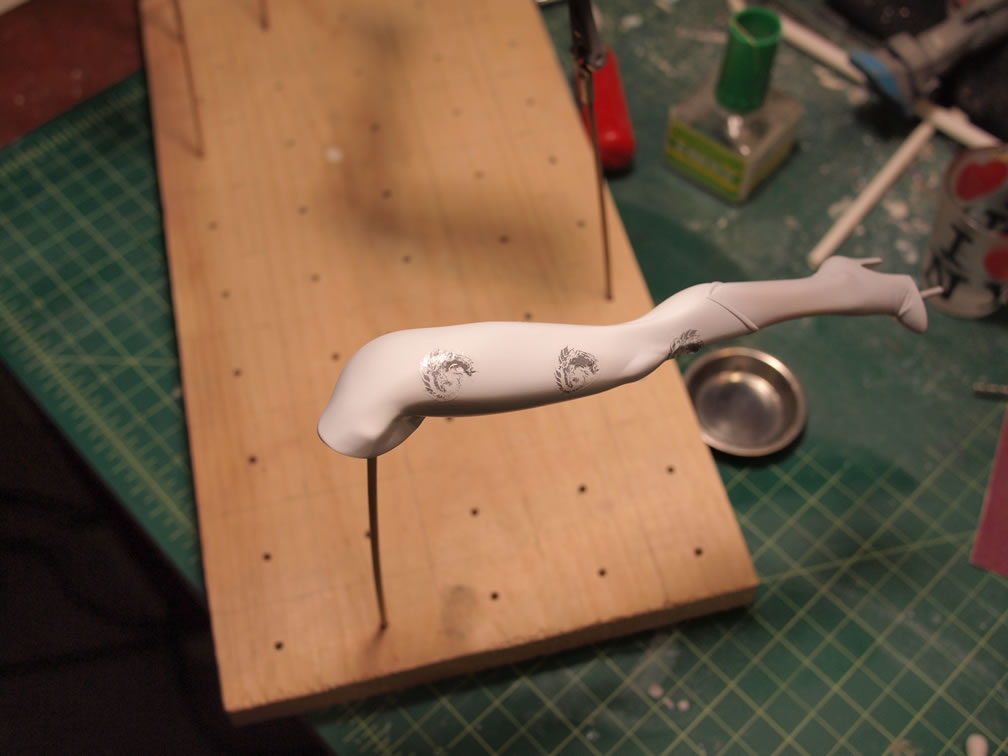
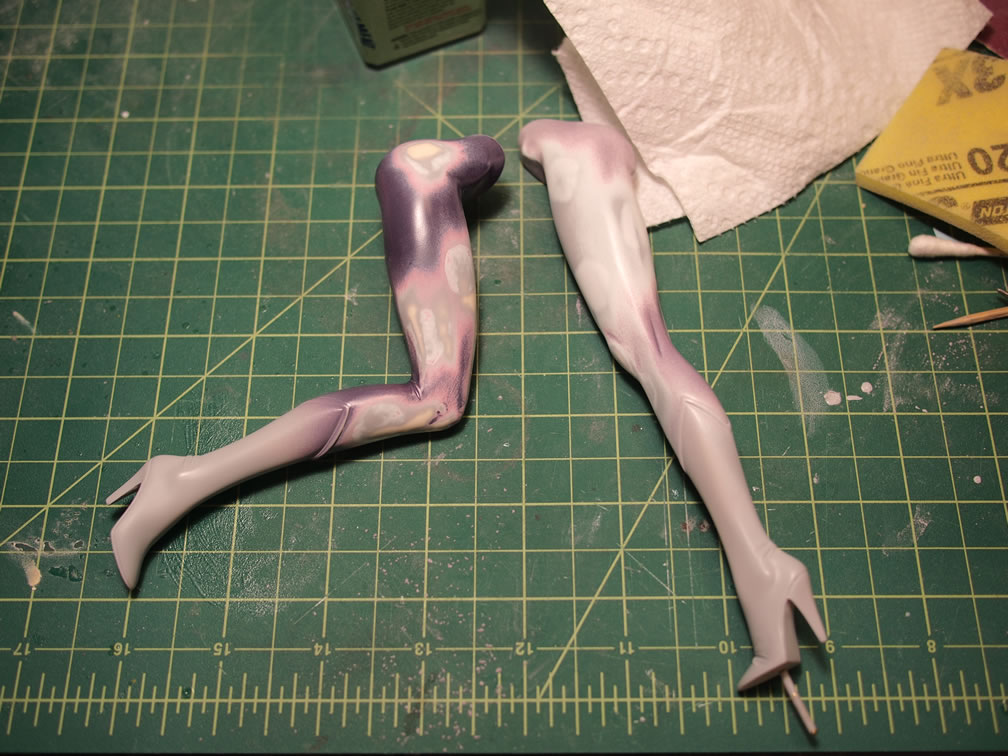
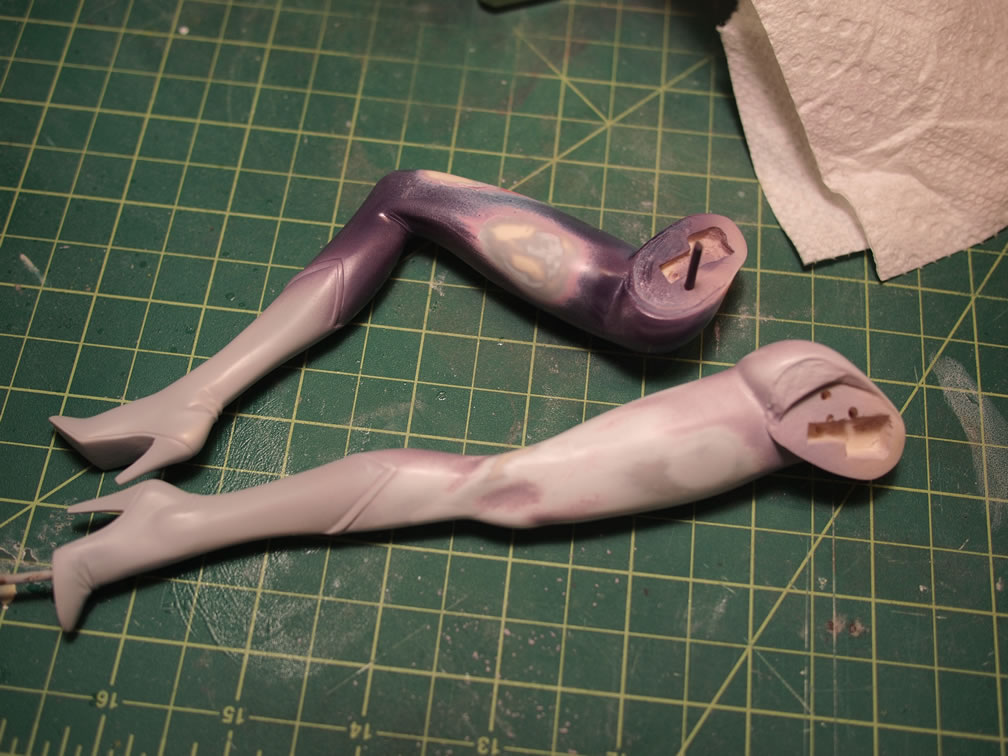
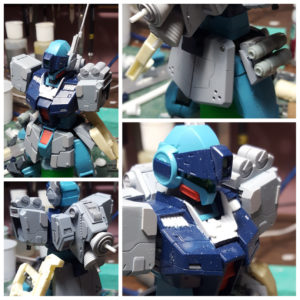
The legs: Originally, I started off with the white primer and was going to paint on the skin tone, add decals, and spray the clear purple over the legs, but decided to just use the white, added grey decals, and spray it with the clear purple. My haste in the while process just ended in a mess as I didn’t clear coat the white before placing the decals which caused a great deal of wrinkling with the decal softening solution, which just looked horrible with the clear purple painted over. So I ended up stripping this and starting over. I was a little more successful on the second attempt, but I’m still not satisfied with the current finish. I will probably end up stripping the paint and starting from scratch, this time, primed, white base, skin tone, clear, decals, and and then the clear purple. I have tonight, tomorrow night, then possibly Friday night to get all these steps in before Orangecon which is coming up on Saturday. But regardless, the legs are still in a questionable state.
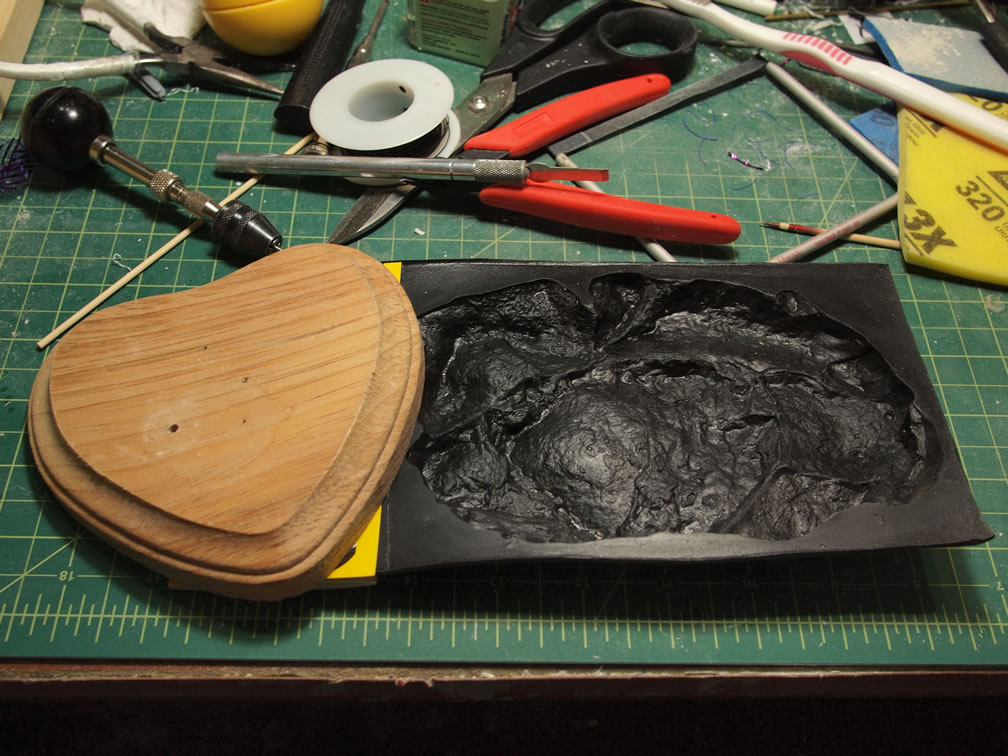
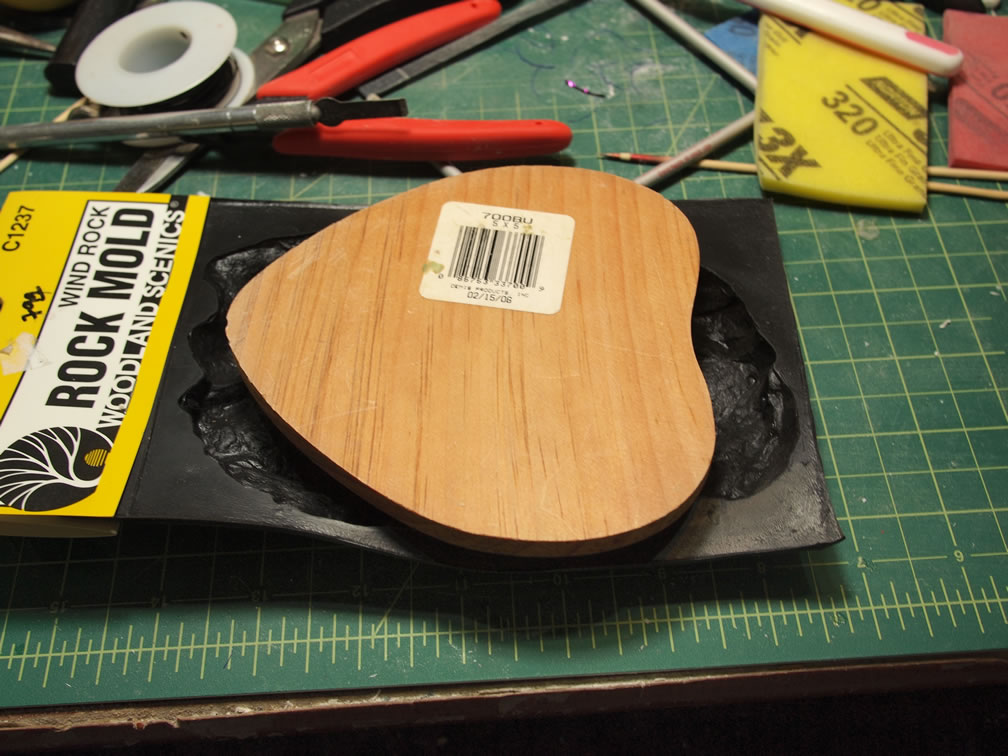
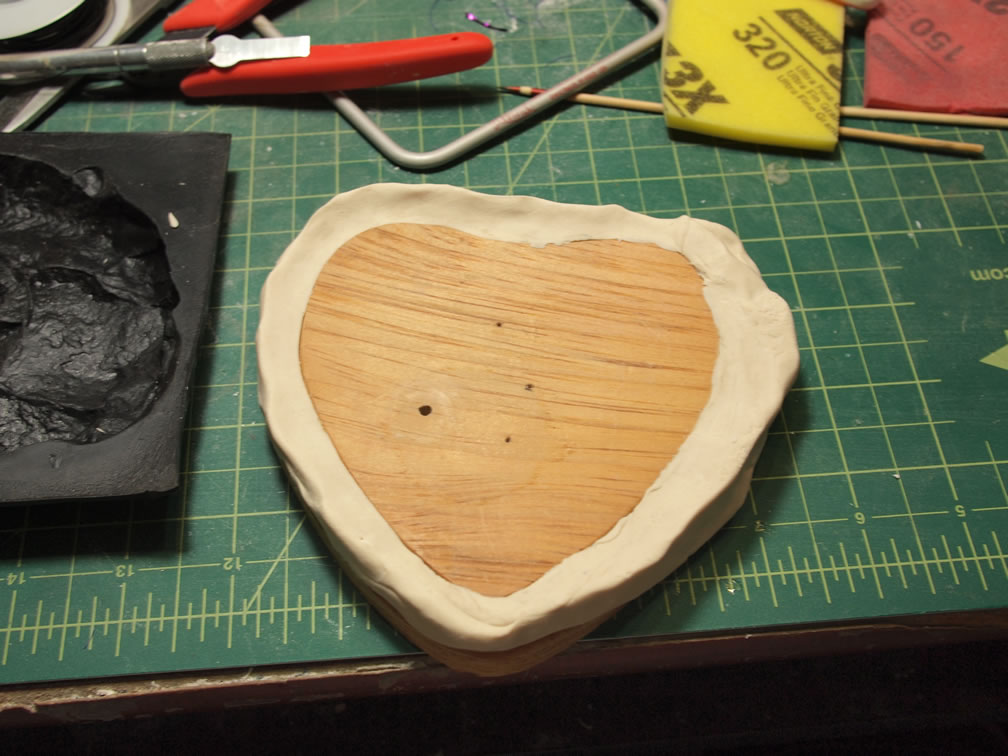
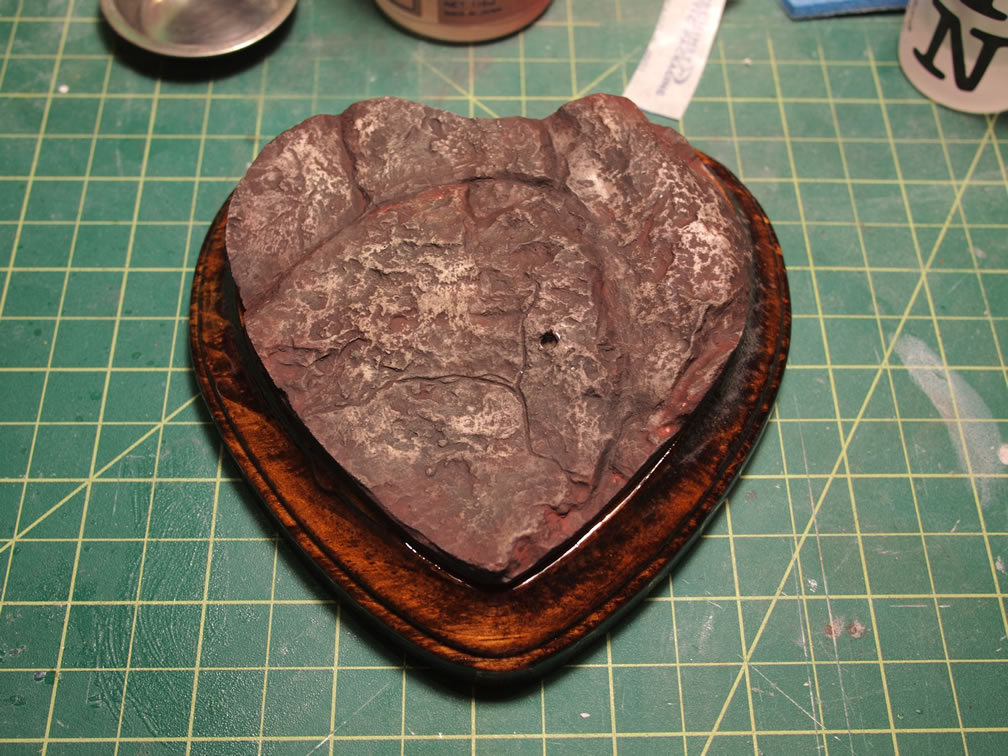
The base: During the progression of the main kit, work on the base was done in tandem. Since I liked the rock casting idea from the Midnight Zaku; I went and grabbed another rock mold for a more interesting base enhancement. A heart shaped wood base is used, so due to the non conventional shape, I used the wood base itself as a template. The wood base is placed into the rock mold to test for sizing and position, then playdough is kneaded and the wood base is encapsulated and placed onto the rock mold. The wood base is then removed leaving a rough heart shaped loop for the casting. Hydrocal is poured into the mold and left to sit for a day to cure up.

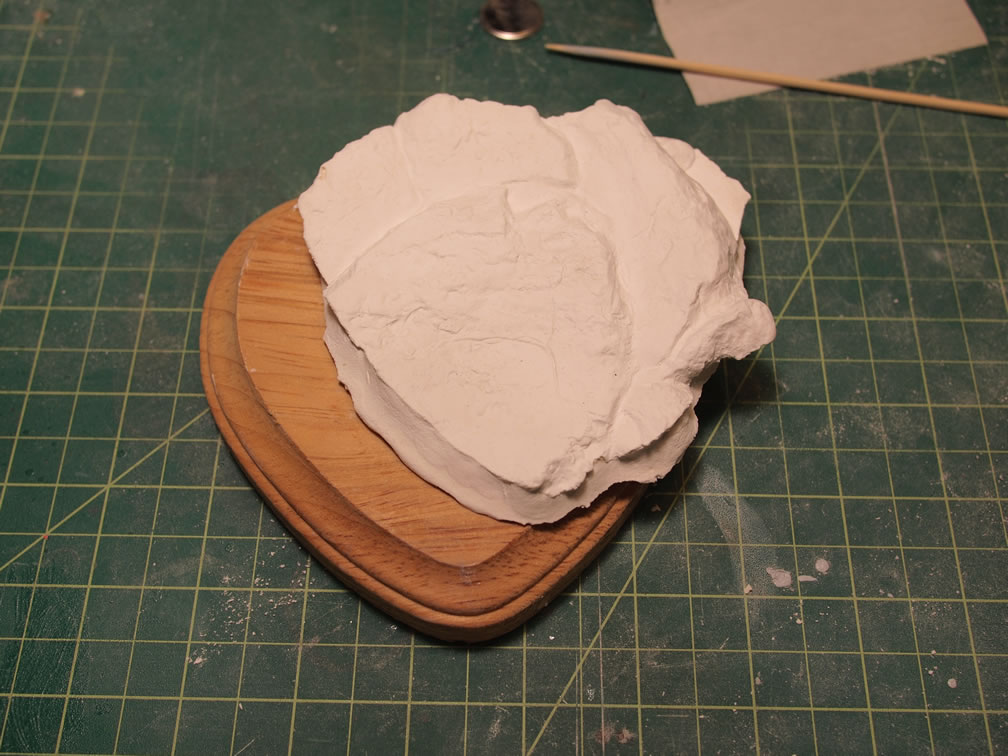
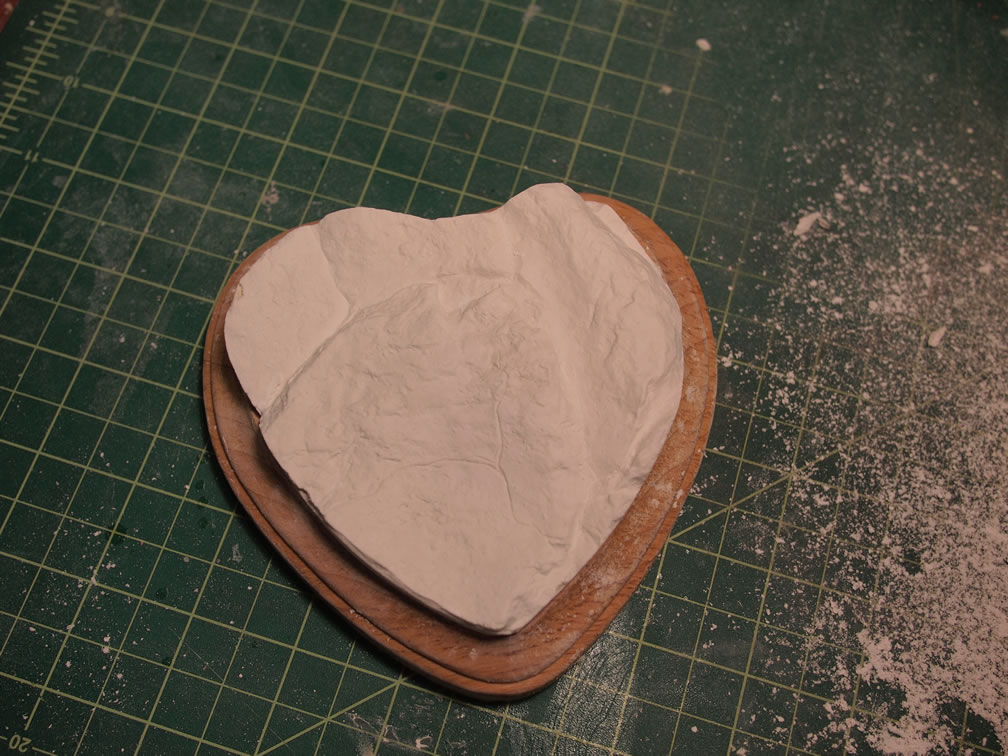
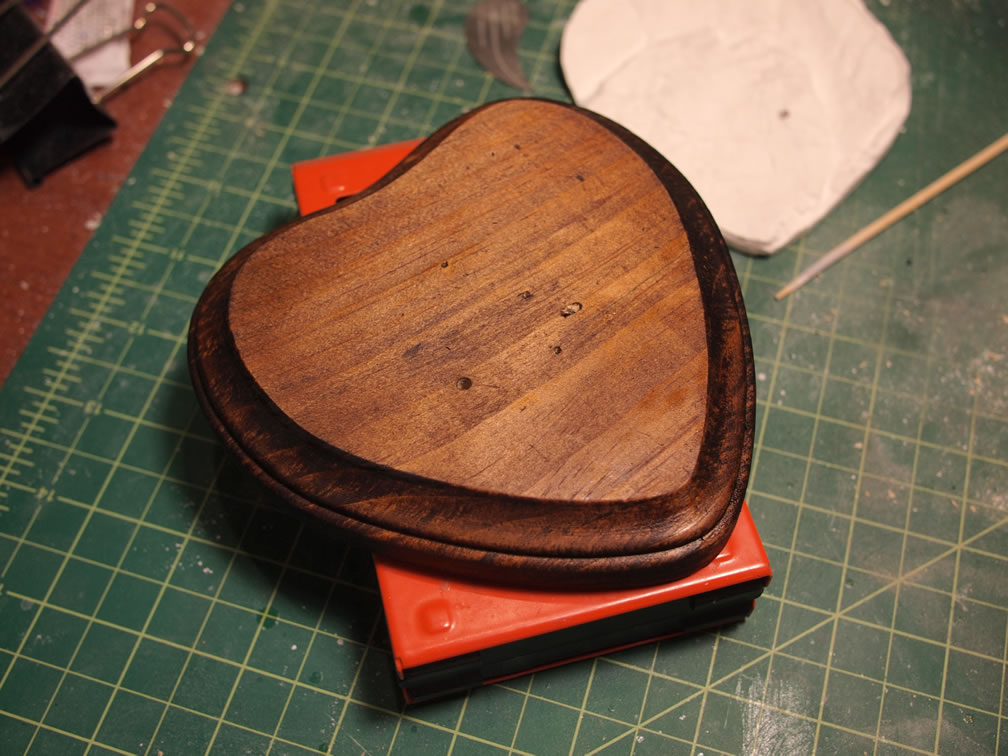
A few days later, the molded rock piece is removed and measured against the wood base. Excess hydrocal is clipped off and sanded to fit the wood base. The wood base is then sanded, stained, and glossed. The hydrocal accent piece is then pained with a few enamel washes and then glued to the finished wood base. A relatively simple base that adds a little bit of dimension to the plain wood plaque.
Last night, I got the pencil, rapidograph, and paint brush out and did the eyes. The eyes are drawn in with pencil, mistakes are erased and redrawn. Then the rapidograph is used to ink in the black lines, eyelashes, and eye balls. The paint brush gets the eye colors. The eyes are left to dry for a few days after which a clear gloss will be applied to finish off the eyes.
Those Gundam Guys Gundam Raffle
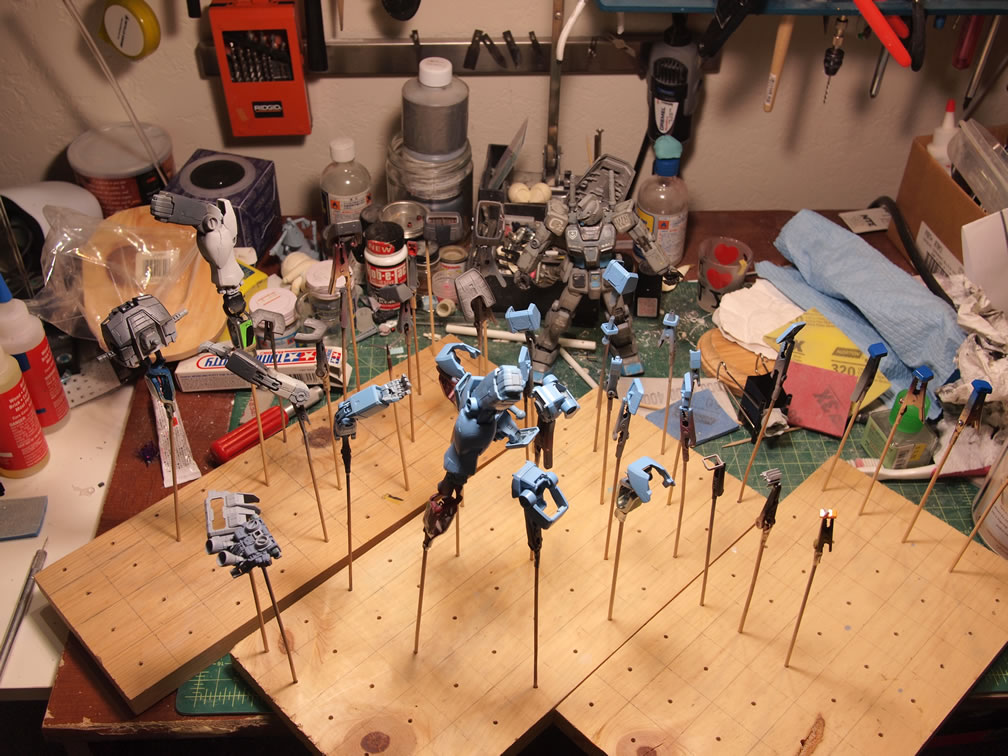
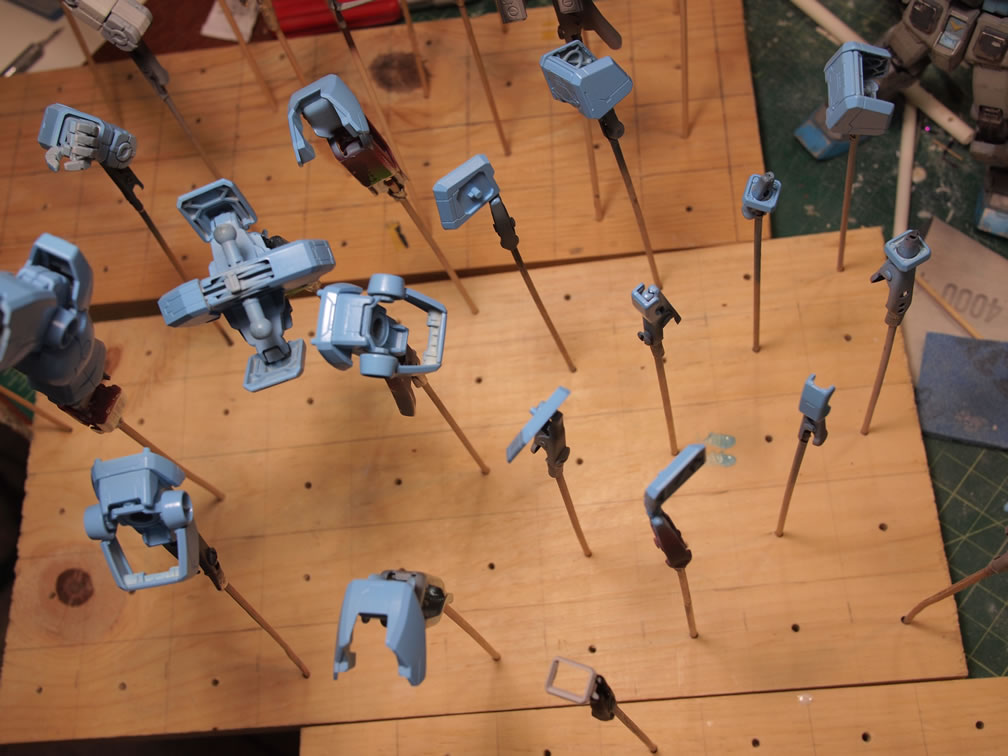
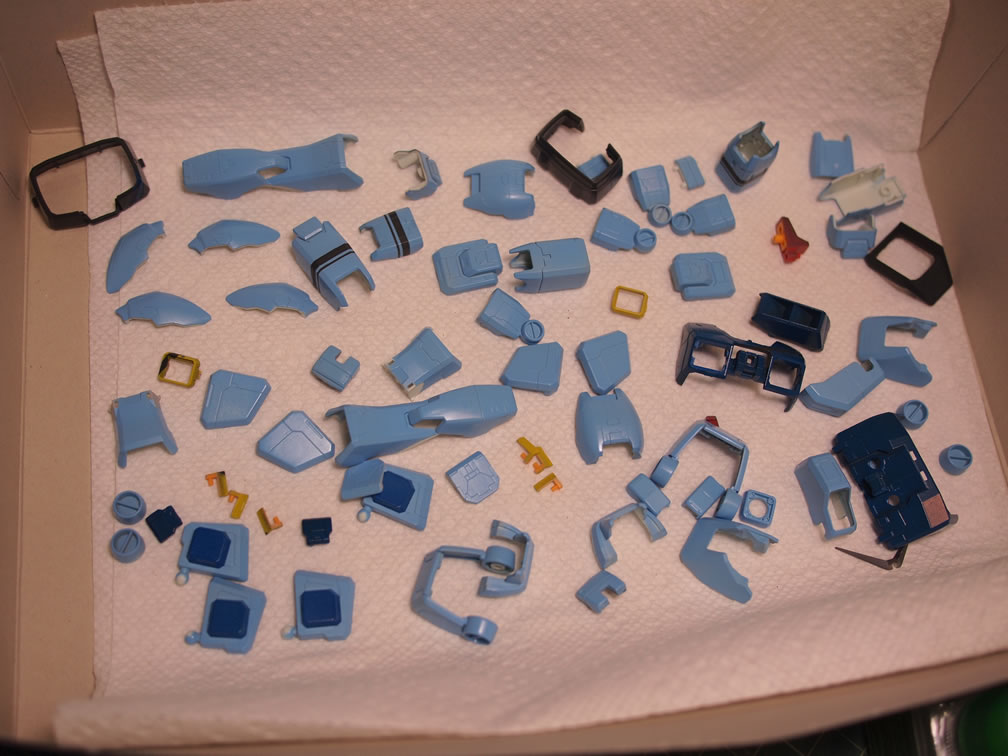
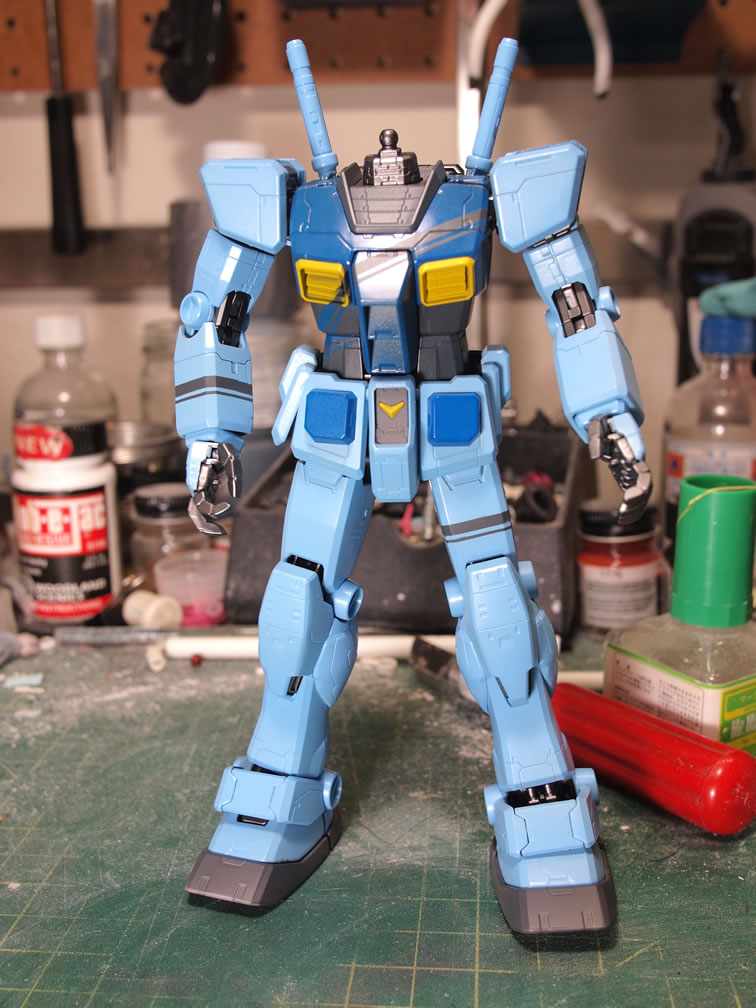
Earlier last month, Nicky came up with the idea for a select number of folks from ThoseGundamGuys to build and finish a kit, then offer it up as a raffle prize. We toiled on what types of kits we can use, focusing on a relatively newer Master Grade. Since we’re doing so many Zakus as our theme this year, we figured we should do a Gundam as we are “ThoseGundamGuys”. The original plan was to get a paint scheme then split up parts among Angel, Dan, and me to build and complete. But a better idea was hatched. Angel would focus on getting the kit sanded, built, and primed. I would get the sucker painted. Then the painted kit will be handed off to Dan for clear coats, decals, panel lines, and the final finish. Dan’s designing decals and should have sent off the decals to the printer. I’m still working on the weapons and head piece before I can say I’m finished with my part. But here’s my progression so far. The One Year War kit was separated into major subsections and placed on skewers to get the first layers of paint.
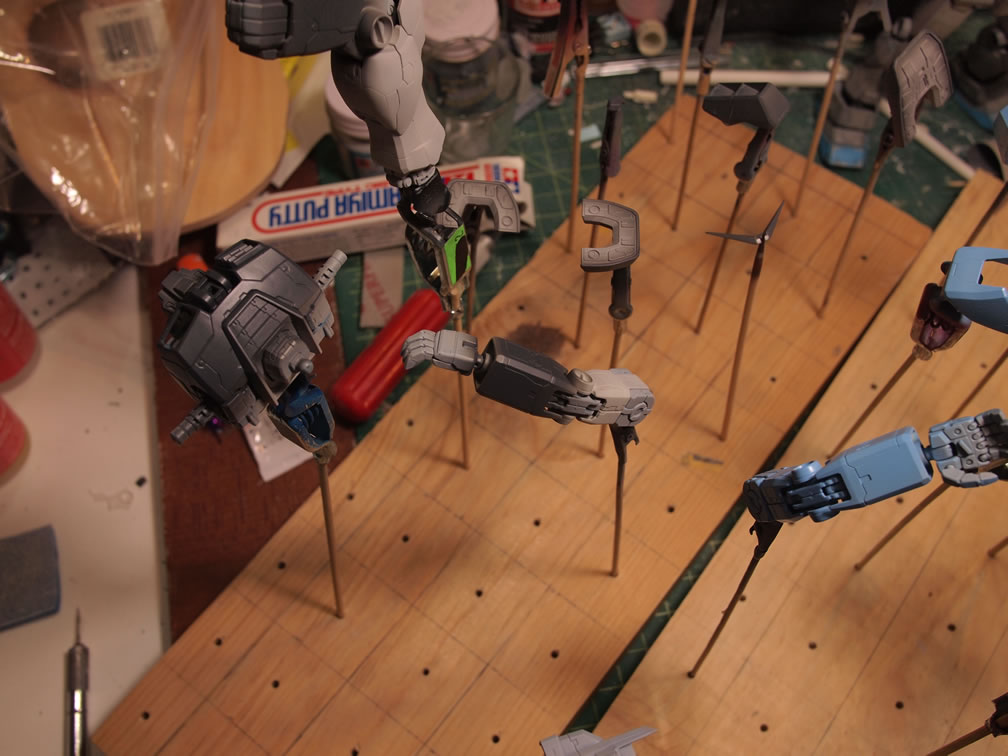
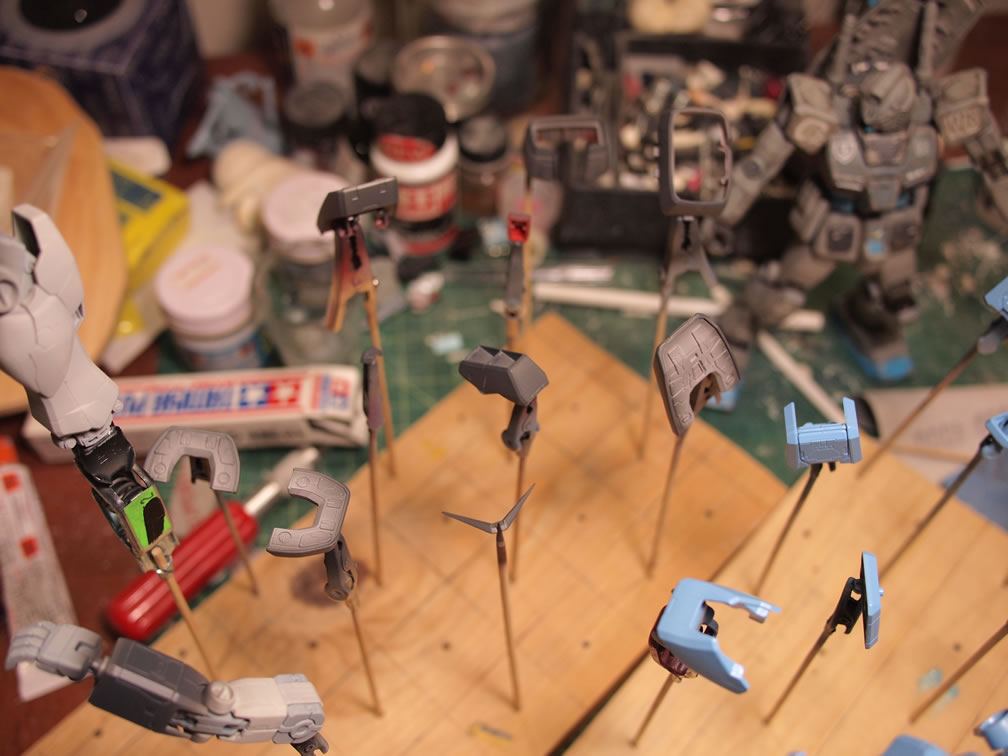
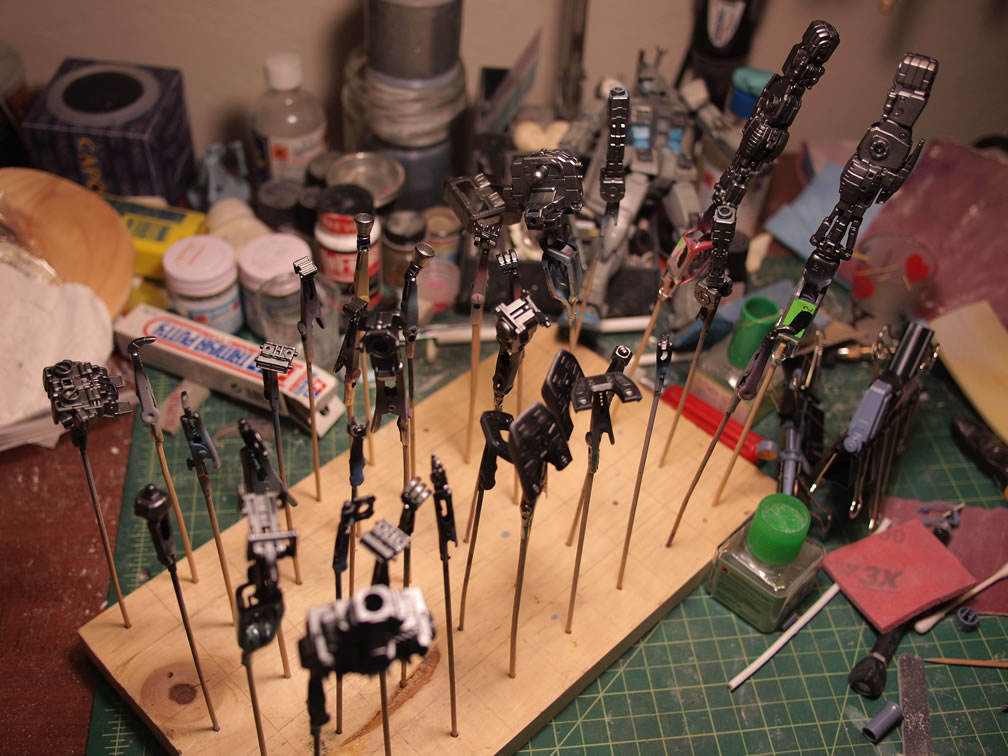
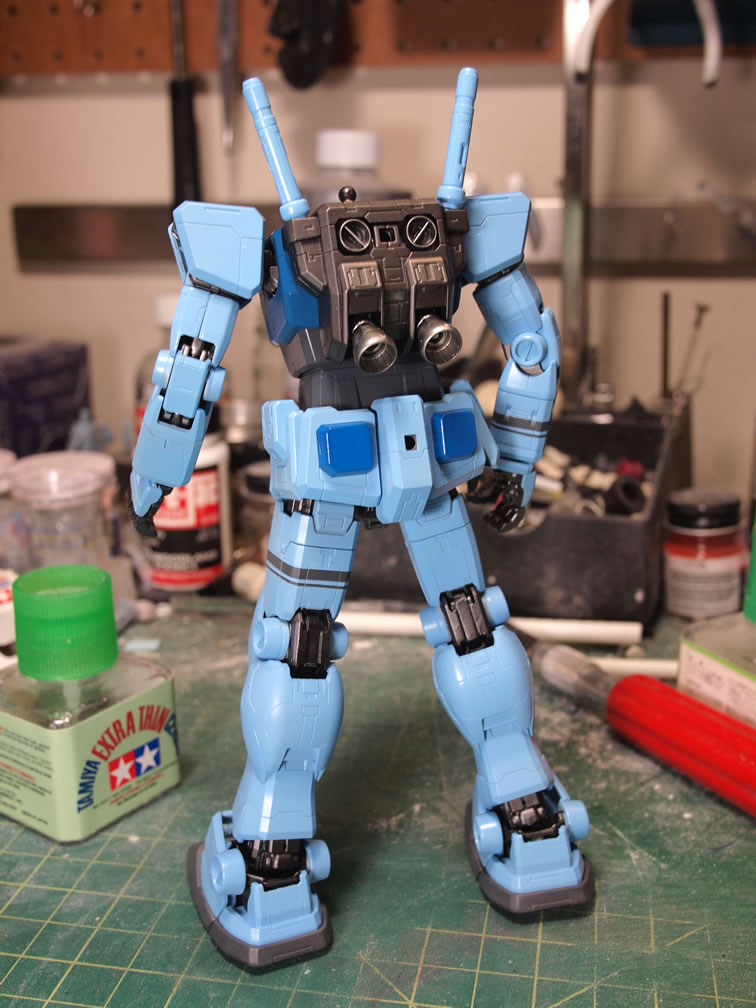
The paint scheme is a interpretation of the G3 scheme inverted. Some striping is also added to add some styling to the suit. The quick paint and mask and repaint was done over the past week. The painted parts are allowed to dry for a day then the armor pieces are removed to paint the internal frame. Then foot details are airbrushed free hand.
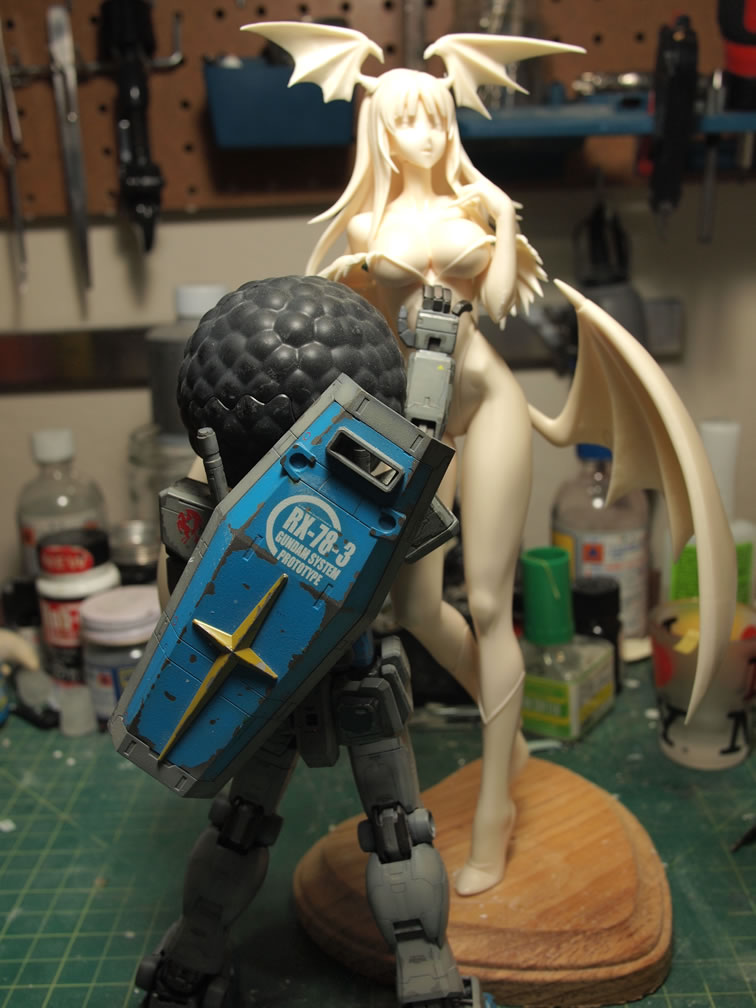
In the mean time, I got the shield and weapons from Angel. The weapons were not built yet, so they were clipped off the tree and glued.

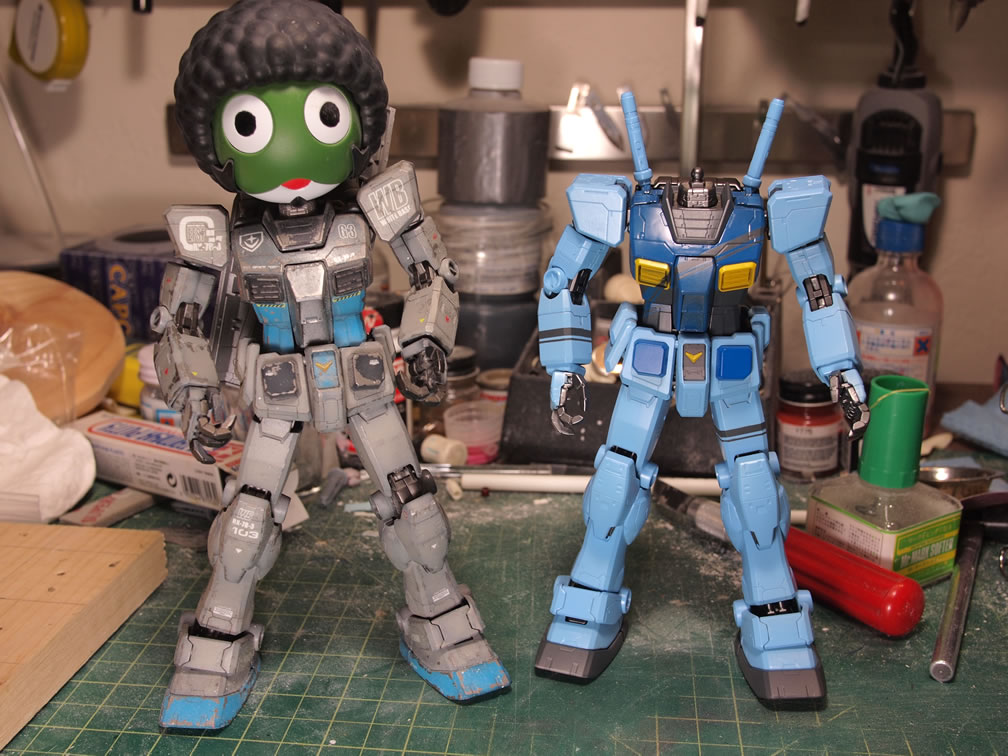
Towards the end of the week, the shield (not shown) and main body sans head, is done, as far as my part is concerned. As soon as I finish the head and weapons, I can pass the kit on to Dan for his part.
So thats what the shield was for, very nice work. Wish I was going to SCGMC, but florida is a bit far from there. Good luck to you guys.