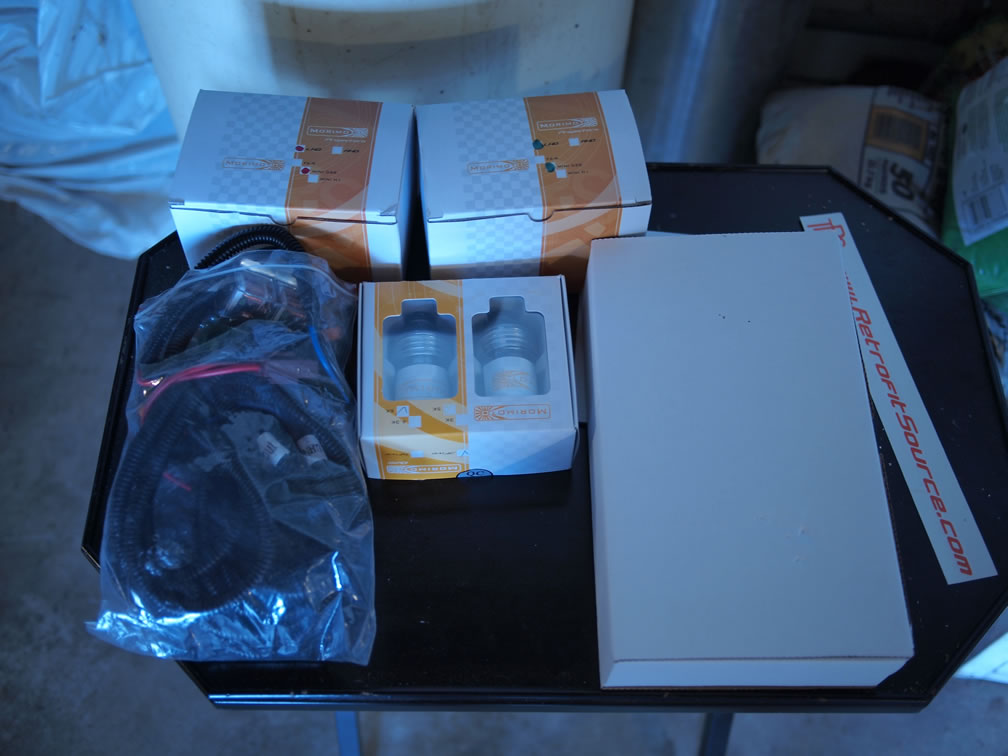
The last time I messed around with the scooby, I added an HID kit that was just bulbs and ballasts. I did this with my last tC and it seemed to work just fine and I was pretty happy. Then I started reading the internets and discovered that the method I was employing was the wrong way to do things. As with most things, quick and easy methods are usually always the wrong way to do something. So, since I was feeling fairly self righteous, I went out and ordered a full retrofit kit for the scooby from theretrofitsource.com And to make things easier, they even have a “quick and easy” simple plug in kit for the WRX, the Morimoto Retro-quick system. It will have everything you need. So I ordered this as well as some nice ccfl rings. I mean, I’m going to be pulling the headlights apart anyways, so why the hell not?
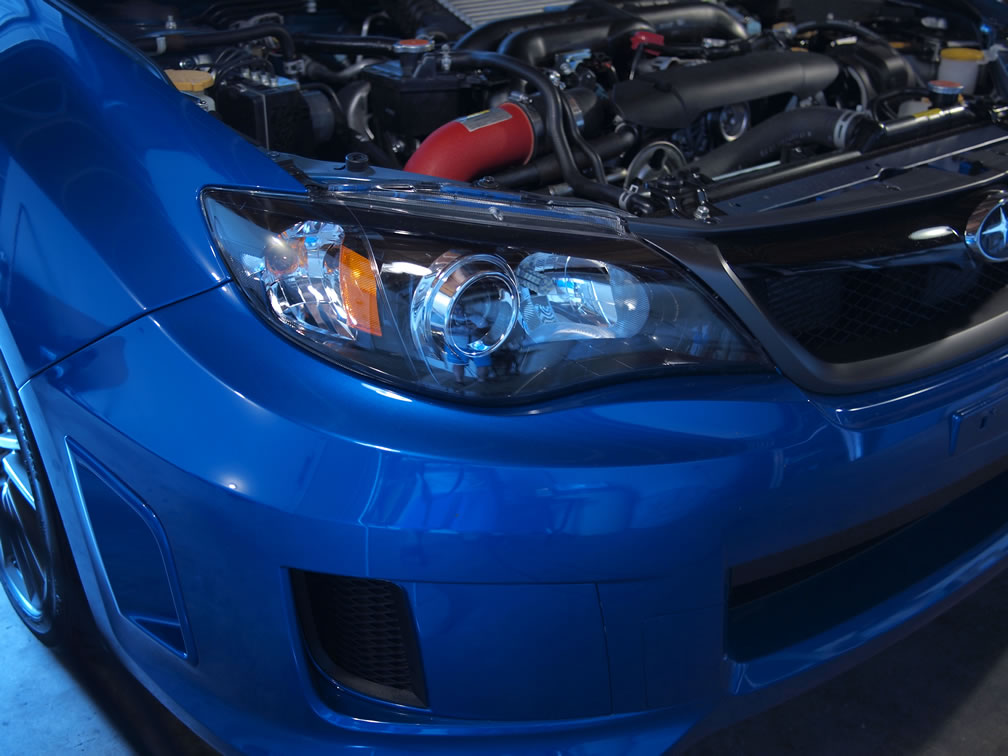
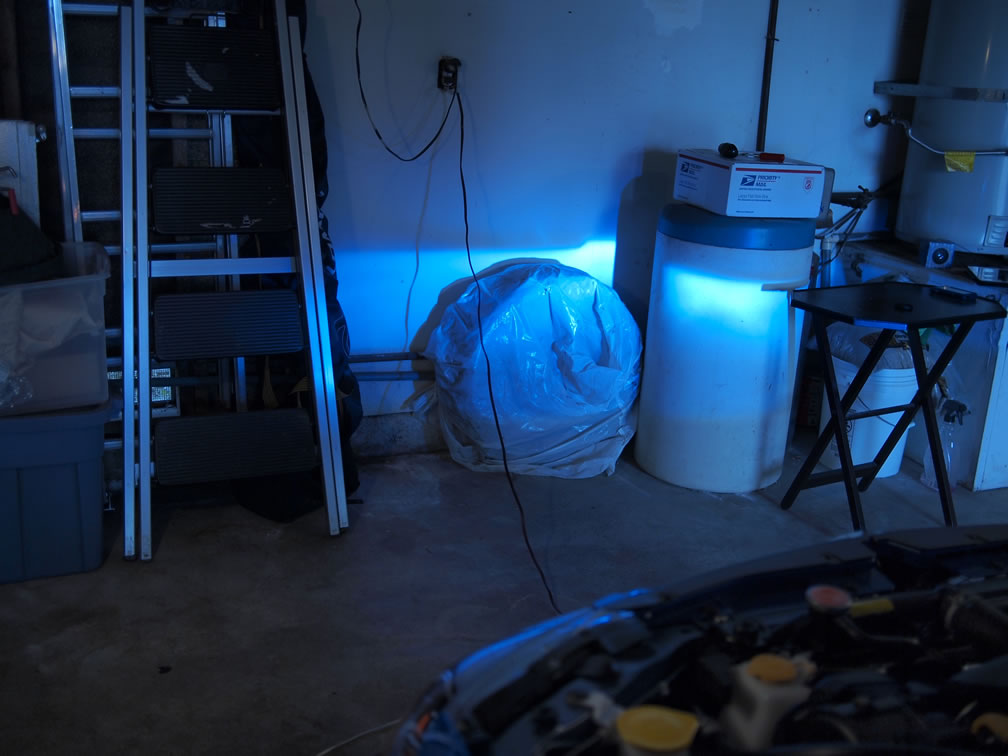
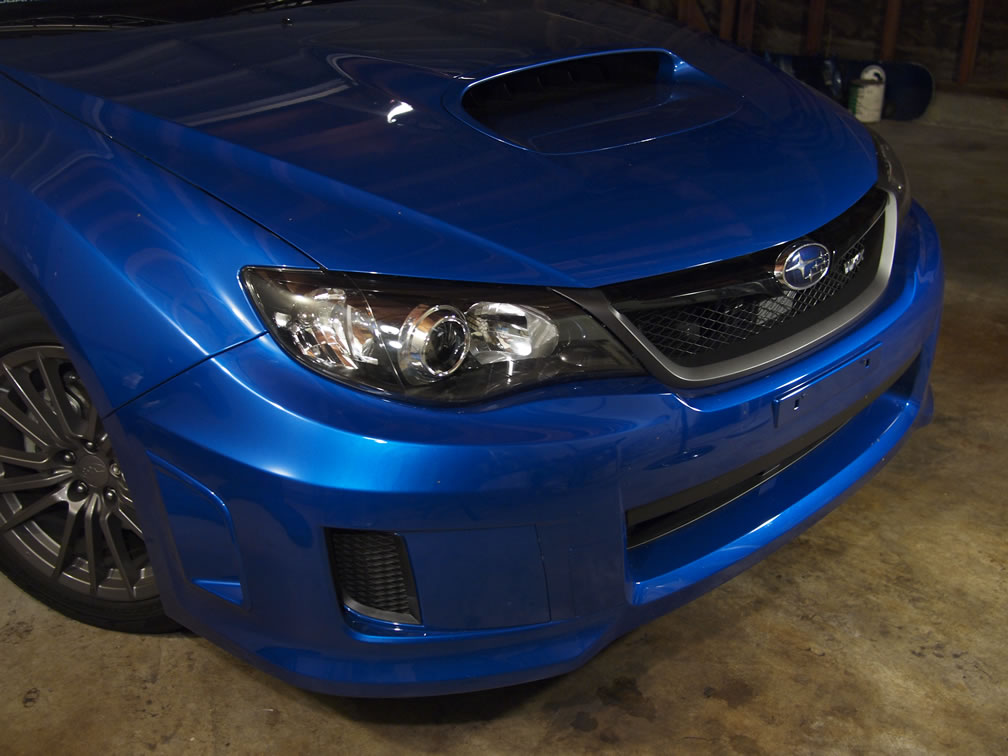
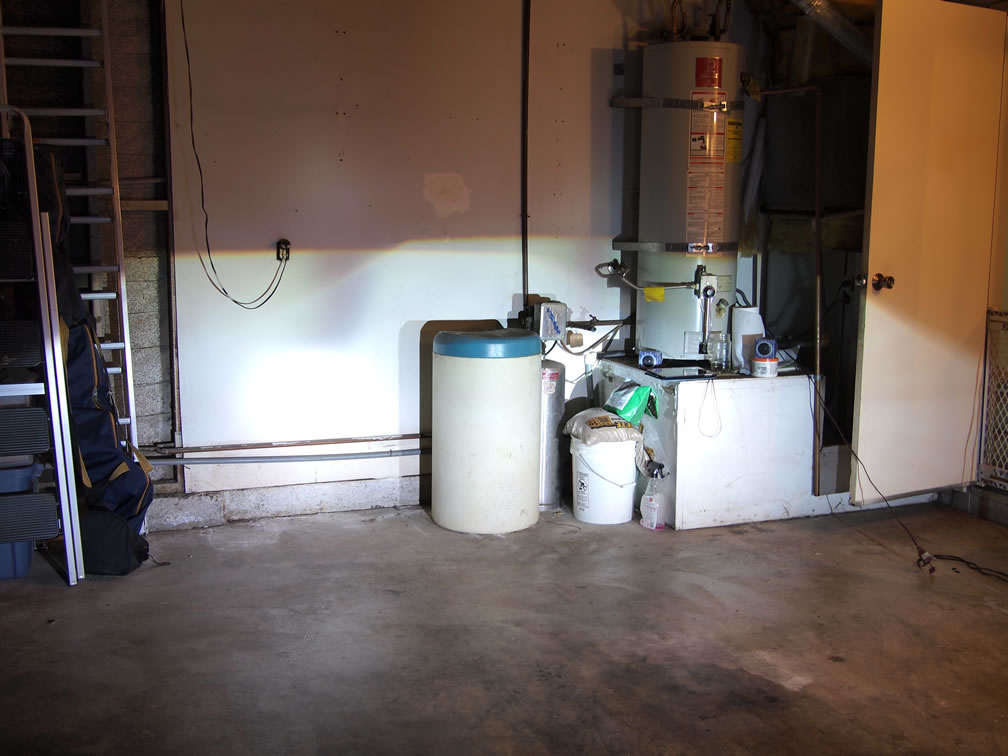
Last Saturday, all the parts came in, well sort of, everything but the ccfl kit. Emailing the company, they had forgotten to ship it with my order and immediately shipped the set out to me. No work to be done on it last weekend, so here are just the pictures of the stock headlight, a picture of the cut off and what the current HID kit bulbs look like against my garage wall, and the morimoto quick kit.
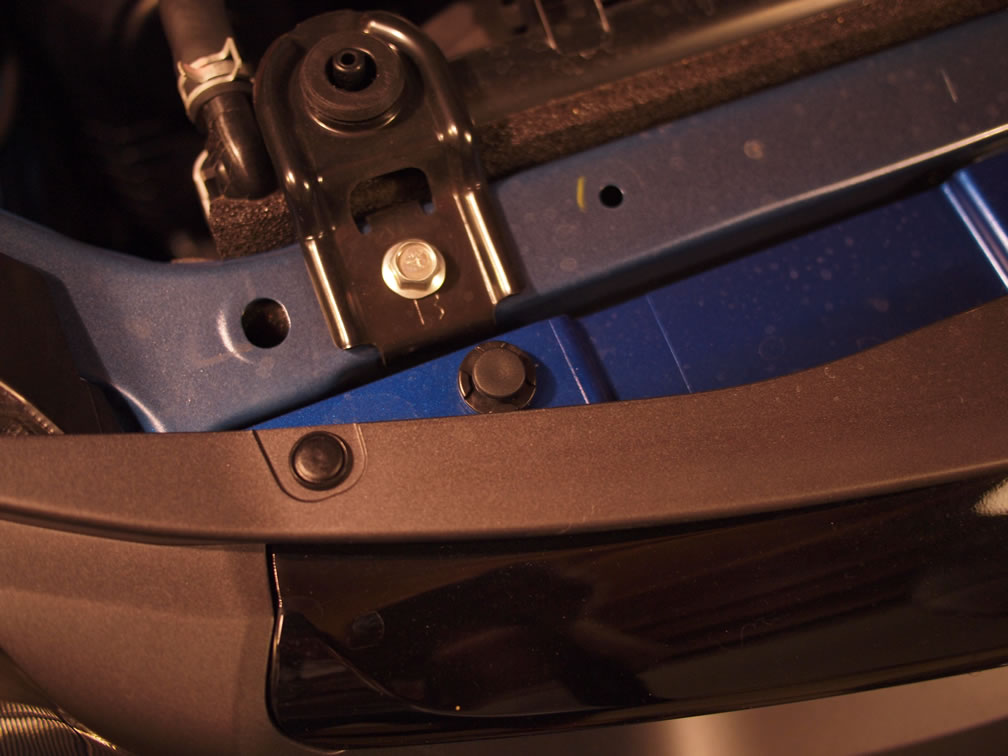
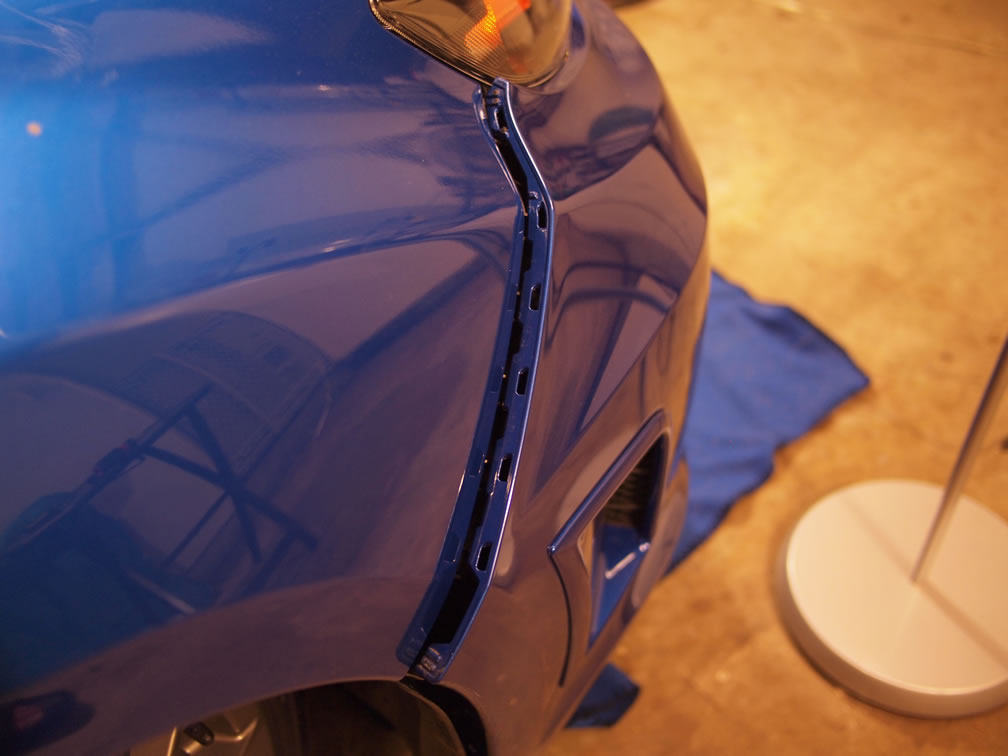
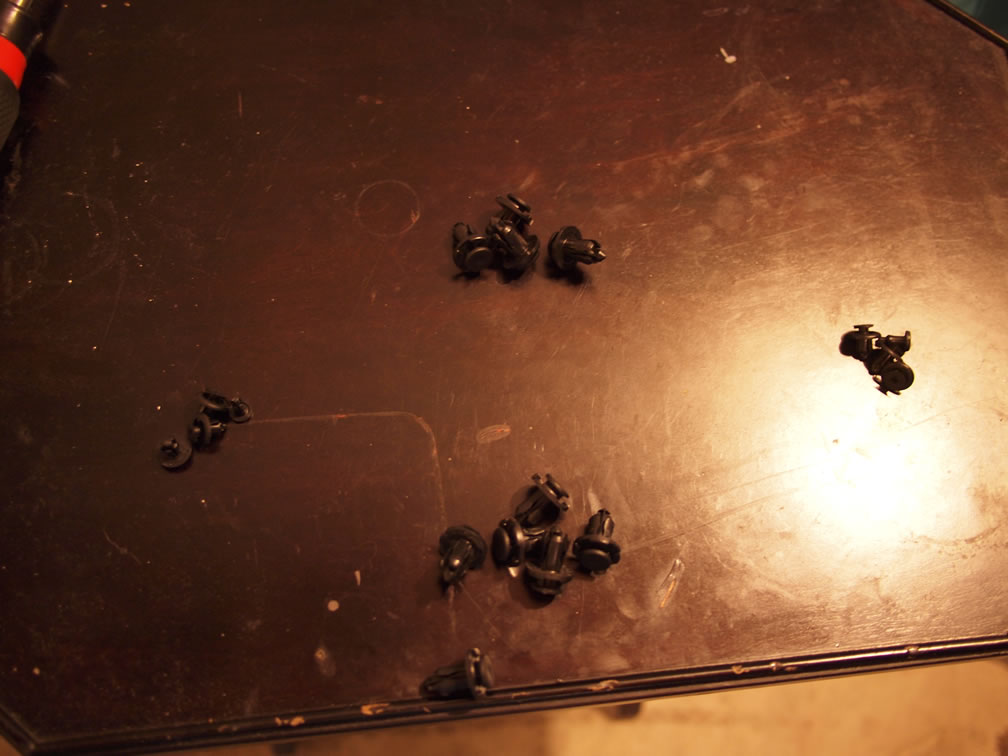
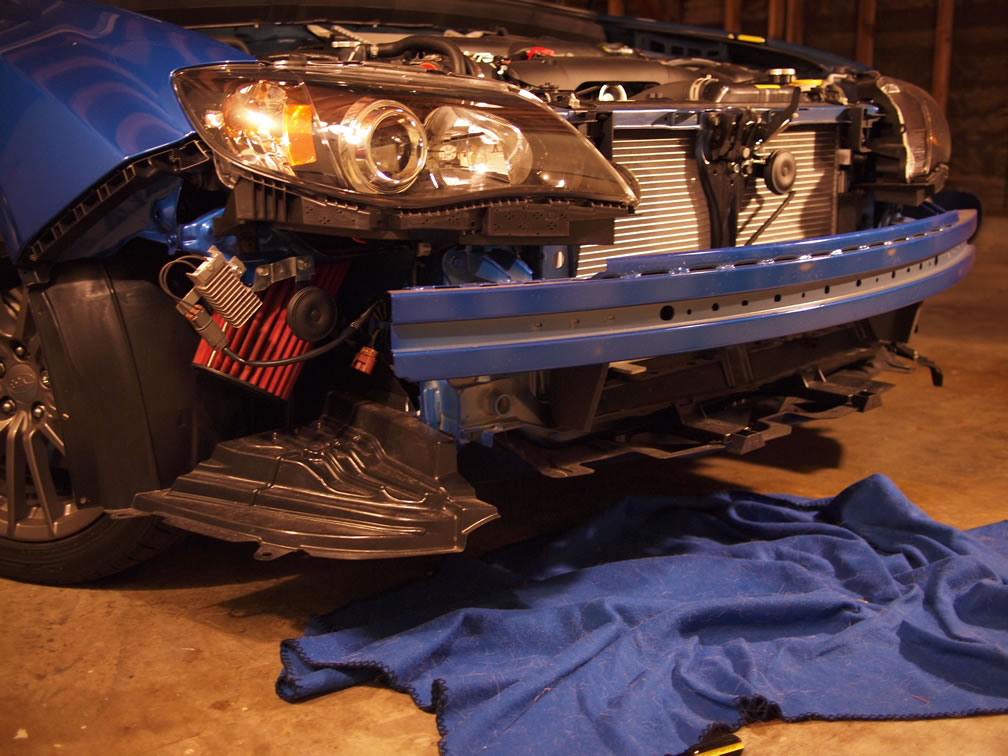
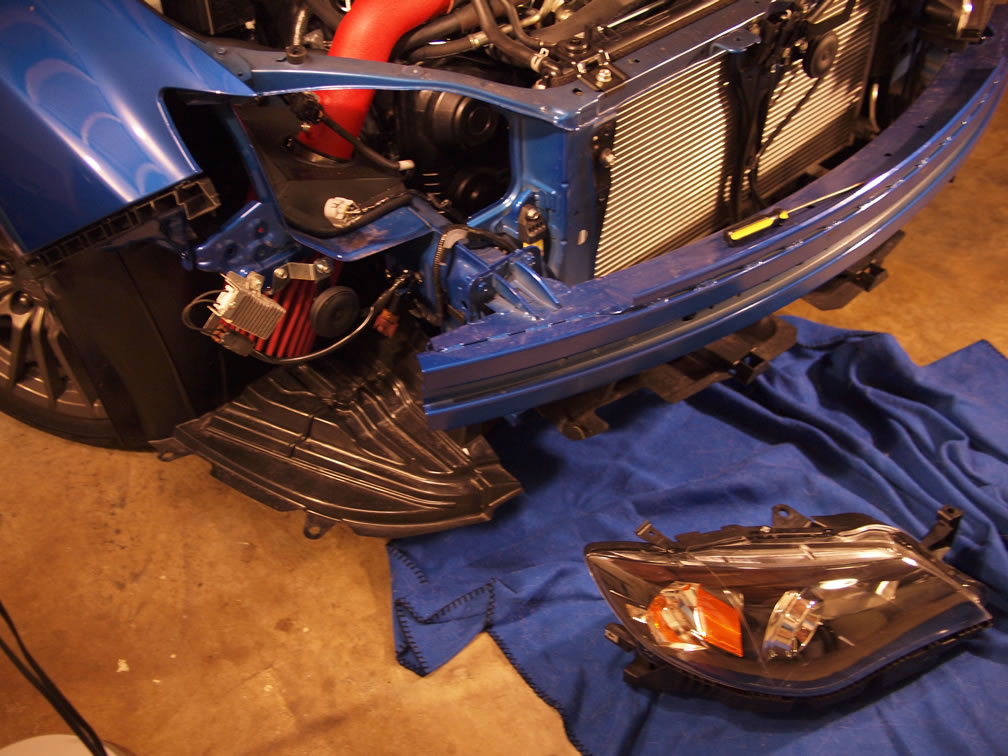
The argument for retrofit vs the quick and easy bulb/ballast plug in kit already exists in several places on the internets, so suffice to say, I jumped the fence and decided to to the retrofit way. The ccfl kit arrived a few days ago, and since I’m off Friday, I decided to start. First thing to come off is the bumper which is held on by several push pins; pop the middle section with a flat head screw driver then carefully pull the pins out. 4 in the front, 6 on the bottom, and 4 on each wheel well. once those pins are out, I placed some screw drivers into two of the top side now empty, pin holes to keep the bumper from popping off while I remove it. Each side is popped out and then the entire bumper assembly comes apart. I put it down on a blanket to keep from being scratched while I work on the headlights.
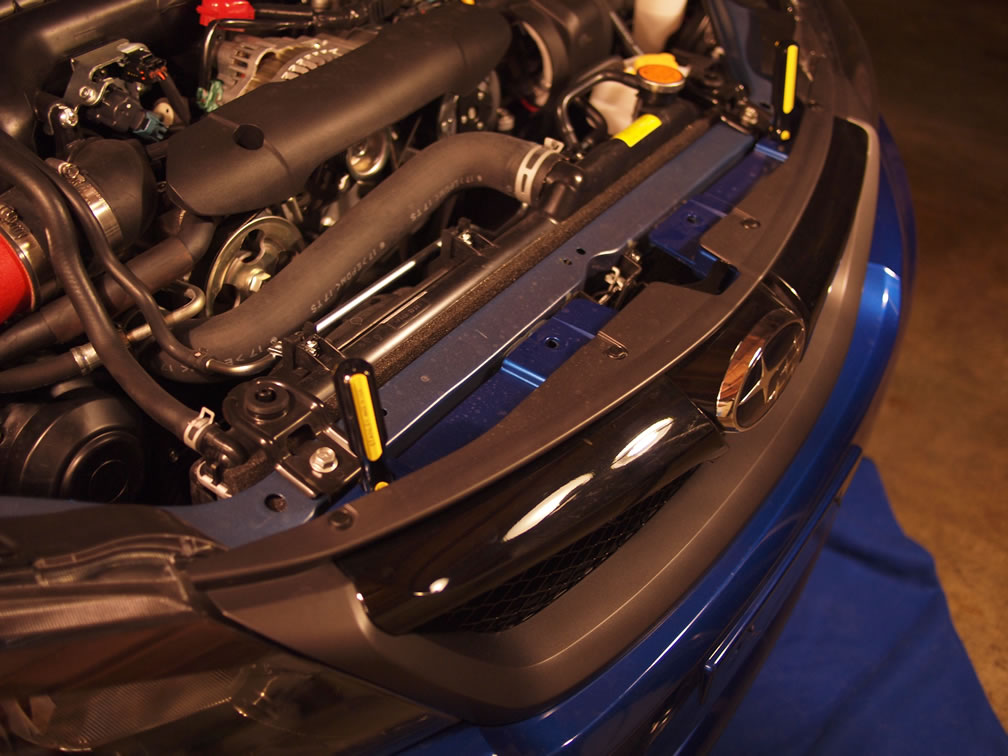
Scooby with out the bumper. Time to pull those lights.
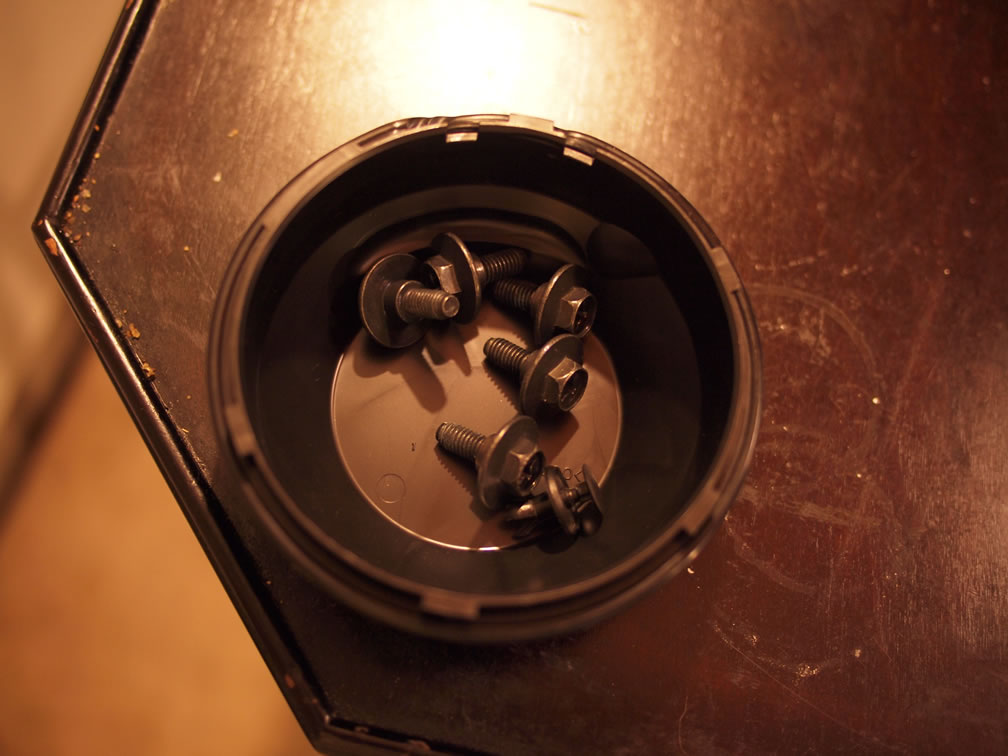
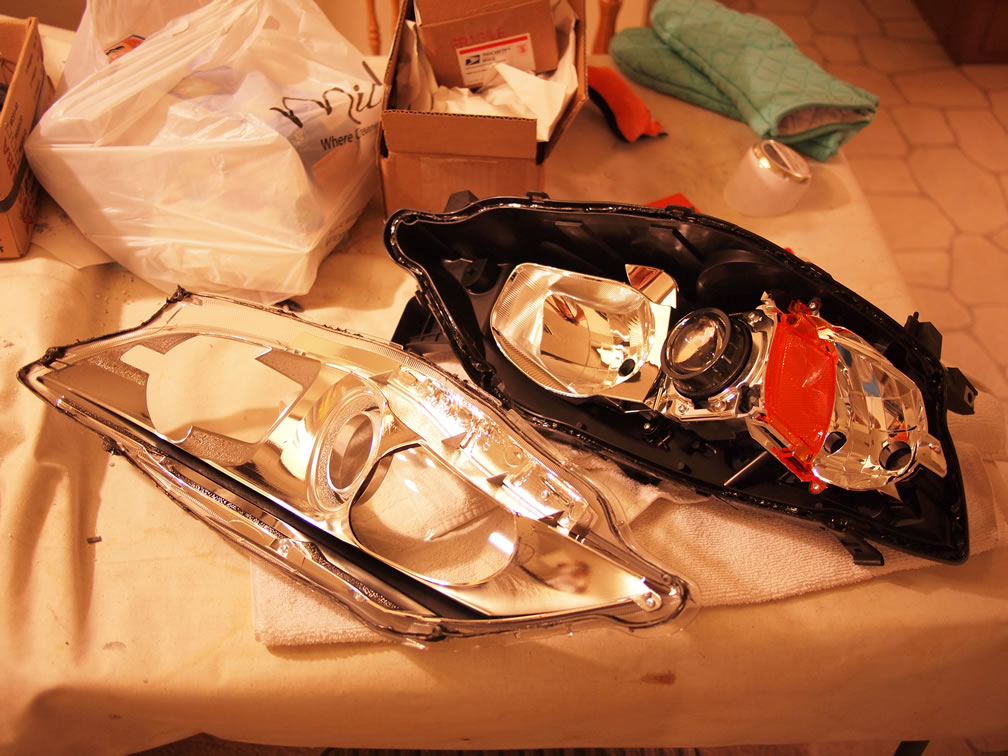
Each light had 5 screws and a pin to remove and the light assembly popped out. There’s a plastic frame piece that is held on to the light assembly with 3 screws. Those are removed to remove the plastic frame.
Once one headlight is removed and all the wires and screws in the headlight assembly removed, it’s placed into a preheated 275 degree oven for about 10 minutes. This softens the glue that holds the two halves of the headlight assembly together and makes opening up the damn thing a frigging breeze. Pending you have oven mitts.
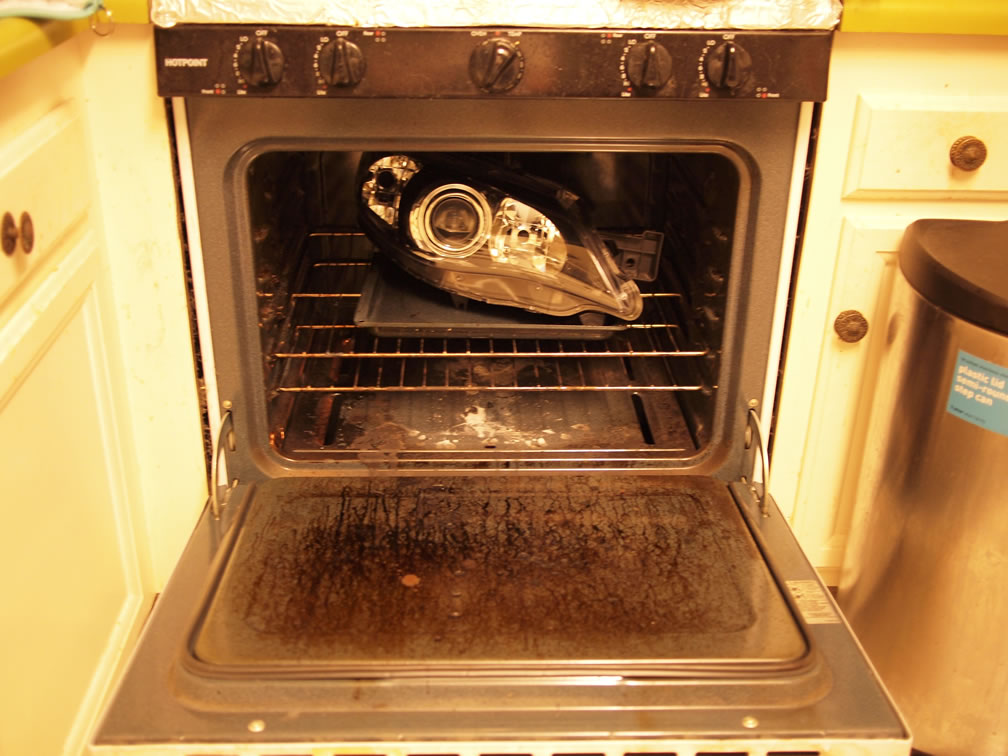
After ten minutes, the assembly is nice and toasty and with oven mitts, the two halves are pried apart from one corner to the other. The other headlight assembly goes into the oven for the same treatment. And once the parts are pried apart, they’re left to sit and cool for a bit before getting to work.
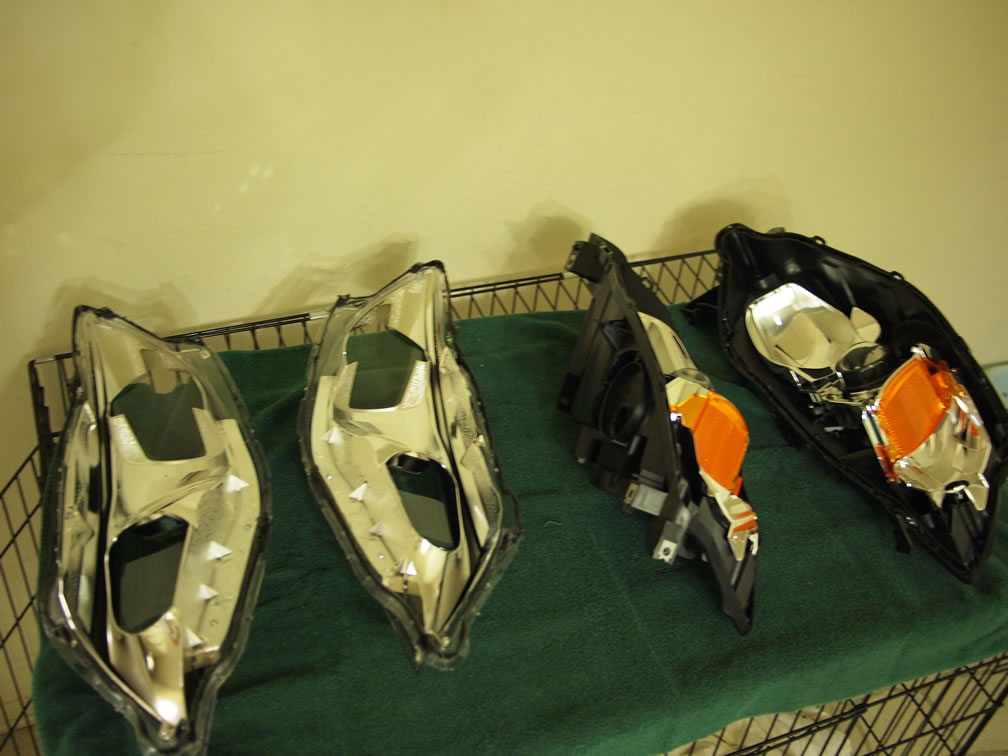
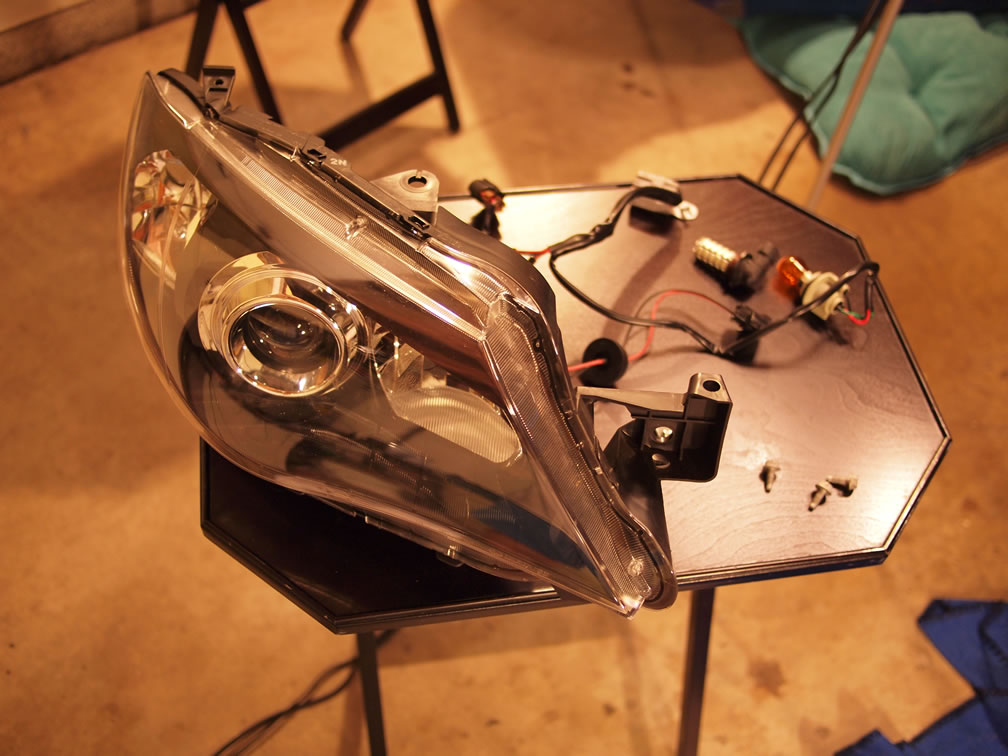
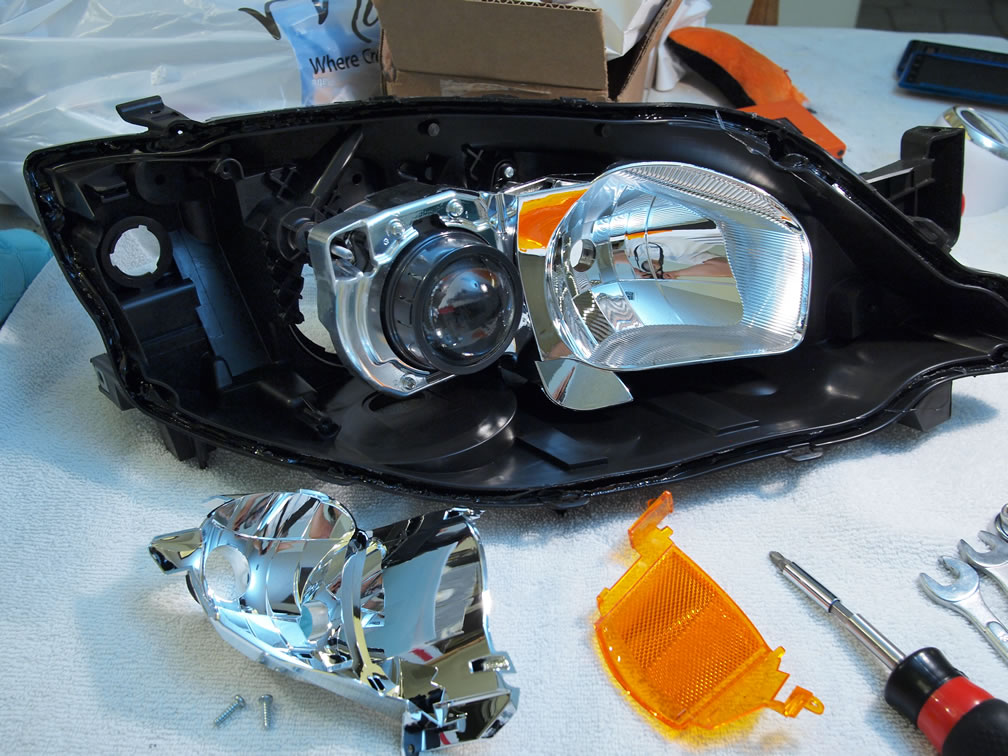
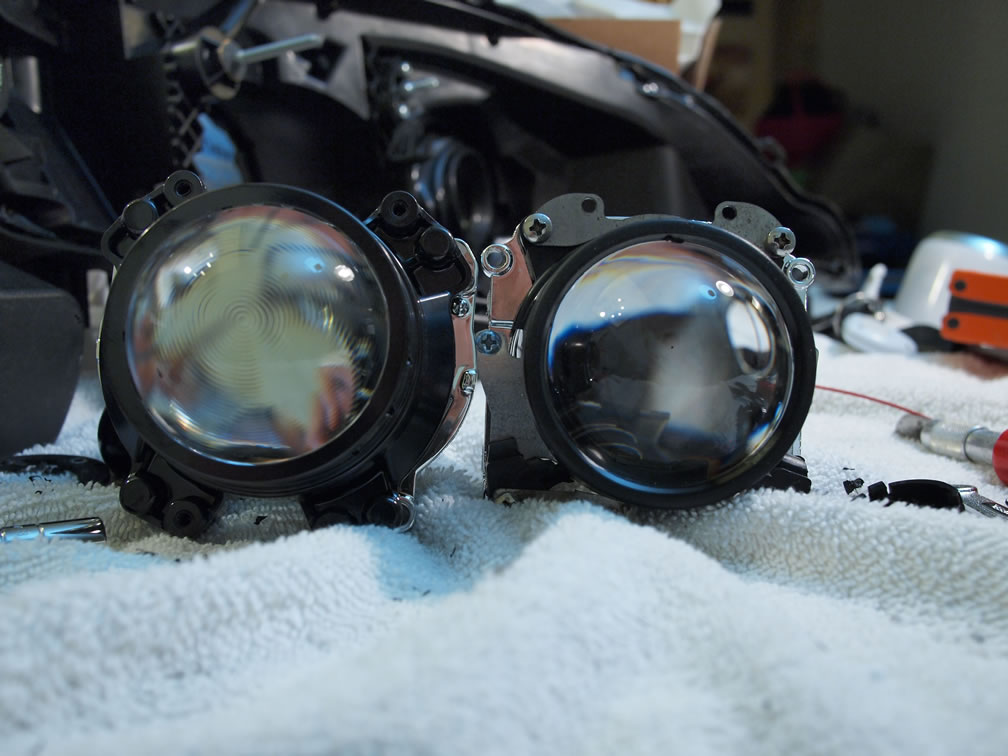
The reflectors and amber reflectors are removed. There are three screws holding the main reflector assembly to the back of the headlight housing. Some care needs to be taken to remove this otherwise the reflector piece may flex too much and crack… heh, guess how I learned about that one? Well, nothing a bit of epoxy glue won’t fix. The original projector housing is removed. I have a picture of the Morimoto projectors next to the originals, the originals are much larger and the lens is not smooth and clear like the Morimoto. The Morimoto also has the bi-xenon function of using the light as both low and high beams. There’s an electro-mechanical flap that flips up for high beam usage. The wires just need to be connected with the high beam wiring for this function to work.
When test fitting the Morimoto projectors with the WRX’s reflector assembly, there was a fit problem. So out comes the hobby saw and some files and the projector fittings that kinda bulged out were removed. It’s almost a plug and play quick swap; but the key word being retrofit, so there was a little but if cutting and sanding work to get things completely flush.
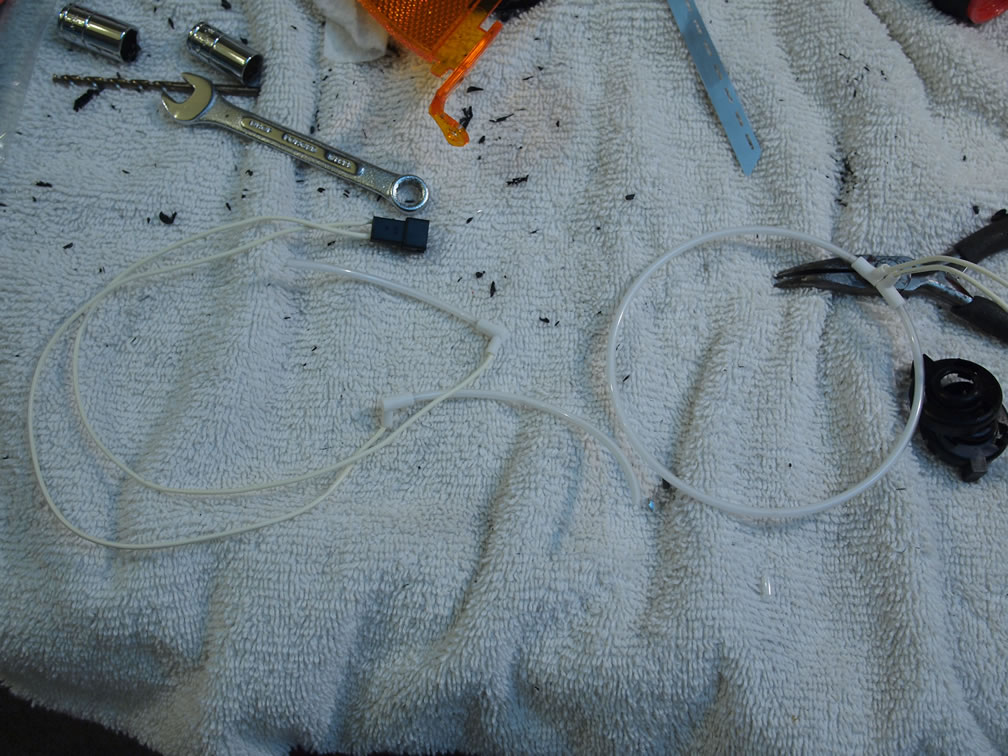
With the projectors swapped out, I take one of the shroud assemblies out of the clear piece from one of the light assemblies. The 100 mm ccfl rings don’t quick fit into the little ring area between the larger area and smaller area of the shroud. I didn’t like the idea of the ring just sitting in the middle of the shroud, I just think it looks kinda odd, but in fiddling with it, I broke the ring. Oh well, I wasn’t overly satisfied with the sizing. I think I’ll have to use a 120 mm ring; but that would require another removal and dismantle process for the lights. Guess I’ll just go without the ccfl for now.
The refectors are assembled, and I left out the amber corner pieces to have clear corners. The two half pieces are squeezed together and placed back into the 275 degree oven for about 8 minutes. Once removed, they’re pressed together to get a full seal then clamps are applied to hold the assembly together while the part cools down and the glue solidifies again. The next headlight assembly is place in the oven for the same treatment.
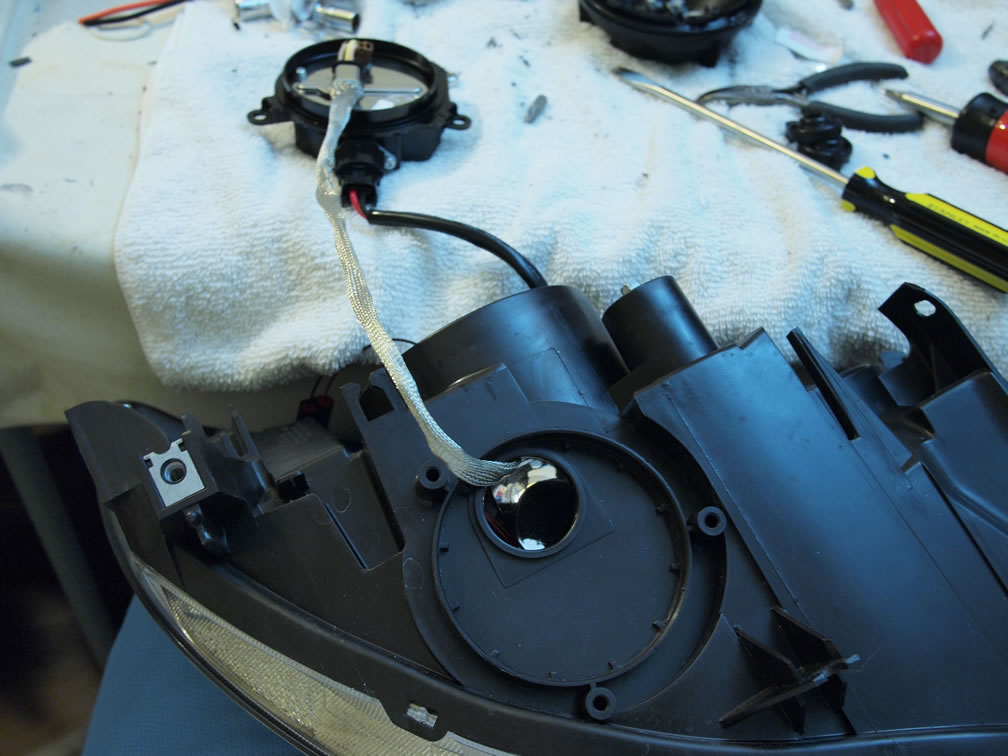
The WRX headlight housings were molded for HIDs. There is even a spot for attaching the Morimoto ballast. Now these parts needed no modification and fit perfectly.

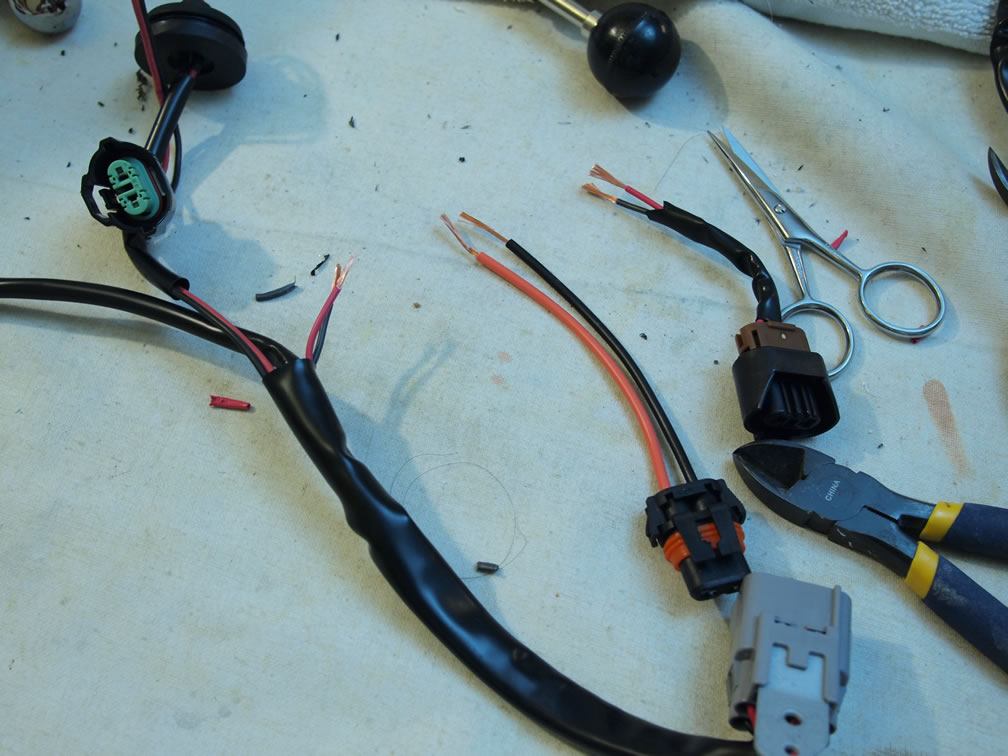
Since I want to use the HIDs for the high beam as well, I cut the high beam wire from the original wire harness and spliced the three wires together to add in the electrical component to the HID’s high beam function. Since there isn’t any stress on the wires, I used a solder less method to crimp the wires together.
I also replaced the amber colored bulbs with silver colored bulbs that glow amber when turned on, this helps make the clear corner look.
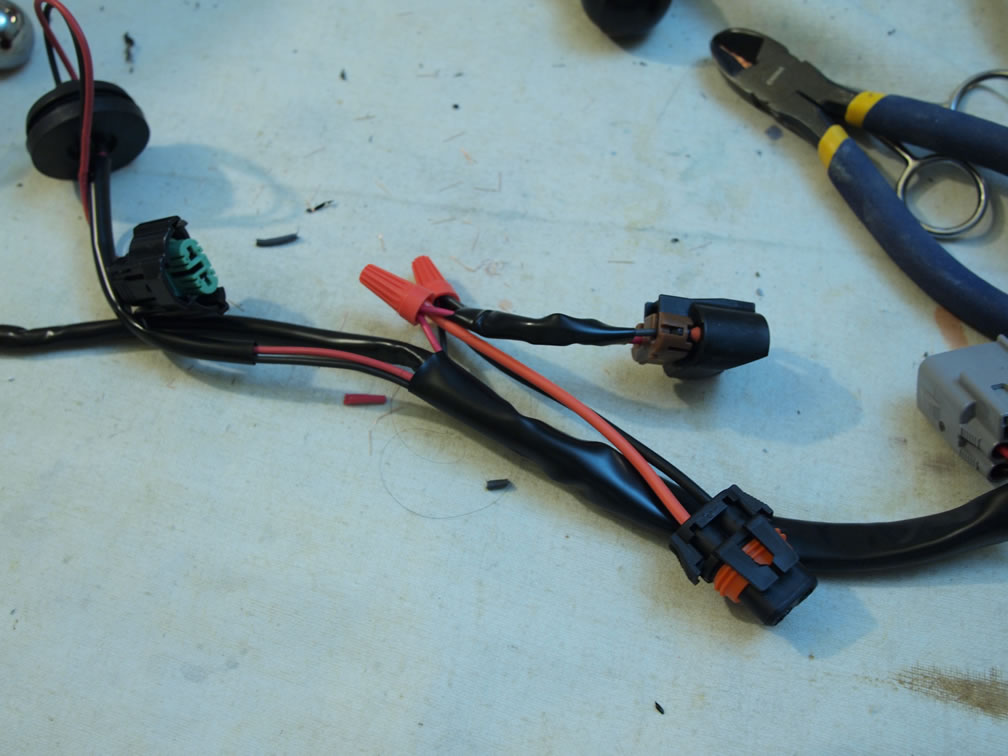
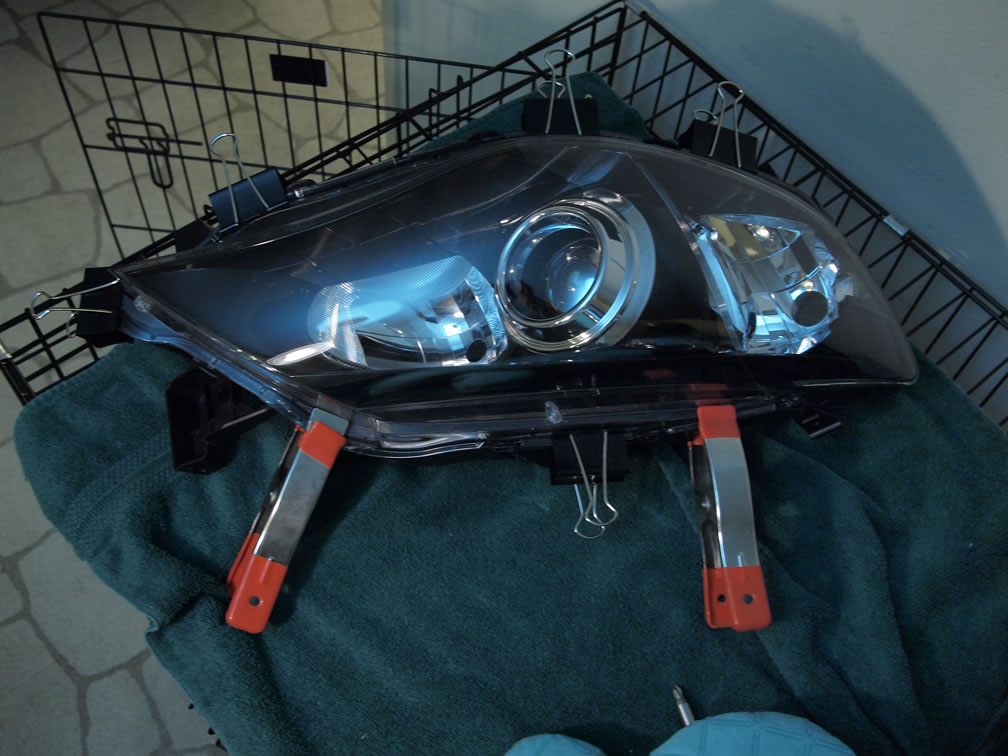
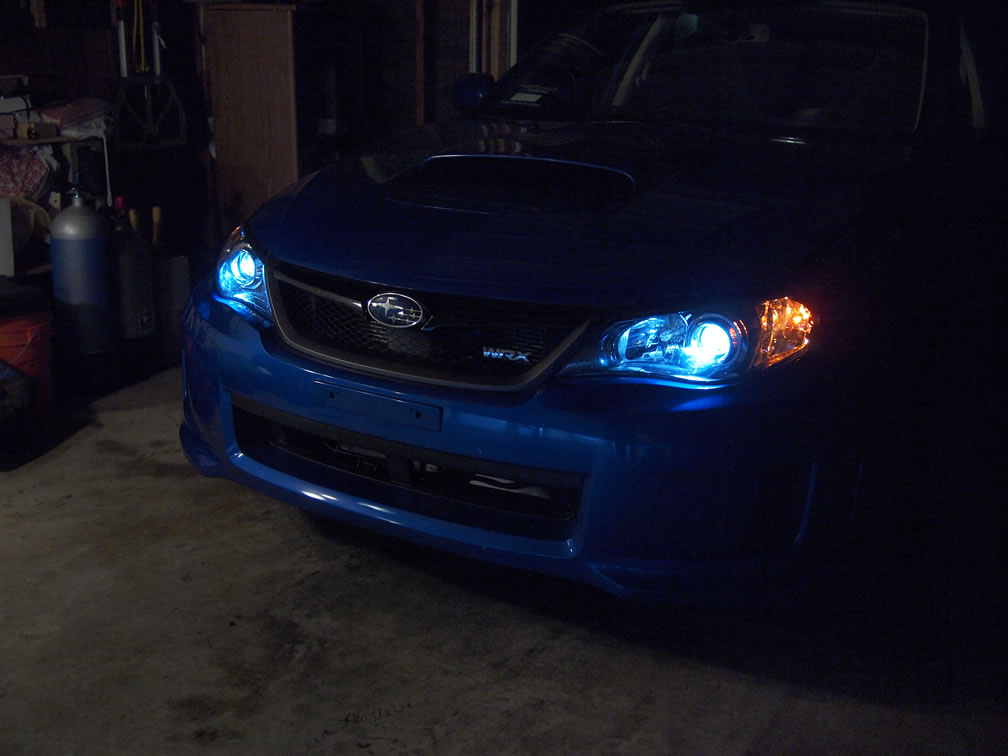
Everything is put back together in reverse order. A wiring harness is wired through the front and zip tied down to keep everything nice and neat. Then the headlight assembly went in and all the electronics were plugged. And there was light.
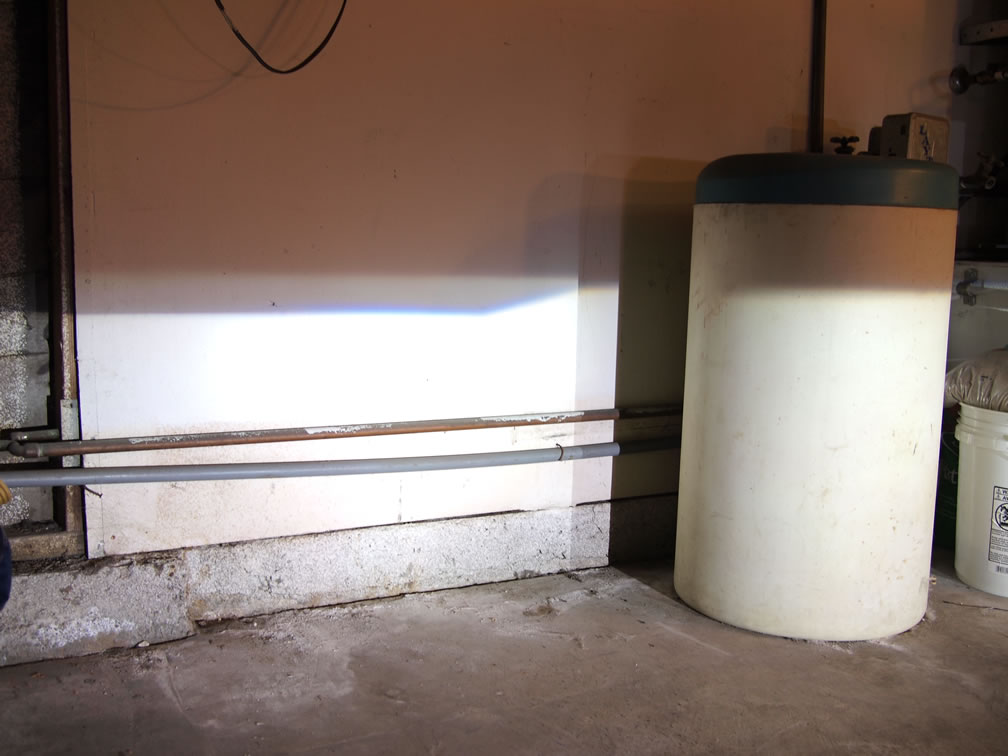
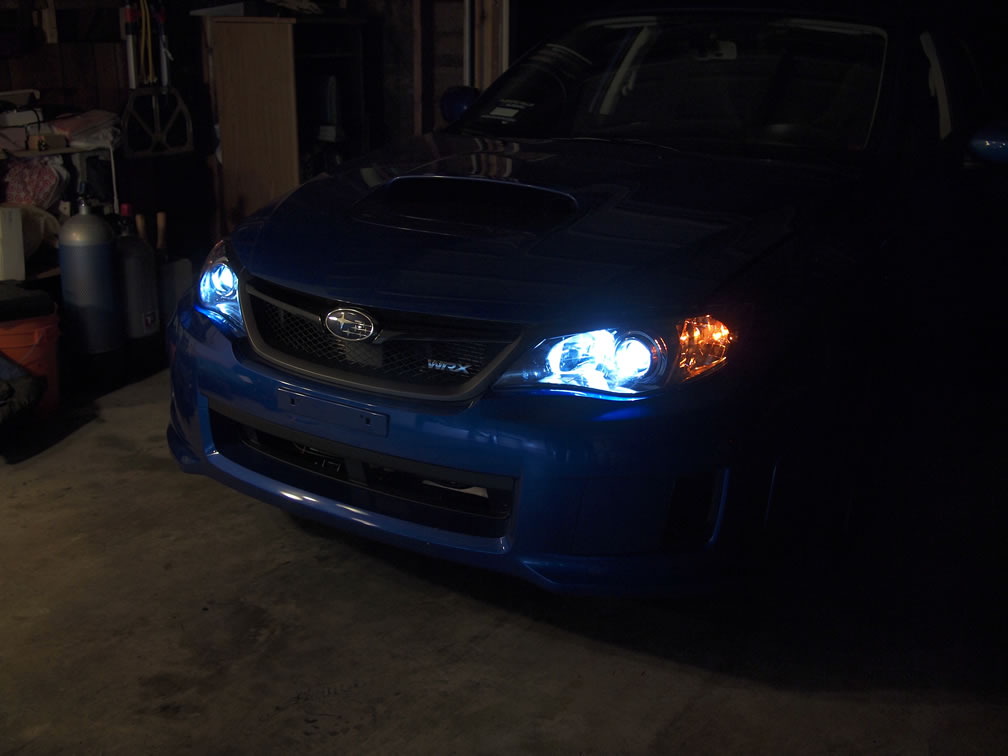
A test of the cut off and look of the light against the wall. There are not glare spots, and the light is very clean. The cut off is straight and the very top of the cut off has a thin blue tint. The headlights needed to be aimed, so I drove out to a flat surface near a wall and set my car about 25 feet out, then measured the cut off. The aiming was done by subtracting about 2.1-2.5 inches from the actual height of the headlights when they’re against the wall projecting from 25 feet.

The high beams were tested and worked as advertised. All in all, the quick kit took about 5 hours to install; not too bad for no experience with the WRX’s headlights.

Hey great post re: HIDs. Im looking at the TRS for a plug and play HID for my ’12 wrx. A few questions I have are: 1) I have real no experience with car repair, do you think its that hard to upgrade? 2) How hard is it to put the bumper back on? 3) would you recommend using a silicon seal on the headlights at the end after the new HIDs are installed?
THanks
Austin
Hey Austin,
The process is pretty simple, but I tend to tinker with my cars, I’ve done retrofits to my other cars. I would recommend finding a friend that is savvy around car cosmetics. The bumper removal and getting back on is pretty simple, it’s all plastic and clips and stuff pops on and off fairly easily. As for the silicone seal, I would definitely recommend it if you are in a relatively humid location.
I did a bit of googling and searching before I did this modification. There is a good bit of information and I followed another post about this specific mod that was complete with pictures and such. Good luck with your install and hopefully this post of mine is of some use to you.