GM Sniper 2 Completed Part 1

This past week was spent finishing up work on the GM Sniper 2. Realistically, there were only 7 or so steps left from the last update. The decals, the after decal gloss coat, panel lines, flat coat, weathering (in two steps, paint chipping and pastels), then the final flat coat. So there’s not much to see in the progress other than some quick snaps during the above processes.

But the sniper is still only the first part, granted, it really is the “main” part of the project. I still have the complementing base that needs to be finished before this project as a whole can be tied off as truly finished. I’ll quickly go through the final steps for the GM then get back into the base work, and at the very end, the completed gallery; all after the jump!

(more…)

Continue ReadingGM Sniper 2 Completed Part 1

GM Sniper 2 Principal Painting is DONE!

Its been two weeks since the last update post. There were a few busy weekends where not much progressed and all the work in these past two weeks was just the endless cycle of paint-mask-paint-mask. So this will just show you how f-ing tedious that process was and hopefully show that it’s actually worth the grinding. The last bit of work done last night was spraying the clear gloss over the kit. Several coats of clear gloss. And the reason for this will become more apparent as we progress through this update. Before taking the kit apart into small subsections for the clear gloss, I snapped a few assembled pictures. It’s a good time to bring back the snapped pictures I took over 3 months ago when I first started this project to get a side by side comparison.

Frontside:

Backside:

(more…)

Continue ReadingGM Sniper 2 Principal Painting is DONE!

Back from Guayaquil = slow progress on Sniper

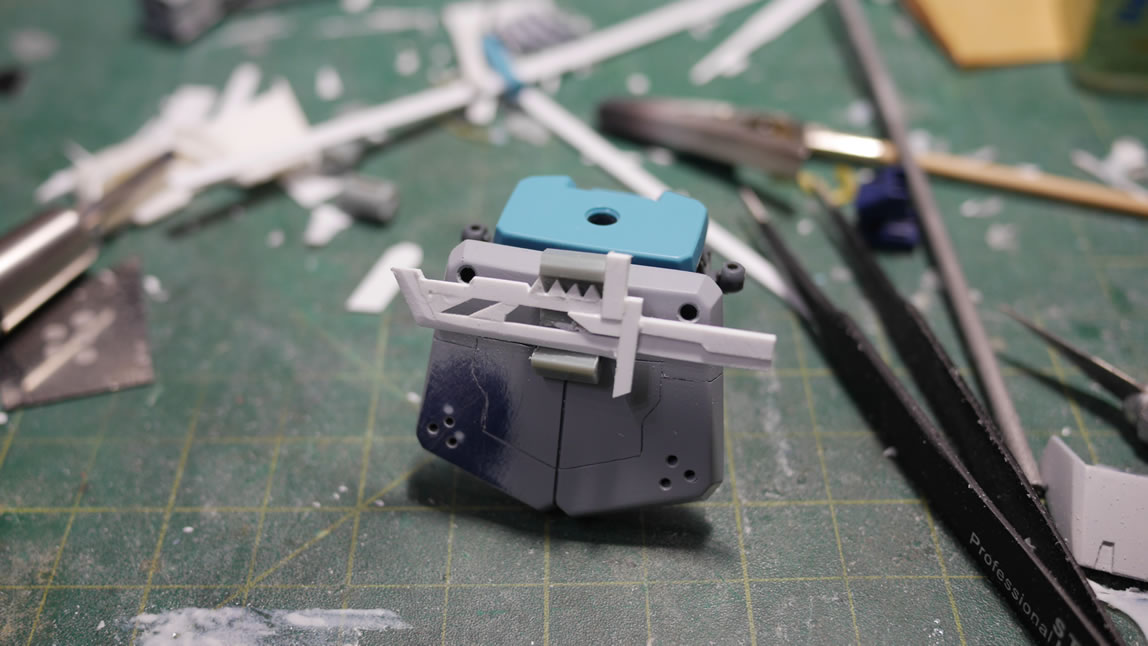
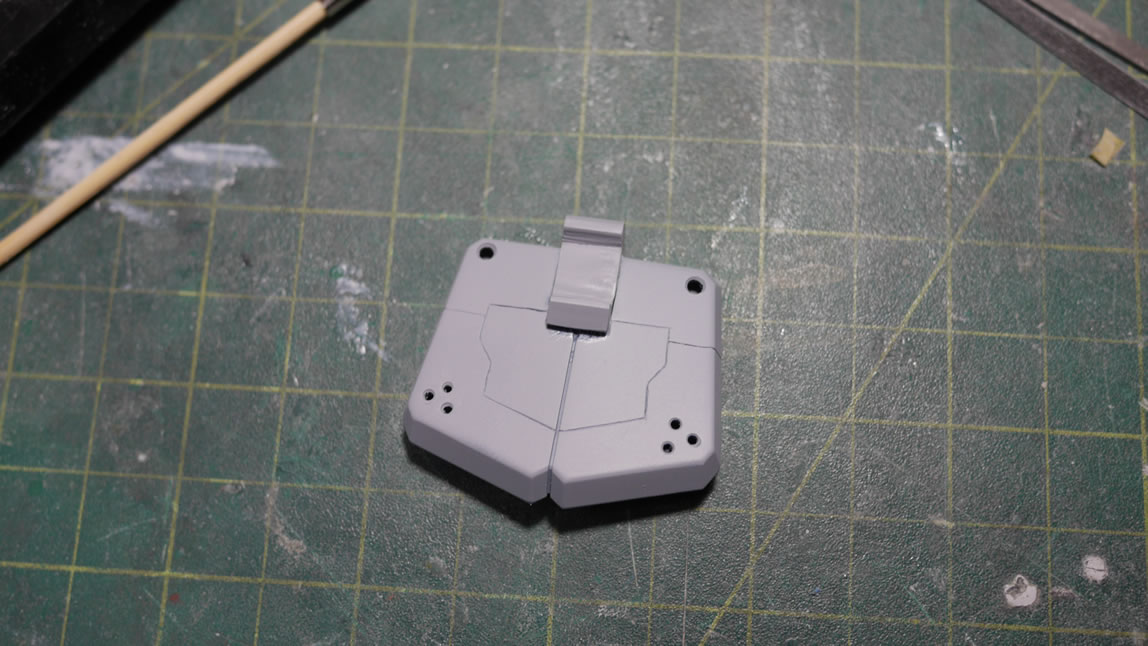
Work has me on travel a bit, and last week, I was in Ecuador, Guayaquil specifically. I did make a quick picture post of the skirts right after getting 90% of it painted up just as a quick teaser and to keep my motivation going. But I didn’t really go into details about the process. So let us backup a little bit to before I even started throwing colors onto the kit and it was still being primed and sanded. The paint scheme I mentally pictured required a little bit of testing before I jumped right into spraying the parts and masking. In the past, not doing the proper color tests and just trying things have bitten me pretty hard on the ass. I mixed up several batches of colors and got to work on spoon testing.

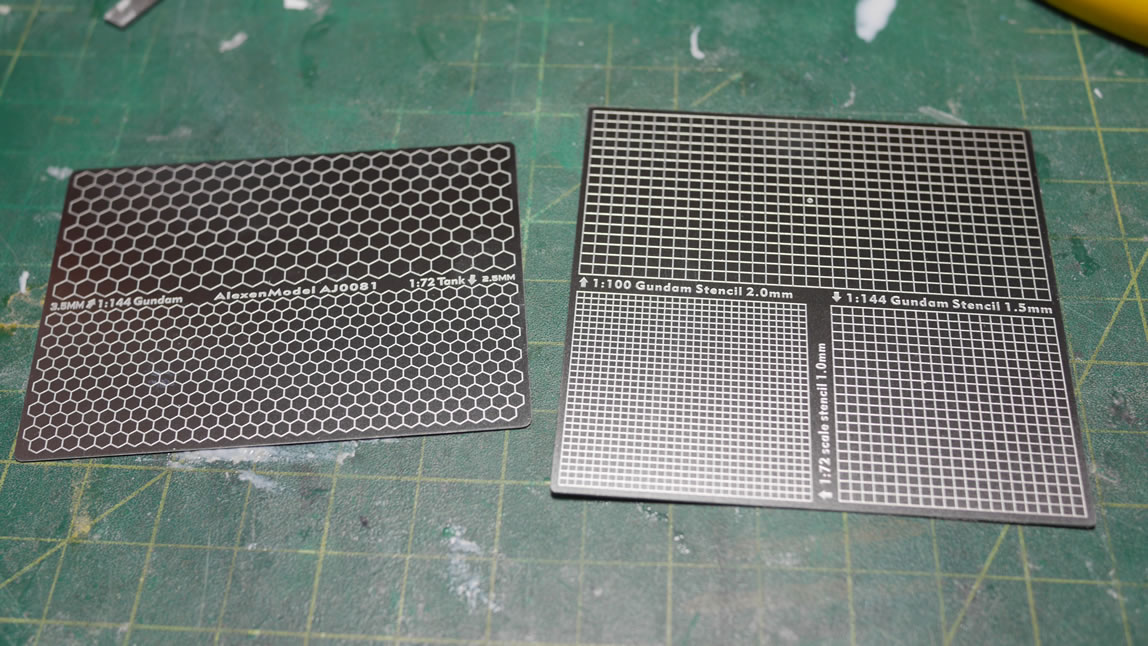
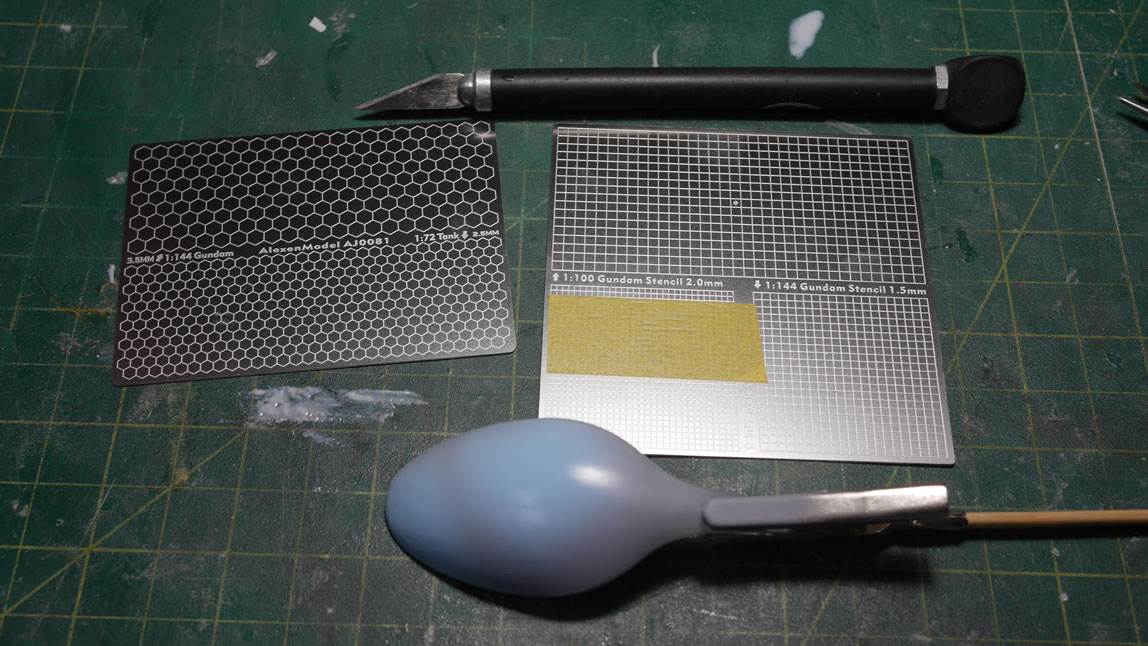
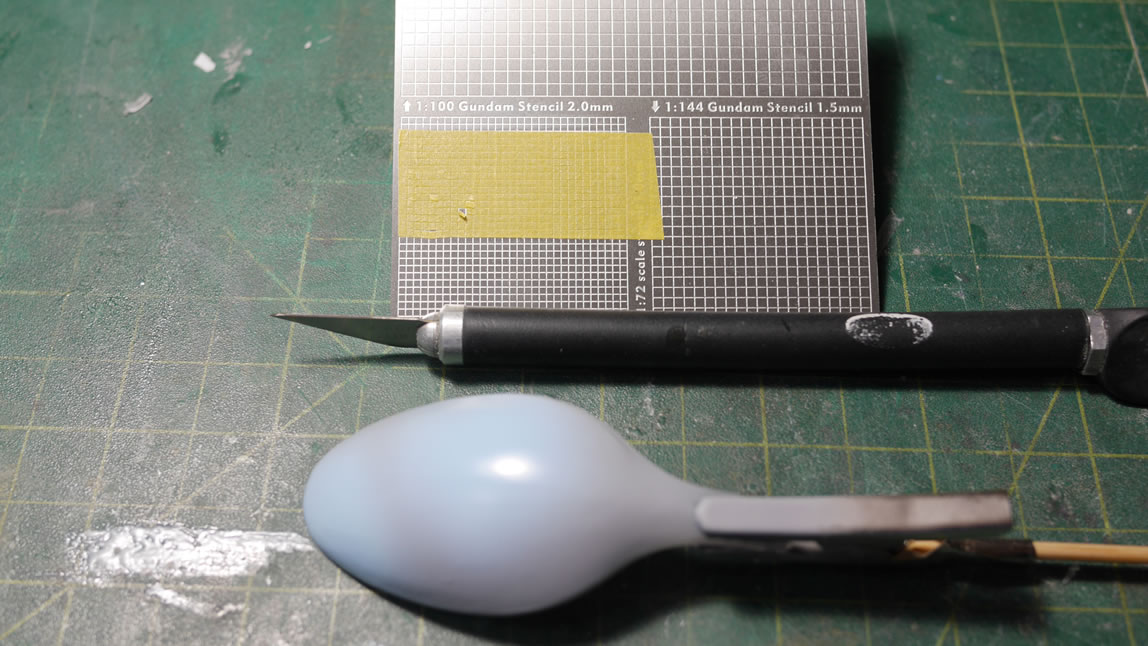
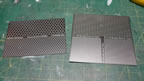
When I was in Hong Kong in March; I picked up some metal templates; a square and a hex. Each template has 4 sizes, the largest on one side, then the other side is split into three sizes. The template is pretty nice for cutting exact size squares or hexs. Tape is just placed on the template, then I used a toothpick to run along the edges to press down the tape, and finally, run a brand new hobby knife blade along the pressed in grooves and I have my cut squares. A test spoon is painted with the first layer of color then the masking and paint scheme tests begin.

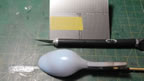
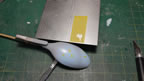
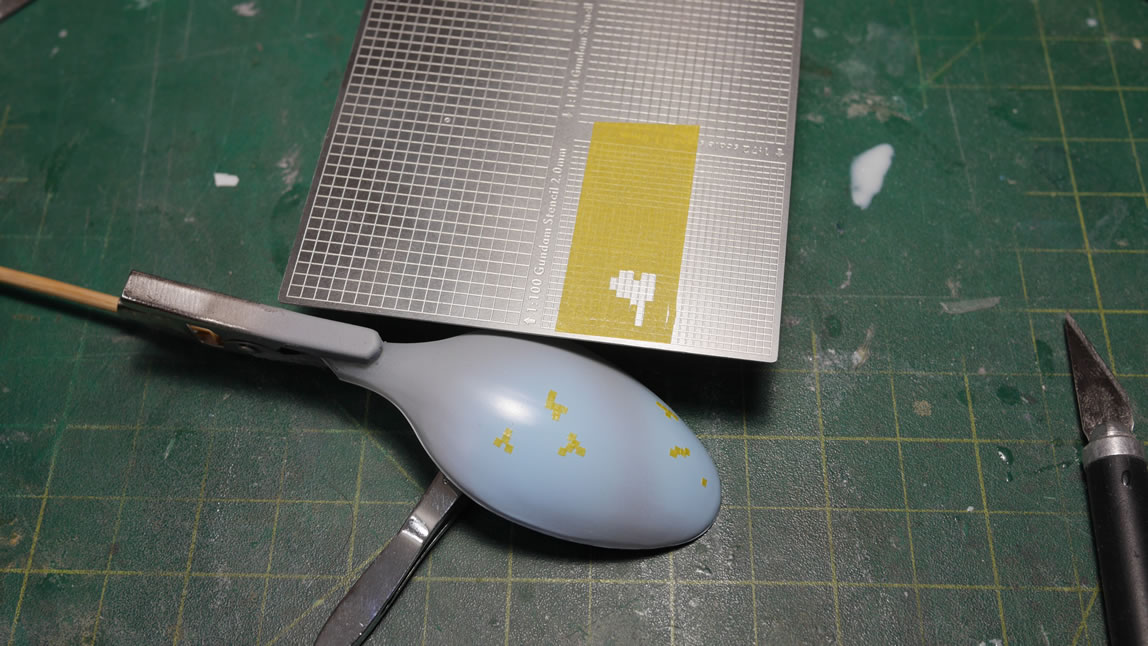
Fast forward the different levels of masking and I was satisfied enough with the results that I could proceed. The spoon test also showed me that I needed to change the masking technique slightly. But the important part of color matching worked, so progress continues on the actual kit after the jump.

(more…)

Continue ReadingBack from Guayaquil = slow progress on Sniper

GM Sniper 2 Update: throwing some paint and starting work on the base

It’s been awhile since I last updated on this project. We got new Kampfer shirts in, so the last update was used to promote that. Somewhere in the middle of this post there will be some shameless plugging for our new Kampfer shirts as well as our reprinted Shiki shirts. But enough of that; on with the update. Starting off, I felt that the red bit for the crotch needed a slight bit of detail so I took the scriber and cut some plastic on the sides. It’s relatively simple plastic removal but does a decent job of adding some detail.

Returning to the rear skirts; in the last update, I had just started putting together a scratch built knife and was creating a sheath for it. I trimmed down that plastic piece from the GM Spartan conversion kit and sanded it down to fit into the existing spot on the rear skirt. I also had to sand down some of the internal area for the rear skirt piece for the damn thing to fit. Once the piece fit; I drilled into the plastic and glued a magnet into place. I drilled a corresponding spot on the knife’s guard and added a magnet there. Now the knife is actually held by the power of the magnet instead of friction or just gluing it into place. I wanted the knife functional. A little priming shows areas to fix.

(more…)

Continue ReadingGM Sniper 2 Update: throwing some paint and starting work on the base