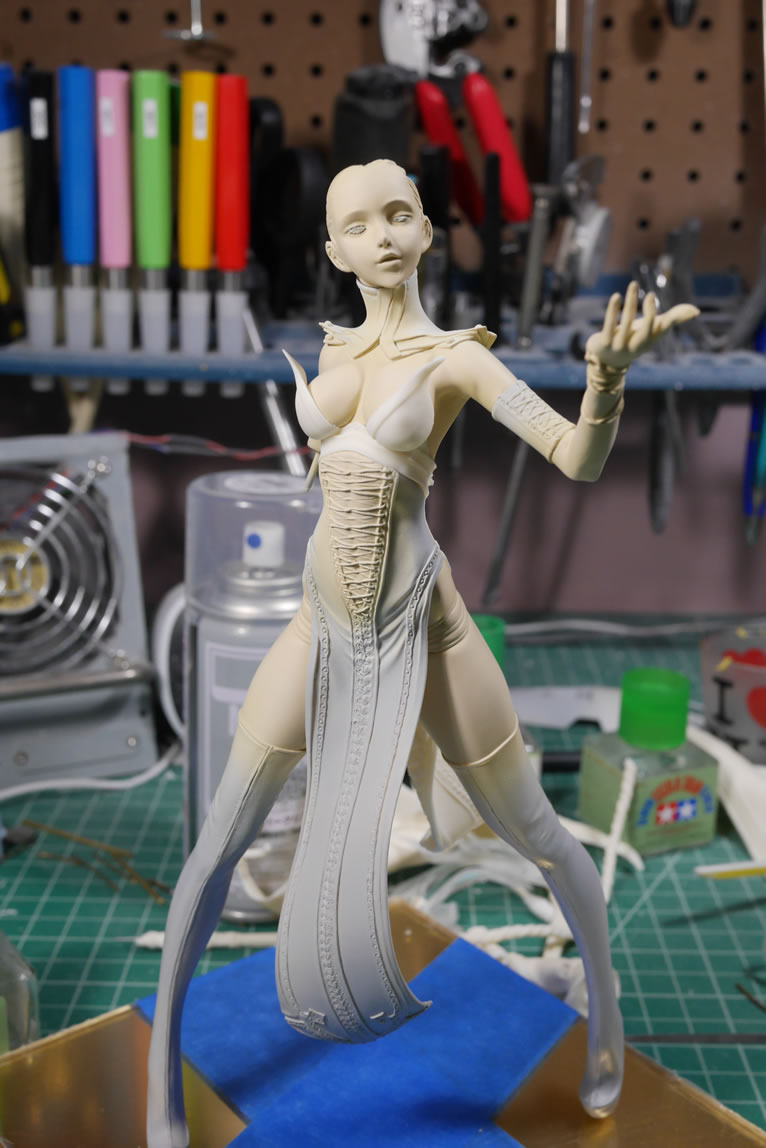
New resin figure project: Grim Reaper
Towards the end of the Mercedes build, this kit arrived. The sculptor calls her æ»ç¥žã®ãƒ‡ã‚¹ä»£ or just “Death/God of Death”, I prefer the less final name of Grim Reaper. I picked her up off yahoo!japan auctions right after Winter Wonfest 2018. Unknown to me was that the sculptor: https://twitter.com/chilmirumirumi was already planning on releasing the kit to folks outside Japan through her webshop: http://artfiguegk.theshop.jp/. Yesterday there was a twitter update with two release times: March 17 @ 22:00 Japan time and March 18, 2018 @ 15:00 Japan Time. So for those interested in this kit, keep a watch on her webstore at these times to get it. Her kits sell out, and I don’t think she does multiple runs; so if you want it, get it now. Build her later if you want. I wanted to build her now, so I started a few weeks ago.
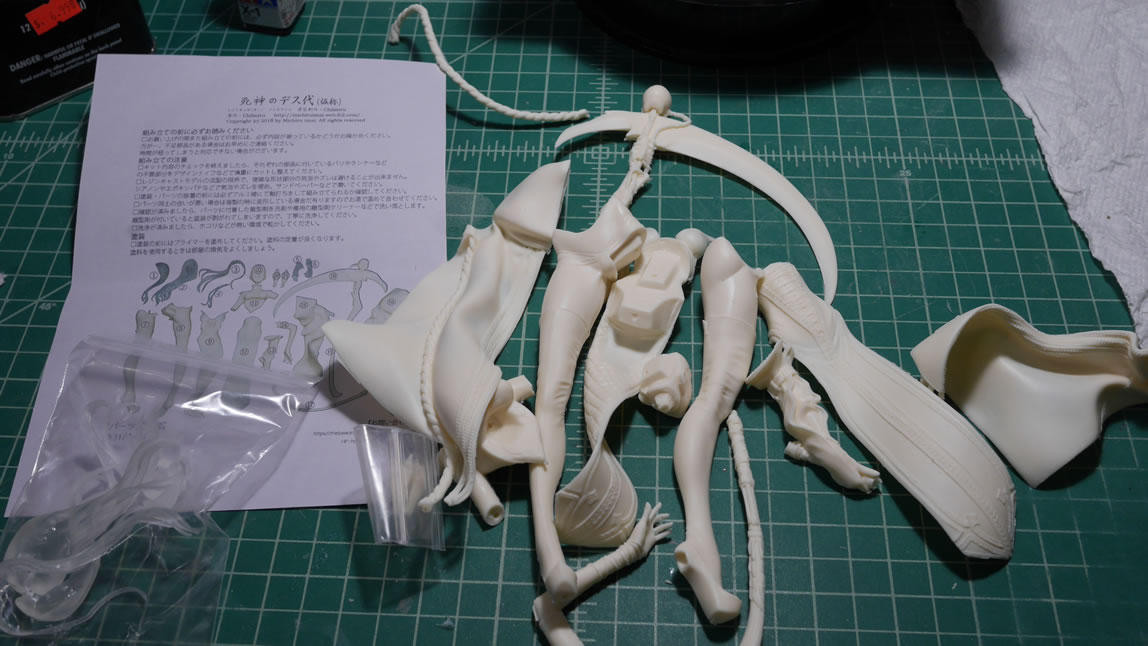
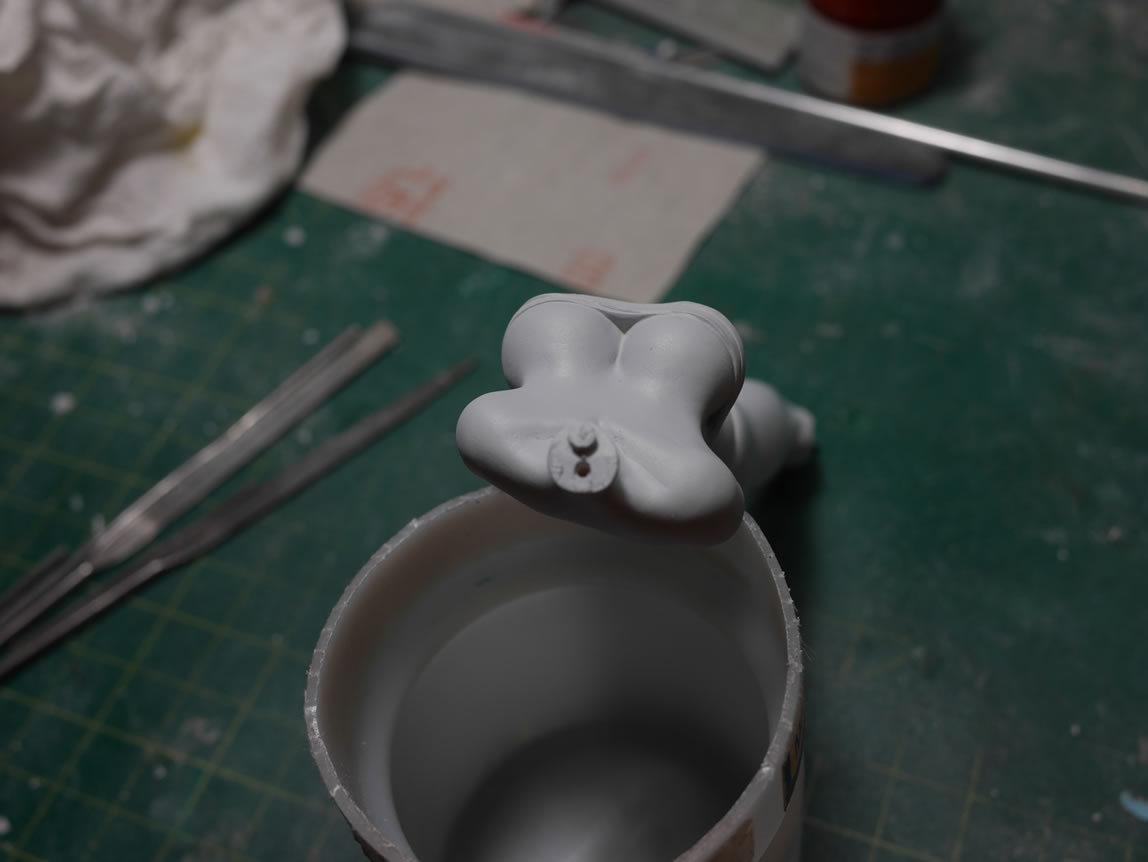
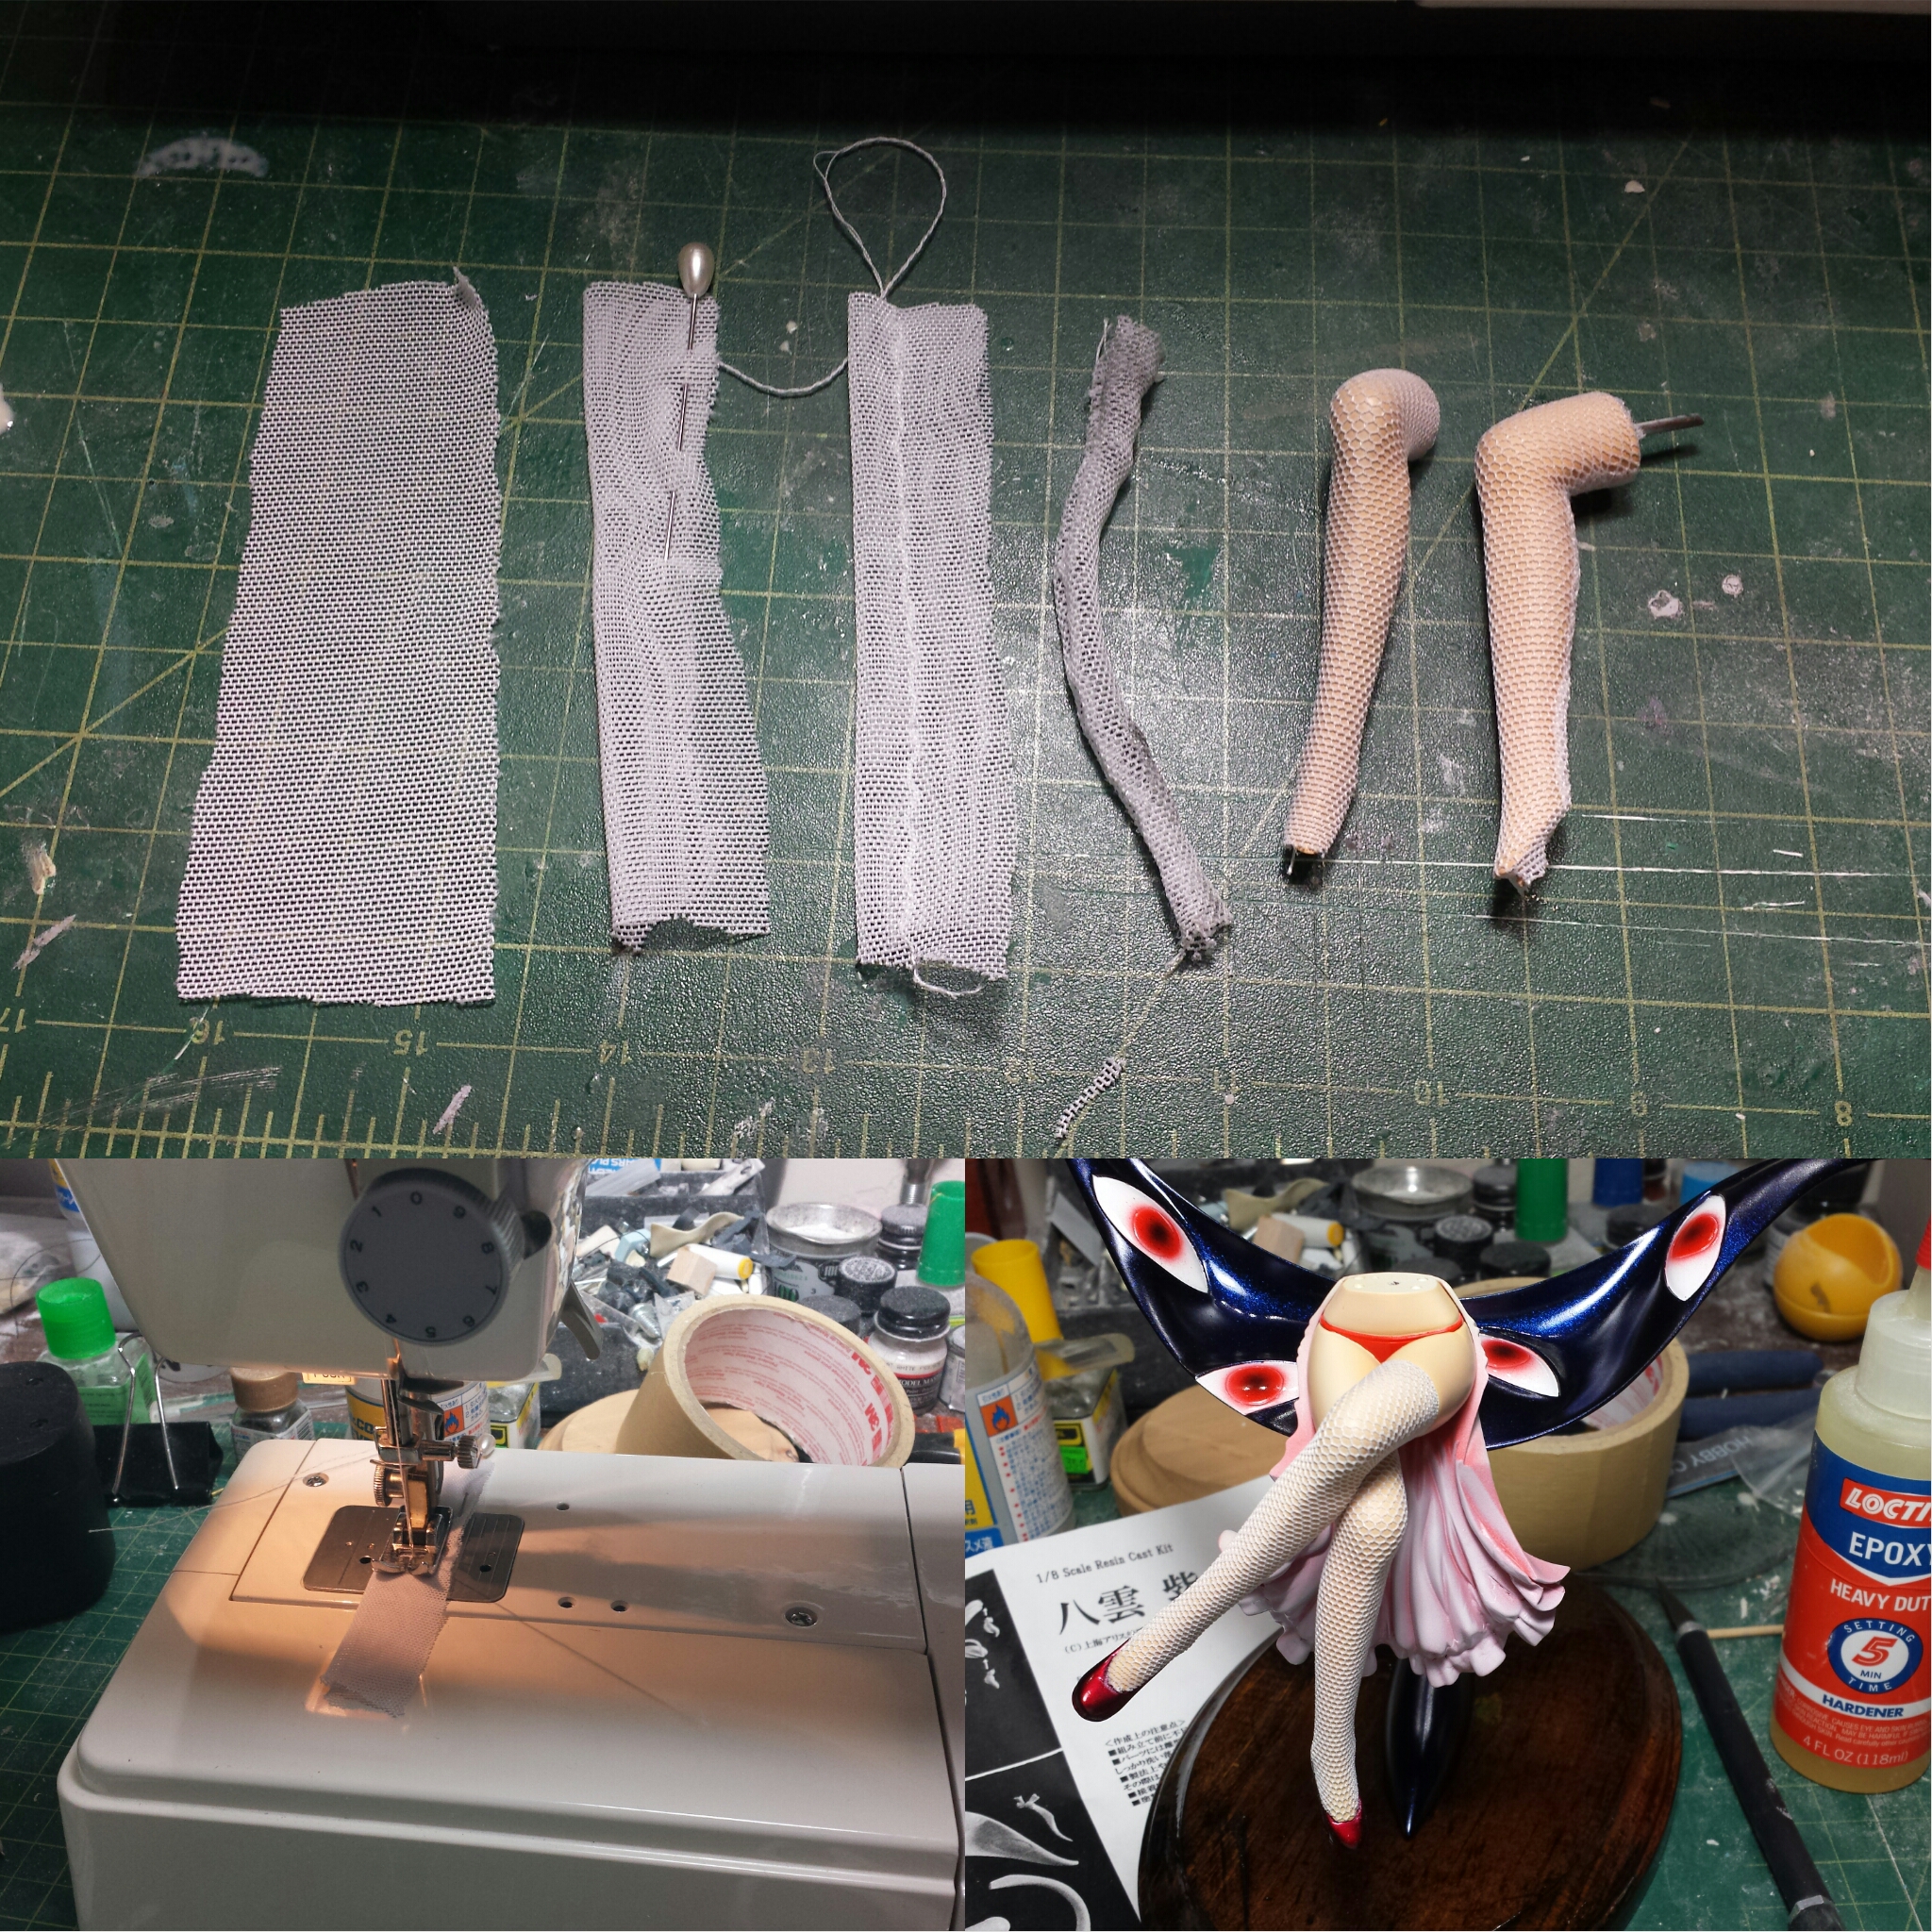
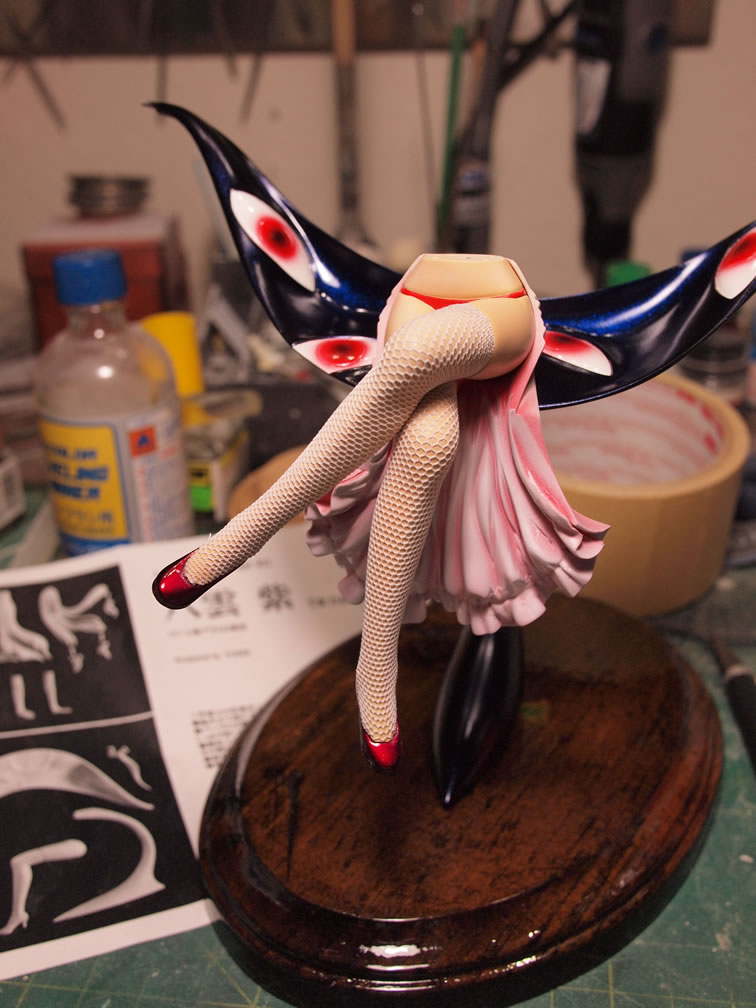
The nice thing about resin figure kits are the parts count. The down side to a low parts count is a decent amount of masking when getting around to the painting. The cleanup work is also a sizeable chunk of work. The first thing I usually do is pin together the major parts. The smaller bits are left off so I can get a general idea of what the kit looks like and what I need to do to approach the build. A visual really helps. Plus, pinning is one of the fun things about resin kits, you get a sneak peek into the end of the project.
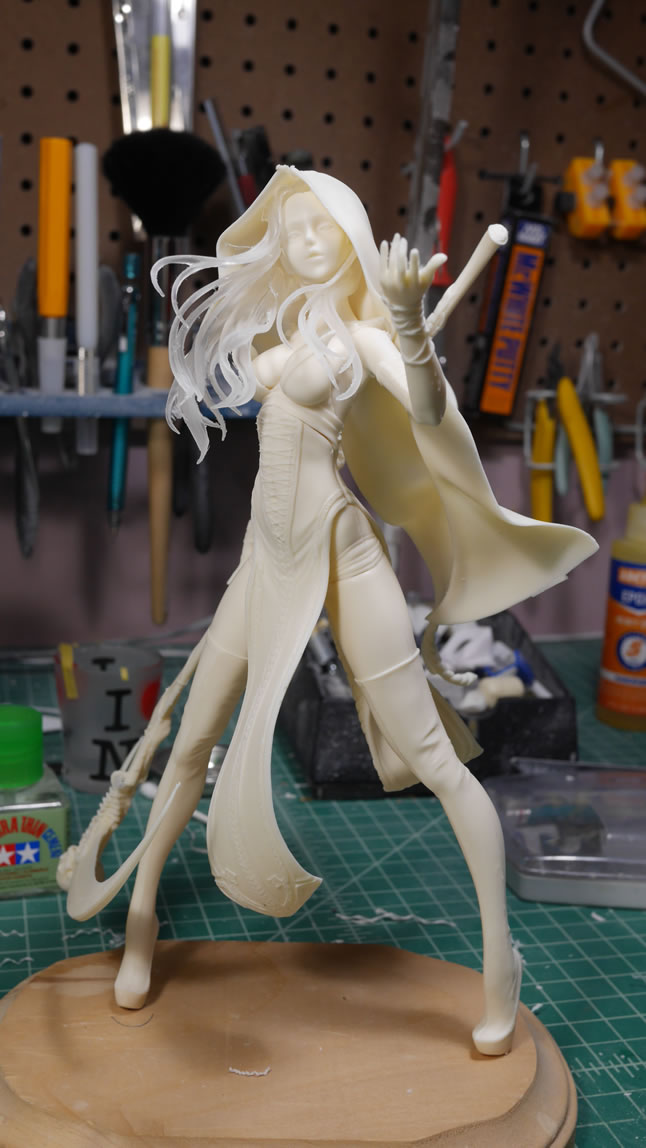
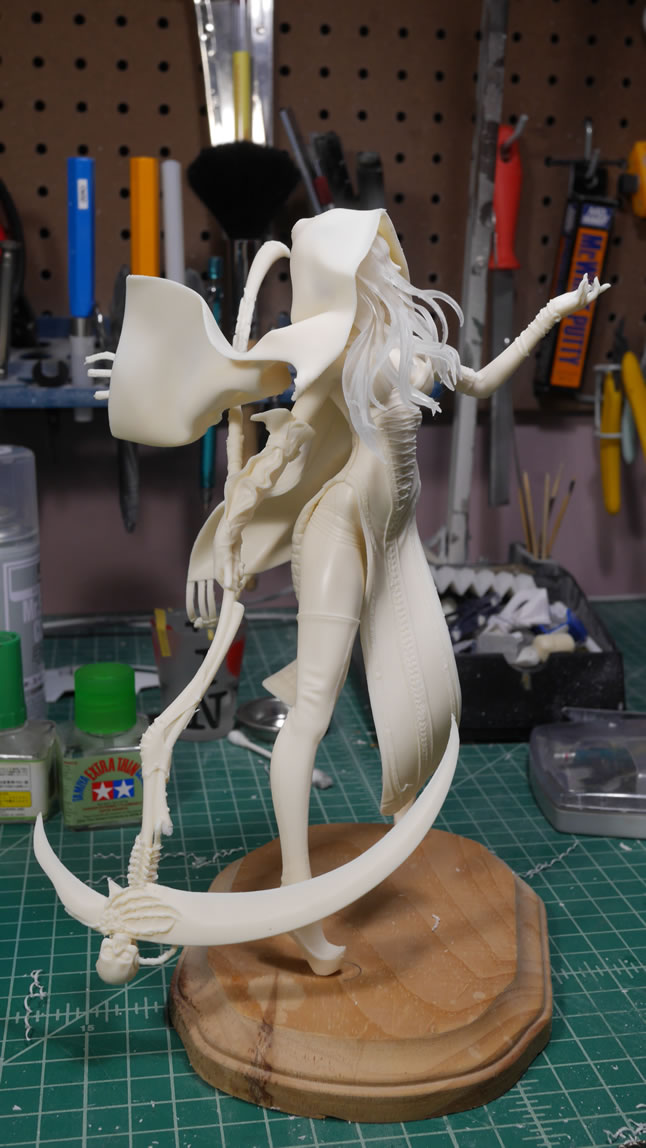
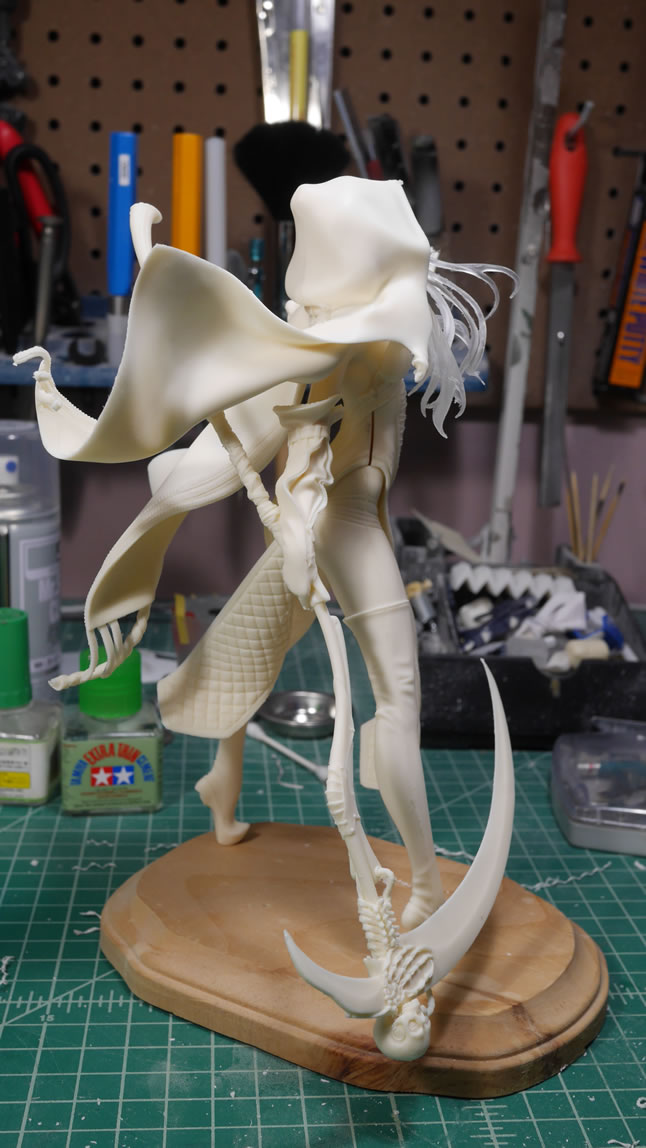
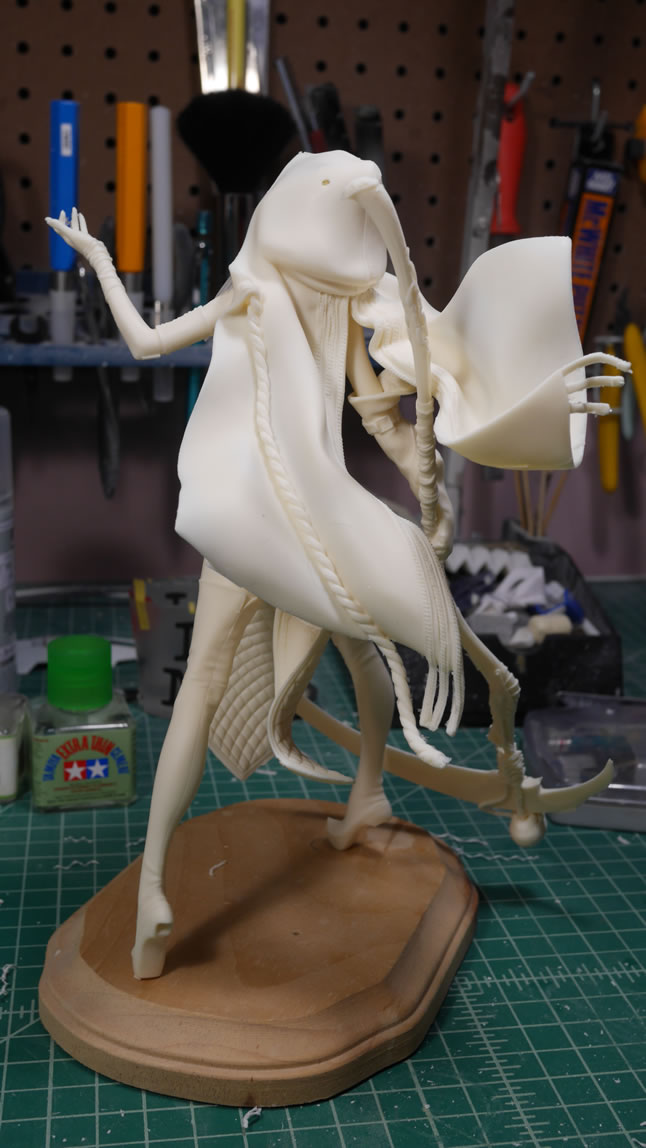
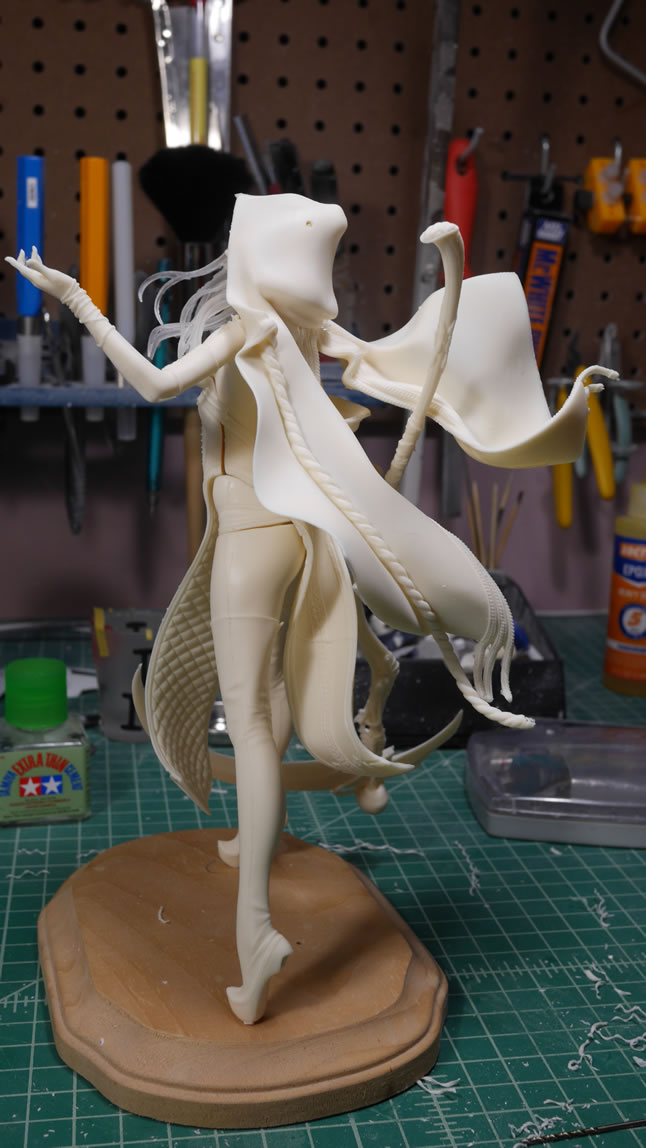
Turnarounds done, the real work starts after the jump. (more…)