October 2, 2017:
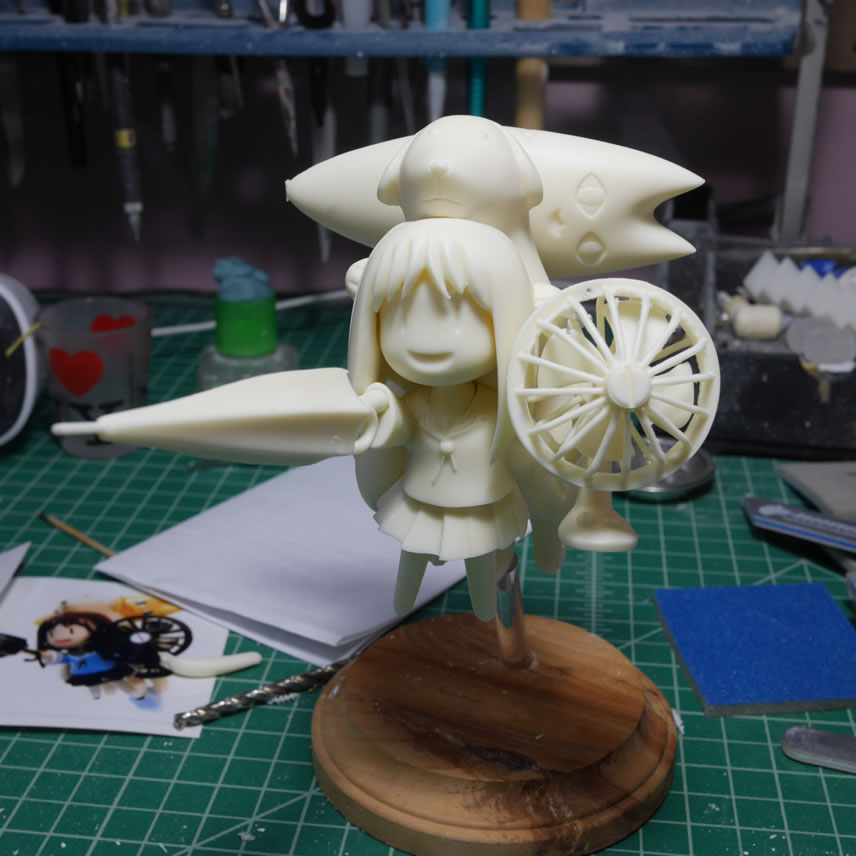
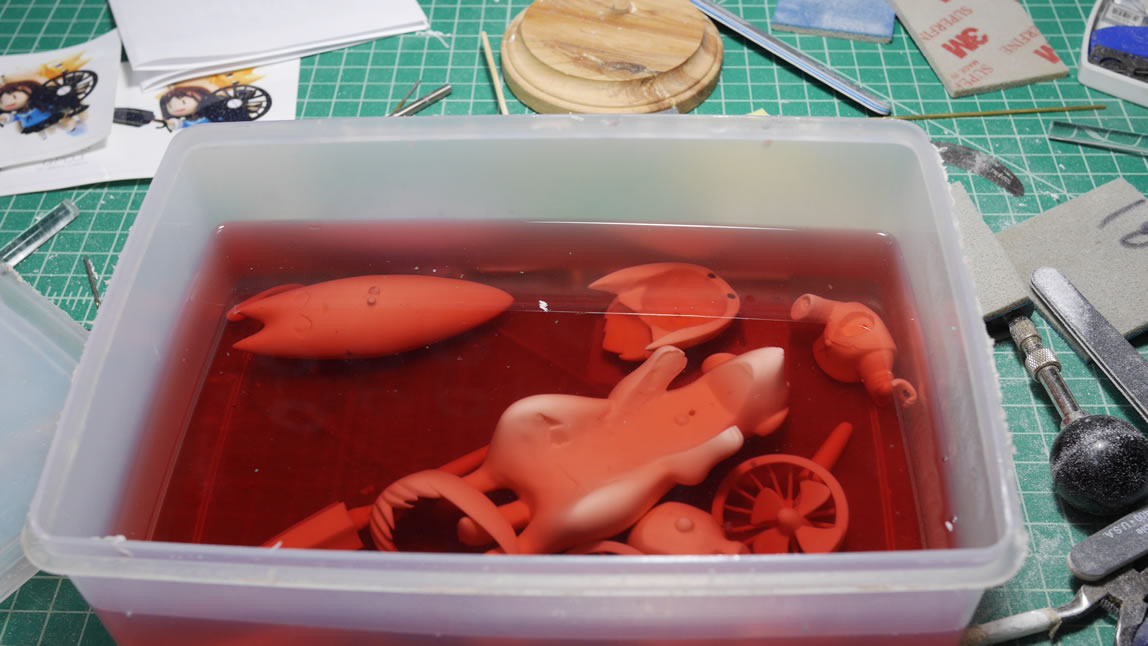
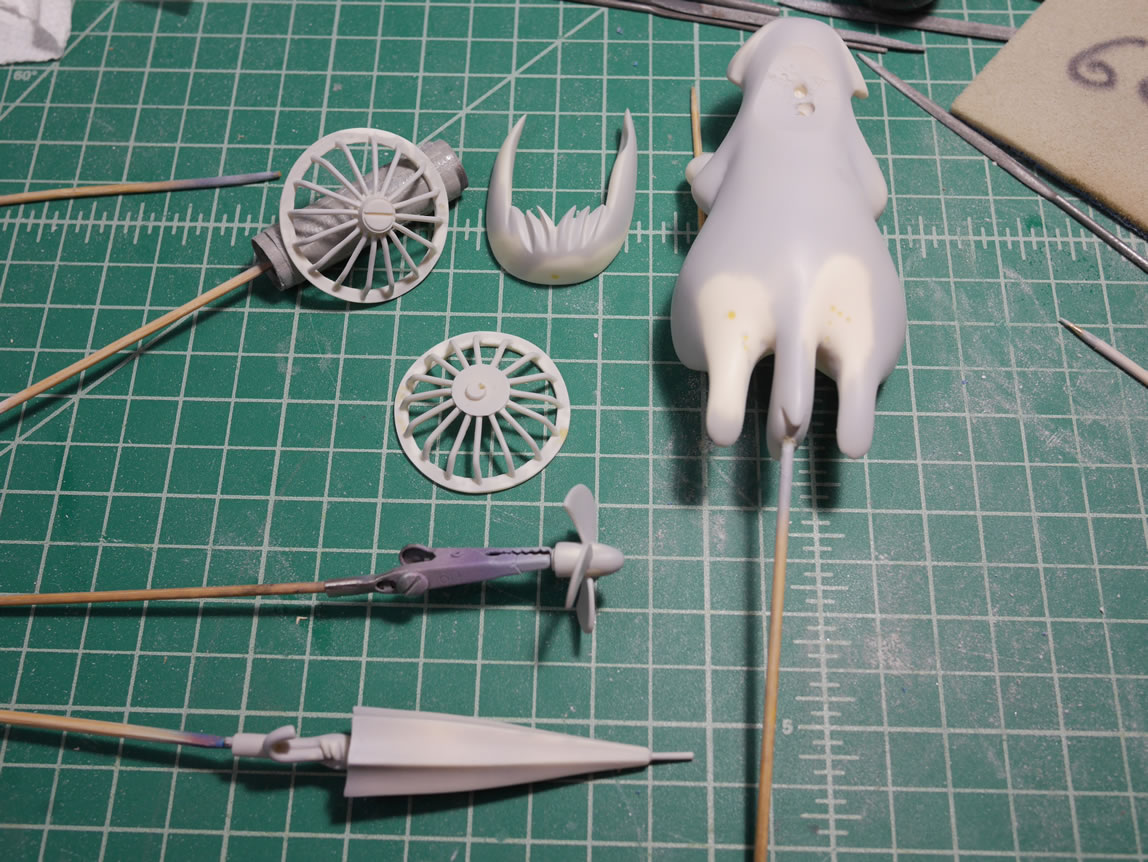
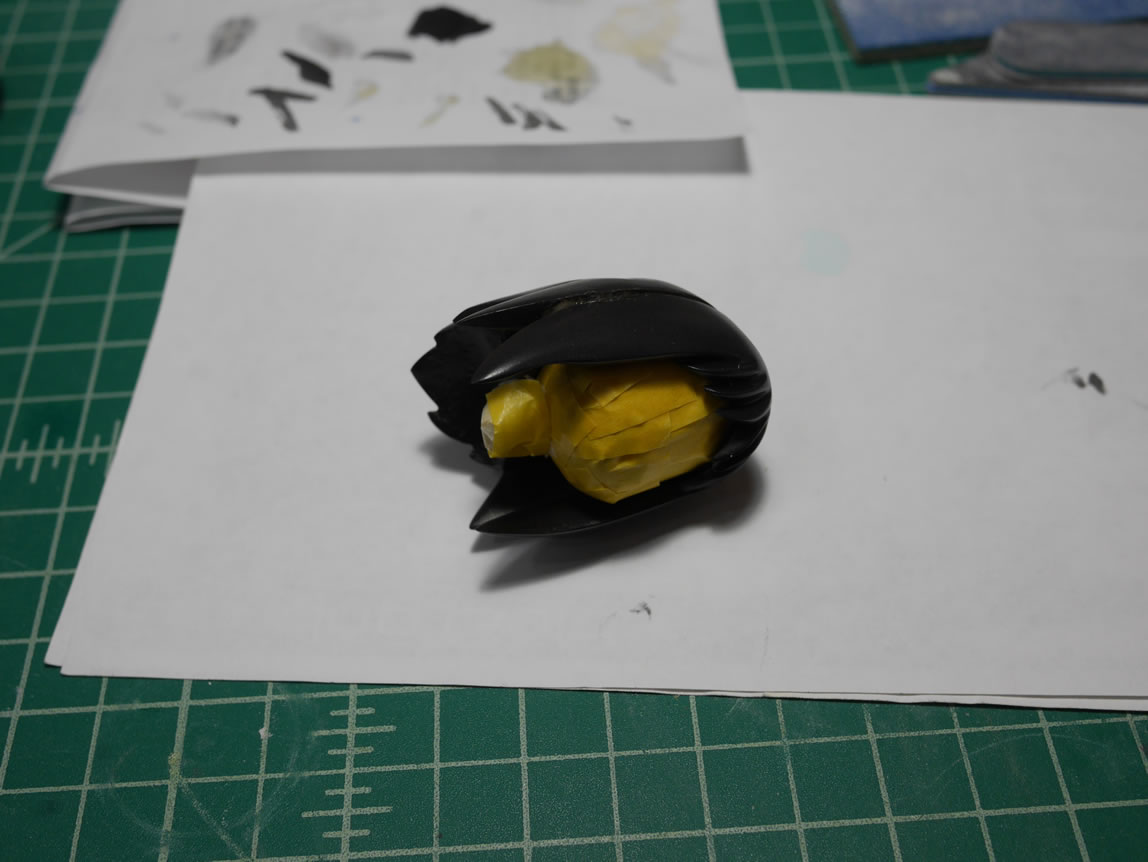
I crack open the bag of 7 resin pieces of varying size that will be my entry for the “RX-78” theme award for this year’s SCGMC. We at TGG like to push the creativity level and hope that folks think outside the box when they see our themes. Sometimes we are restrictive, but most of the time, it’s as wide open as anyone’s imagination. I picked up this Azumanga Daioh chibi resin kit earlier this year while I was in Hong Kong because it just screamed RX-78. It is taken from a scene where Osaka dresses herself up as the RX-78 GP03 Stamen with Dendrobium. So, this is my RX-78 entry.
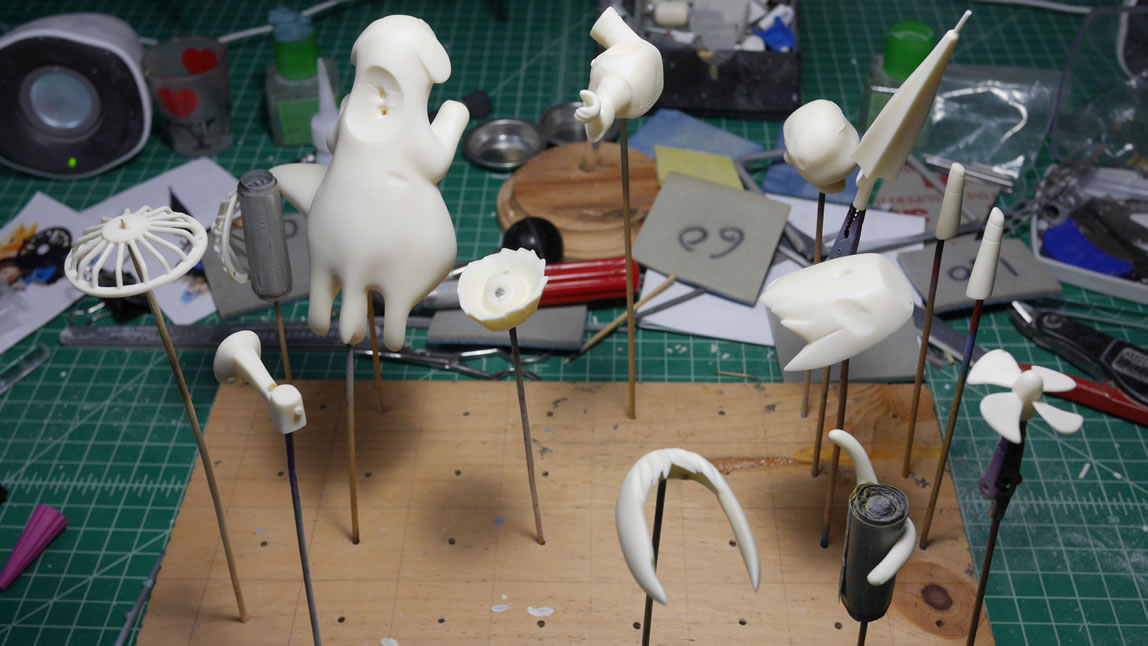
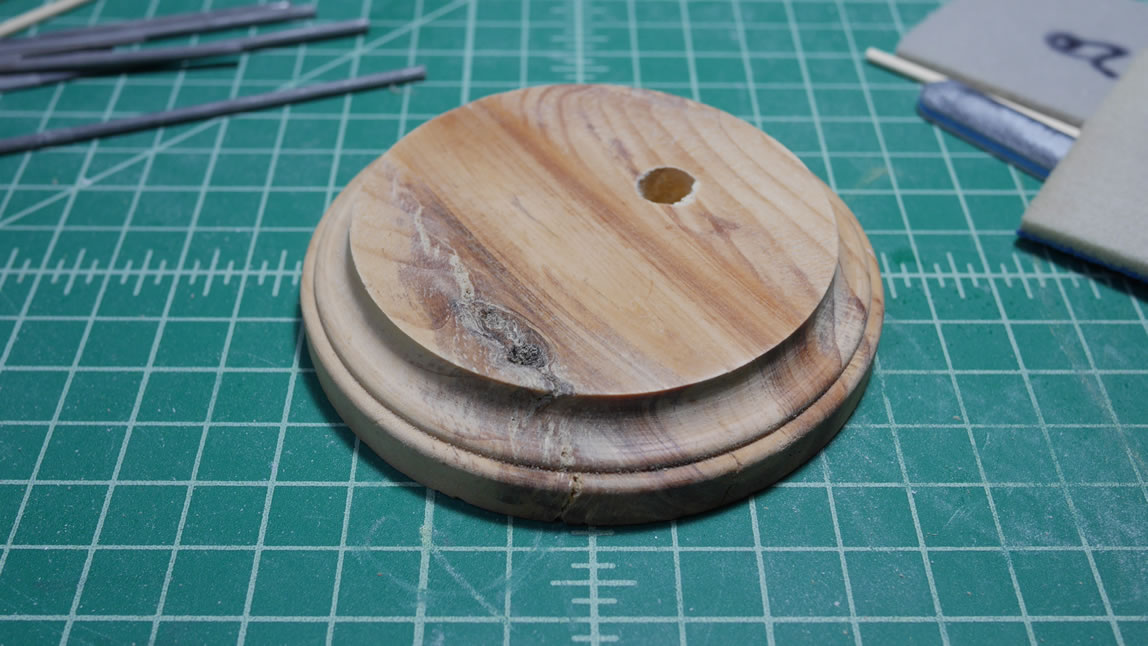
I started out just pinning the kit and cleaning up flash. The kit is obviously a recast, so there are some rough mold lines and rough alignment holes. But I get her pinned for the most part. Some other pieces I used magnets to get the best alignment. I cut a small piece of acrylic rod, drilled out a small section and fit a brass rod that connects to the tail of Mr. Tadakichi, since the Dendo needs to be in flight. I have a simple wood base from Michaels that I will need to sand, stain, and gloss.
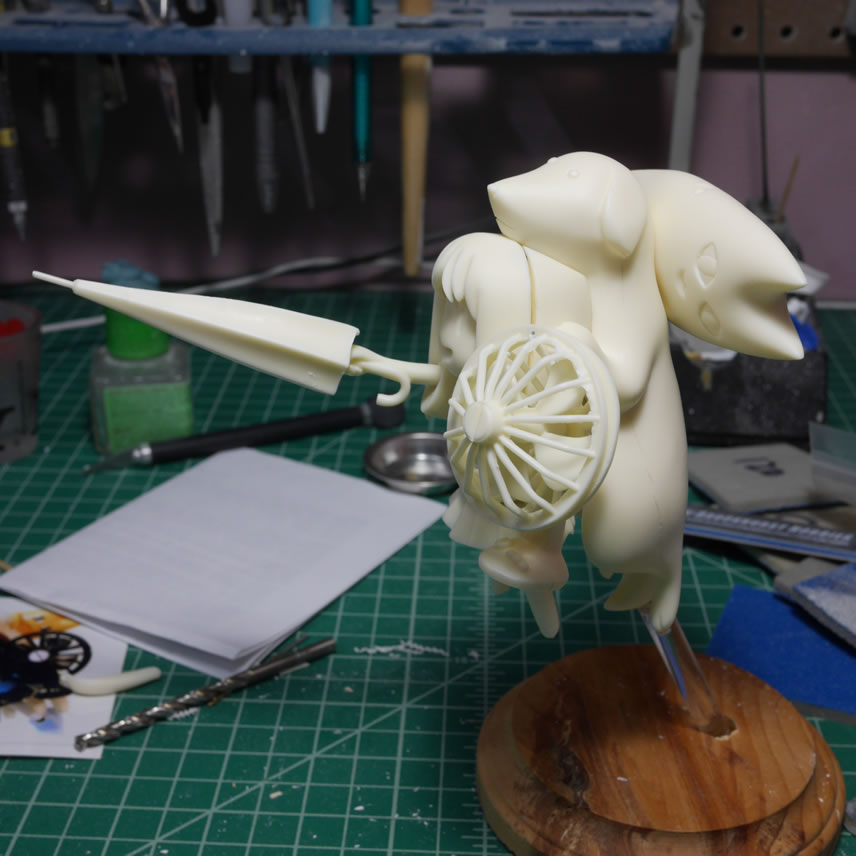
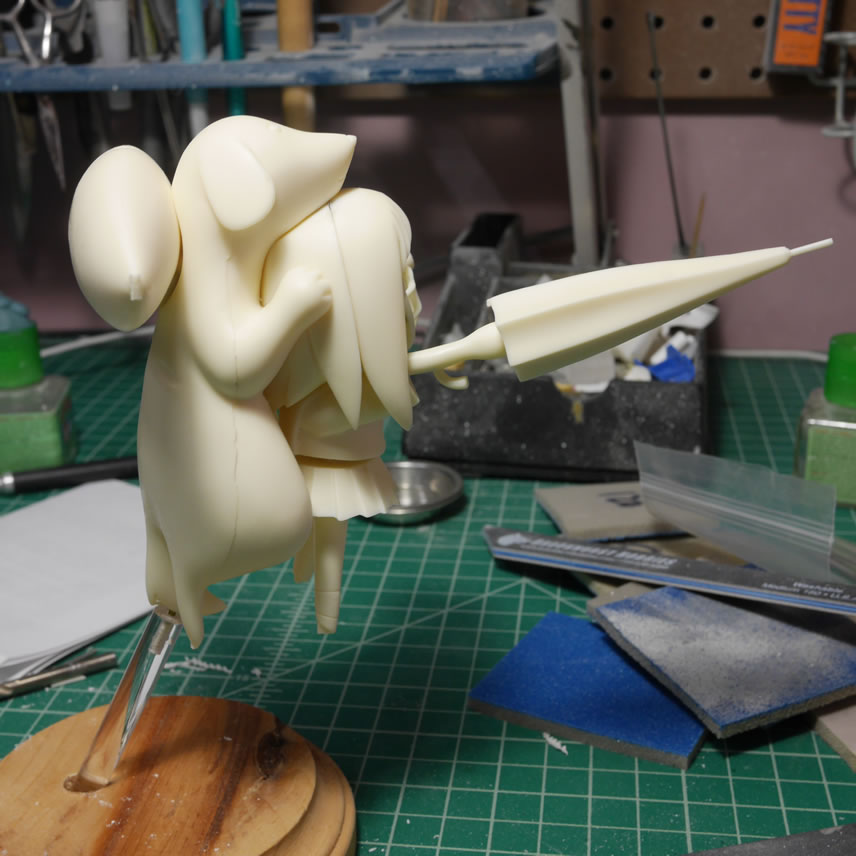
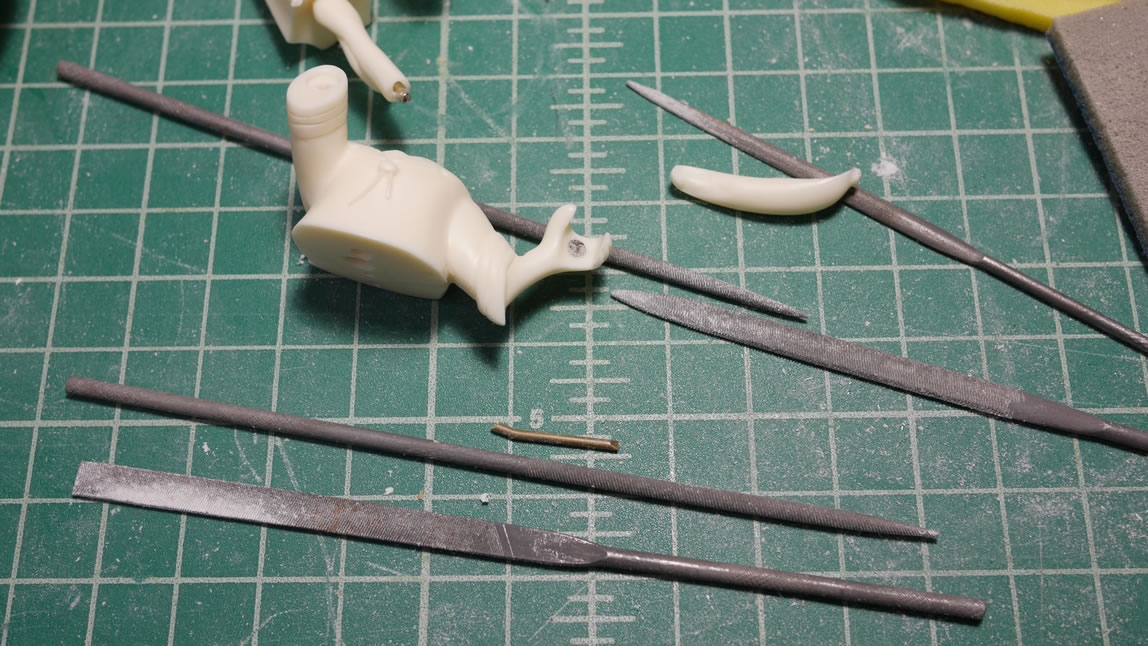
Once pinned, I can get down to the initial sanding and clean up work. Metal files are VERY useful in getting into tight areas a sanding stick won’t reach.
After each piece is sanding, it’s thrown into a tub of industrial strength degreaser to remove mold release. There will be a decent amount of masking, so I need to make sure all the mold release is removed.
This kit is pretty simple so this shouldn’t take too long to finish. I have some P-Bandai kits arriving this week, so this is a good thing that this thing is relatively simple.
October 7, 2017:
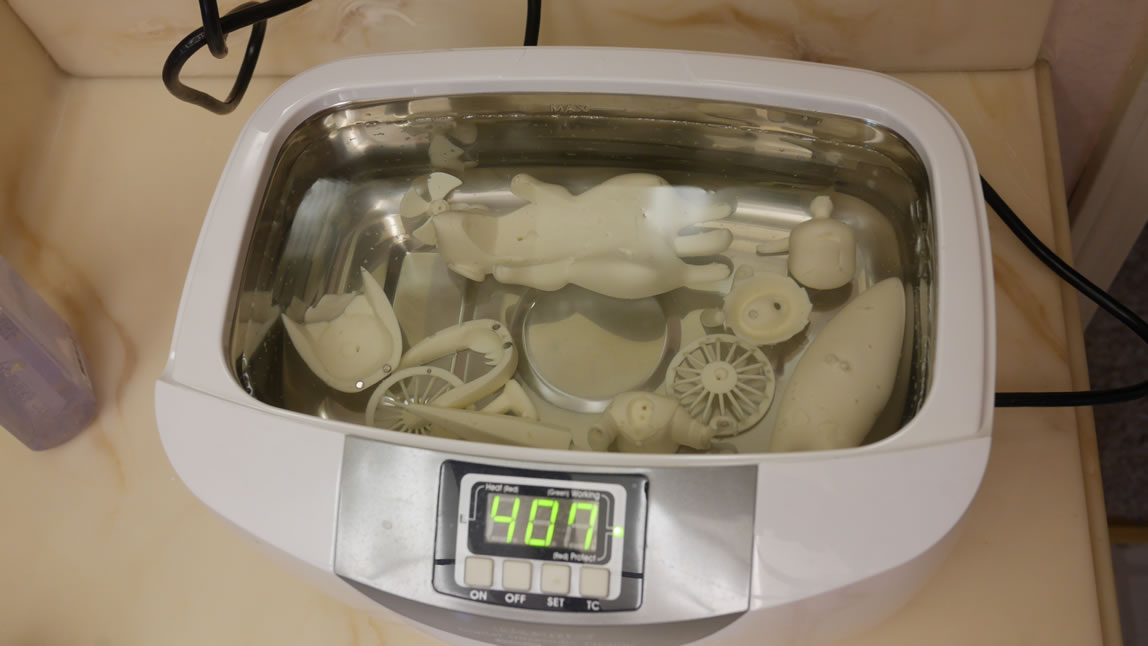
This was a very quick project. These small resin figures are pretty simple and perfect to squeeze in between projects. Last time I posted that the parts were sanded and soaked in an industrial strength cleaner. A day later, they get the scrubbing treatment with a dip in the ultrasonic cleaner and water.
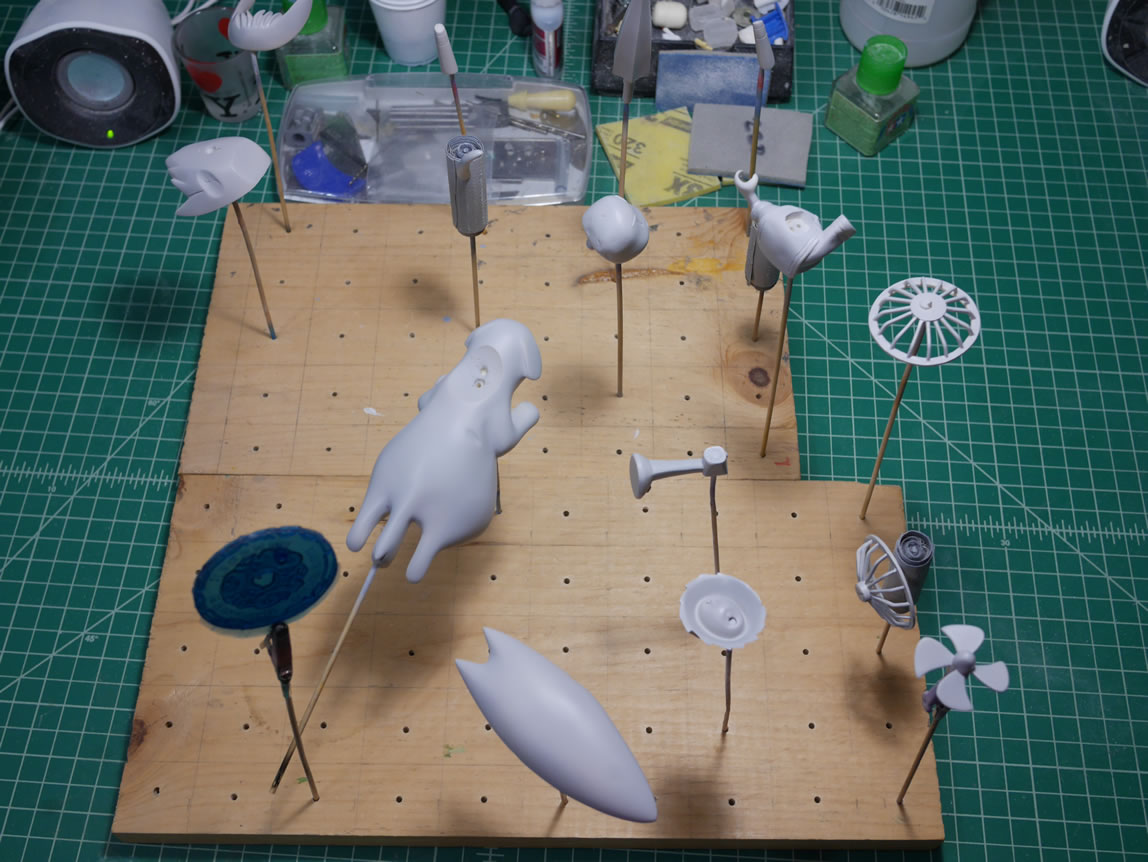
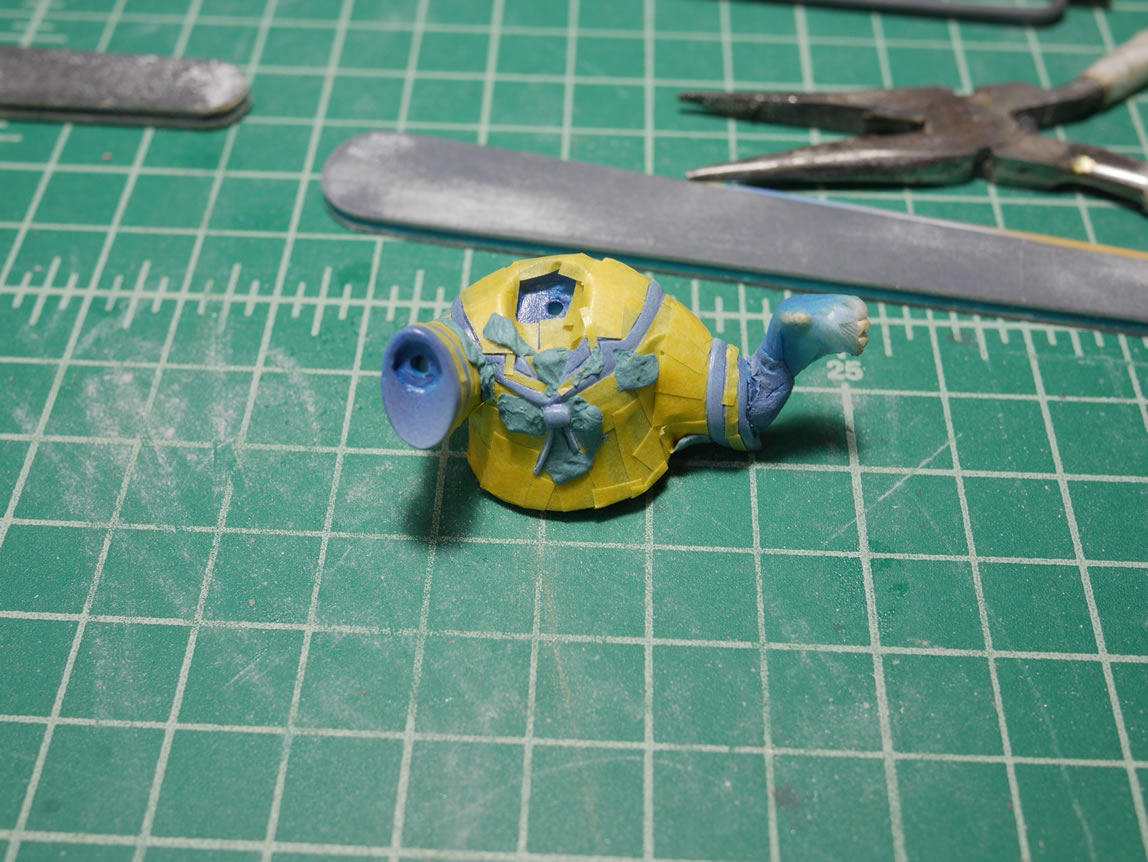
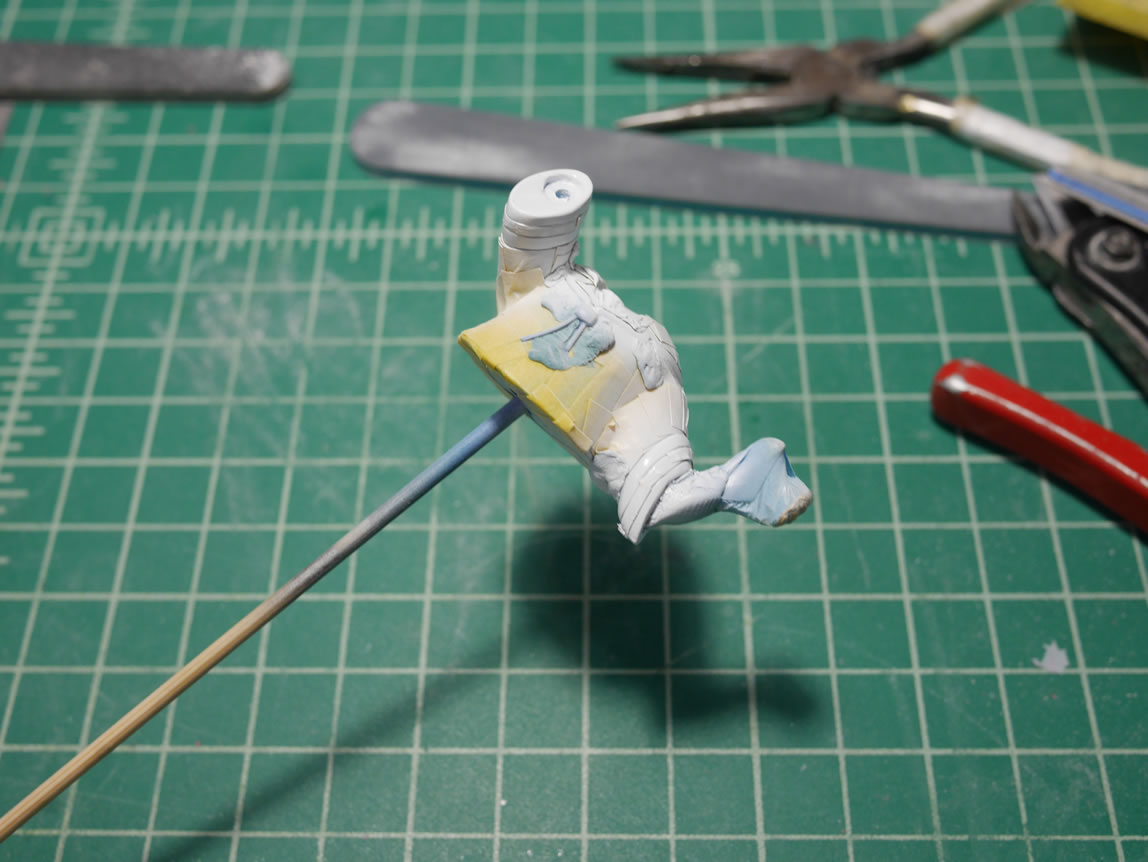
After the scrubbing session, the parts are laid out to air dry. Once all the parts are dry, I can work on the immediate problem areas on the kit. There are a few bubbles and chipped resin, but a short session with some light curing putty and sanding fills and fixes things. This is just on the bare resin. The parts are now ready for priming.
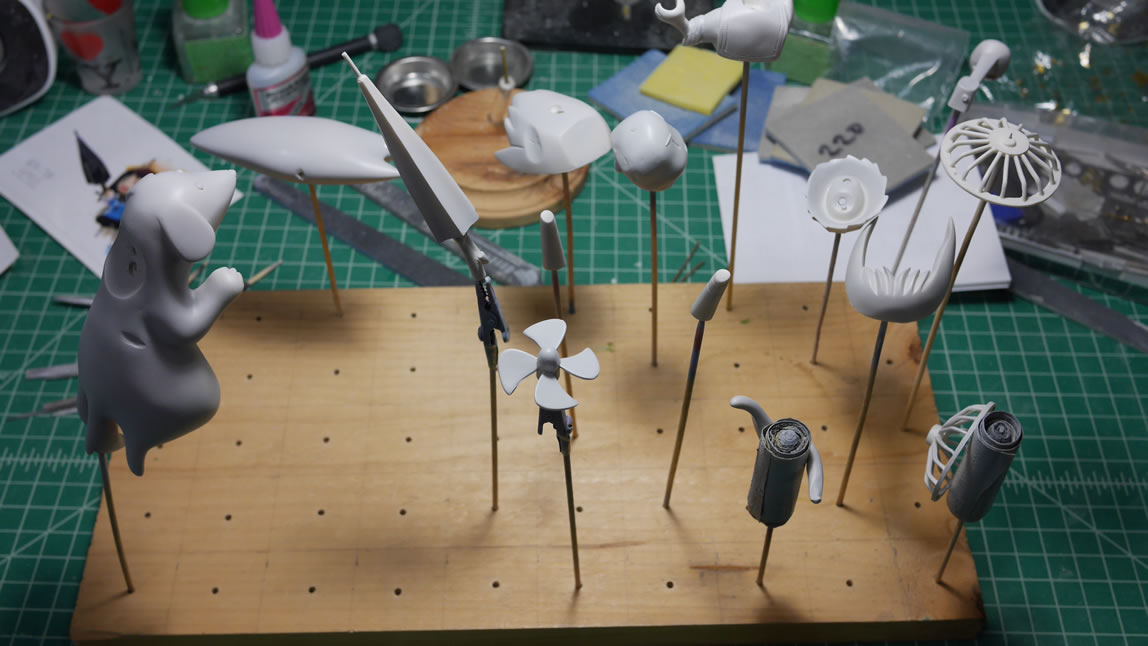
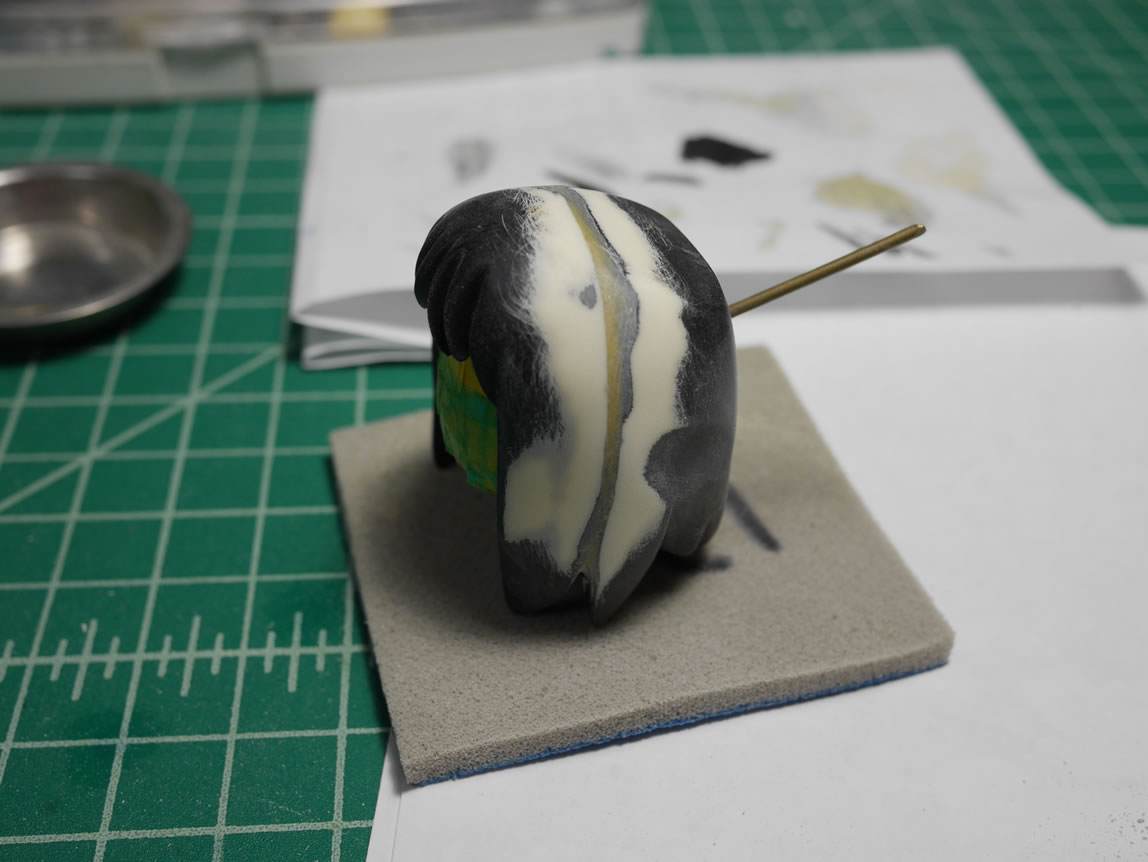
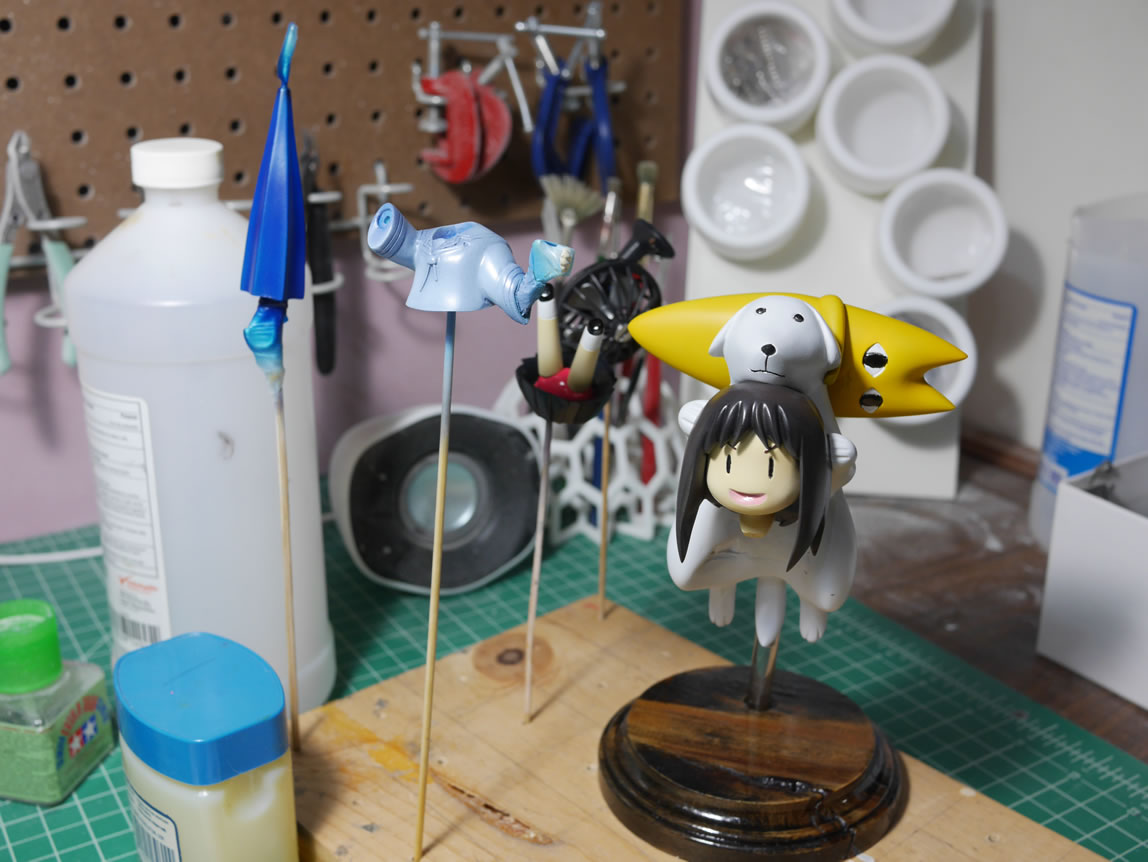
Below, the parts are skewered and ready for primer. Once primed, I can check for surface defects. The primer grey will show all sorts of fun mistakes or missed areas that need to be addressed.
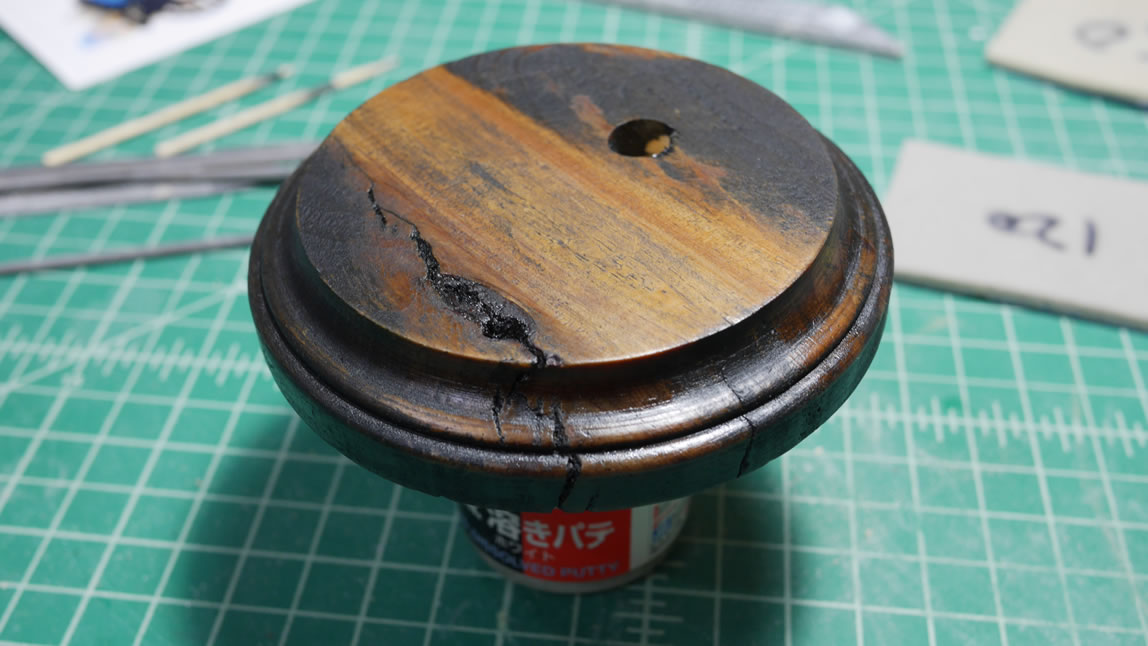
While the primer dries, I sand the wood base and stain it with a dark ebony stain. I think the stain really brings out some of the colors in the wood.
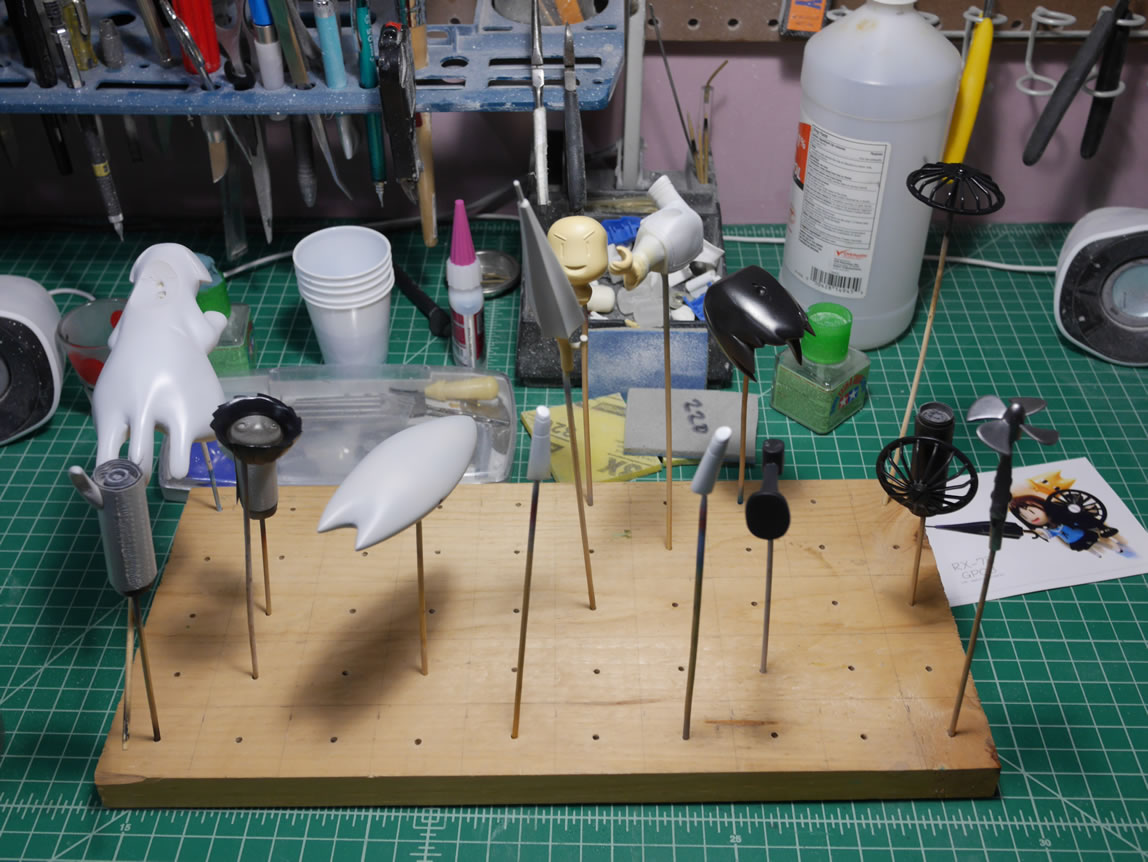
Returning to the kit. There are some areas that need attention such as pin holes that need to be drilled out and filled and all sorts of missed mold lines and a few surface defects. Once these are all fixed, the parts are primed again. And then rechecked for more mistakes. After a few sessions, I either give up or they’re good enough to move on to the next step. I basically give up and move on.
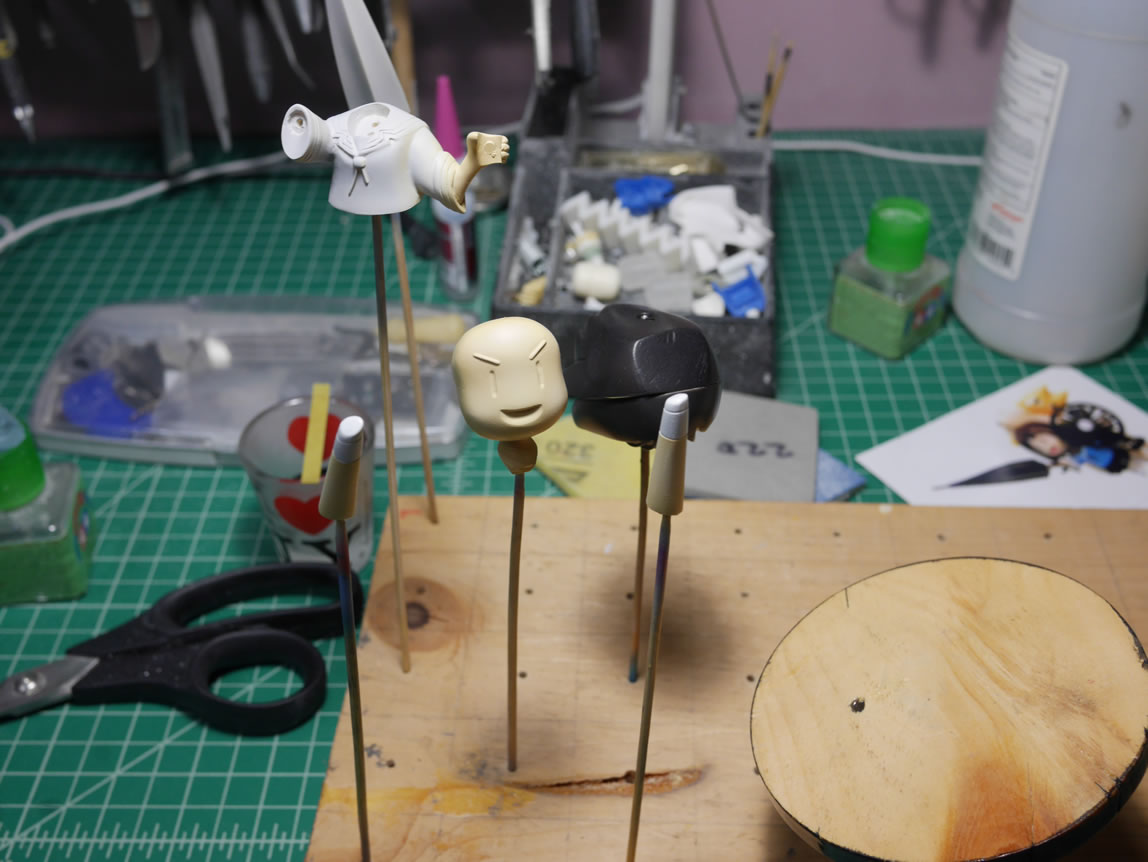
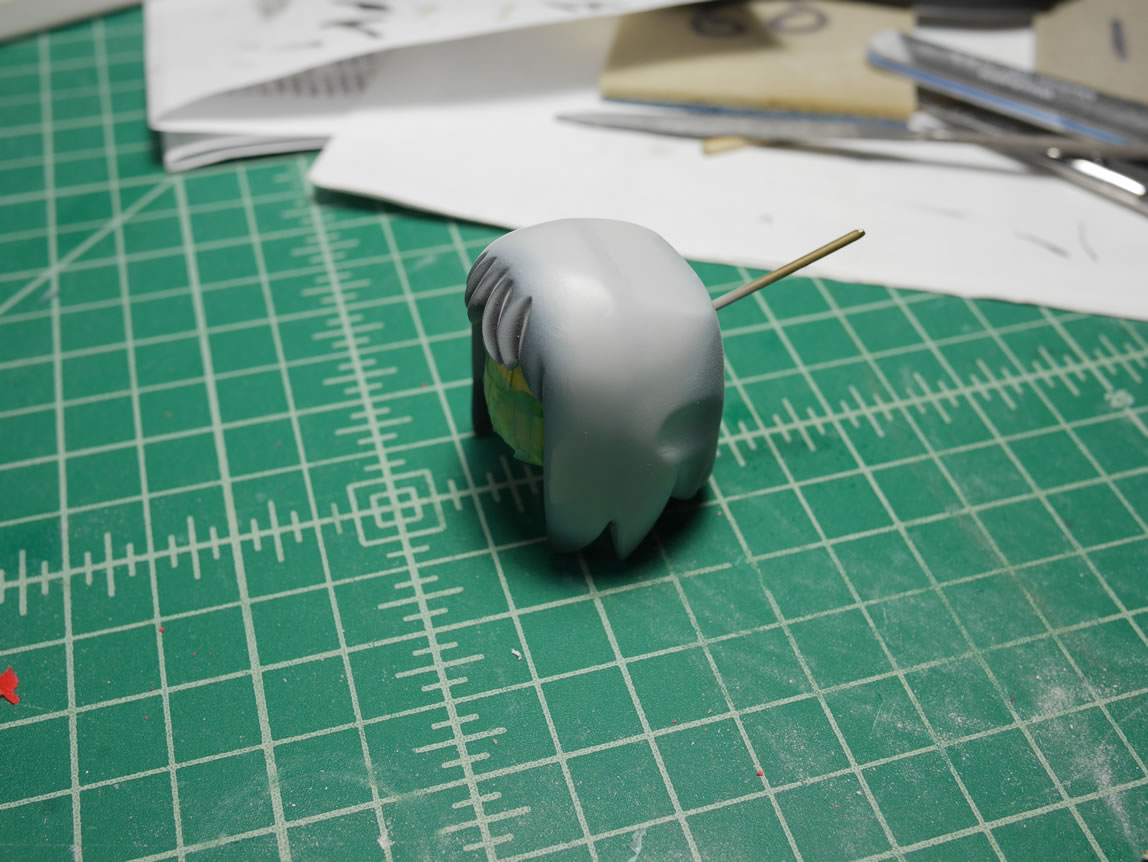
Base colors are sprayed. Base skin and base black for the hair pieces. I spray both hair pieces separately because I will then mate them together to fix the gap (seen later in this post). It is easier to get these two pieces painted first before moving on to assembly and fixing the gaps.
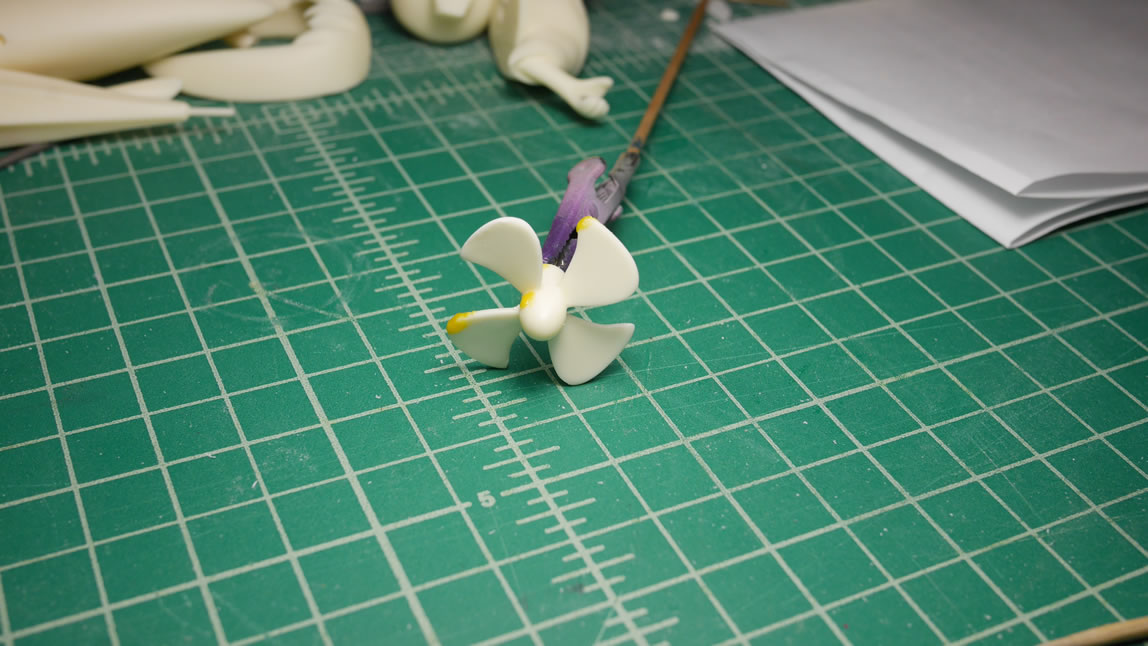
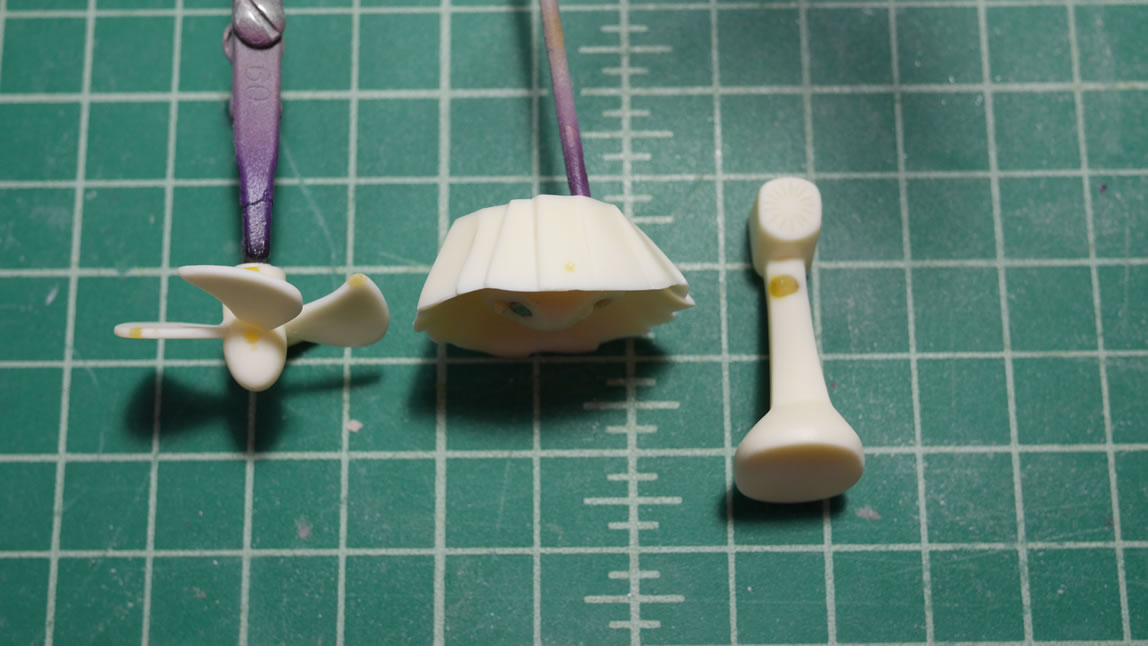
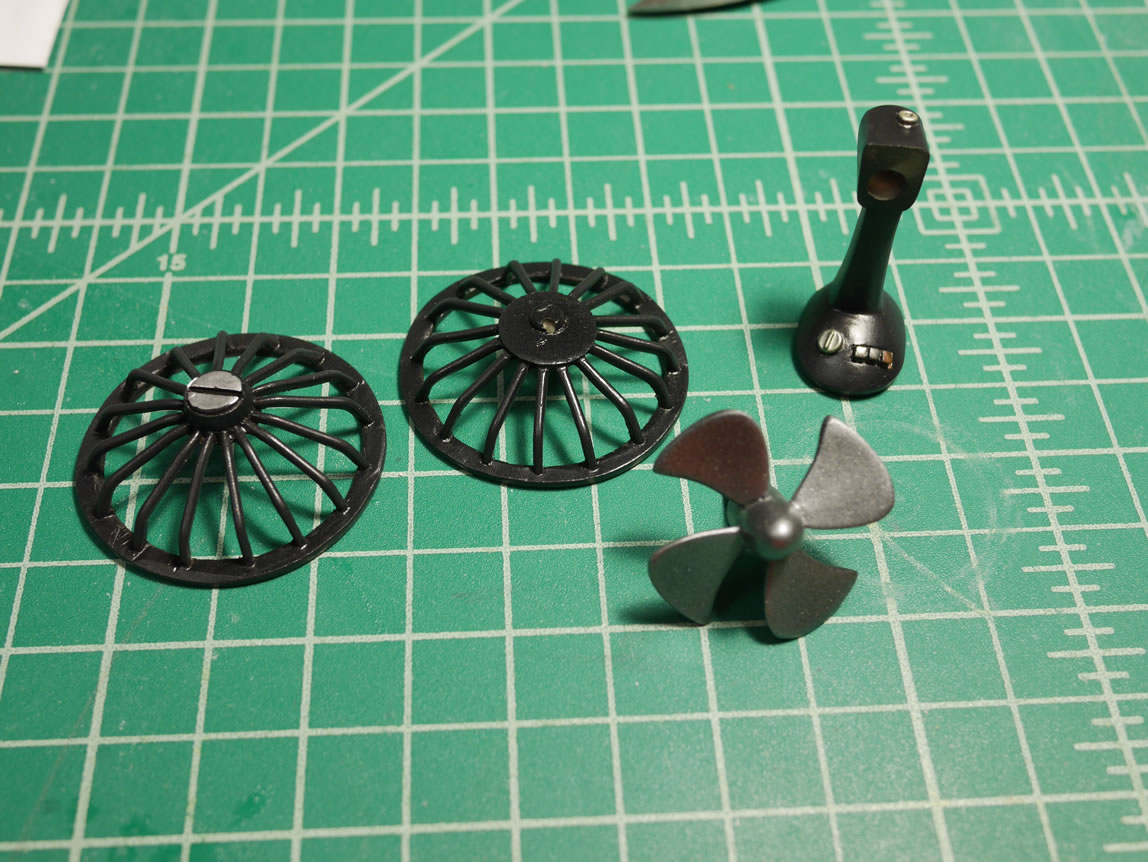
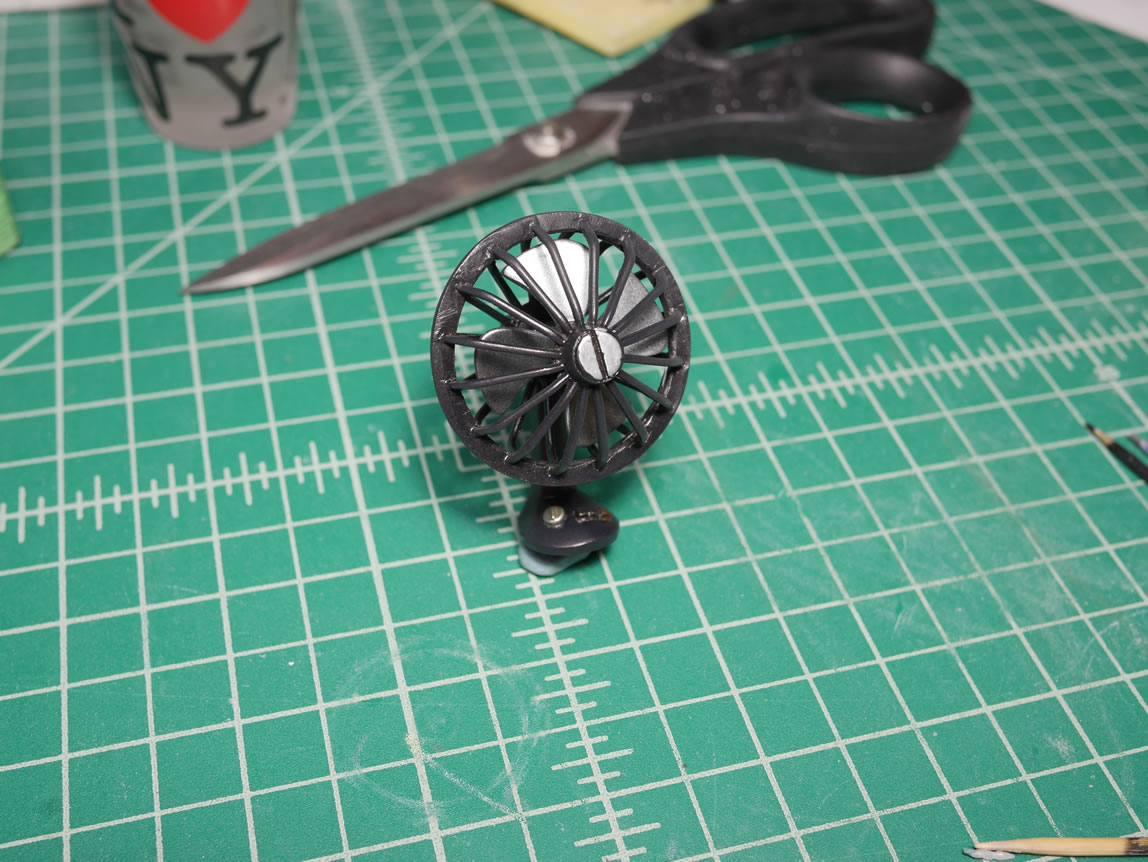
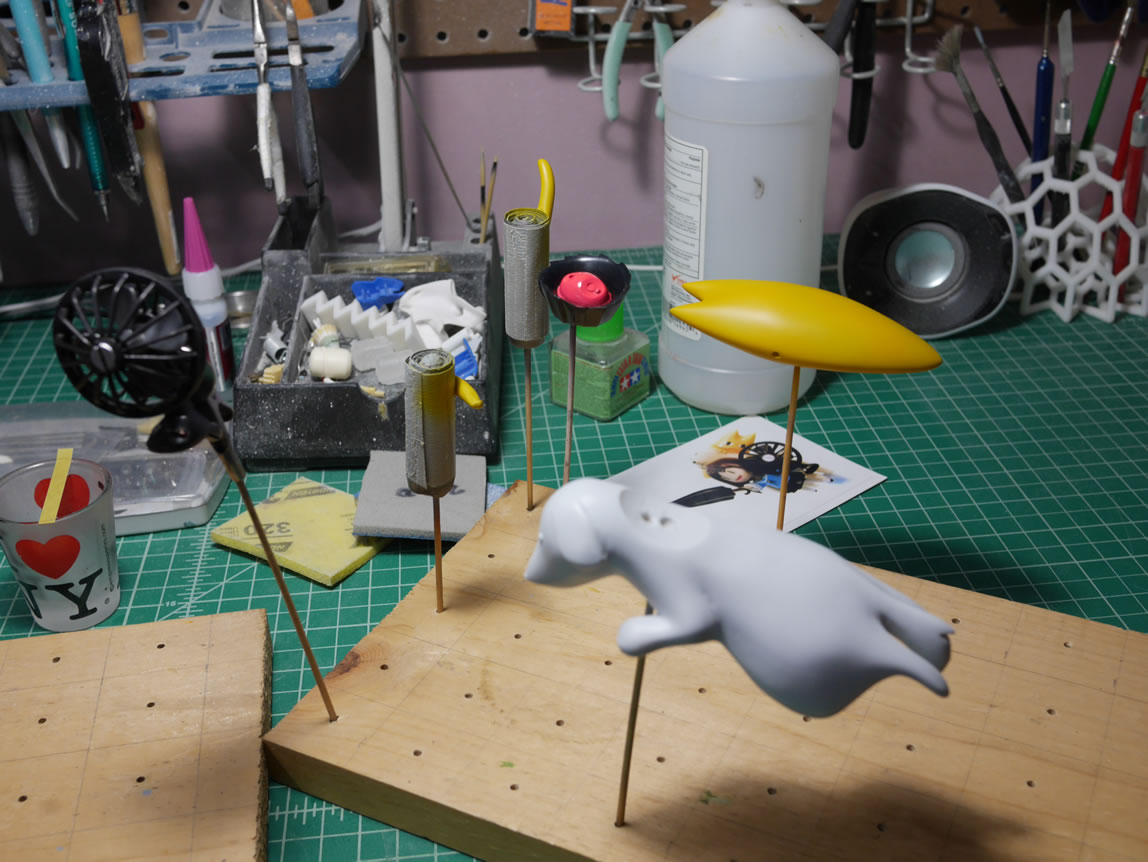
The fan pieces are painted and assembled. The skin tones are highlighted and finished off. And the rest of the parts are getting color paint sessions.
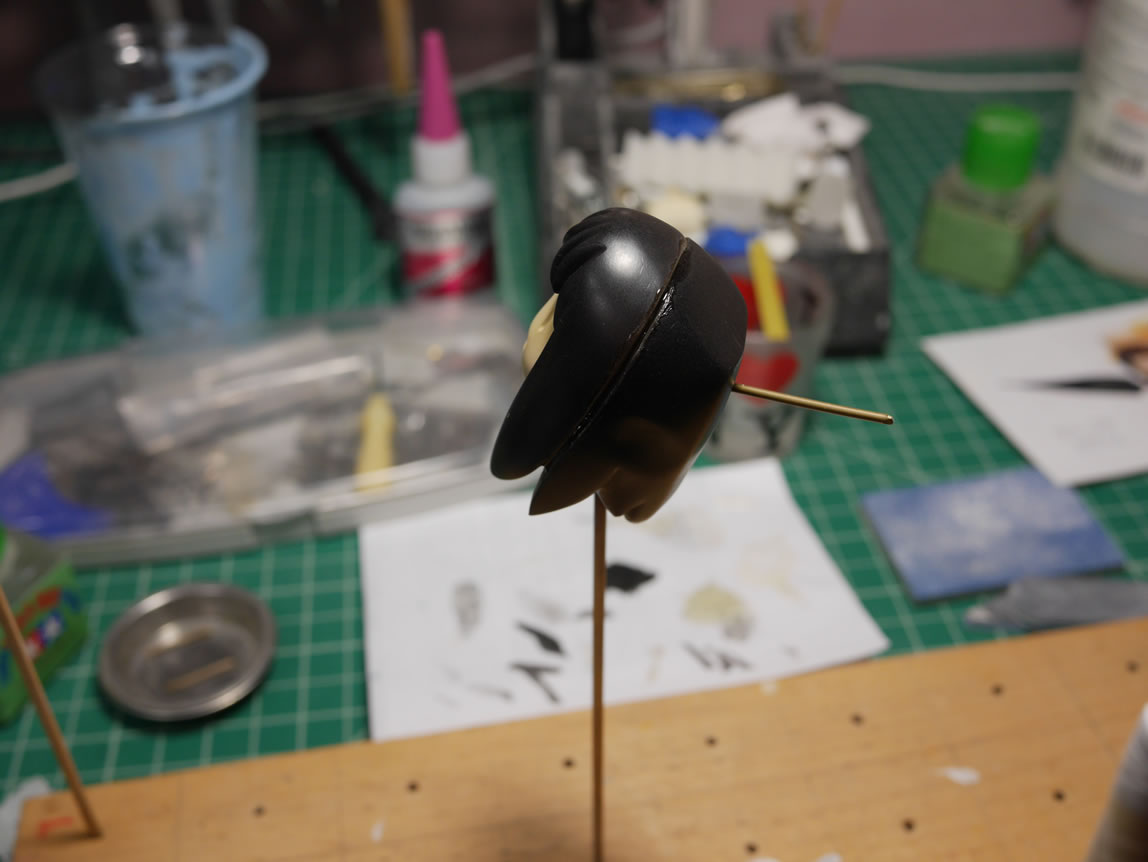
Once the head is done with paint, I can get the two halves of the hair assembled. Once assembled, of course there is a gap. The hair pieces are glued together first. Then the face is masked off. Then the gap is filled with light curing putty and sanded down. It seems counter intuitive to paint the hair pieces only to sand it and remove the paint. However, the paint around the face is still there as well as the back of the neck area. Those areas are difficult to paint once the head is assembled. Hence the reason for the previous paint session. Once the gap is sanded down, the head is primed to check for mistakes and there were a few additional sand and putty sessions before getting the head repainted.
Since a decent amount of the parts can be assembled, I started assembling and gluing. At this point, I have a dog with a cat on its back holding up a severed head. No, this isn’t creepy at all.
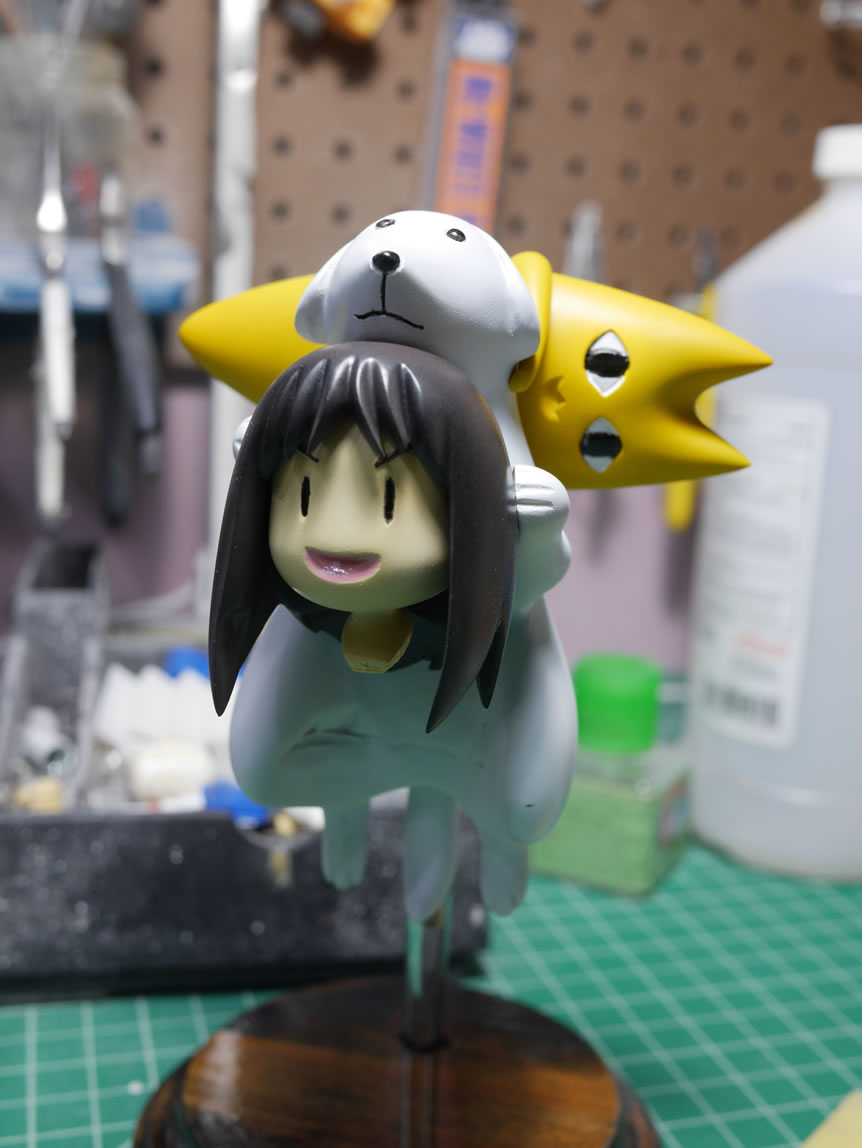
The last bit of work was to paint and mask off the main body.
Once that is done, everything is glued together and the project is done. A nice quick one week project. And now I have an entry for the SCGMC 2017 Theme: “RX-78”