July 11, 2017:
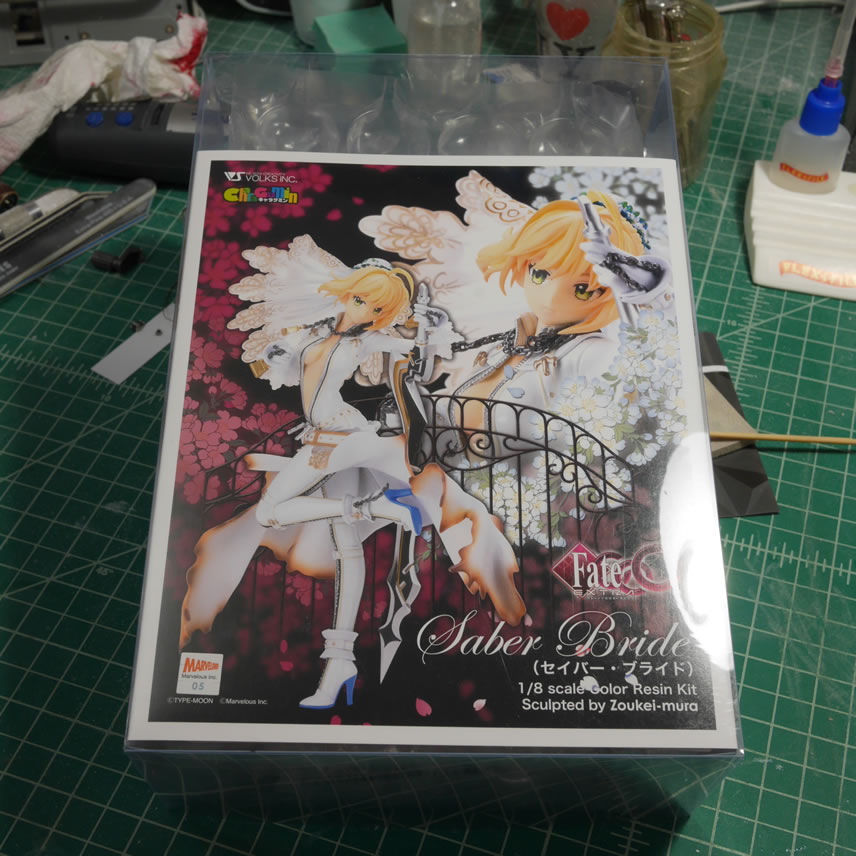
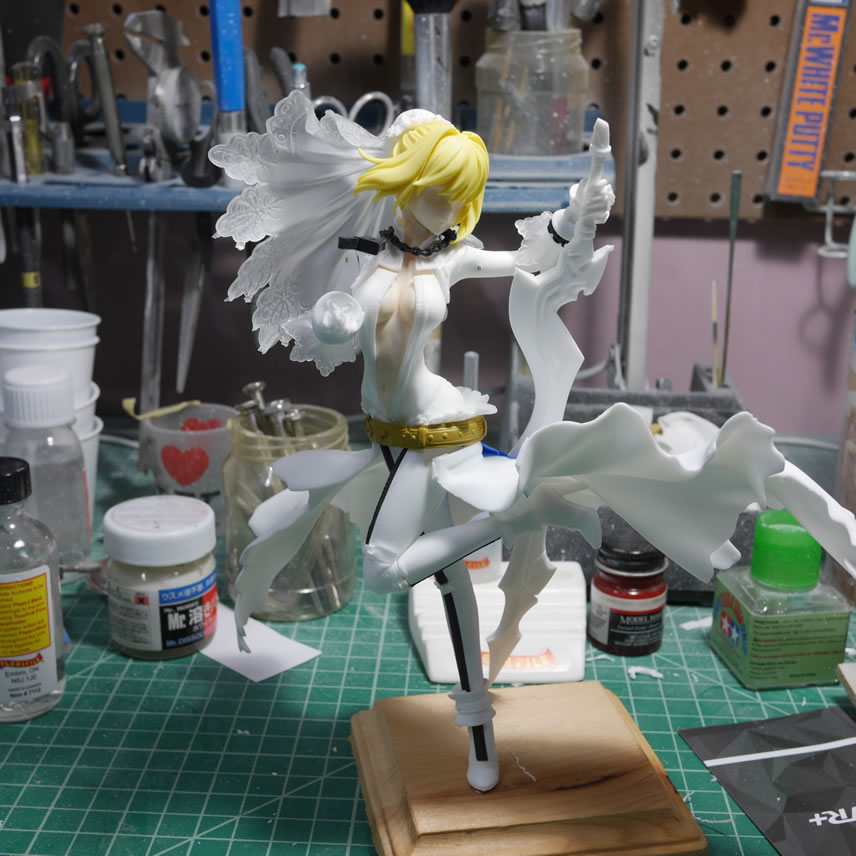
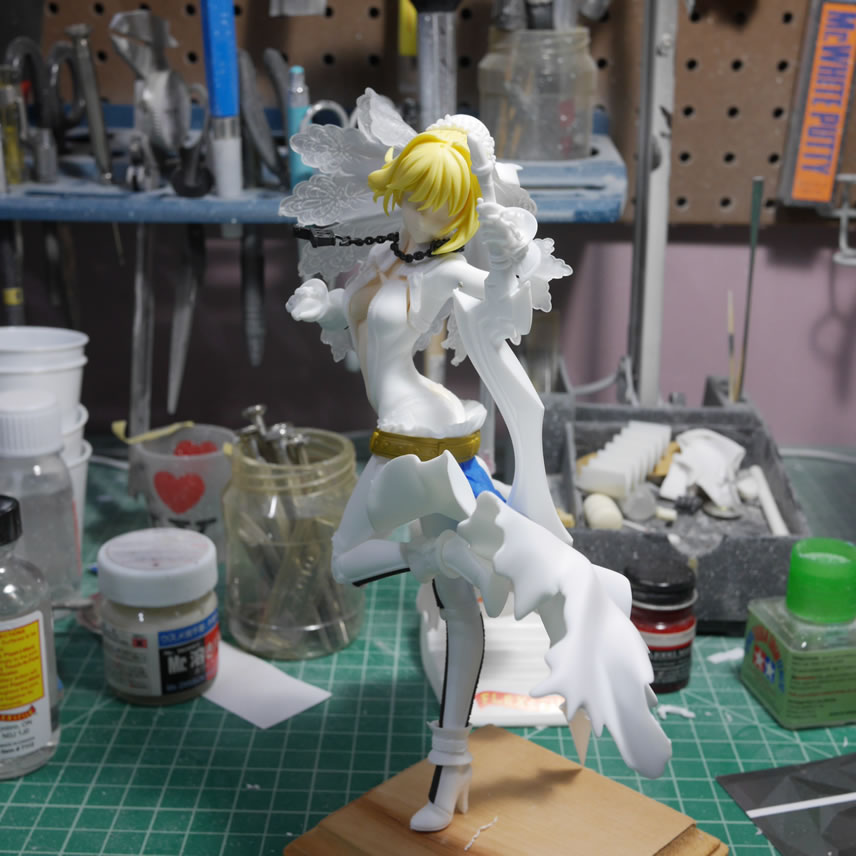
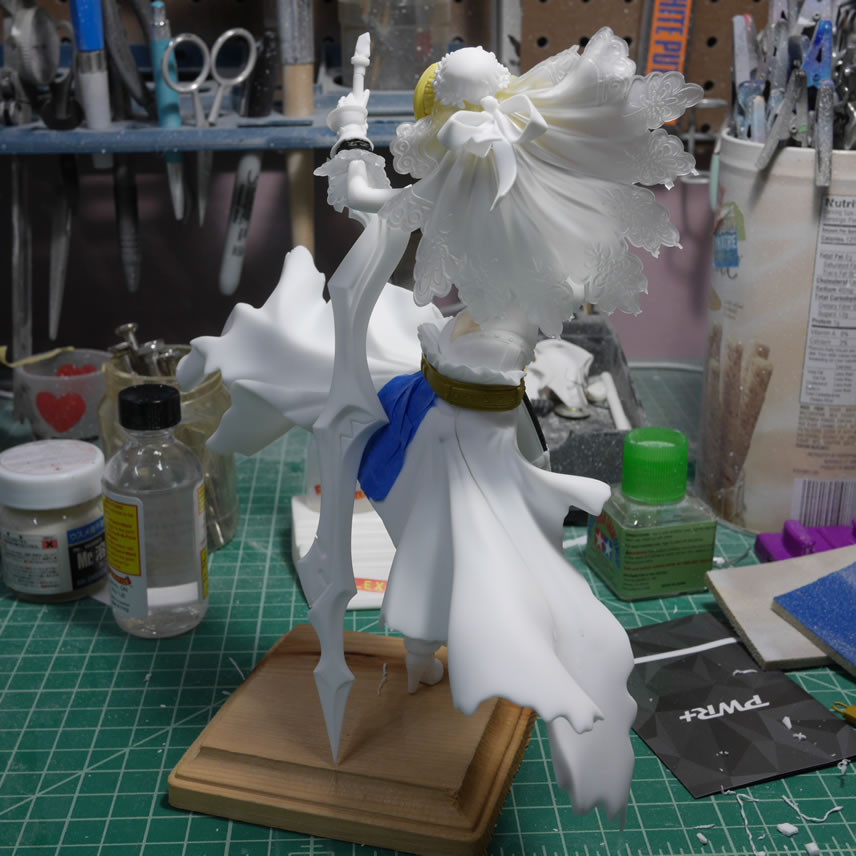
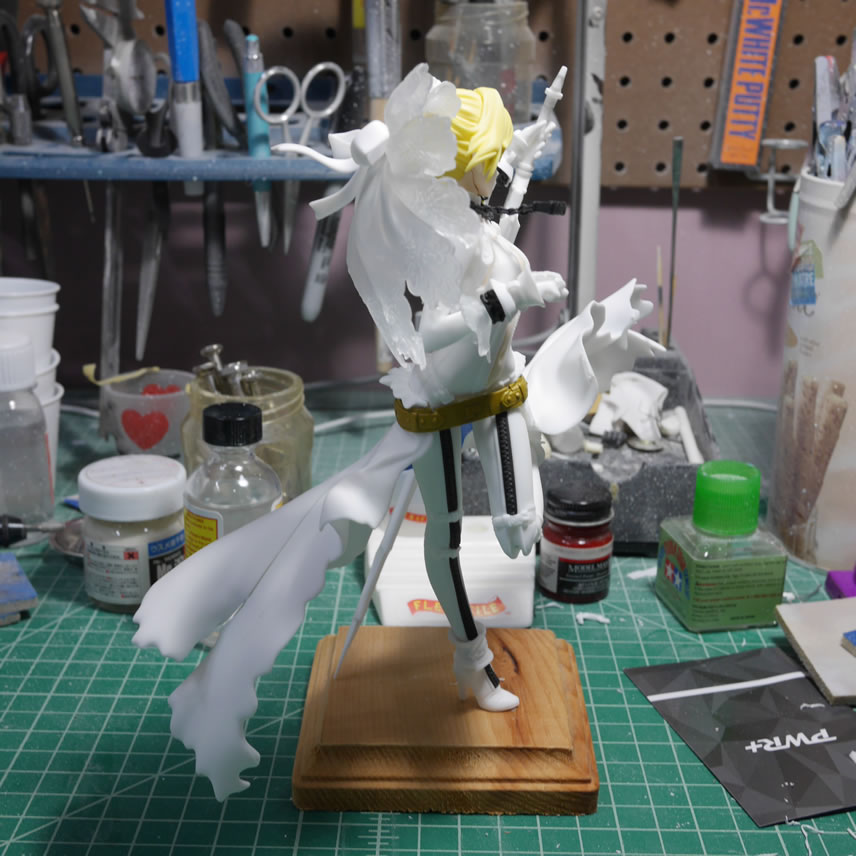
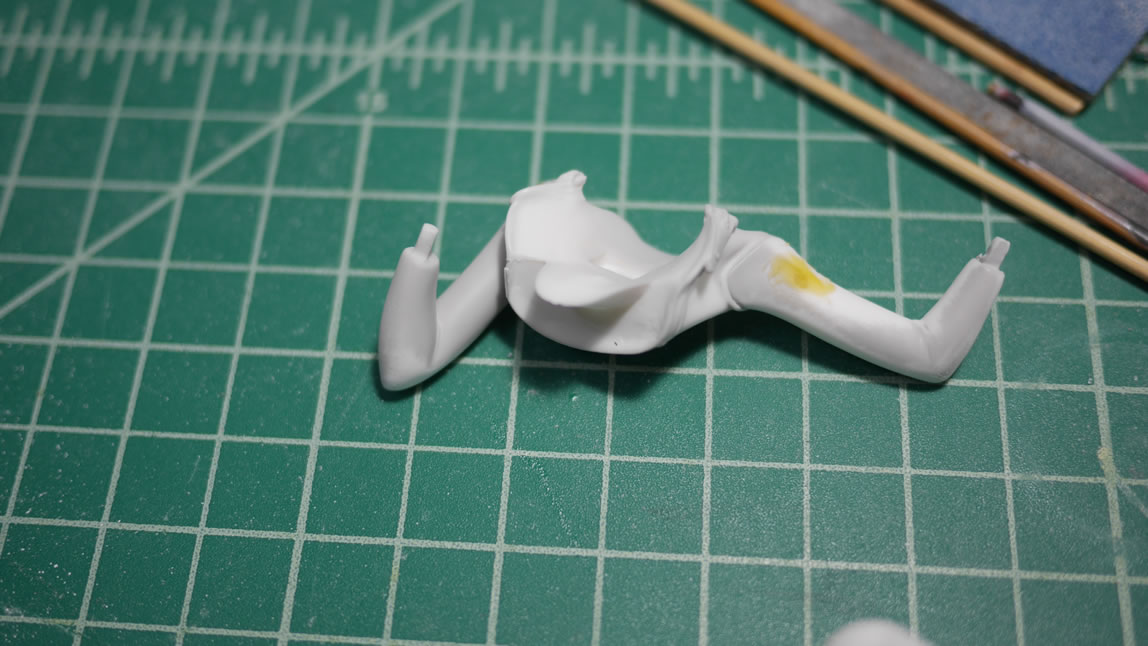
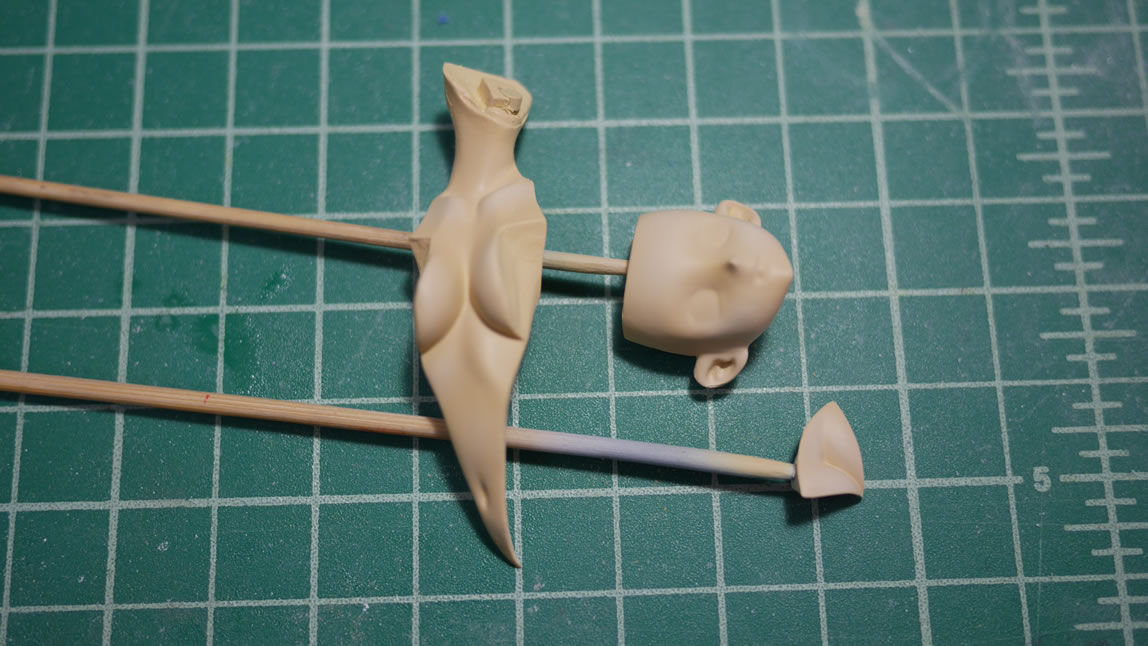
Here’s the Saber bride kit from Volks that I received yesterday. The kit comes together fairly easily, but there are a few gotchas. I did a quick test fit as well as some quick pinning to get a good look and feel for everything. The customer has requested a special paint scheme, so I’m still finalizing a few bits on that. In the meantime, I can get to work on the clean up. I’ve already thrown a few pieces into some industrial purple cleaner so that I can get to gluing and filling on some of the major pieces. Prior to that, I got most of the major parts together and snapped a few quick pictures. Always test fit!
August 28, 2017:
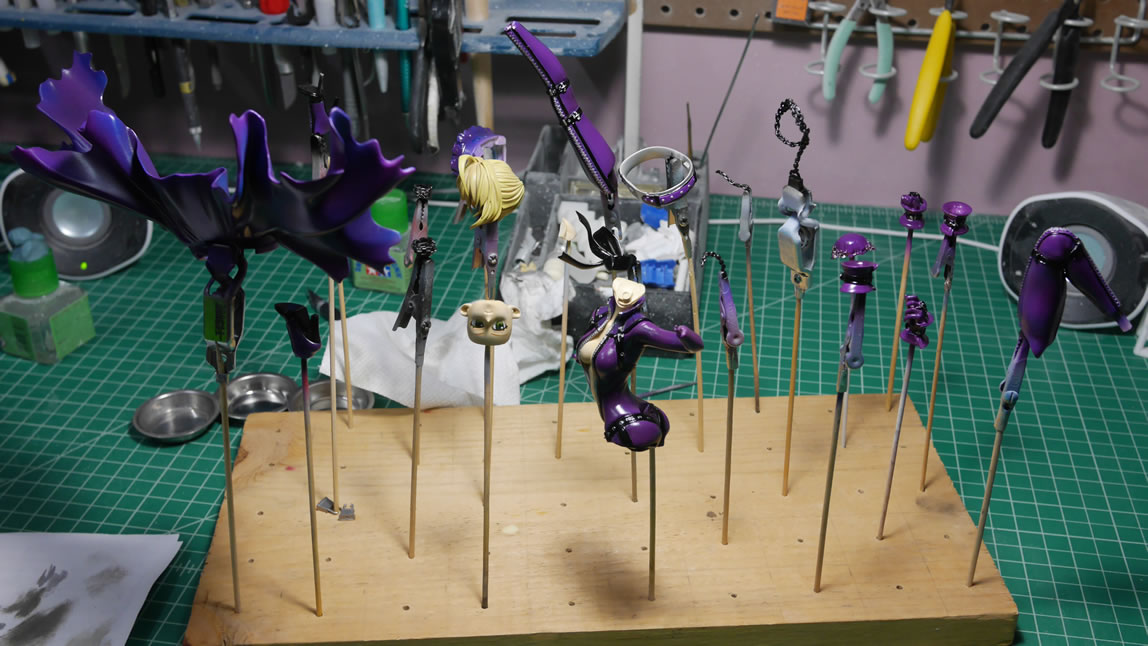
This has been a long while since I have had enough material to make a post. I’ve been slowly progressing with the kit over the past 6 to 7 weeks. I haven’t really had much time to get a good foothold on the project, but this weekend fixed that. I had finished a release at work and the wife was busy with other commitments; which left me to my own devices. And those devices gets the resin sanded and painted.
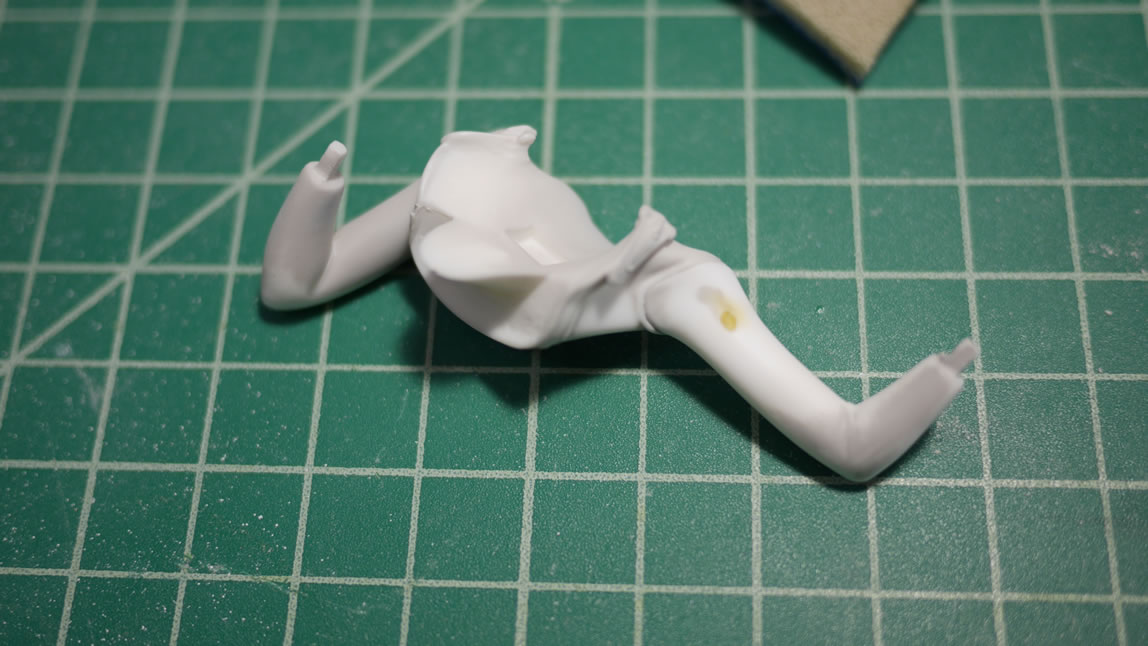
Here is a quick little catch up from when I first started on the project. I had gotten it pinned and test fitted. Next, I took it apart and did some initial sanding to remove most of the visible nubs, mold lines, and resin boogers. After that initial sanding, the whole kit is dropped into some industrial strength cleaning fluid for at least the night to a few days. This makes sure that any residual mold release is dissolved. The mold release agents are made to keep things from sticking to the resin, and paint is one of those things that the agent will keep from playing nicely.
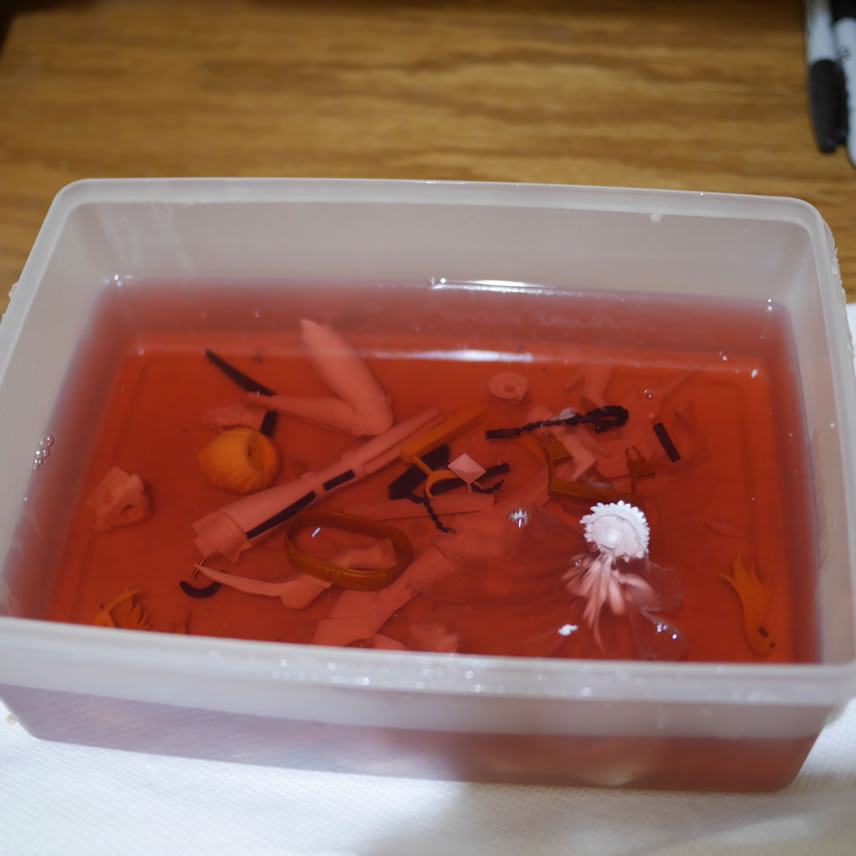
There’s a rinse and scrub phase after the soak, but I’m entirely too lazy to do, so I have an ultra sonic cleaner that will do the job nicely with plain old tap water. Once that parts are rinsed and run through the cleaner, they’re laid out on a paper towel to dry.
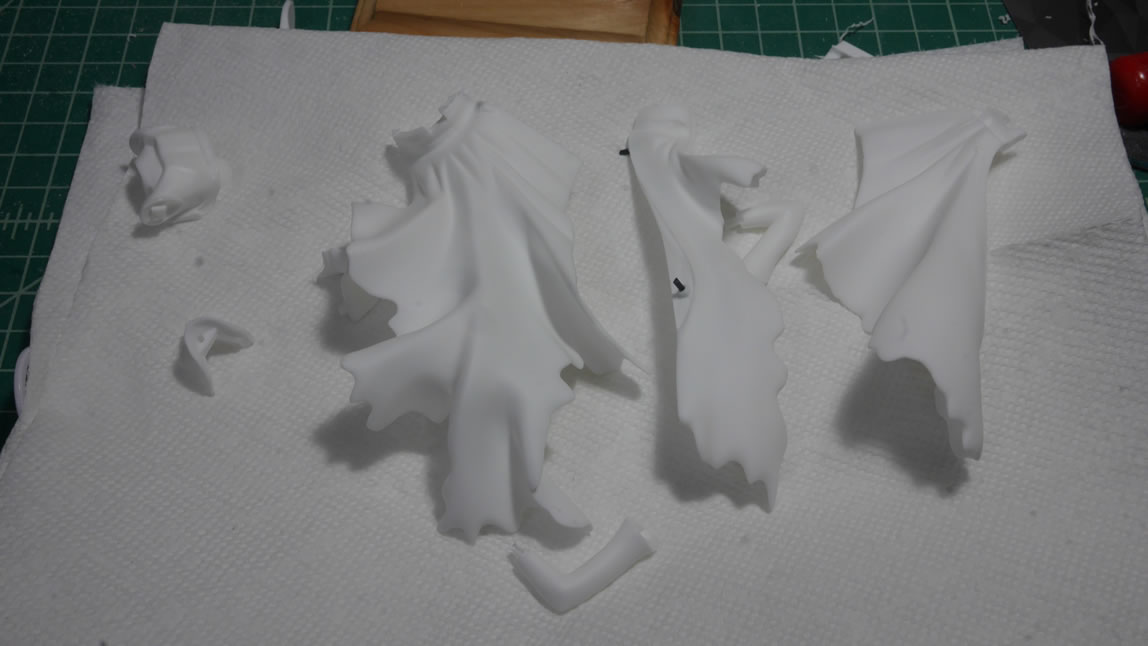
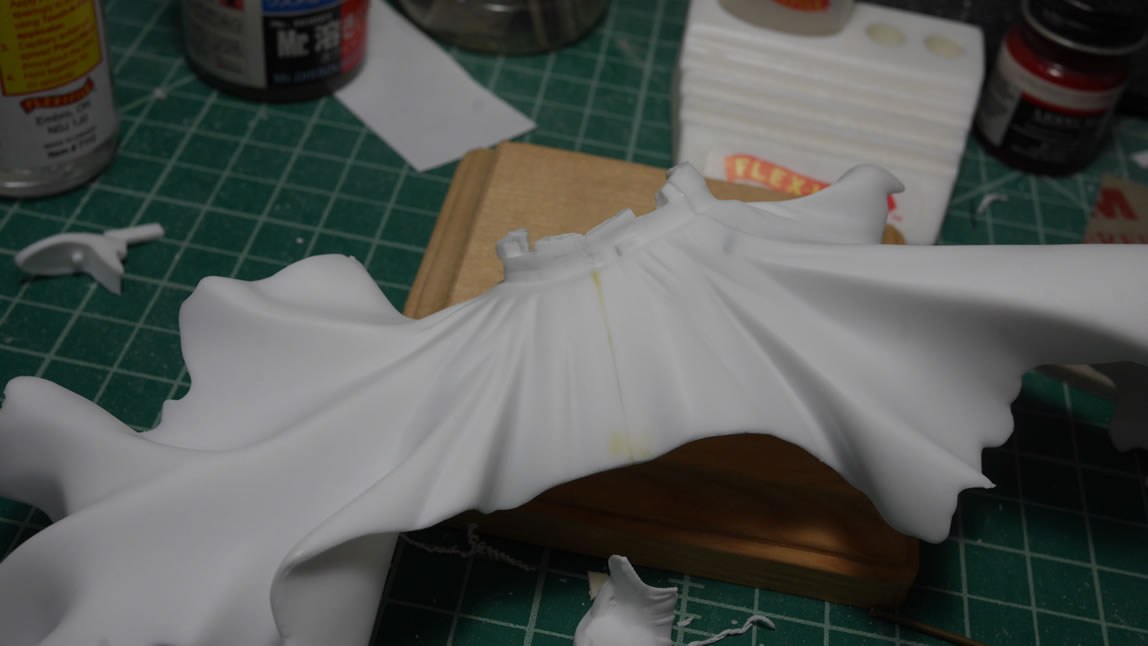
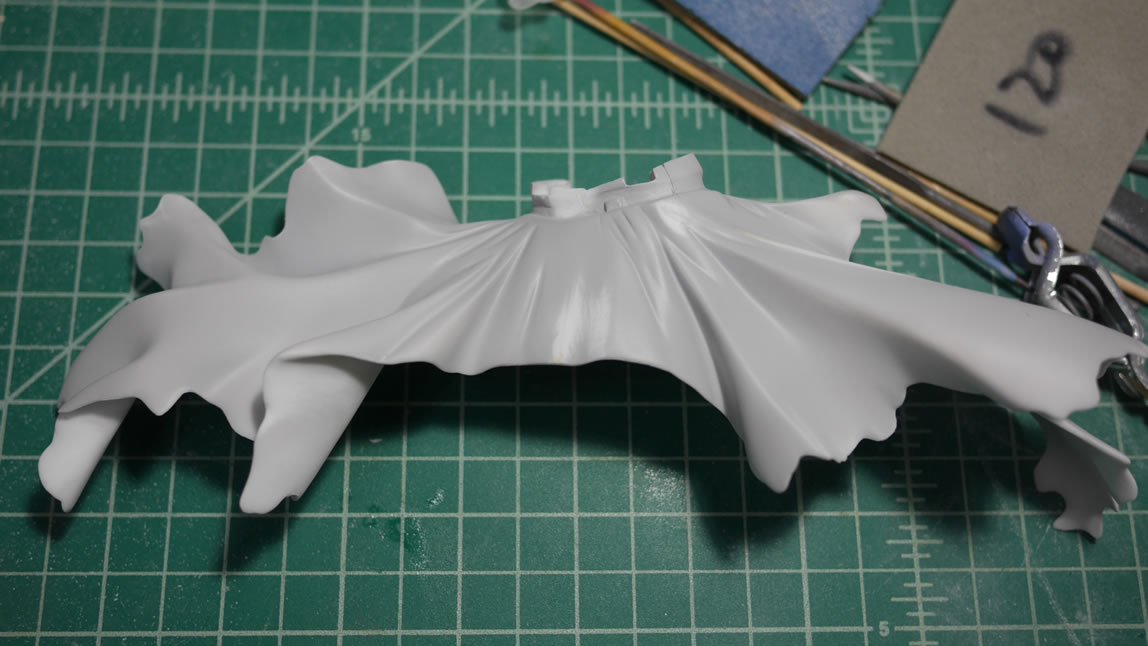
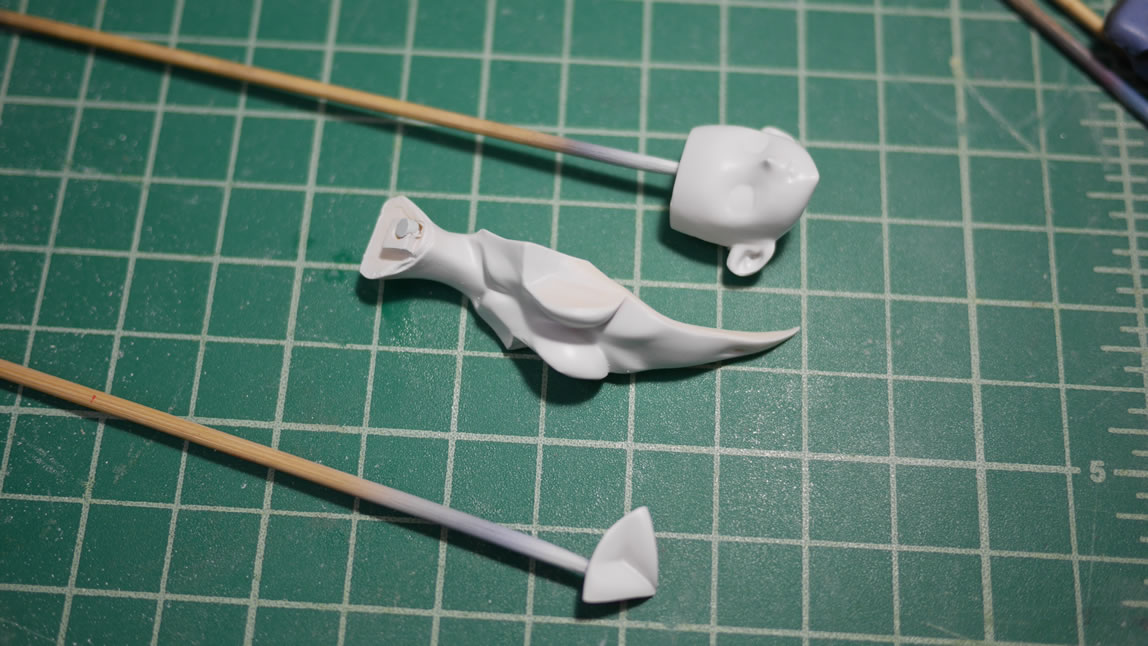
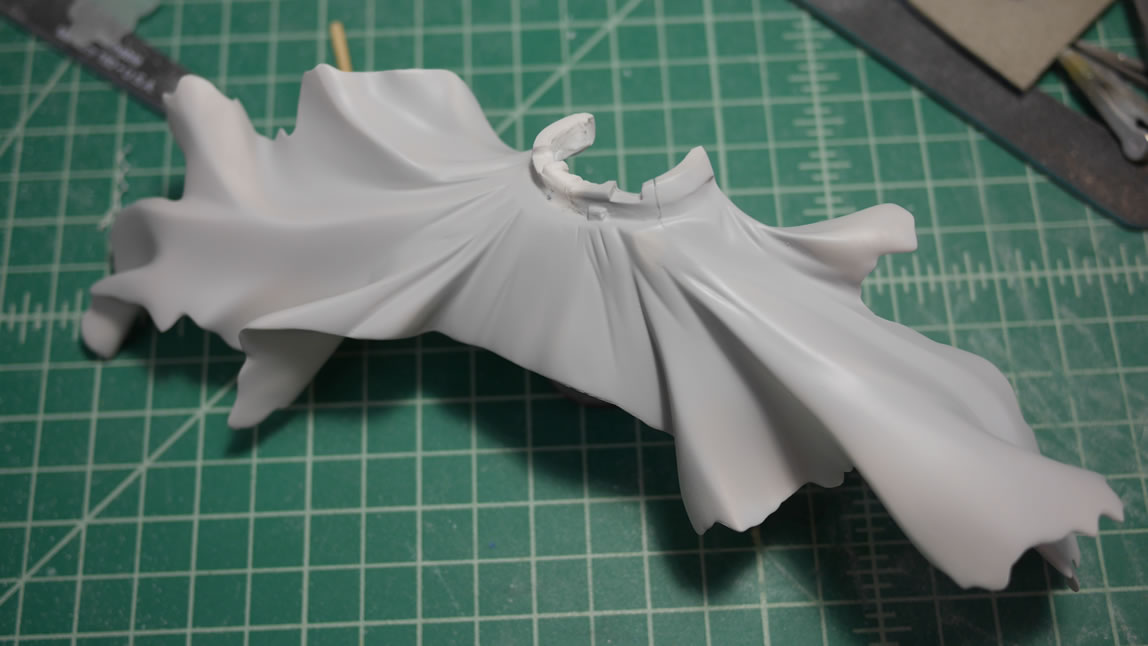
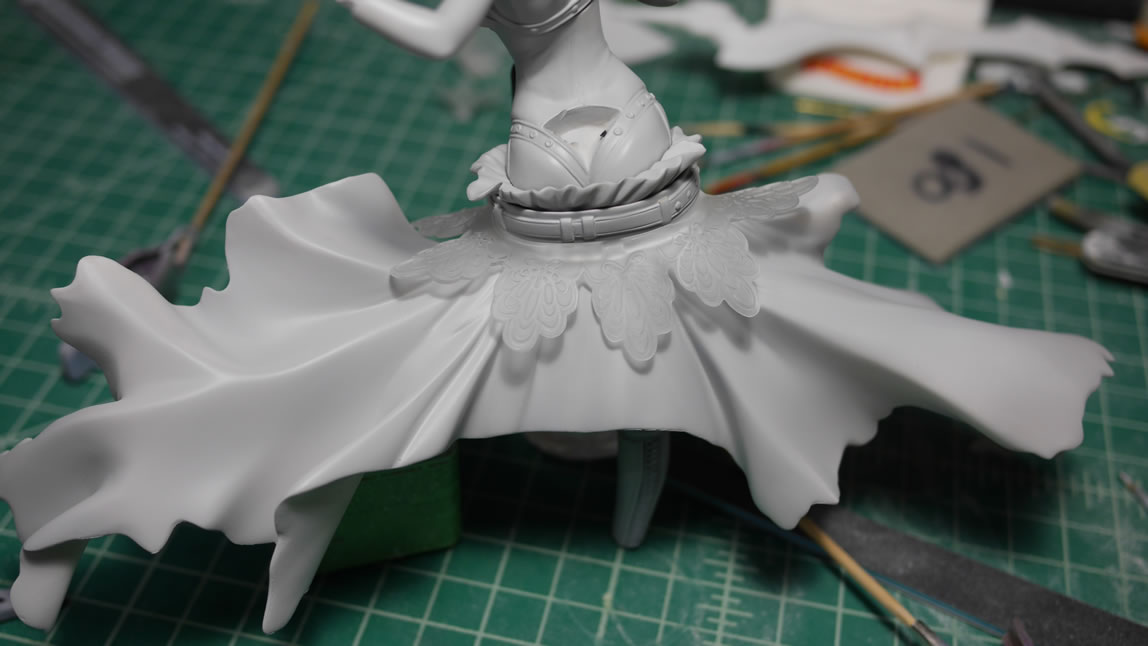
The main parts of the skirt are in three large sections as seen in the above picture. Once dry, they will need to be glued together. I did some pinning between the three parts to add some strength and used CA glue to bond everything. The CA glue works to fill any gaps and with the pins is a pretty strong bond.
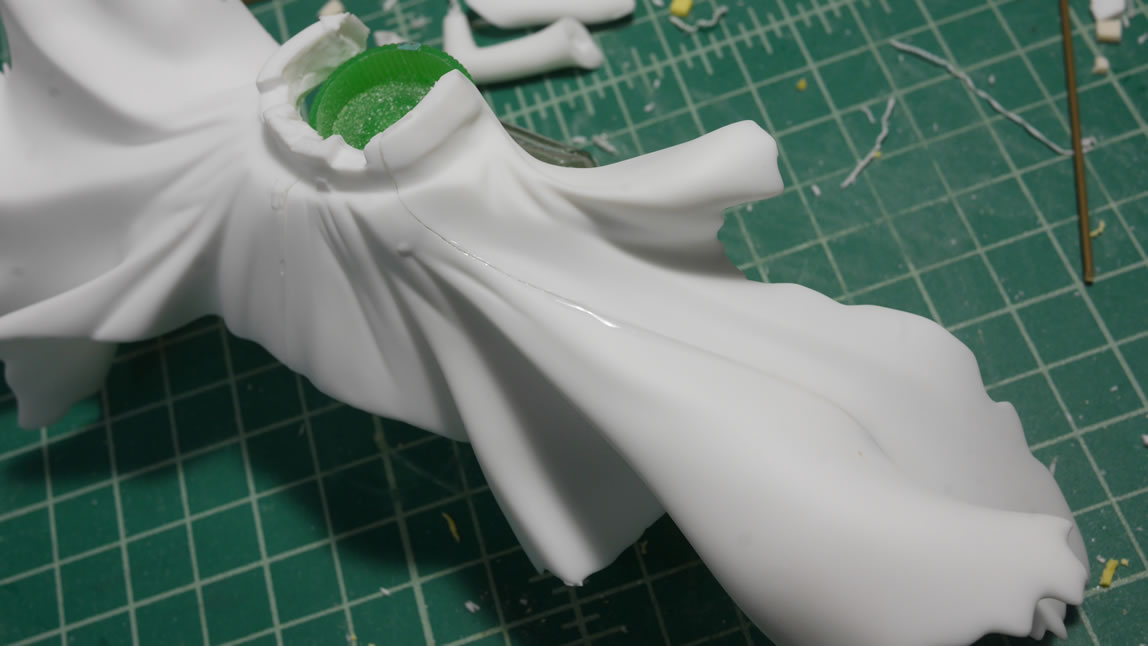
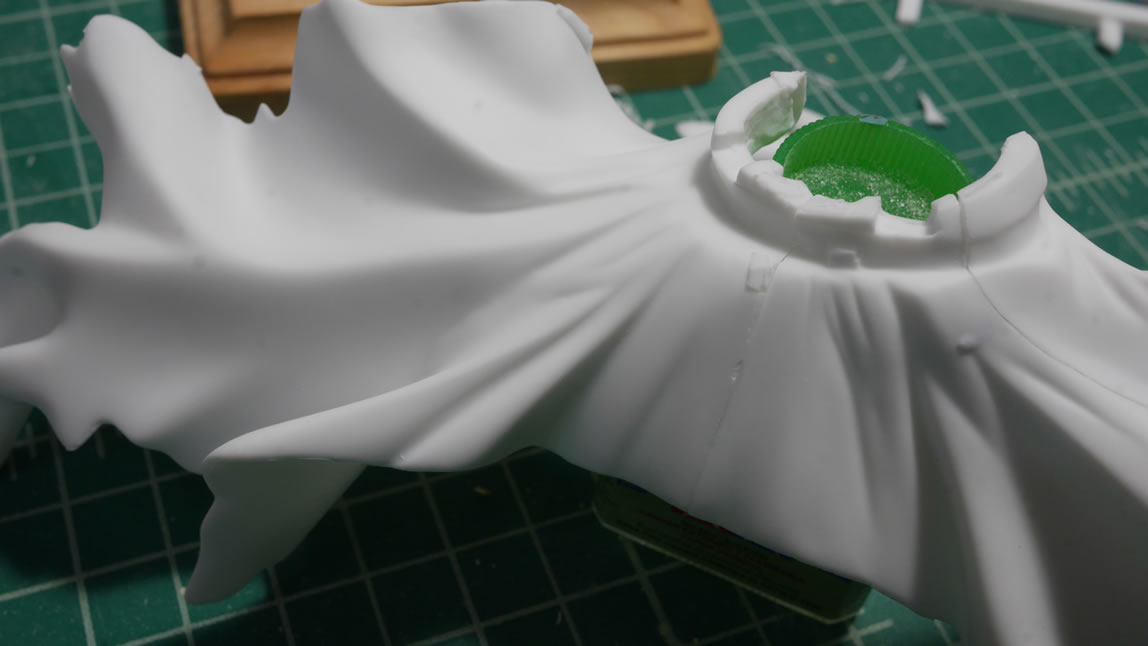
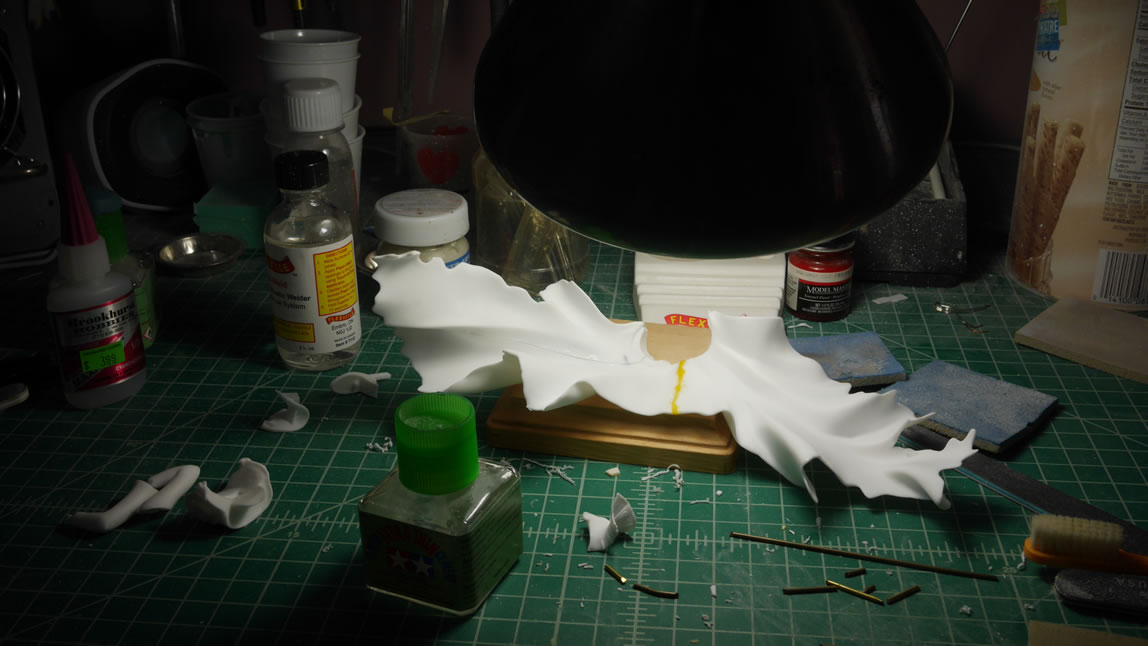
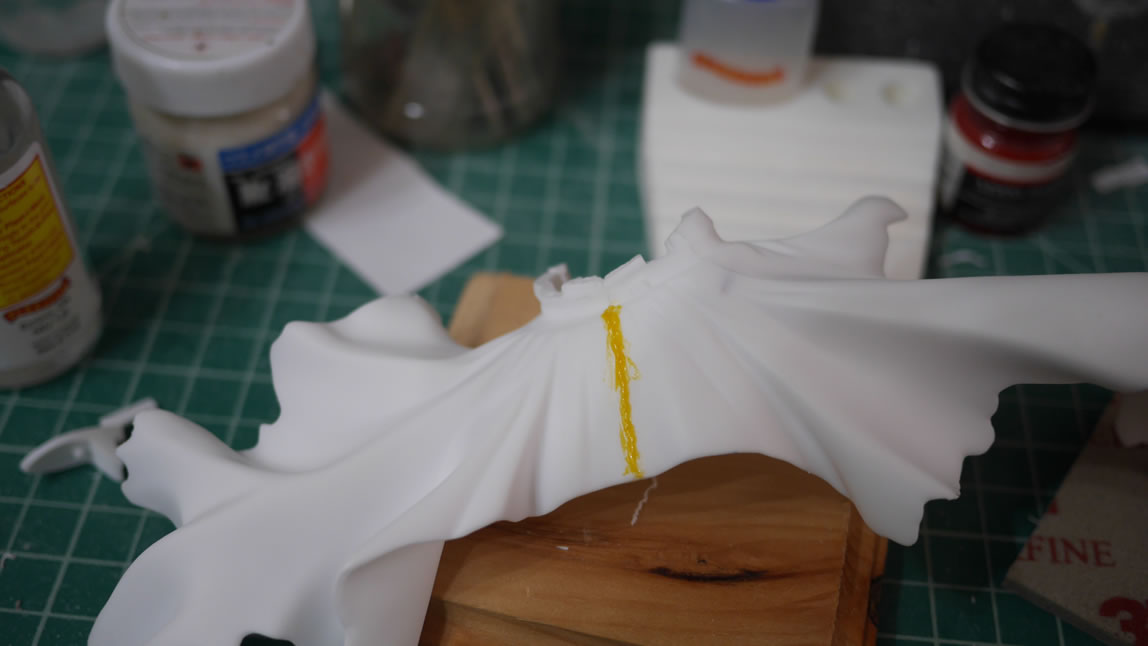
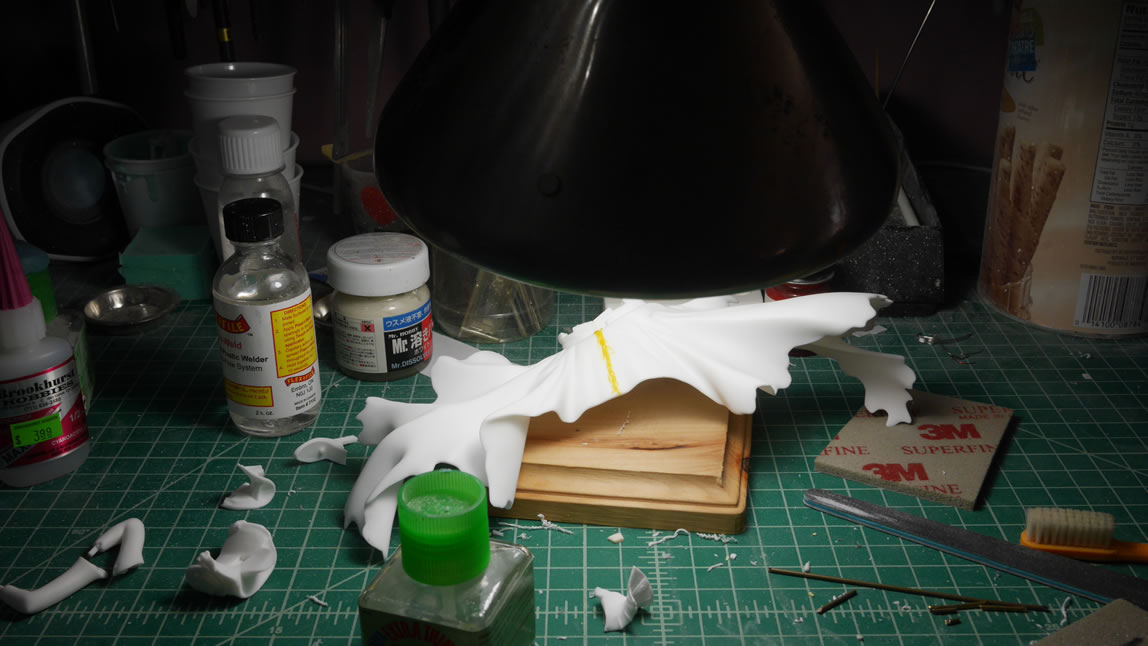
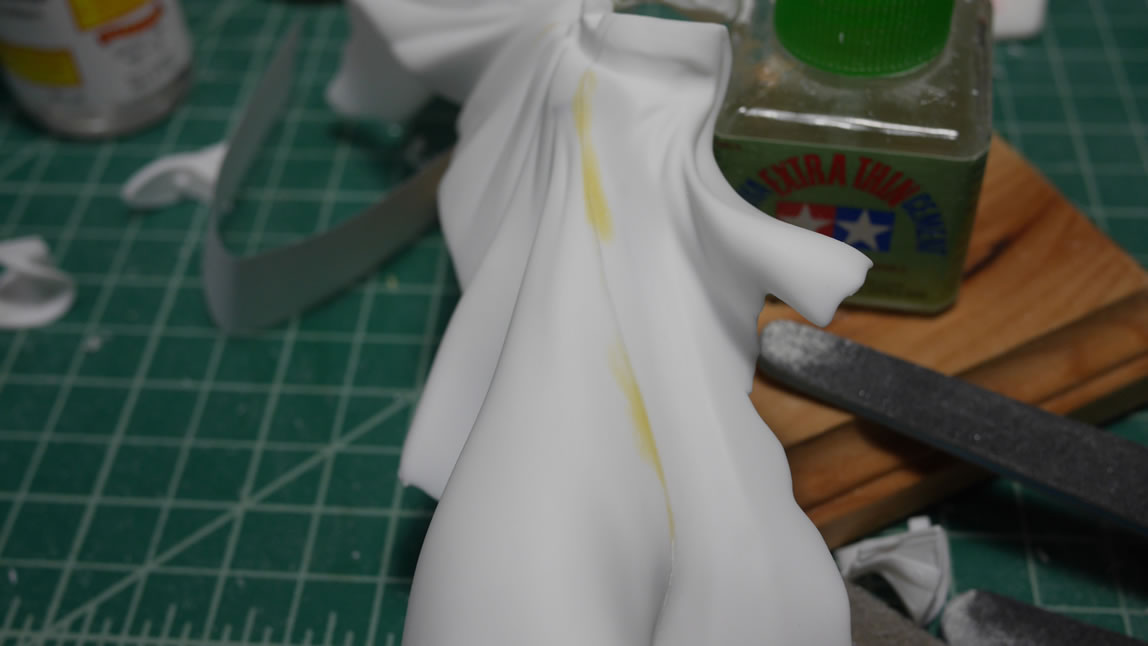
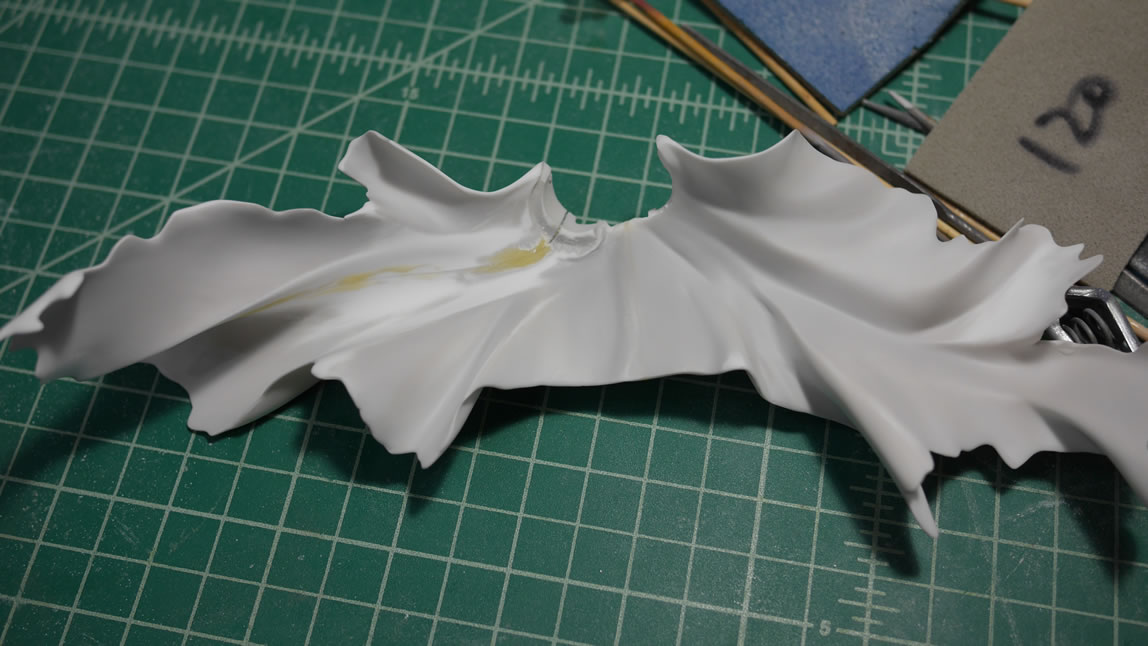
Once the CA glue is cured, I can work on making the part look like a single piece as opposed to three sections glued together. Light curing putty is applied along the joint areas. The light curing putty allows for quick putty work. If I need to reapply more putty if the putty doesn’t stick, there are air bubbles in the putty, or I didn’t use enough; I can do this fairly quickly because of the quick cure. I usually apply the putty with the main work lamp off. I have plenty of work time since it cures by light. Once I am satisfied with the putty application, the light is brought down and focused on the putty area. The putty needs about a minute or so for the light to fully penetrate and cure it. Once cured, it will look a little wet or oily. A quick wipe of the paper towel will clean this residue and we’re ready for sanding.
After some quick sanding, another layer is applied then sanded down and this process will repeat until it visually looks decent. This doesn’t end things. Theres the finger nail check of running my fingers across the seams to see if anything catches. Then it is time for the real check; priming the part. Once primed, the small imperfections in the putty work will show up. So the cycle begins of prime, putty, sand, reprime, and repeat. I get the underside of the skirt too since the seam between the three parts is visible on both sides. And no one wants to look up a skirt to see seams right?
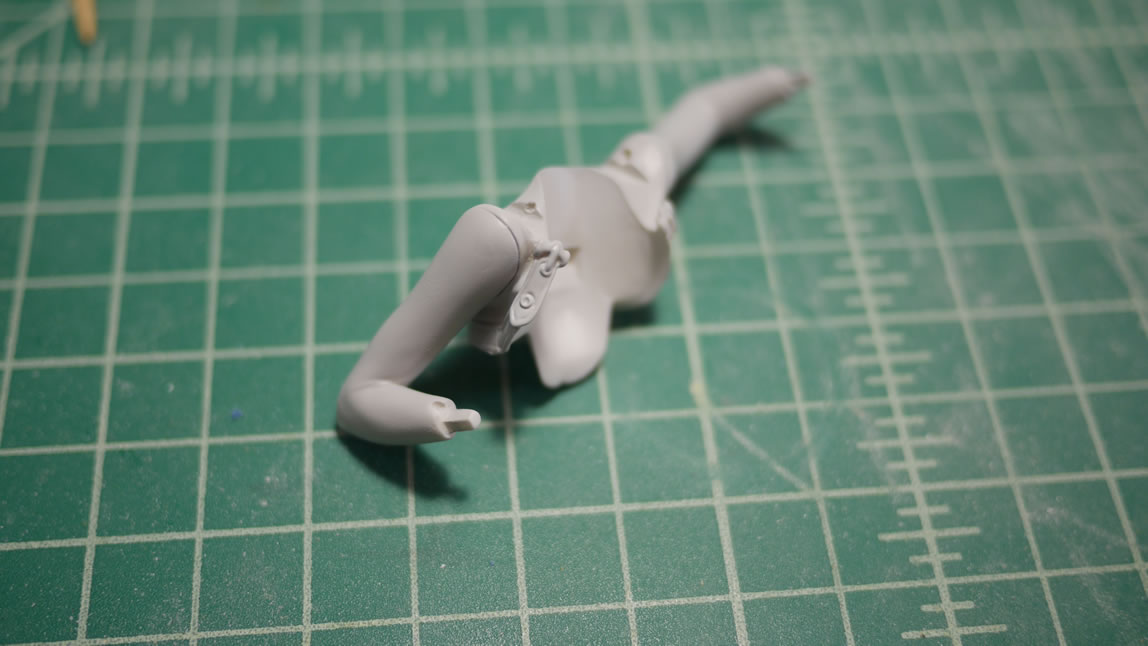
The upper torso get some work. I glued the arms into place and puttied over the holes I made for pins. Sand, prime, and done.
There are only three pieces with skin. Her exposed plumber’s crack, her face, and unzipped sexiness that is the sliver of skin from her neck to cleavage to belly button. The primer that checks for fixes is gray, but that won’t work for skin tones since it’ll affect the tone of the flesh. If I was going for a dead girl, then yes, I would paint the skin tones right over the gray, but I’m not; so these three parts are shot with some white base primer. Once that is done, it’s another three layers of skin tones. A dark base layer followed by a very light highlight tone, followed by a middle blending tone to tie everything together.
I need a few more sanding fixes to the middle torso and after a few sessions of putty-sand-prime; the skirt is fully prepped and ready for paint.
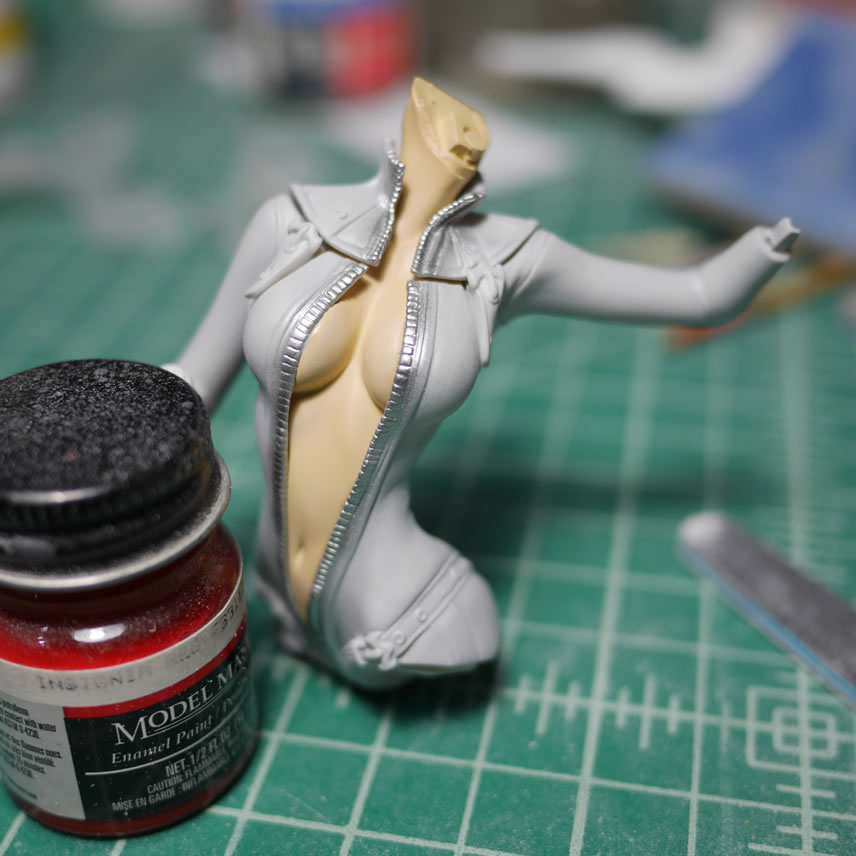
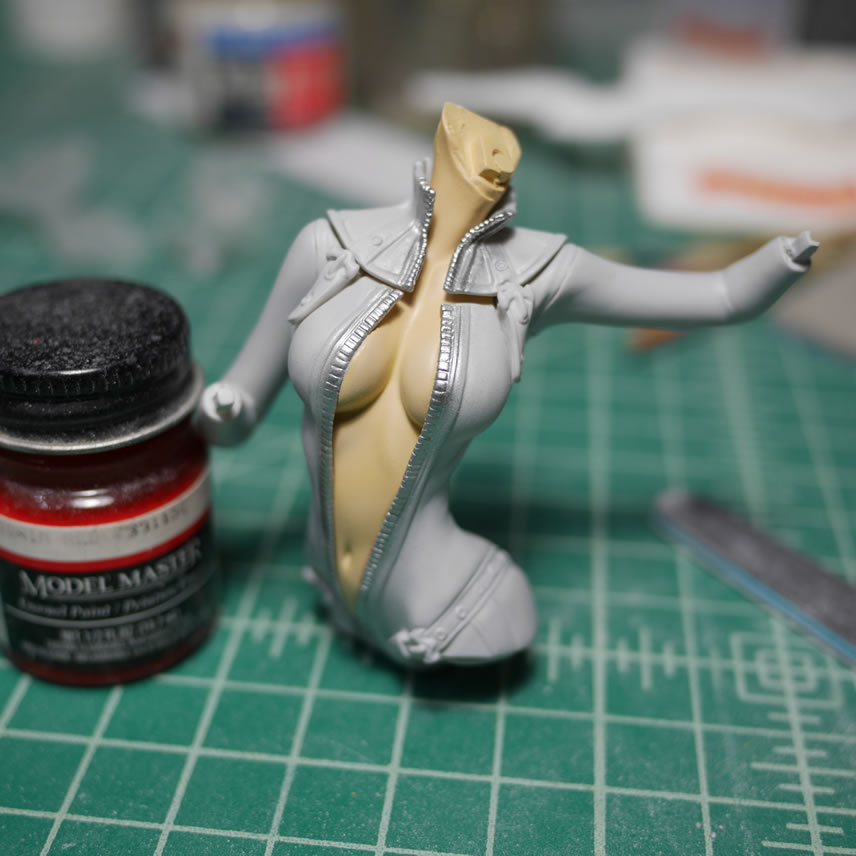
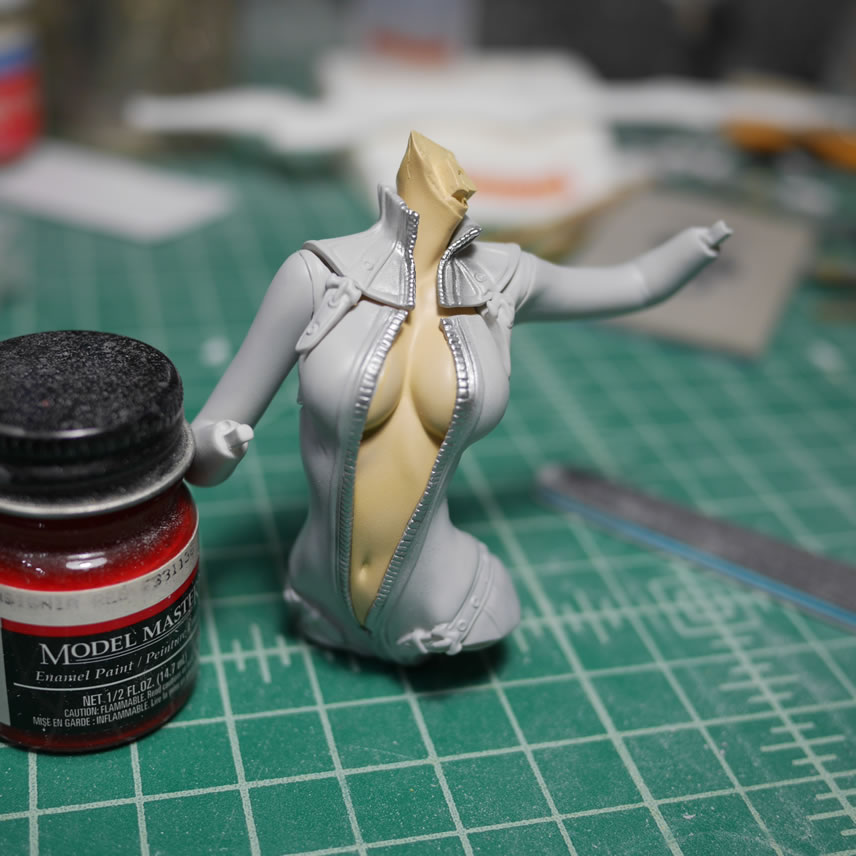
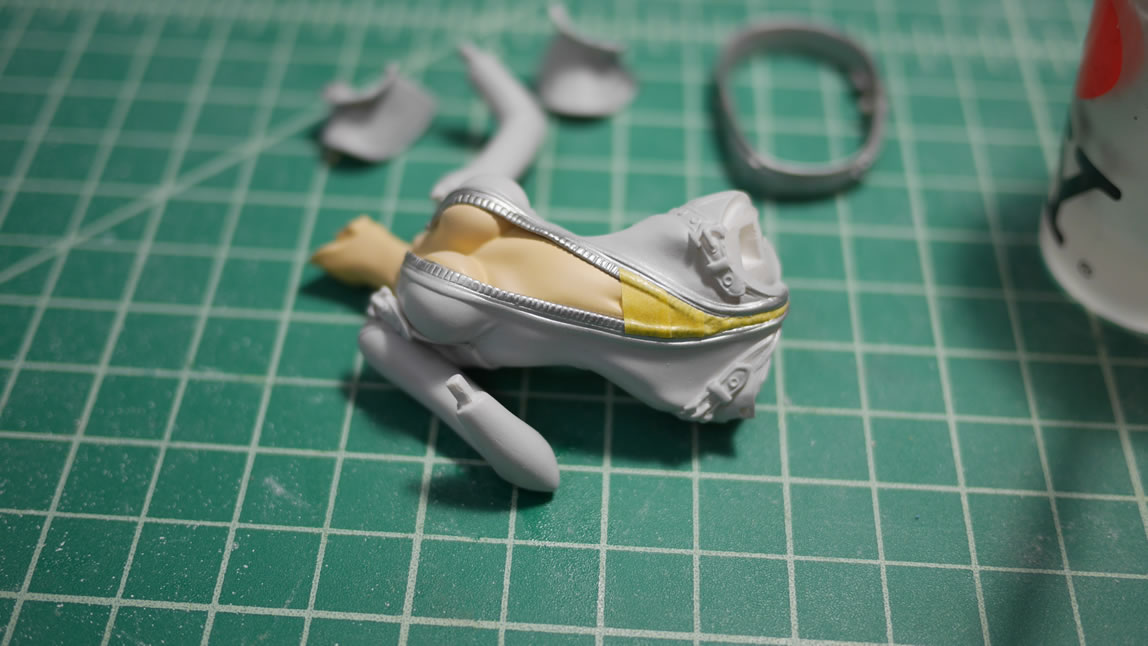
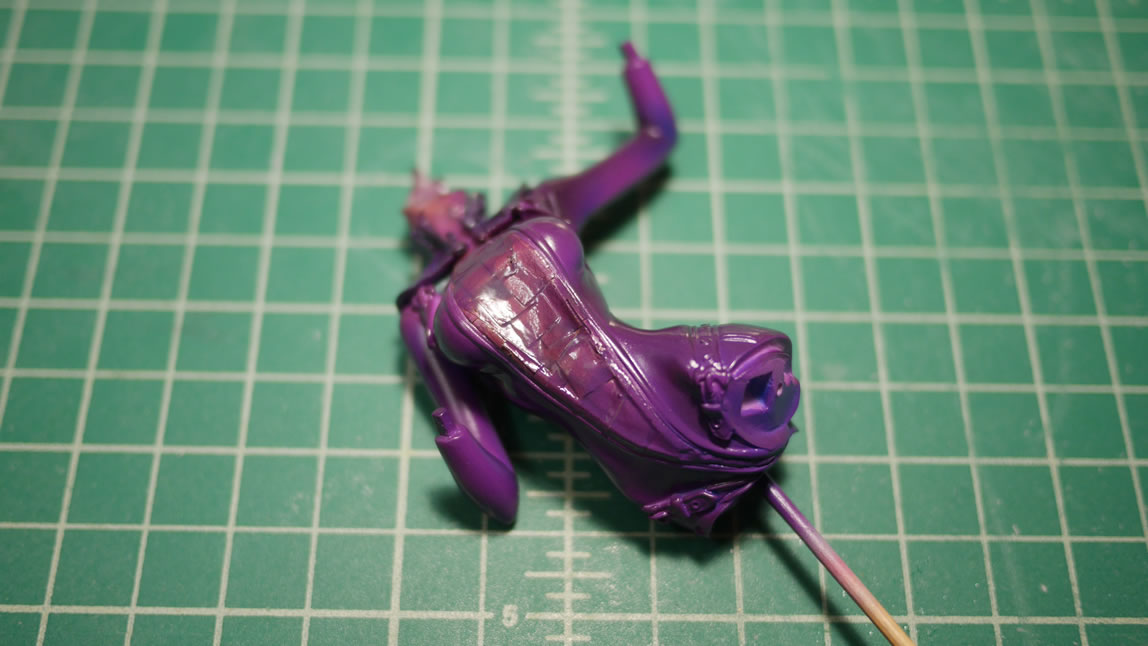
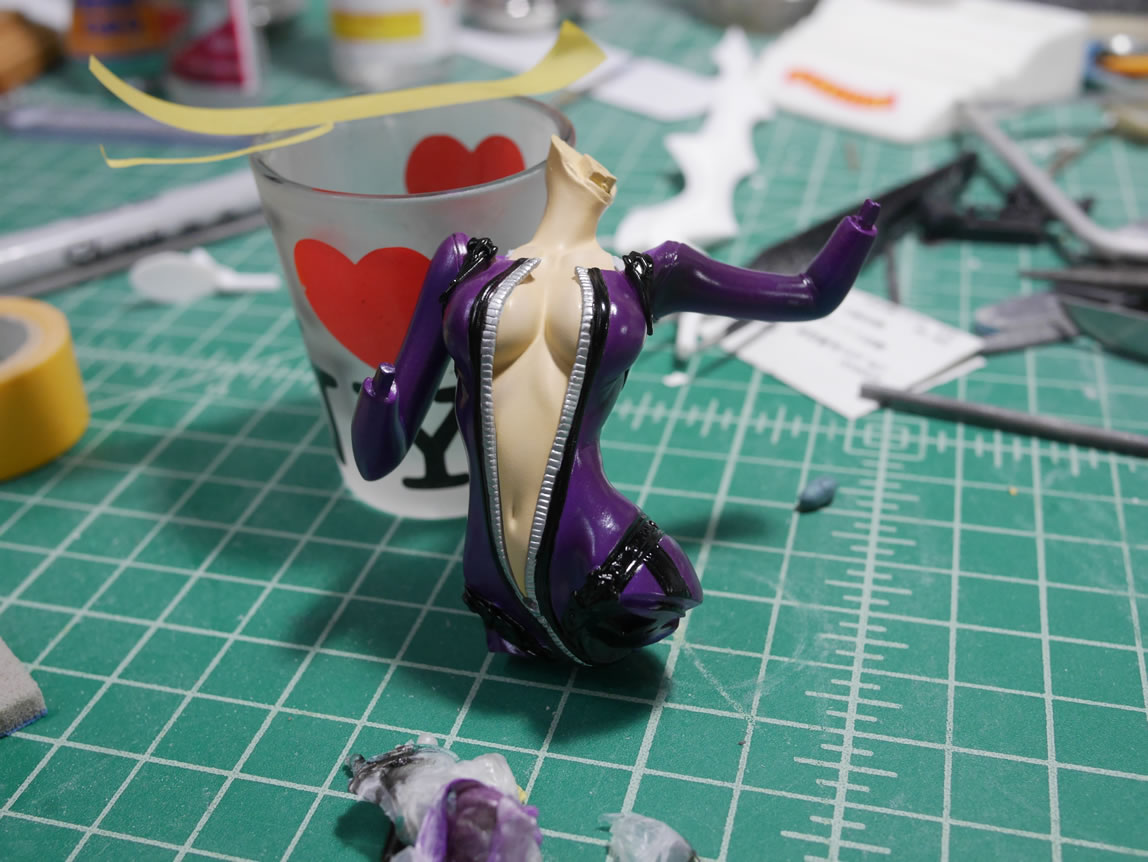
I typically paint by layers. The lowest layers get colors first. Then this layer is masked off to prepare for the next layer of paint. For the torso piece, the lowest layer is the zipper. So this was painted with Mr Color Super Stainless Steel.
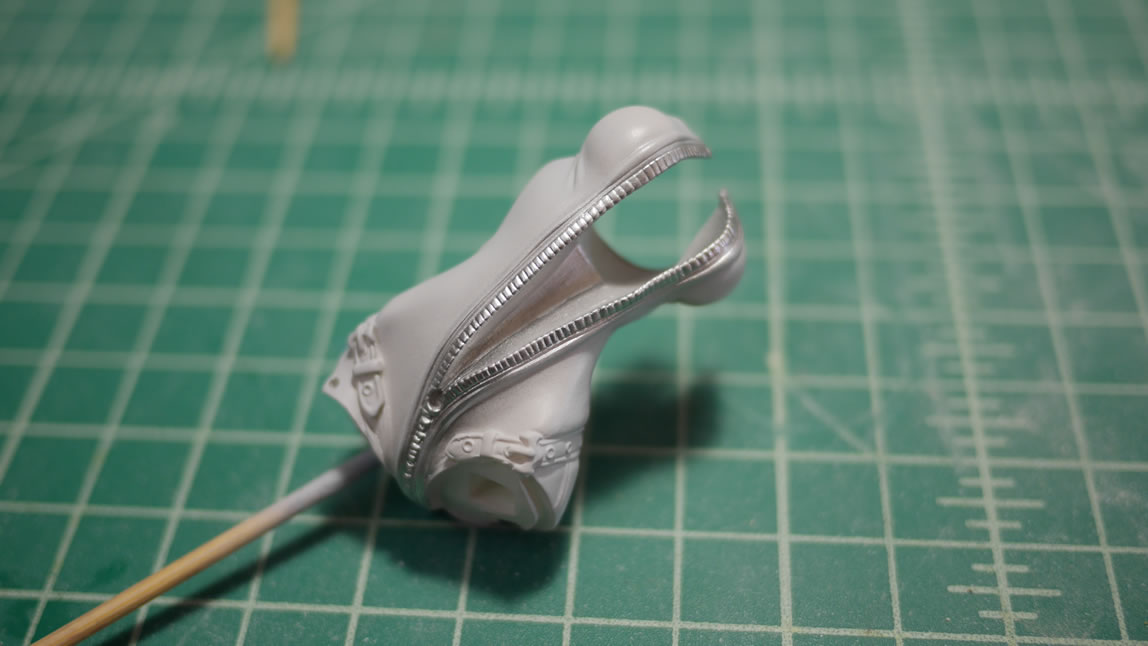
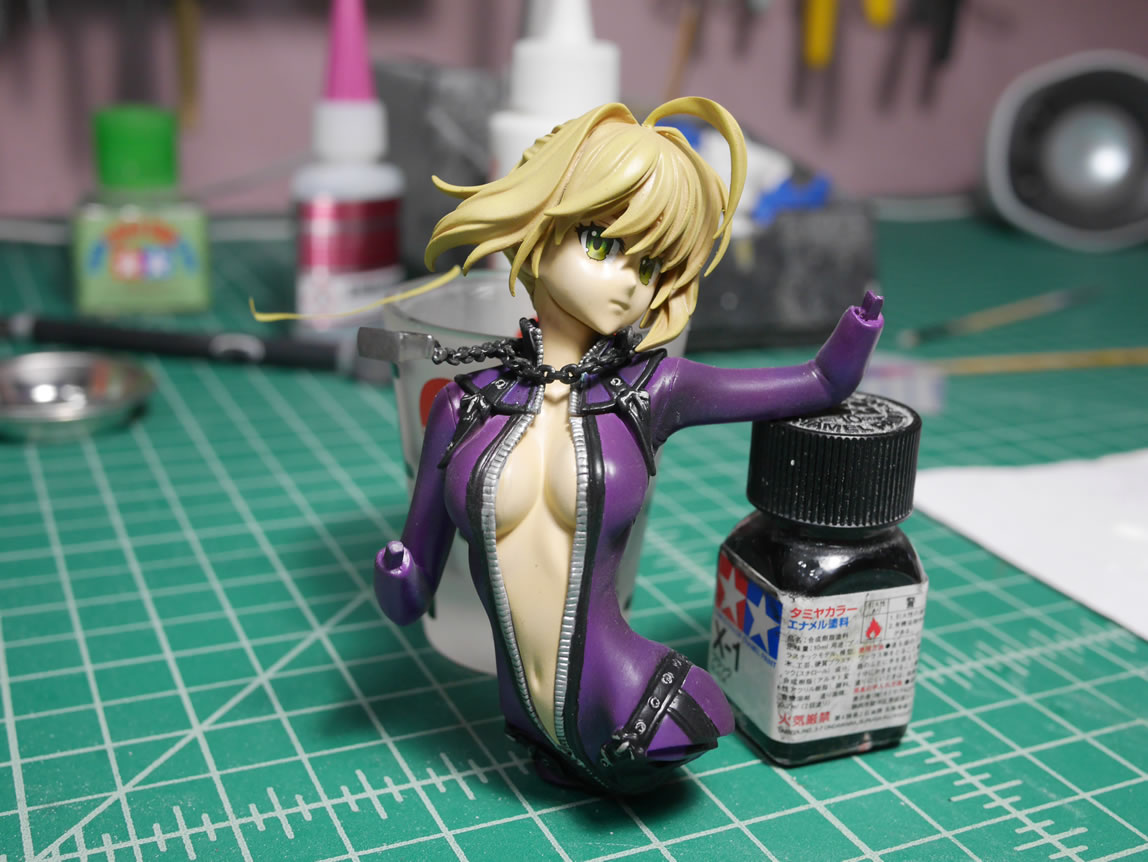
Once that was cured, I started assembling the cleavage piece with the torso. With this assembled, the lowest layer now, is the skin, but since Volks is so nice to separate the parts, I was able to just glue in the skin piece and mask that whole section. Other kits would have had this torso piece as a single solid part and then the skin would have been the first level with the zipper coming in next. This design saves a masking step. Even just partially painted, the headless, handless, legless stump looks pretty sexy. So this warranted a few more pictures at every so slightly different angles.
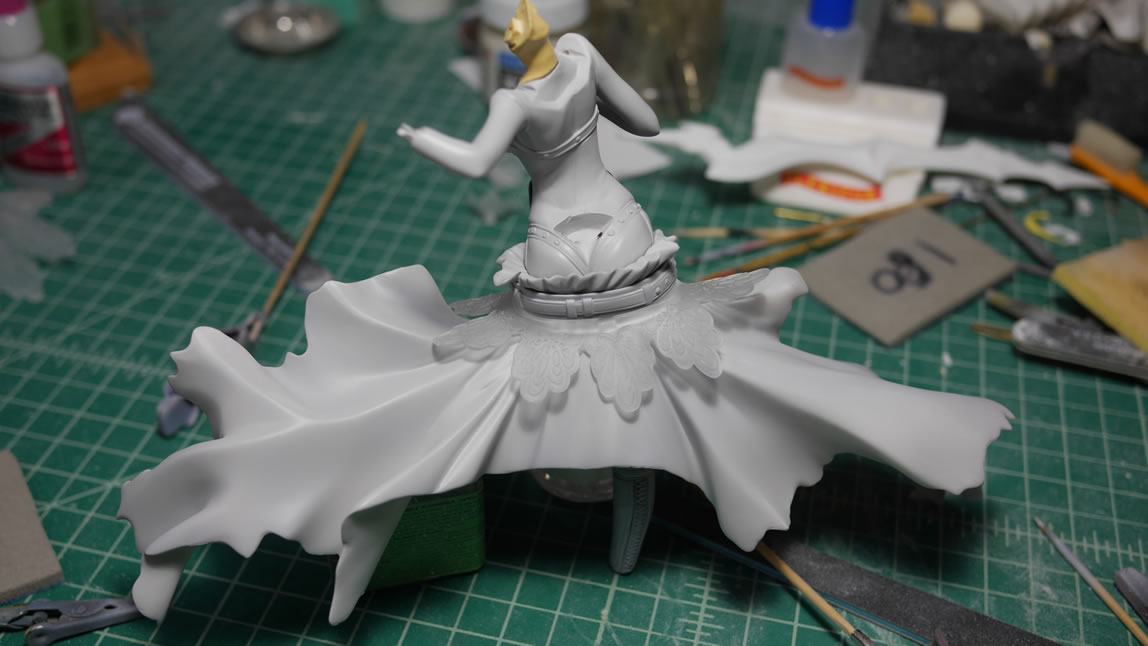
And since I had the upper torso assembled, why stop there? The skirt, clear piece, belt and upper skirt along with one leg is assembled for a quick picture. I didn’t glue in the plumber’s crack since I need to paint the main body first. This works for a quick parts test. After all the sanding and priming, it’s good to check that all the parts are still fitting together correctly and there are no unwarranted gaps that will need filling. It also gives a chance to take more visually compelling progress pictures.
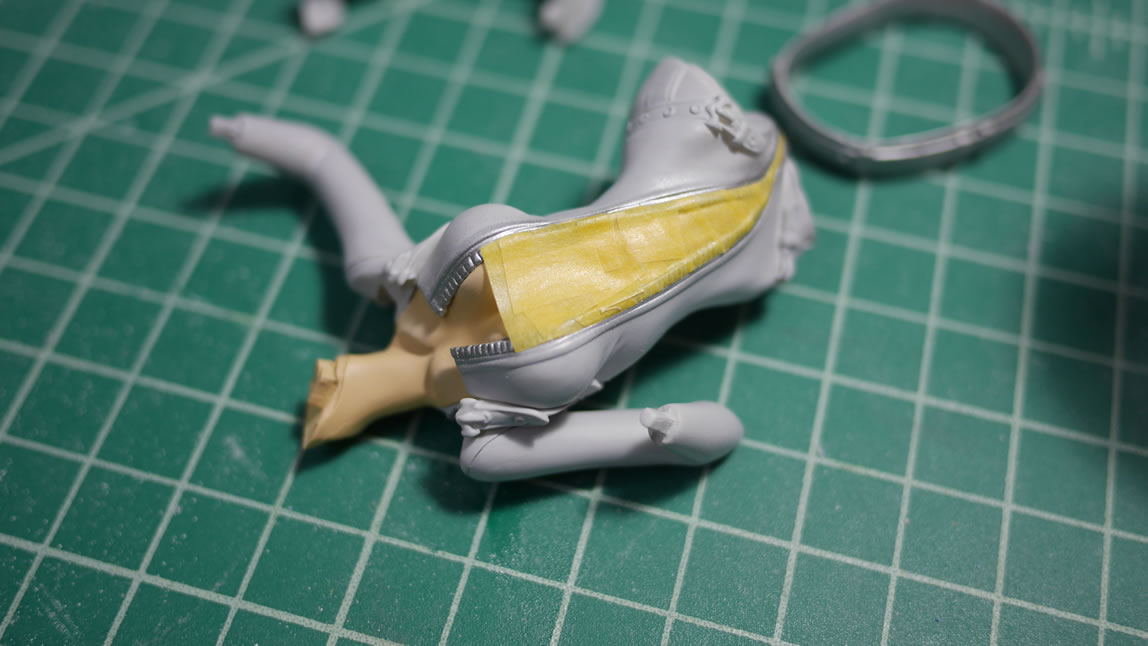
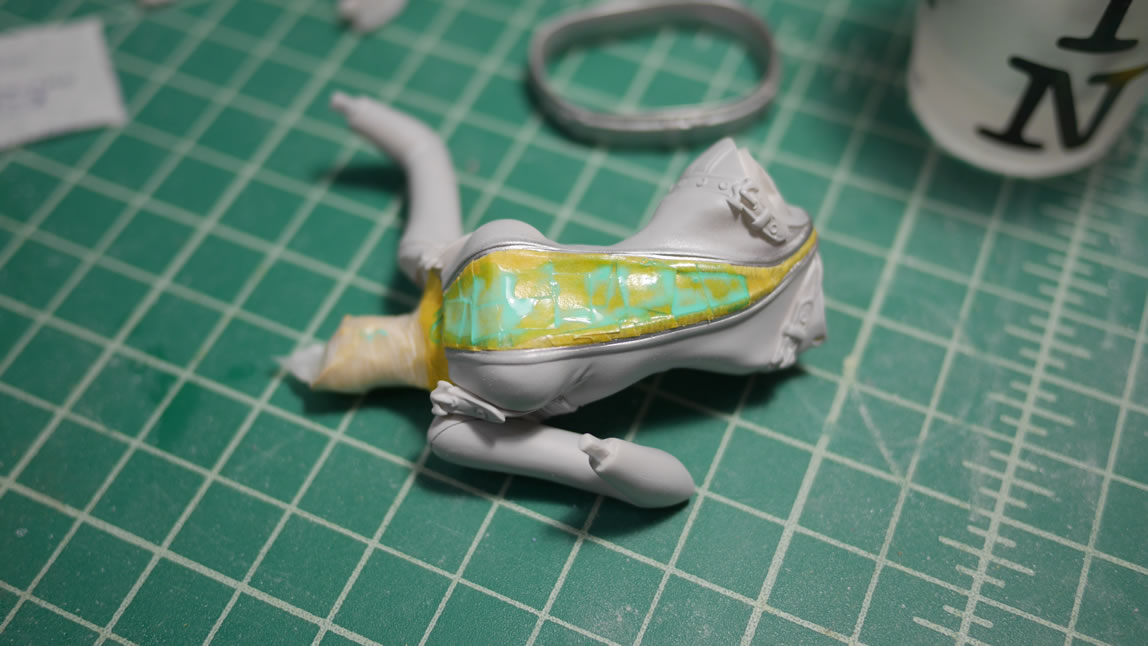
Before getting to painting the main body, the zipper and the gloriously exposed flesh is carefully covered in masking tape some liquid mask as a masking catch all, and some parafilm at the neck piece. Now the body is ready for some paint.
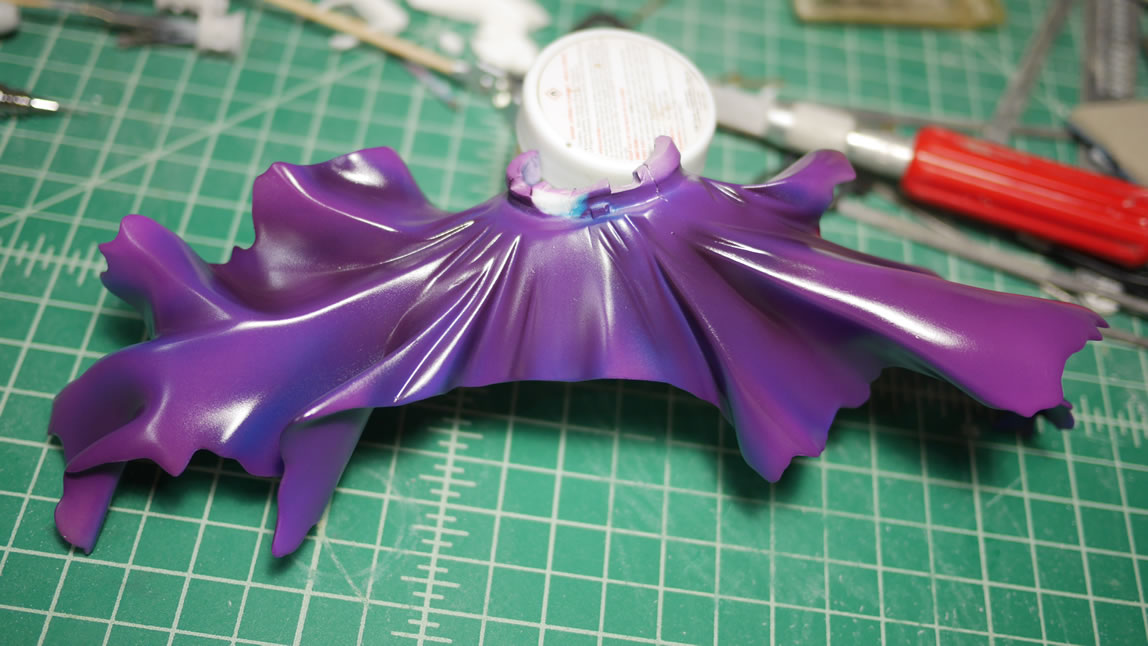
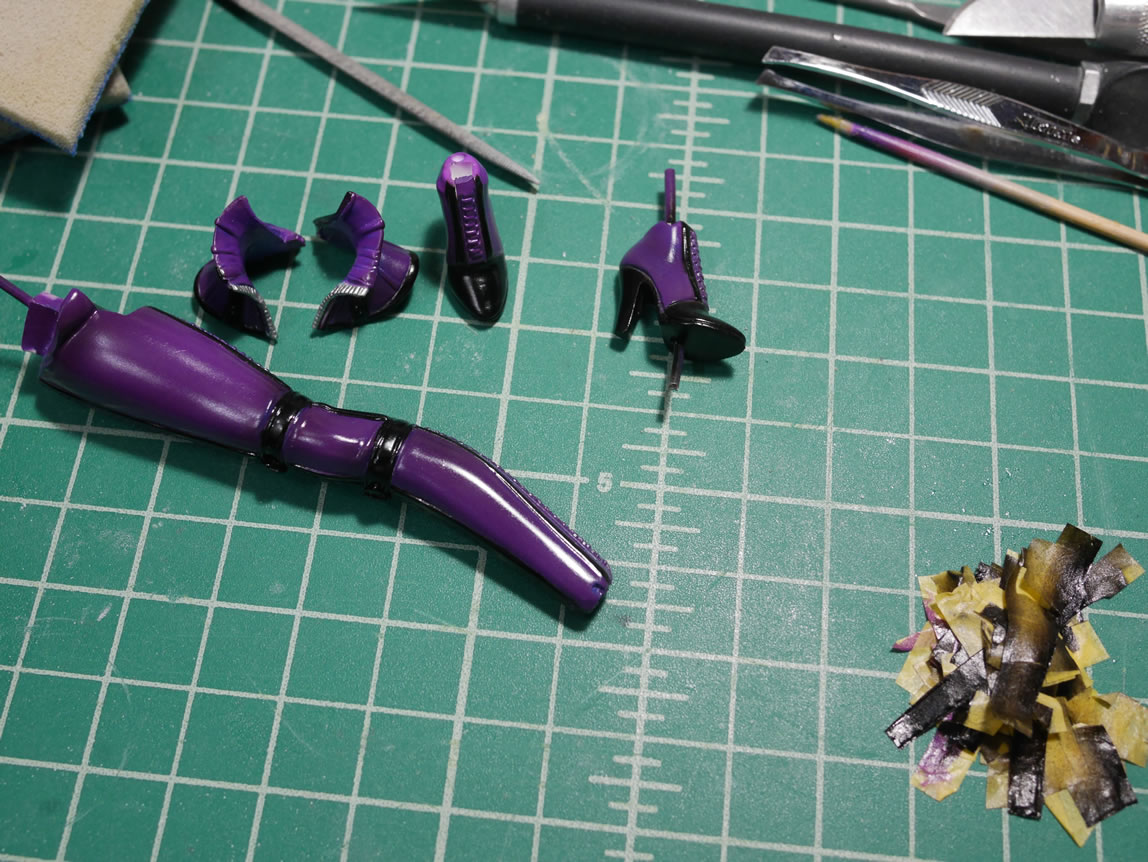
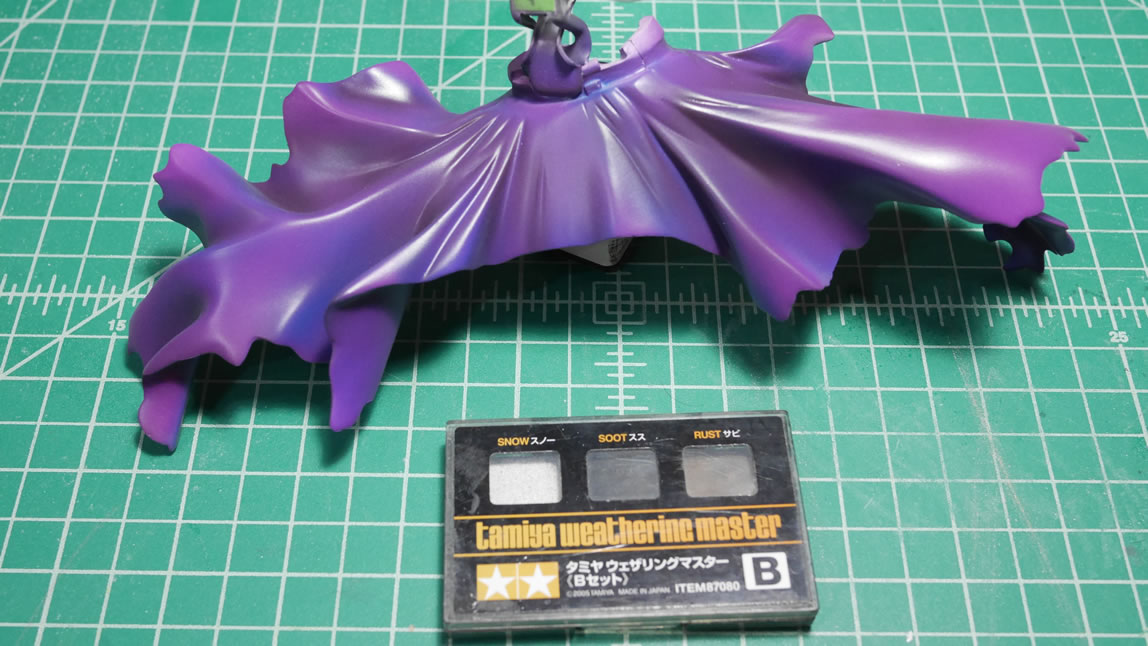
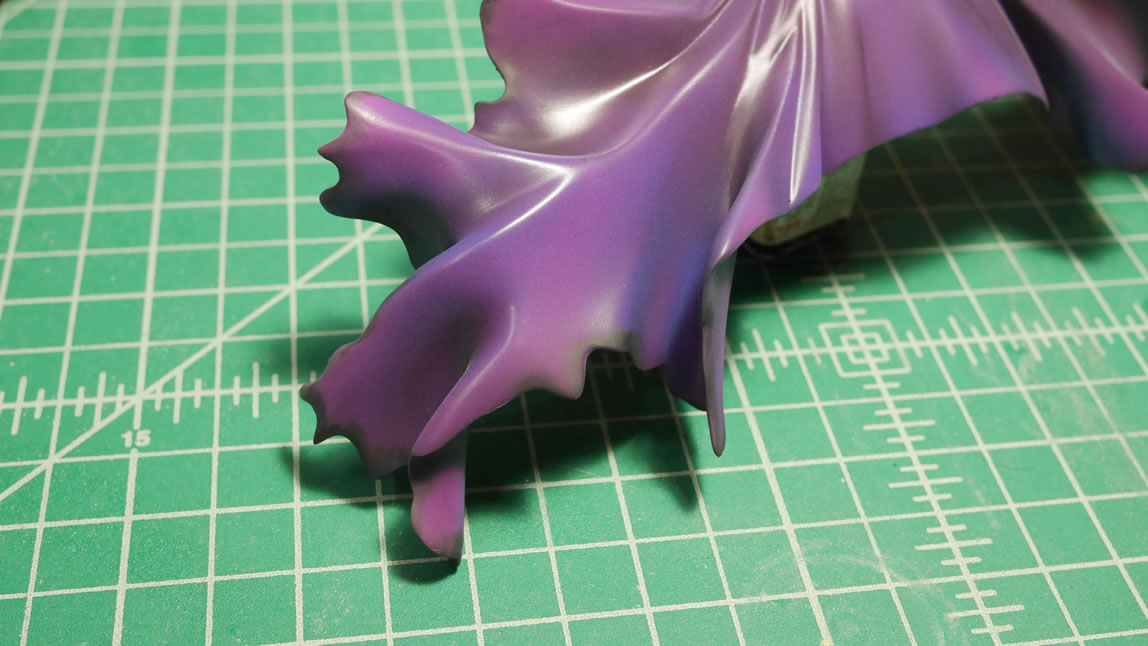
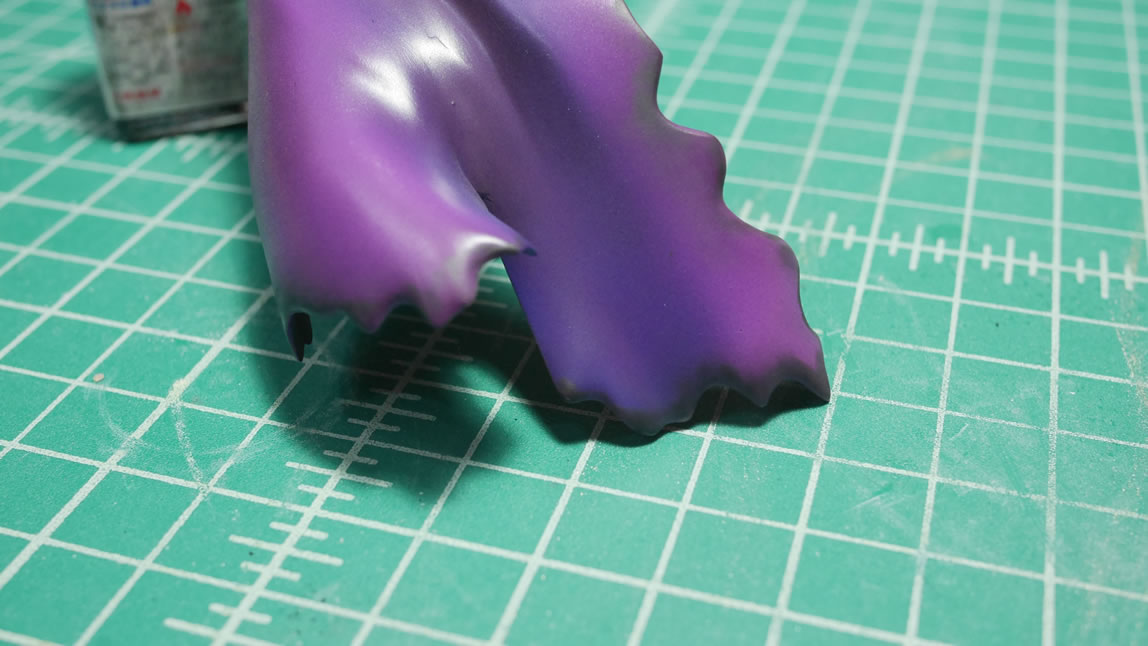
The customer had a different paint scheme in mind instead of the original design’s white and gold color scheme. They want to go the dark saber route. So purple it is. I start with wulf blue as a base for some of the folds and darker shaded areas then sprayed ninja purple (these are the actual names on the paint bottles – Finisher’s paints from Japan). The purple was pretty pigment heavy and completely obliterated the base coat. So I used clear black, also from finisher’s, to add shadows and darken the overall purple a bit. I think it looks pretty good so far. The skirt is just about done.
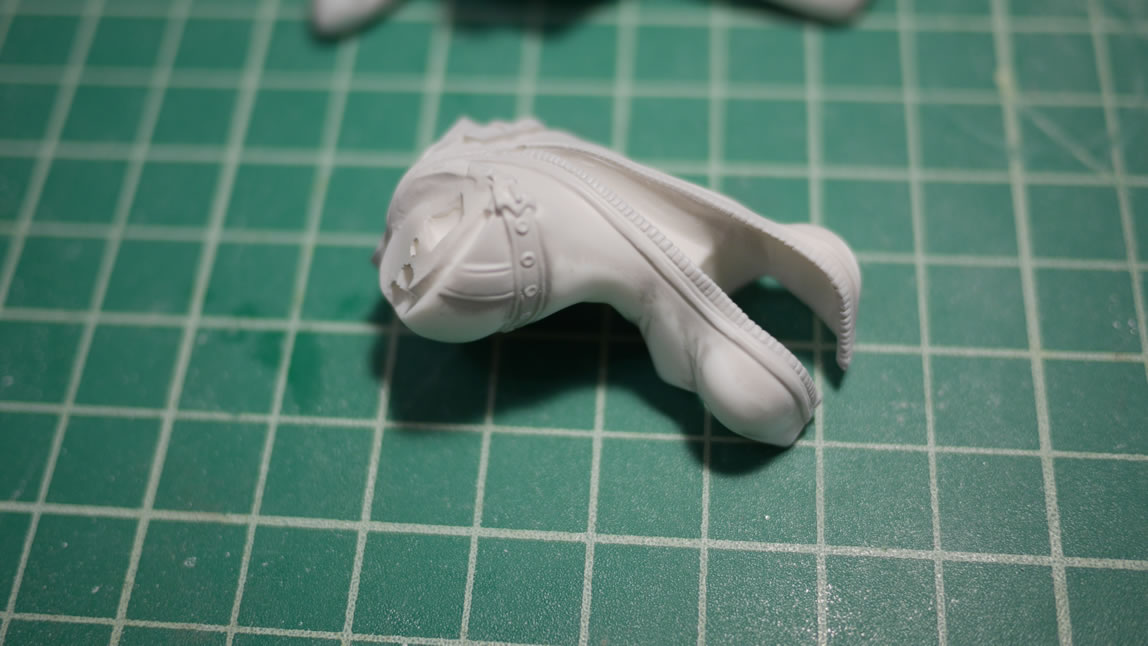
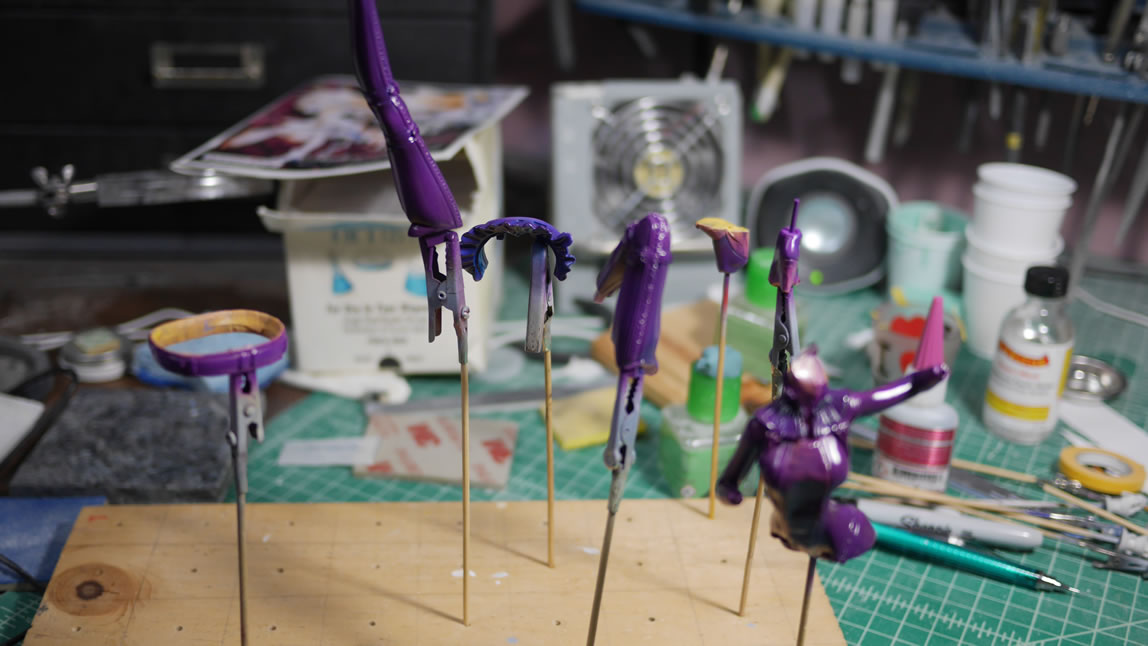
I also got the legs, upper skirt, and her boots painted.
This has been a fairly productive weekend. I hope to keep the pace and get this sucker finished by the end of the September. If not sooner.
September 21, 2017:
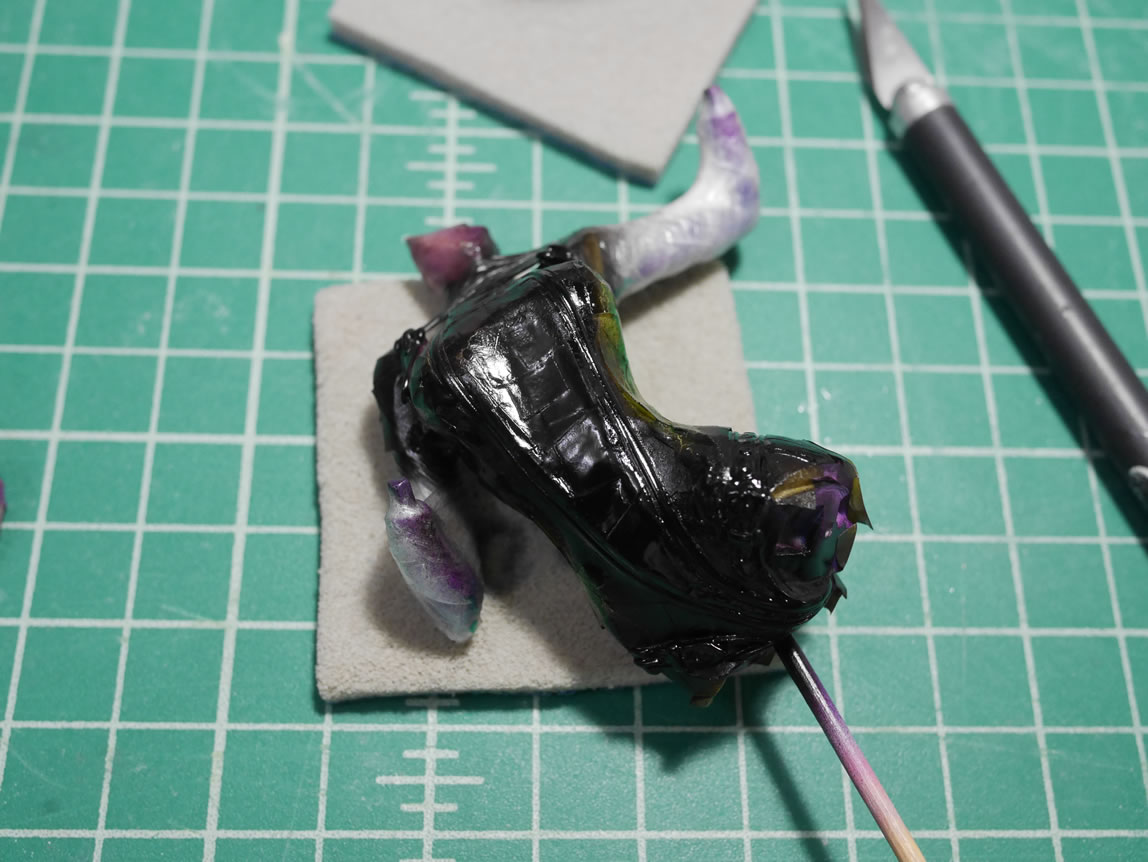
A quick little update for this project. I’ve been spending time masking off the purple that was painted. After masking, the detail lines and straps are painted in black. I use mostly tamiya masking tape. Some areas are masked off with parafilm on larger areas. Over the masking tape and parafilm, a thin layer of liquid masking is used as a backup incase some of the masking tape isn’t completely overlapped.
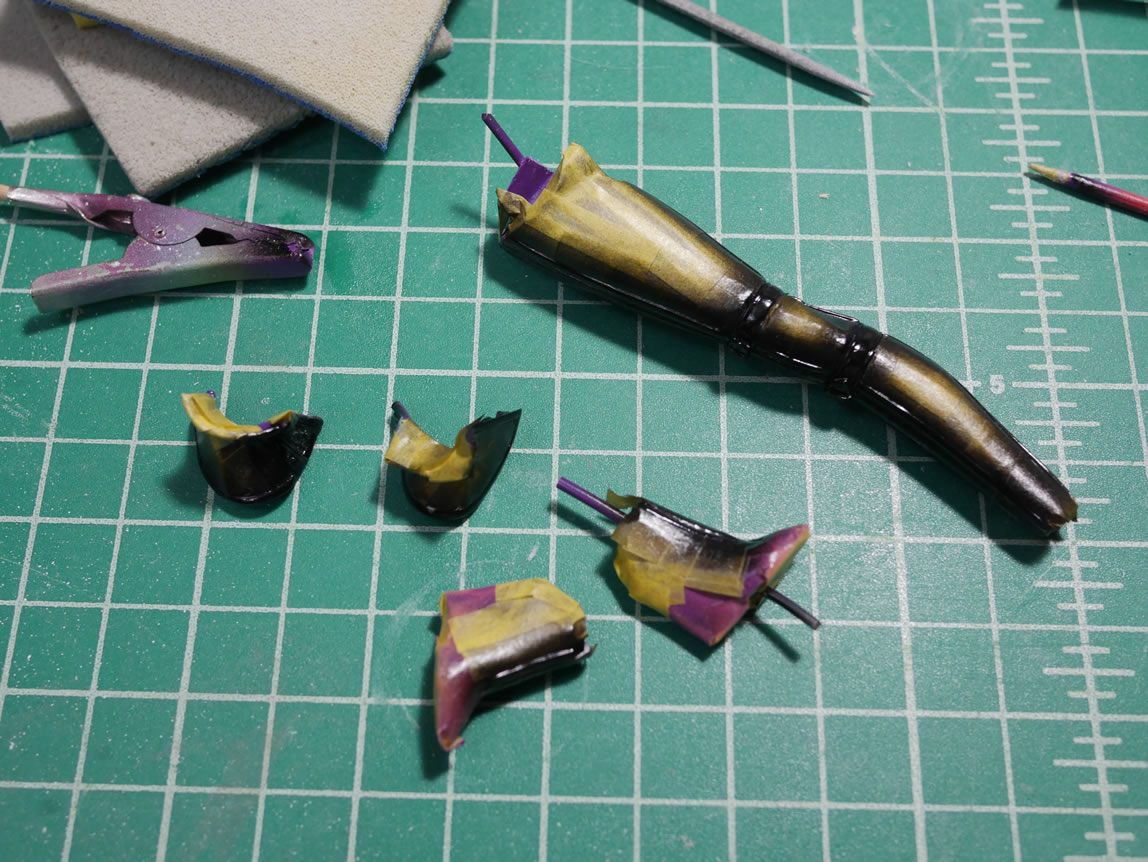
Once the paint is cured, the masking tape is carefully removed. Luckily, I did not run into issues with paint lifting. A good sign that the cleaning process worked well and all the paint layers have cured. Things are starting to progress.
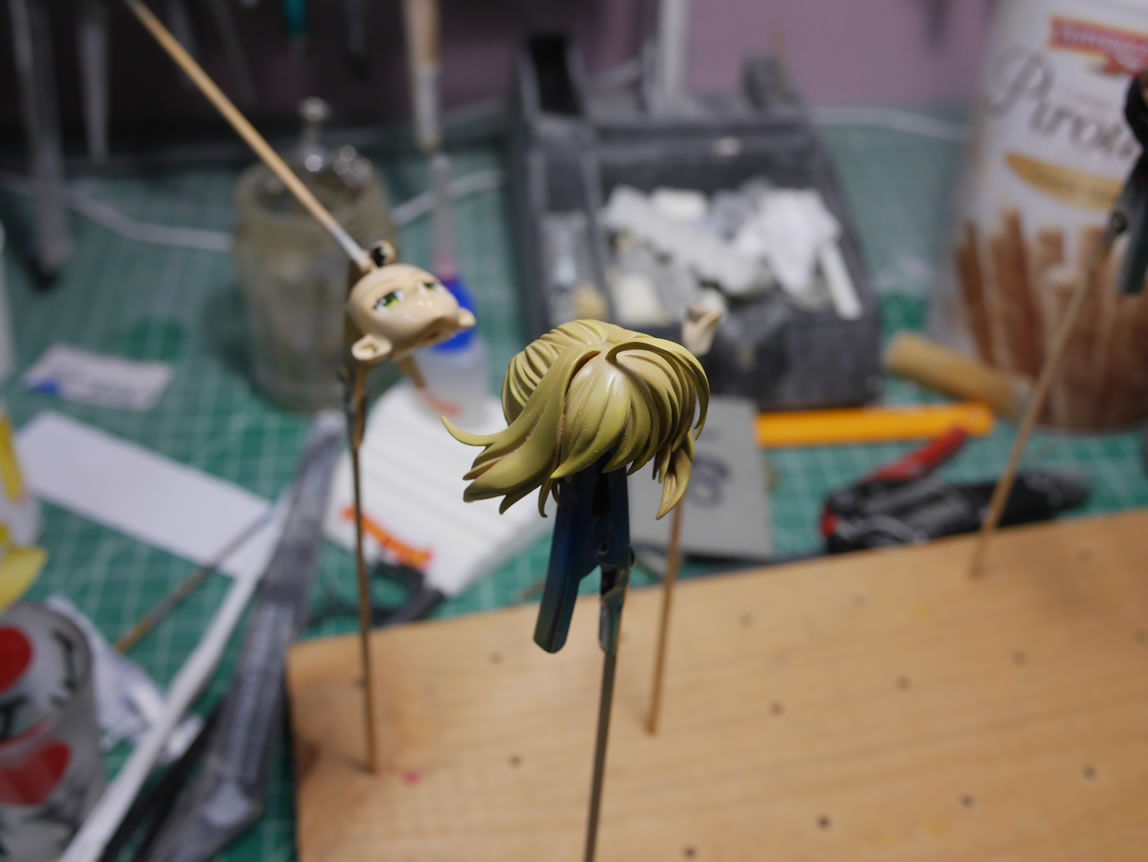
The eyes are done with the decals that came with the kit. I had applied a clear gloss first over the painted skin. This allows the decals to stick very smoothly to the surface. Over the decals, mr mark softer is laid down over the decals to help melt them to the surface and conform to the surface without wrinkles.
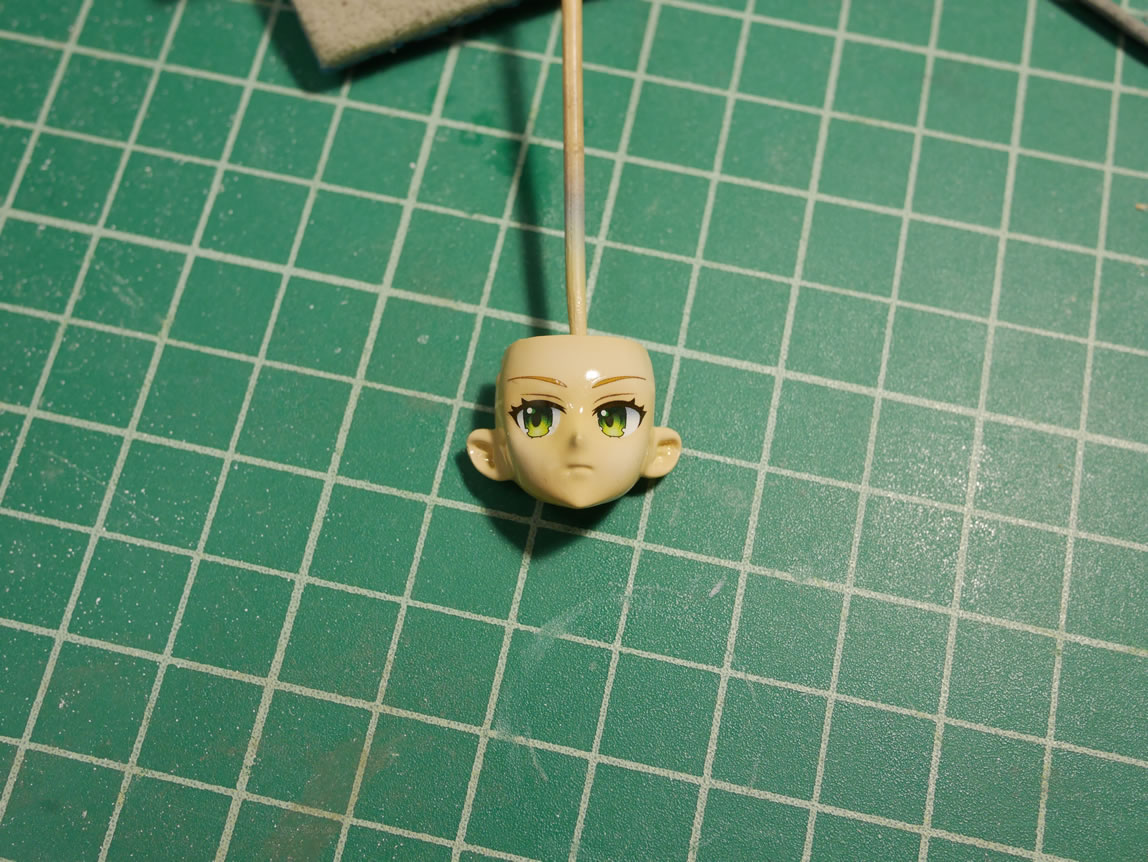
The hair was painted. The first layer was done with a light brown. Over that was a custom blond mixture. Since it was a little too white, I sprayed clear yellow to tint the hair.

I still have more pieces to unmask and more pieces to continue to paint. Progress continues. I am finally getting some decent stretches of time to dedicate to this project. There’s an IPMS contest coming up on the 30th. So hopefully my schedule stays clear and I can finish this and have a figure to show at that contest before packing her up and sending it off to its owner.
September 25, 2017:
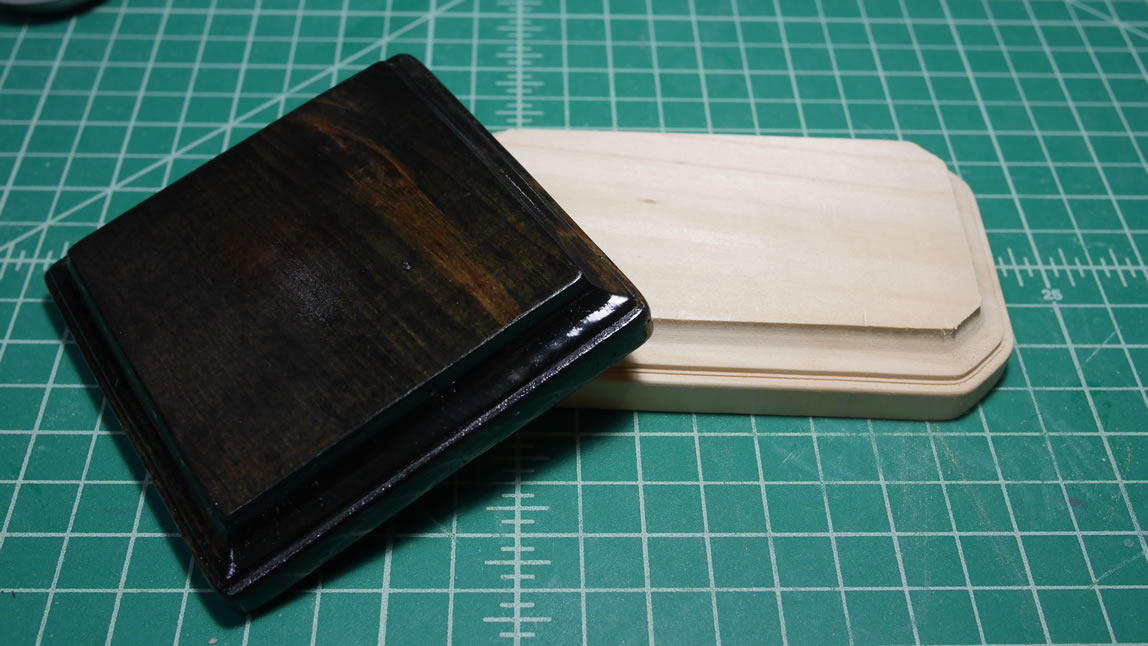
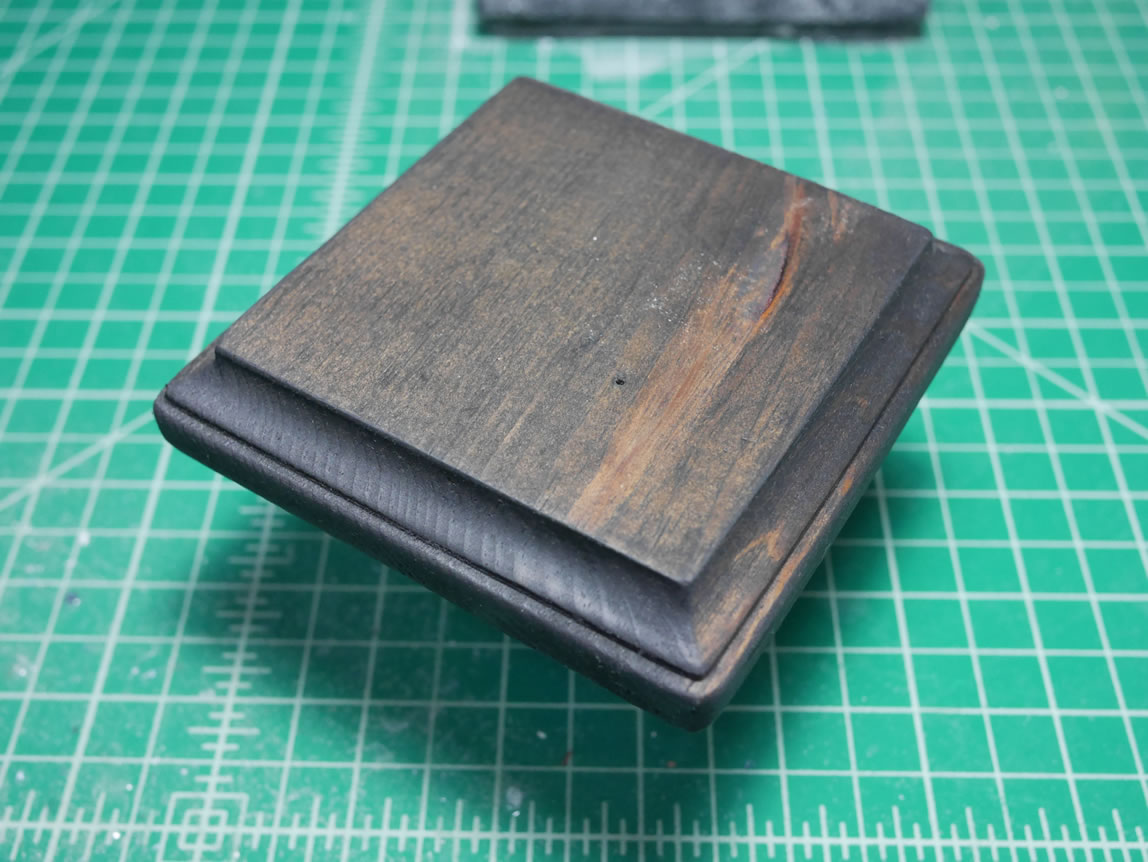
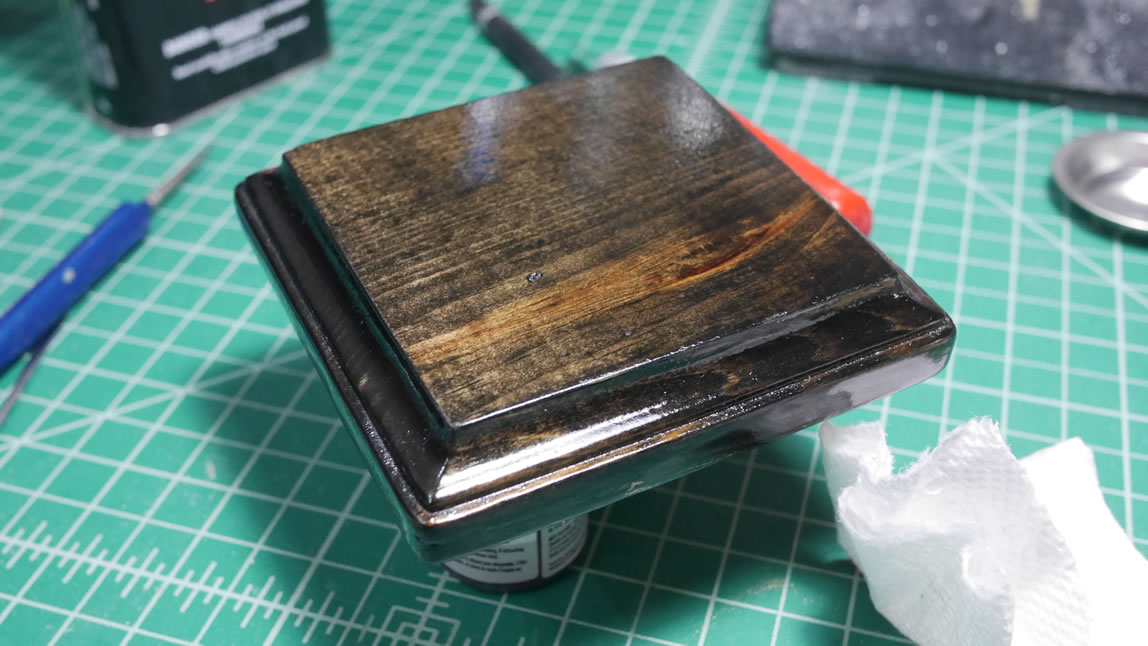
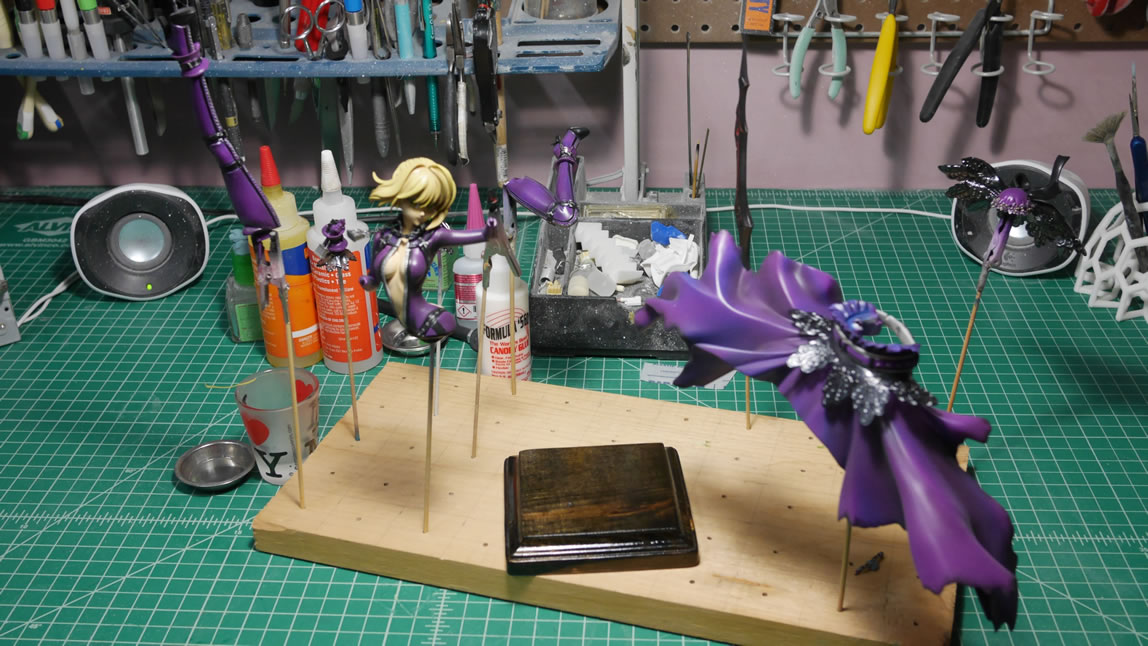
Getting down to the home stretch for this project. This weekend saw work on the base. The base is from Michaels and is unfinished wood. An example of what the wood looks like in comparison to the finished base is the first picture. The unfinished wood is sanded down. Once sanded down, it is stained with an ebony stain. Allowing that to dry, the base is sprayed with several layers of clear gloss. After several layers, the final layer is sanded down with high grit sanding pad to smooth out all the rough edges frozen in the cured clear gloss. A final clear gloss leaves the base in a ultra smooth glossy finish.
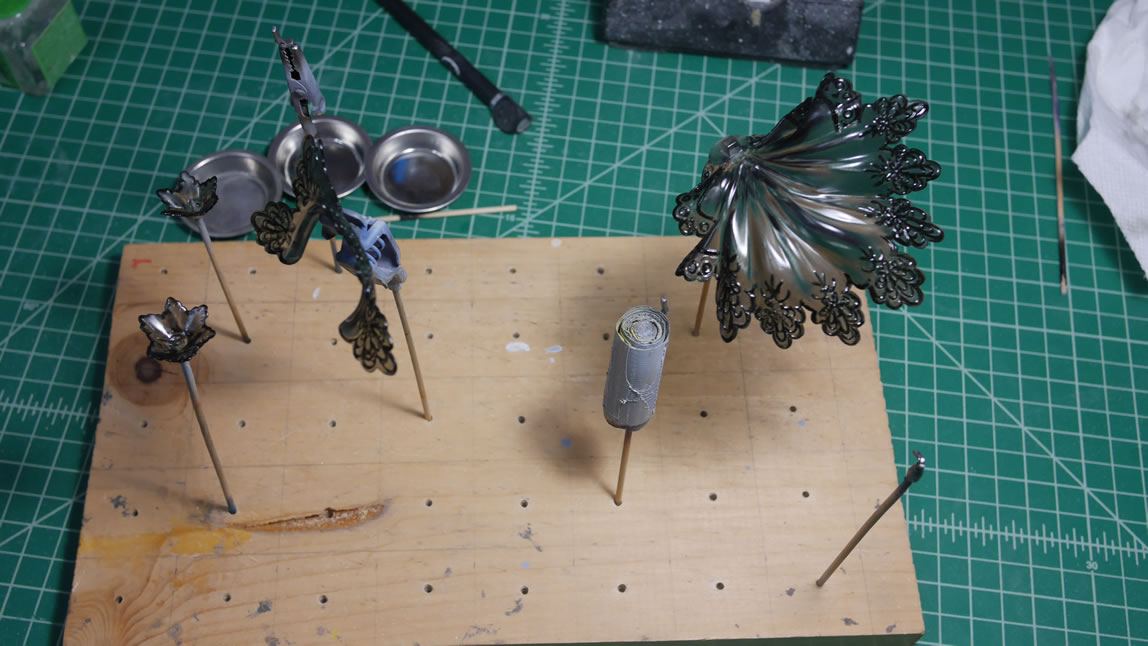
Most of the parts are curing after final detail painting and have been sprayed with clear gloss on some pieces to prepare those parts for detail washes. The other pieces are sprayed a final clear flat to finish them.
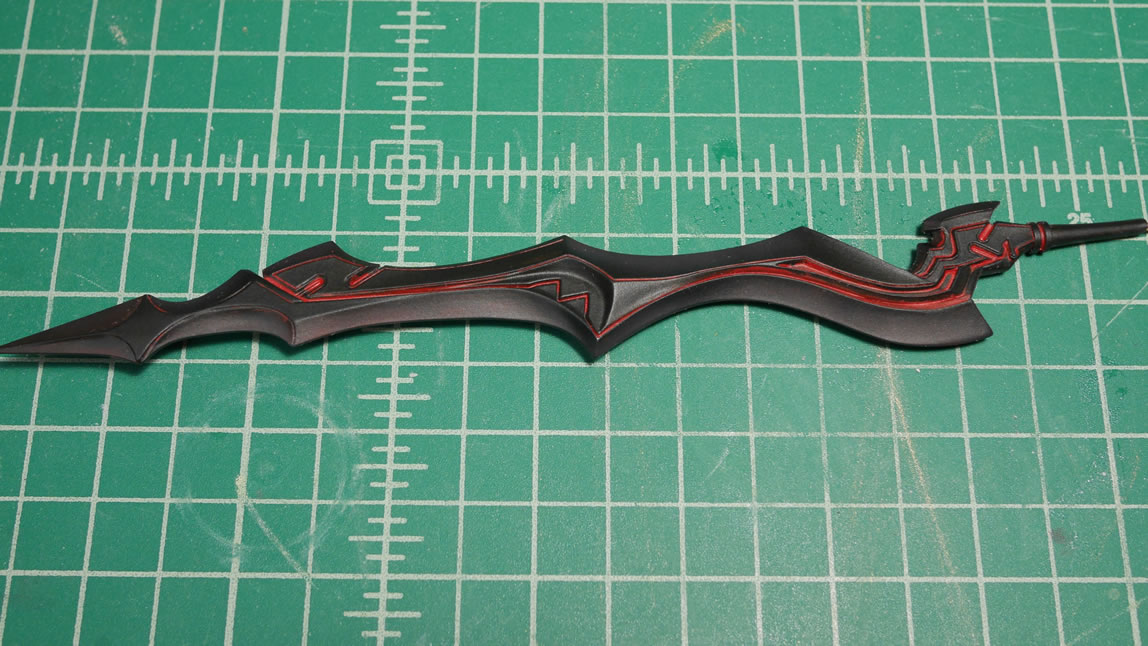
The sword was painted black. Over the black, I used an enamel red to do a “wash” for the lines and sunken areas. The enamel red is applied and allowed to dry over night. Then cleaned up the next day with a paper towel and some lighter fluid. Since the black paint is lacquer based, the lighter fluid only removes the enamel paint leaving the black unharmed.
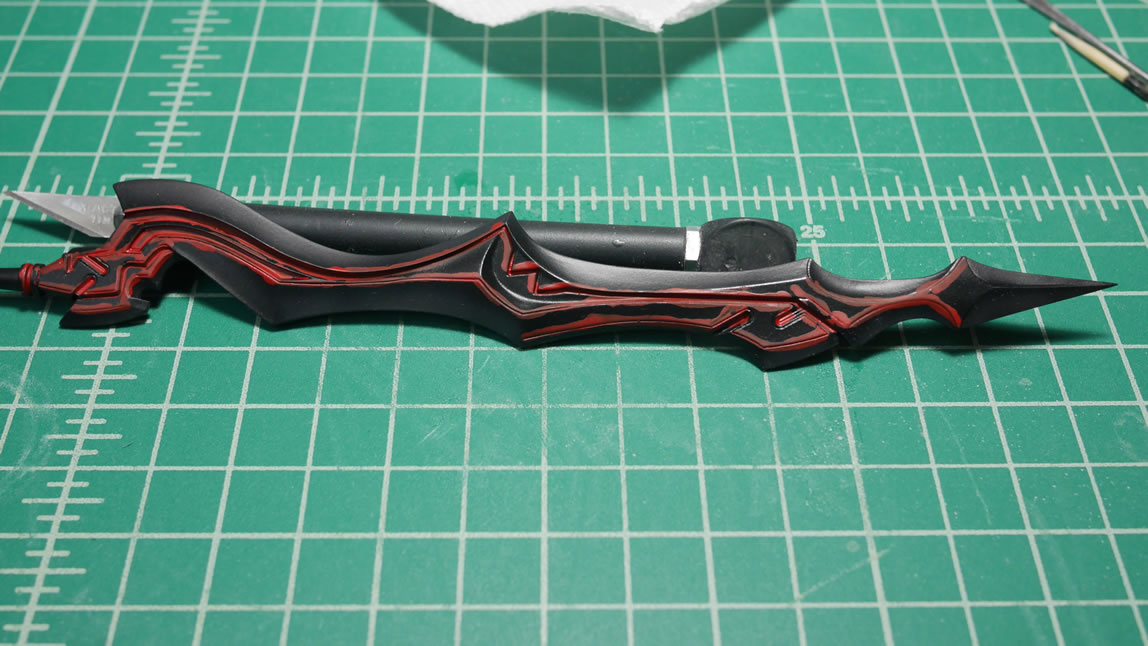
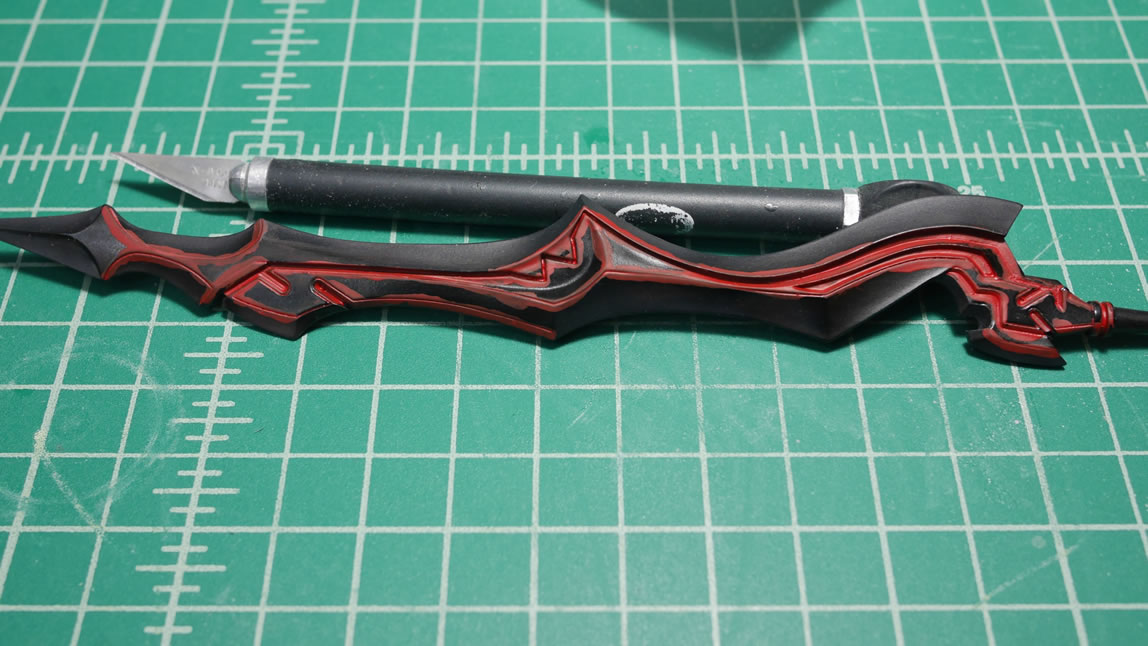

One the cleaning fluid is dry, the sword is sprayed with a semi gloss to seal everything and apply a final finish to the sword.
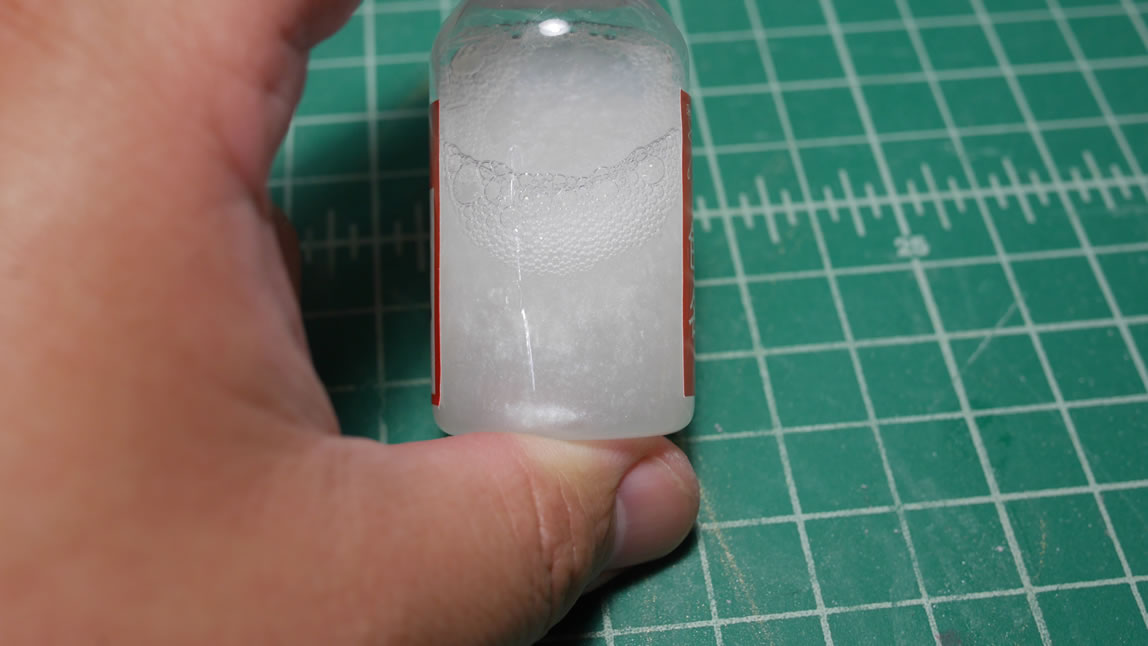
The veil and other clear pieces were sprayed with a mixture of clear red and clear blue to create a clear purple. The clear pieces are sprayed and left to cure.
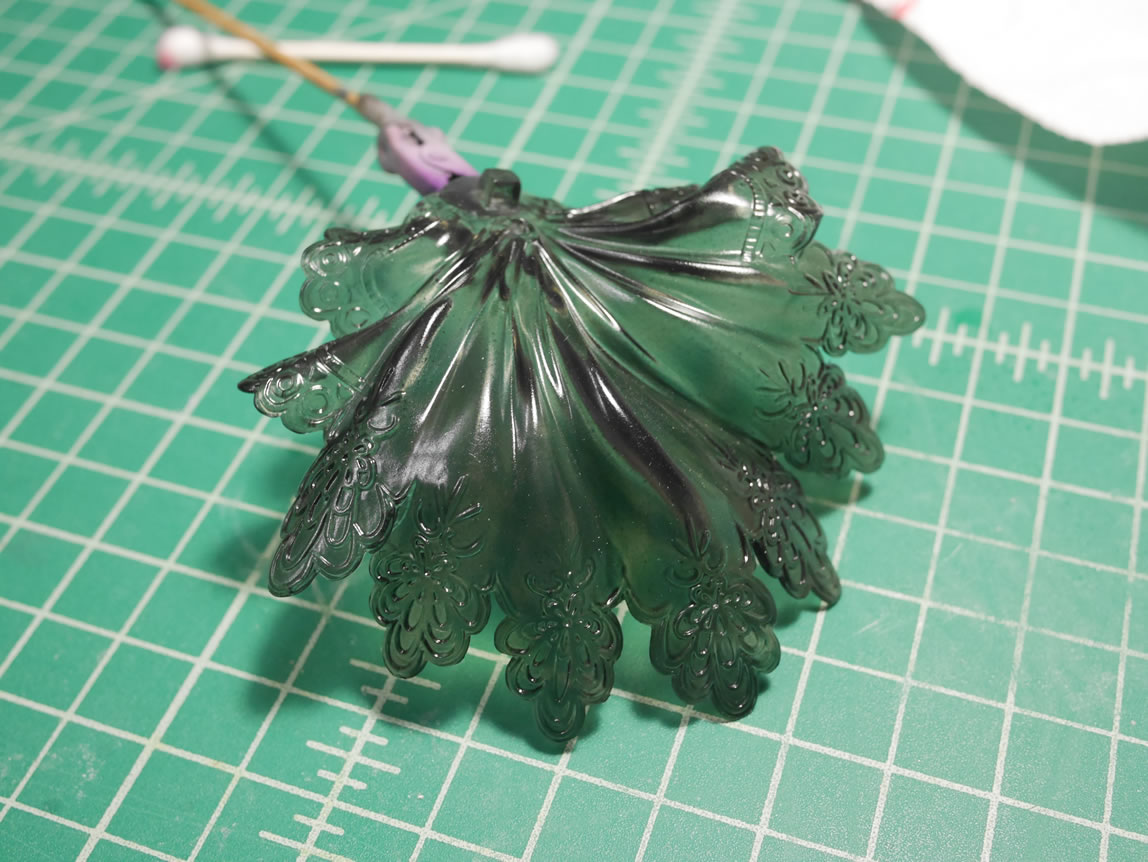
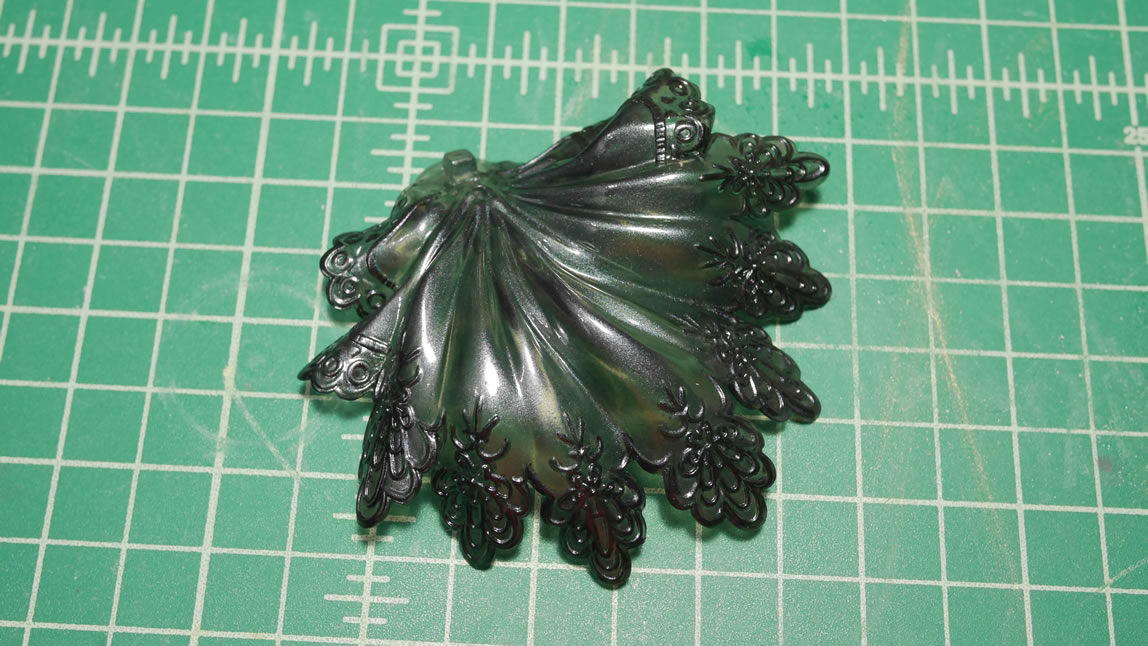
Once the clear purple is cured. Enamel black is hand painted on the raised details and allowed to cure.
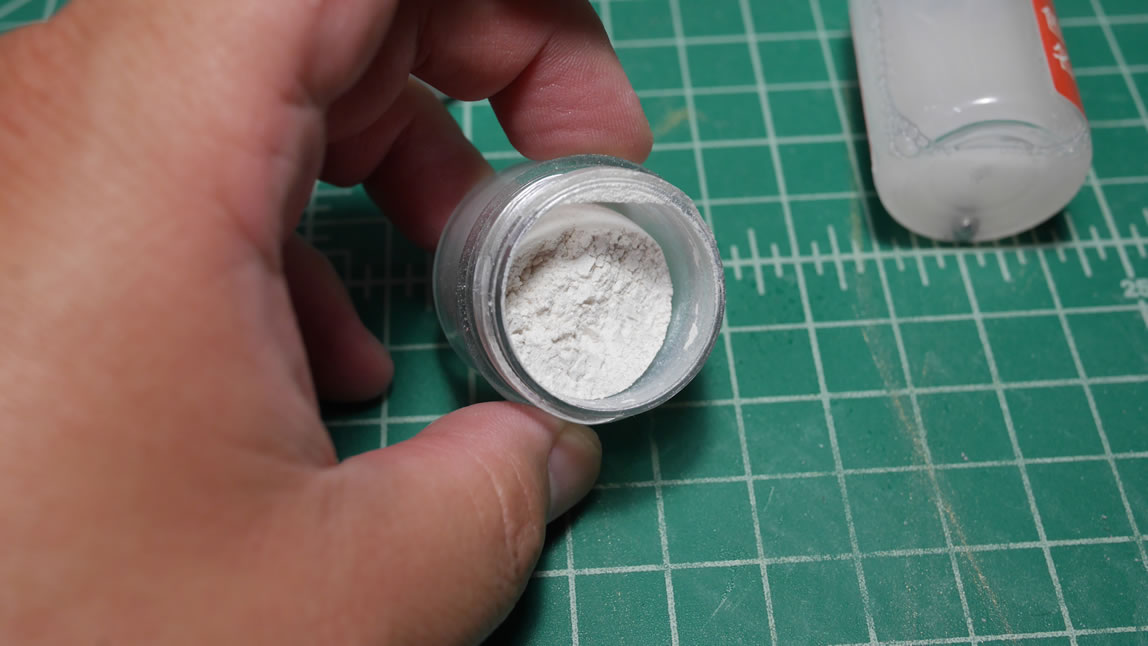
With everything cured; I mixed some micro pearl powders into a small bottle of clear gloss to create a pearl gloss.
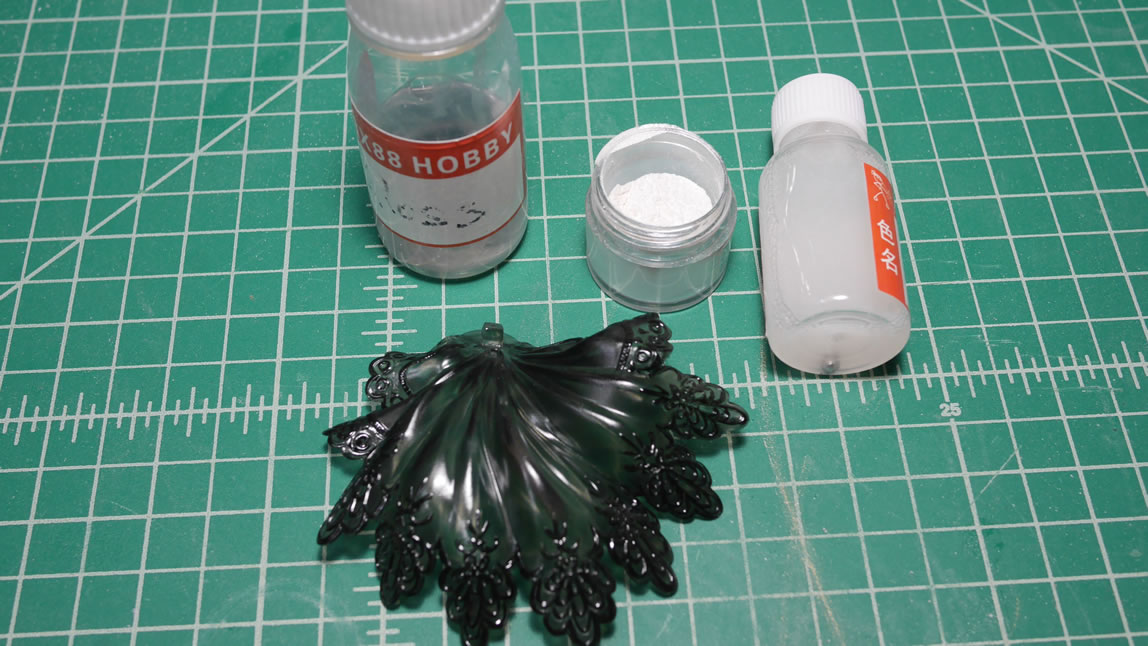
The clear pearl gloss is sprayed over the clear parts to give a final pearl finish.
Once the above is cured, the next step is to spray a clear gloss to both seal in the pearl layer but also create a deeper pearl finish.
September 27, 2017
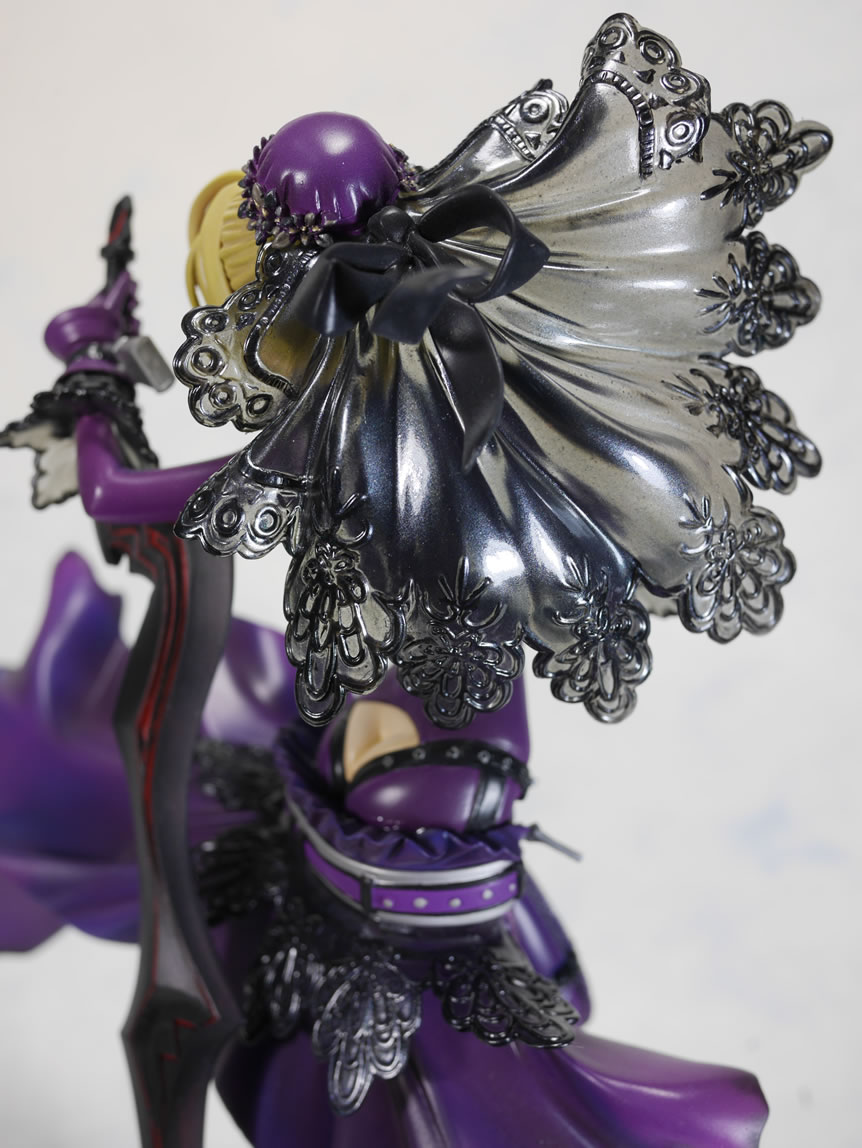
The project is finally coming to an end with this update. The last bit of detail work was to apply some black pastels on the edges of the dress to create some burn marks as per the original box art. The cape was first coated with a flat finish. Once that cured, the pastels will stick best to the flat coated surface. A q-tip is used to feather the pastels to blend the surface. Another clear flat is sprayed over the pastels to seal them in.
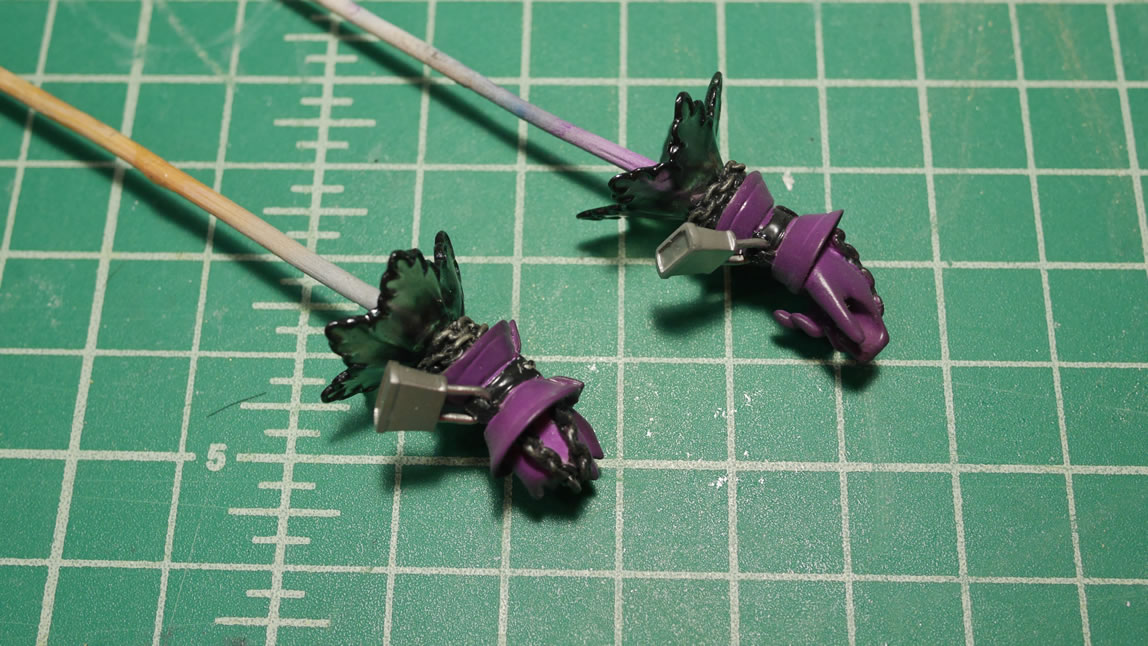
After everything is cured, the parts are glued together in subassemblies. The skirt piece is assembled. The veil, bow, and hat piece is assembled. The hands along with the clear frill and chains are glued together.


The head and hair is attached to the main body and we have a quick snap of the legless/armless wonder.
Yesterday, the subassemblies are glued and left to cure overnight. Rushing at this point only ends in screwing things up. The final assembly will have to wait until today.
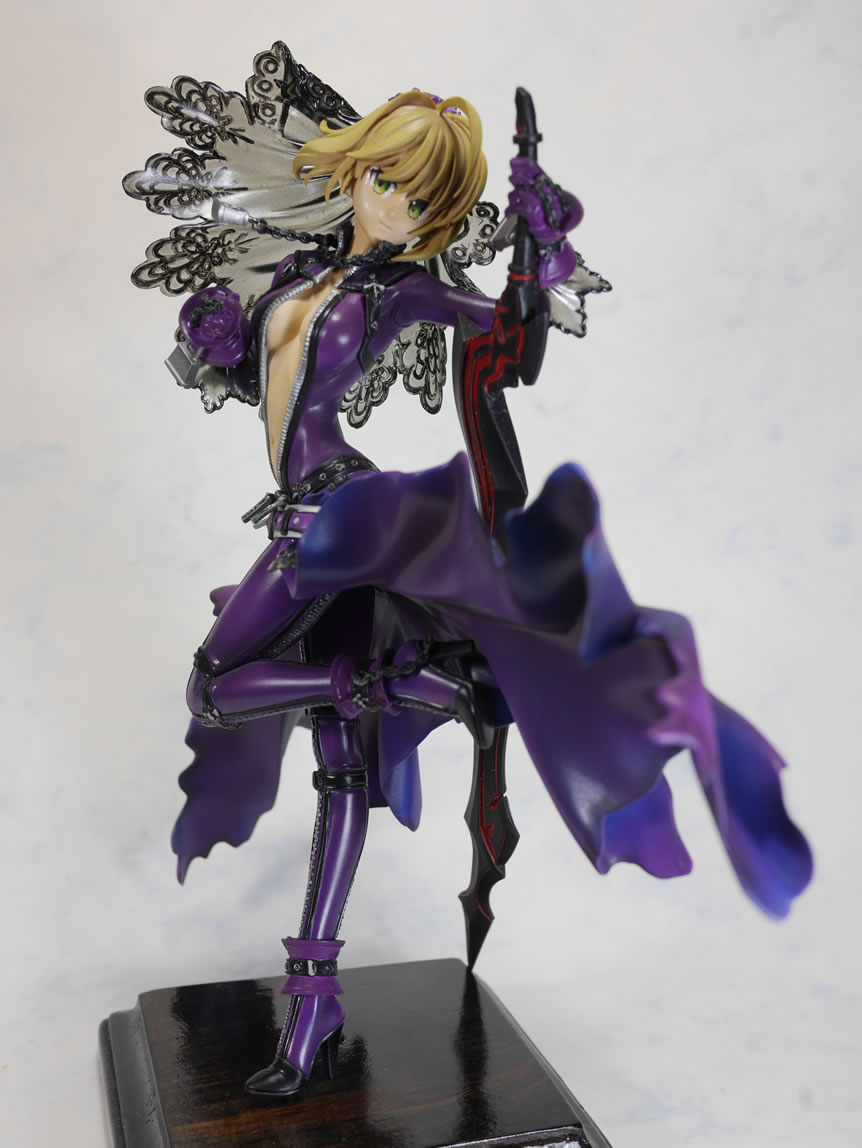
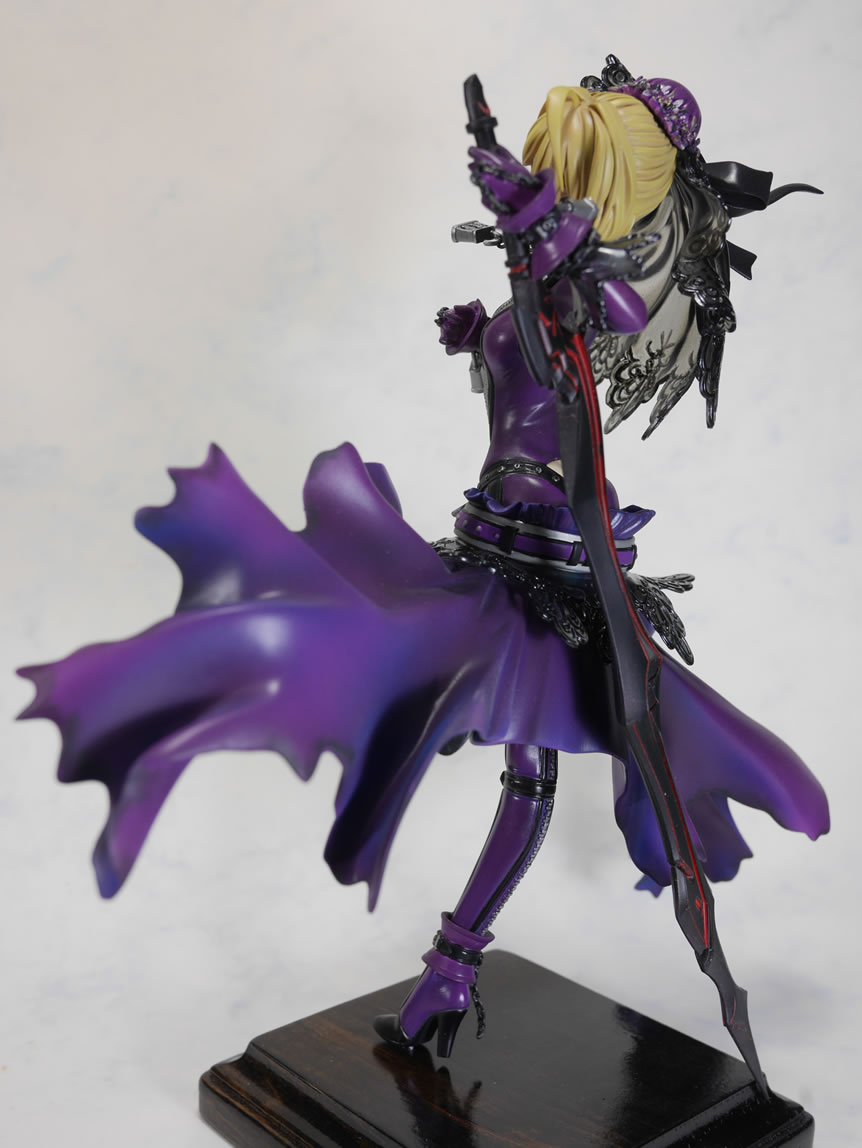
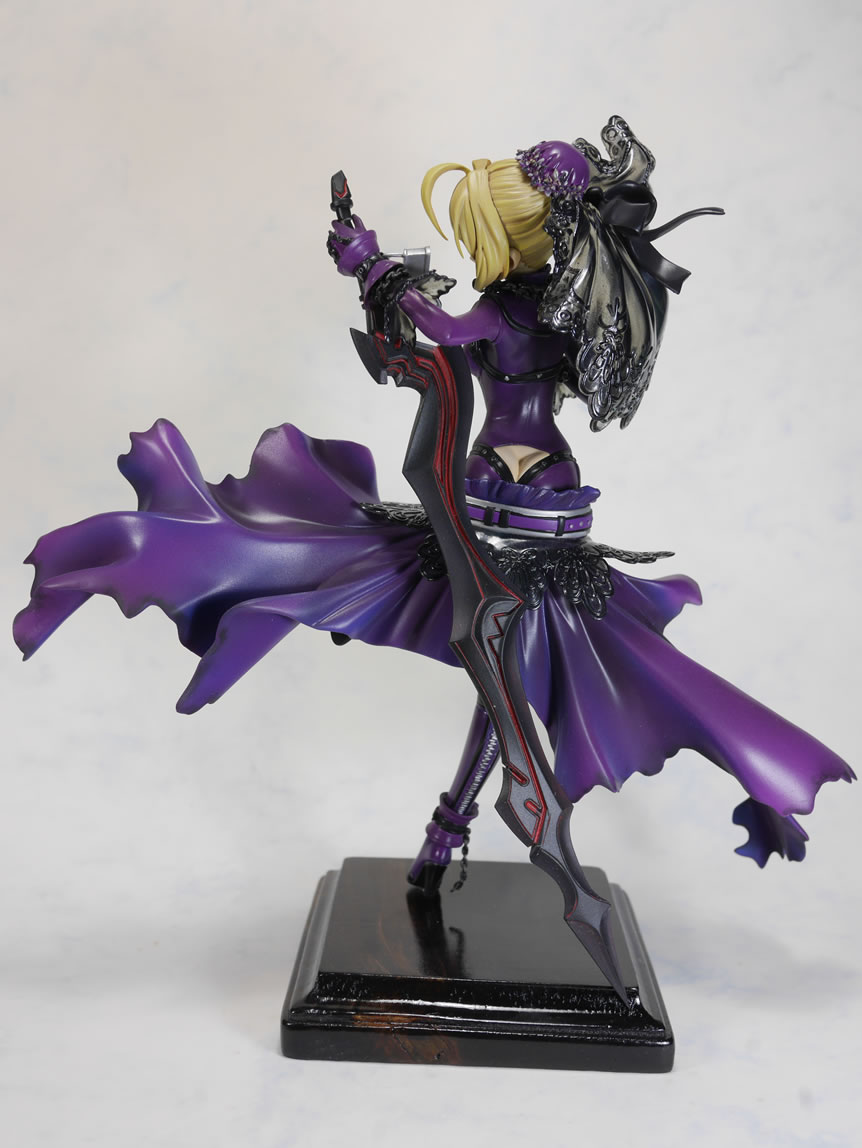
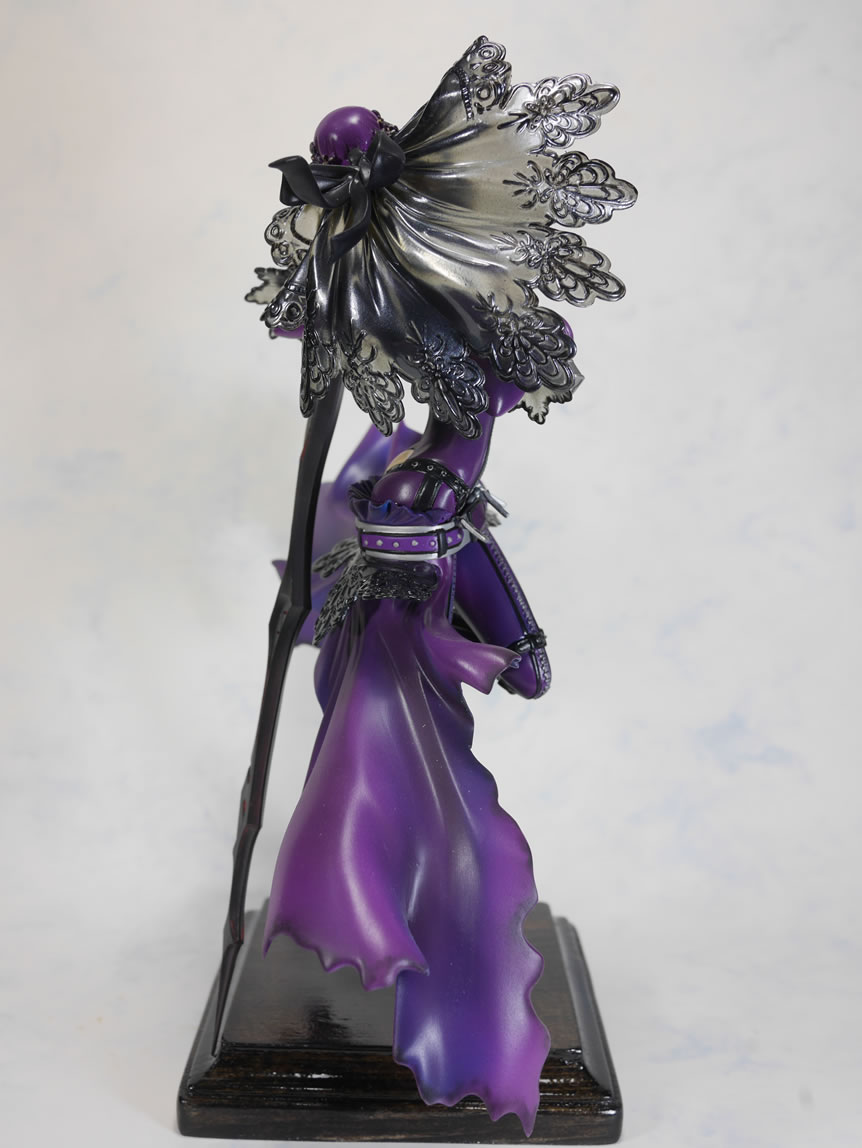
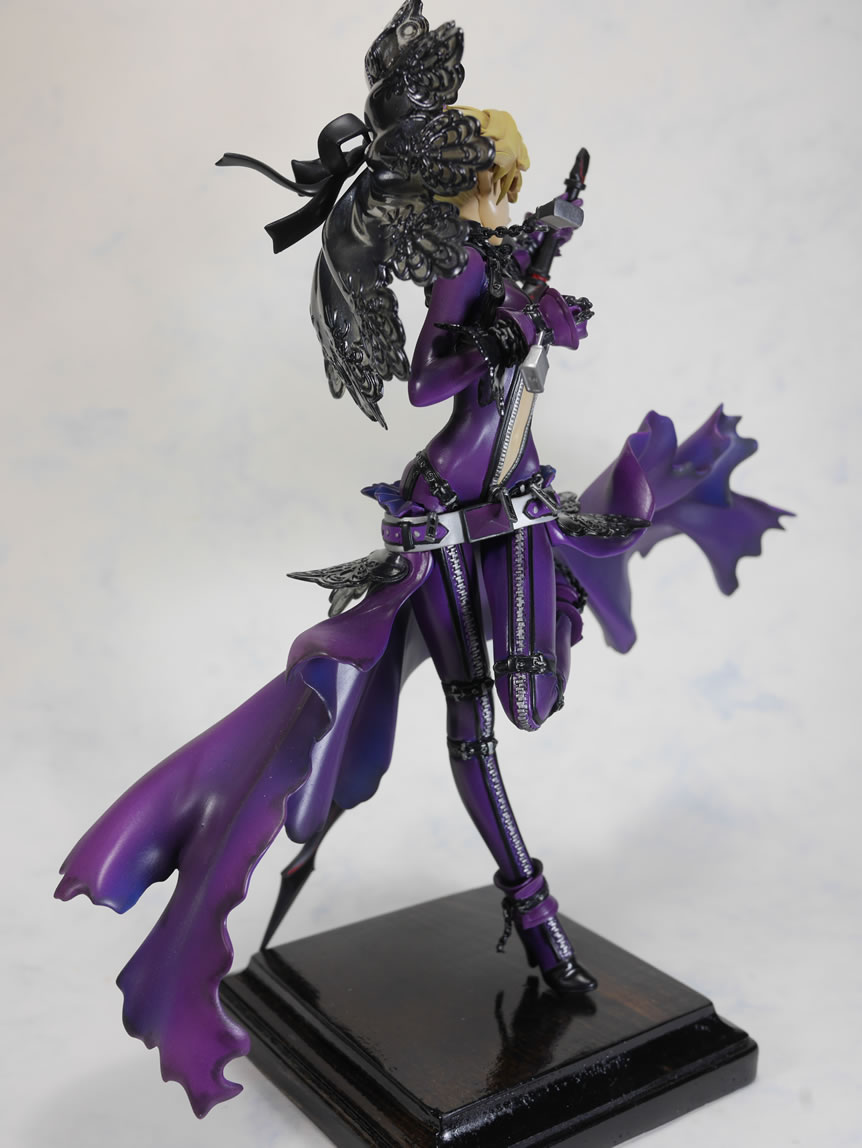
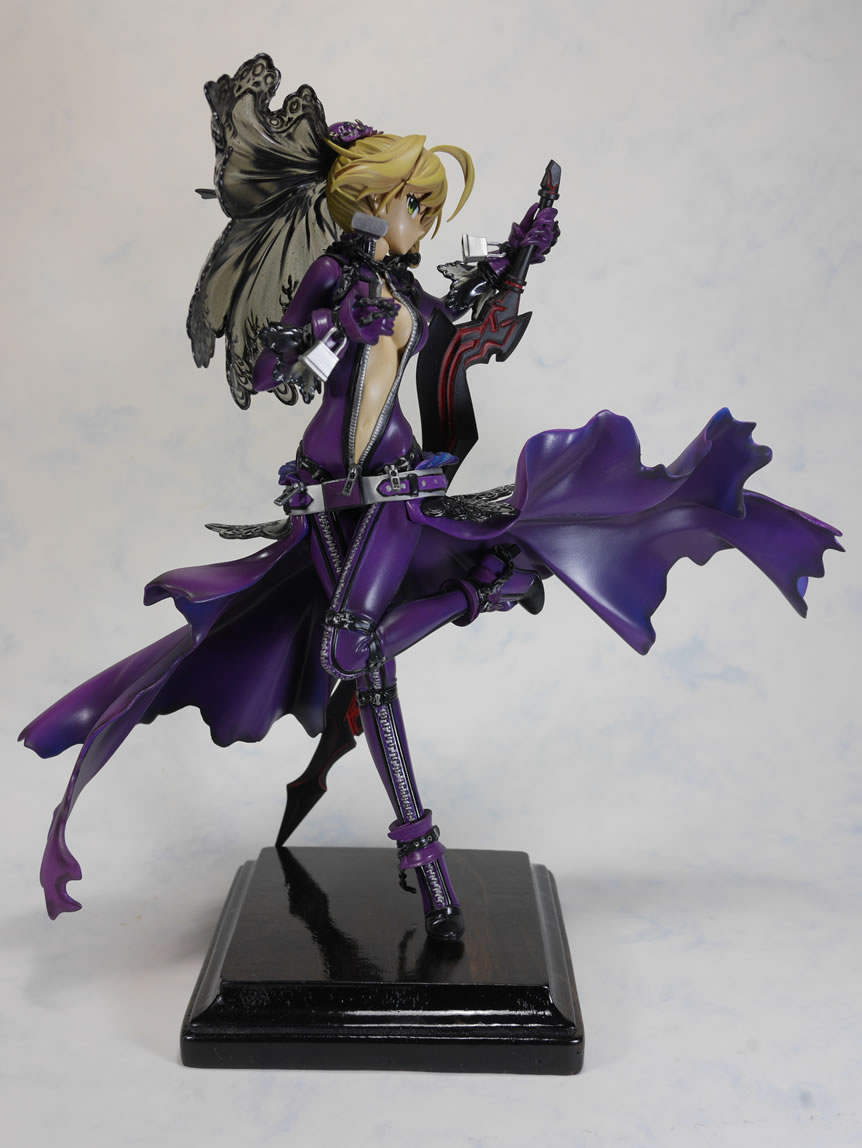
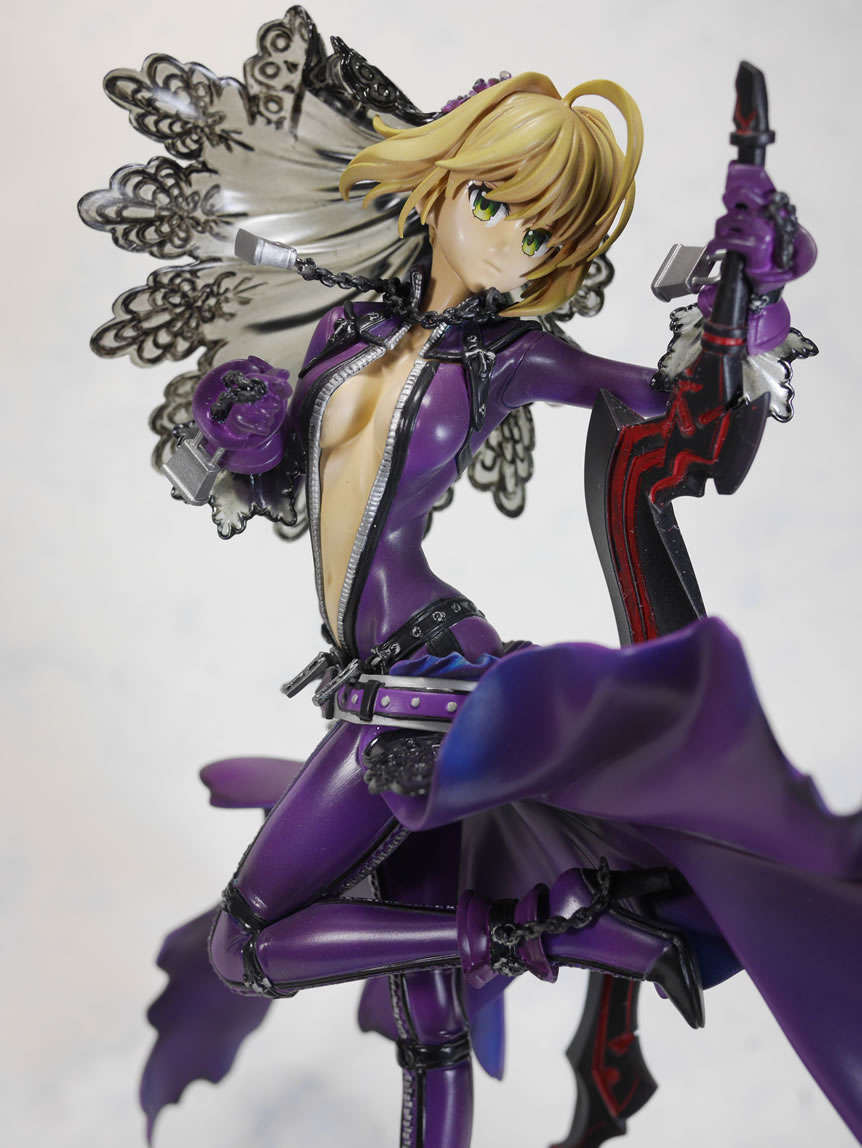
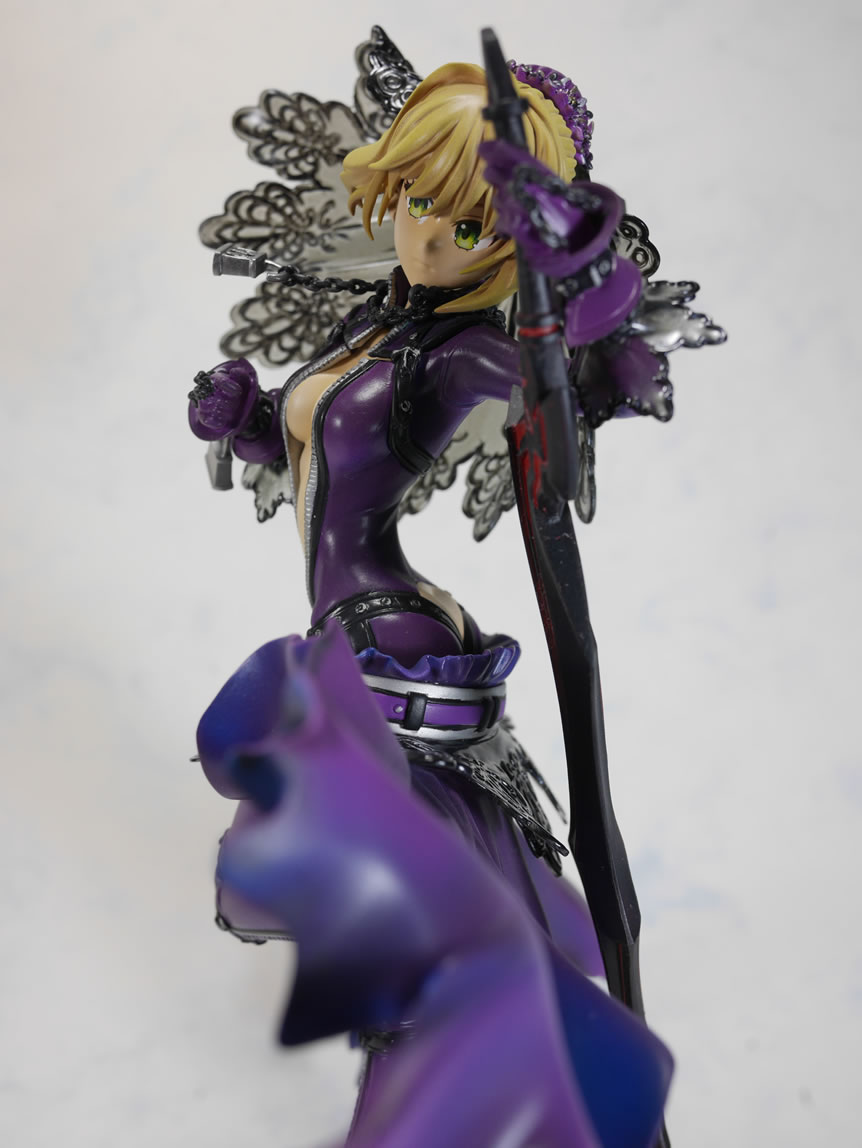
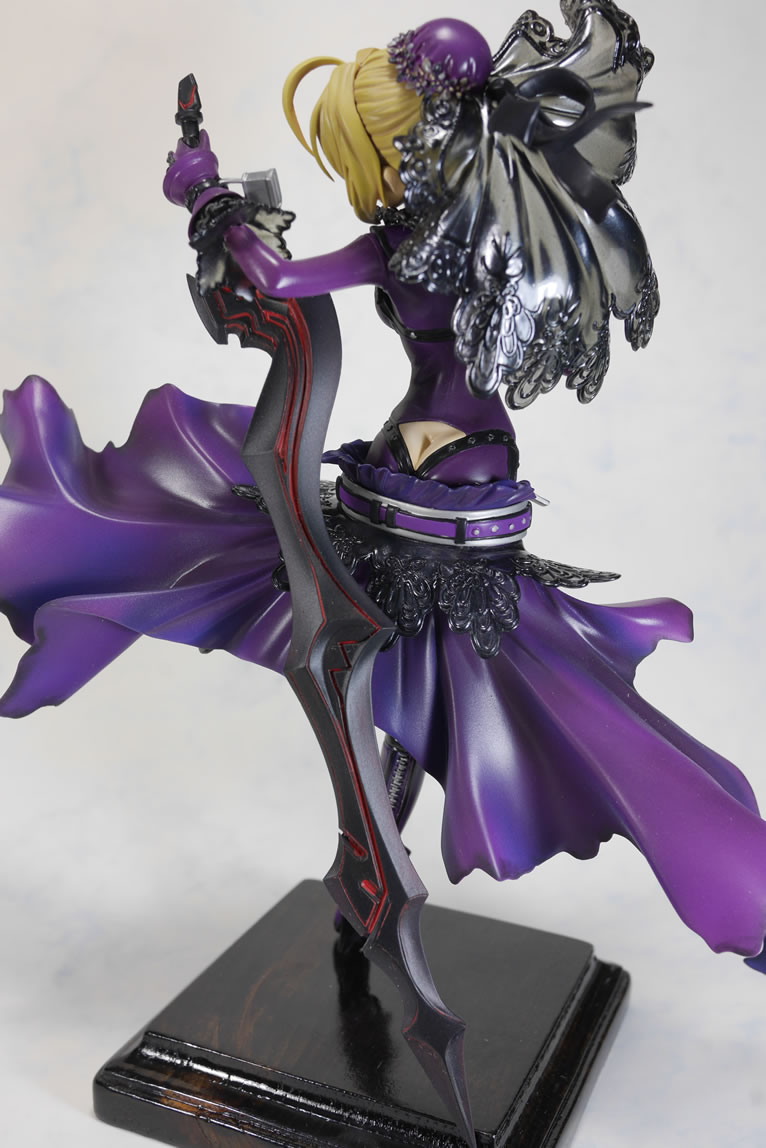
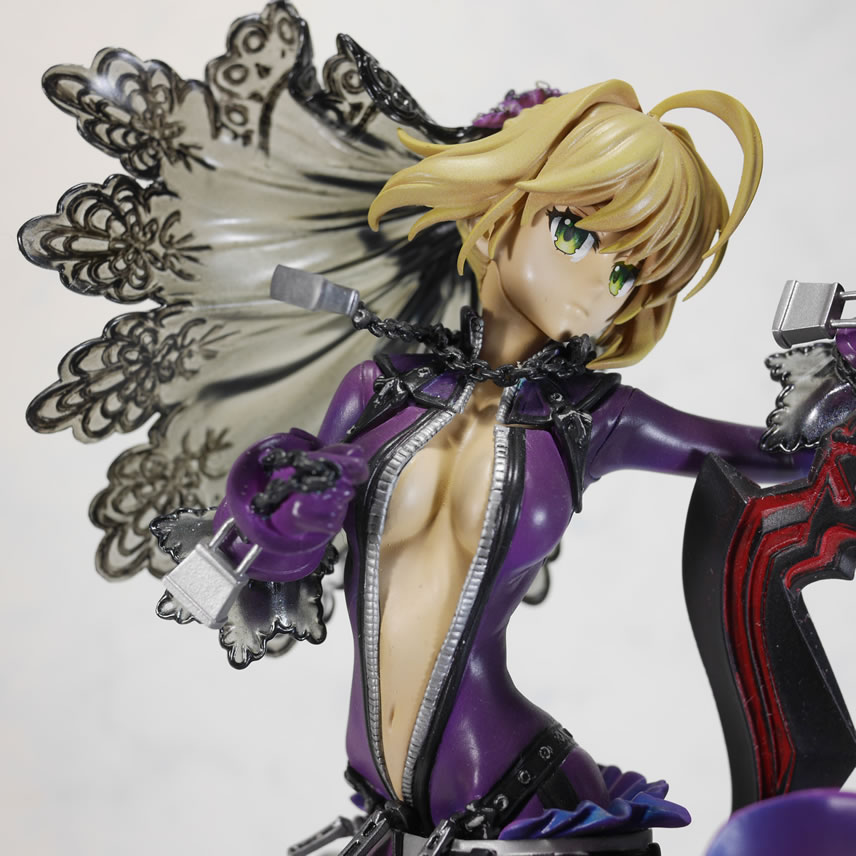
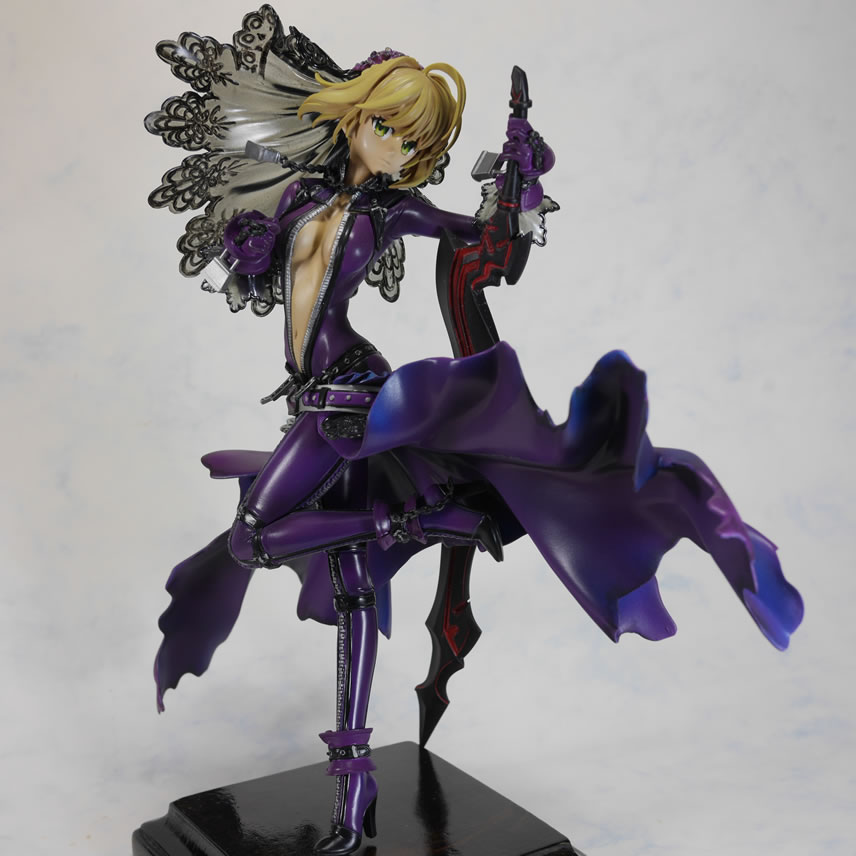
And with that, all the major subassemblies are glued together and we have the finished project below.

|
|
|
|

|
|
|
|
|
|
|
|
|
|