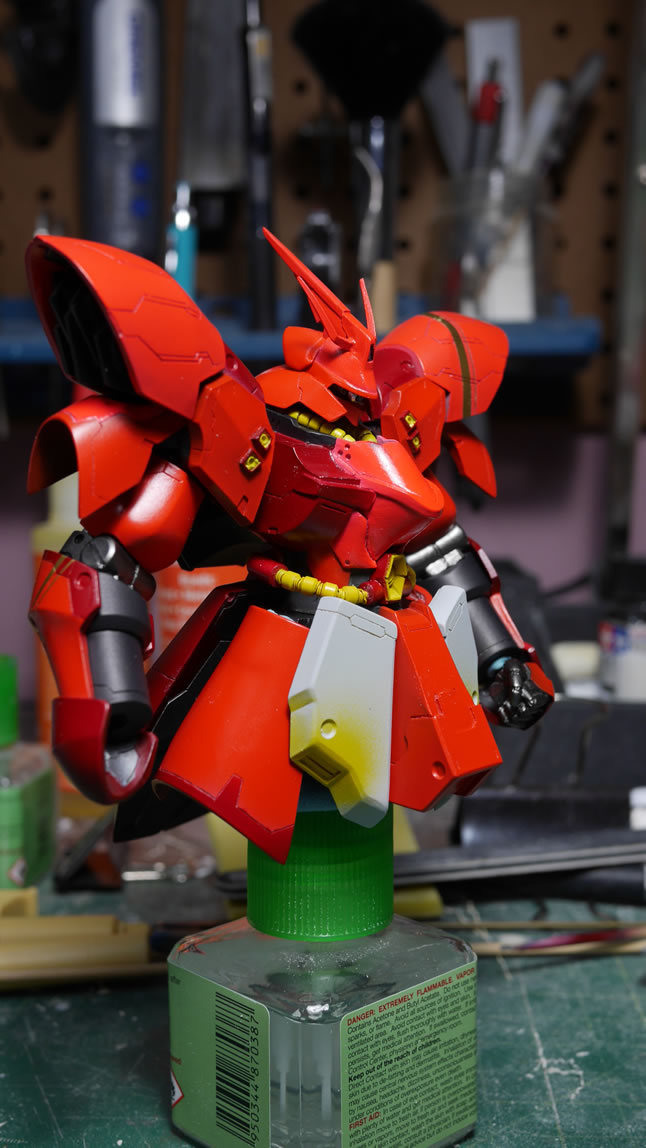
October 3, 2016: I picked up this kit about 5 years ago to date on a trip to Hong Kong with my wife and friends. I believe I actually picked this guy up from the SMS shop in Mong Kok; the place has since moved a few times and changed names; but I think it’s still around. The folks in HK in the resin gunpla scene can point you to the right direction. The kit is basically a recast of the Vicious Project 1/144 Sazabi. It’s a full resin kit, and I figured I need to catch up to the number of Kampfers I’ve built. Counting rebuilds and this one, I’ve done 3 1/144 (first one back in 1989 I think) and 4 1/100. Ok, maybe I’ve already surpassed the number of Kampfer builds. I’ve pulled the parts from the box a few times over the years but ended up shelving it. I once got as far as clipping flash and small bits of sanding; but it’s gone back onto the shelves for other projects. I finally sat down and started cranking out work on it the weekend before last.
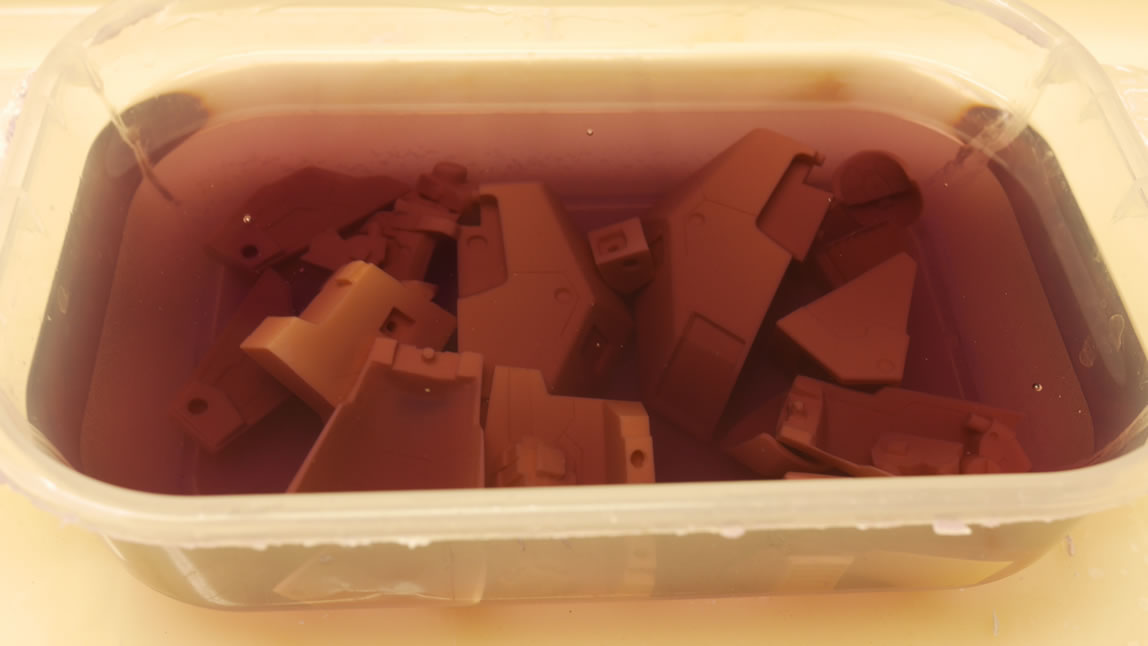
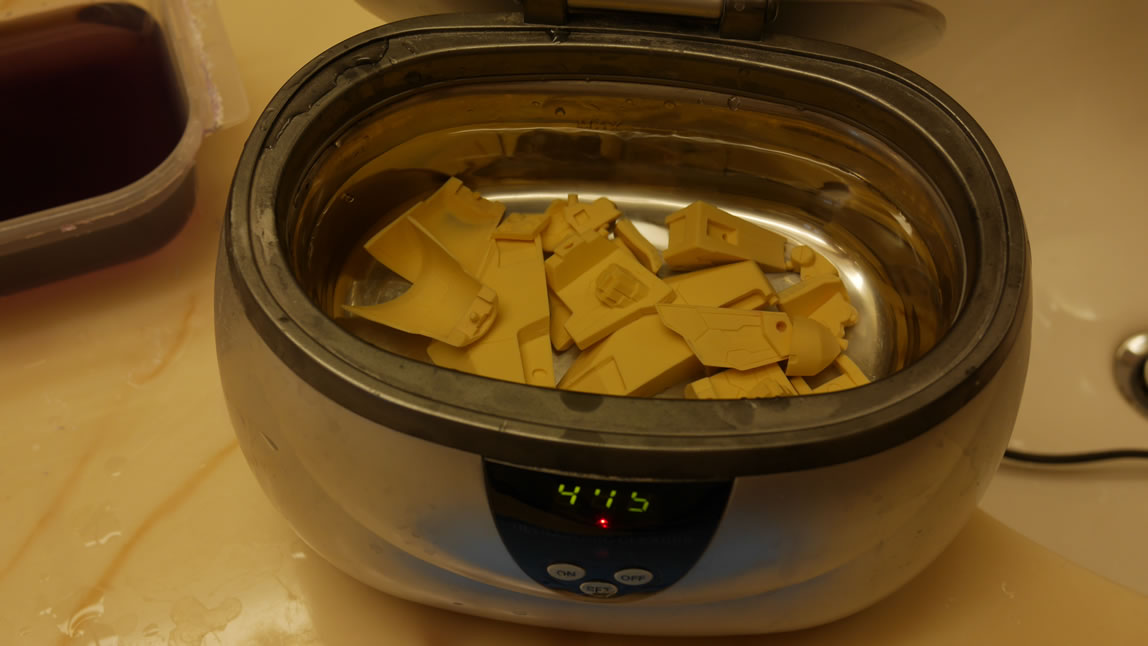
I’m approaching the build in a different manner. I started doing this for the past two projects; Hi Nu and Shiki. I’m building in sections. This is different from how I have built in the past 15 years or so; where I build in stages (all the sanding in one stage, all the priming in one stage, all the painting in one stage, etc). I started off with the head, chest, and shoulder pieces. I get the flash bits removed and some initial sanding and that’s it. Maybe a quick test fit; but nothing permanent. Not even gluing smaller parts together or filling obvious problem areas. The first thing I do after the flash removal and quick sanding is dunk the parts in an industrial strength degreaser. Zep in this case. And the parts sit over night. Next, they are pulled from the cleaning fluid and put into a box with some water to do an initial rinse. The next step is to throw the parts into an ultrasonic cleaner. For those that don’t have one, you can just use dish soap and a toothbrush to scrub the parts. I’m entirely too lazy, so I rely on the ultrasonic cleaner with just water.
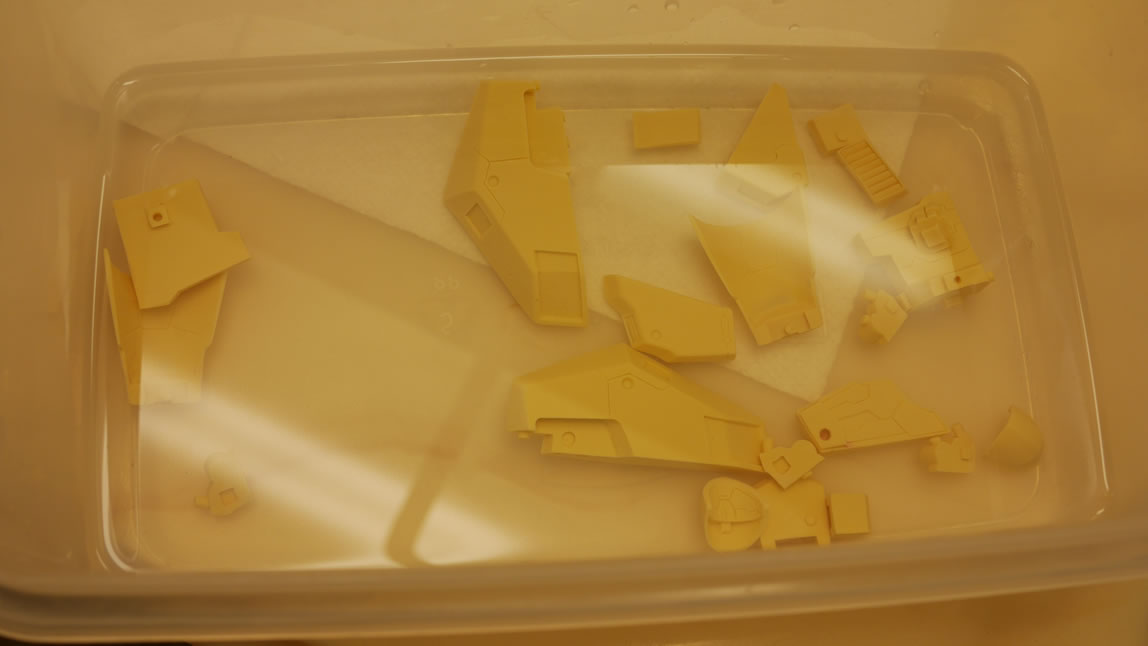
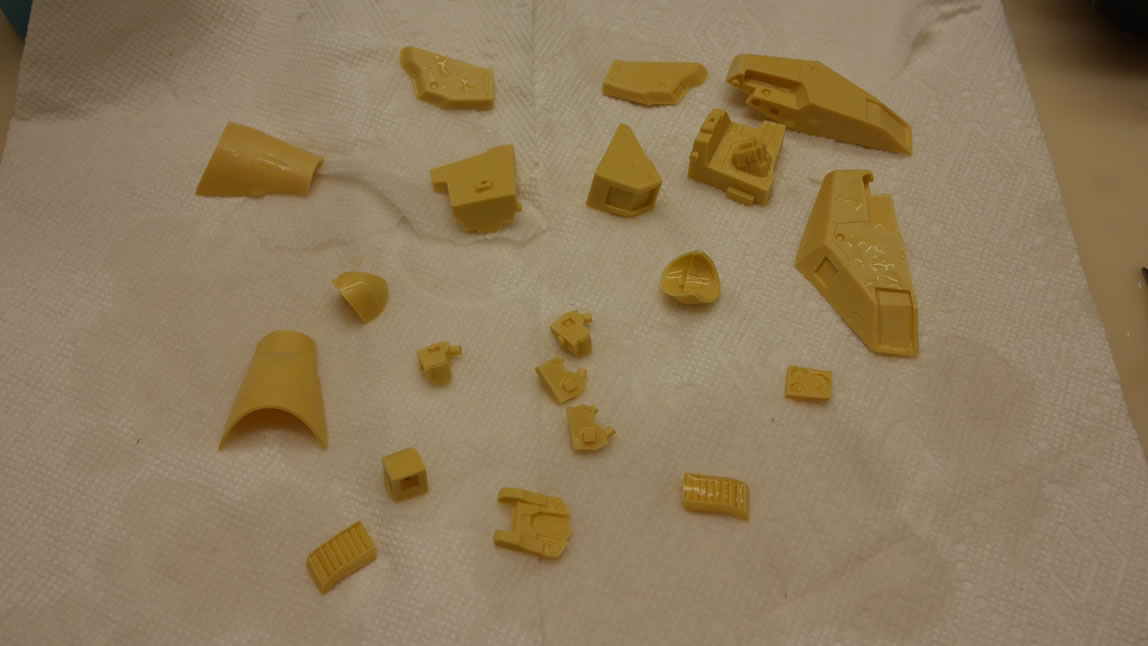
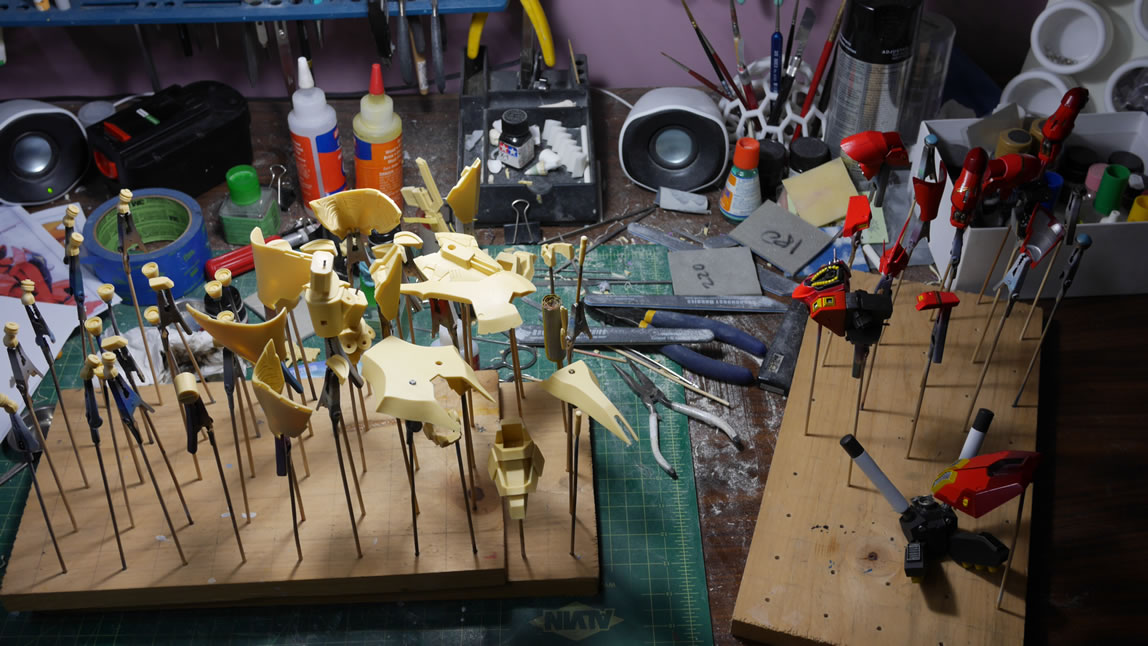
Parts are pulled and placed on a paper towel to dry. Notice that it’s not very many parts. I’m building in sections. So this cleaning session was for the skirt parts.
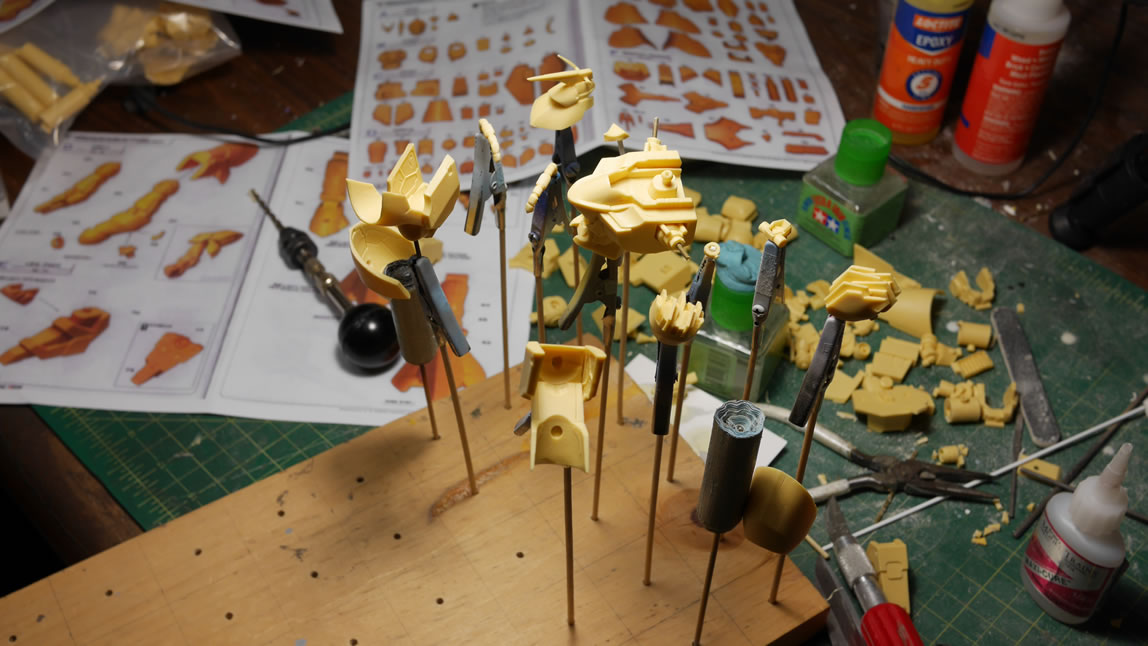
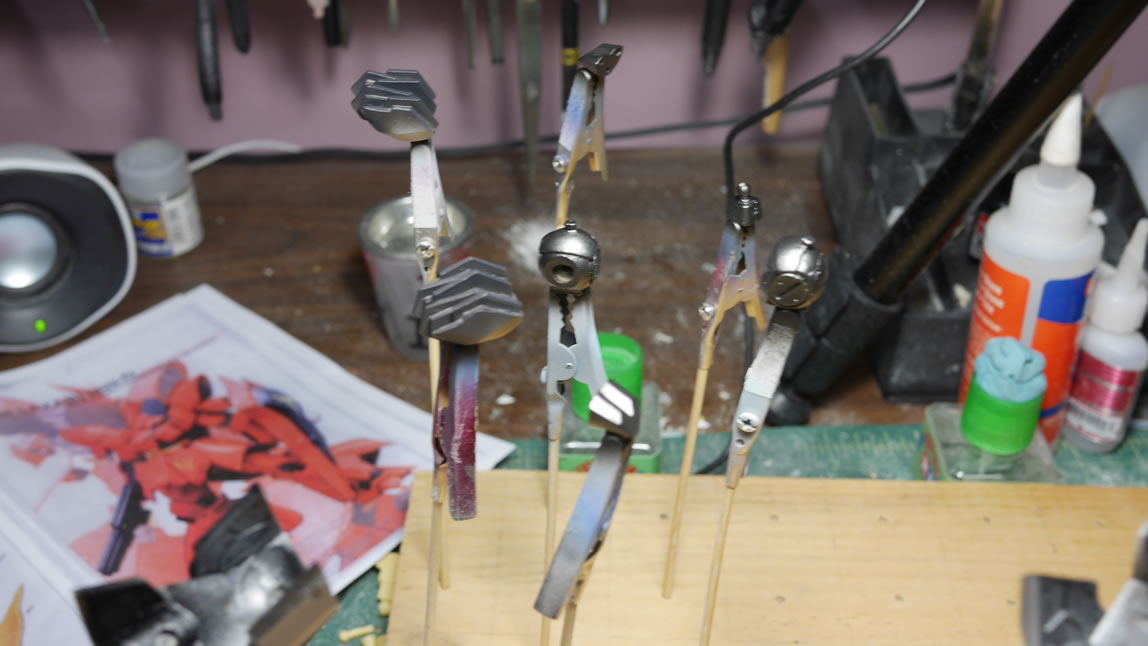
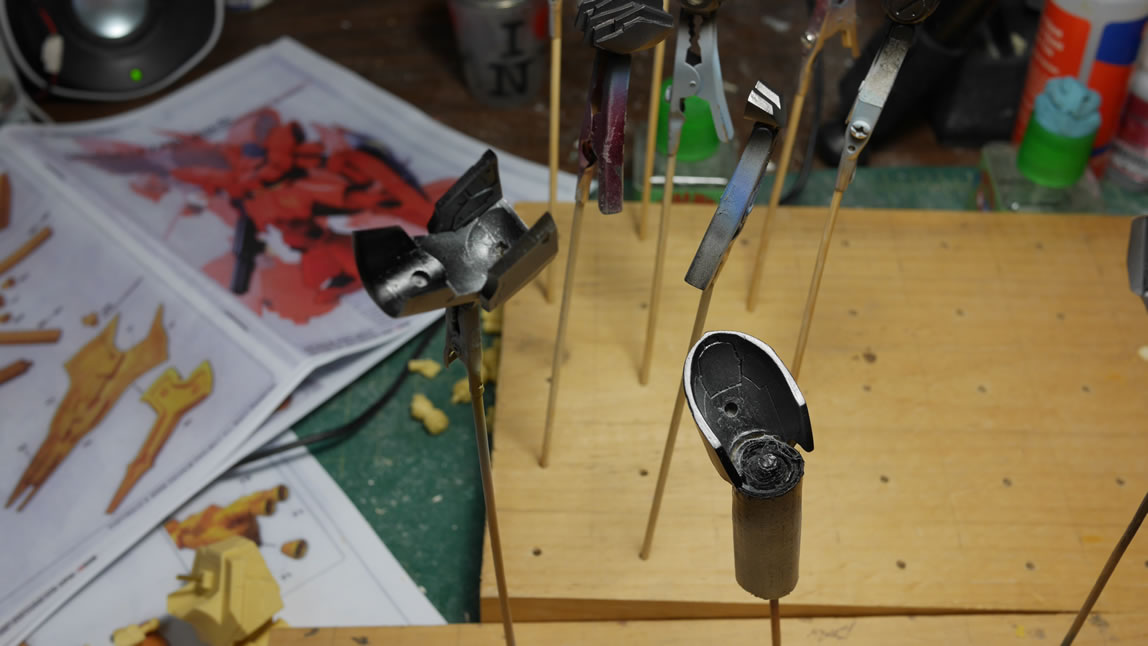
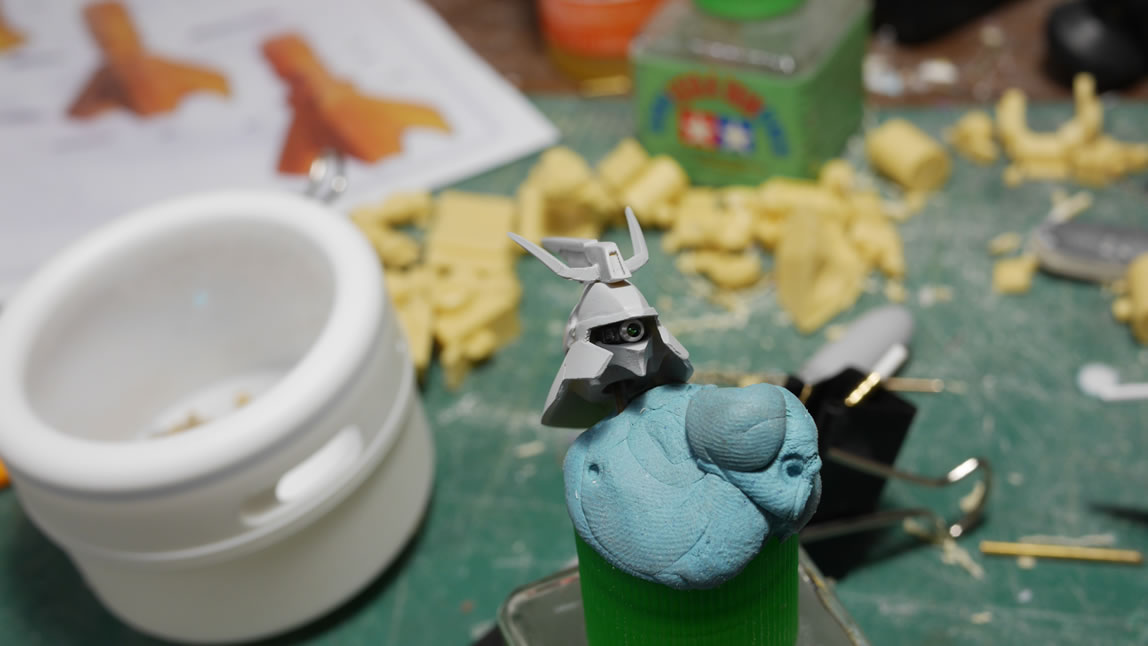
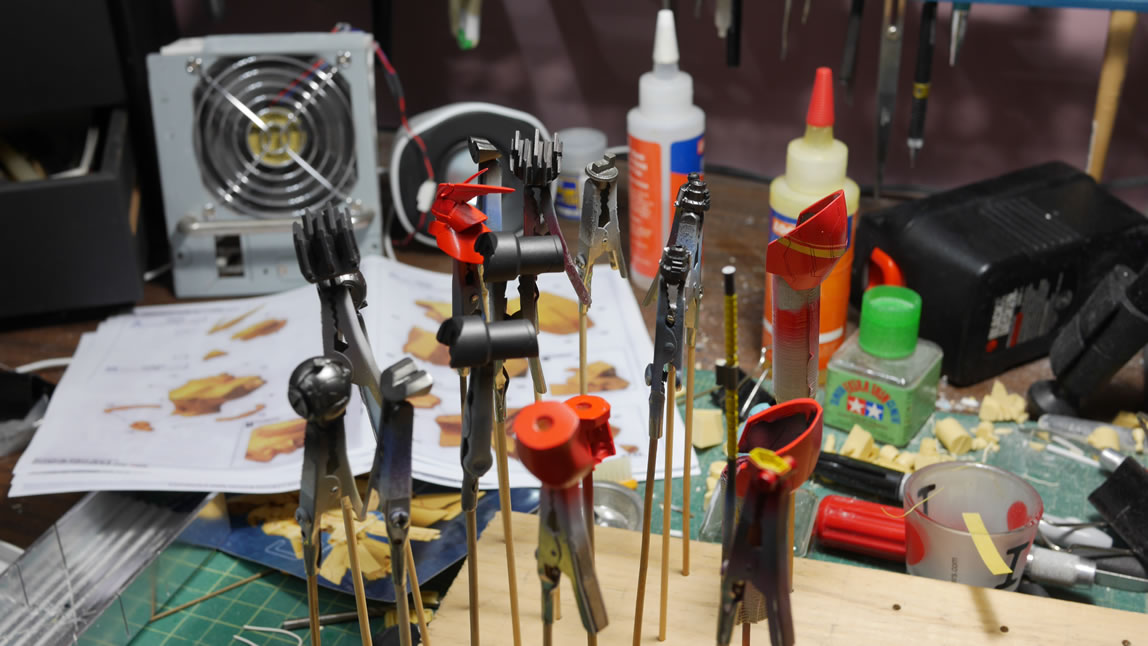
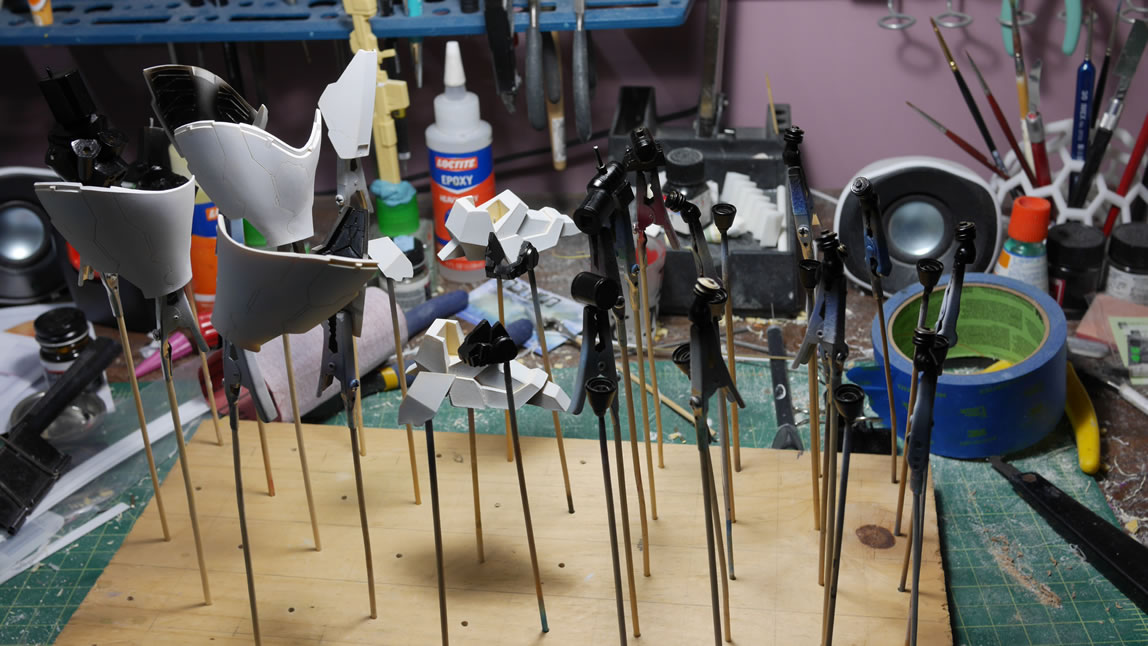
Once dry, I can start doing some finer sanding and filling for areas that I see in the bare resin. I also glue together some of the smaller pieces so I have little subsections to work with. Some folks prefer to paint everything separately and then do a final assembly at the end. But this is how I like to build. The parts are on skewers and ready for the first layer of primer.
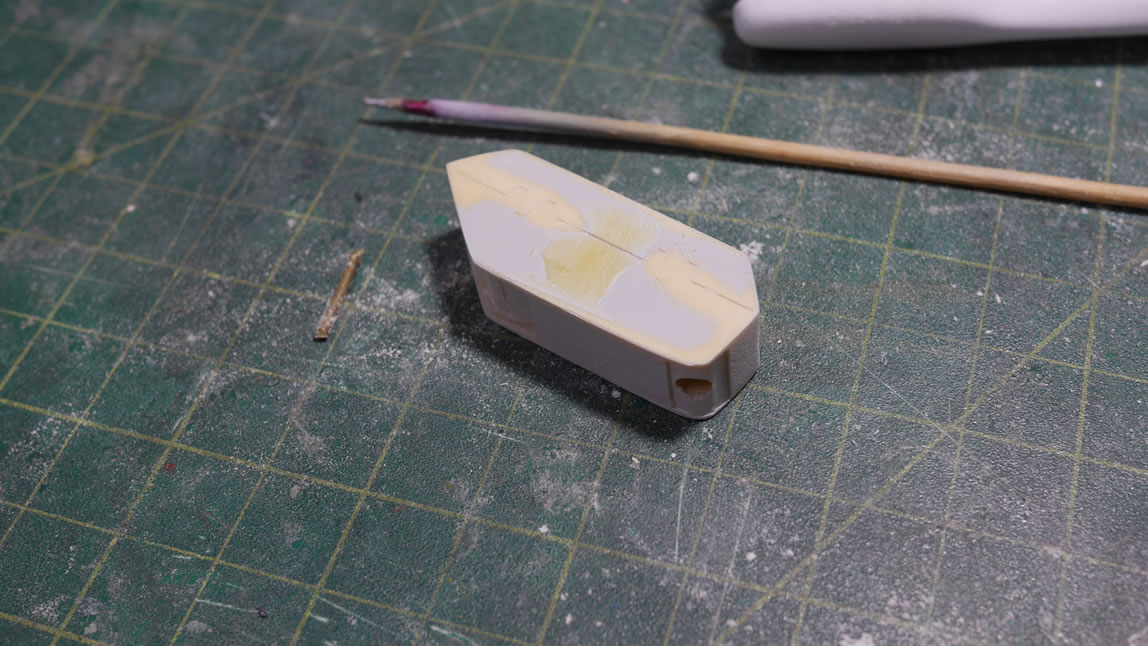
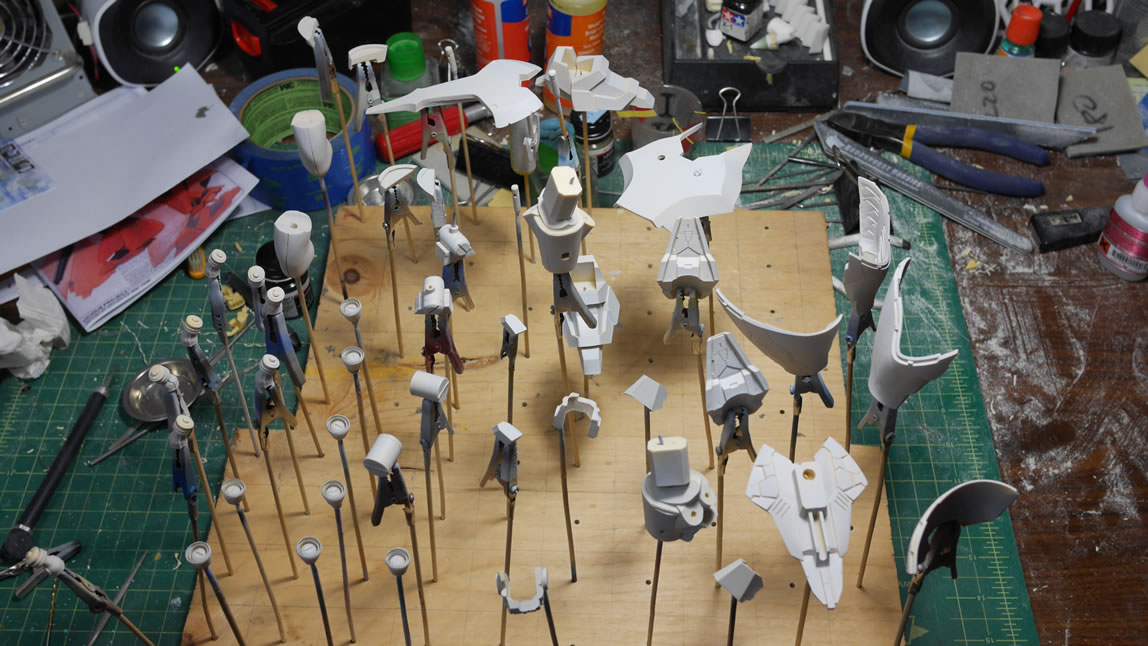
The first layer of primer is always the real starting point for actual work. All the surface imperfections that are hard to see in the bare resin is immediately visible. Pinholes, missed sanding spots, left over flash, mold lines, etc. These all need to be cleaned up. So once that is done, the primed parts look like the following. Mostly primed, with bare spots of resin here and there.
This next part has a small pin hole. These need to be filled with a putty. I use light curing putty because it works DAMN fast. I used to do all the putty work then do the cleaning, but I’ve found more often than not, that the cleaning solution will loosen the grip of the putty on the resin. So I now do all my putty work after the part has been cleaned.
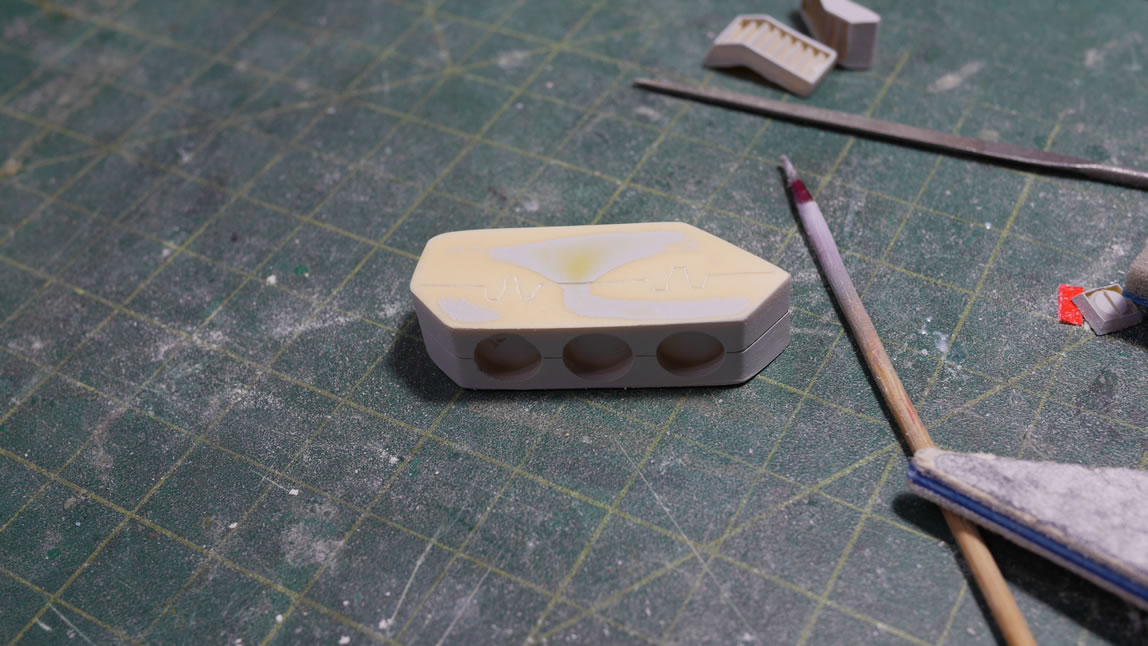
Once the major sanding work is done. I can go ahead and reprime to check the parts. MOST of the parts are then ready for paint. There are always a few parts here and there that still need a little attention – sand, putty, sand, reprime. But once that’s all done, some actual colors can be thrown. In this case, the metallics first since they will need to be masked before the other colors are painted.
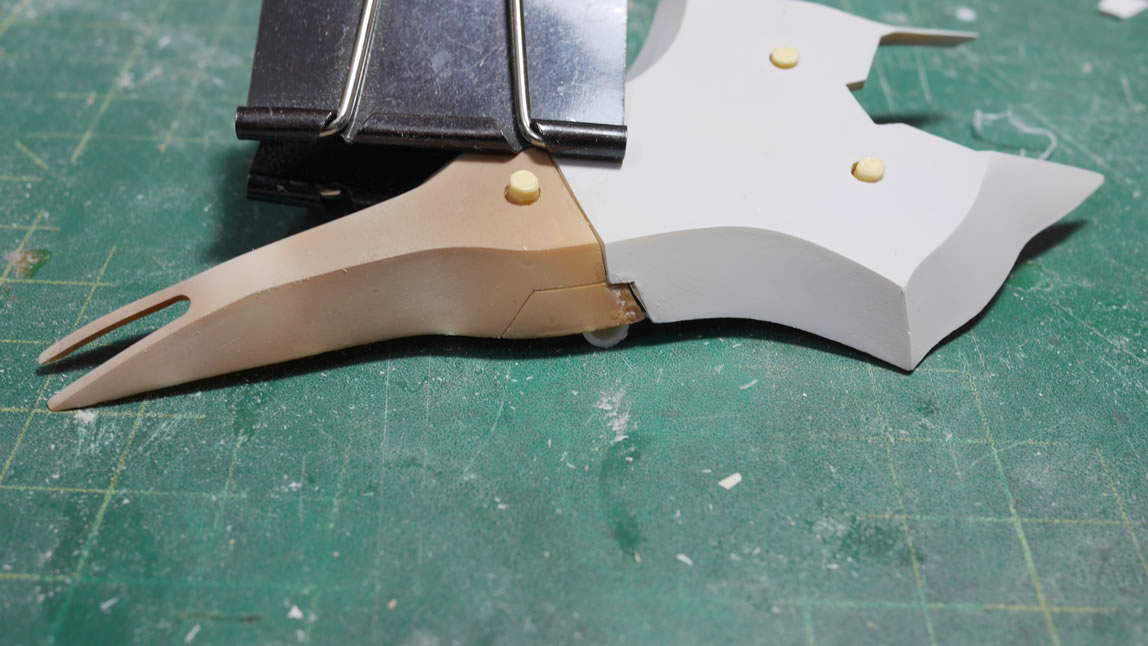
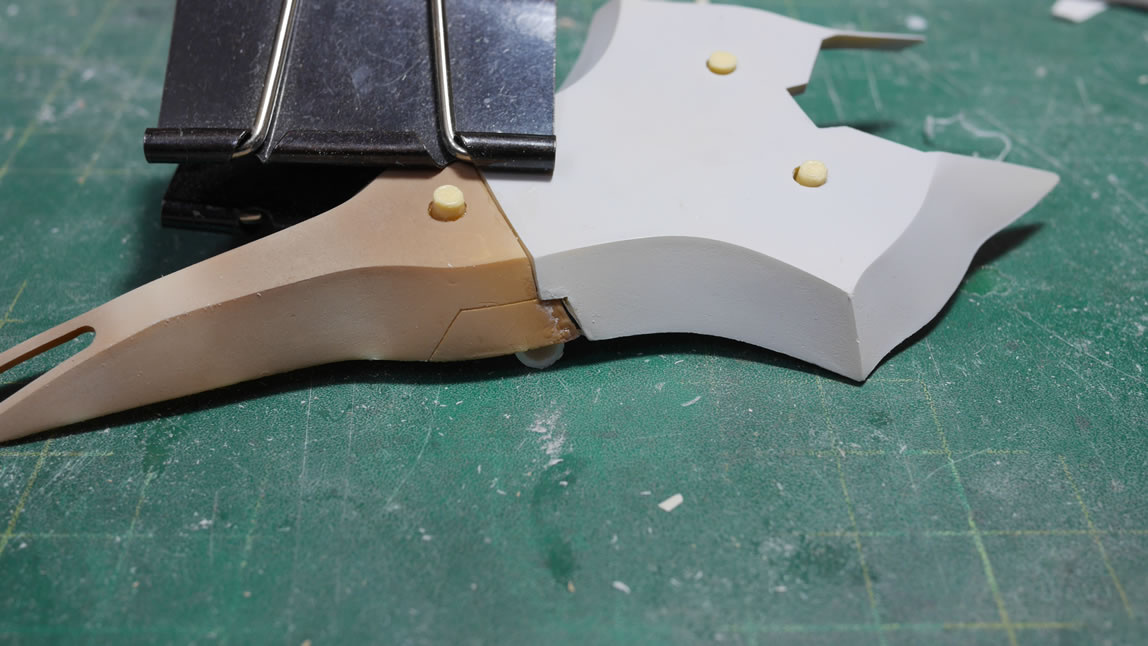
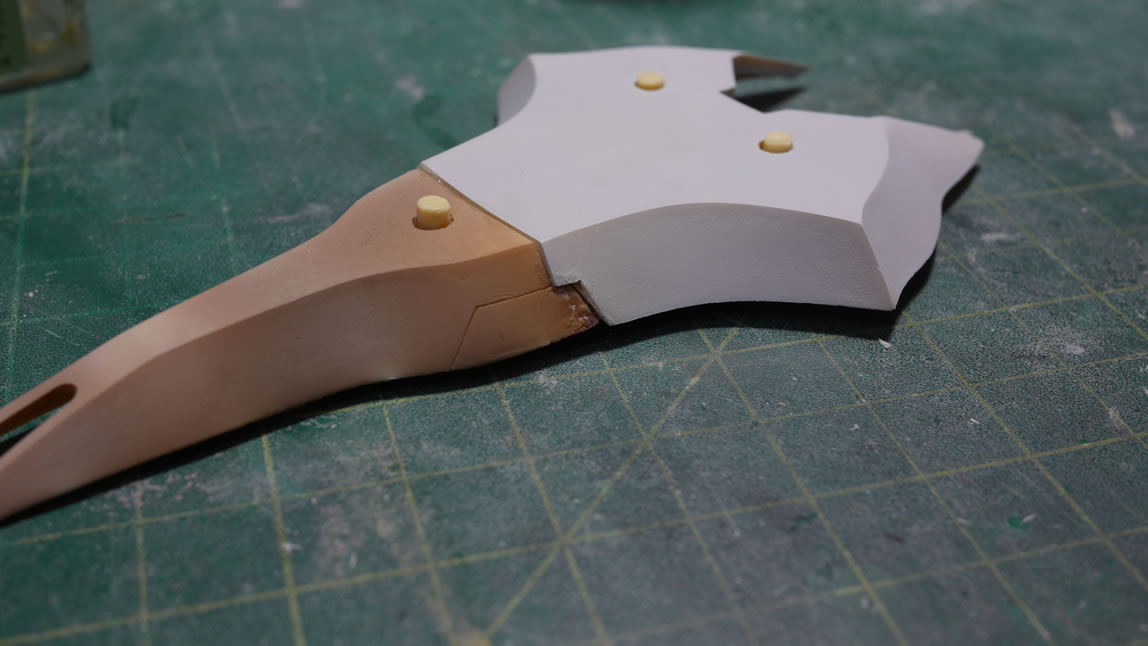
An alternative to pinning non-load bearing parts is to use rare earth magnets. Holes are drilled and magnets are glued into position taking note of polarity. And I have snap on front skirts. Again, this is for non-load bearing parts.
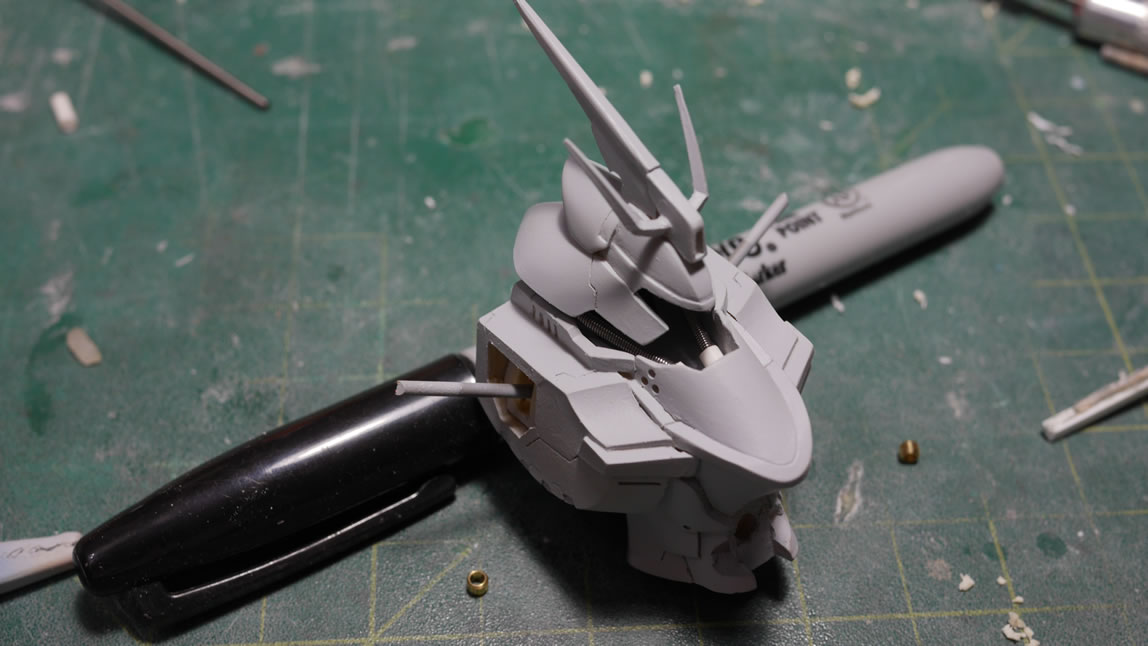
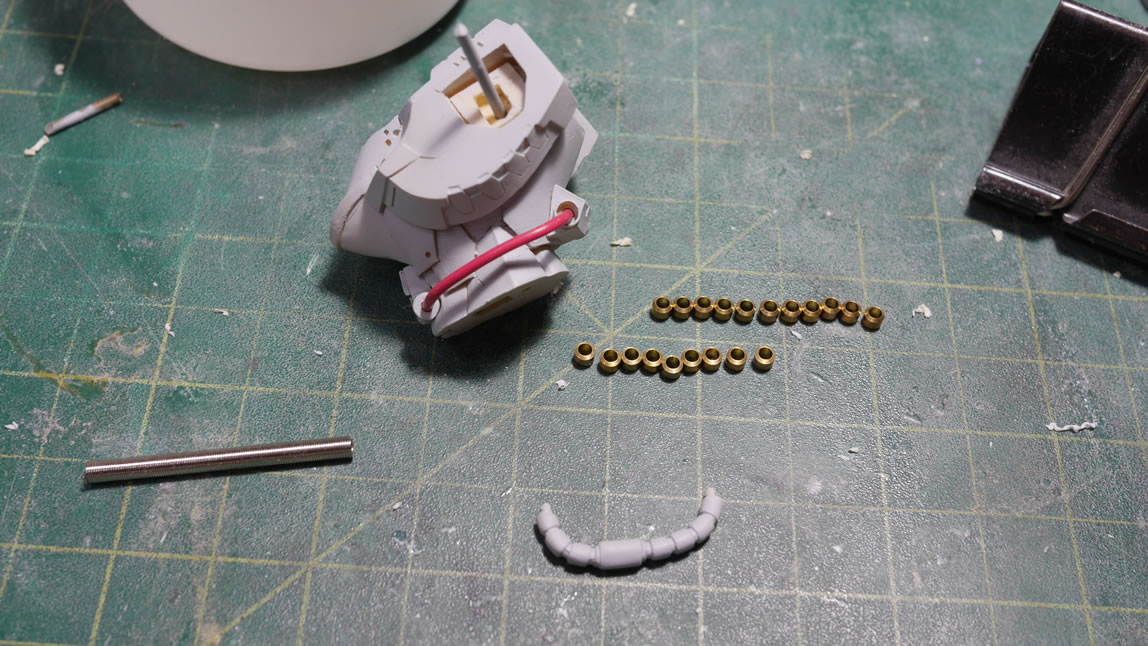
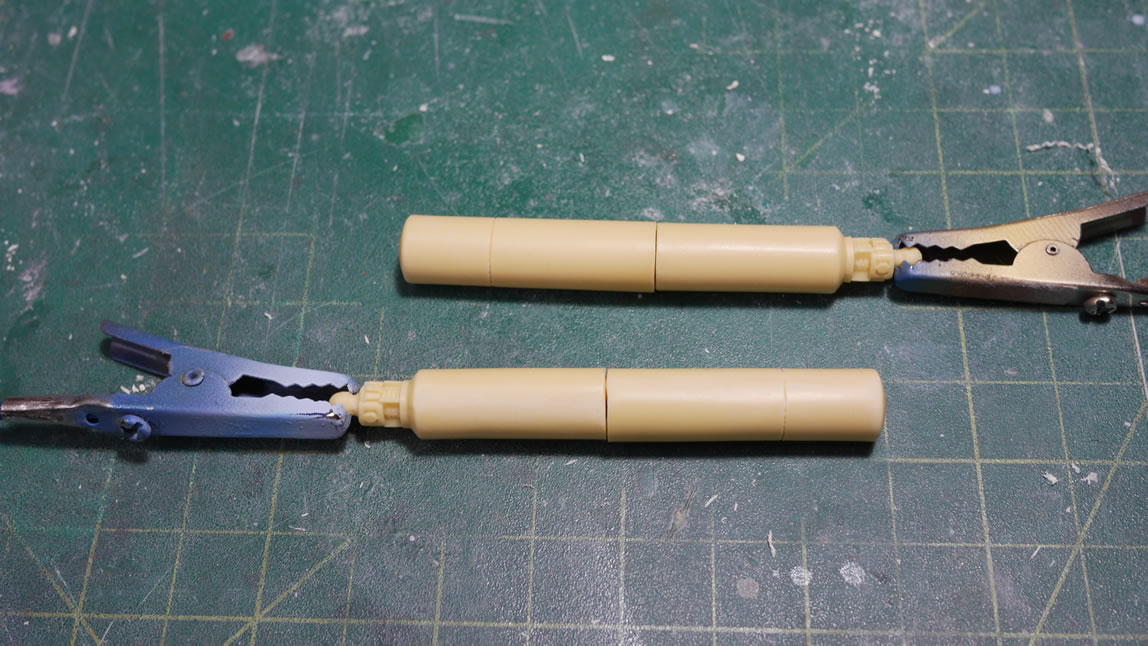
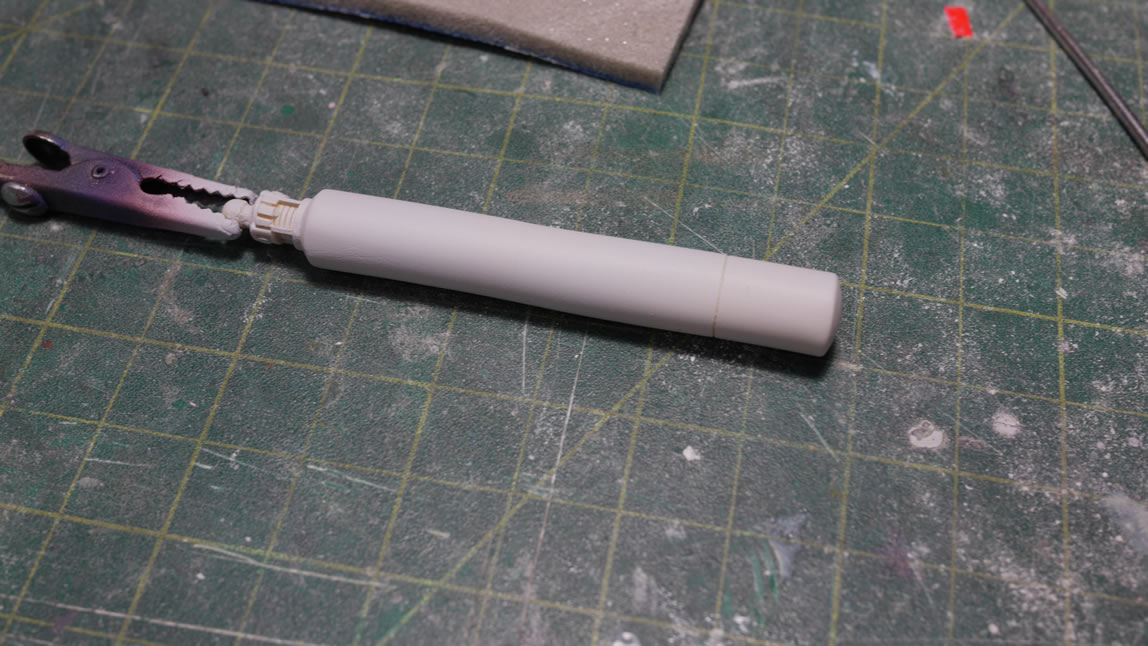
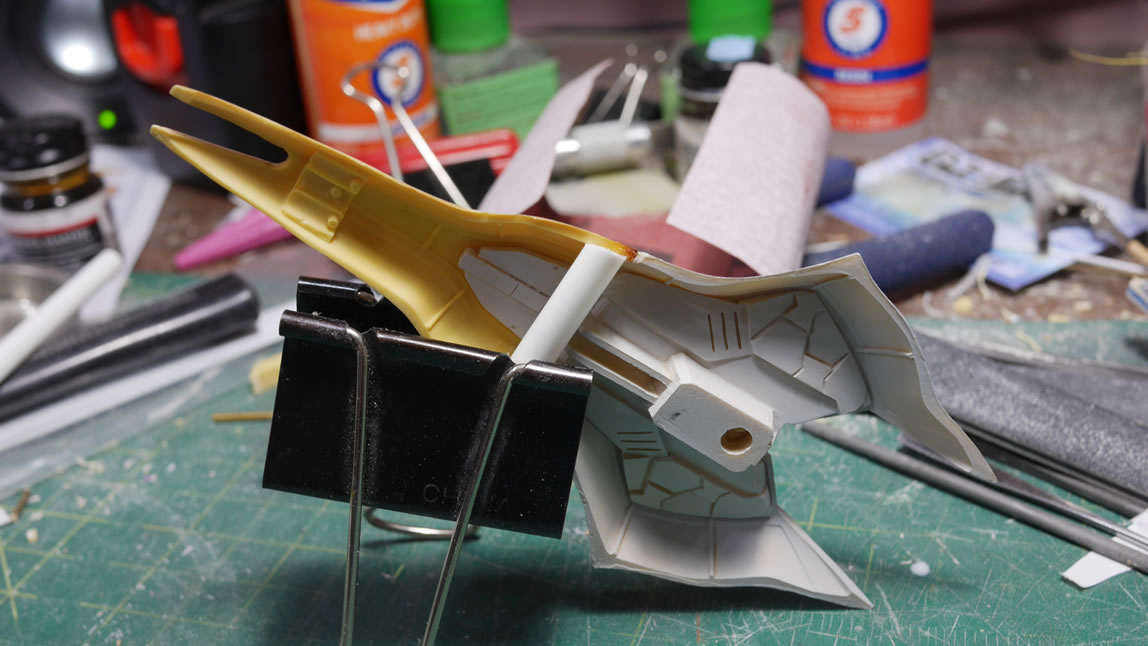
While doing some test fitting with the primed pieces, I noticed that I didn’t have neck cables. I figured I must have missed the part. Every Saz kit I’ve built has neck cables, as crappy as they can be, they have the damn part. Apparently, this kit wasn’t designed with them. I pull out the MG Ver Ka instruction manual as a reference and look in my parts bin. I have some metal collars, a spring, wires, and some plastic tubing. This is going to be easy.
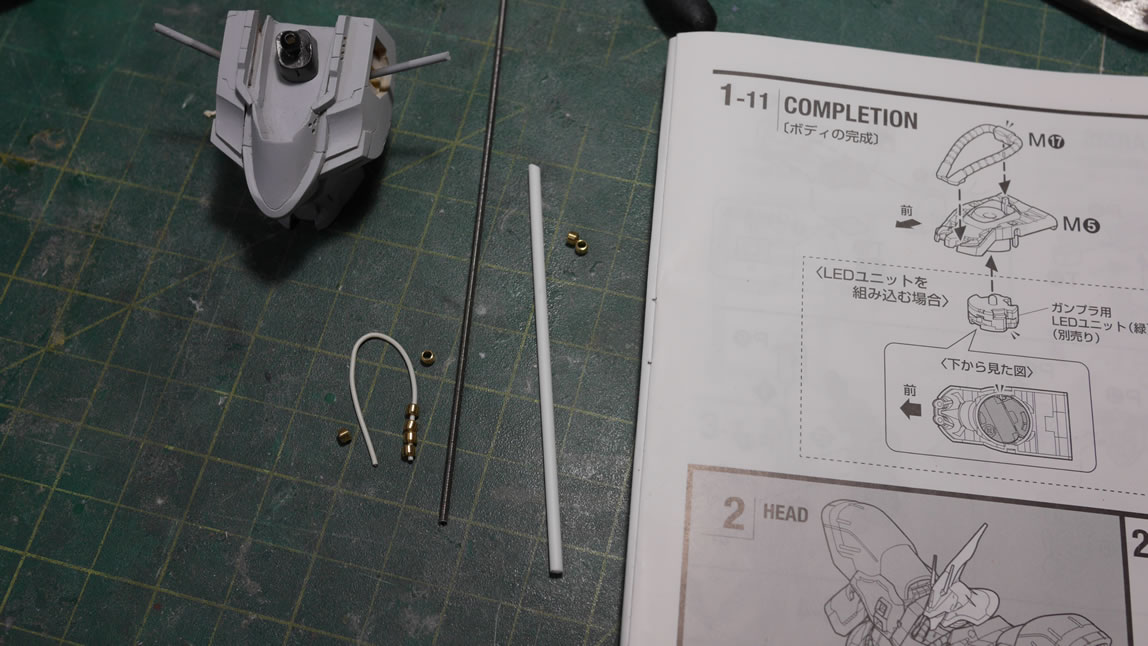
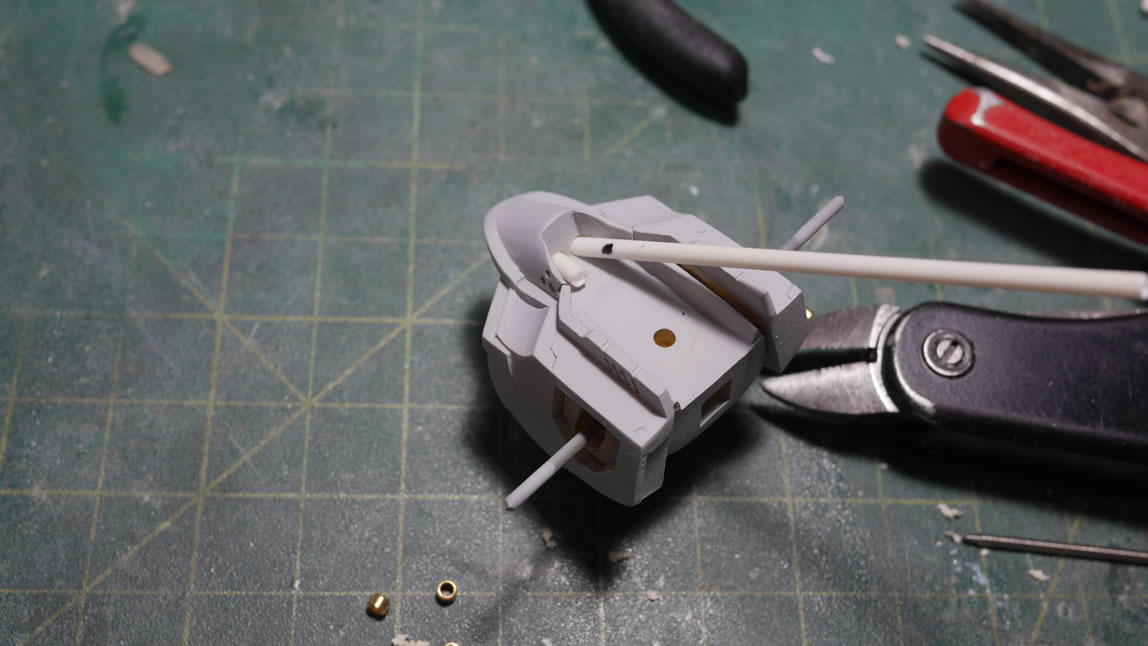
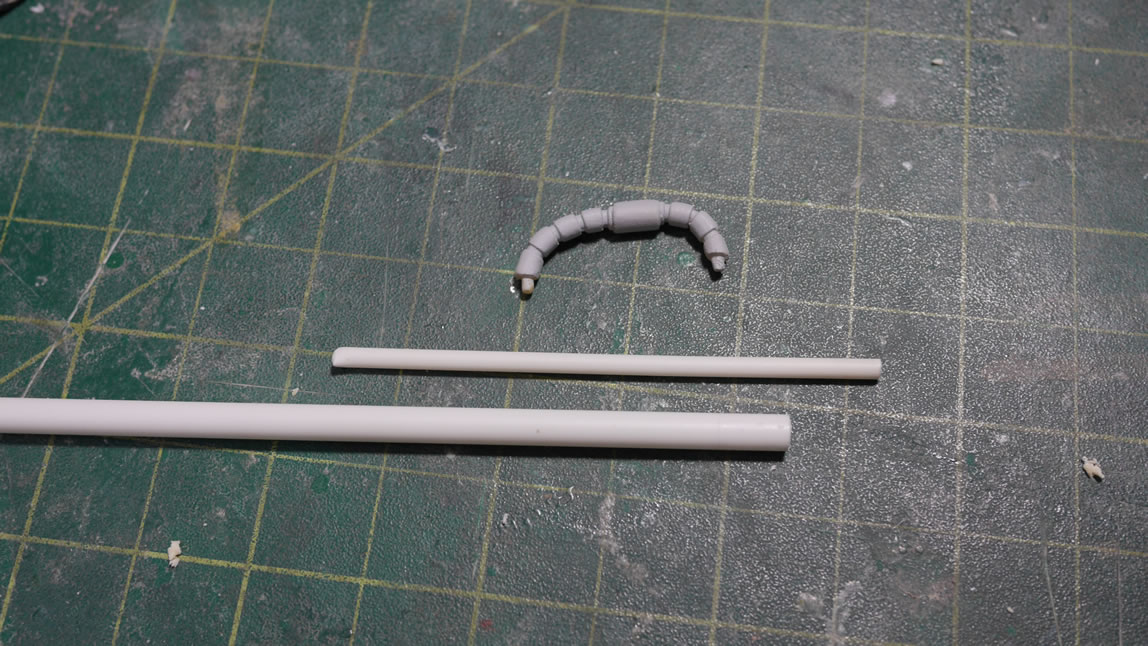
I drill out some holes in the front collar area so that I can fit some plastic tubing. The tubing is cut to size using the Ver Ka instructions as a guide for the part. The spring is inserted into the styrene tube. I needed to drill out the tube a bit to widen the inner hole for the sprint to actually fit, but it works and the walls of the tube are still structurally sound. I add in a middle tube piece that will eventually glue to the back of the collar area.

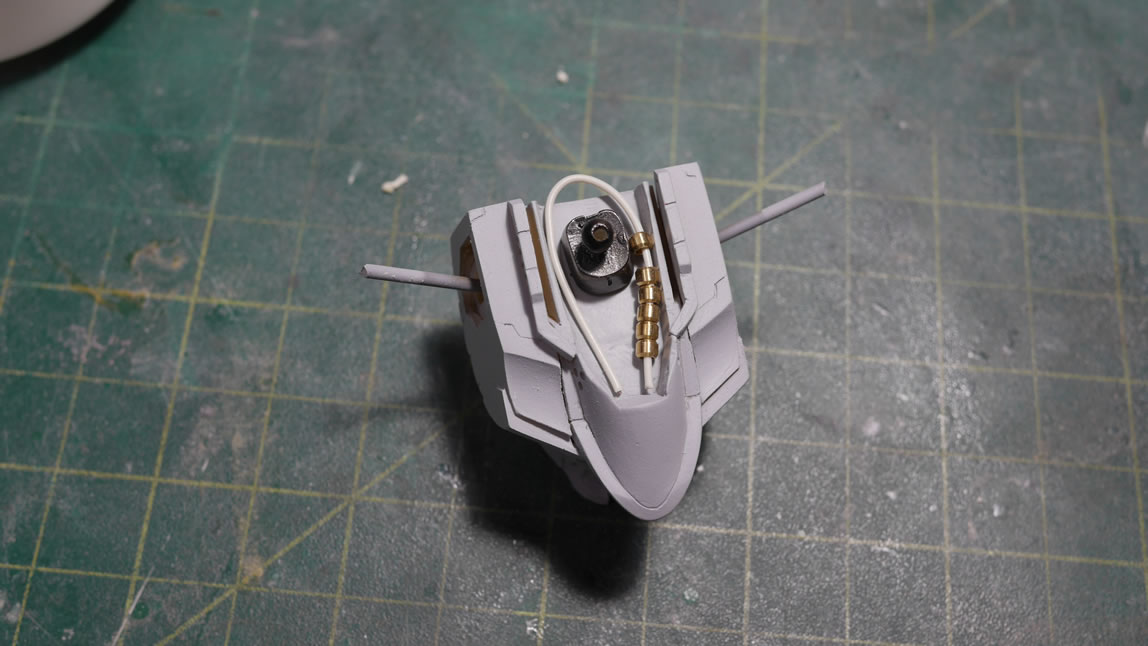
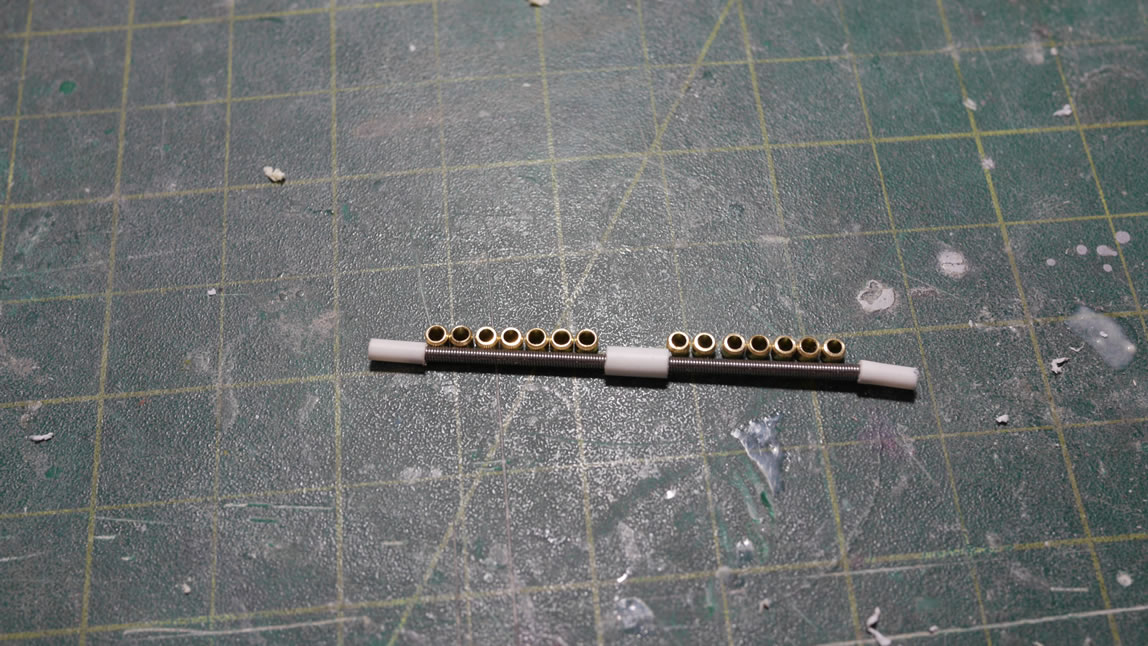
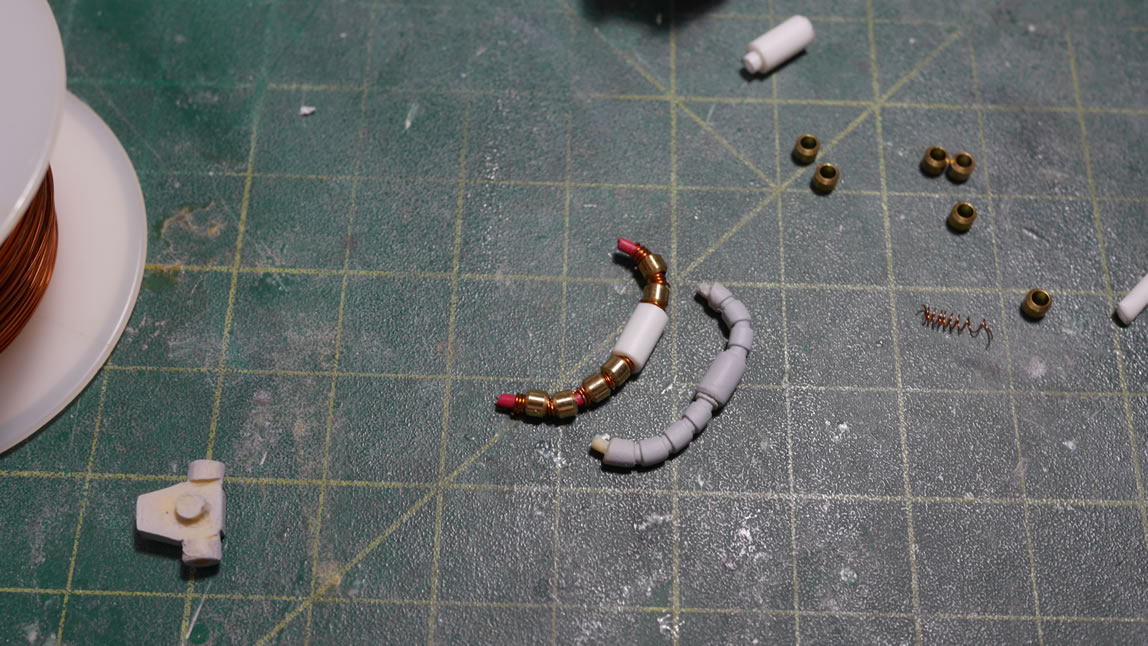
I did a quick test fit with just the spring as the neck collar. It looks decent, but I want to see what it looks like with metal collars added to the spring.
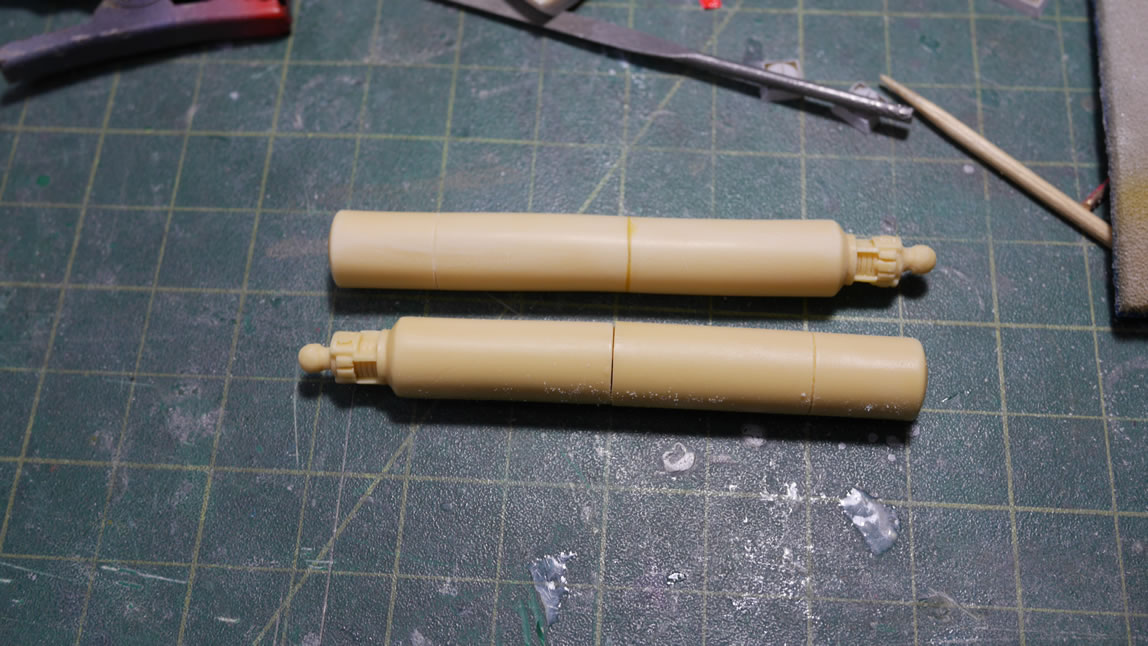
Metal collars are counted out and the spring is filled to the correct length. And the last picture in the below set is what the Saz looks like with the spring and metal collars. I think it looks much better than just the spring. Granted, the spring alone looks pretty cool too. The metal collars just make this area look a little beefier.
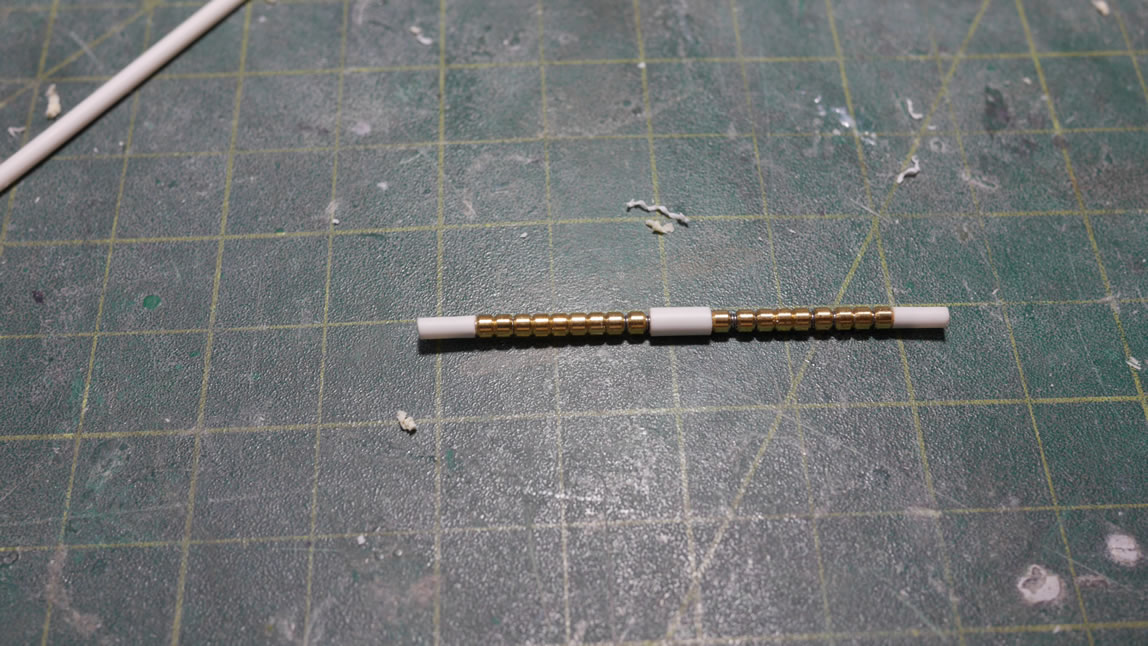
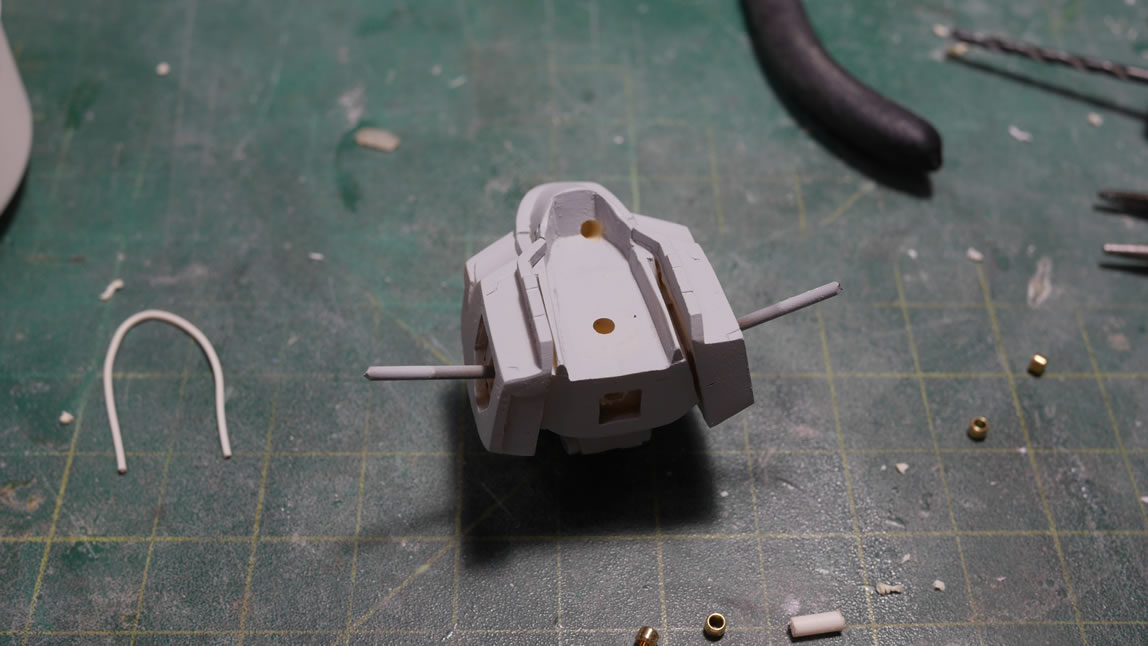
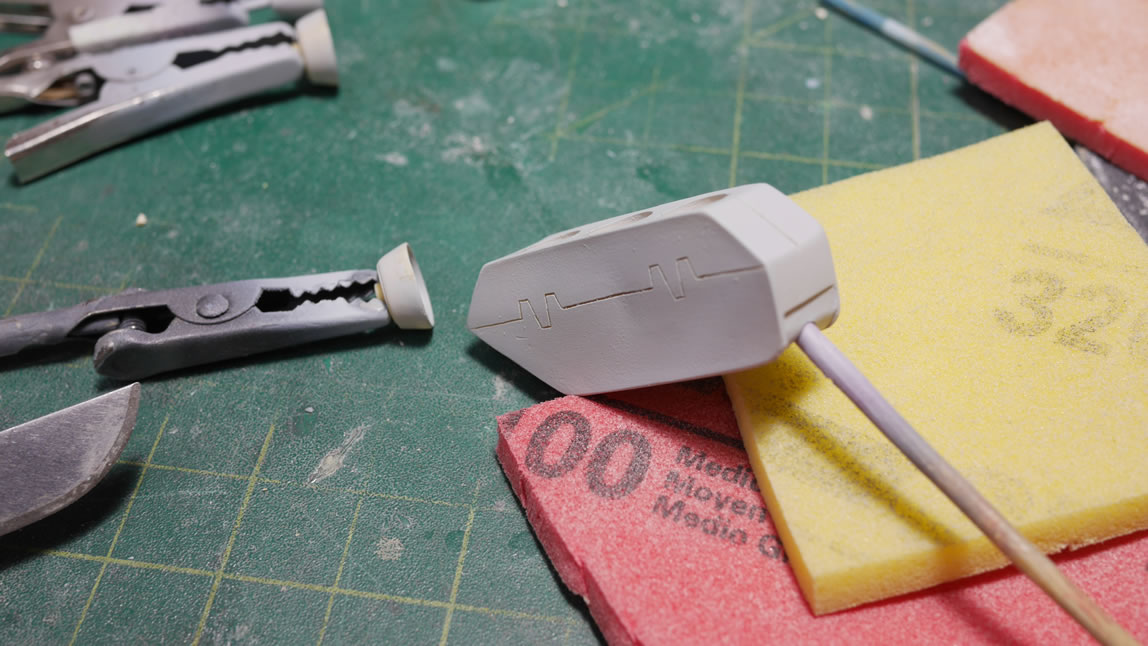
After building the neck collar, I noticed that I had already primed and sanded the waist collars. It’s odd to make the neck collar look fairly decent while keeping the rather crappy resin waist collars. So, I mind as well rebuild those too. For this, I used a thicker guide wire, some 28 gauge magnet wire and slightly larger metal collars. In the middle, I have a piece of styrene tube that completes the waist cable replication.
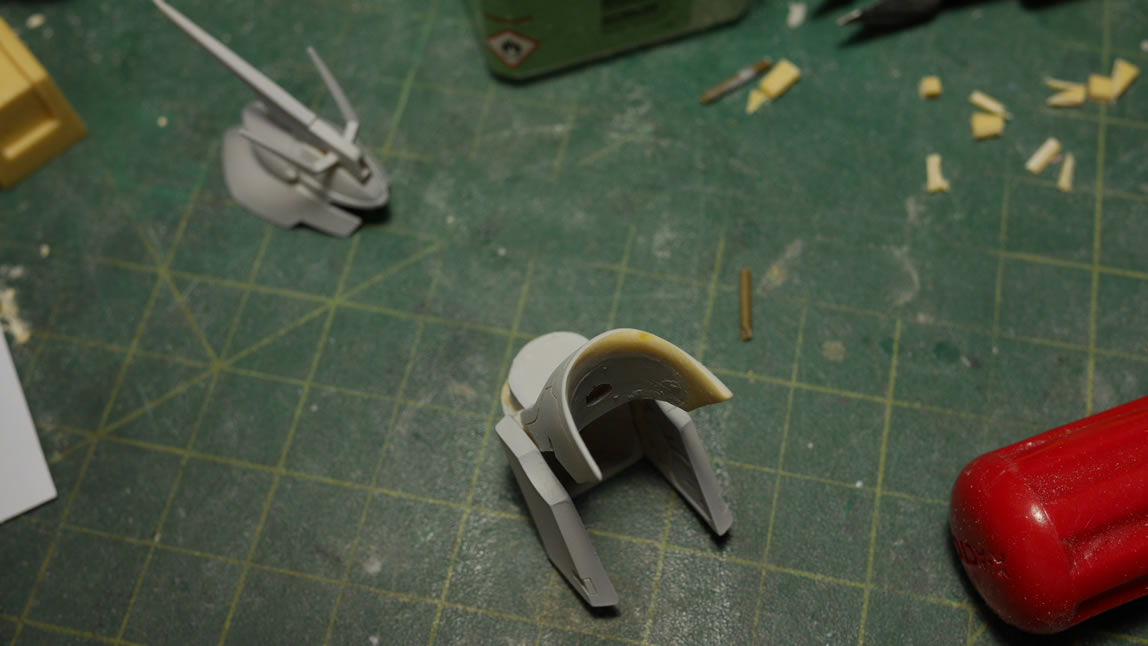
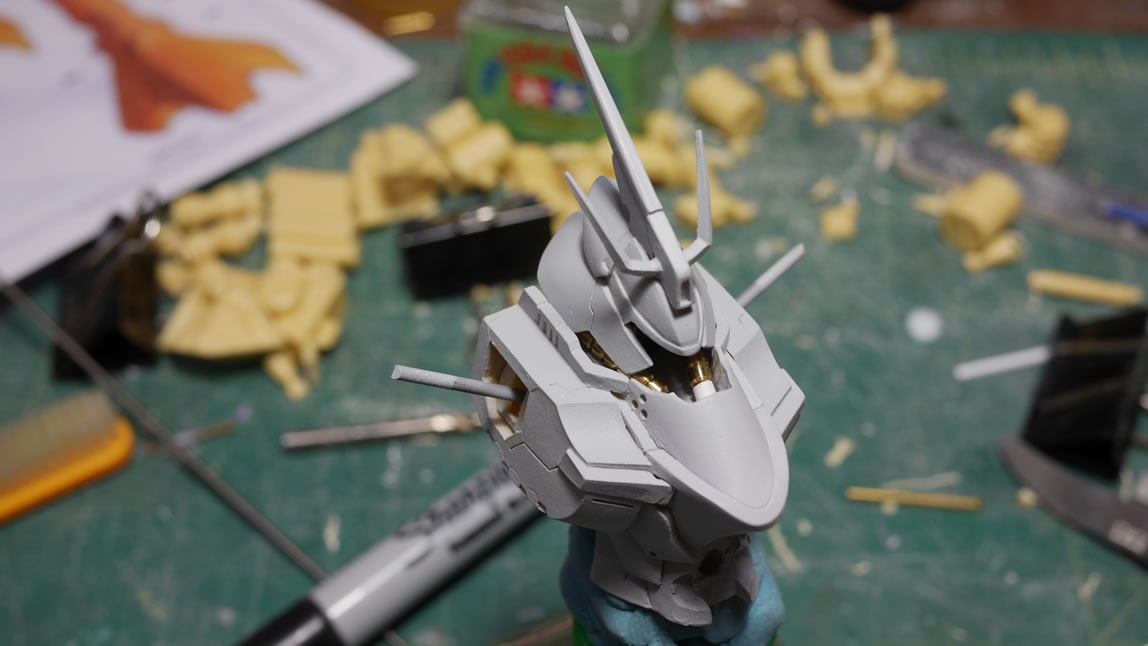
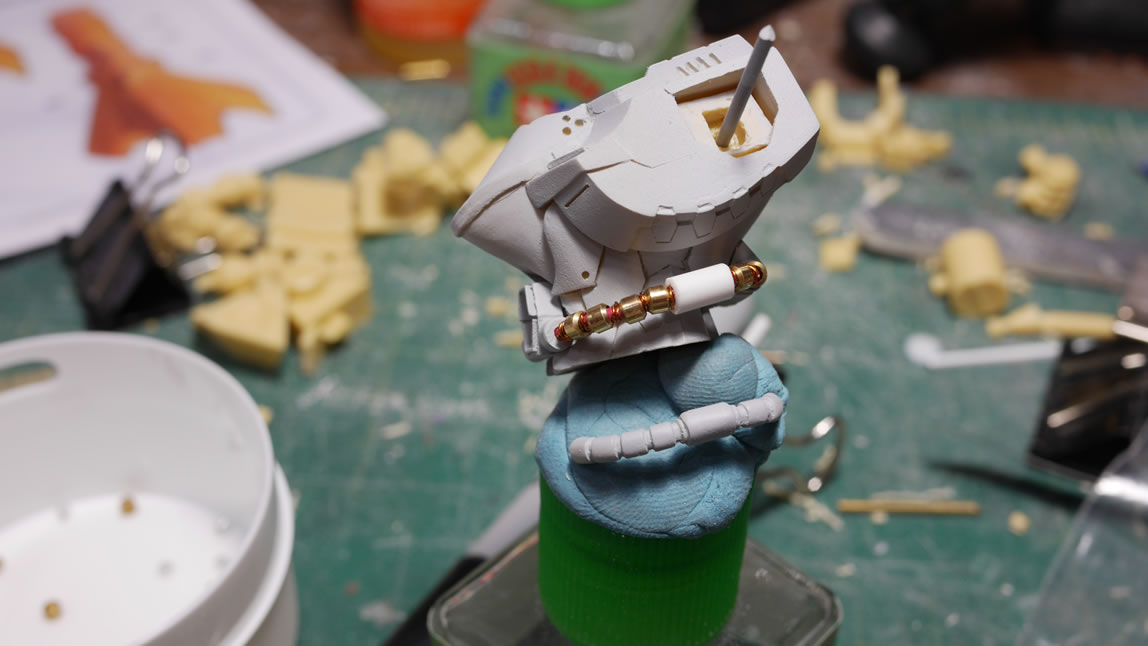
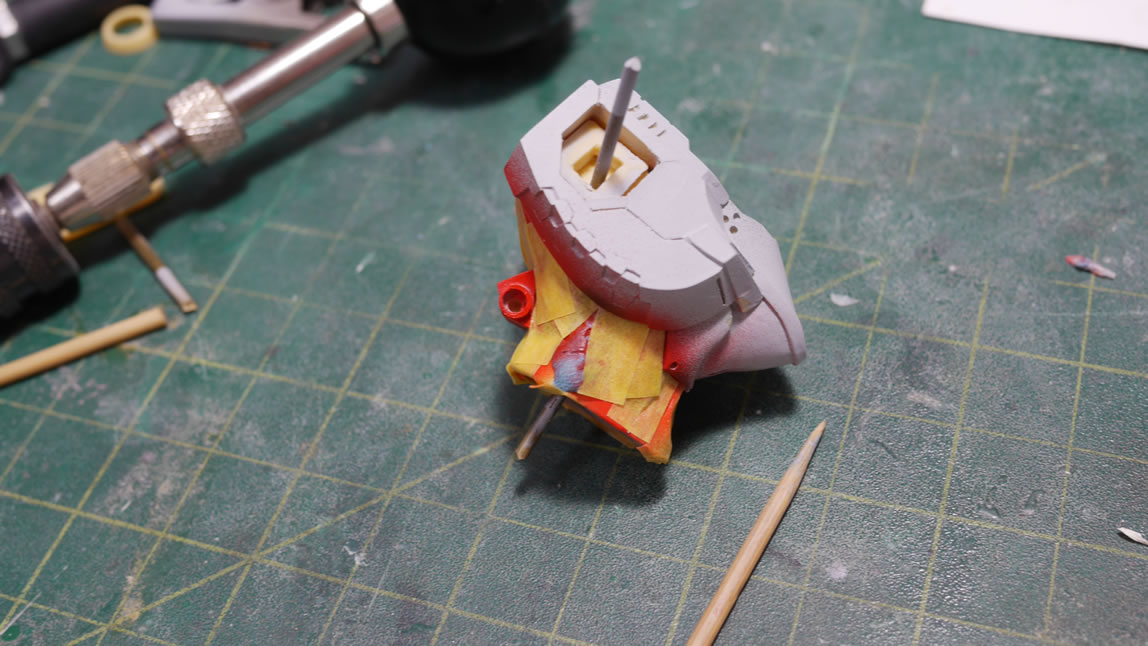
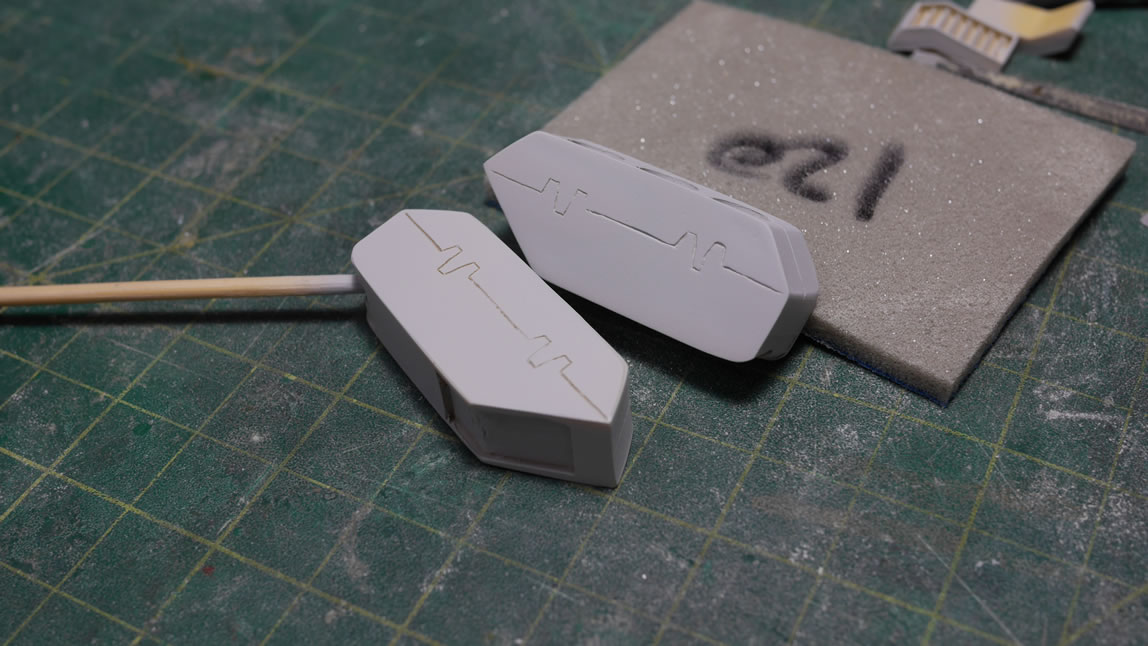
Here’s what the kit looks like with the new wasit cables. Since I’m working with metal collars, I added one to the mono eye piece. The mono eye was just a round nub of resin sticking out from the head’s inner part. I had painted the part and was going to paint the mono eye; but all the work with metal collars nudged me to try fitting a smaller collar piece over the resin nub. It worked. I pulled the collar off and then applied a small piece of aurora film, then replaced the collar and done.
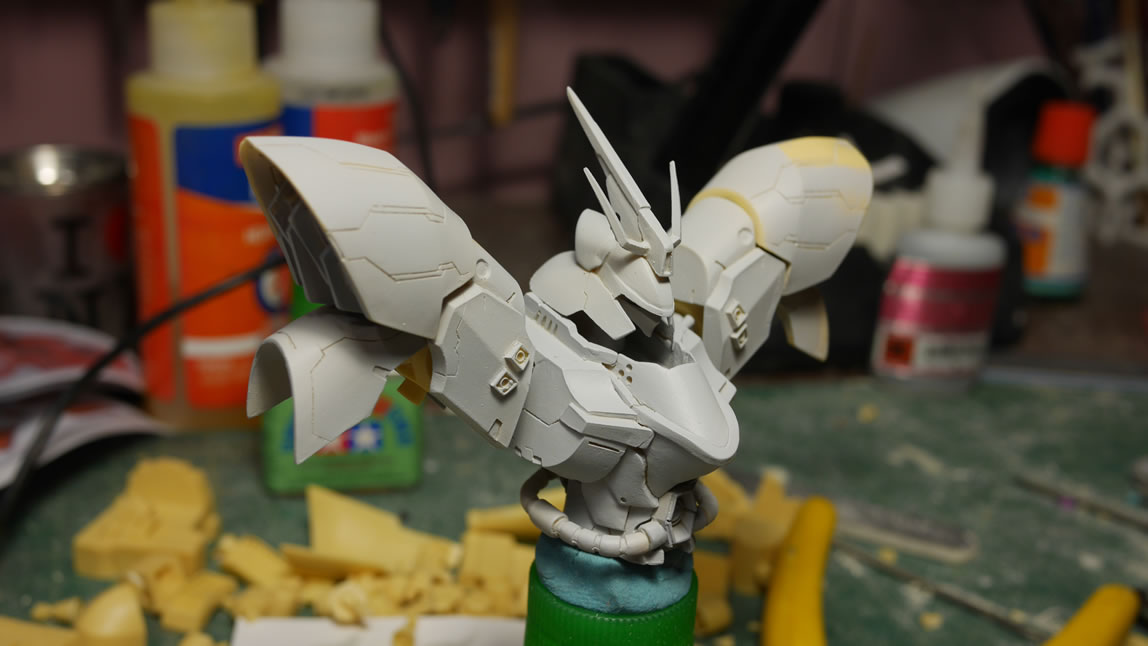
With that work done, I can return to painting. The first layers of colors are sprayed.
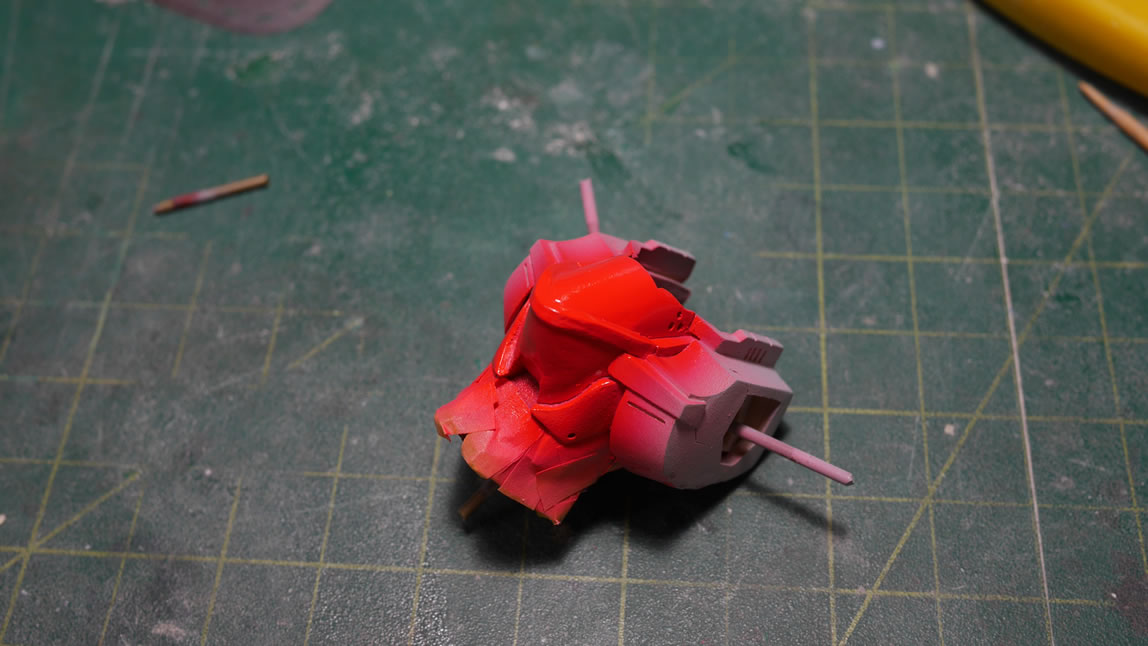
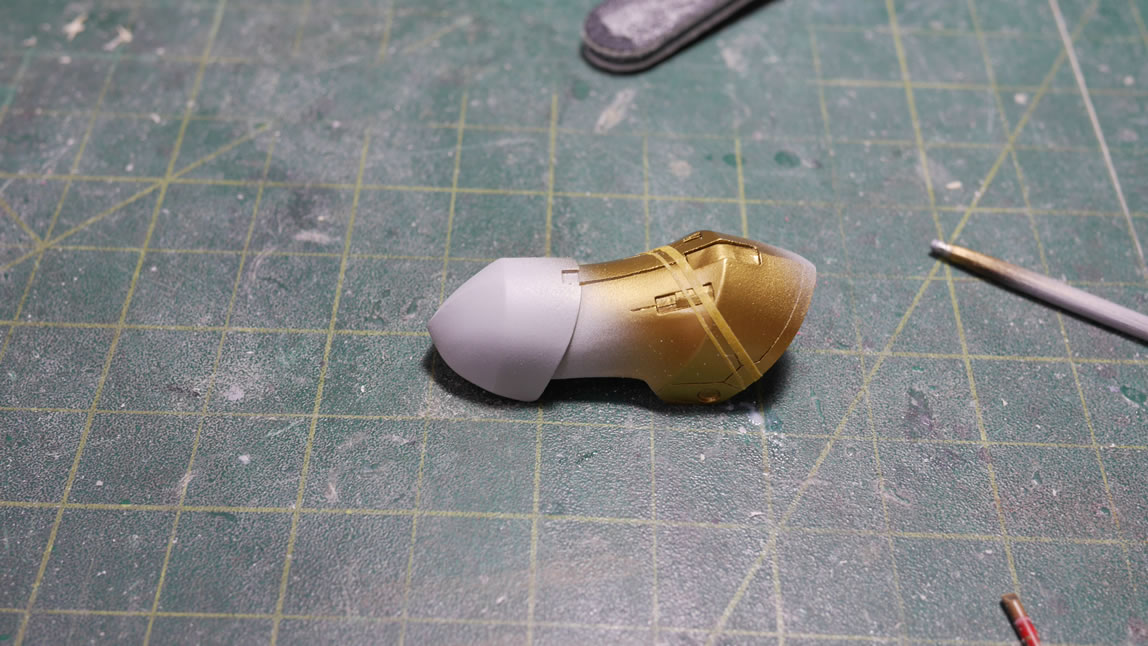
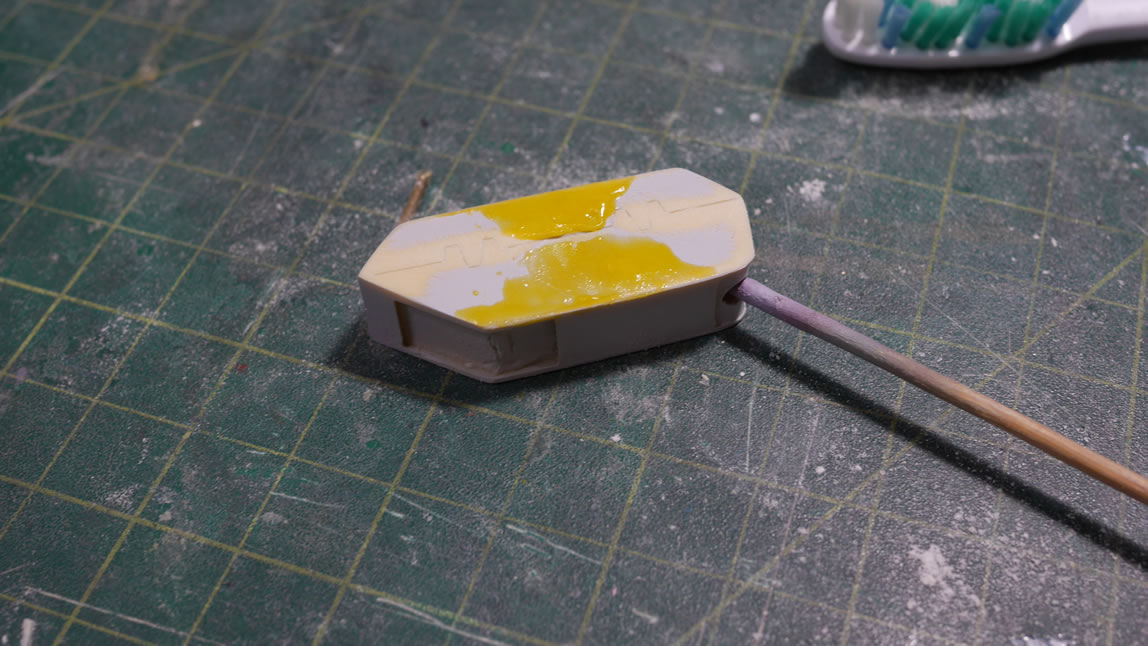
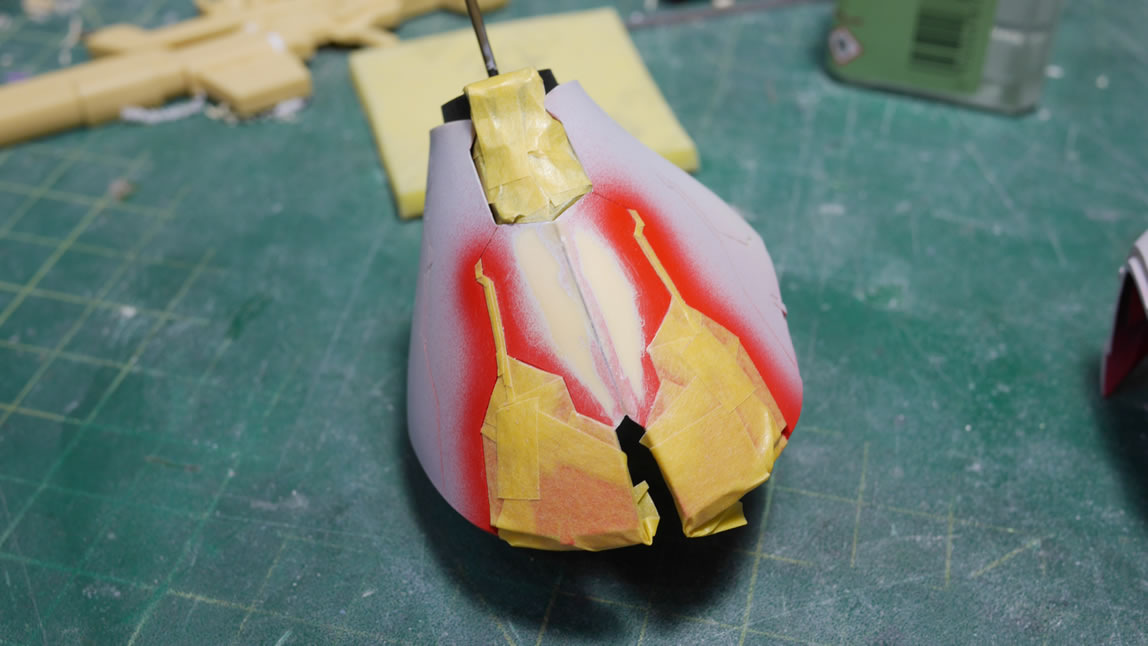
With most resin kits, there is a fair amount of masking involved. The shoulder mounts are painted with Alclad magnesium. Masked, then painted with polished aluminum and burnt iron. The center waist cable connection point is painted yellow, masked, then painted with the base Saz red, in this case, Finisher’s Lumi Red.

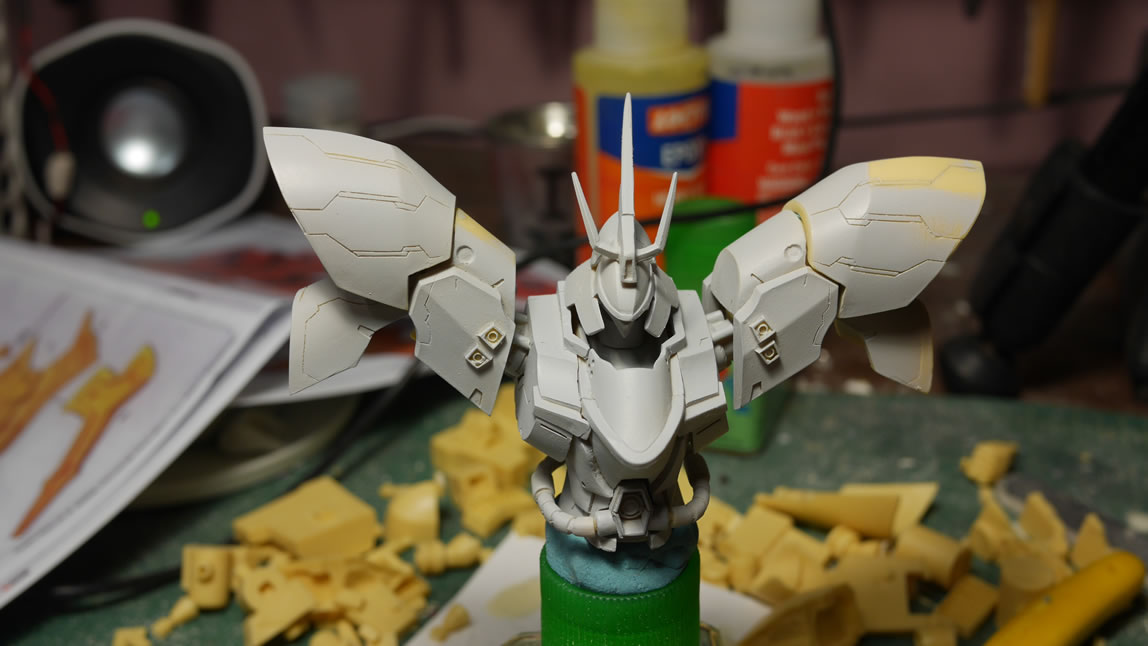
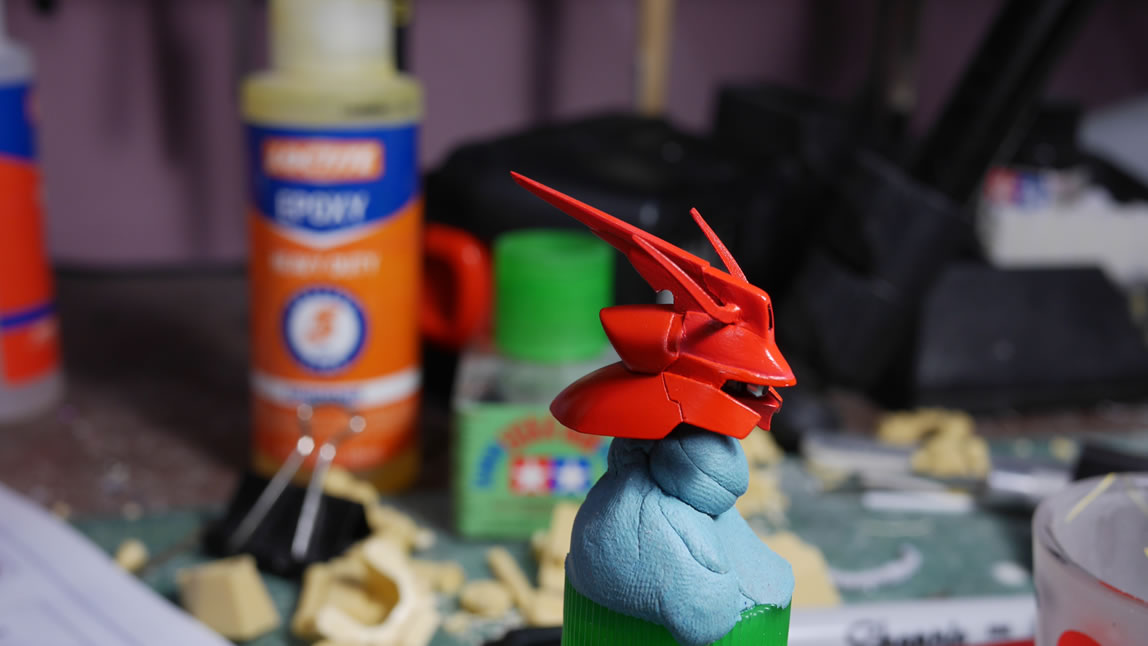
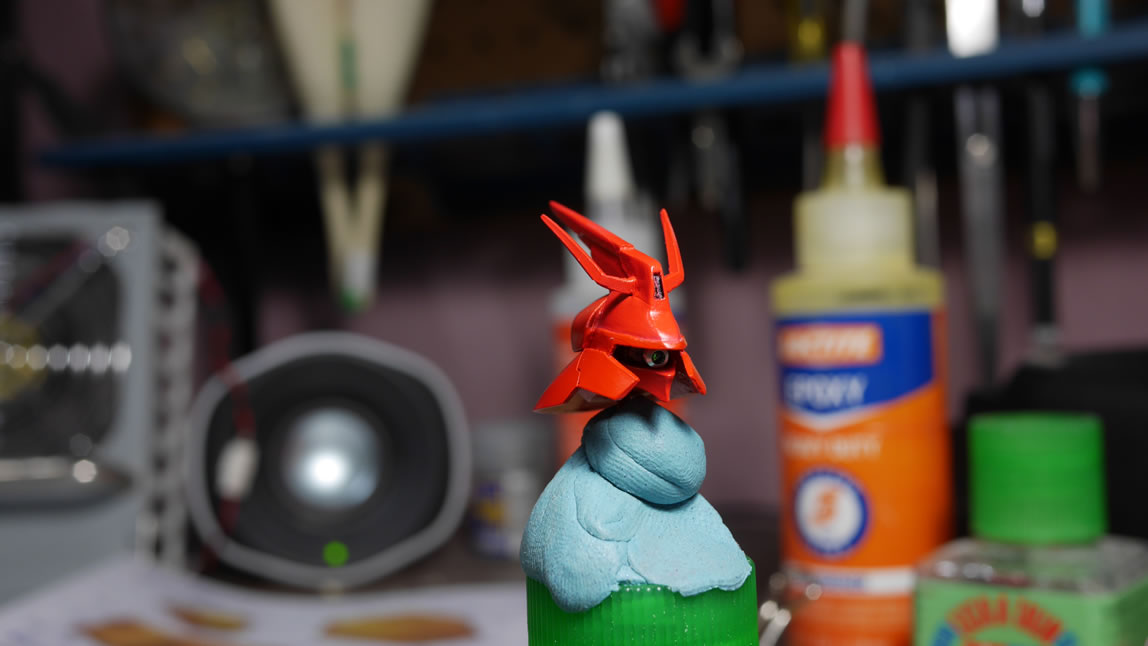
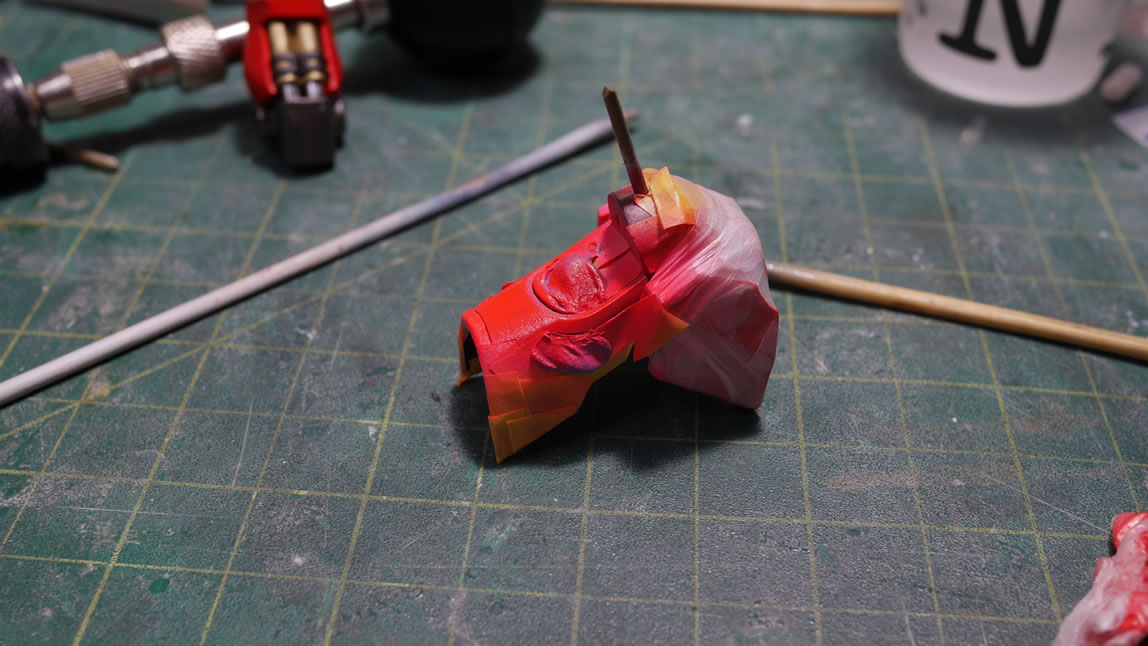
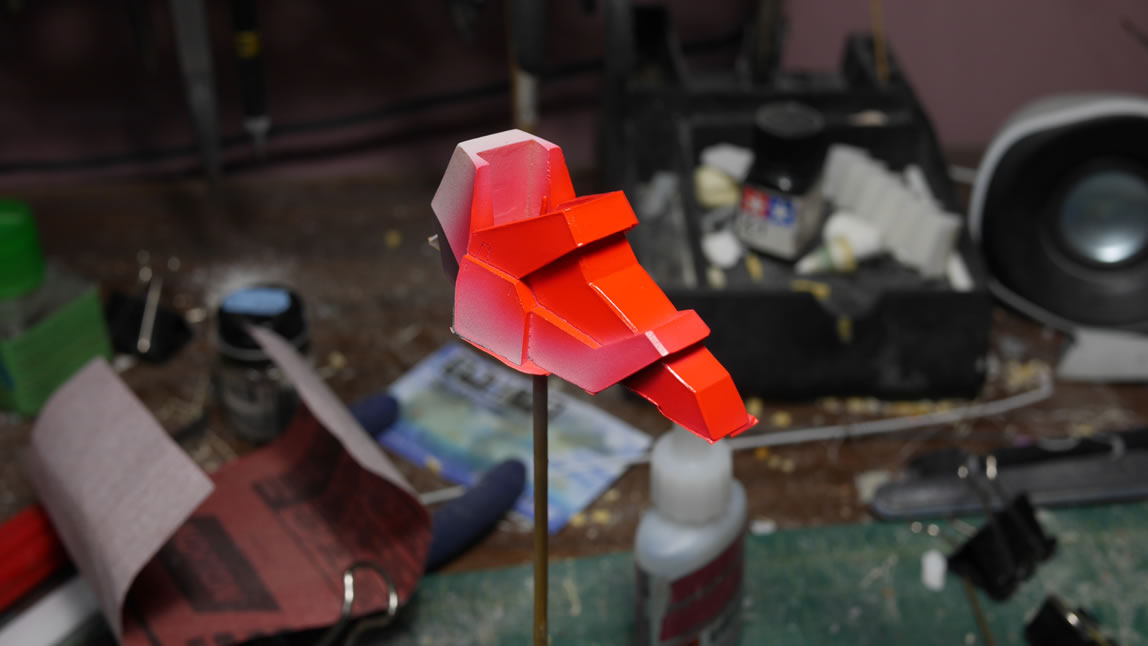
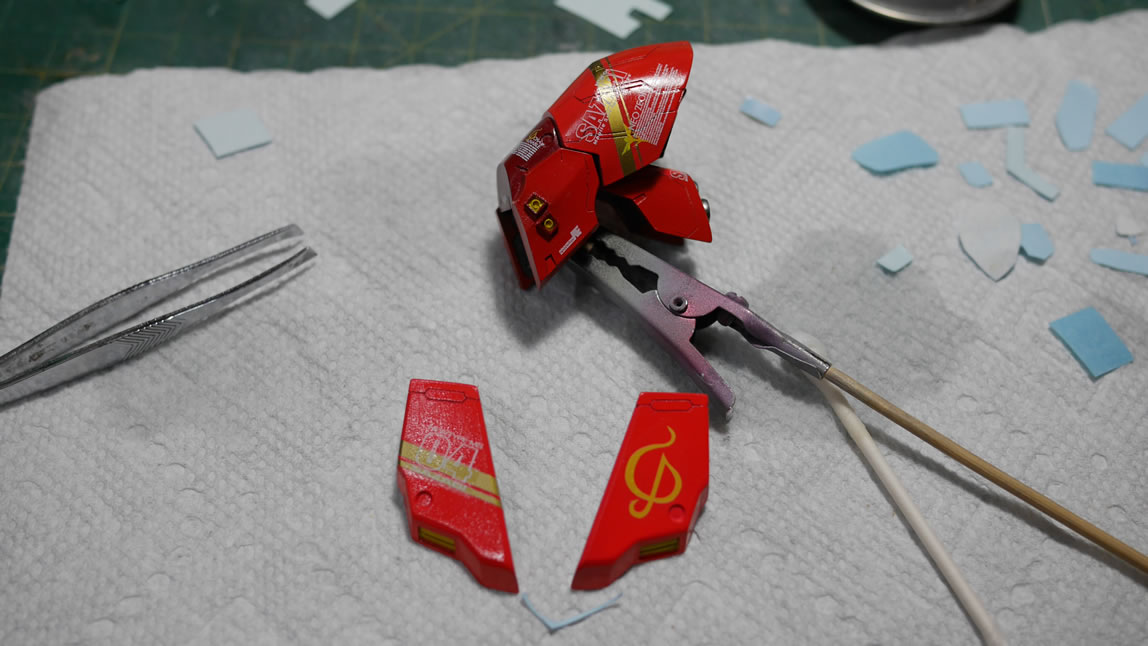
I’m following the Ver Ka’s color guide for this kit and custom mixed the lighter shade of red using Finisher’s Lumi Pink and Lumi Red. The top and face plate are painted in this lighter shade then Lumi Red for the rest of the head. And with that, the head is the first piece done – with painting at least.

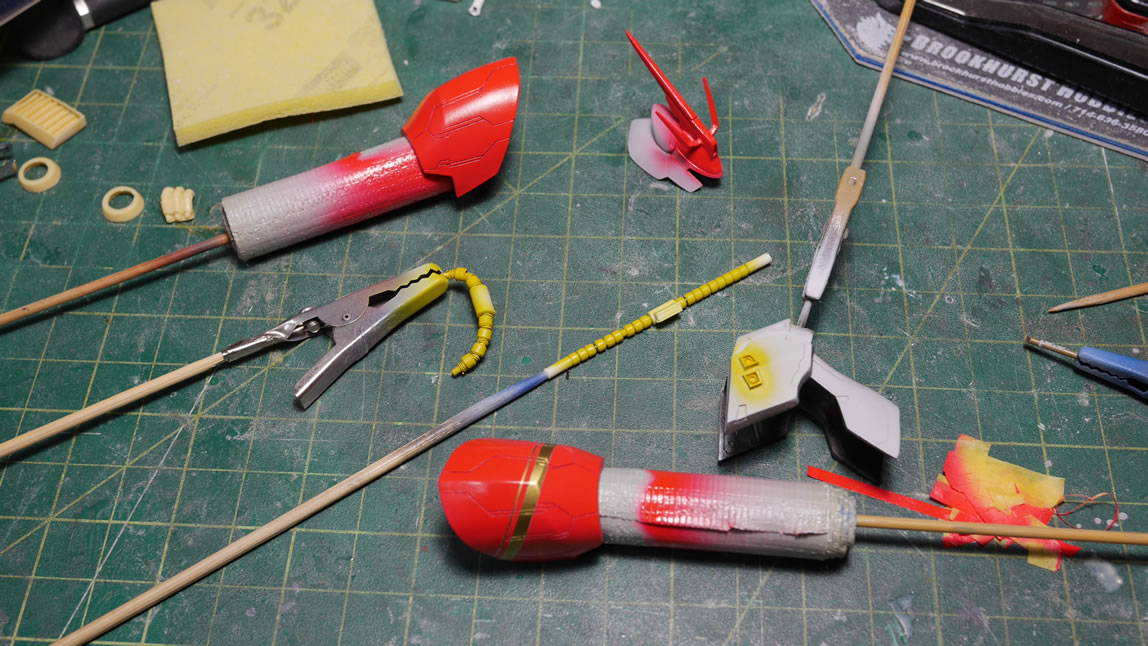
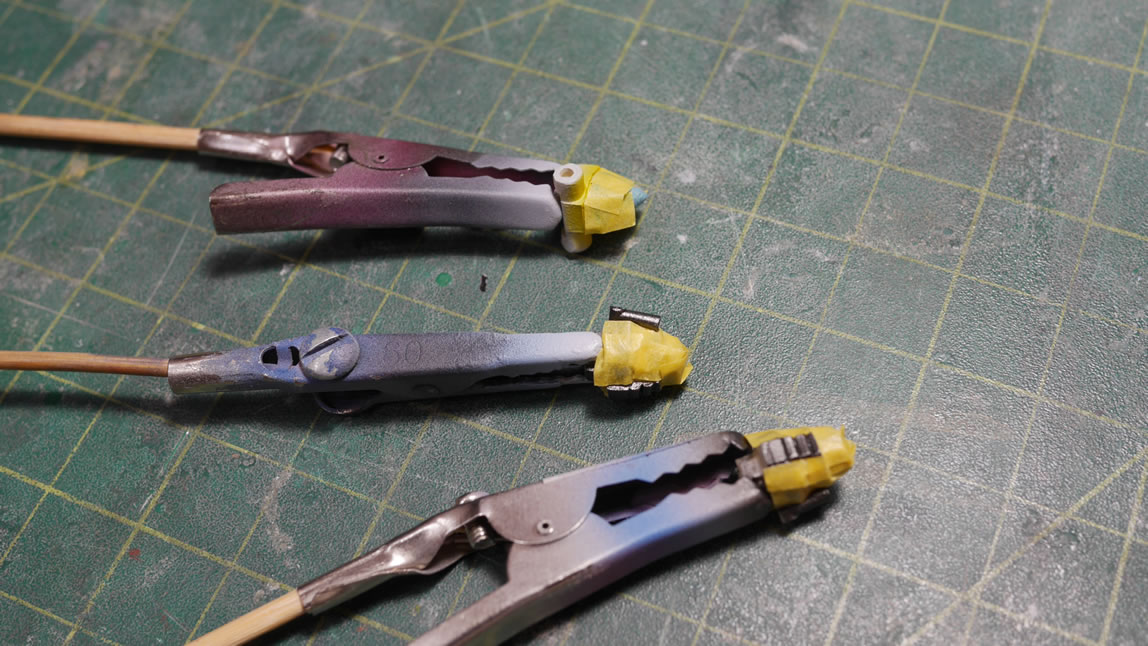
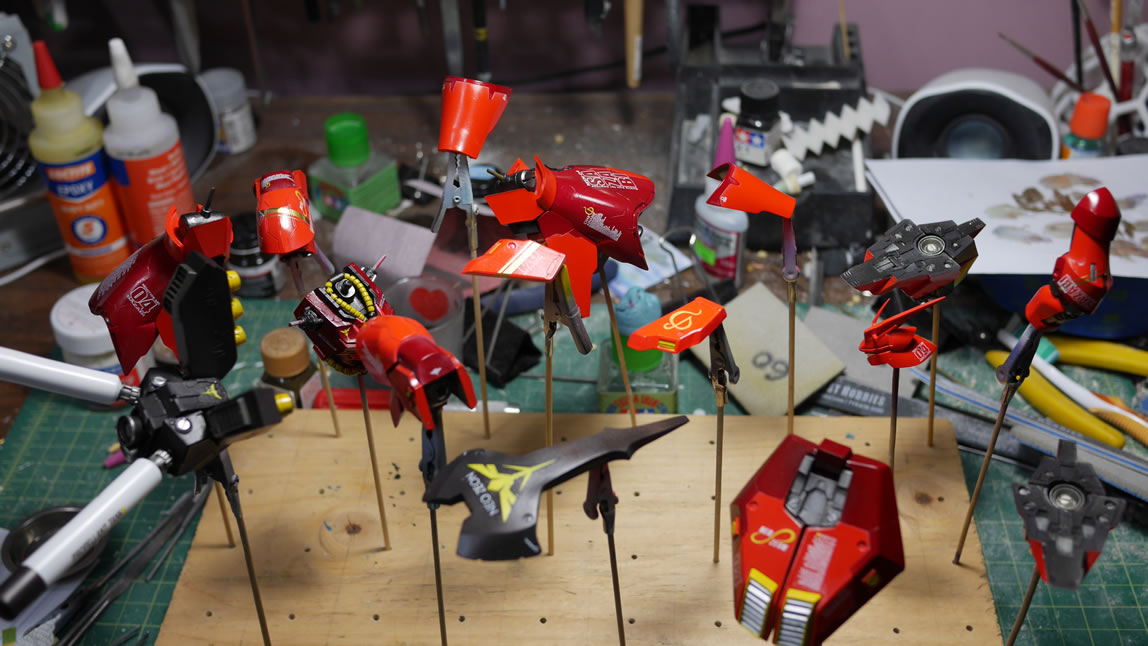
I have a block of wood with the finished painted parts and over the weekend, this started to grow considerably.
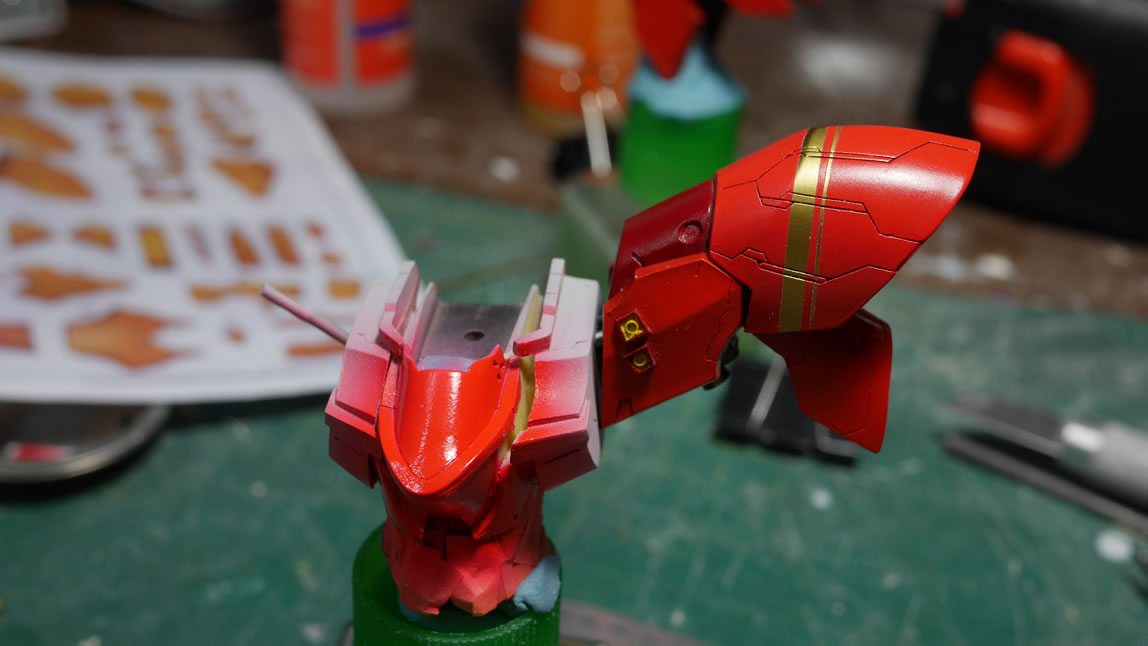
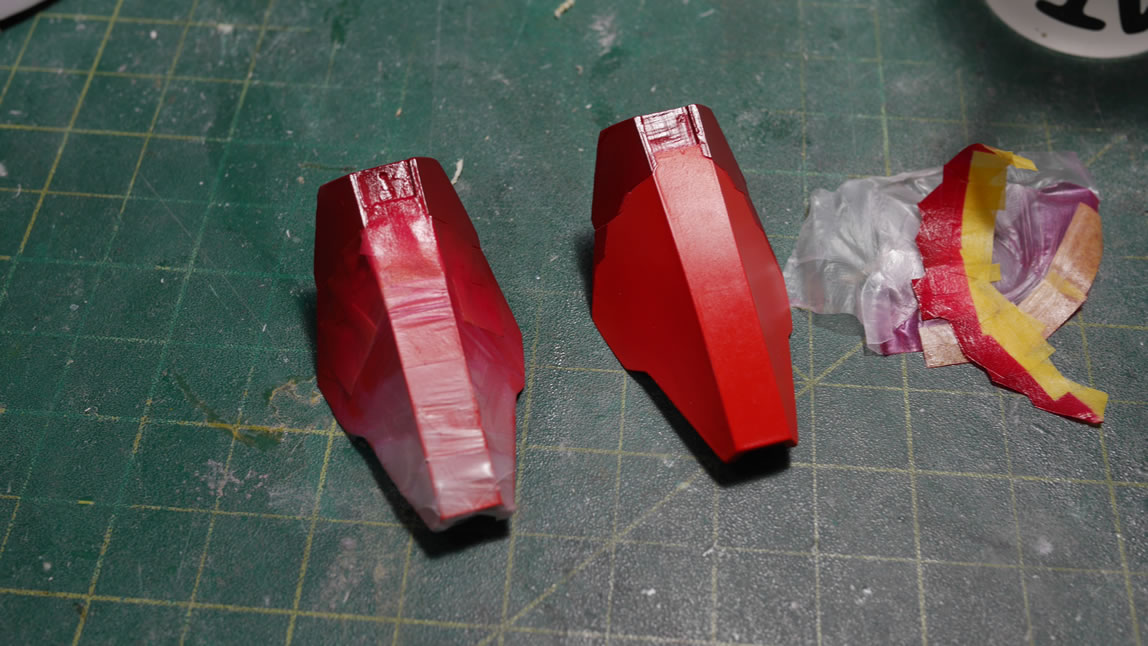
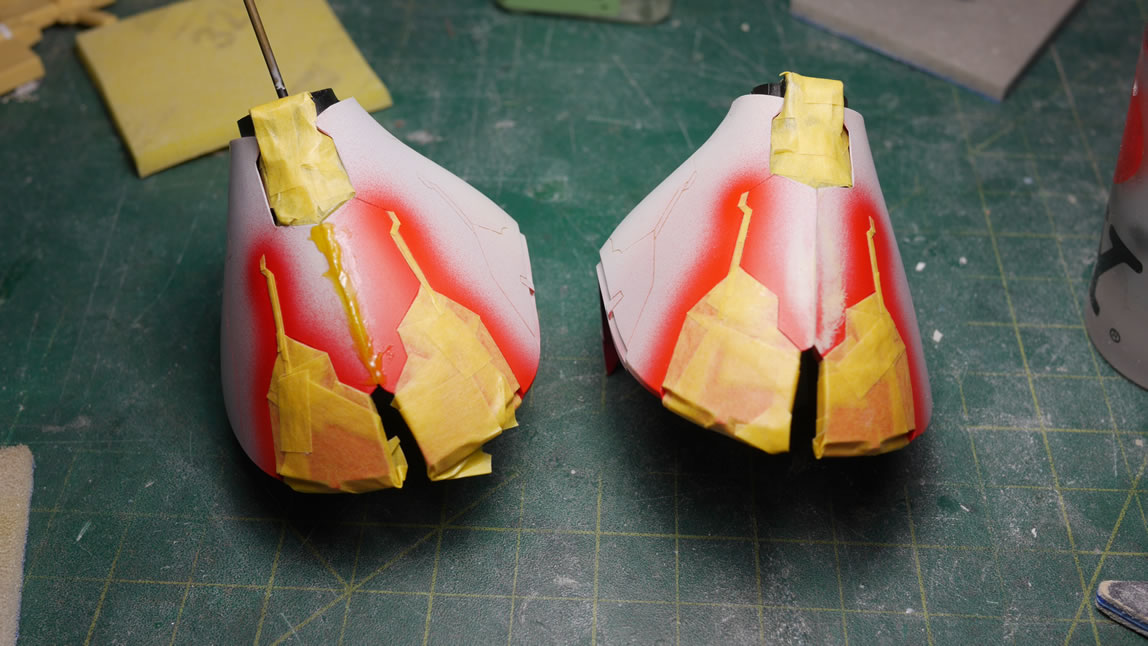
Again, with resin, there can be several levels of masking and painting. For just the shoulders. I first painted the underside details in alclad dark aluminum and the small thrusters in yellow. These areas are masked off with tamiya masking tape as well as sticky tack. The darker red is painted on the shoulder pieces as well as the areas around the small thruster using Mr Color Wine Red. This is then masked off and the Lumi red is sprayed. These areas are further masked off to spray the lighter custom mixed red.
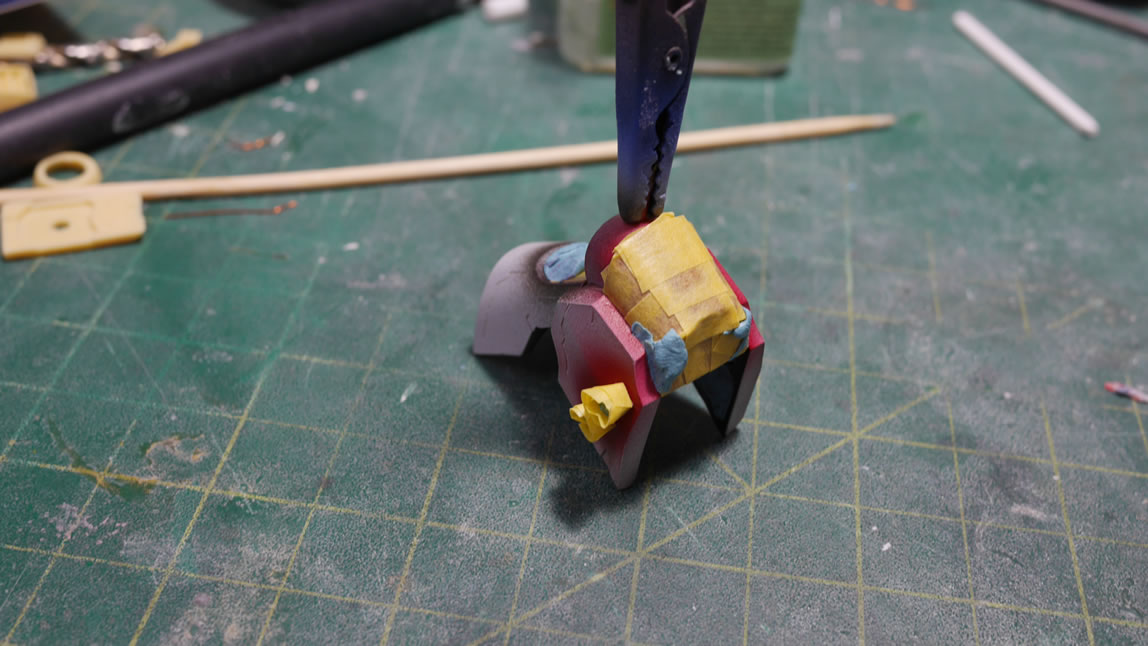
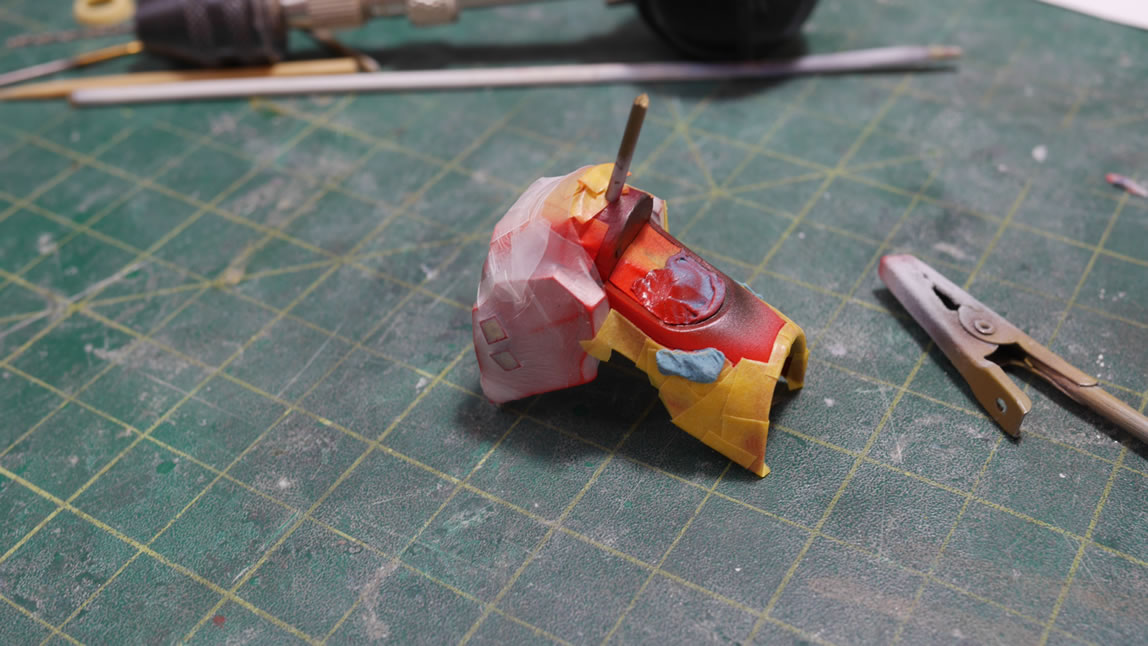
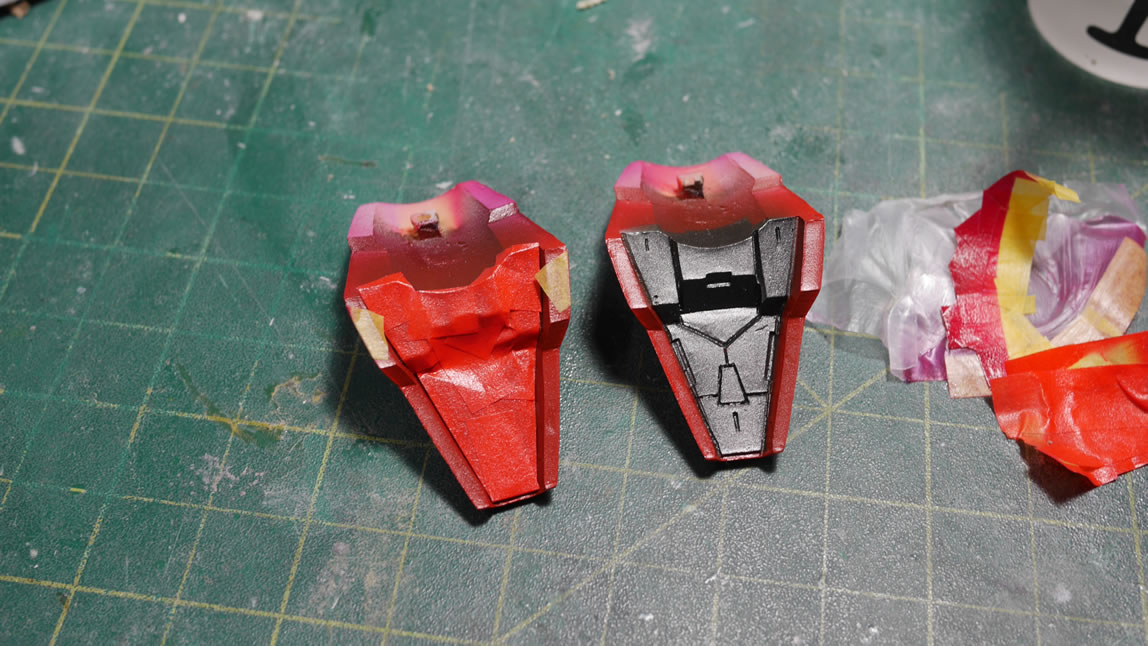
The same with the chest block. I usually paint the lowest levels first since it’s easier to mask a negative space. I painted alclad burnt iron, masked, then painted the lumi red, masked then painted the custom red. I still need to mask and paint the wine red. But the chest block is getting close to completion.
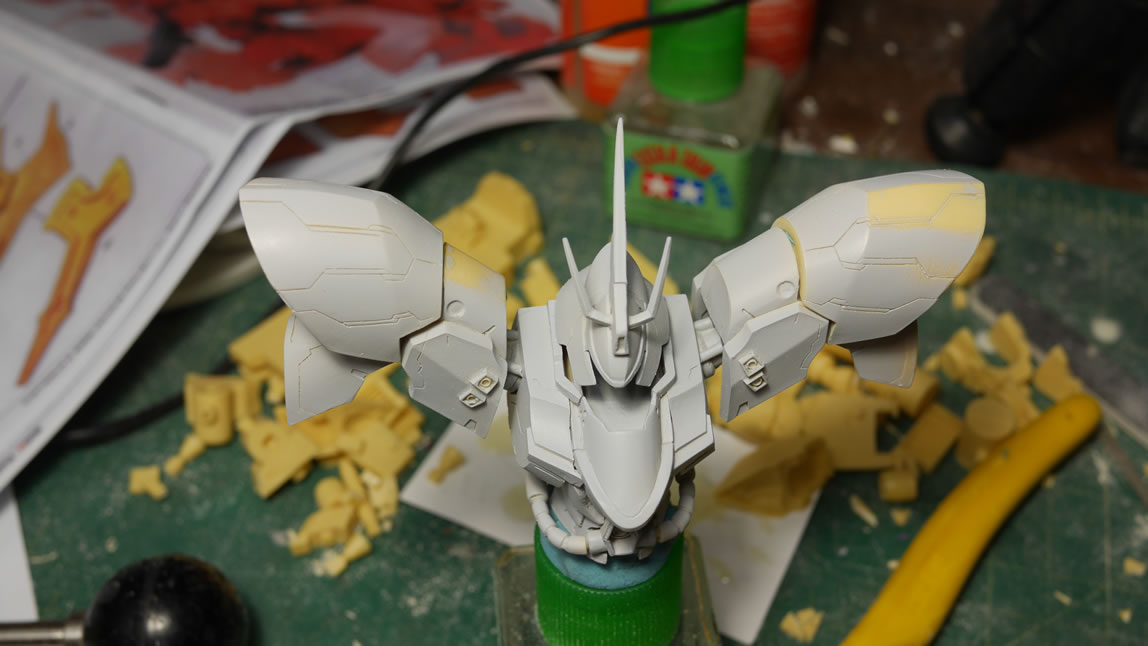
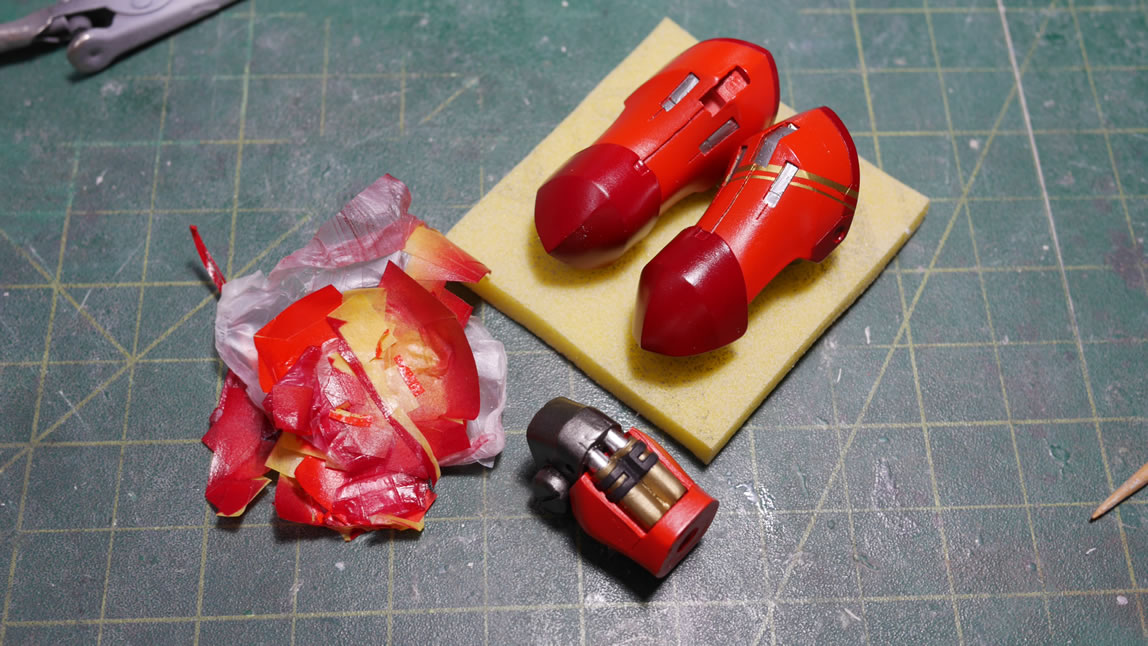
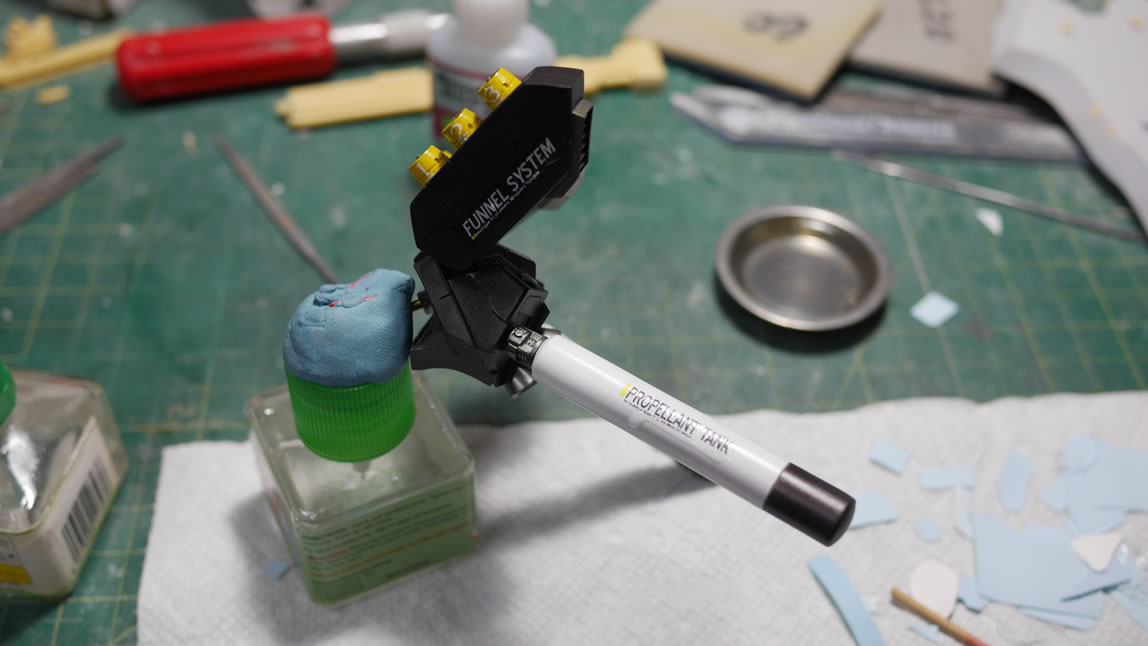
The outer shoulder is done in the same manner as the inner shoulder piece, but with the left shoulder a striping of gold just to break up things. Here’s what the sucker looks like now. In the industrial cleaner tub, I have the rest of the backpack parts; the funnels, thrusters, and fuel tanks. Still in bags are the leg pieces. So there’s still quite a bit of work, but breaking it down into sections is working to keep interest alive.
Another blog post will probably come after the legs are done and I’m into the clear coats, decals, and panel lines.
November 7, 2016: And we’re done…. well I just finished this little bugger! Not the best work, but it was fun to get a fairly quick build done. Last time I updated was right before a business trip to Toronto; so I’ve just been focused on getting the damn thing done. This would have been done a little bit sooner, but we recently added another corgi to the army. But his cuteness and all that happy jazz will slip in here and there so that the girls reading this over their guy’s monitors can all scream kawaii!!!! So there will be little corg interruption throughout the rest of this post.
There was quite a bit of work on the Saz since the last update. I’ve been doing more pictorial updates from the potato camera posted up on our TGG FB page so the little corgi addition is really at fault for the lack of a proper intermediate update. But here it is finally, and it’s also done! SCGMC, here we come!

Now this handsome fellow is Bob the Corgi. The site is basically a skeleton for the little bugger as we watch him grow and annoy the shit out of Hugo and Ken. He was born September 1st and we picked him up on Oct 27; which coincidentally is Hugo’s birthday. I don’t think he was overly happy with his 13th year birthday present.

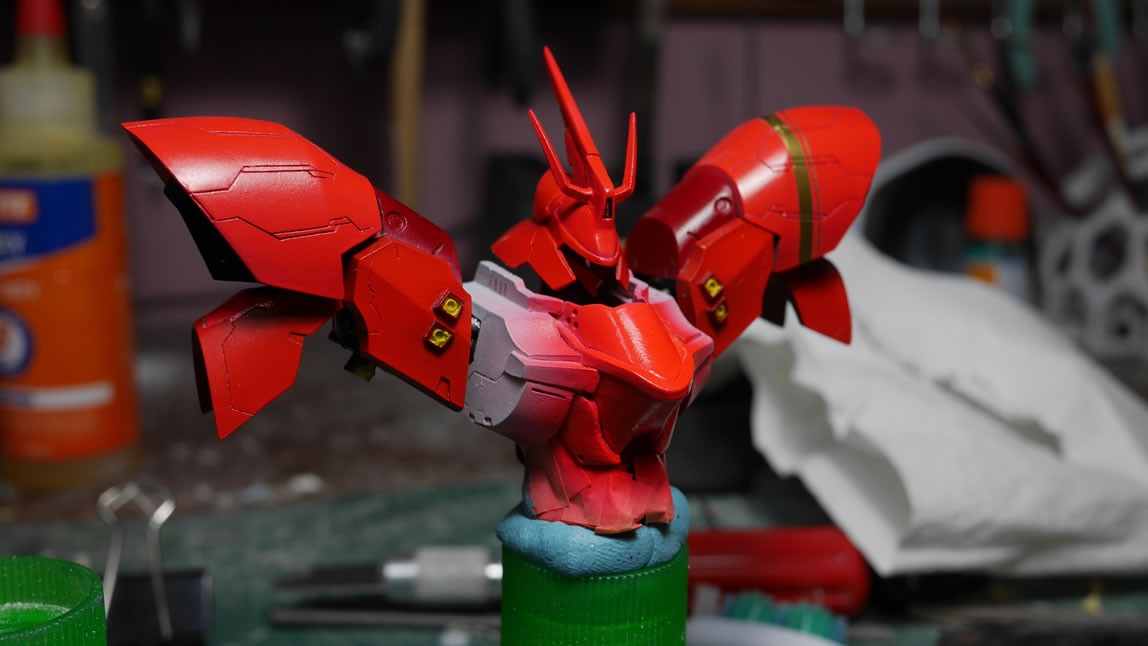
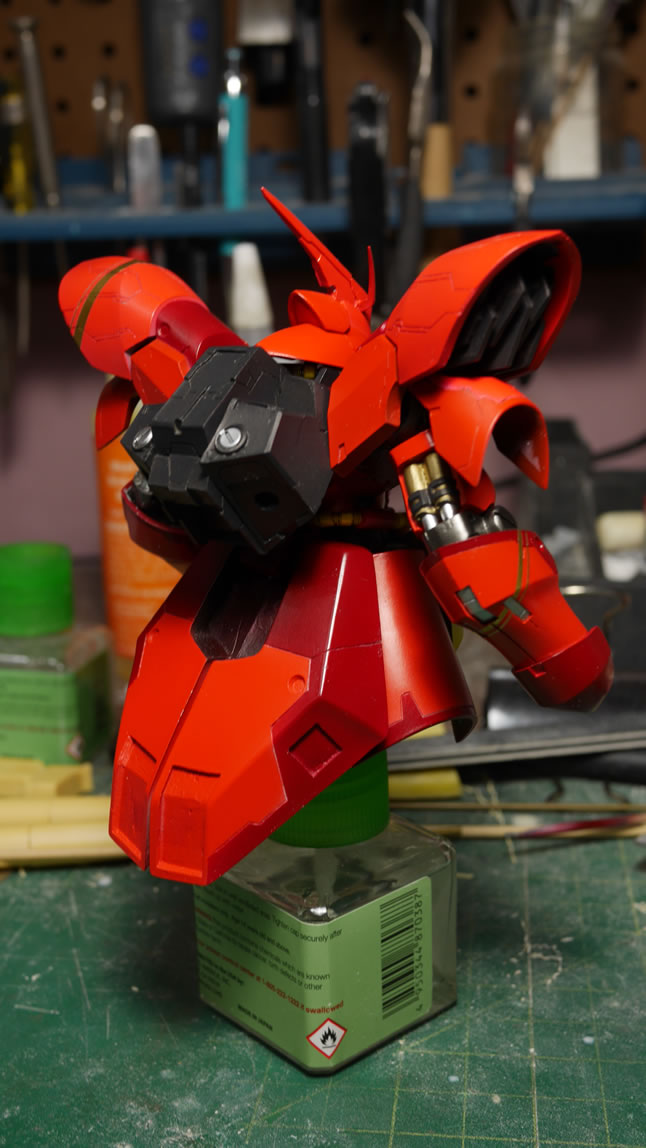
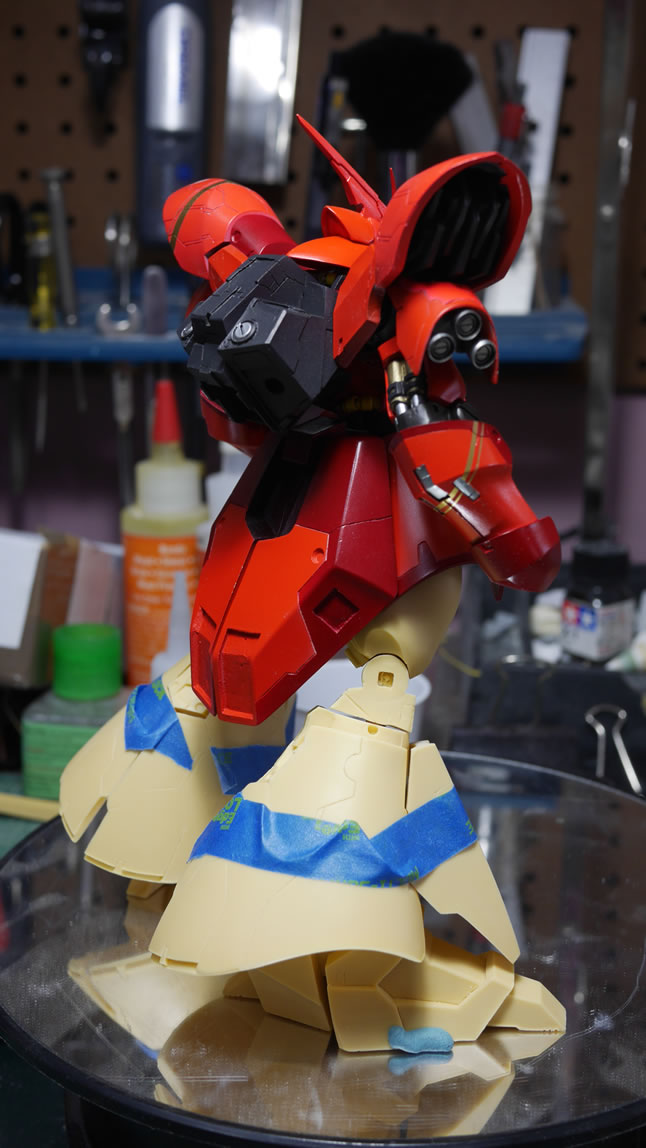
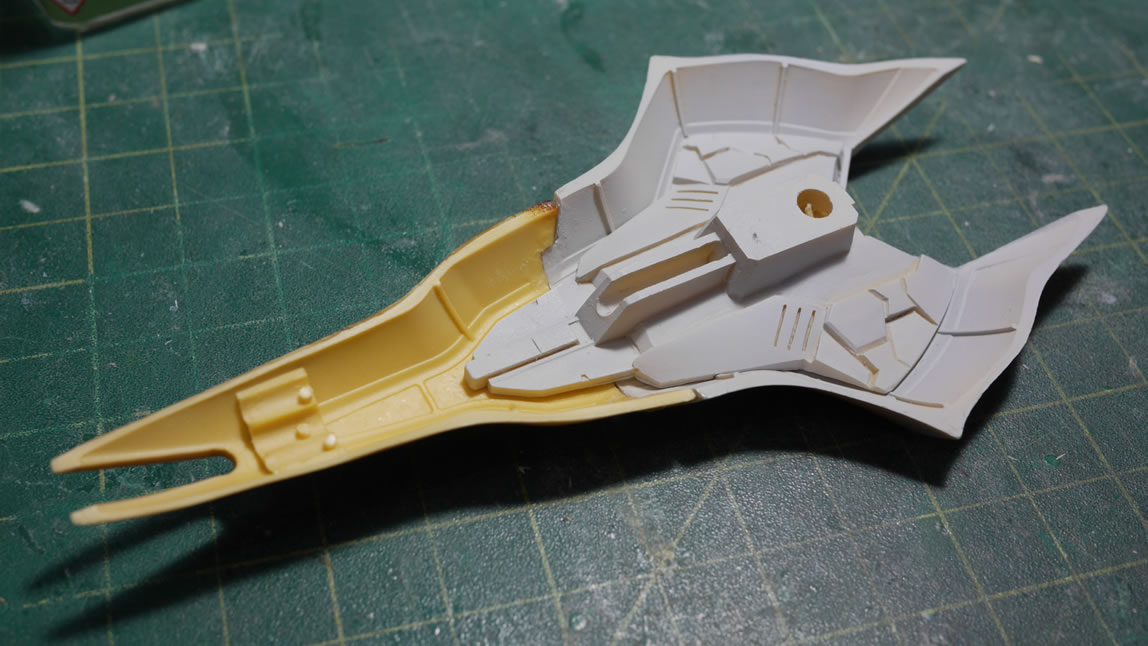
Back to our regularly scheduled update post. Last I left off, I was in the middle of the paint mask paint mask loop for the upper torso. Once done with the prime-sand-putty loop; I sprayed some Finisher’s hot gold, masked that, then sprayed on the reds. Other than the striping, I’m using the color scheme from the Ver Ka MG Saz. I liked the color separation and I didn’t want to do anything fancy; as there is already enough masking involved in this damn kit. The various painted bits are also being glued together. The resin kit is designed for a fixed pose as most joint areas are molded for one fit. There is a little bit of wiggle room, but not much. I’m altogether too lazy to resculpt and mod things for a different pose. Hell, I didn’t even test fit – which kind of comes back to bite me in the ass later.
Since most of the base painting for the upper torso is done; I put the parts together for a quick photo. This also serves as a reminder that progress is happening and keeps the motivation to keep building. The skirts still need to be painted, but there’s the extra step of the thruster and the undersides that prolonged things. And I needed to rebuild part of the thruster when I sanded off the rather thin piece of resin there. A quick fix with light curing putty, but it still put it out of sync with the rest of the upper torso.
Gratuitous Bob the corgi butt to butt(Hugo’s butt) shot just to keep the cuteness factor on this post up. The little bastard (bob) has HUGE paws for his size, so this guy isn’t going to stay small for long. It just adorable to see the size of his 8 week old butt against the cranky old 13 year old butt.

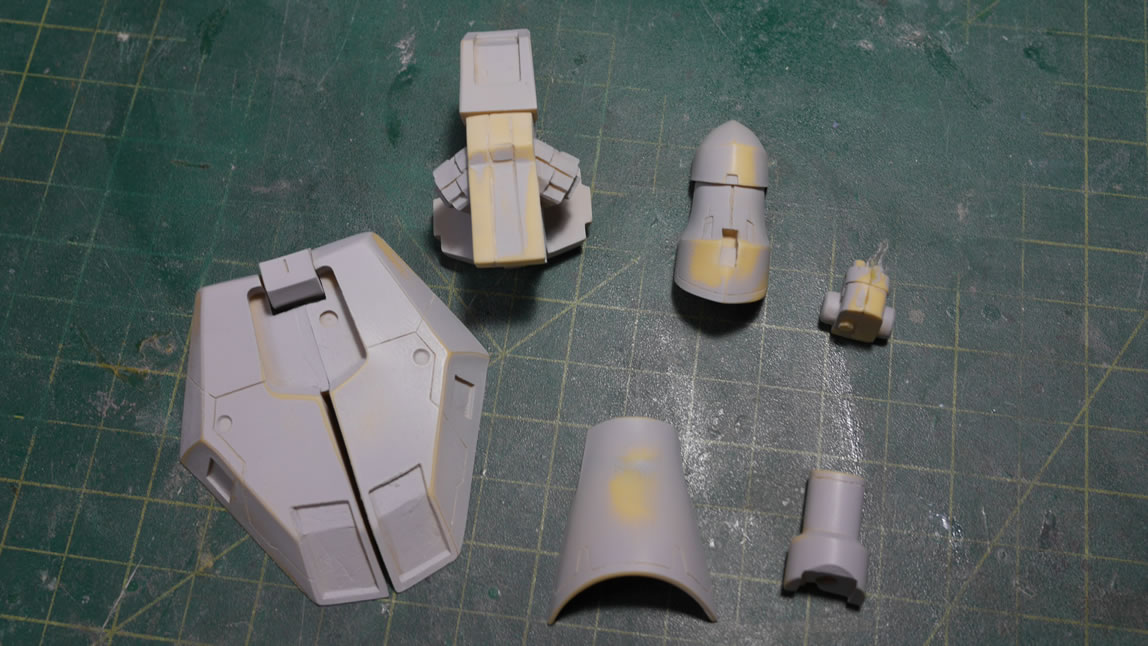
Fuel tanks, they came in two parts, so those needed to be glued and straightened. The fun thing about working with resin is the clipping and sanding of excess flash. And so this sanding process invariably creates gaps when the two parts are fit together. And there’s the issue of aligning the two parts so that are straight when assembled. The issue is further compounded by the actual fit. The guide holes align almost correctly; so those were scrapped and I just drilled in a pin got it aligned the best I could, then glued it together with some epoxy glue for tensile strength. Once the glue set, I slapped on some light curing putty; and did a few sand/prime/putty/sand loops to get it done.
The fuel tanks were not THAT bad. I’ve yet to show the funnel pod. Below is the before and after picture; both primed so that the issue at hand is much easier to see. There’s a frigging dent in the damn the funnel pod! This happens with resin. Sometimes, this happens with your overengineered bandai plastic. There’s stress, uncured plastic, etc. The resin was probably not fully cured when this part was handled, so there’s a damn dent. But it got fixed because it is a pretty obvious issue.
The first step is to just slap down some putty. I’m using light curing putty for speed. A small layer is applied, cured, then sanded. Another small layer is applied, cured, and sanded. Once it starts to look half way decent; it’s primed. The primed part will show additional mistakes. The panel lines are re-scribed since the dent ran across that detail. But after a few loops of putty, prime, sand; the dent is filled, panel lines scribed in and done.
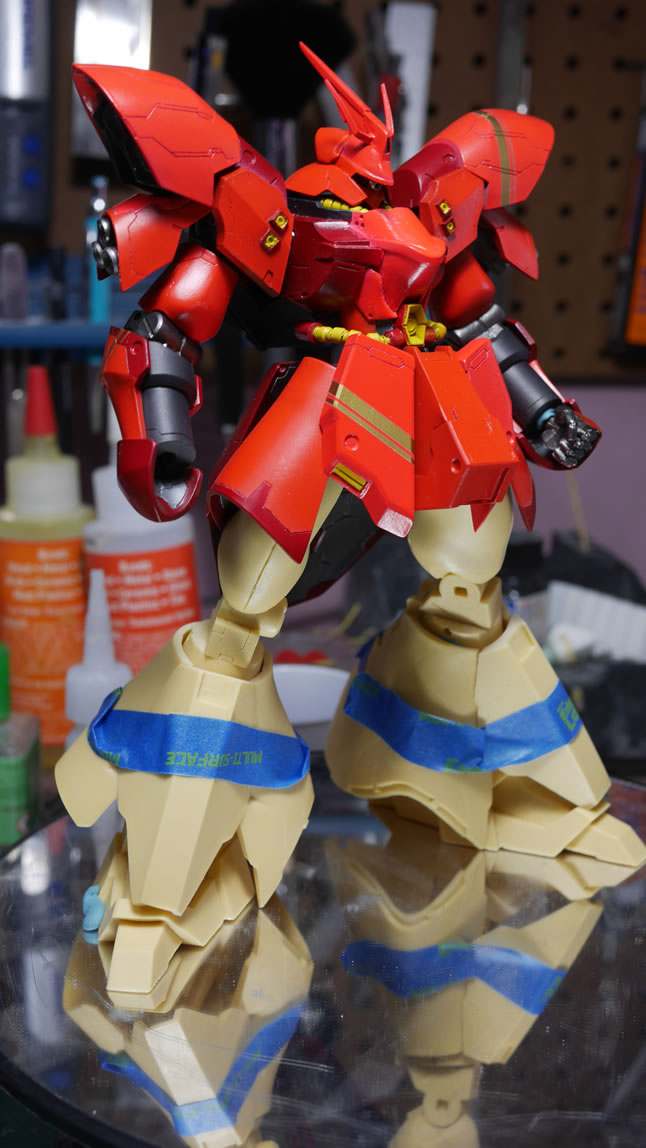
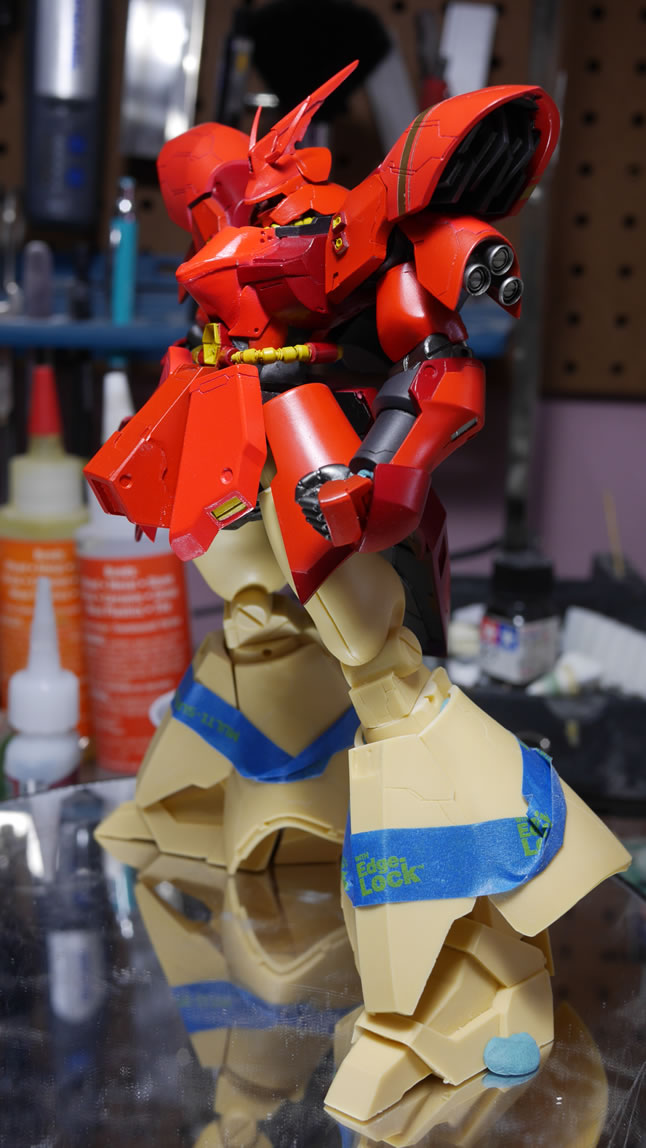
At this point, I still have a little less than half the kit in bare resin. The legs, the gun, and the shield. Earlier I mentioned getting bit in the ass. Well, while fitting the legs together, I found some issues; it wasn’t standing quite right and looked positionally odd. I also discover much later, after I’ve gotten the legs painted and such, that I had the wrong legs on the wrong sides. Looking at the pictures below; those familiar with the Saz will see the wrongness in the legs. But that got resolved later. The thing to take from this is that you should ALWAYS test fit and not just jump into building the damn kit. I was all excited about my section by section build, that I completely skipped this step.
But it’s nice to see that I have half my kit painted and half bare resin. Time to remedy that.
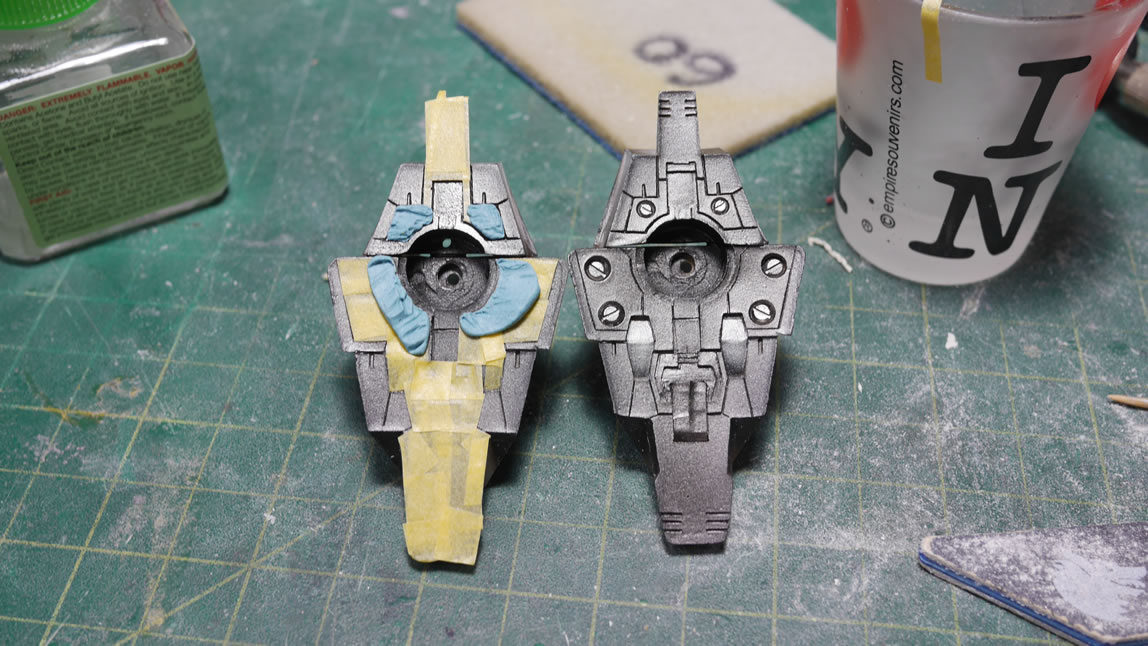
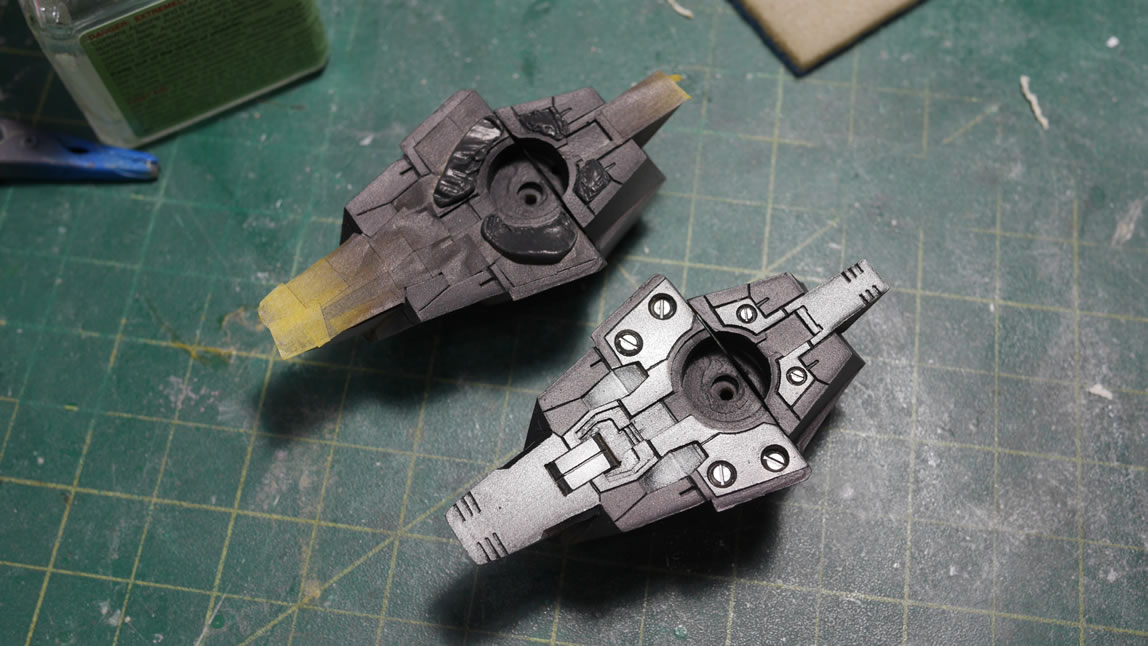
A return call to the prime/sand/putty/sand loop. And after breaking out of that recursion, some actual metallic painting for the internals. Which brings up an interesting question. Why bother detailing the inner legs, under skirts, and all the thrusters if no one is going to be able to see them when the kit is finally built and standing on a table. The answer: a mirrored upskirt shot! But more on that later.
Now, for another Bob interruption. I can never get tired of watching corgi puppies running around. This is from his first actual day at the house. He’s 8 weeks old, and has discovered how to climb stairs. Yeah, this guy is showing signs of decent intelligence. We’re going to be in for some trouble. Enjoy the video!
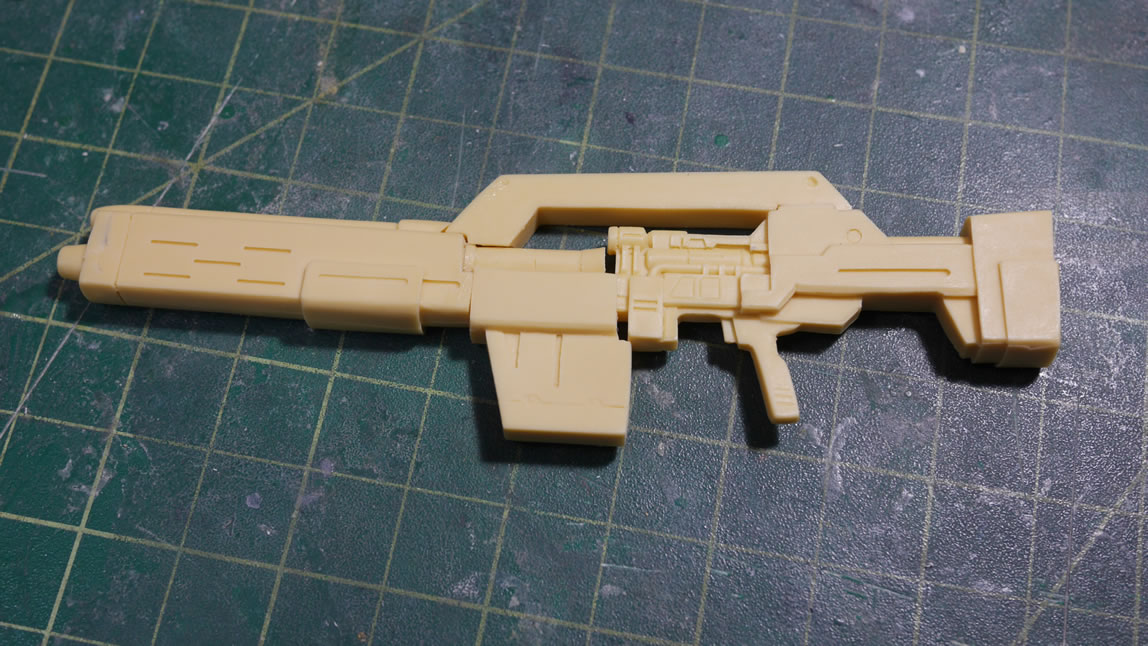
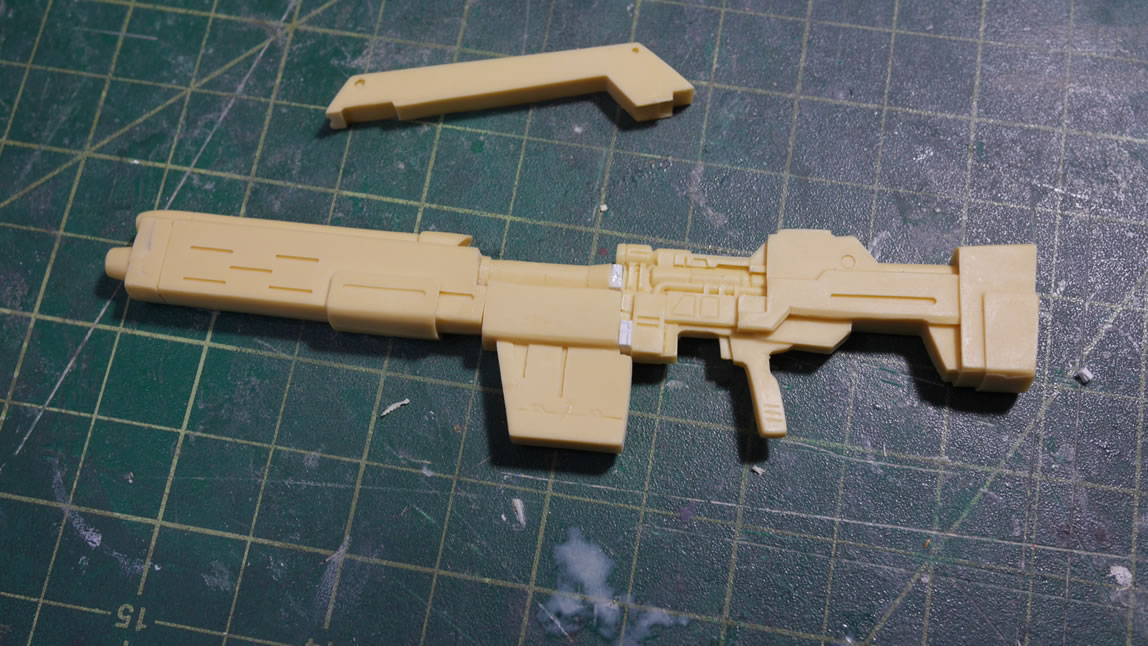
Back to the build progression. The legs are being painted and curing so time to focus on the weapons. The gun is in several parts, so this is what happens when you get overzealous with the sanding… you need to fill. TO fix some fit issues and make sure the damn gun is aligned, I glued in some styrene spacers. The styrene is a base structure to build additional layers of putty. The top part of the gun is left off to make it easier to sand and fill the main gun piece.
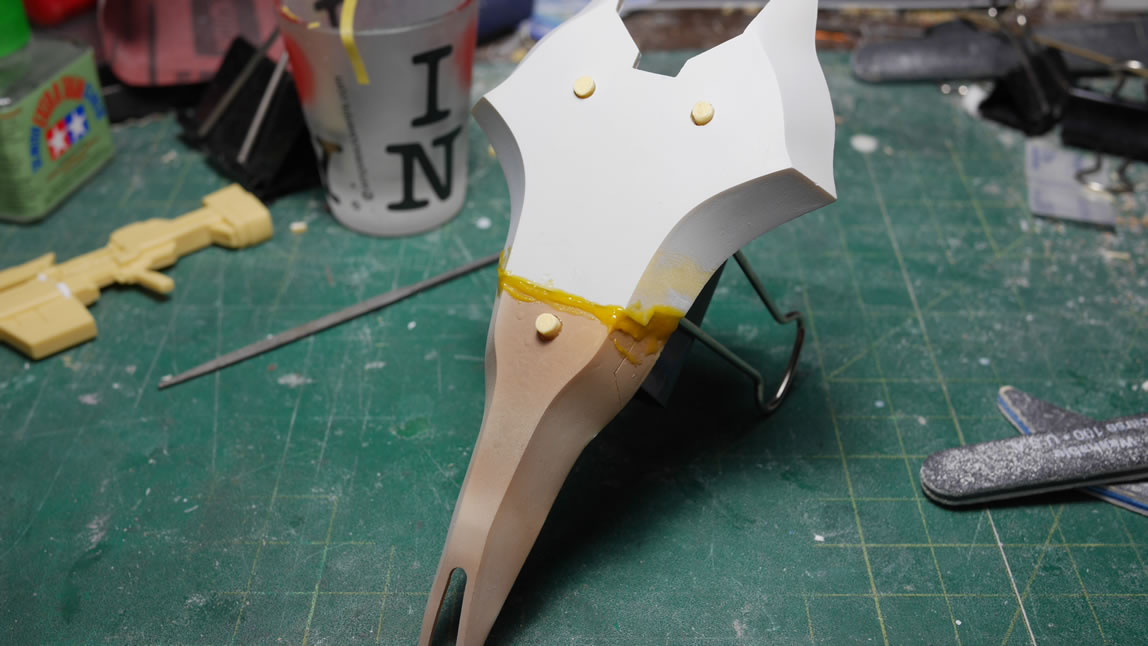
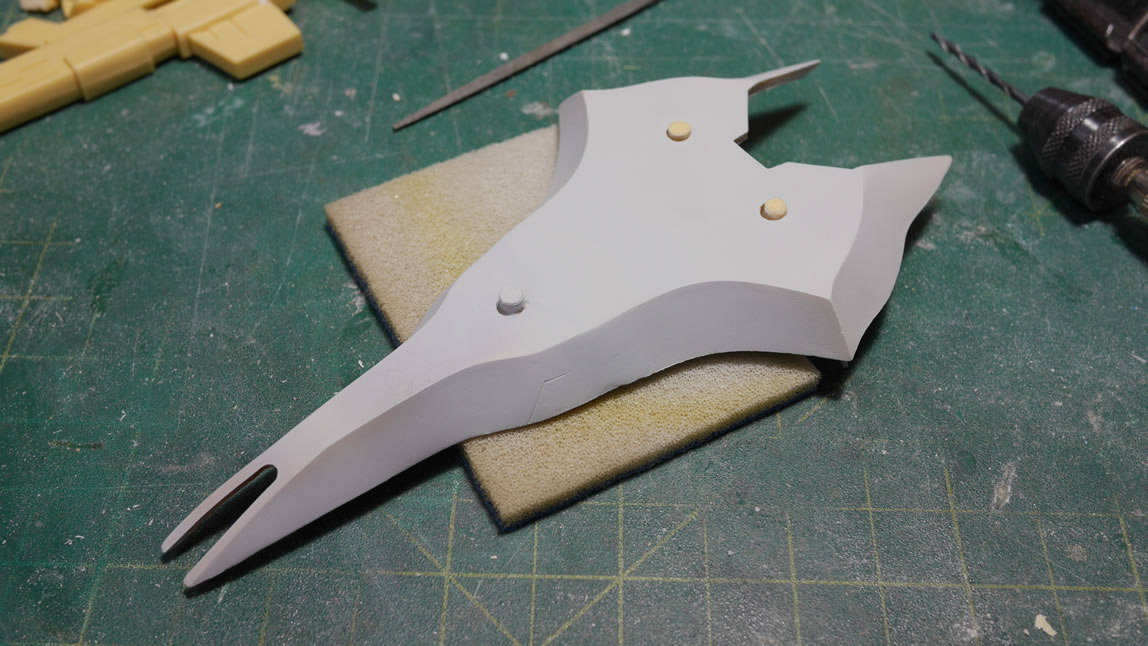
There was some warping in the shield as well. I have a oven that I used to heat up the shield so that I could flatten out the warped areas. However, this didn’t fix the warped alignment areas to the top part of the shield. When put together, the lower half doesn’t quite line up. More heat would cause other areas to warp, so the fix was to create a temporary brace to hold the part while I applied CA glue. I cut a piece of plastic tubing that fit the area and clamped it down to the shield with a paper clip. Once this was in place, I just applied a thick CA glue and let it set. Once set up, the brace is removed and the two shield pieces are aligned.
Once the warping issues are fixed and the two shield pieces are set; I can get to filling and sanding. Back to the recursive surface prep function to get the shield ready for paint.

Bob is currently about 7 and a half lbs. In this picture, it’s 5.9 lbs. Almost a pound and a half growth in a week. With Hugo, I didn’t have the foresight to spam take pictures of him; so I don’t have many puppy pictures of him. Hugo is kind of significant here too because Bob’s breeder was the same breeder I got Hugo from all 13 years ago. There should be no relation with Hugo and Bob, if anything, they’d be fairly distant relatives – which would probably be a cool thing to research on a slow day at work. The breeder was actually surprised that he’s still kicking and quite healthy. Seeing Hugo probably put her mind at ease that Bob’s in good hands.

Returning to the feet, we’ve reached the next while loop; paint, mask, paint, mask repeat. The below picture begs the question, why detail the bottom of the feet at all if it’s standing on a table and would require someone to pick up the damn kit to even see those details. A mirrored base was mentioned earlier, but it still doesn’t solve the problem if the feet are standing on a mirrored base.
Speaking of feet, Bob apparently has a fascination with them. Hugo’s gonna be annoyed for a while.
The rest of the leg parts are coming along with paint, mask, paint. The main leg parts have a massive gap/seam where the two halves of the leg meet. I already painted and masked off the inner areas of the legs, then painted the medium red color on the detail on the back of the legs following the Ver Ka’s scheme. That red is masked so I can get to work on gluing the legs together and filling in the seam/gap between the two leg parts.
All this work was done a few weeks ago. The clear gloss was sprayed on the parts; but progress hit a brick wall because Bob join the family. The level of build detail drops from this point because the focus was to get what I needed done on the kit, then deal with keeping Bob from chewing up, pissing, pooping, the workshop room.

The wife took care of Bob for an evening while I got the decal work on the kit done. Once the decals are set, the following day, a clear gloss is sprayed to sandwich the decals. Then the panel line wash. All unseen as I didn’t even have time to do a quick snap. Puppies are damn cute, but a ton of work.
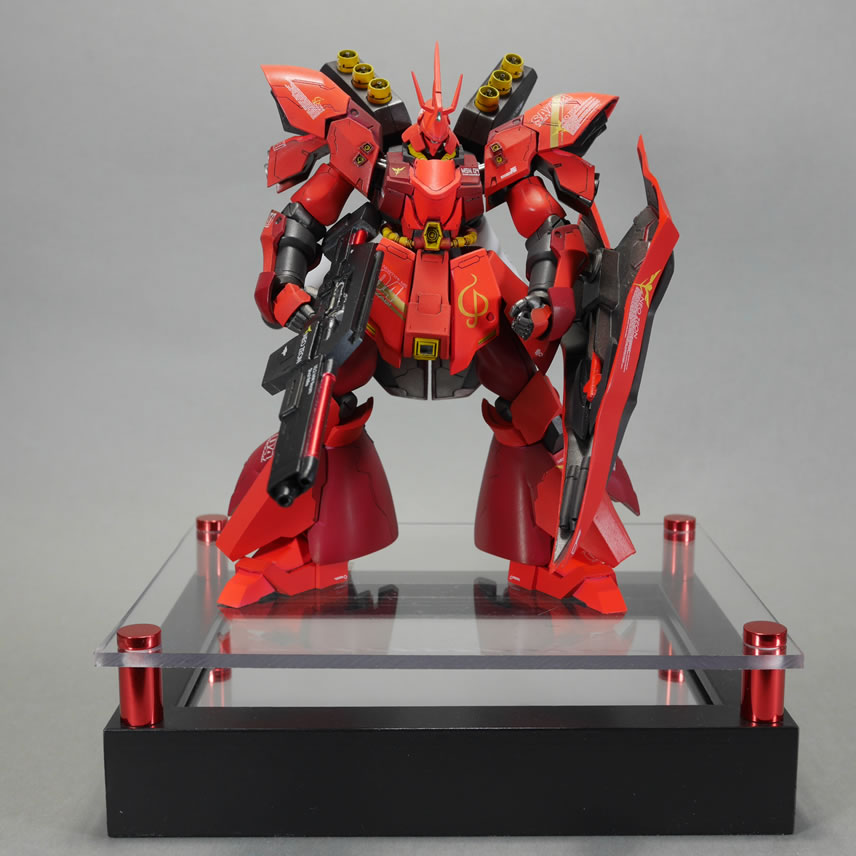
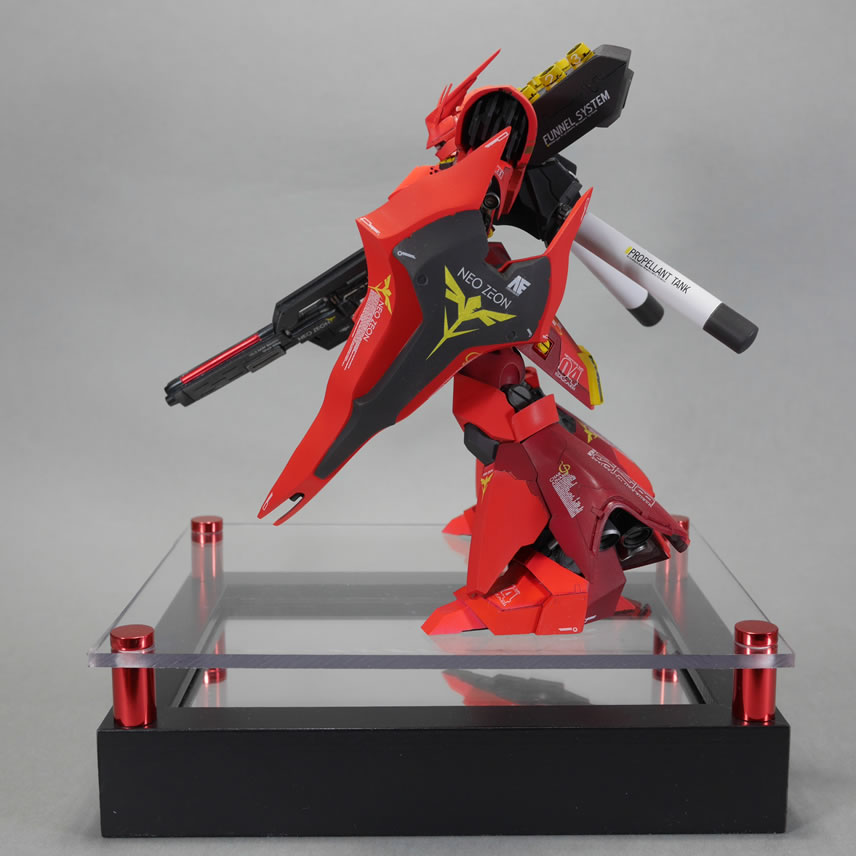
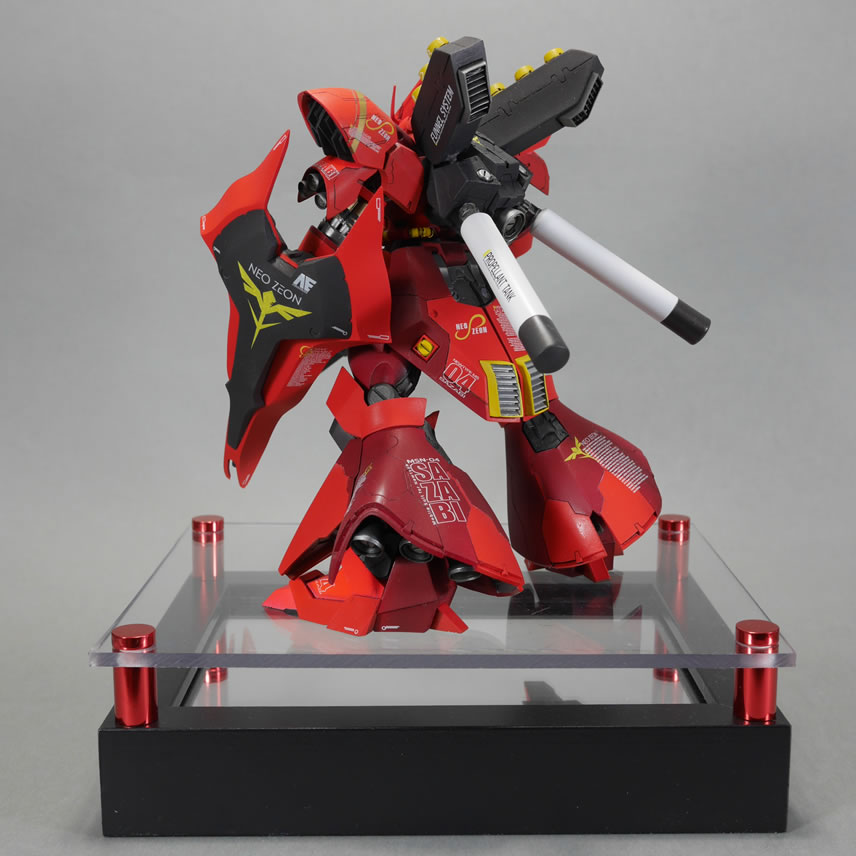
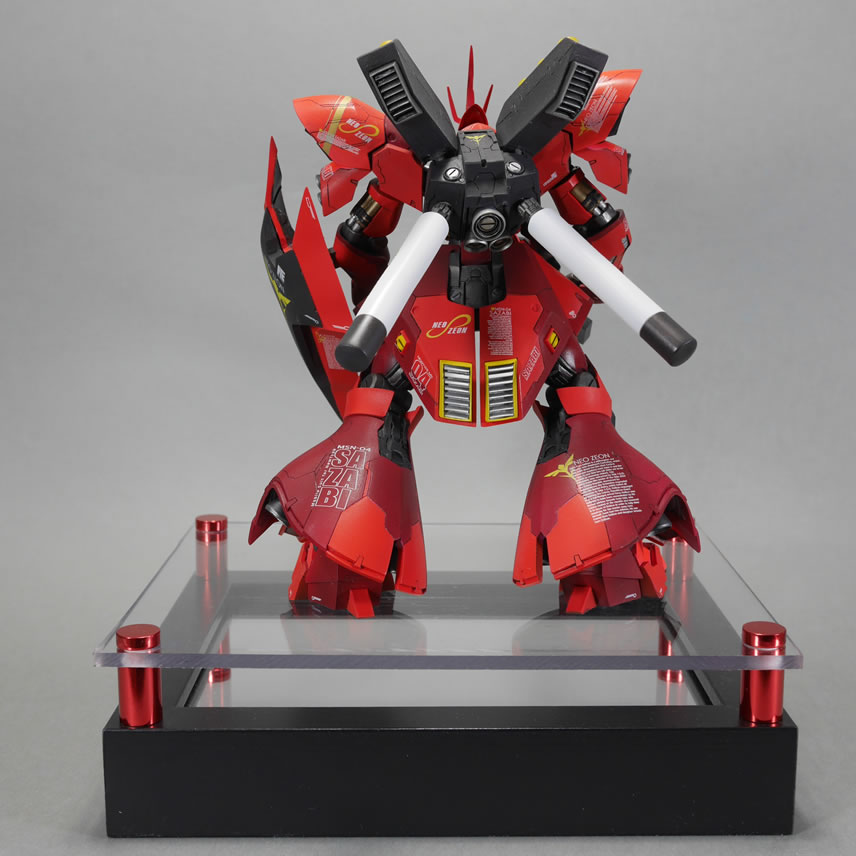
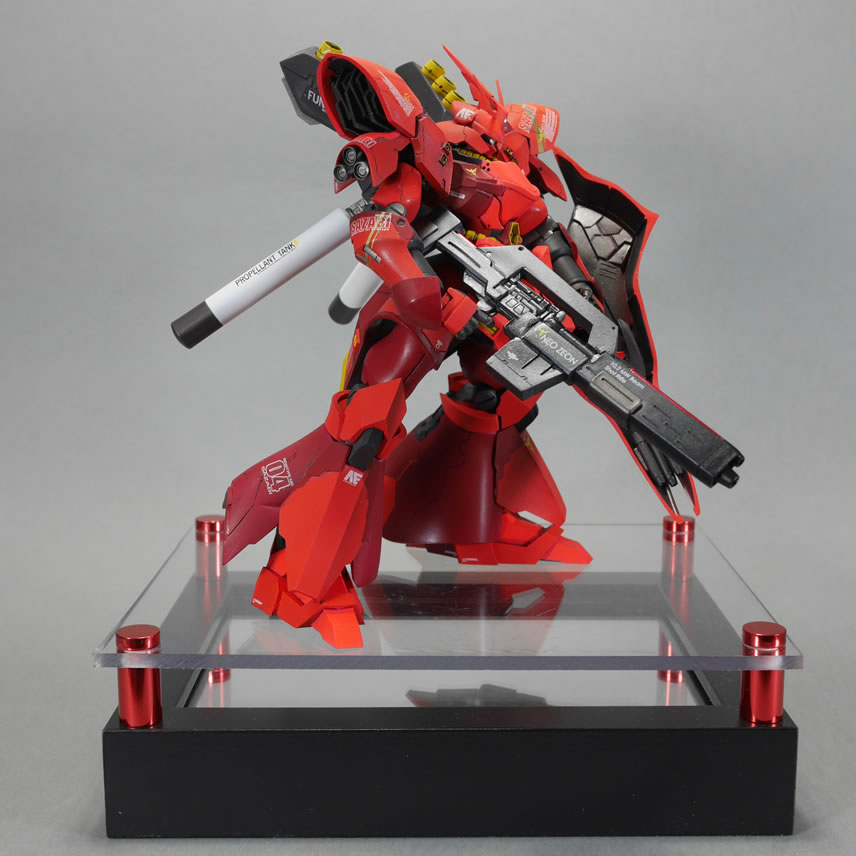
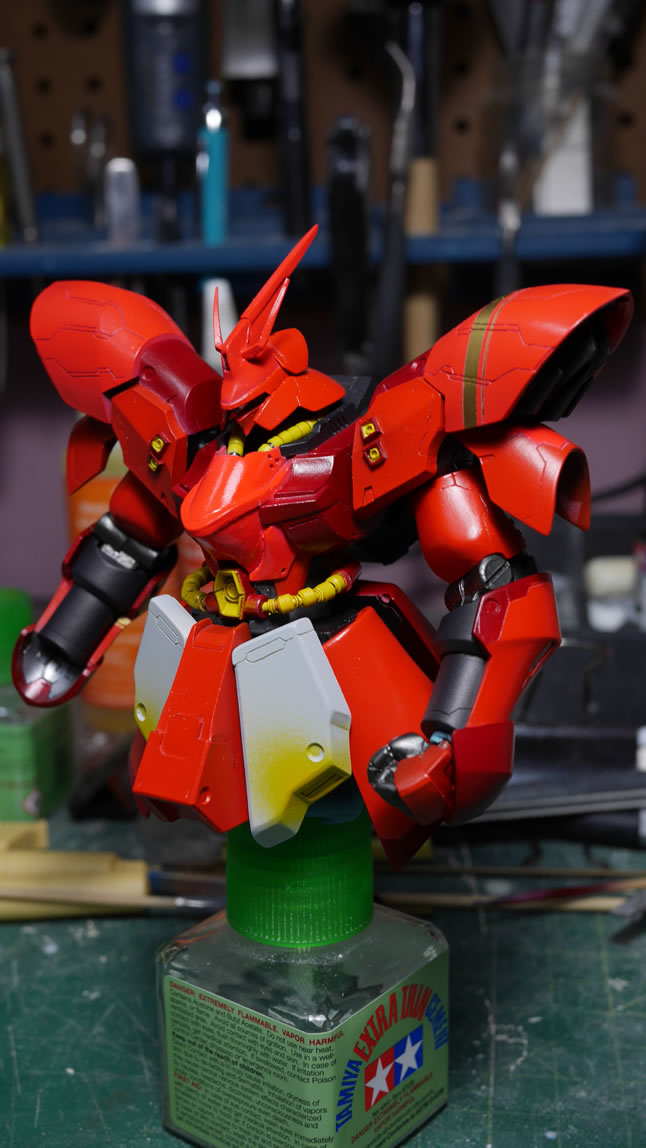
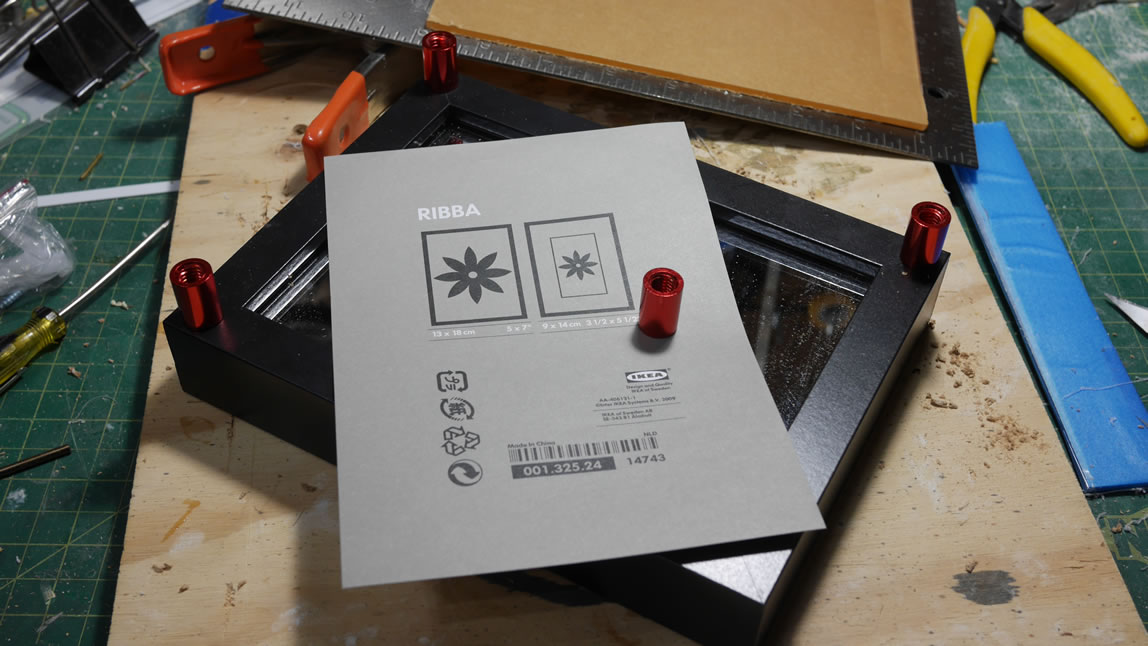
Now to answer the question that I’ve been alluding to earlier about upskirting the kit for display. I created a simple display base using a $2. Riba frame from Ikea, a sheet of clear acrylic, and a sheet of mirrored acrylic; along with some metallic red standoffs. The elevated clear base allows us to upskirt the kit and even see the bottom of the foot details without having to stick a rod up it’s ass end and try to make the static pose look normal up in the air. The final clear flat is sprayed. I used Alclad’s clear flat this time around and once that cured for a day, the glues came out and the kit was pieced together this past weekend.
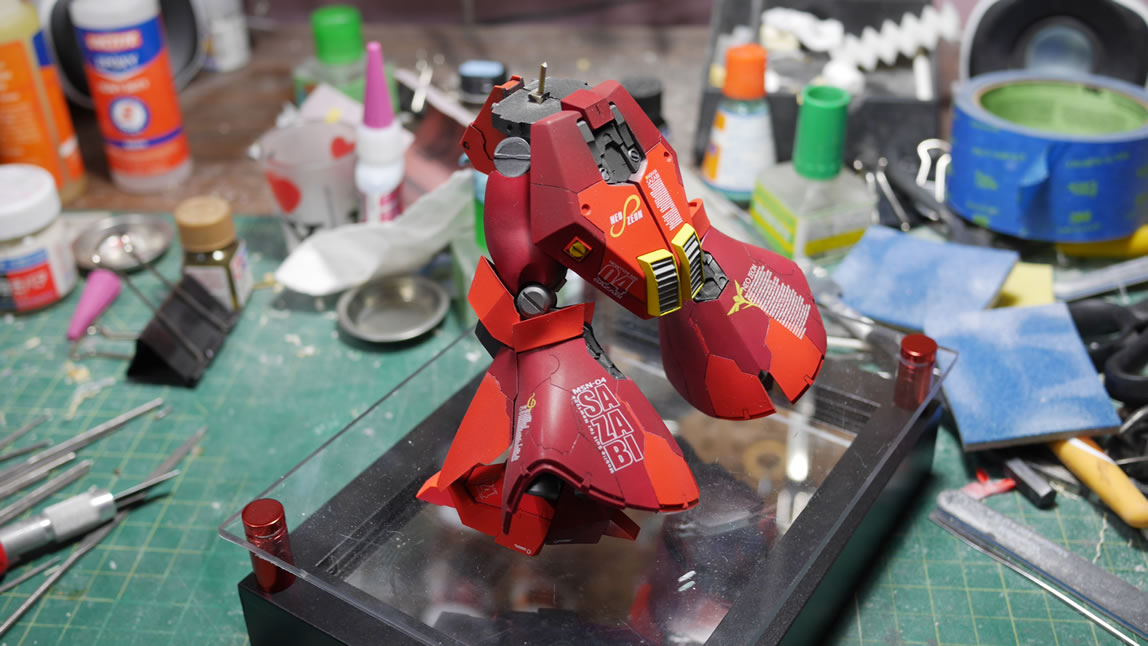
Its resin and its designed for a specific pose, so out comes the kragle… well actually epoxy glue for the load bearing areas and “kragle” for the smaller bits. At this point, the kit proper is completed. I was still working on the details for the rifle. I used Alclad’s light sheen on the rifle, so there’s a slight difference in finish with the gun in comparison to the main suit.
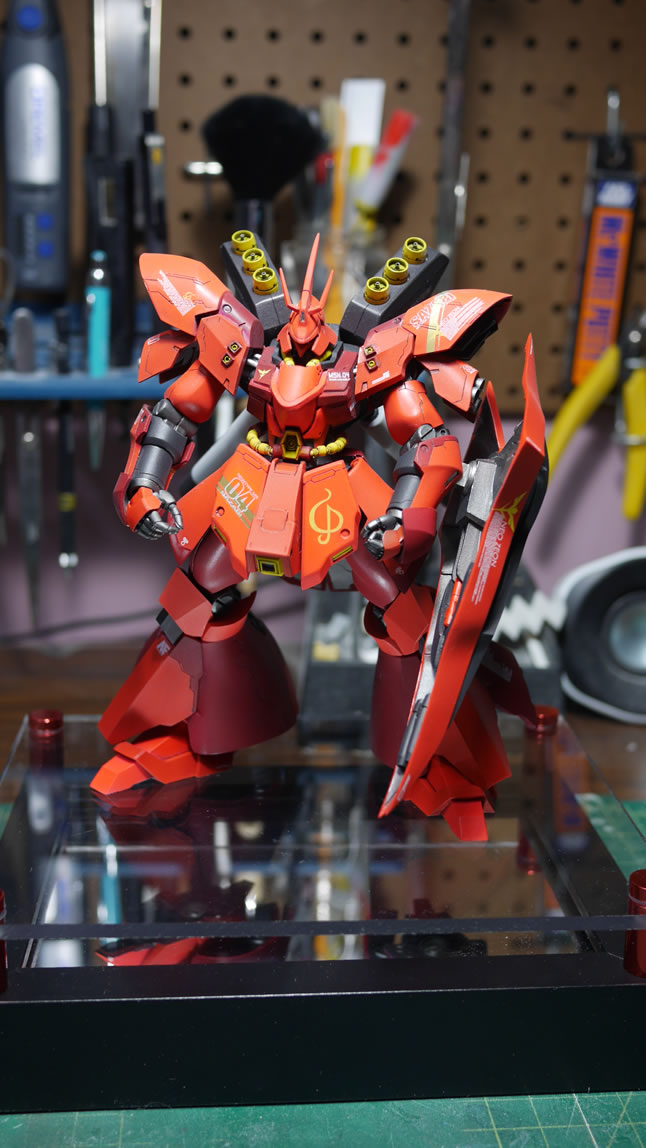
Once the gun’s clear cured for half a day, it’s added to the hand (magnets are used to hold it – magnets are used in the shield as well); and with that, she’s done.