This tutorial will go over the basic masking techniques for masking off gunpla. Most parts that need need to be masked on gunpla are typically straight edges, and the masking process is fairly straight forward. The following will discuss this type of masking. When masking off parts, there two main ways to approach the masking.
- Paint an interior area, mask, then paint the exterior area
- Paint the exterior area, mask, then paint the interior area
Now the preference is determined by what works best for each situation; each situation is unique and sometimes you will find yourself masking in one style, while in others you mask the other way around.
I primarily use Tamiya masking tape as my immediate masking tape choice. The tack level and thickness of the tape work well. I also employ 3M blue painter’s masking tape that I use in conjunction with the tamiya masking tape to take care of large areas. Then On top of this I use Mr Masking Sol (Do not use Mr Masking Sol with acrylic based paints, as Mr Masking Sol will dissolve acrylic based paints) to cover the area as a final check to ensure that I have completely covered the area. For coverage of large areas, I use a product called Parafilm M, which is similar to saran wrap.
Below is a video showing the basic masking principals. I use a bamboo stick’s point to run across the edge of the masking tape to ensure a good seal.
Get the Flash Player to see this player.
Next is a video show the masking process with Parafilm M
Get the Flash Player to see this player.
If possible, I remove the masking tape within an hour of painting the part. I do this because the paint hasn’t had time to fully cure and when removing the tape, I can get a cleaner edge. If the paint had cured, there is a great possibility that I get paint chips along the edges of the masking tape. For situations that the masking tape needs to stay on the part for a prolonged period of time such that the paint cured, I just score along the edge of the masking tape with a brand new hobby knife prior to removing the masking tape and this reduces the chance for paint chipping along the edges. Below is a video showing the removal of the masking tape.
Get the Flash Player to see this player.
Here are some still images of the above process

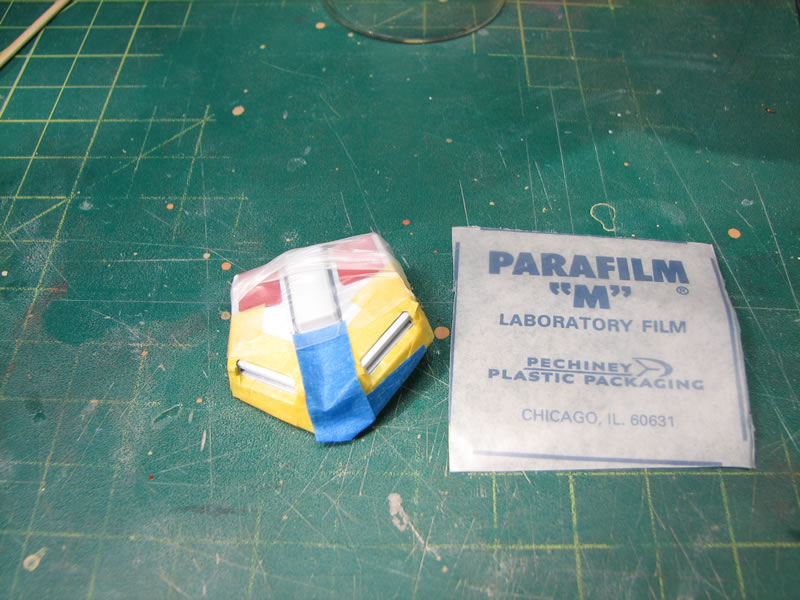

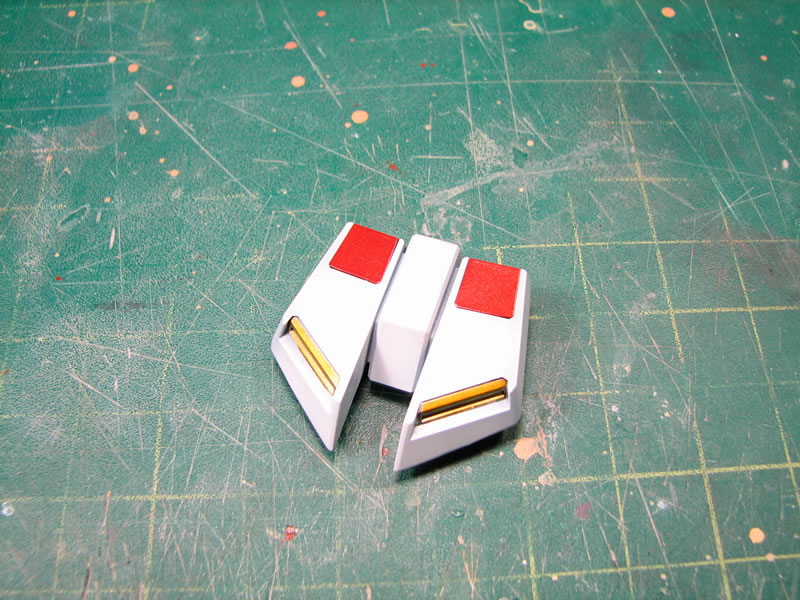
In hindsight, I should have painted the gold area first, masked that off, then paint the white, the masking would have been much simpler. In the following video example, I am masking off the gold detail, to repaint the area around the gold.
Get the Flash Player to see this player.
For curved surfaces such as the interior of a thruster bell, or other organic shapes, I use blue sticky tack/silly putty as the masking agent. For the thruster bells, I paint the interior first, then mask the area off using the sticky tack. Patterns such as organic camouflage can be done with sticky tack. Below are some pictures of thruster bell masking using sticky tack.

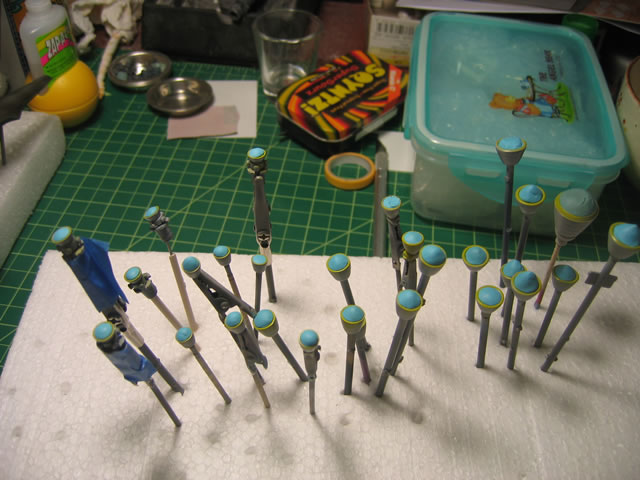

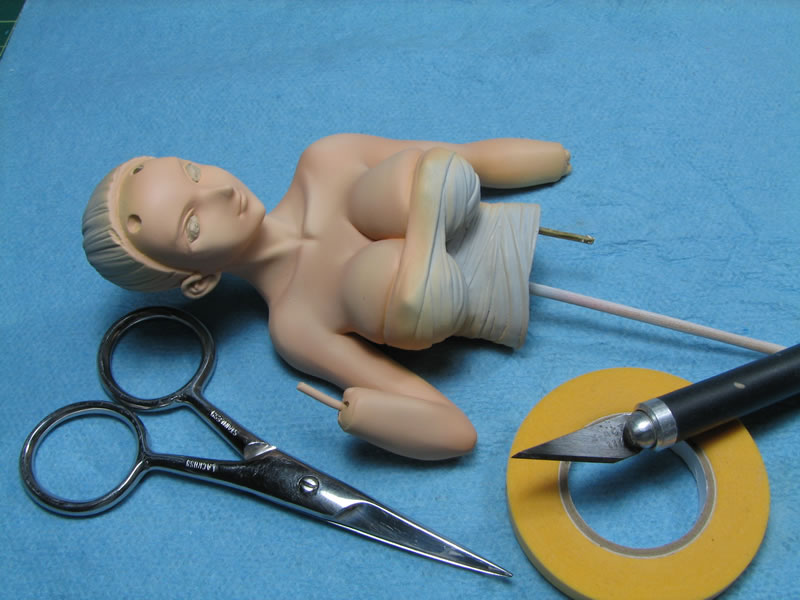
Figure Masking
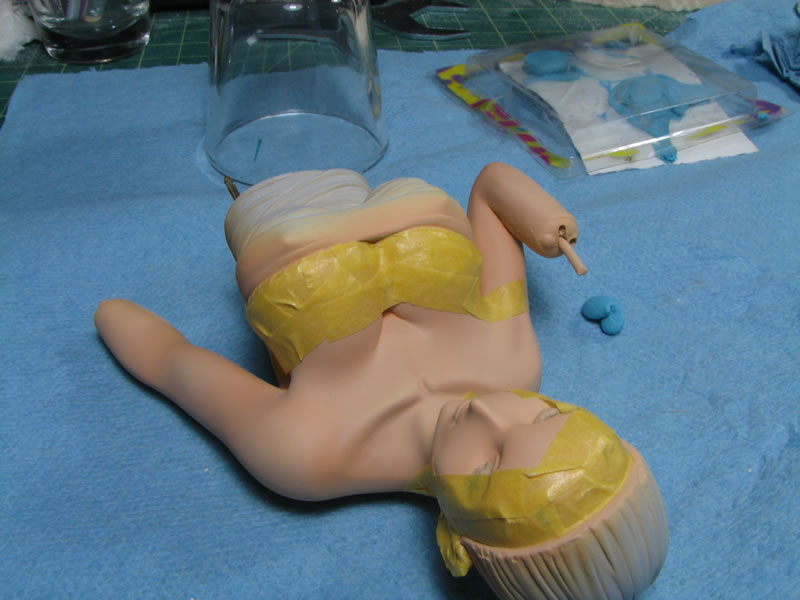
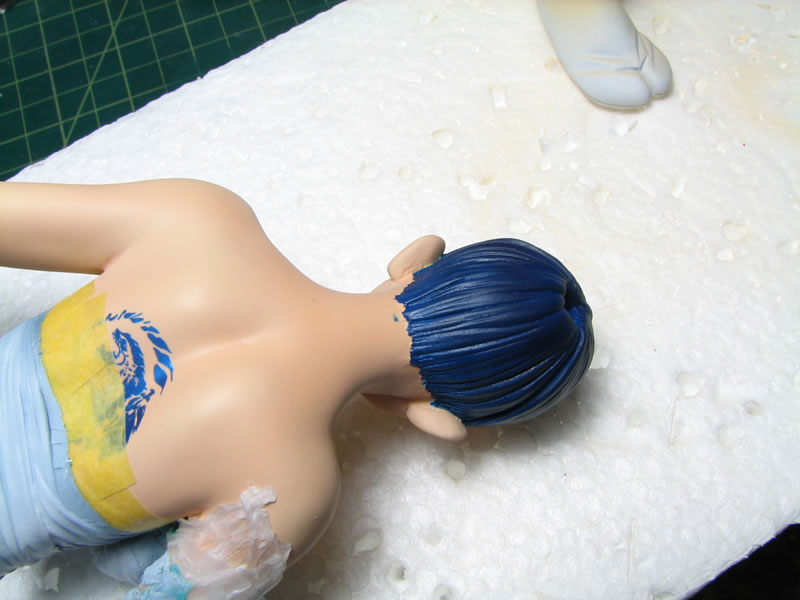
My steps for masking a figure are very similar to that of gunpla. The only difference is that there are more curves to deal with in masking a figure than most gunpla. Starting off, I masked off the edges between the skin and body wrapping using tamiya tape. I do two layers then move on to masking the hair.
Get the Flash Player to see this player.
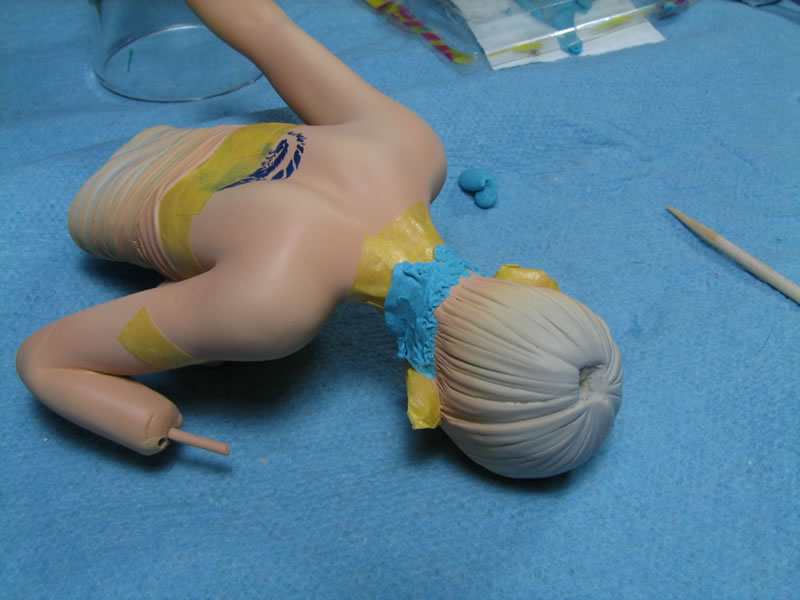
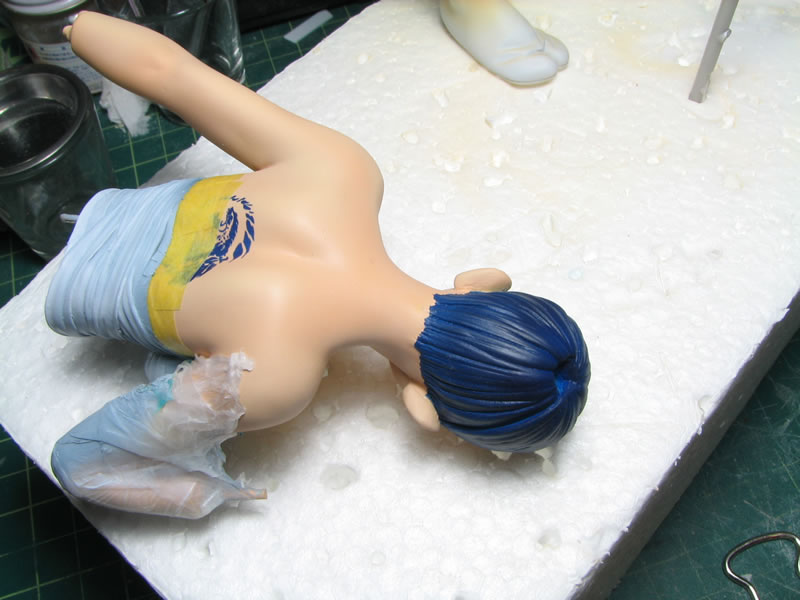
The back of the hair is slightly jagged so I used blue sticky tack as the masking agent.
Get the Flash Player to see this player.
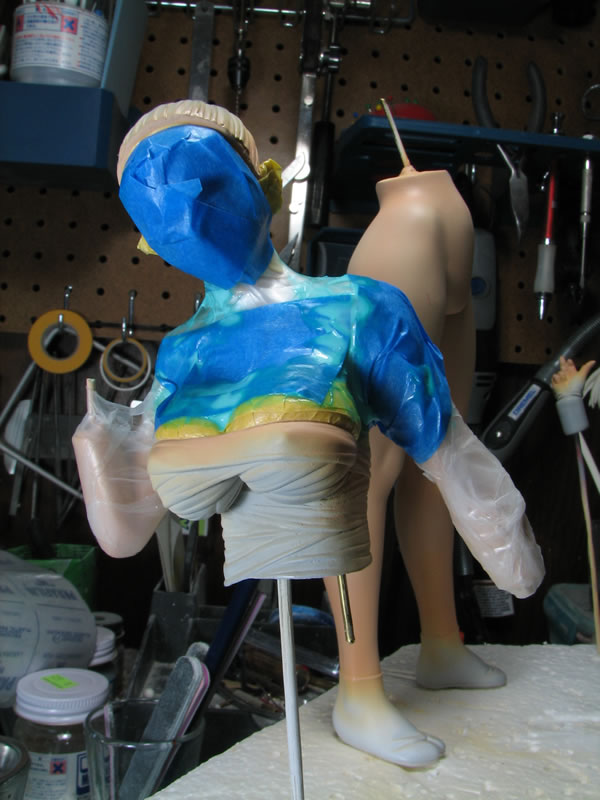
Next I used parafilm to mask off most of the larger areas and the arms.
Get the Flash Player to see this player.
Then 3M Blue painter’s masking tape seals up the masking edges.
Get the Flash Player to see this player.
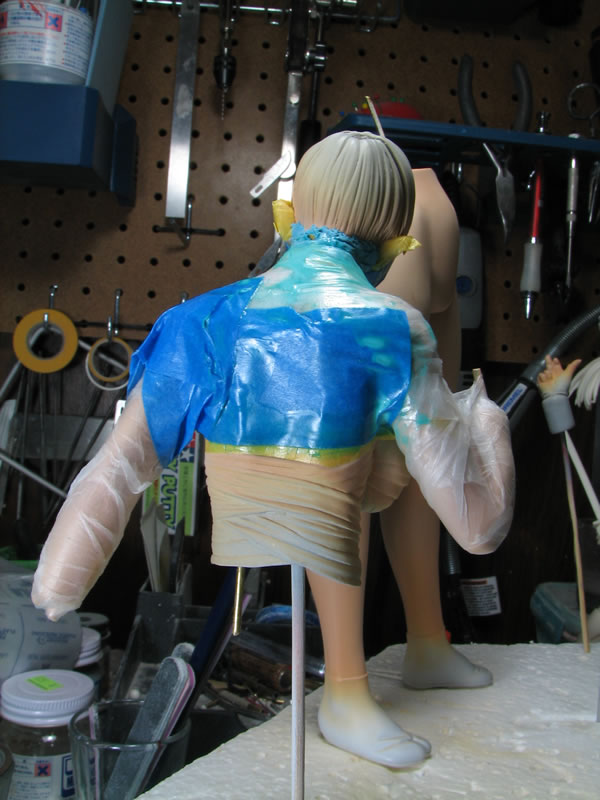
Finally, I used Mr Masking Sol as a final sanity check to ensure I have a tight seal around the different levels of masking.
Get the Flash Player to see this player.
And the reason for all this redundancy is to avoid situations like the following:
When I finished painting and removed all the masks, I found a small little dot of blue in and area where I didn’t completely mask off. The fix was quite simple as I just used some 3600 grit sanding mesh to remove the spot and lightly spray on some skin tone to blend any blemishes.
I like blu tack it makes me happy smells