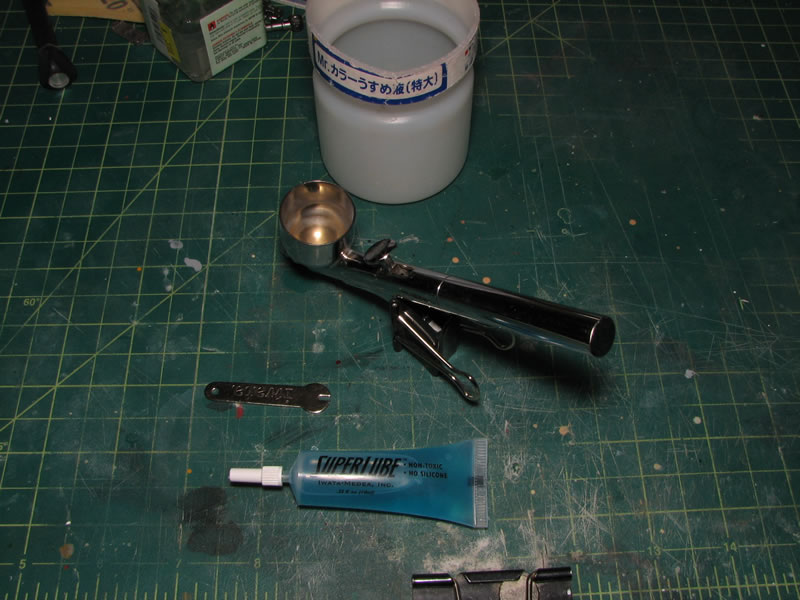
This is a tutorial for properly taking apart and cleaning the Iwata HP-C airbrush. Note that I only do this thorough of a cleaning, once a month to once a quarter depending on how often I use the tool, or how dirty it gets. For this I use the needle wrench that comes with the airbrush, silicon free airbrush oil to lubricate the parts when done cleaning, a small cup to hold cleaner fluid, and blue shop towels I get from the local hardware store.
The first step is to take the airbrush apart. I start with removing the crown cap, followed by the nozzle cap. Then taking care not todamage the needle, I remove the back piece of the airbrush body and then loosen the needle chuck to slide the needle out. If the airbrushis properly maintained, the needle should slide out easily. The chuck and the needle chucking guide. For the older HP-C model, the back stop and the needle chucking guide are separate pieces, newer models have these two parts as a single part. The trigger is removed as well.And along with the spring and spring guide,set all the back pieces aside as paint should never reach these areas and should never really need to be cleaned.
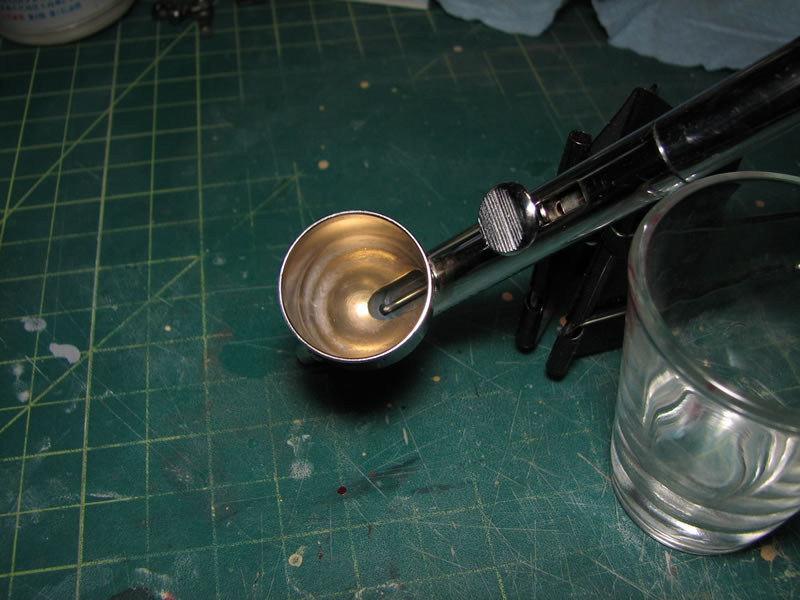
Back to the front section of the airbrush. The nozzle is removed using the wrench that comes with the Iwata airbrush. It is important to take care removing this piece as it is fairly delicate and over tightening and using too much force will break the part which costs about $27 to replace.These front parts of the airbrush are then placed into a small containler such that the front section of the airbrush can sit into the cupwith the paint cup facing down and the back part of the airbrush sticking up. The cup can then be filled with your tool cleaner. I use Klean StripLacquer Thinner. The cup is filled so that the thinner just covers the top of the paint cup. The back part of the airbrush does not need to be cleaned, and cleaners will only weaken the O-rings in the back of the airbrush with the air source area as well. At this point, I put the cup into an ultrasonic cleaner with water and run it. See the video below.
Get the Flash Player to see this player.
After the ultrasonic cleaning, pull the parts out of the cleaning fluid, and use the proper tools to remove the items as the cleaning fluid maycaustic to fingers and hands. With the parts drying, the airbrush can then be reassembled.
The needle chuck and trigger back piece need to be lubricated as this is a moving part for when the trigger is pulled back, if this is not properlylubricated, this may cause some sticking with the airbrush when the trigger is pulled back. Screw in the nozzle and take care not to over tighten.Screw in the needle chuck guide, spring, and spring guide assembly. Lubricate the back part of the needle, and slide the needle into the airbrush.You should see the needle pop out at the end of the nozzle. Take care not to put too much pressure into pushing the needle against the nozzle as too much force will warp the nozzle and ruin that part. Screw in the needle chuck to hold the needle in place and finish assembling the airbrushwith the back end cap and the nozzle cap and crown cap. Once done, the airbrush is completely cleaned and ready for use or storage. See the following video.
Get the Flash Player to see this player.
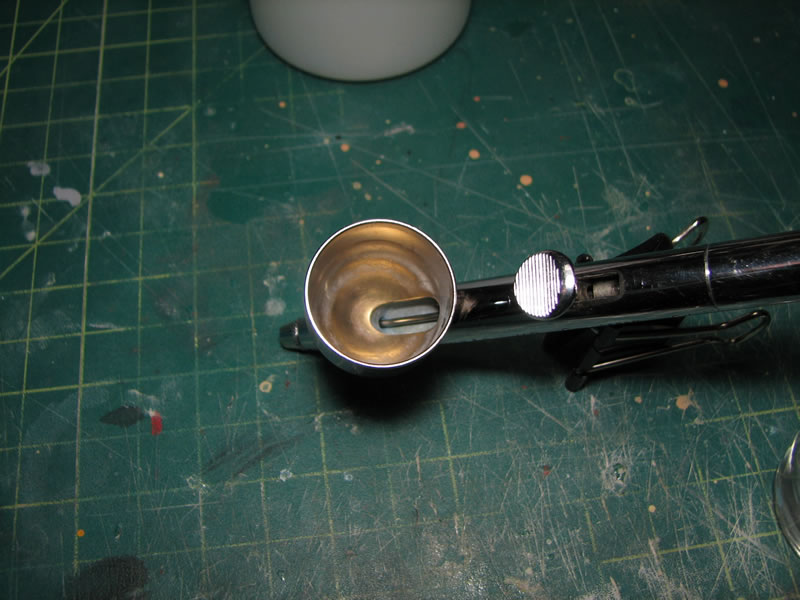
Below is a picture of the airbrush paint cup after the cleaning session.