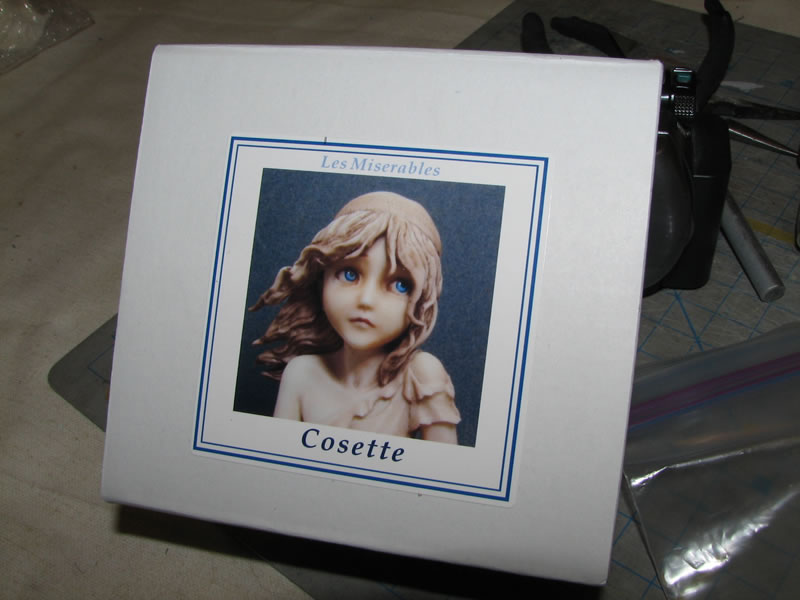
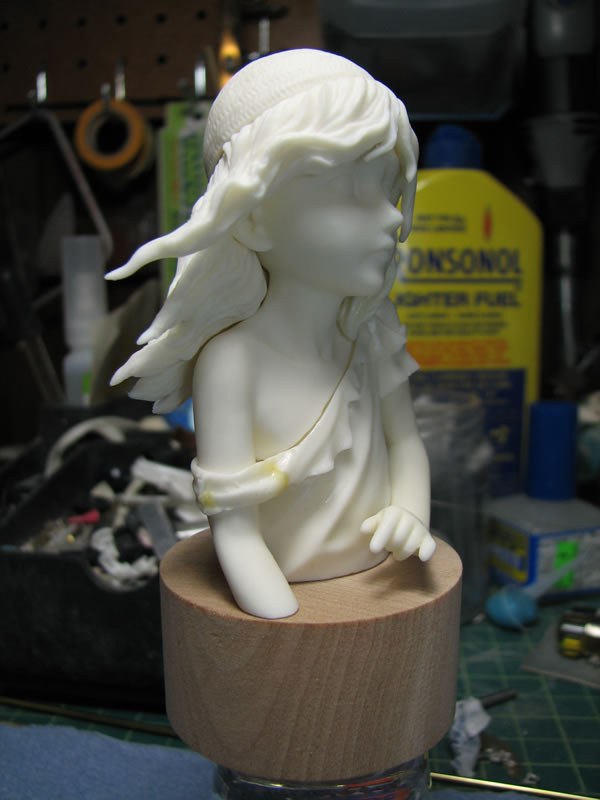
At the build gathering, I pinned three kits that I received. One of which is a Cosette bust kit sculpted by modeling circle Modeller T. The sculpt is inspired by Émile Bayard’s illustration for Victor Hugo’s Les Miserables which depicts a young Cosette sweeping. The kit was sold at the recent WonderFest Winter 2010. Being a rather big fan of Les Miserables, both the book and the musical, I picked up the book after watching the musical and enjoyed both very much; so when I saw this sculpt, I had to grab it. Inspiration to work on kits come at odd times, as for the past few months, the push to build anything was all but non existent.
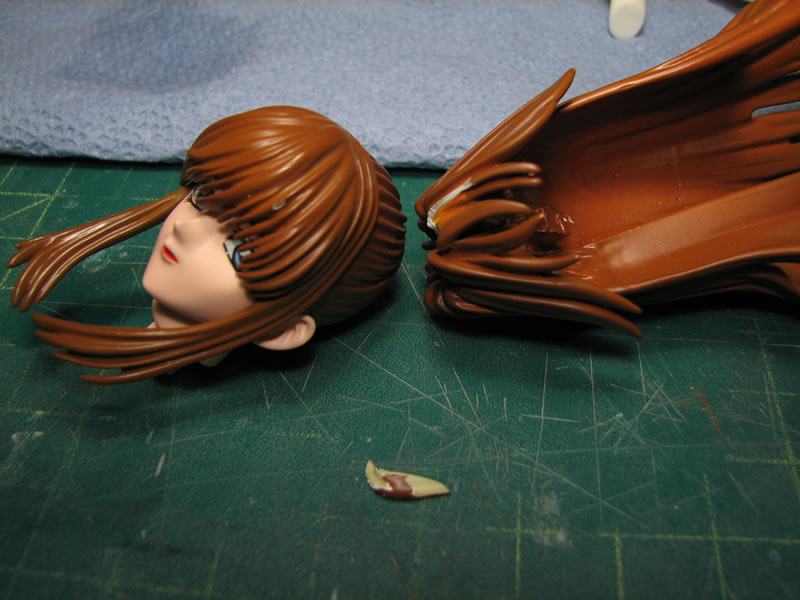
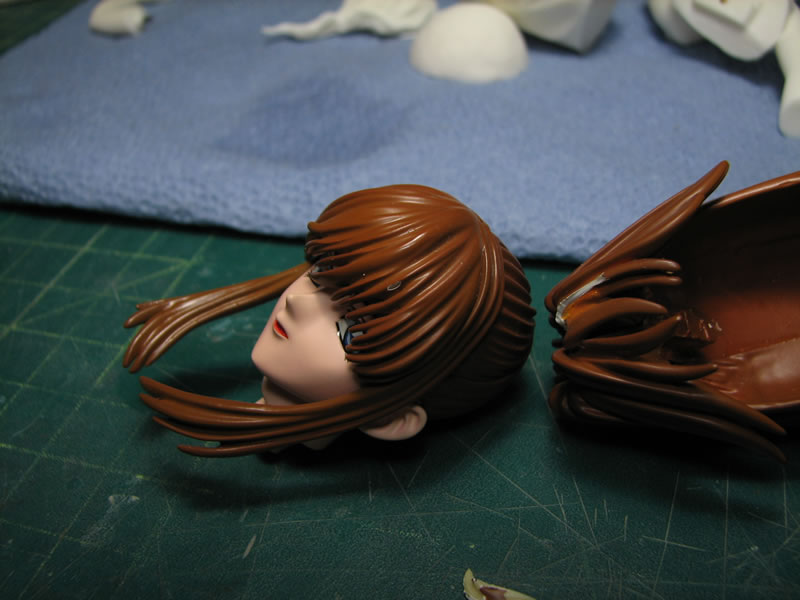
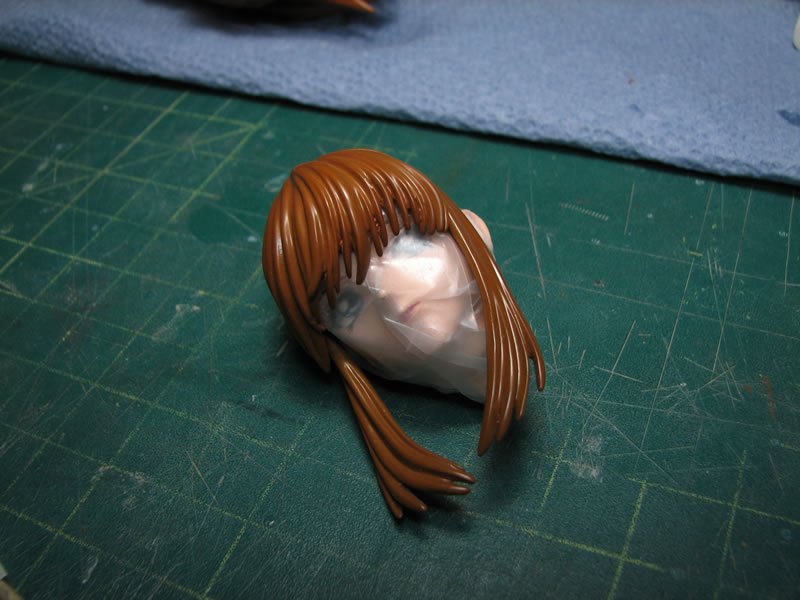
The second thing I started working on is a commission repair job for a Mizuki Tachibana from Gravion figure. The hair has a chunk broken off one of the two hair pieces and there is a prominent paint chip on the other hair piece. This should be a quick fix, the only issue is color matching for the hair.
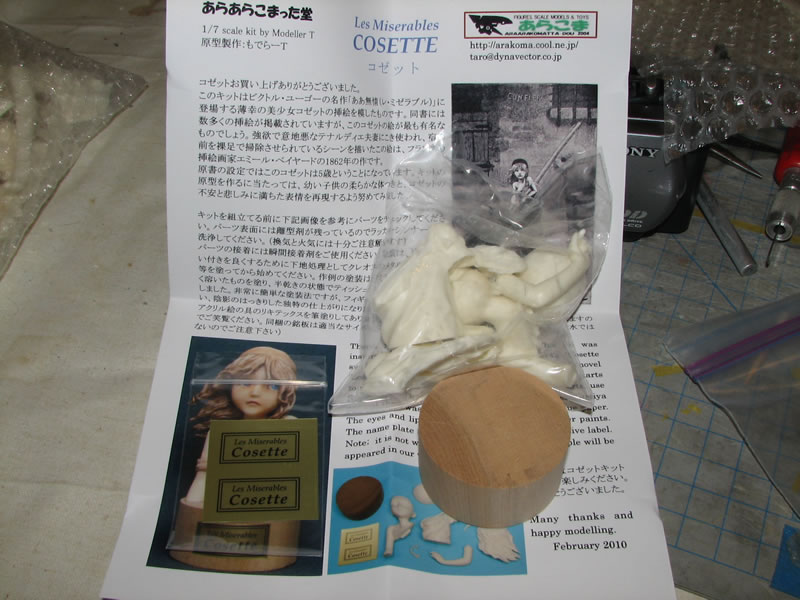
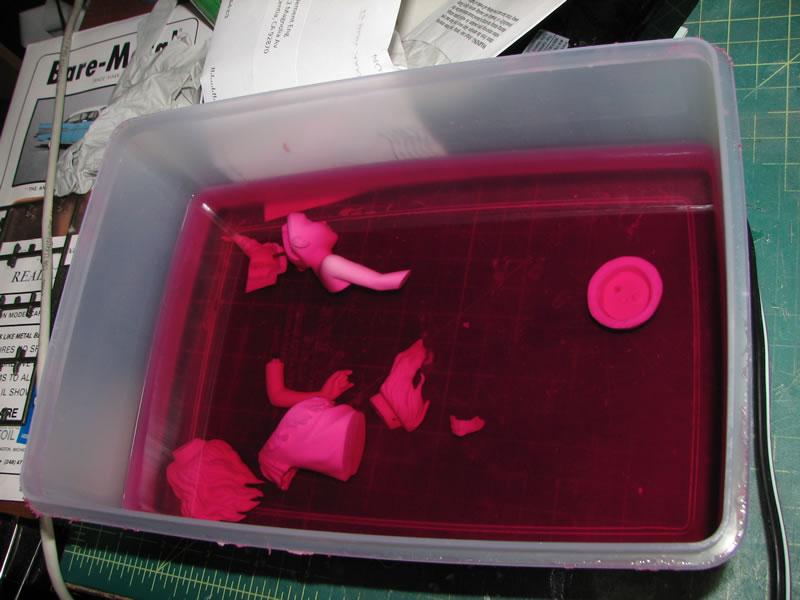
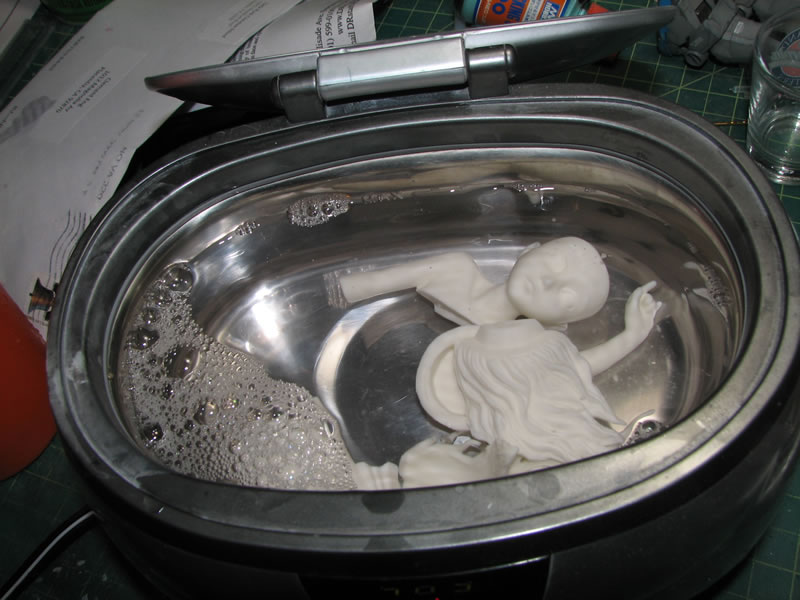
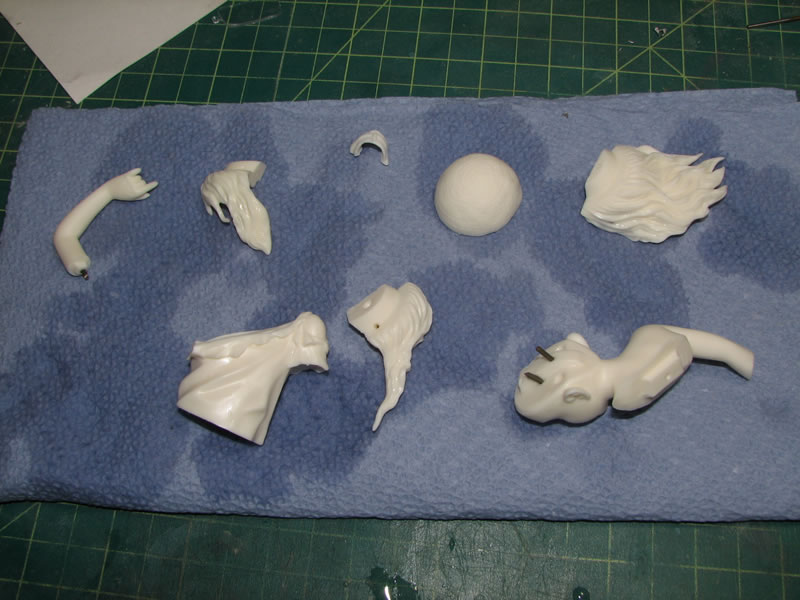
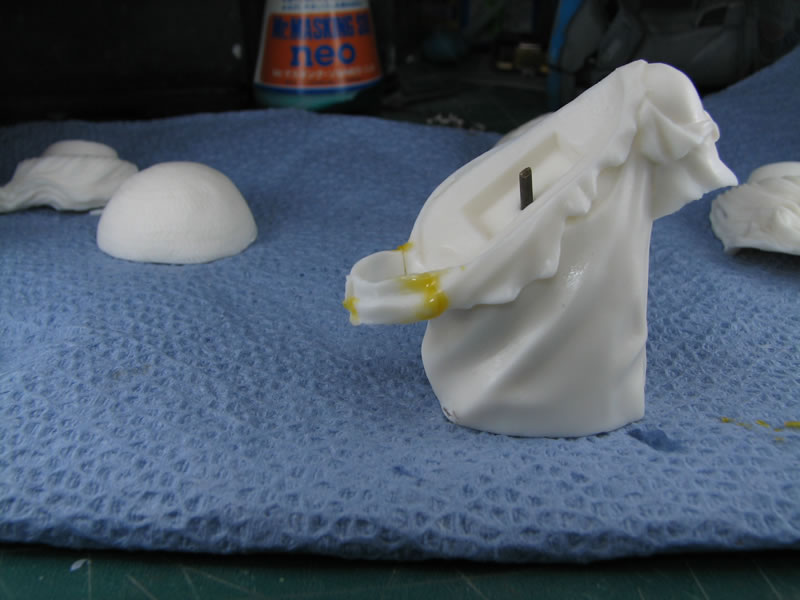
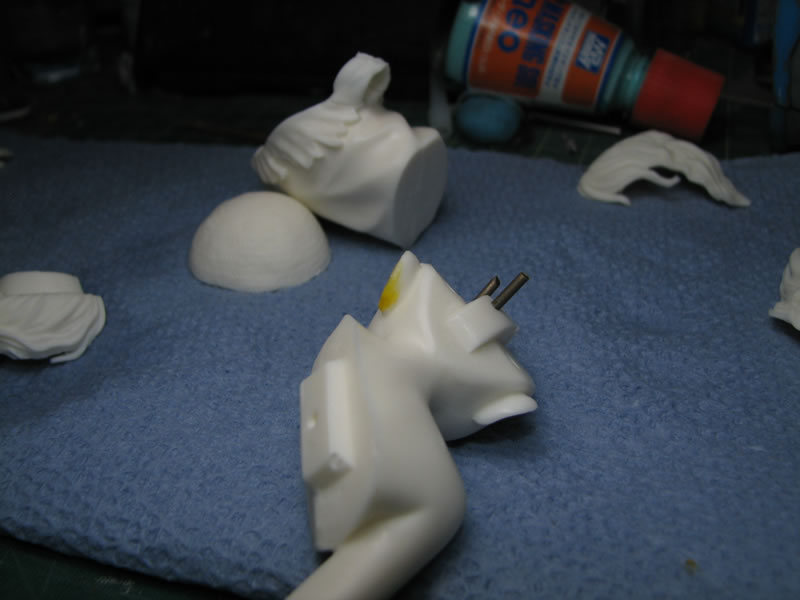
The past few nights I’ve been working on Cosette; as she’s small enough, I can probably get her built and painted by the time SCAHMS (Southern California Area Historical Minature Society) has their annual two day show – March 12th and 13th. This gives me a good three weeks and baring anything unusual, I should have plenty of time to complete her. I got most of the flash cleaned up off the kit and pinned most of the necessary areas. The mold lines were sanded down and once the rest of the initial sanding was completed, the parts were thrown into a purple liquid bath for the night. The next day, the parts were taken out and placed into the ultrasonic cleaner for a scrubbing, then laid out to dry.
 <
<
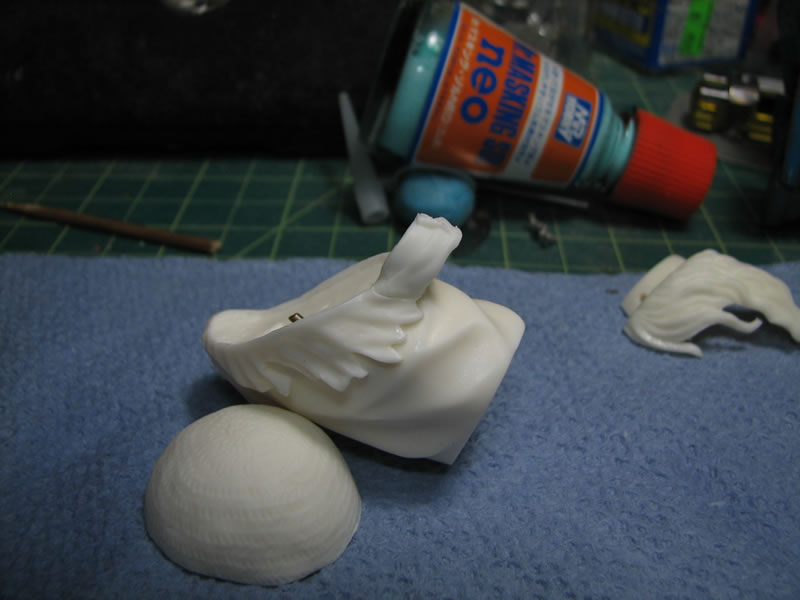
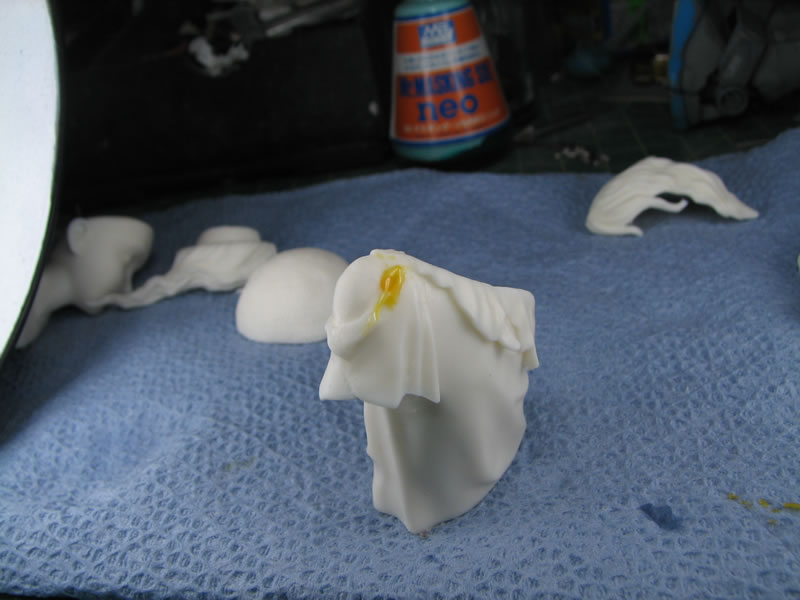
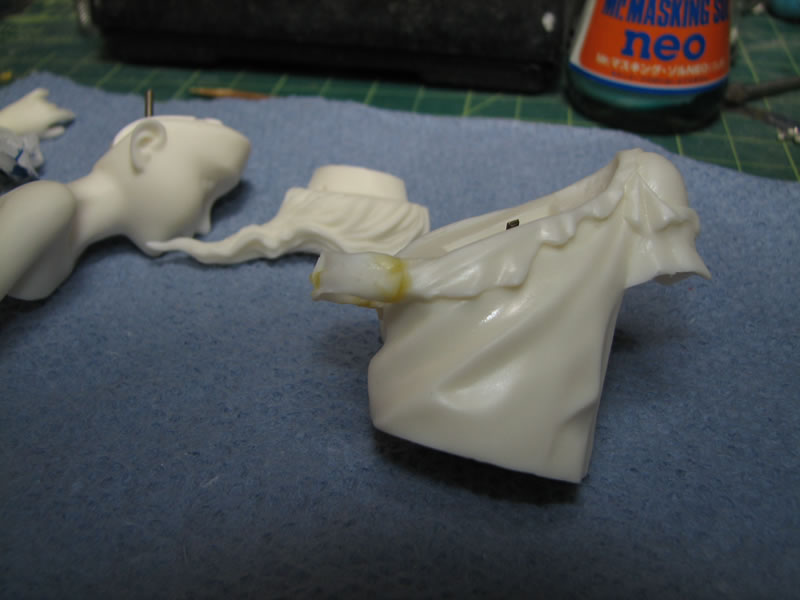
Once the parts were dry enough the initial build work starts. The sleeves is glued to the main body using epoxy glue for maximum strength. After about 10 minutes elapse, the glue is fully set up (I used 5 minute epoxy, but the stuff I have is old). To fill in the gaps, I used tamiya light curing putty. The putty is also used to fill in some bubbles that were on the surface of the part.
 <
<
Once cured, the oily residue is wipe away and the part is ready for another sanding session.
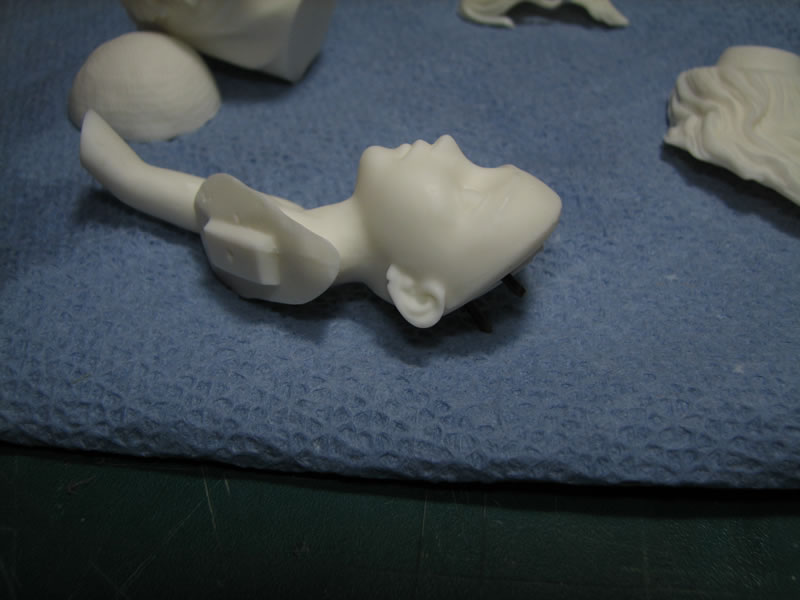
On her left ear, there was another bubble that has a chunk of her lower ear missing. Tamiya light curing putty is again employed to fill the bubble.
 <
<
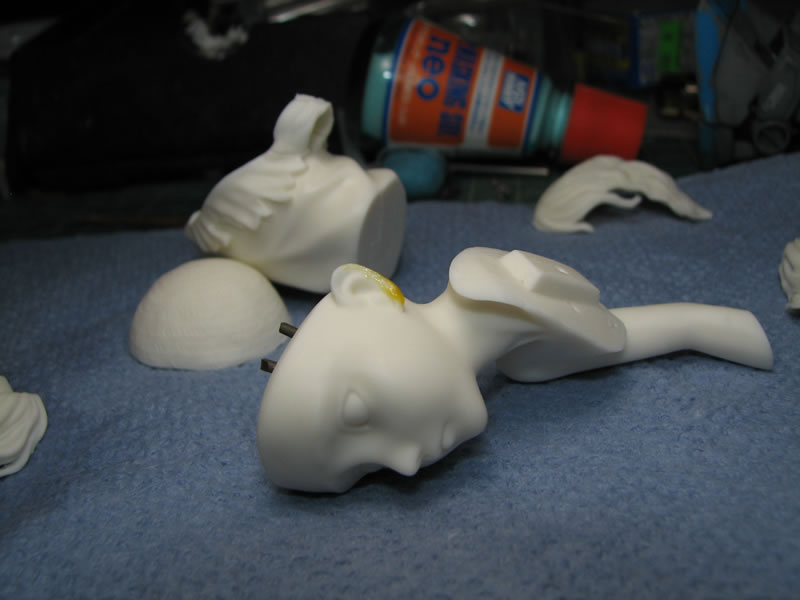
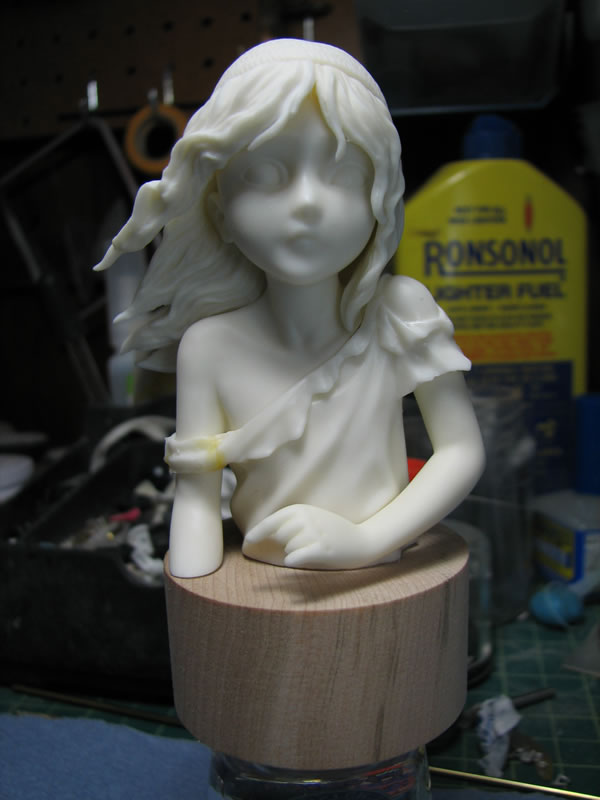
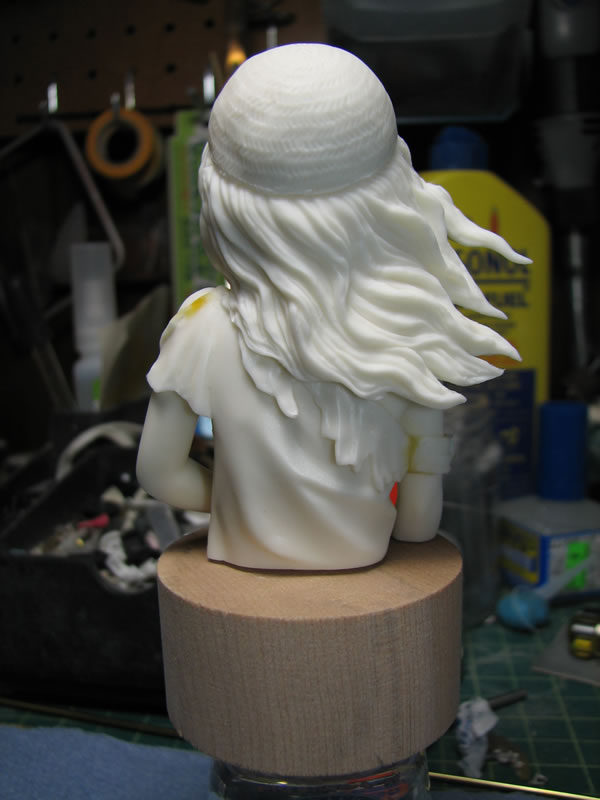
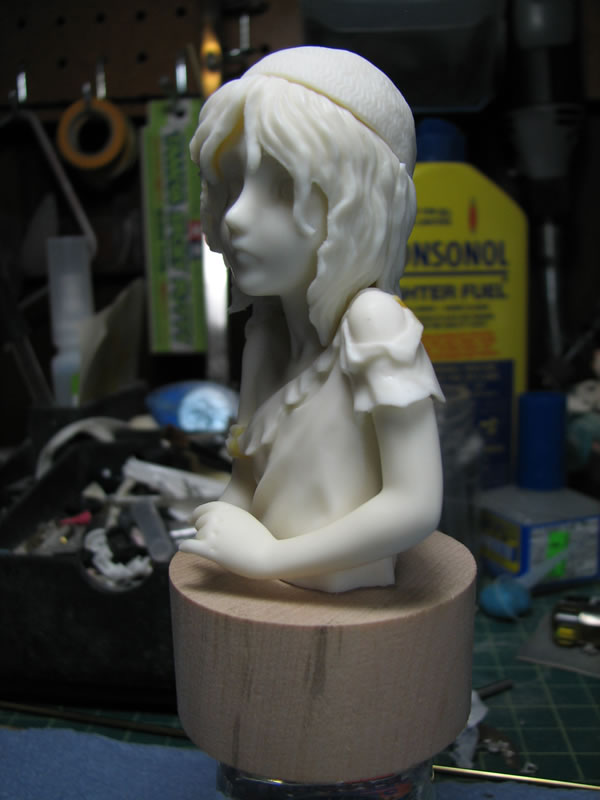
I didn’t do any sanding as it was getting late. But the last thing I did was pin her to the base that came with the kit and take a few quick shots that I had forgotten to do during the build gathering.
 <
<
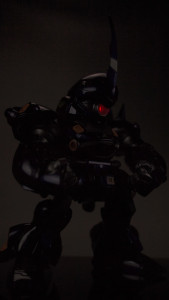
And of course the standard size comparison picture with Mr Keroro G3.

In the middle of working on Cosette, I started on the commissioned repair job for Mizuki. First thing done is to glue the broken hair piece back into place, not needing the shearing strength, I used ca glue as the adhesive.
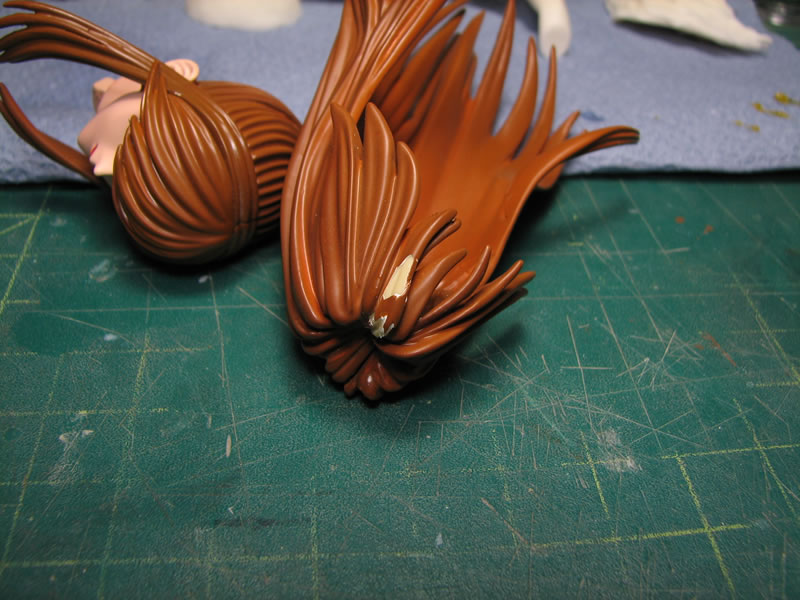
The other hair piece is glued to the head so for that fix, the first thing I do is to mask off her face using parafilm. This will protect the current paint job from my sanding work and repainting of the hair.
The repair job should be fairly quick and simple. The only difficult part to it all will be color matching. Oh the fun of paint mixing until I reach the closest tone possible. There will be some blending to help things along. I imagine this is similar to what the folks do when you have your car fixed, the neighboring panels to the damaged areas are blended so that the differences in tone are gradual and not as noticeable.
Very cool Cosette. Any ideas where a kit can be obtained?