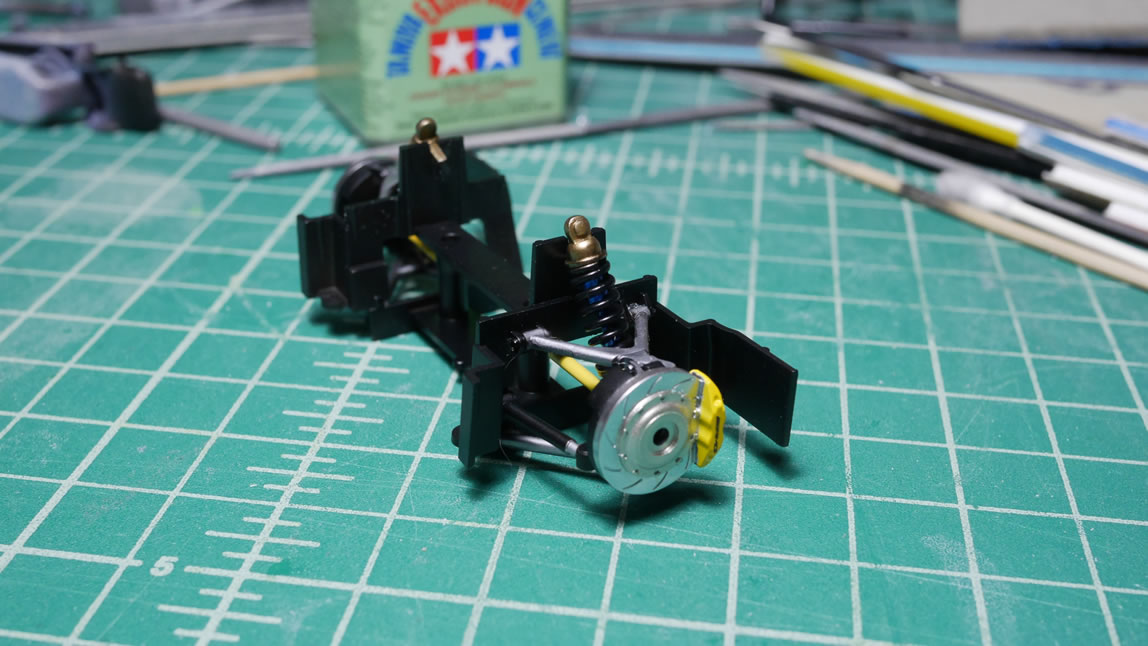
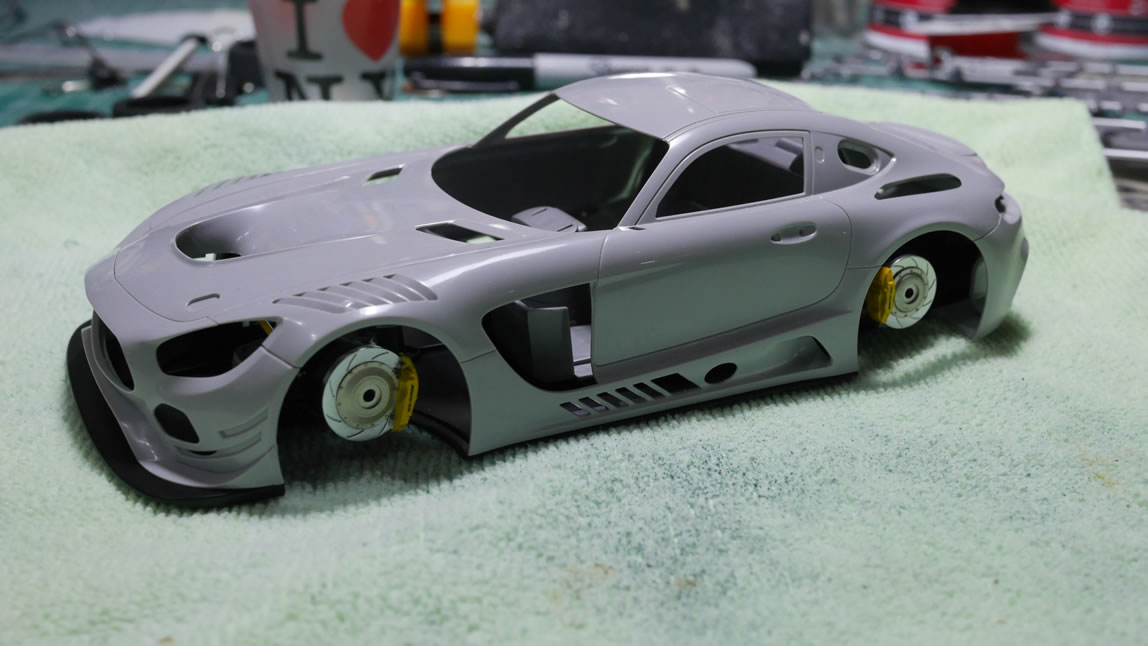
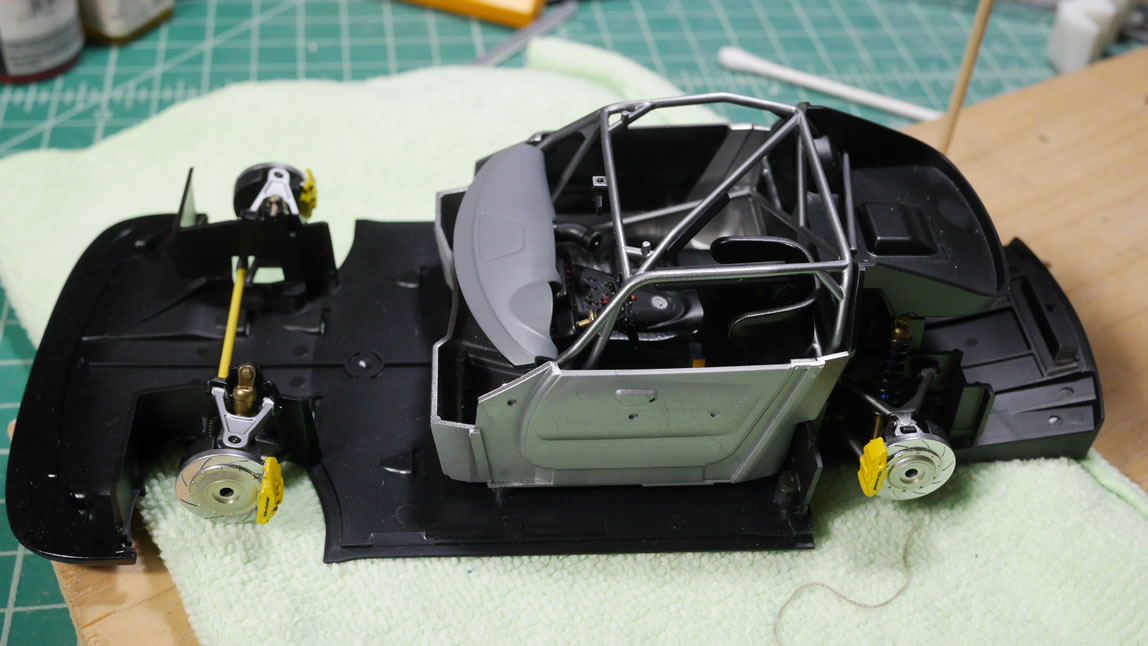
I’ve been traveling quite a bit for work in the past month. Hell, 3 out of the last 4 weeks were spent in Eastern Standard Time zone. So work has been pretty slow on the project. Since the last update, I’ve gotten some decent work done when back at home base. Starting off with the suspension. The masking for all the small bits is done and the parts get assembled. A quick test of the untouched car body over the suspension gives me a rough idea of what will be visible once everything is together. So I probably spent too much time painting things that will never be scene. Well, I haven’t built a car in a while, so I’m stumbling through a good number of things.
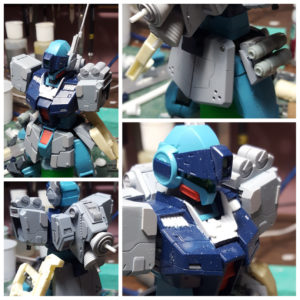
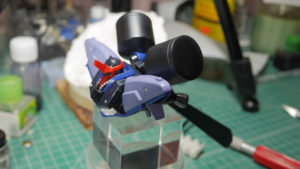
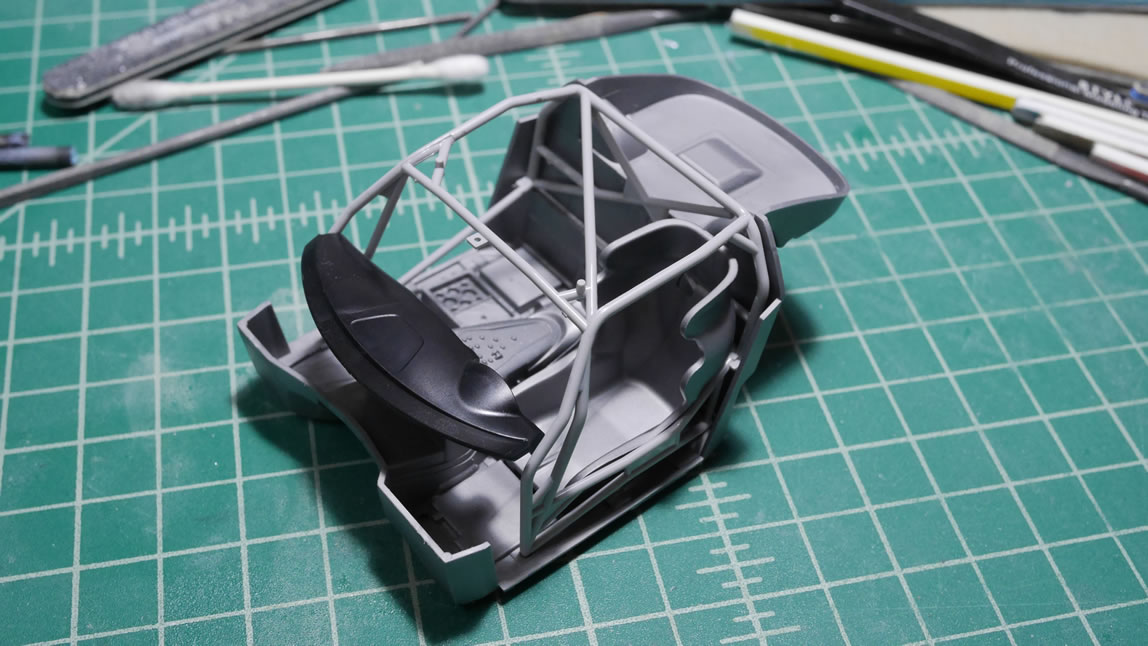
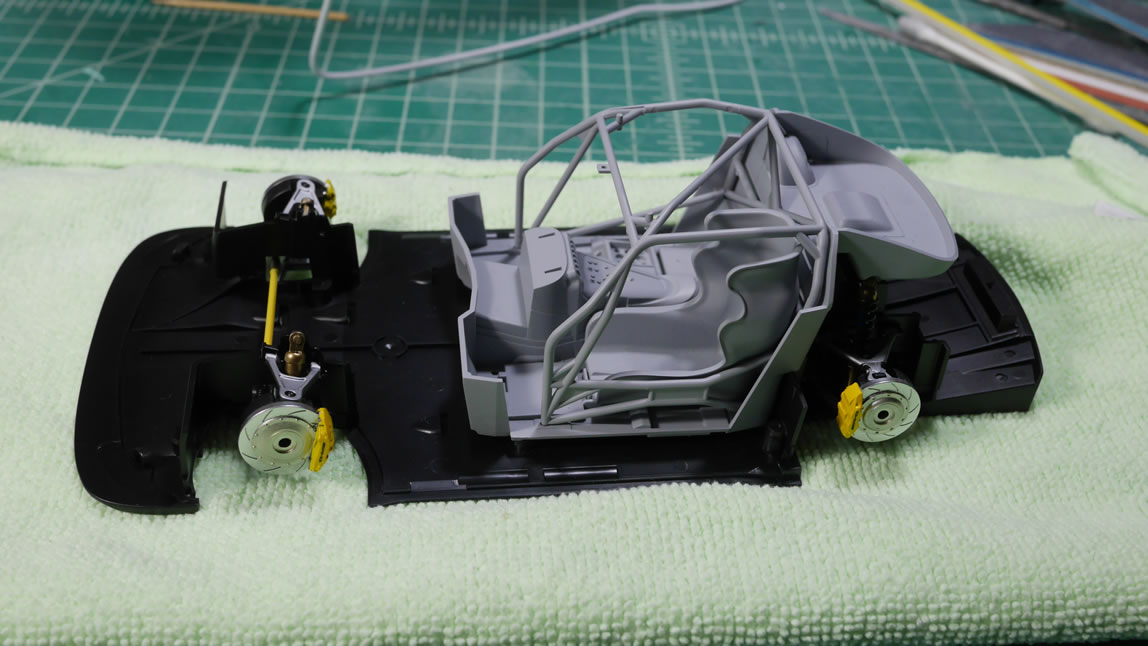
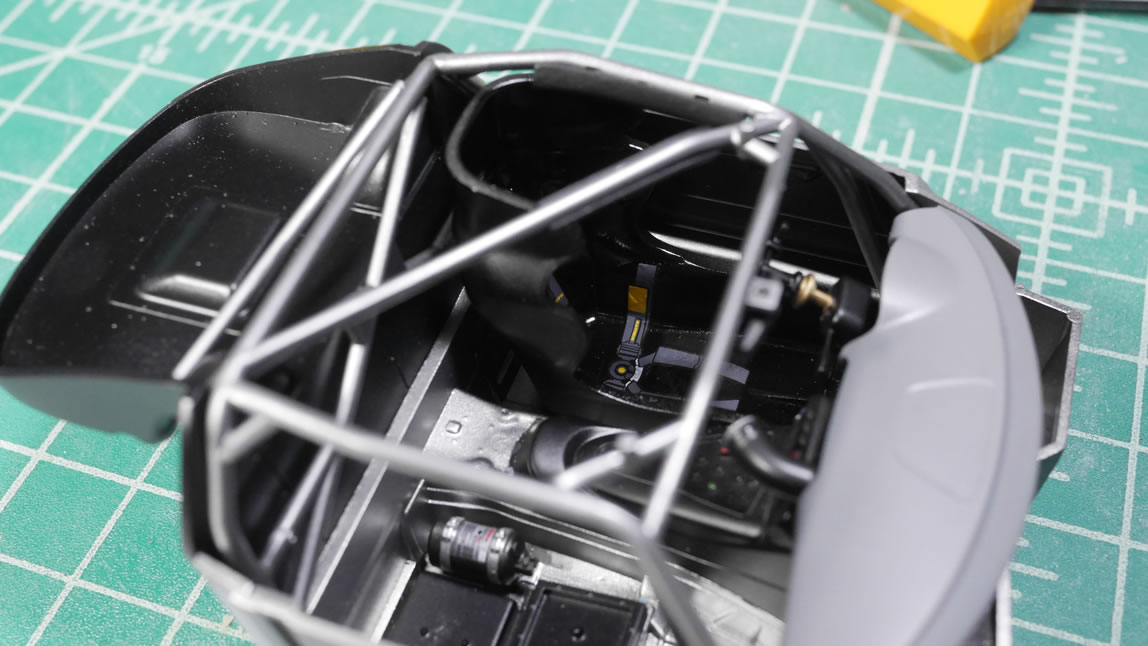
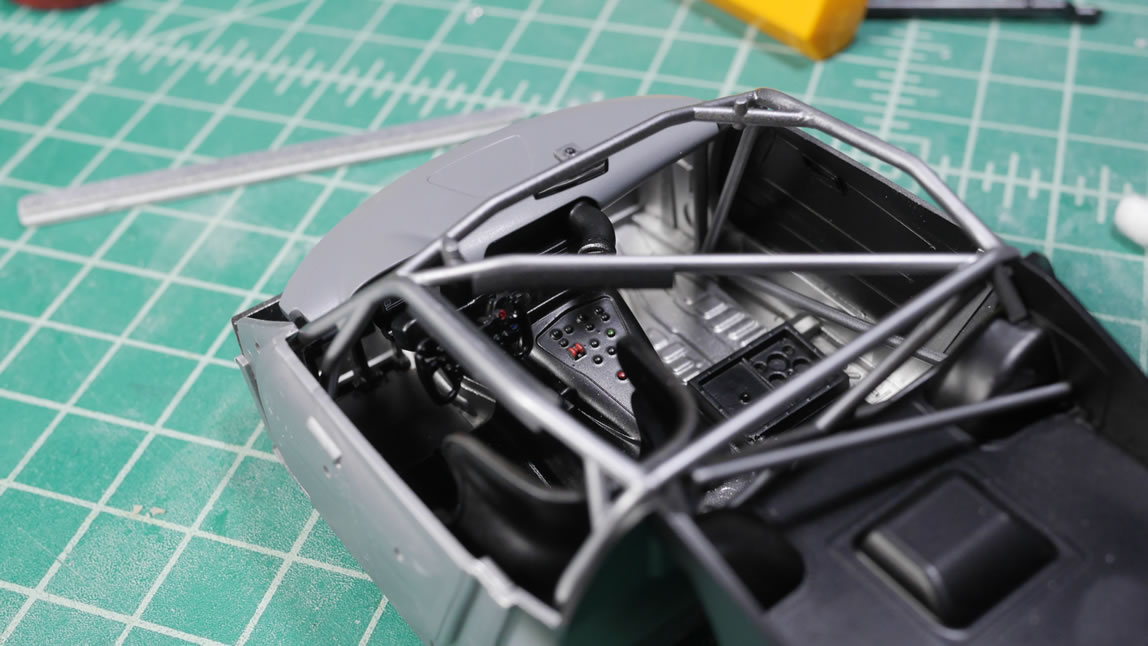
Next up is the cockpit so to speak. I glued the roll cage together since I needed to putty up some of the attachment points. Again, things that will most likely NOT be seeable once the whole thing is put together. After the test fit, gluing, putty, and sanding, the cage as well as the cockpit tub is primed. Then placed on the recently finished chassis for a quick snap.
More on this update after the jump.
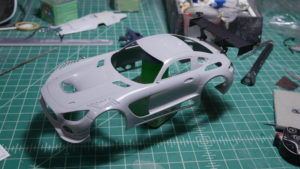
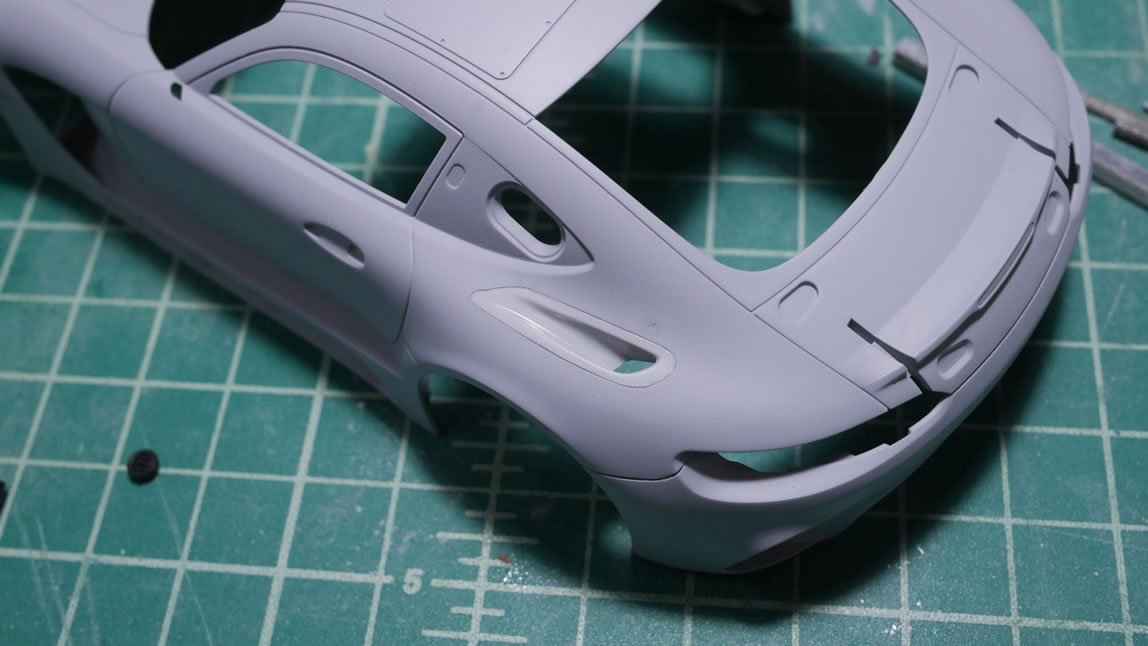
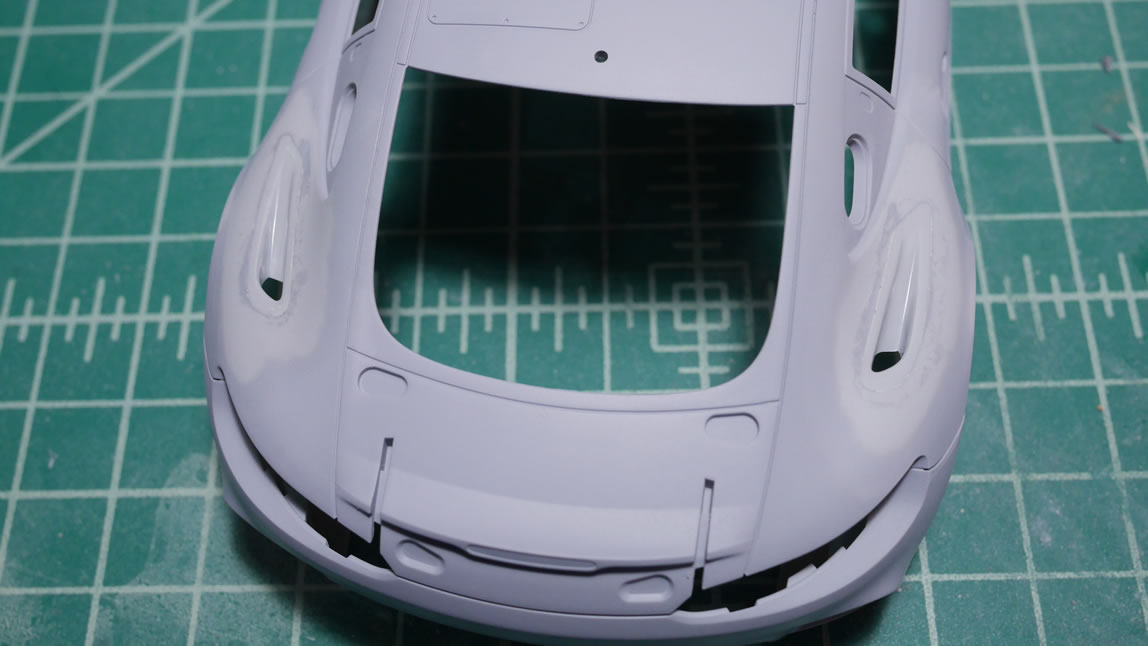
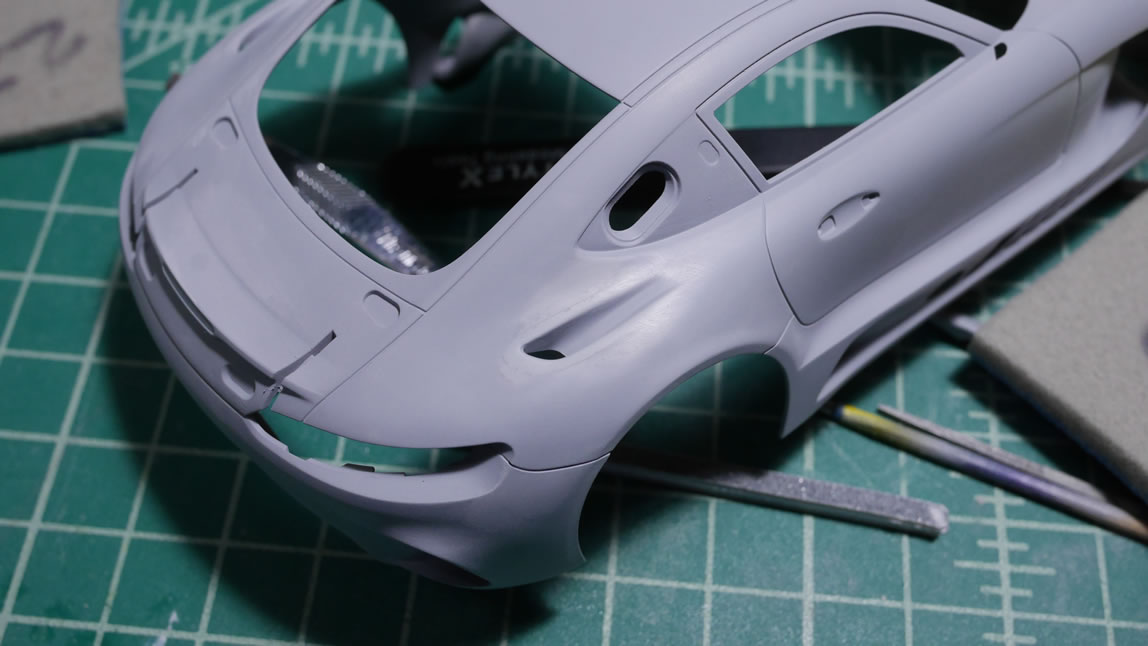
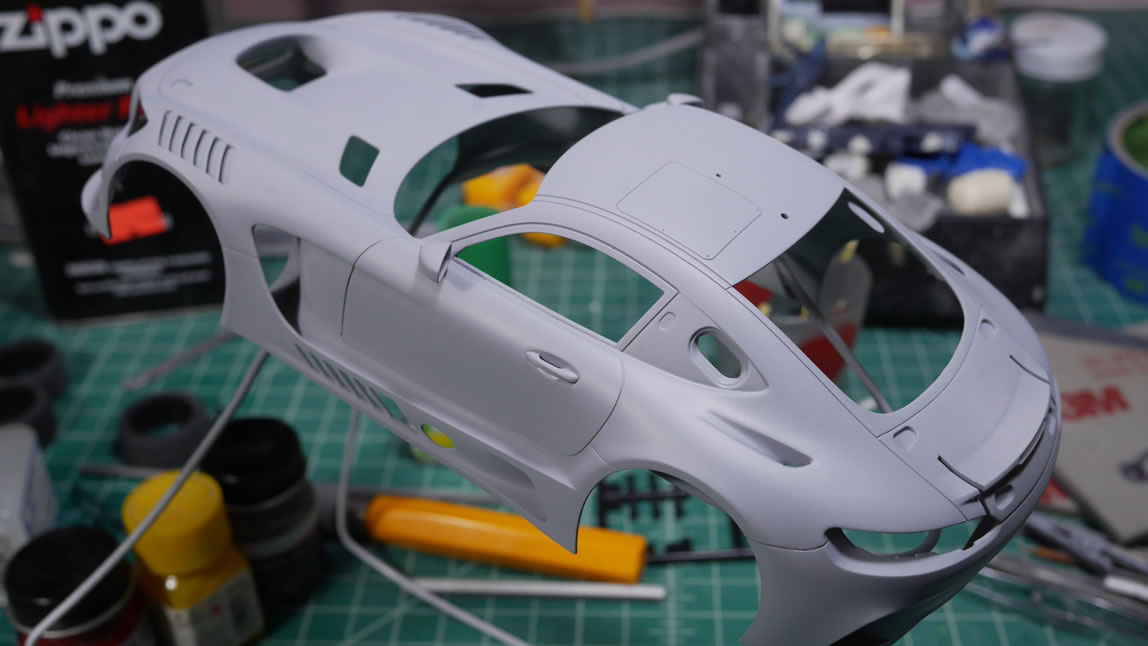
This is what I had been avoiding. The body work. To make things a little more digestible. I decided to work on the body in sections. Gluing lower rear and underside panels first. Then sanding, puttying, and priming to get them seamless. Then I added the underhood body panel.
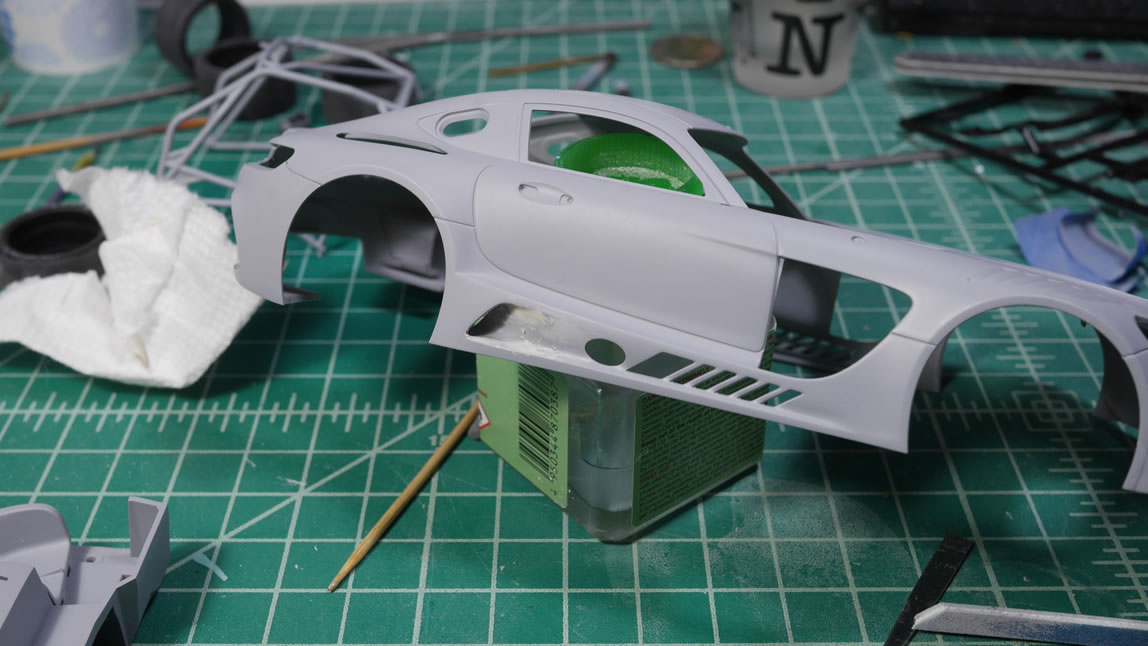
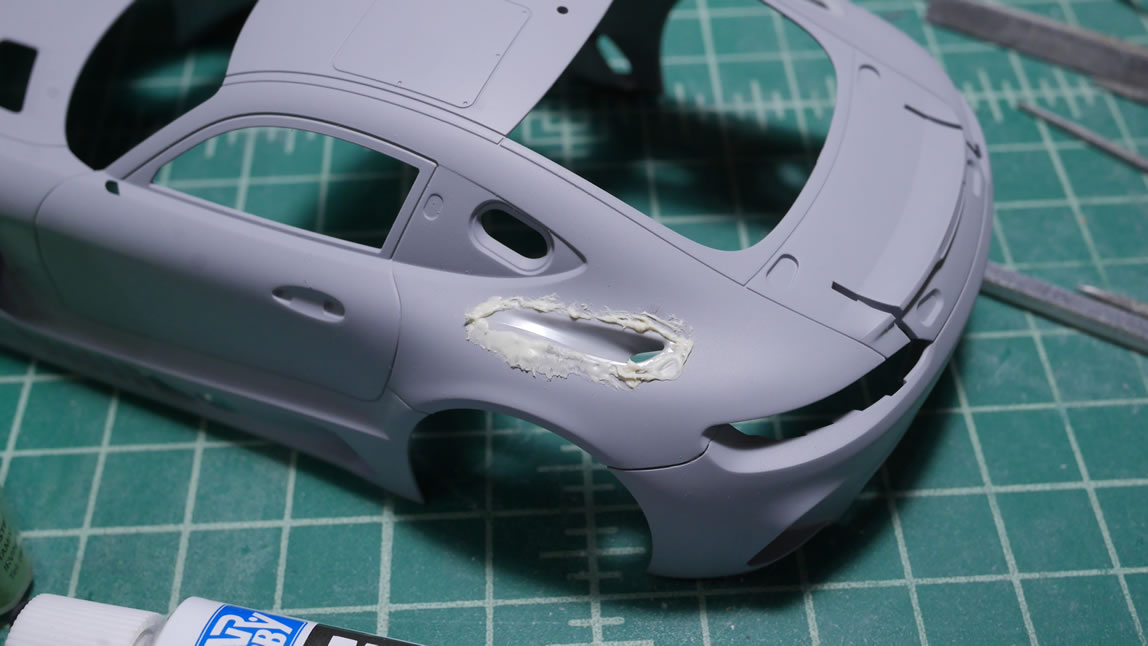
Work on the lower body panel continues. I’m using Mr White Putty since I’m not working in a hurry. Traveling during the week slows down progress so I stick with the slow curing putties.
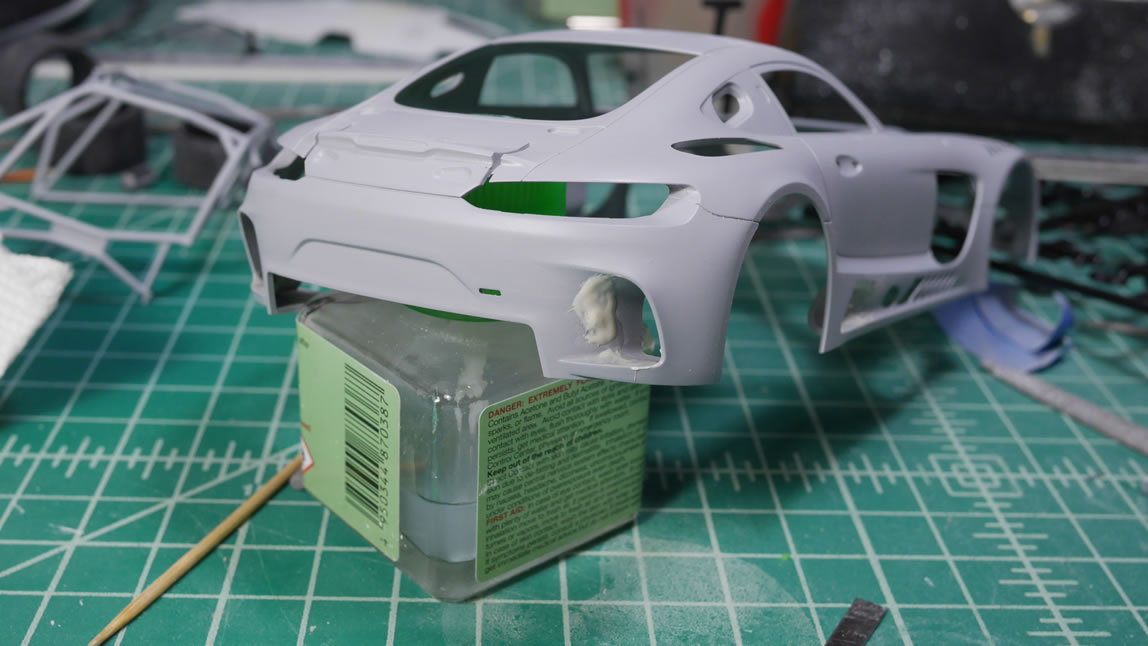
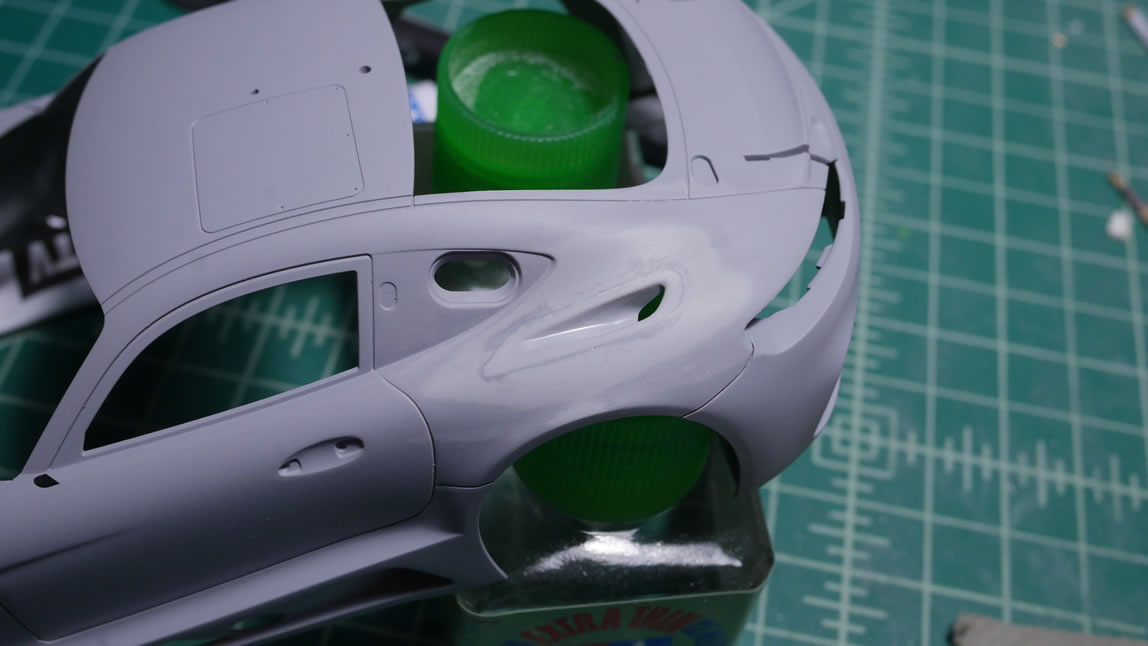
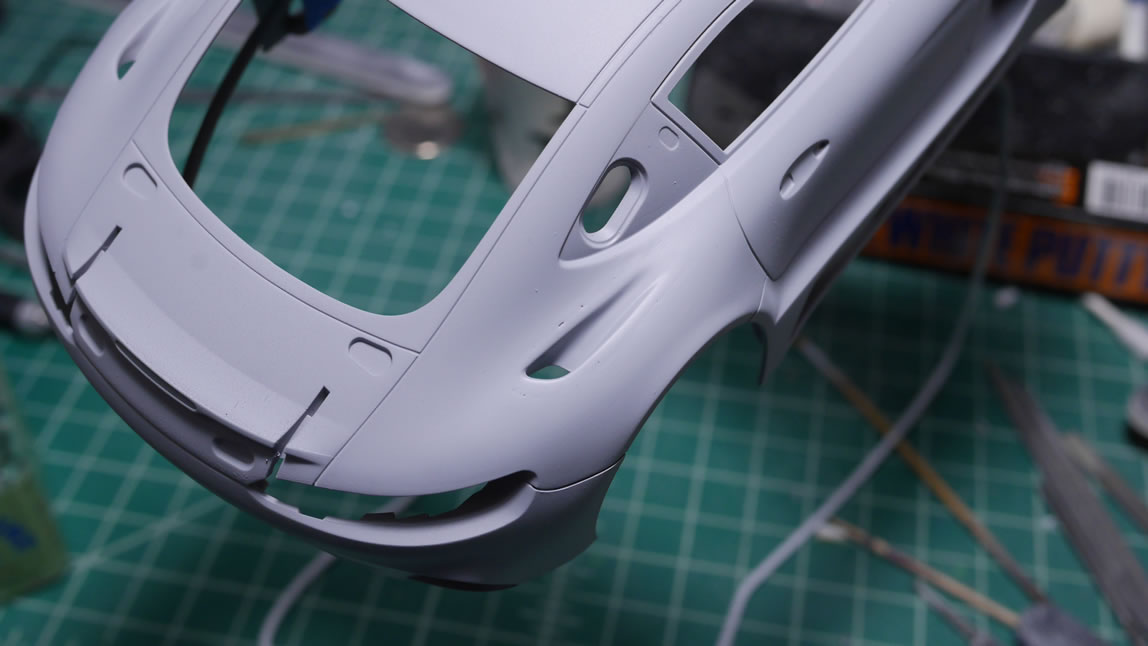
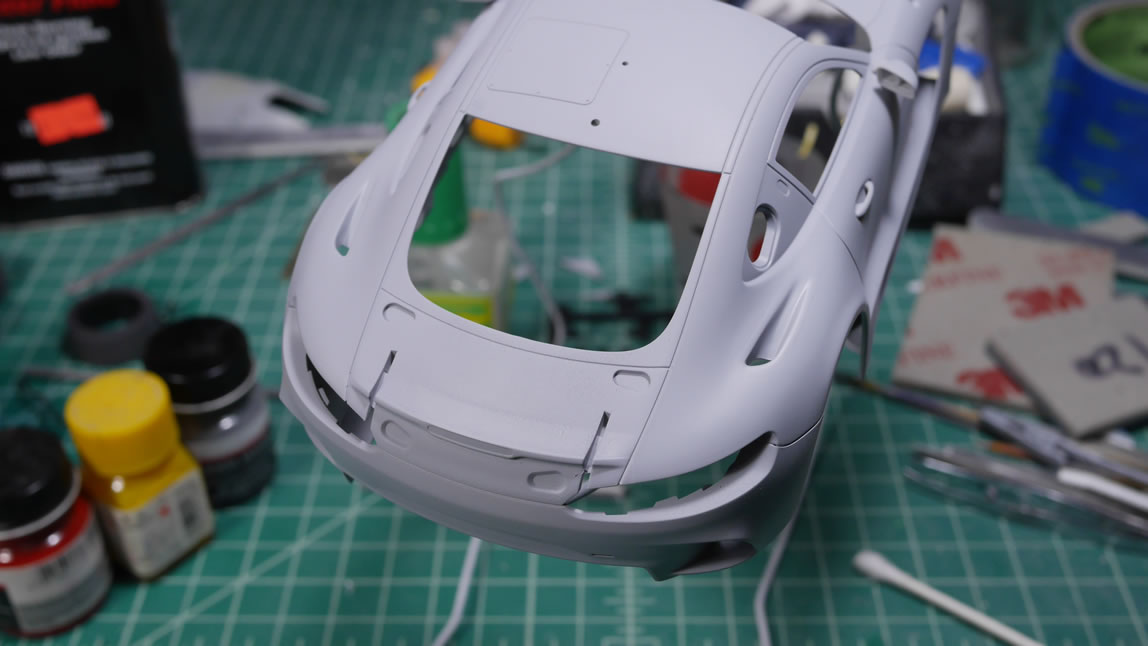
Once those body panels are done. I get to gluing the front side panels and work on putty and sanding everything.
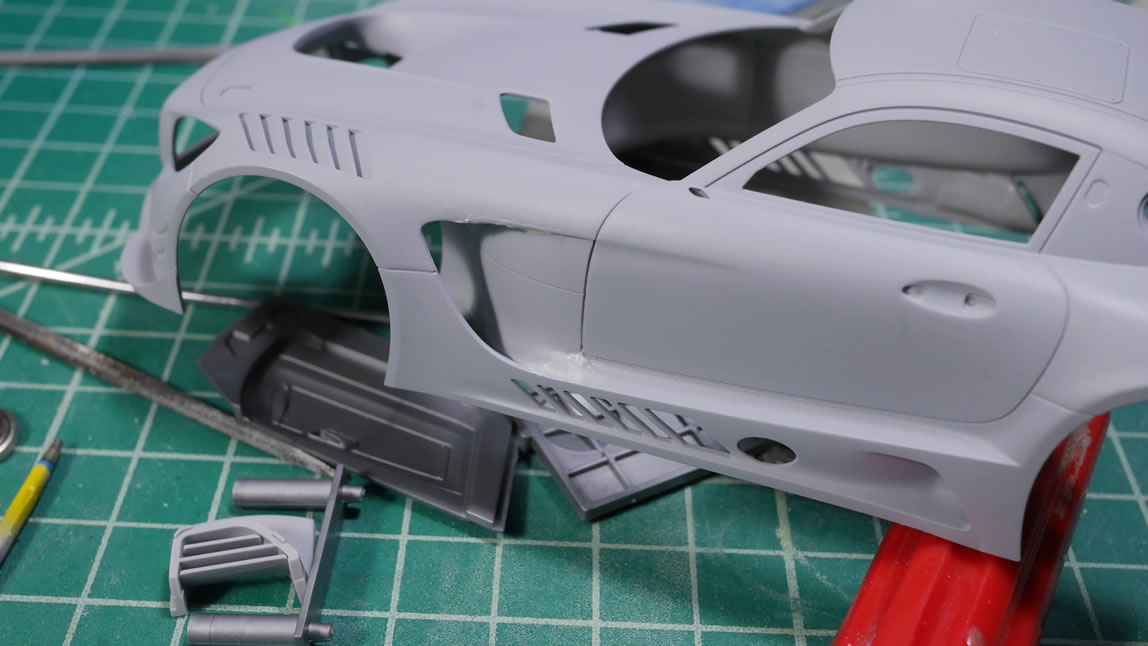
That front area done, I go back to the rear and get the final panels glued into position. Again, Mr White Putty is employed. When the putty is applied, it dries very quickly and is a little stiff to work with and get to sink into the gaps. A little bit of styrene glue brushed over the putty works to melt it and give a little more work time to push the putty and melt it into the gaps.

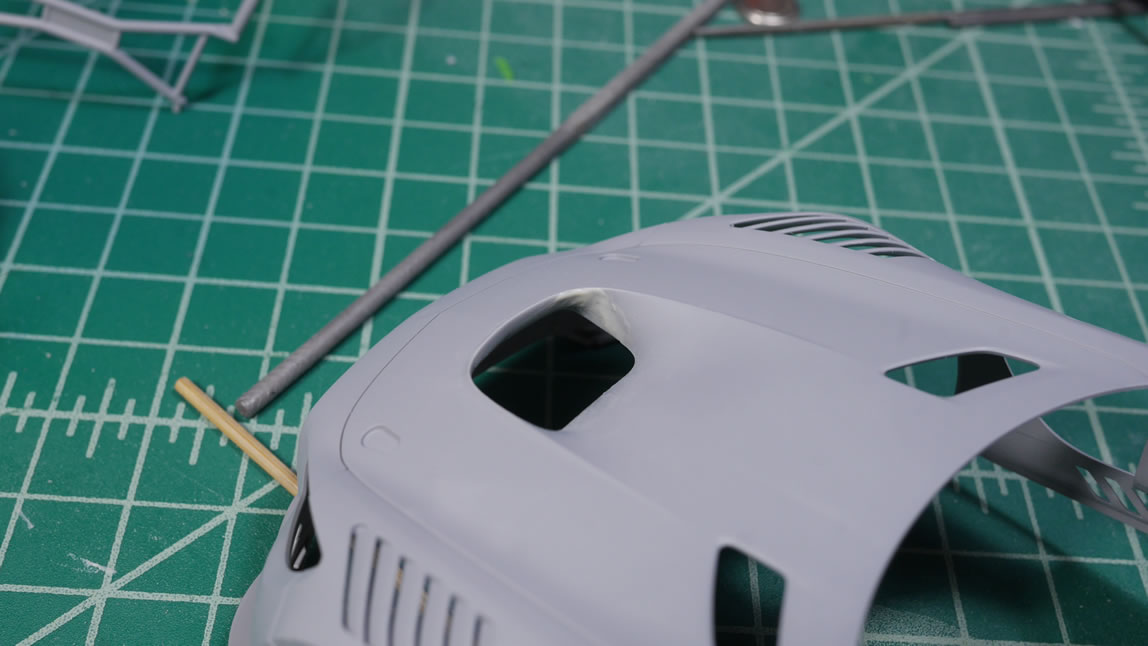
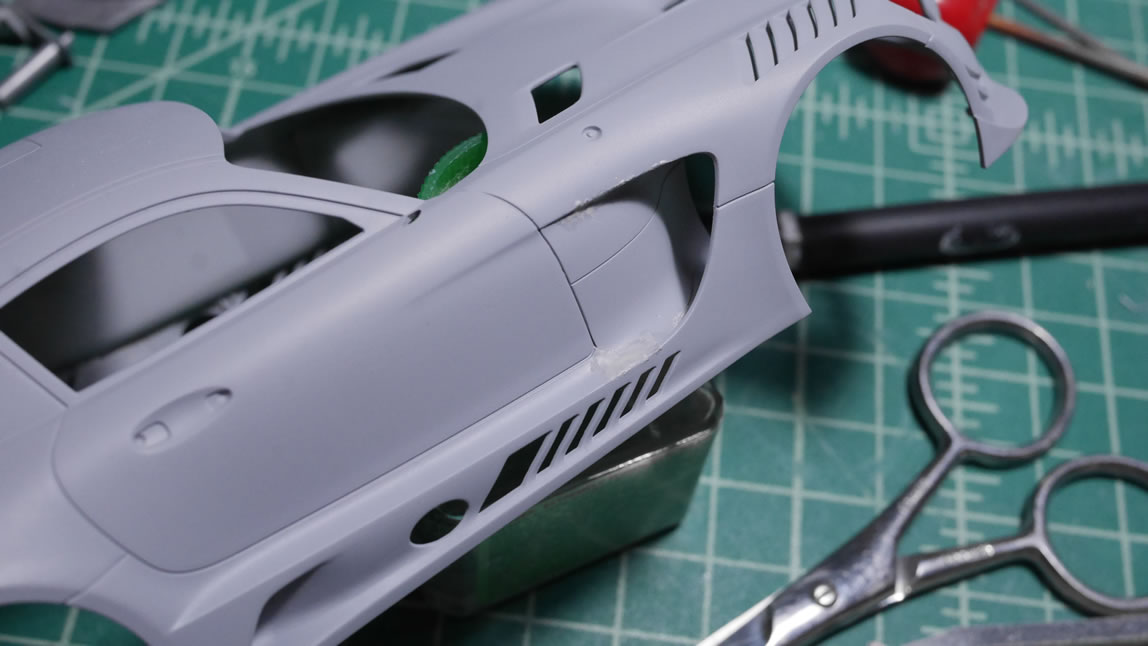
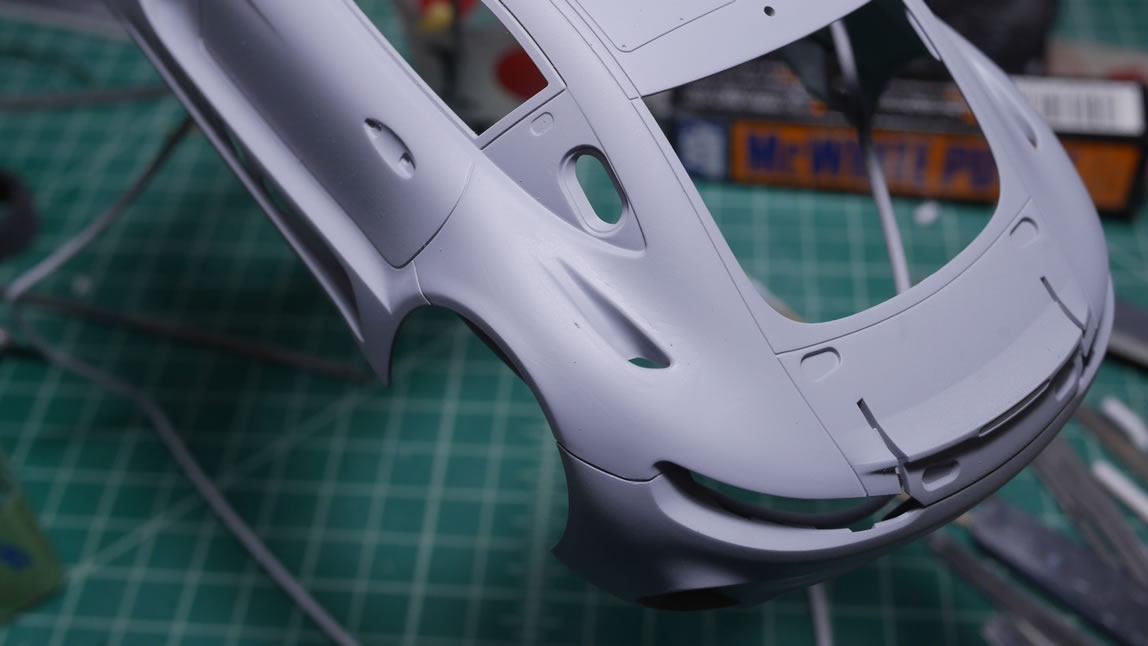
Once cured, the puttied areas are sanded and the surface is prepared for another spot priming session.
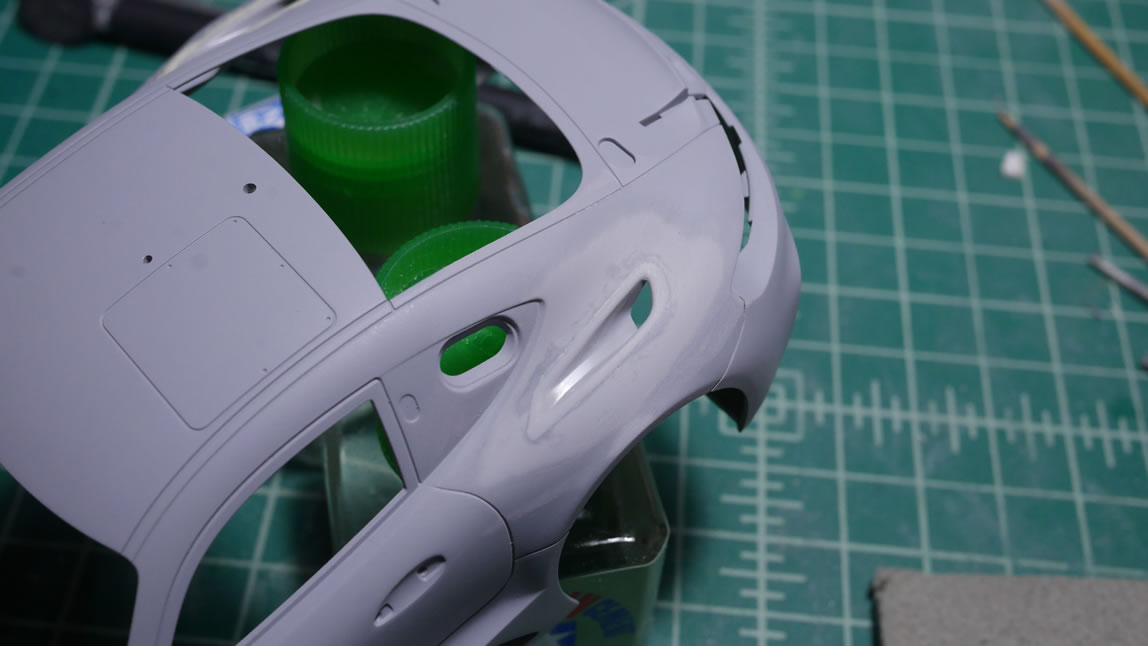
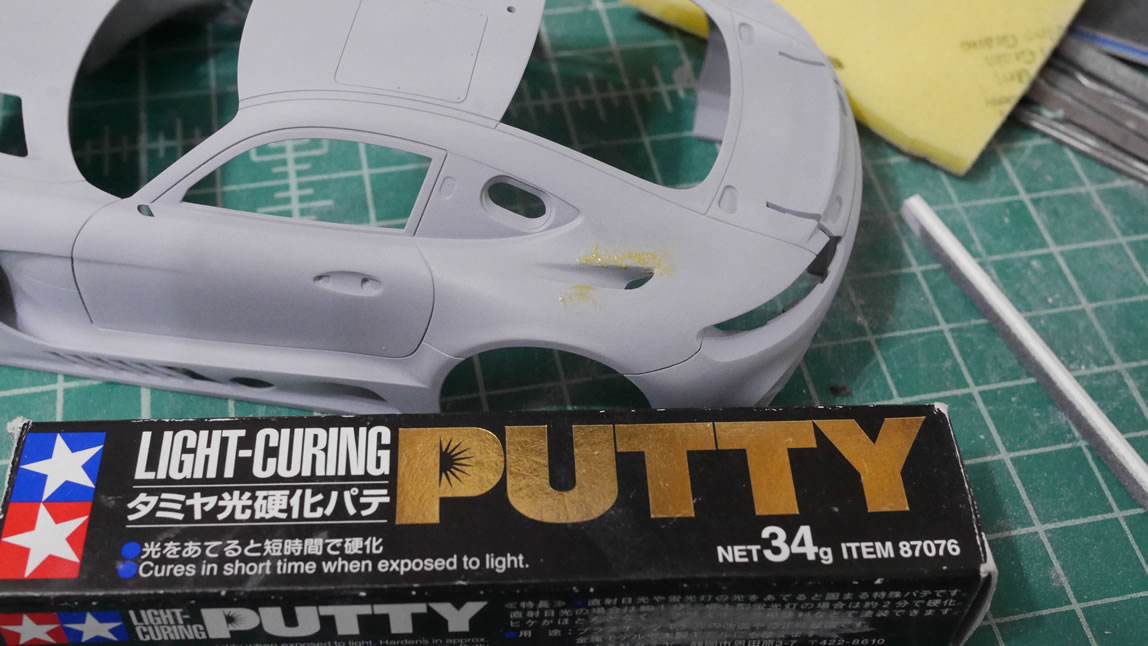
The spot priming revealed a few missed gaps. And at this point, I’ve returned home from a trip so I can ramp up work. For more speedy work, I turn to light curing putty. The putty cures under the lights in less then 2 minutes, so I can get it sanded and primed very quickly. And I only have to wait for the primer to dry to check for the mistake and continue to fix surface issues.
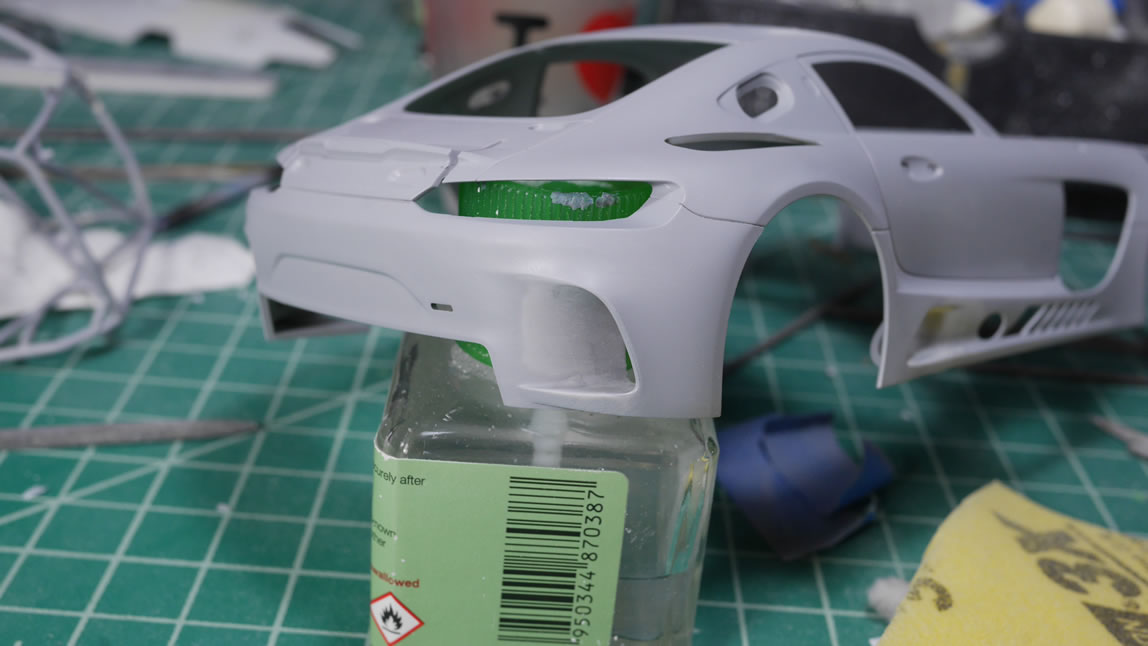
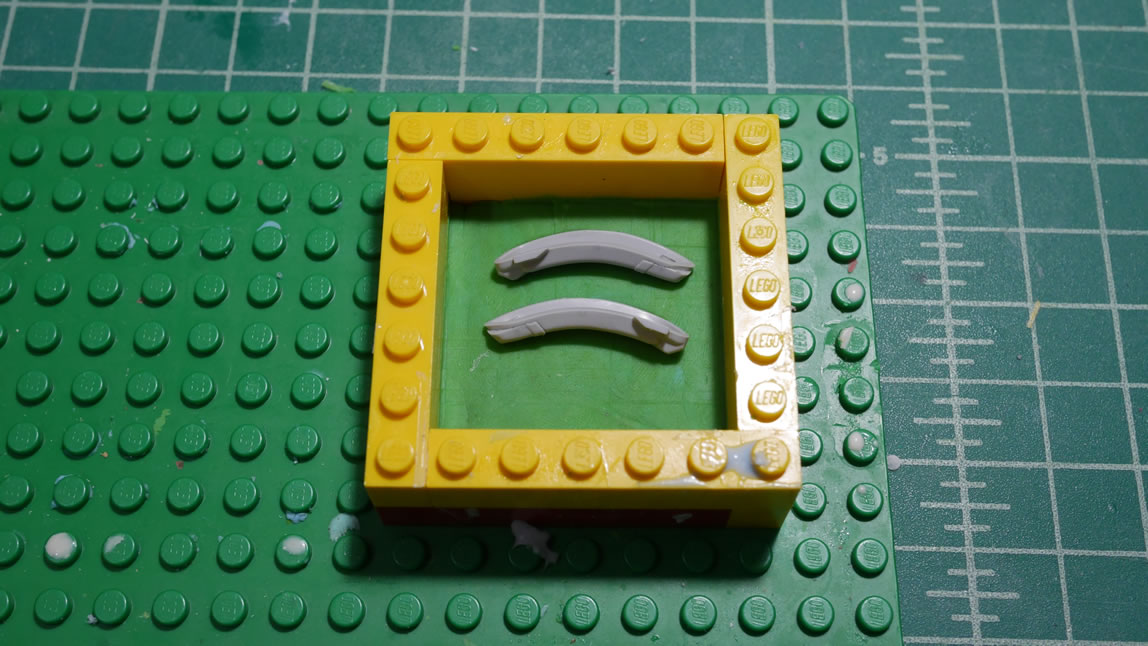
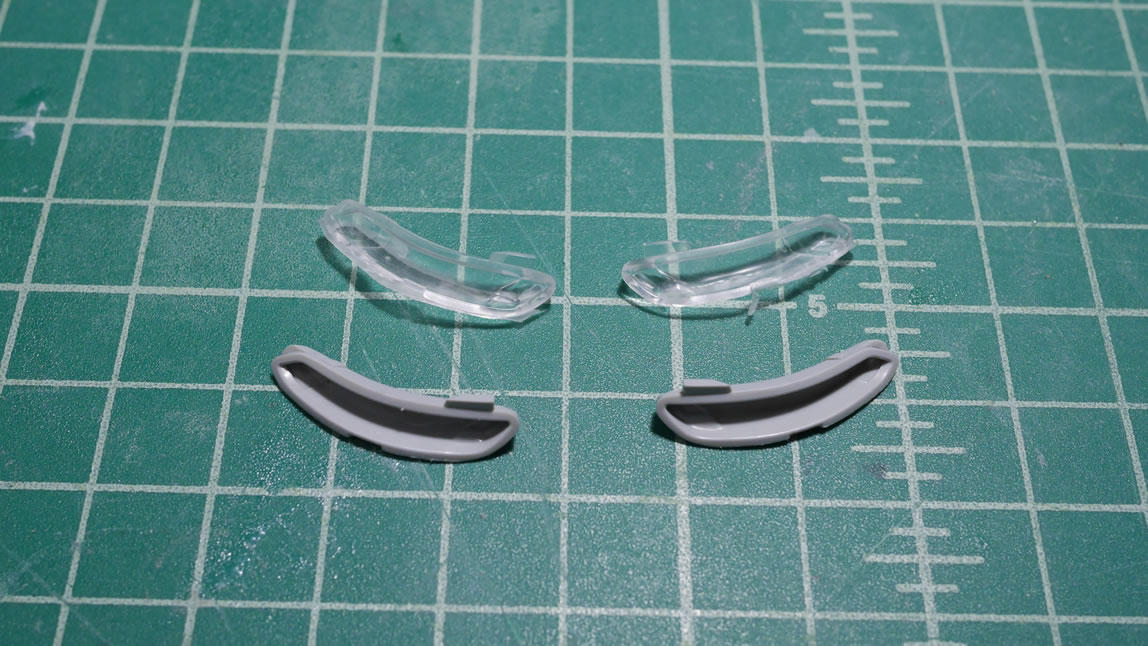
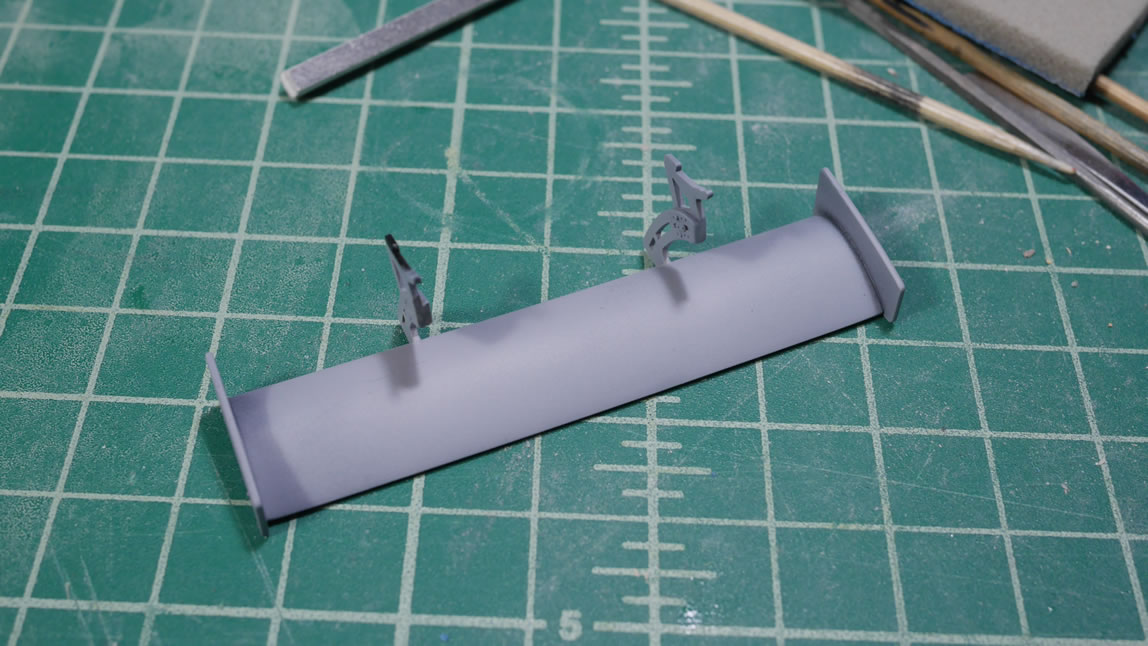
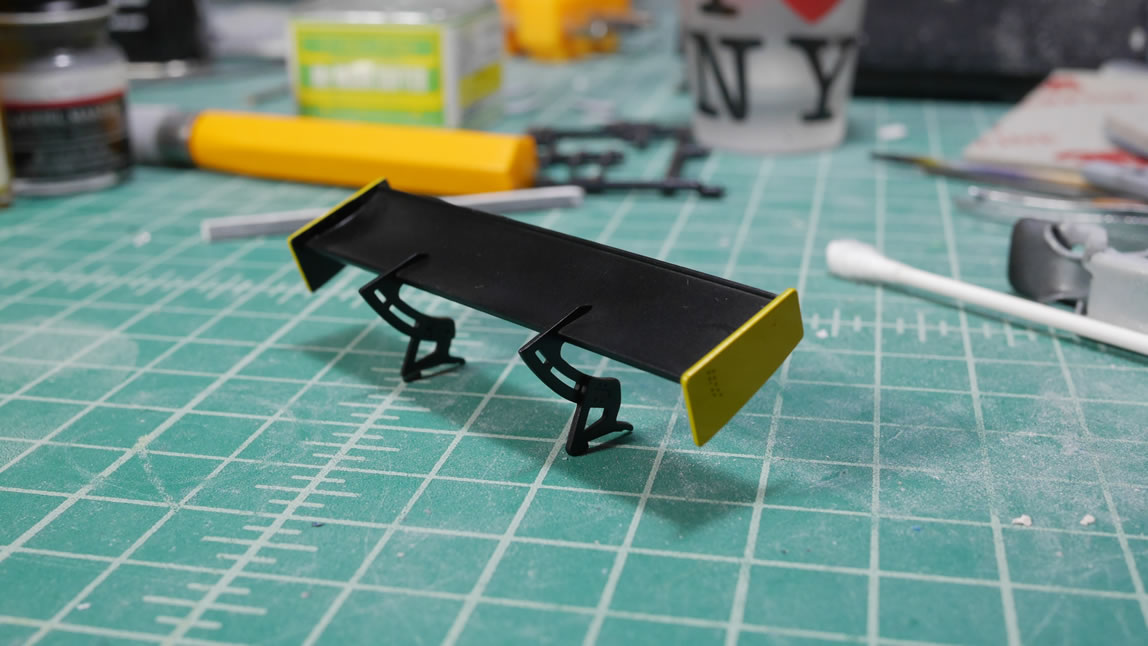
In the meantime, I get back to work on my lighting mod. For the tail lights to work, I needed to make a mold of the rear light housing unit and make a clear resin copy. This way, I can shine an LED from behind and effectively light the taillights. The bottom of the wing’s attachment points were sanded smooth and primed to check for gaps then painted and masked and painted to get the semi gloss black and yellow finish.
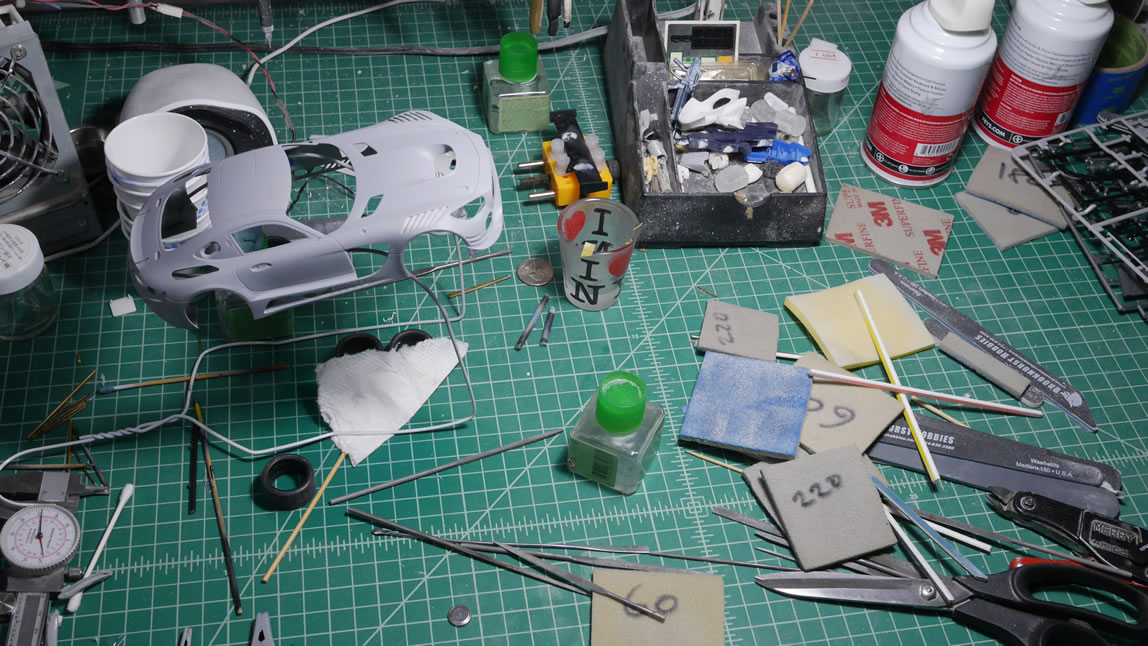
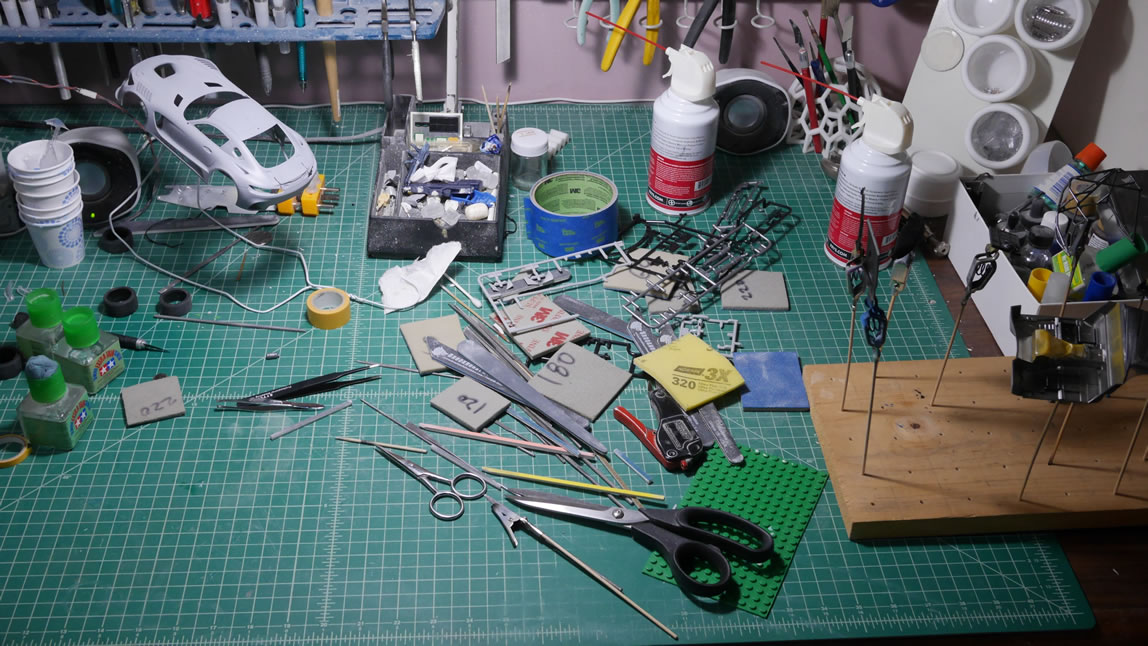
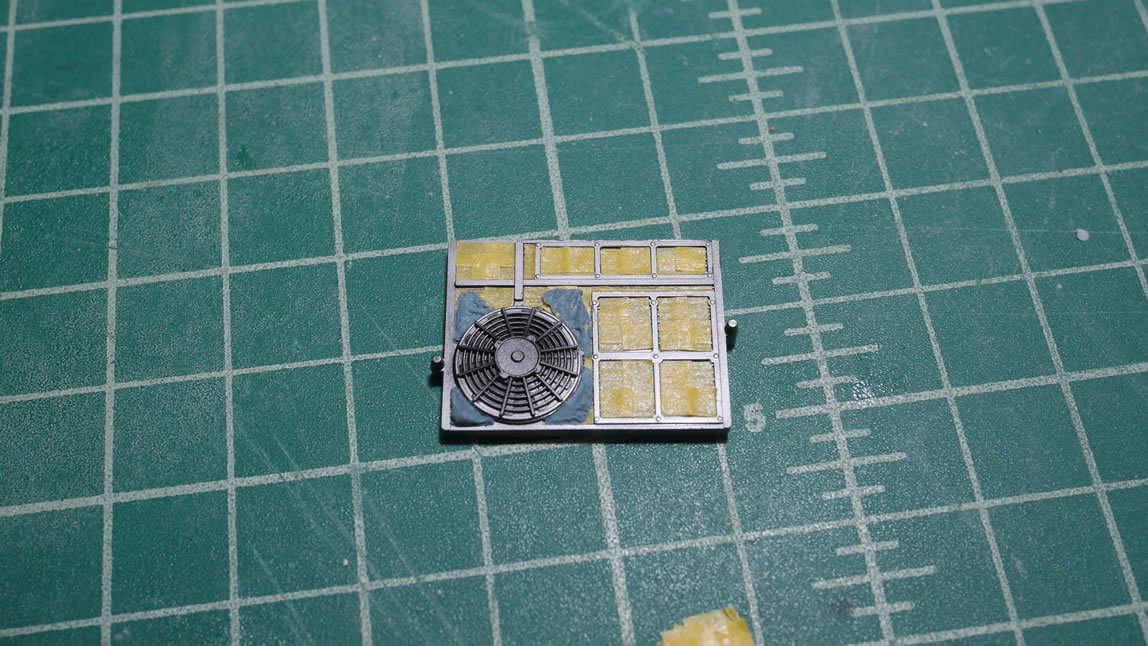
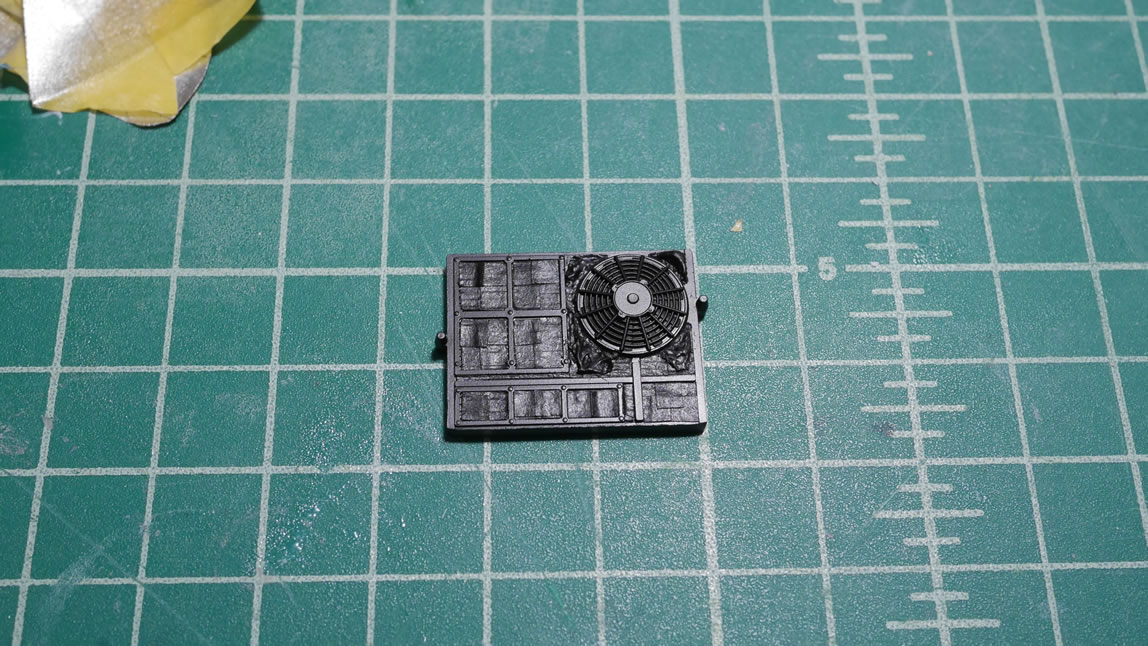
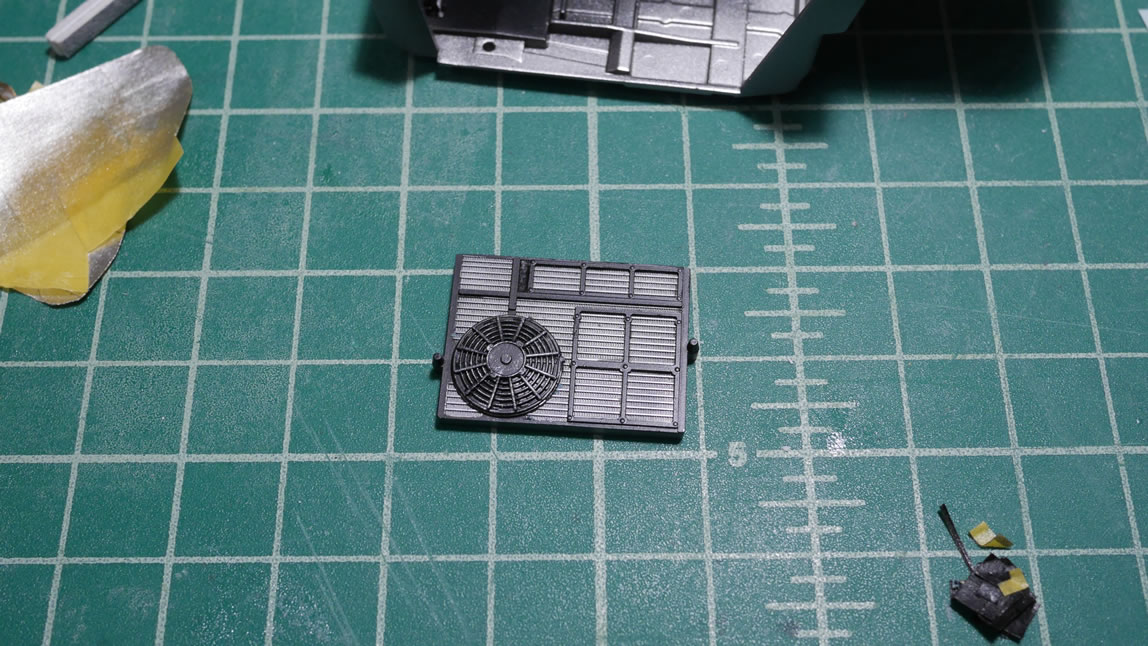
The workshop pretty much stays in the same state as parts are in various stages of work from freshly cut off the trees, to sanded, to primed, to masked and painted. The little engine detail from looking down the open inverted hood scoop piece is painted in aluminum, masked, then painted in semi gloss black. A little dry brushing finishes off the fan piece.
Returning back to the cockpit, everything is painted so time to start gluing things together to complete the cockpit. Some of the decals for this kit are pretty nice. Again, I haven’t built a car kit in a long while, so I’m pretty impressed by the mirror decals and other things that came with the kit.

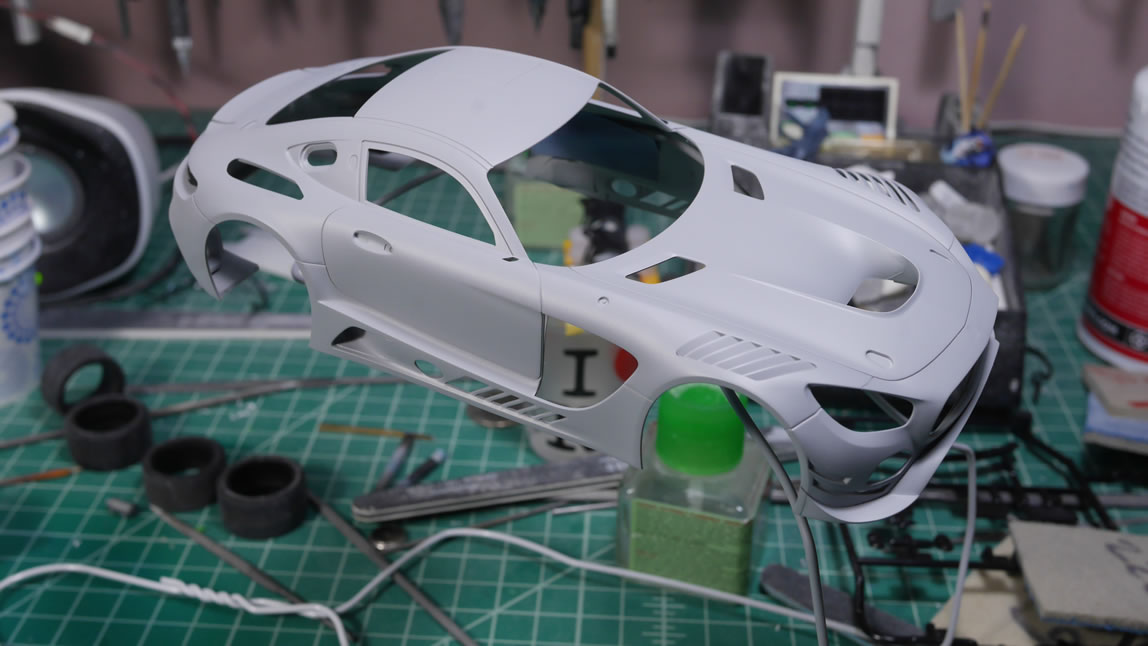
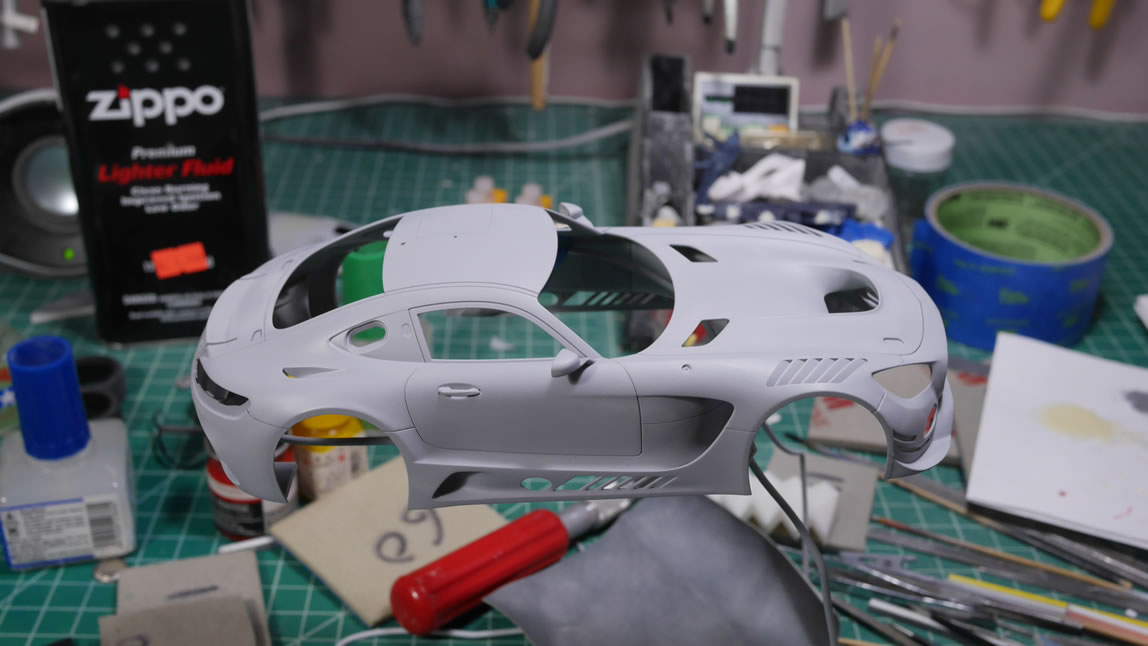
The surface prep for the body is completed. I glued in the door handles and side mirrors as the last bits of the body parts. After the last priming session, a very high grit sanding session was done over the entire body and we are ready for paint.
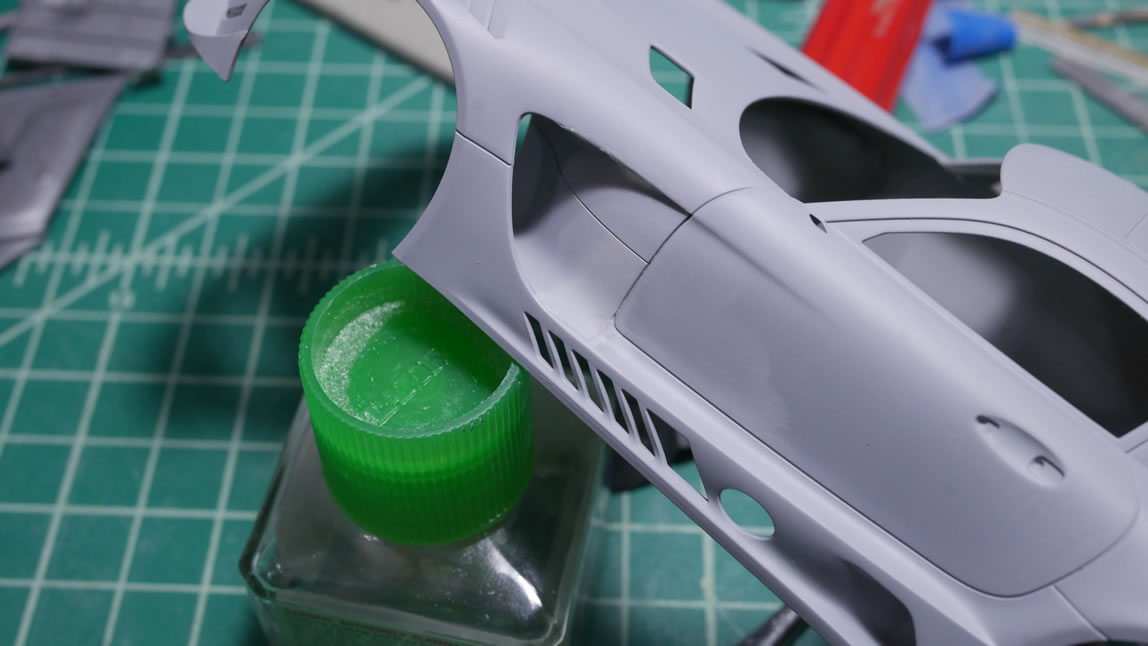
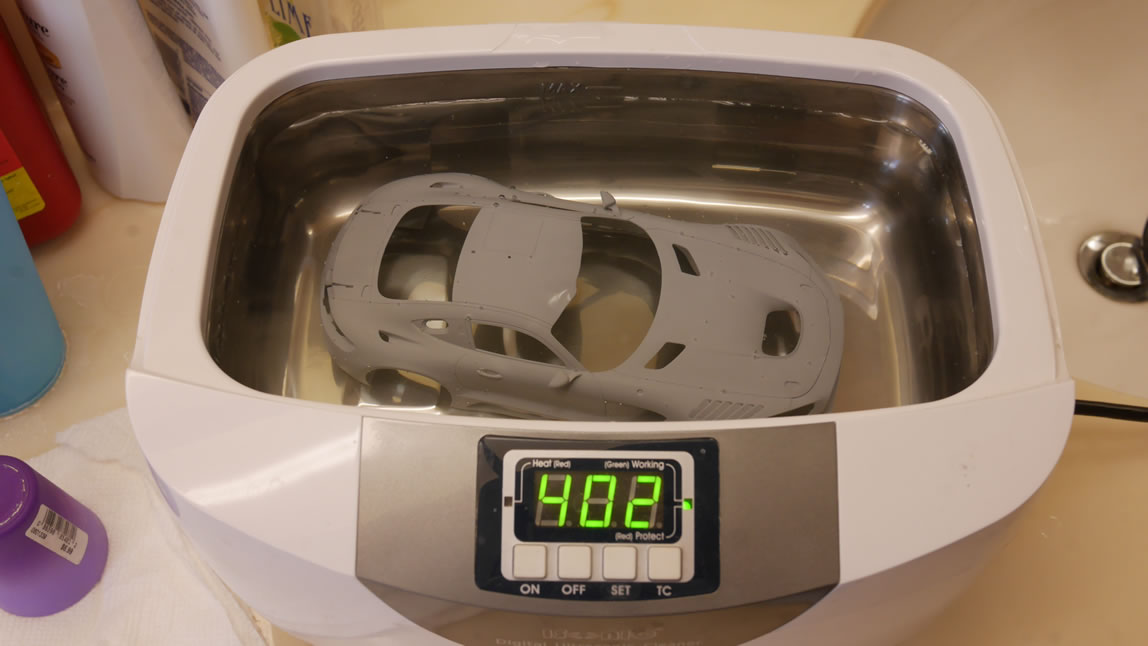
The very last step before the paint is the run the body in some water in the ultrasonic cleaner to really clean the body up of all primer dust or any other things that may have been missed and stick sticking to the body.
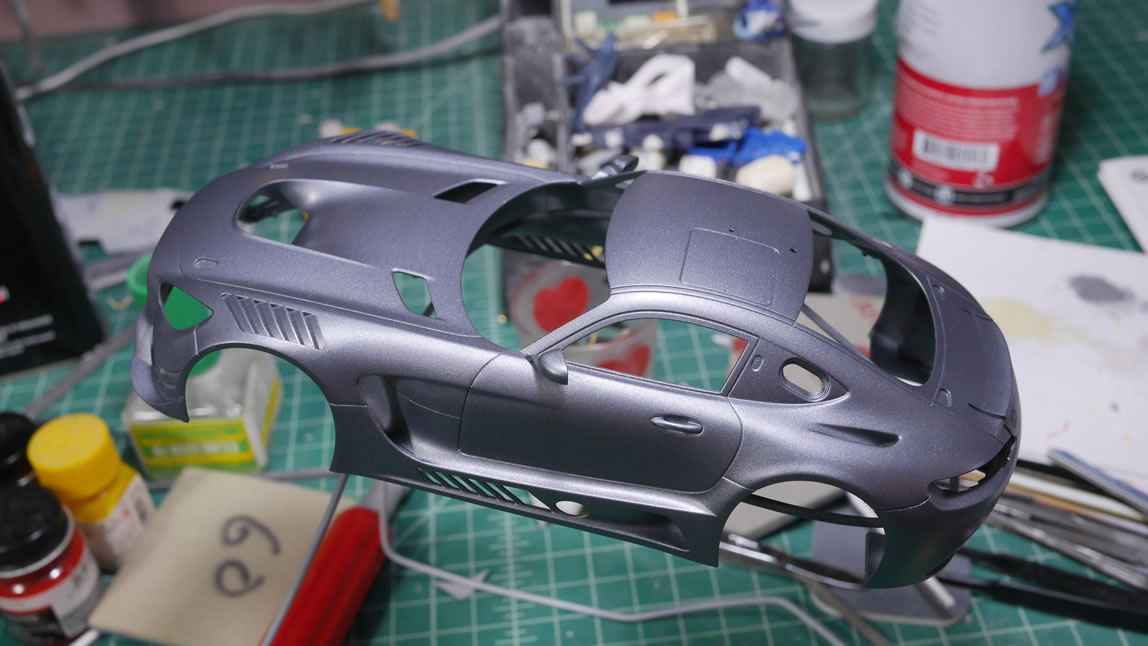
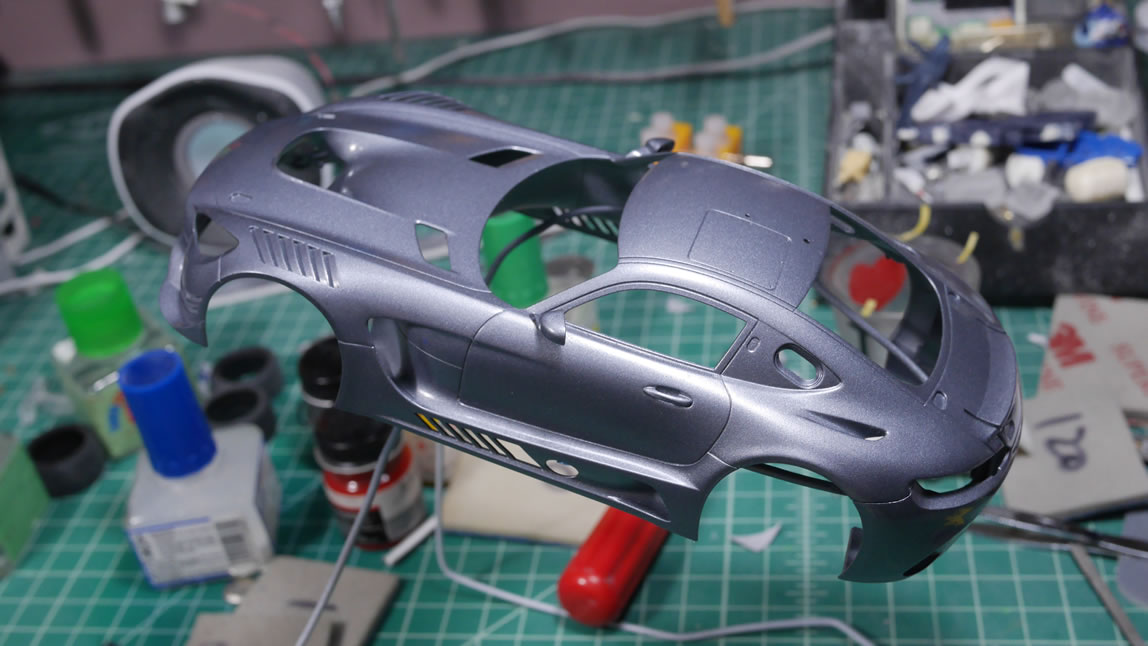
Once dry, the body is painted with a heated up can of tamiya spray TS-100 semi-gloss bright gun metal per the instructions. There are two pictures below. The first is taken after spraying the main body color. The second is after spraying Mr Super Clear Gloss over the entire body. The final finish for the kit will be semi-gloss, but since I still need to decal the crap out of the body, I need as glossy a surface as possible. This is the first layer of gloss. I may spray another layer of gloss after I’ve let this layer completely cure.
Progress is finally moving on the kit. There are still a few bits on the runners, but I’ll get to those soon enough.