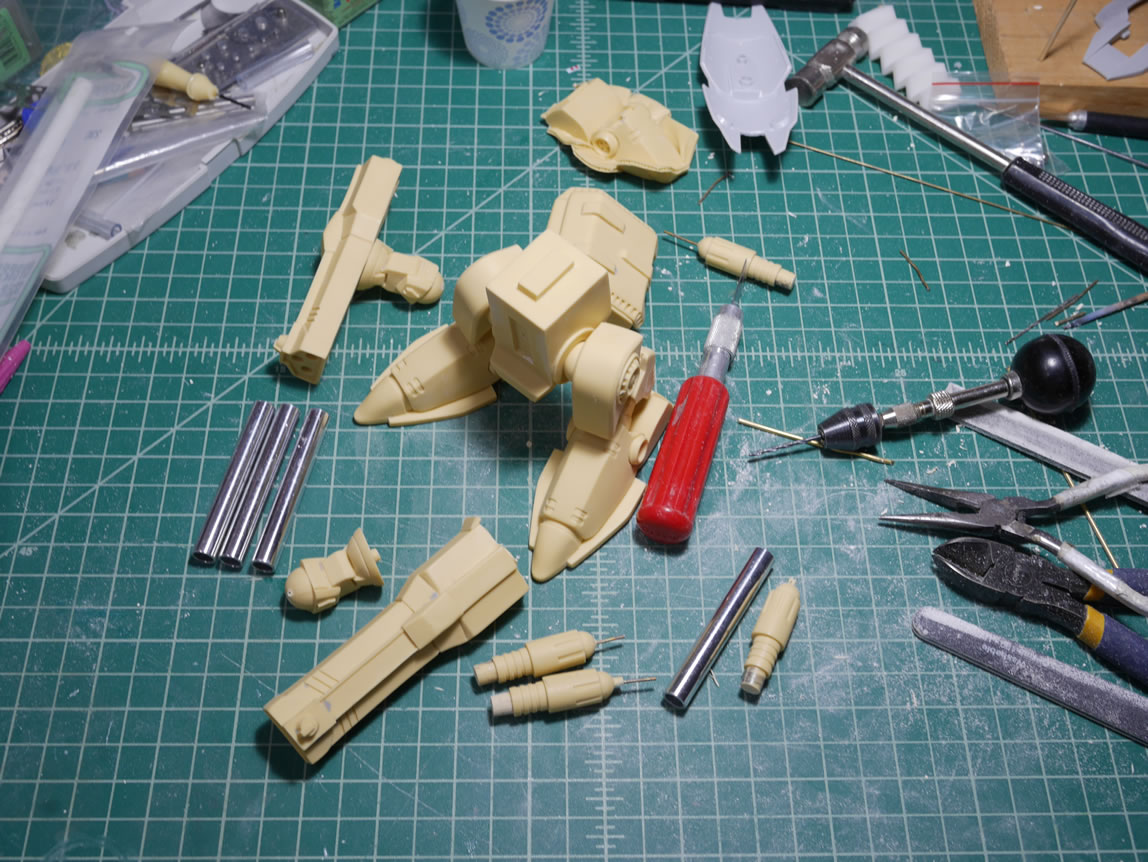
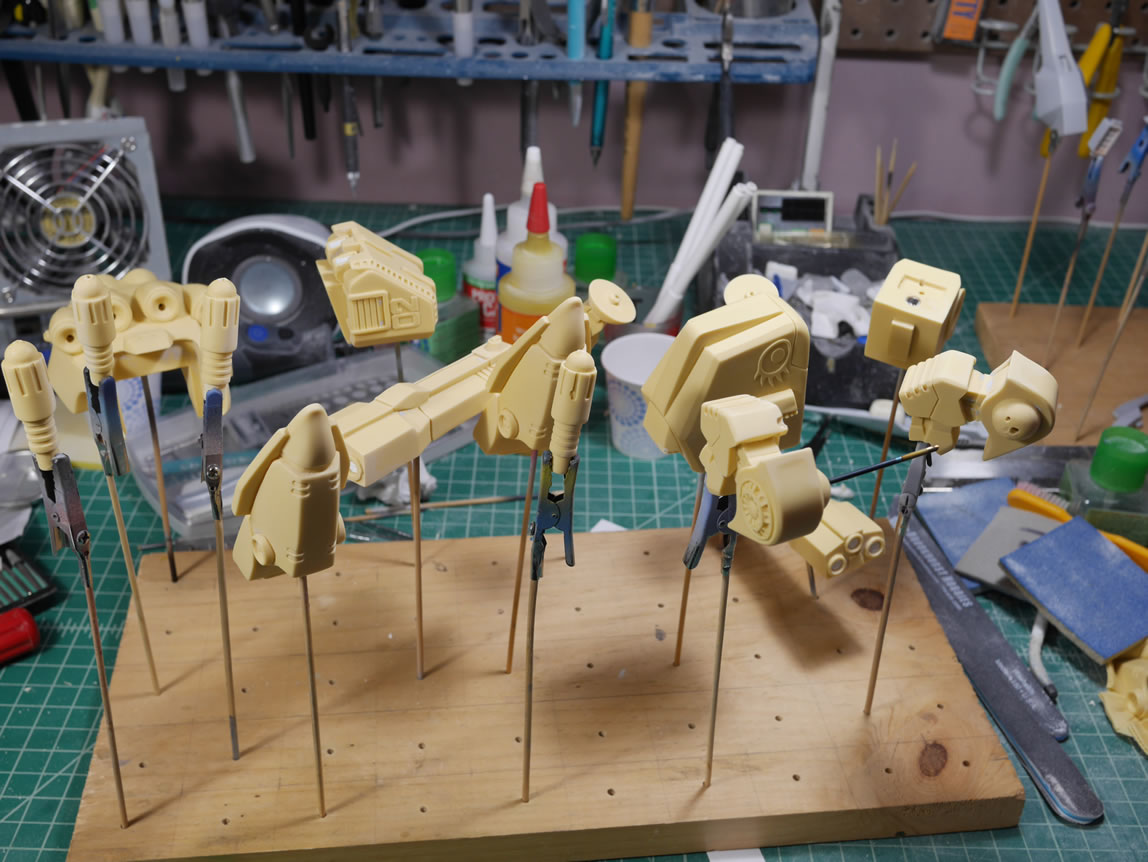
I picked up this kit on a trip to Hong Kong in 2011 from a shop that no longer exists. This was a recast from a series of SD Macross kits made by Metal Box as a limited run kit for Wonfes 2011 winter. The casting isn’t too bad. I did find a bubble here and there and there was a gap issue that I needed to fix. But overall, the kit is a pretty solid piece of resin. I had originally pinned this guy way back in 2011/2012 but had shelved it for various reasons. Then after my move in 2015, it kinda got lost in my stash of kits. After seeing all the cool SD kits at SCGMC, I feel the need to get one quickly done. A resin SD kit may actually be easier to build than a Bandai IP SD kit. I don’t have to deal with seams. Revisiting the kit, some of the pinning was rather poor. The thing is damn heavy, so I needed to repin using a much thicker brass rod. Here’s what the kit looked like a few nights ago.
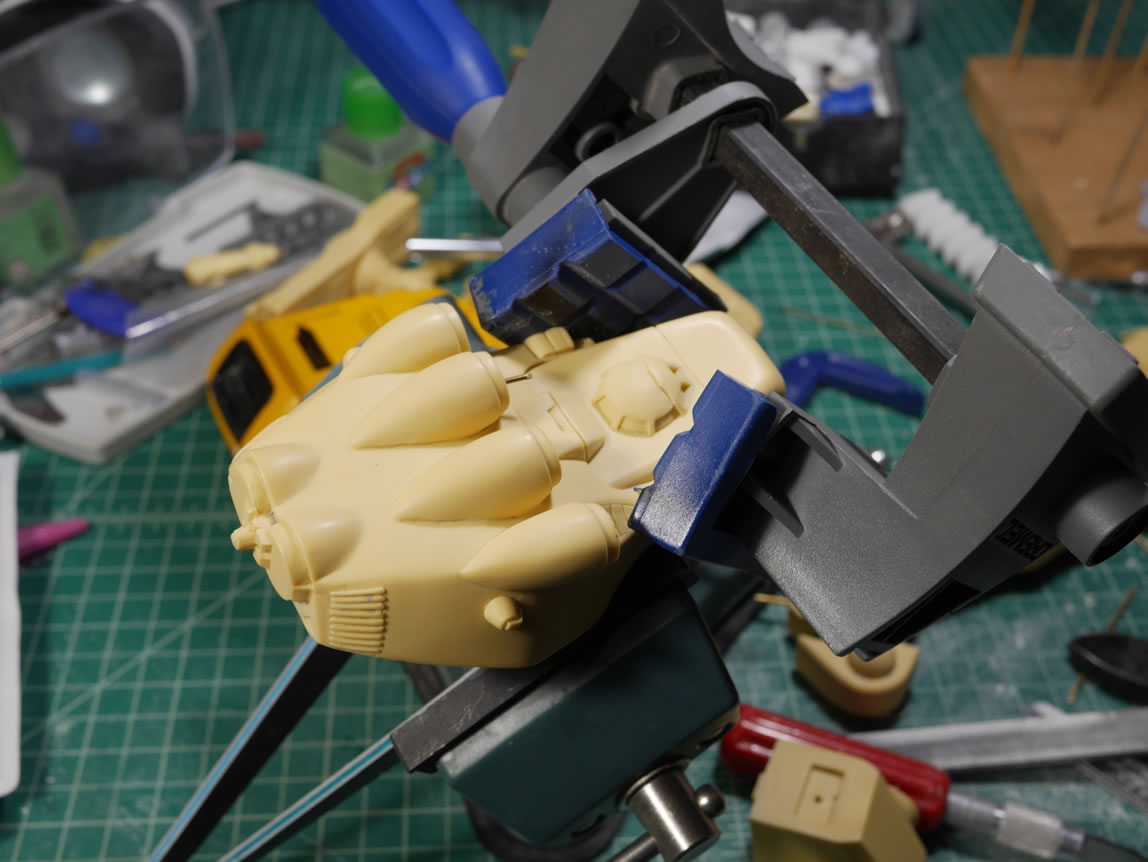
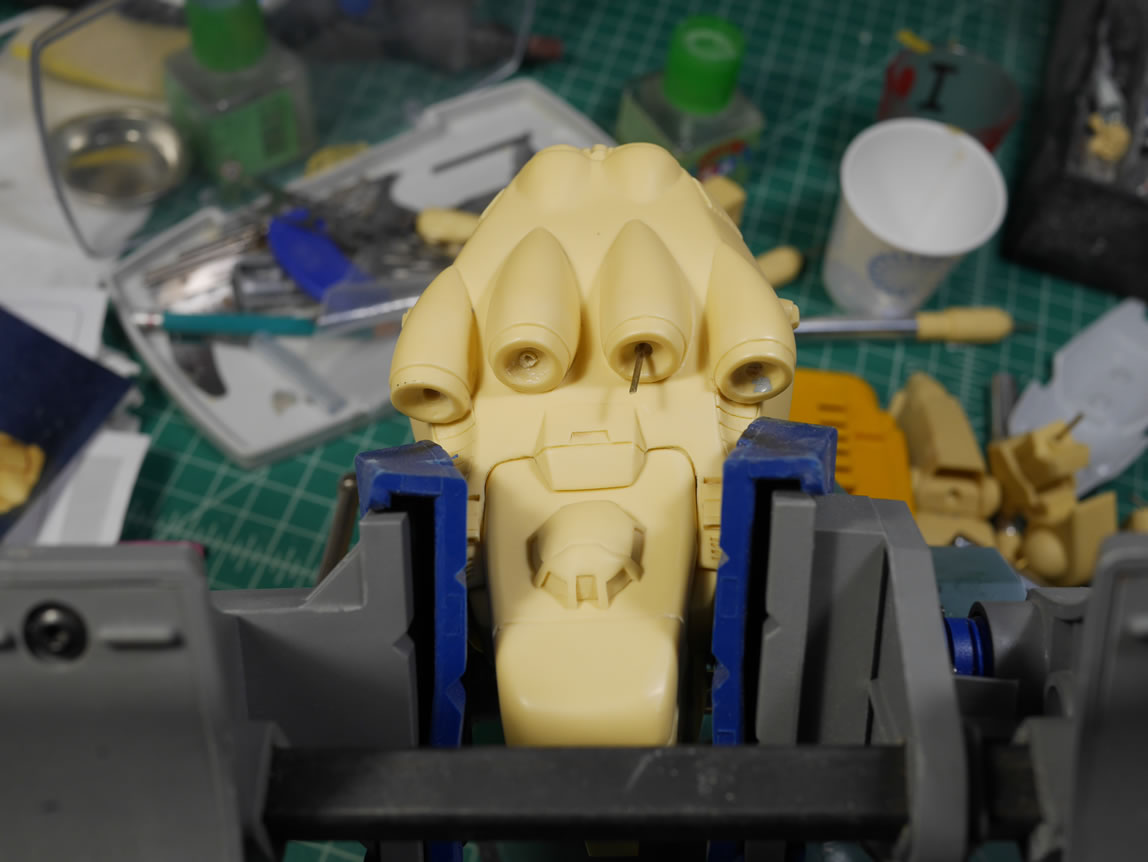
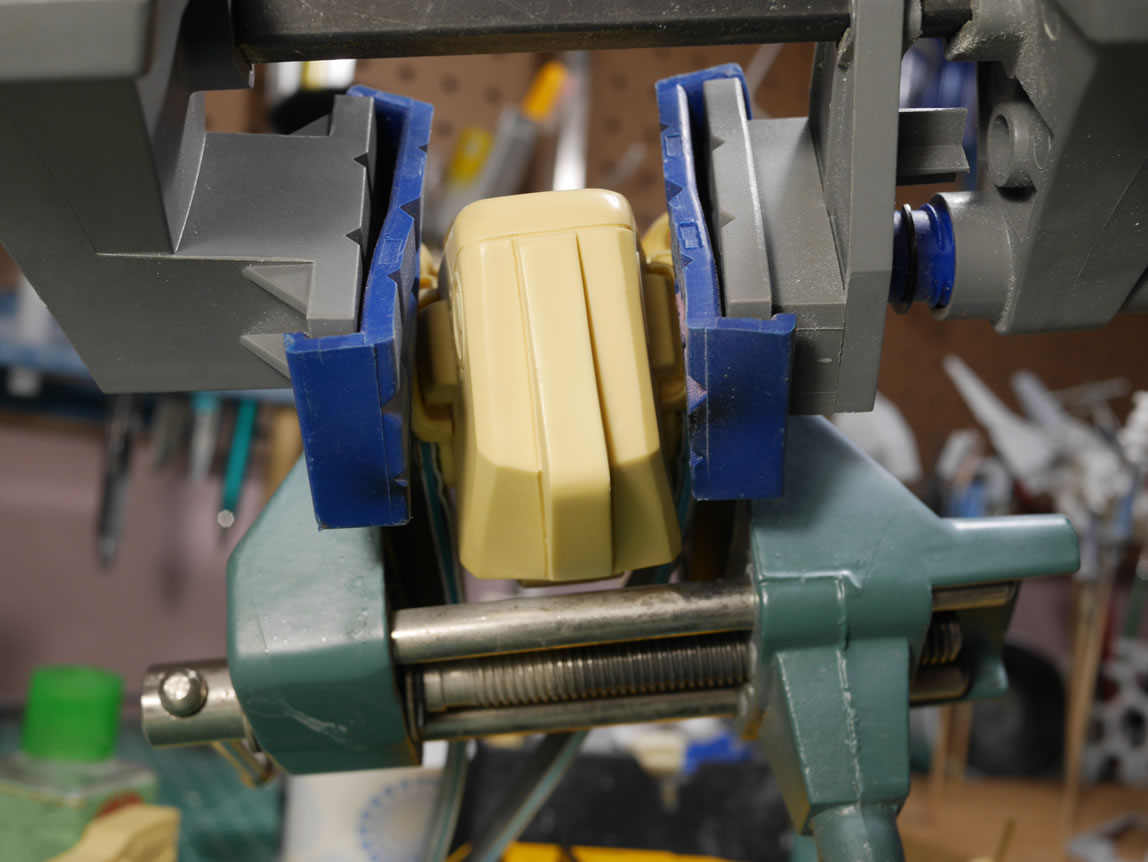
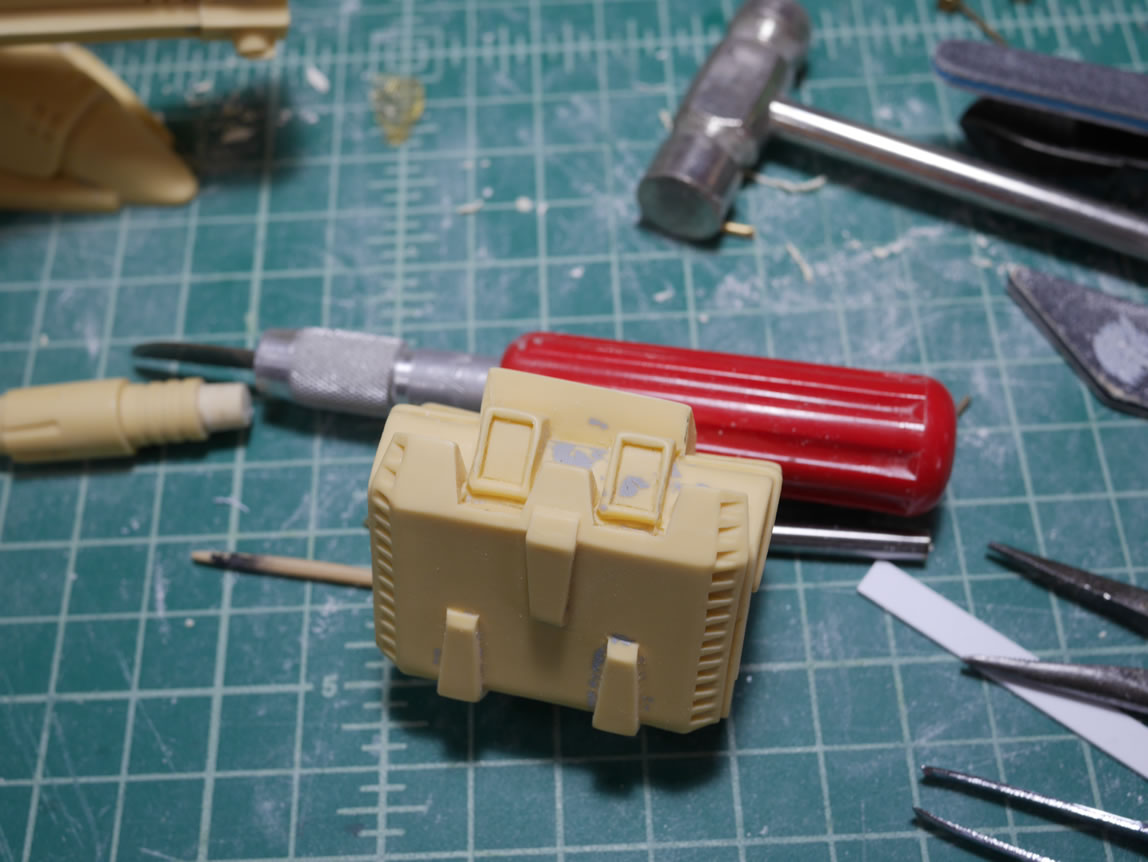
In the following picture, you may be able to see a bit of a gap between the main body and the head. This is a typical problem when working with recasts and in some cases, original resin kits as well. Unless you’re working on a Volks kit, chances are there will be fit issues that need to be addressed.
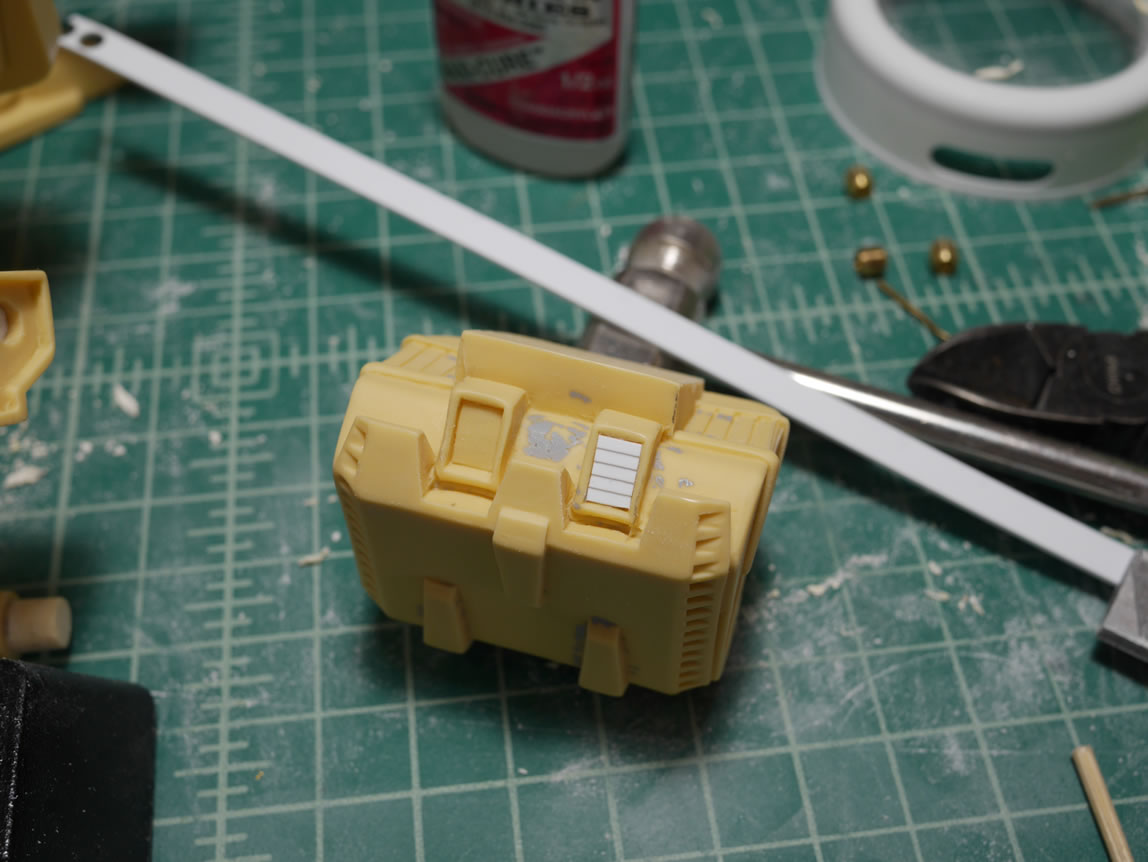
Using some vices, the main body is clamped and fitted on to the head piece. What’s not pictured here is an application of heat with a hair dryer. The heat helps soften the resin and with the clamps in place, once the resin cools, it will hold the new shape. I applied a decent amount of heat with the hair dryer so I left this assembly alone overnight to gradually cool and keep shape. Now the gap is greatly diminished.
Here’s a picture of the repinning process drilling some bigger holes to fit a thicker brass rod.
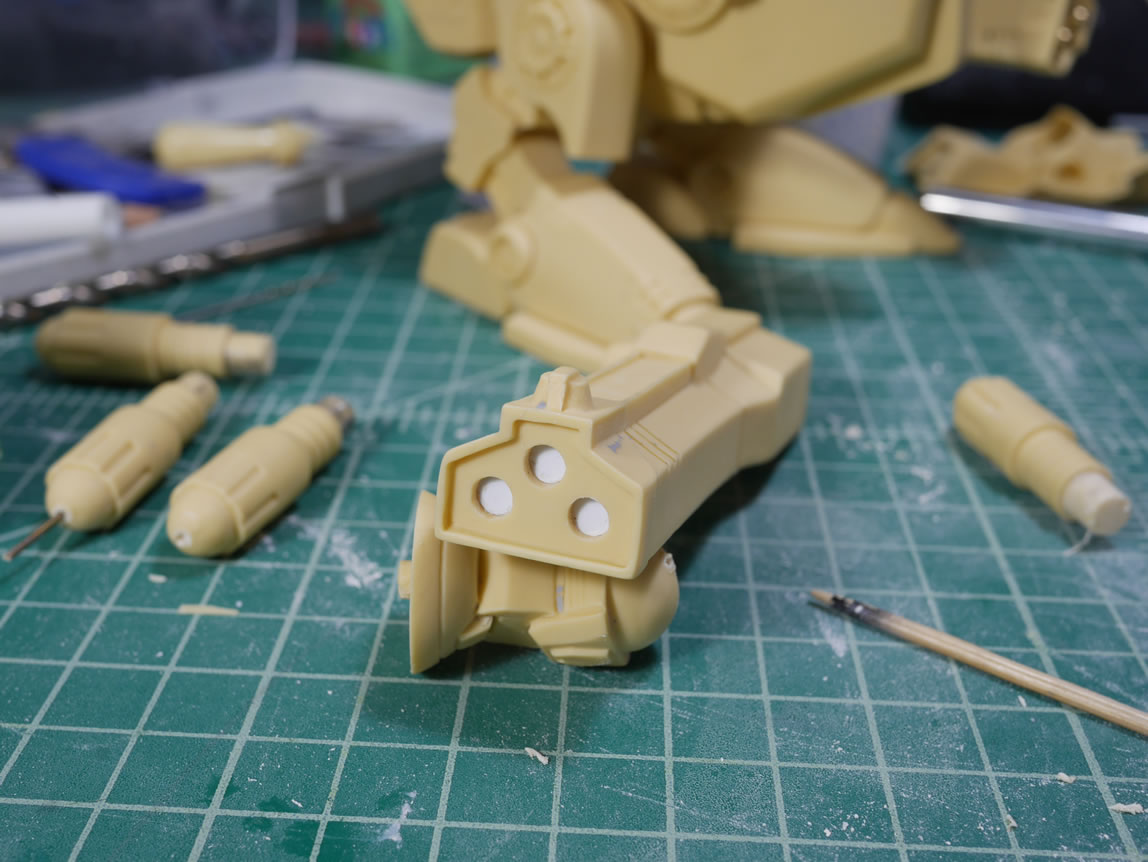
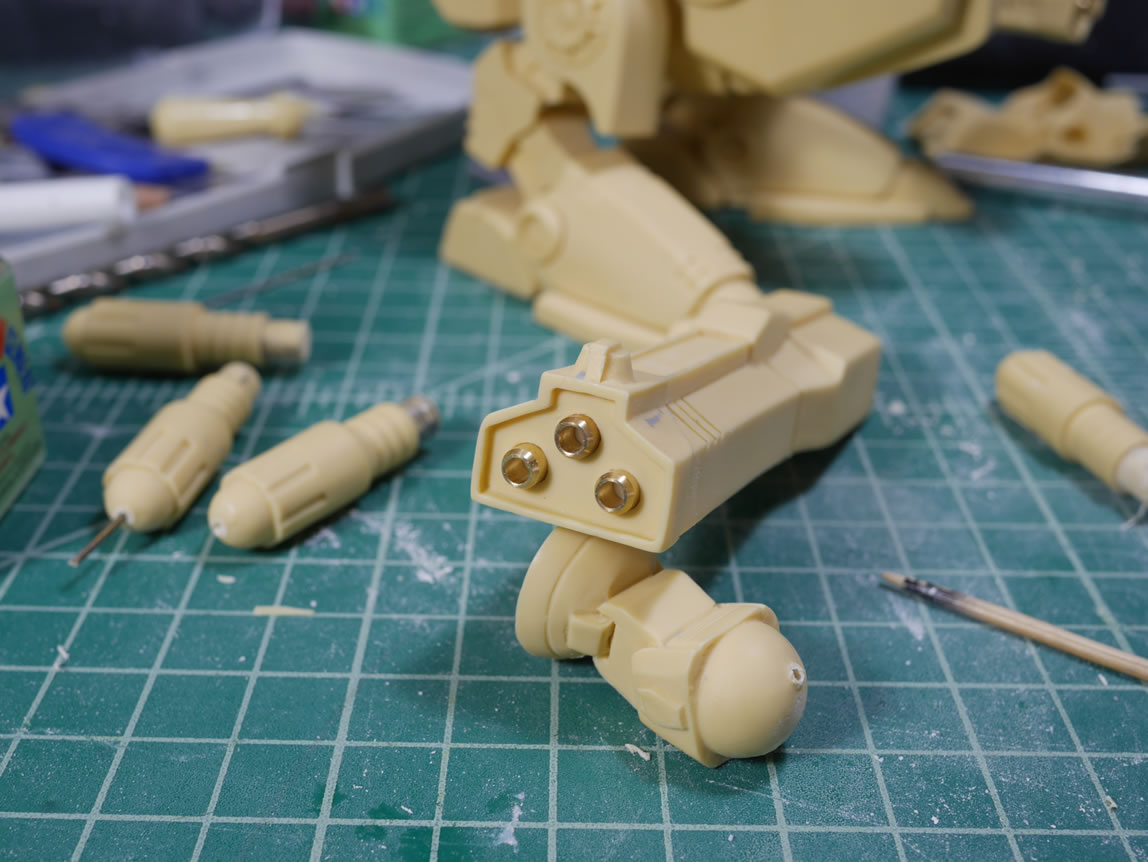
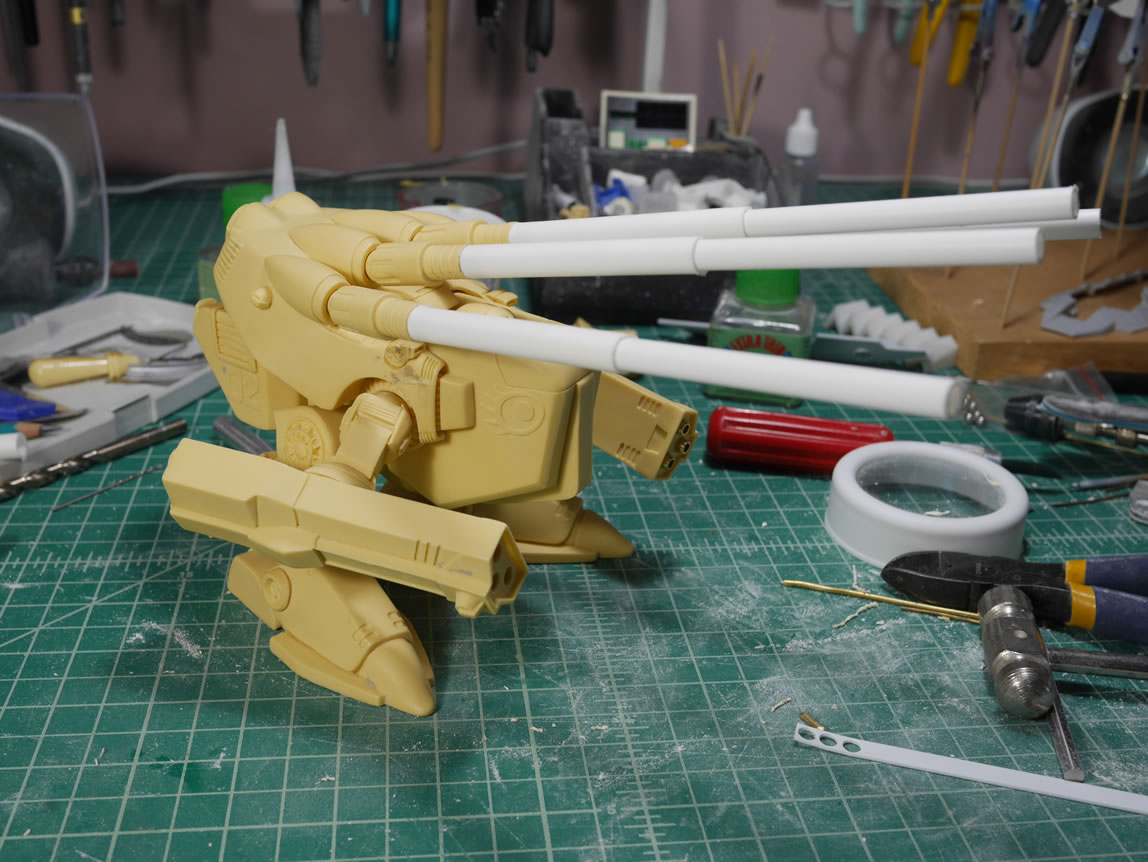
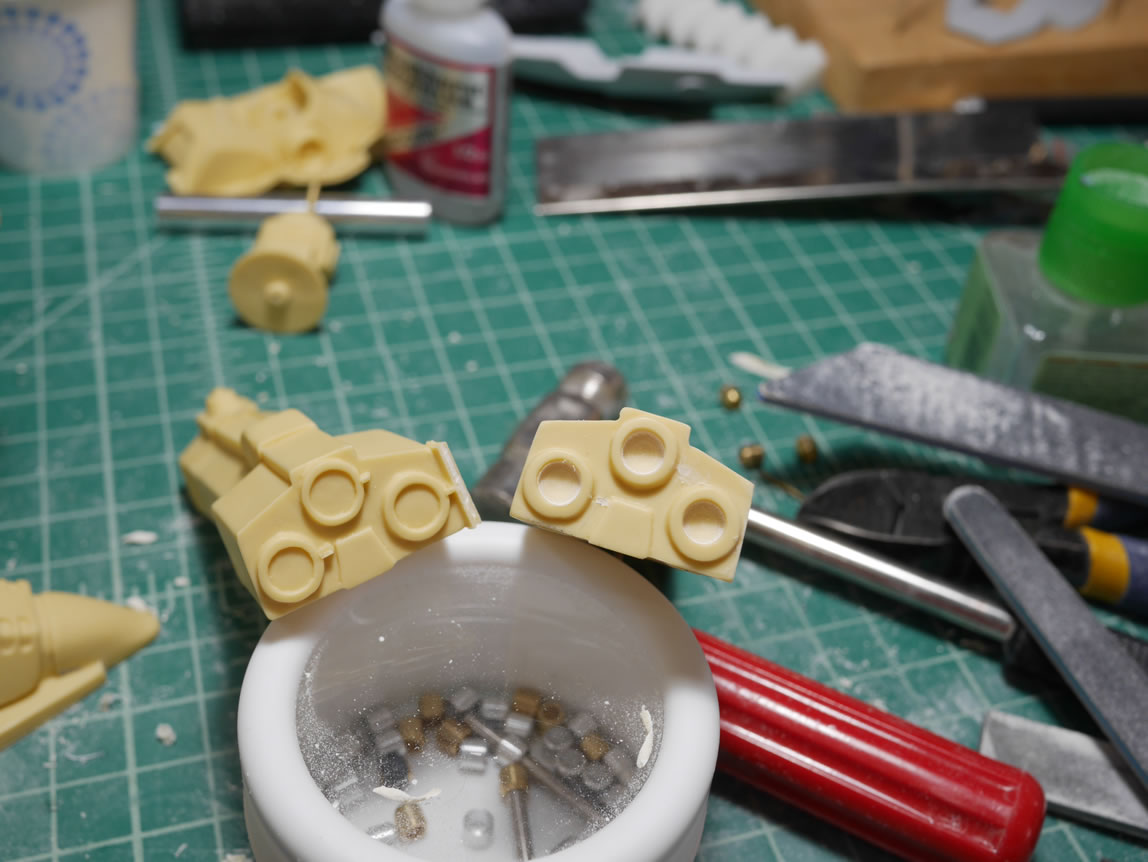
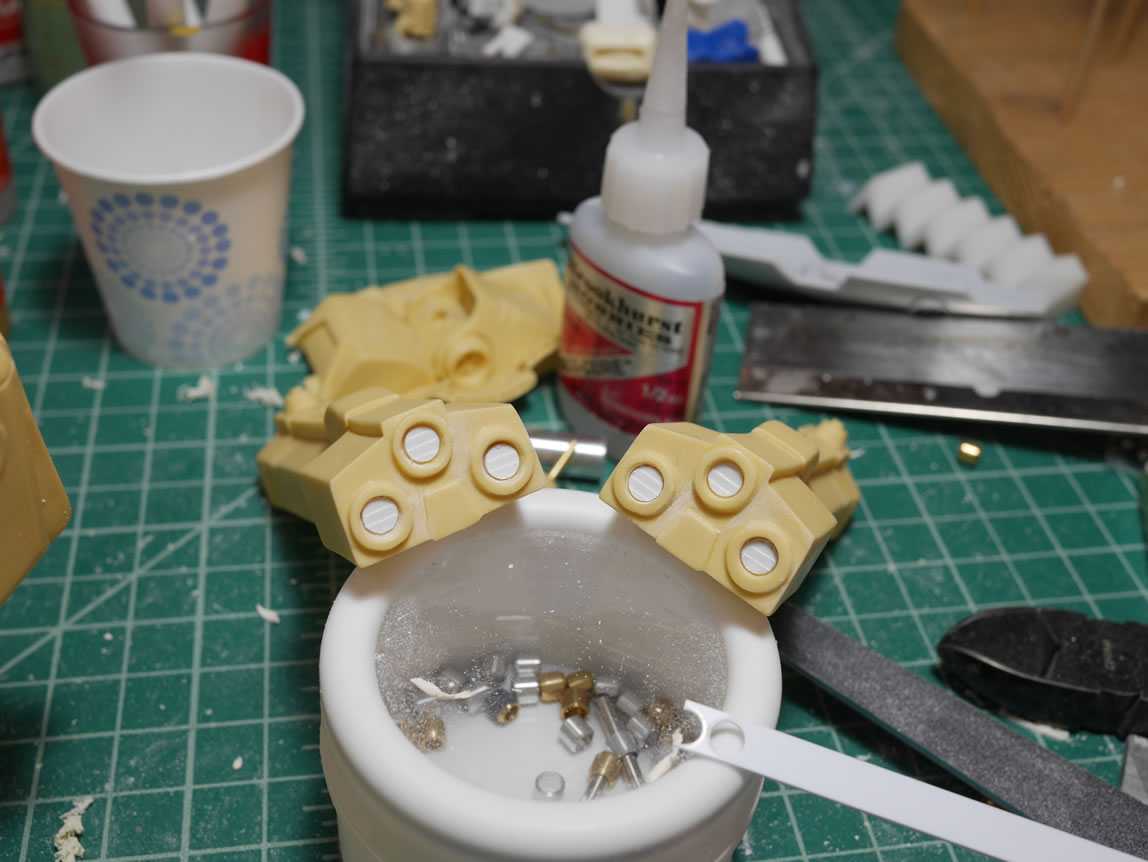
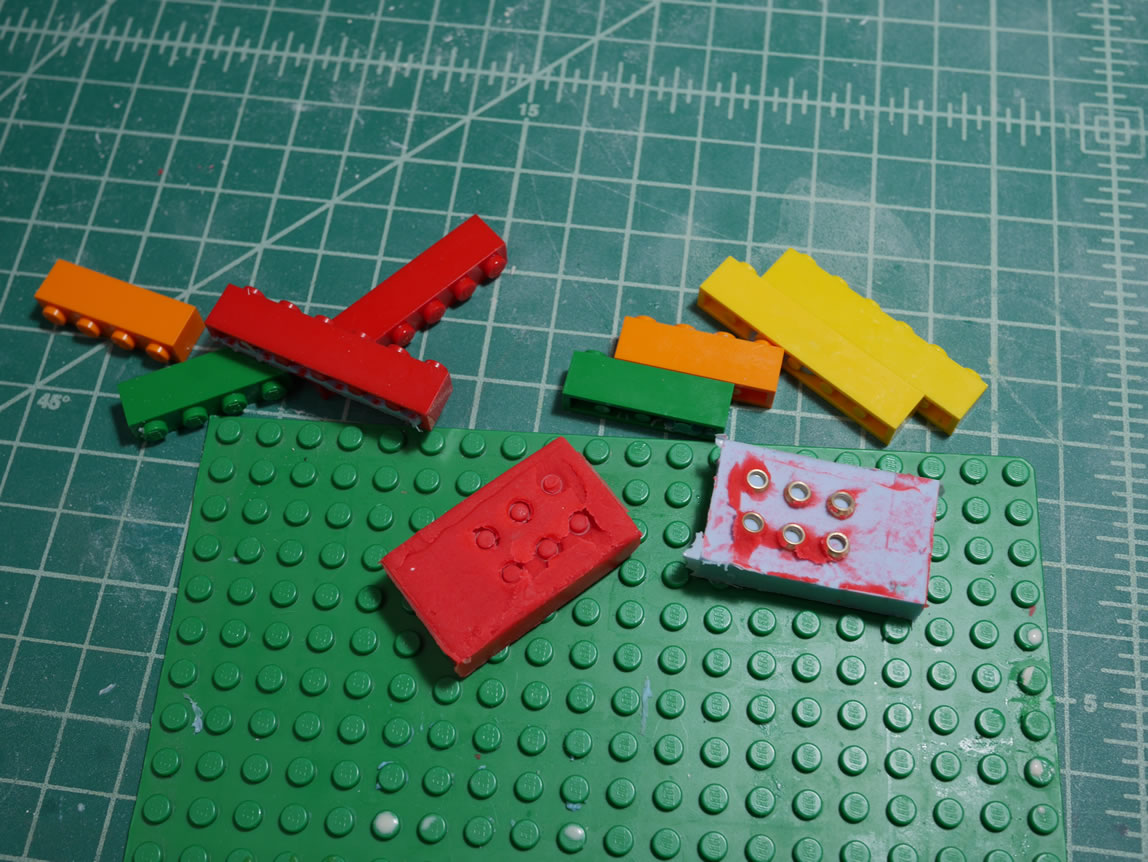
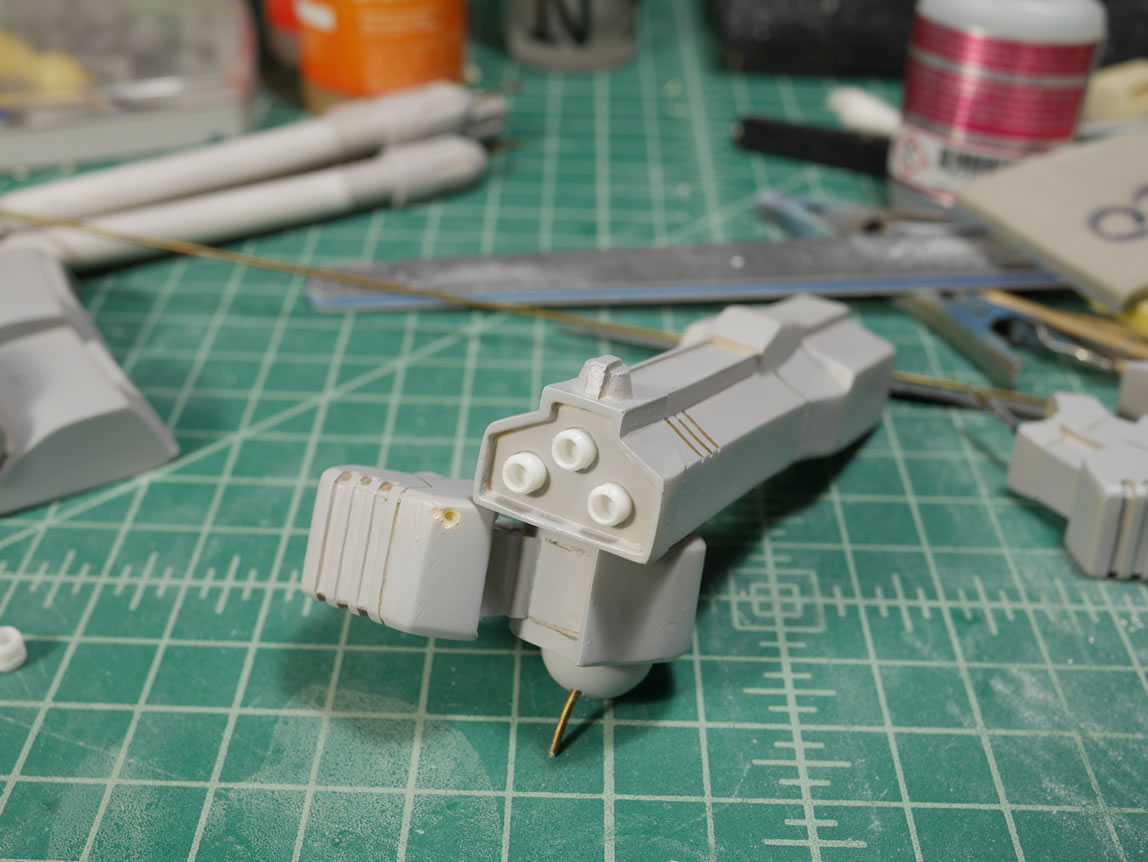
Next up, I wanted to add some details to the hand cannons. The original holes were a bit deep so I cut some spacers using plastic sheet and a punch. The spacers were glued into place with CA glue and I used some metal collars as inserts. It is a small bit of detail but I think it looks better than just the three holes.
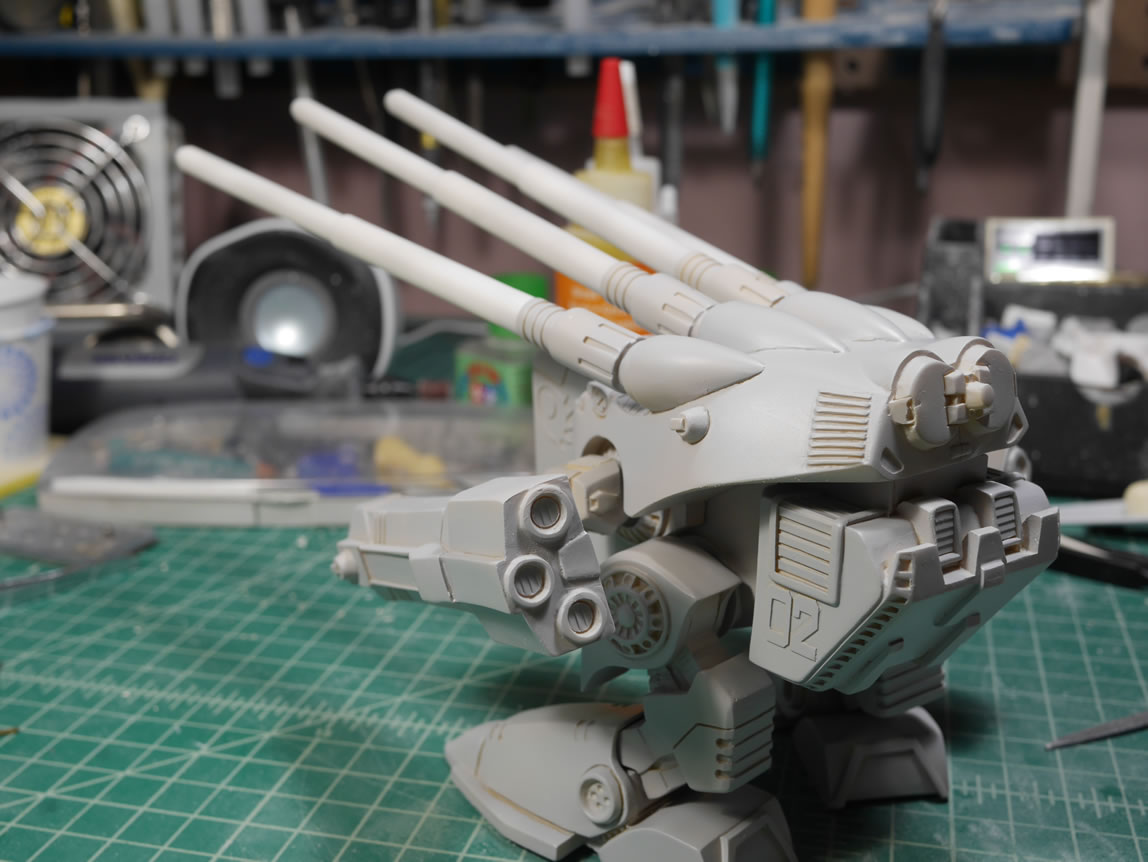
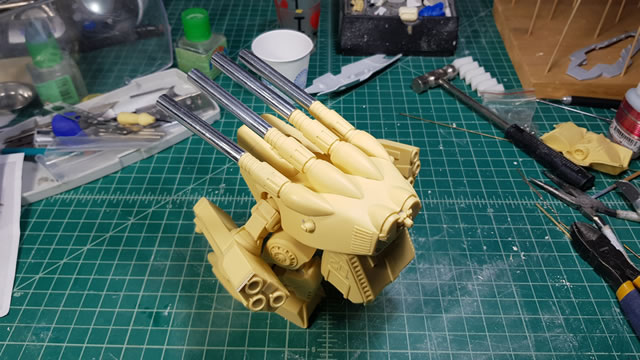
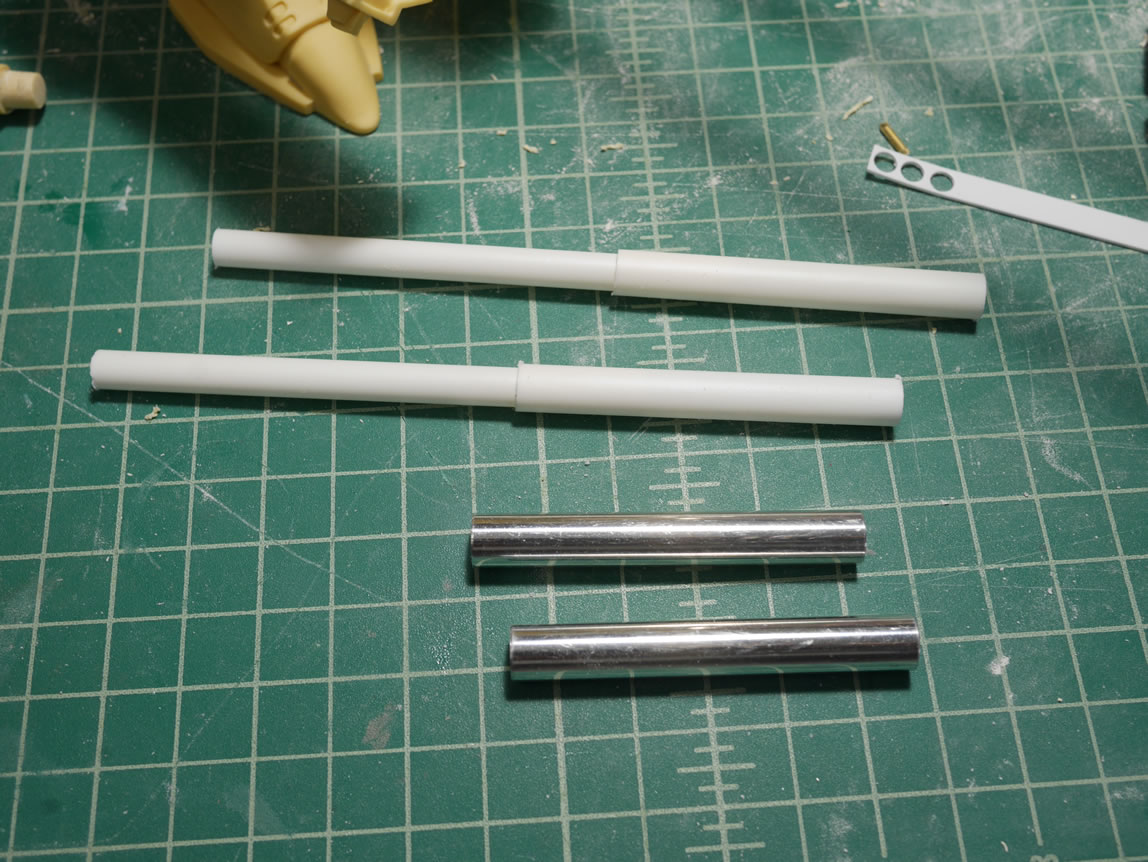
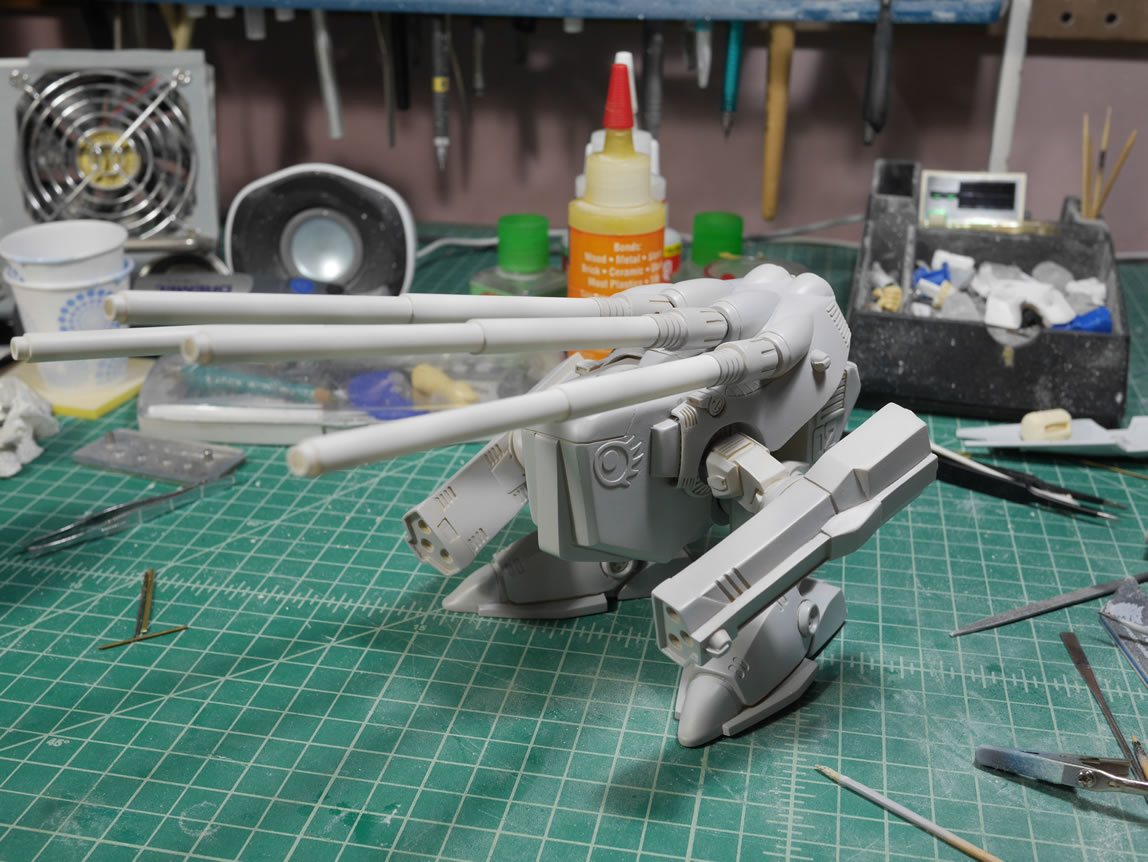
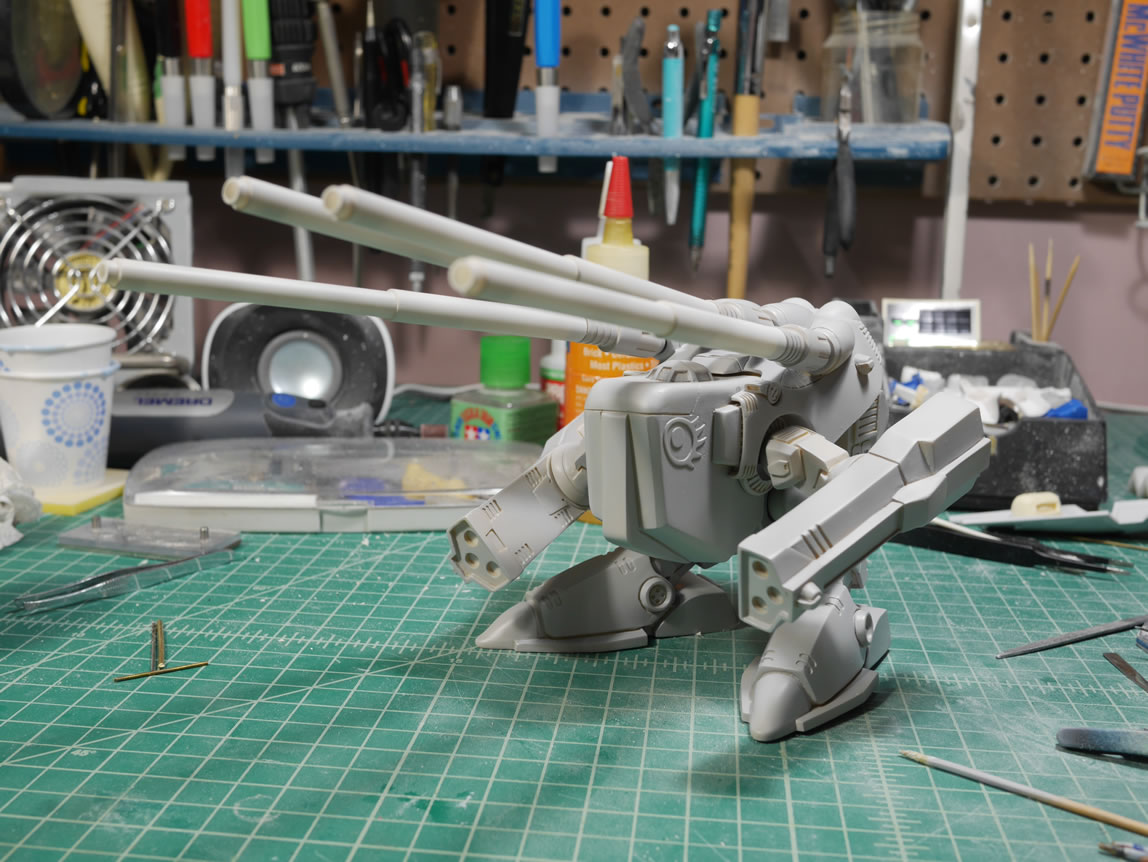
Looking at the kit, I also didn’t care for the short cannons. Yes, it’s an SD kit and everything should be exaggerated cuteness; but I wanted some bigger cannons. Plus, the metal tubes will be a pain in the ass to paint. So time to replace them with some styrene. I cut three sections of tubes to create some new cannons. I wanted a little bit of a step down in diameter for detailing purposes. Here are some comparison shots with the original cannons and the new styrene ones.
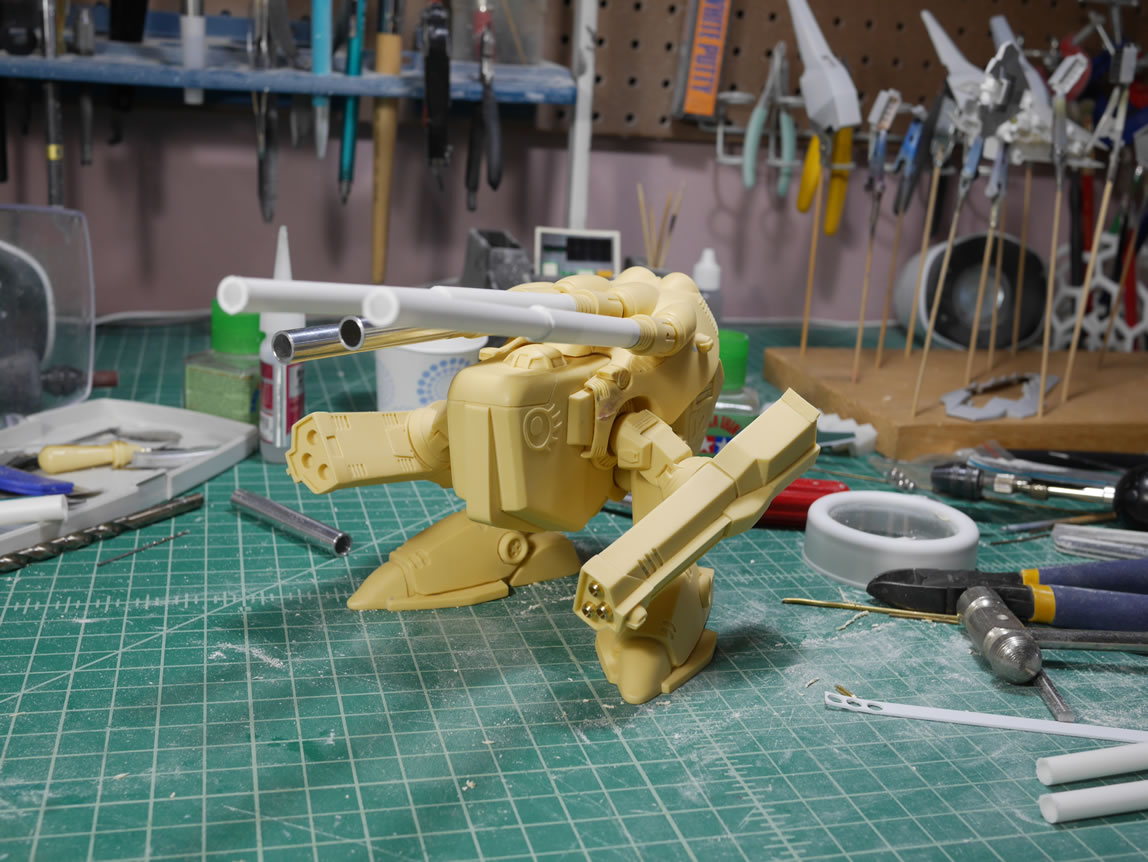
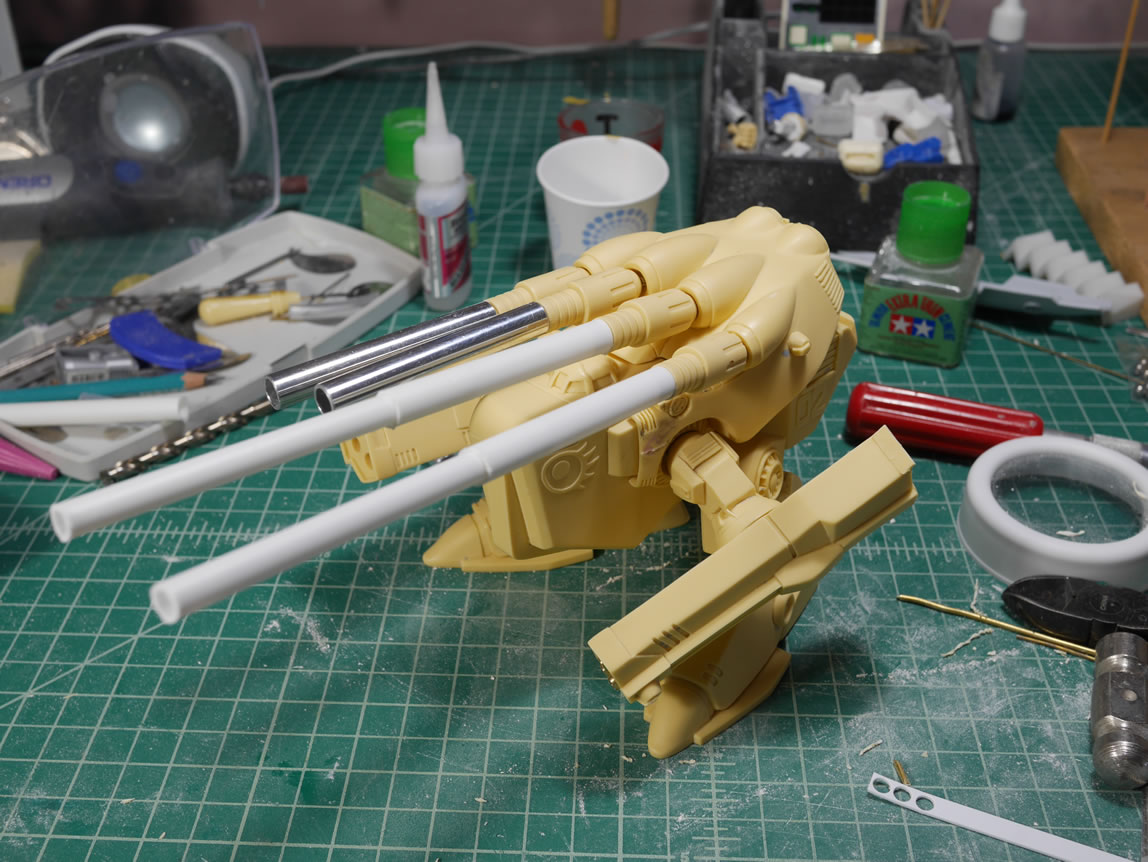
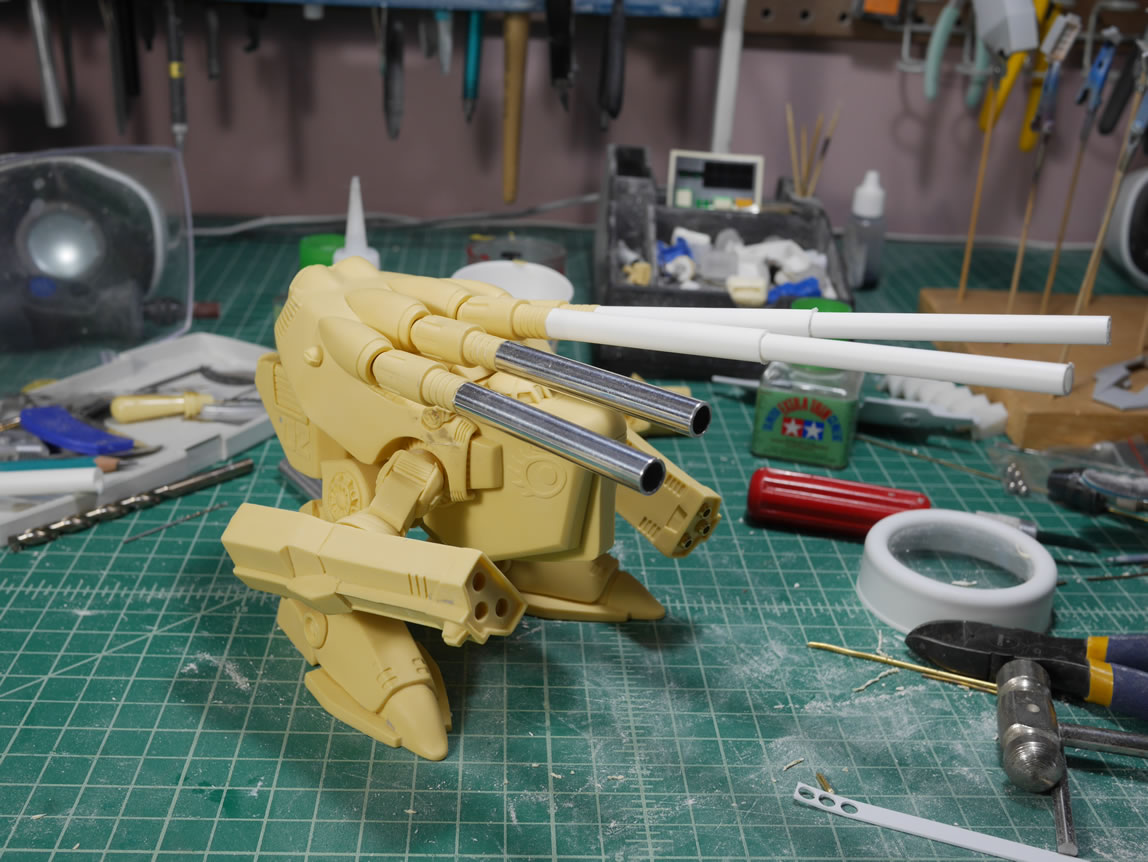
Here are the direct comparisons for the original metal tubes and plastic tubes. And what the Monster looks like with the styrene tubes. I like the lengthened cannons better.

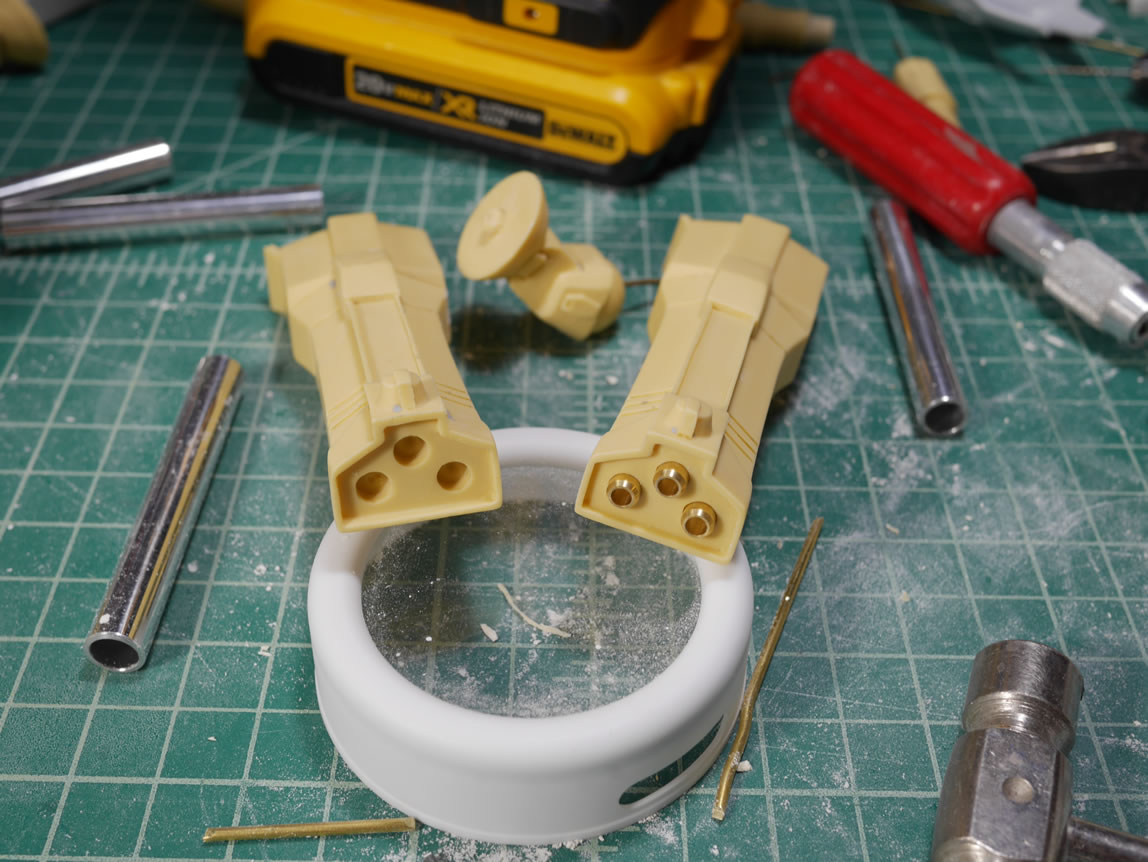
Next up, I cut up some corrugated styrene and glued them to the back of the vents for a little more added details for the backpack. The same was done to the back of the hand cannons. I used a punch set, drilled out the holes a little bit to inset the styrene detail and glued everything into place with CA glue.
The rough sanding is done and the parts are thrown into some industrial strength cleaner to soak overnight. This degreases the kit, removing any residual mold release. After soaking, the parts are rinsed and scrubbed in the ultrasonic cleaner and then left to dry. Once dry, they’re skewered and then primed. The amount of resin surface area called for almost half a bottle of Mr Surfacer Primer.

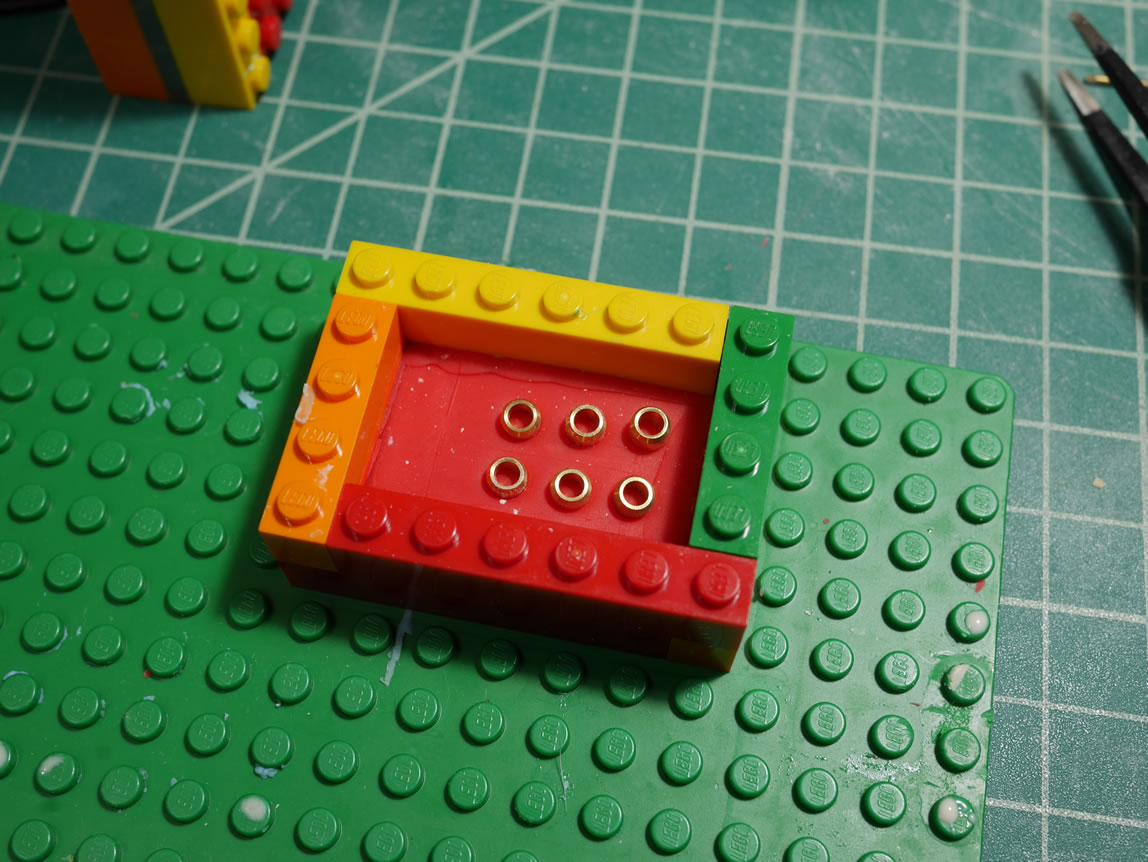
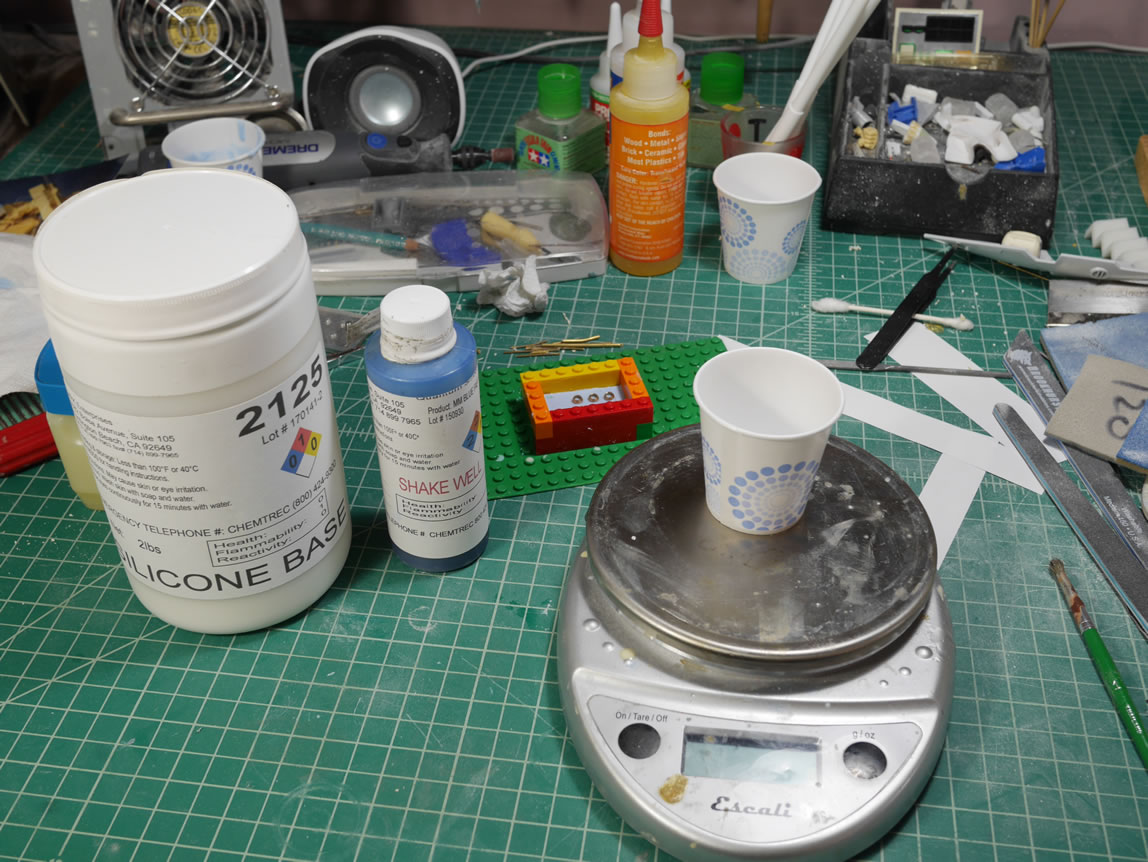
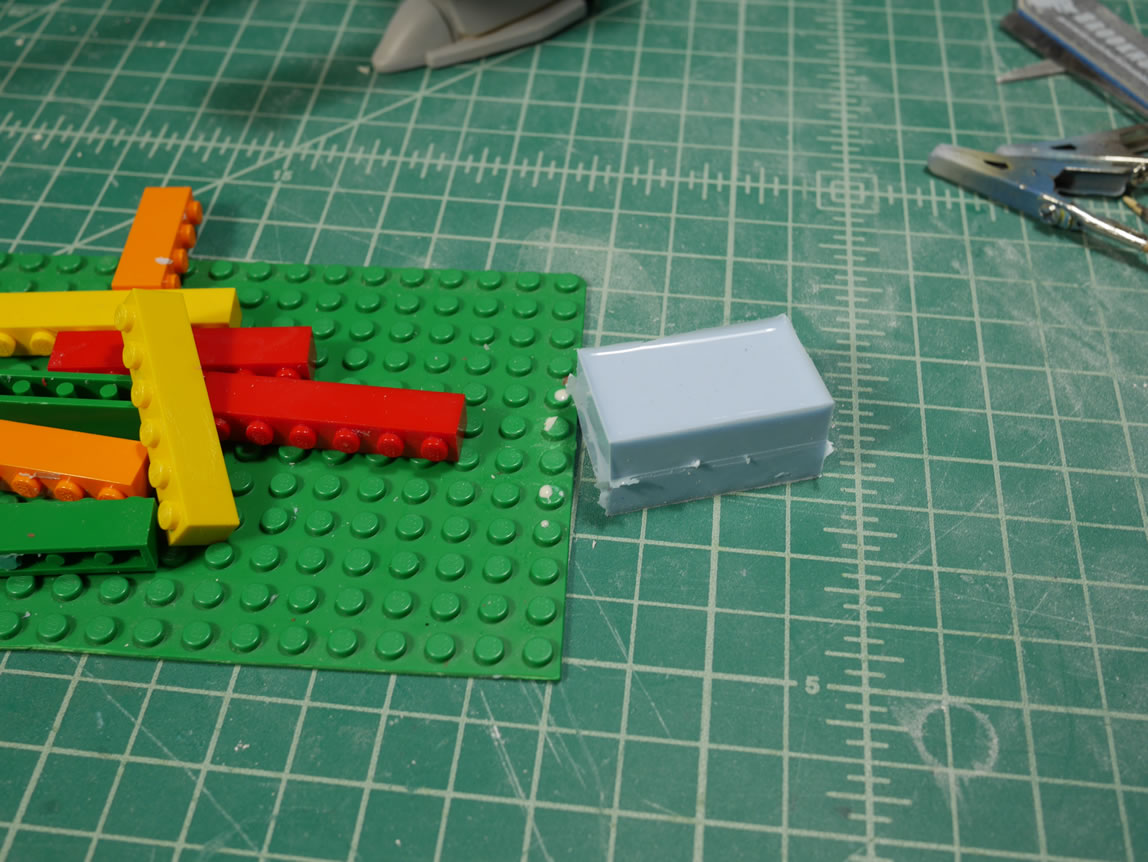
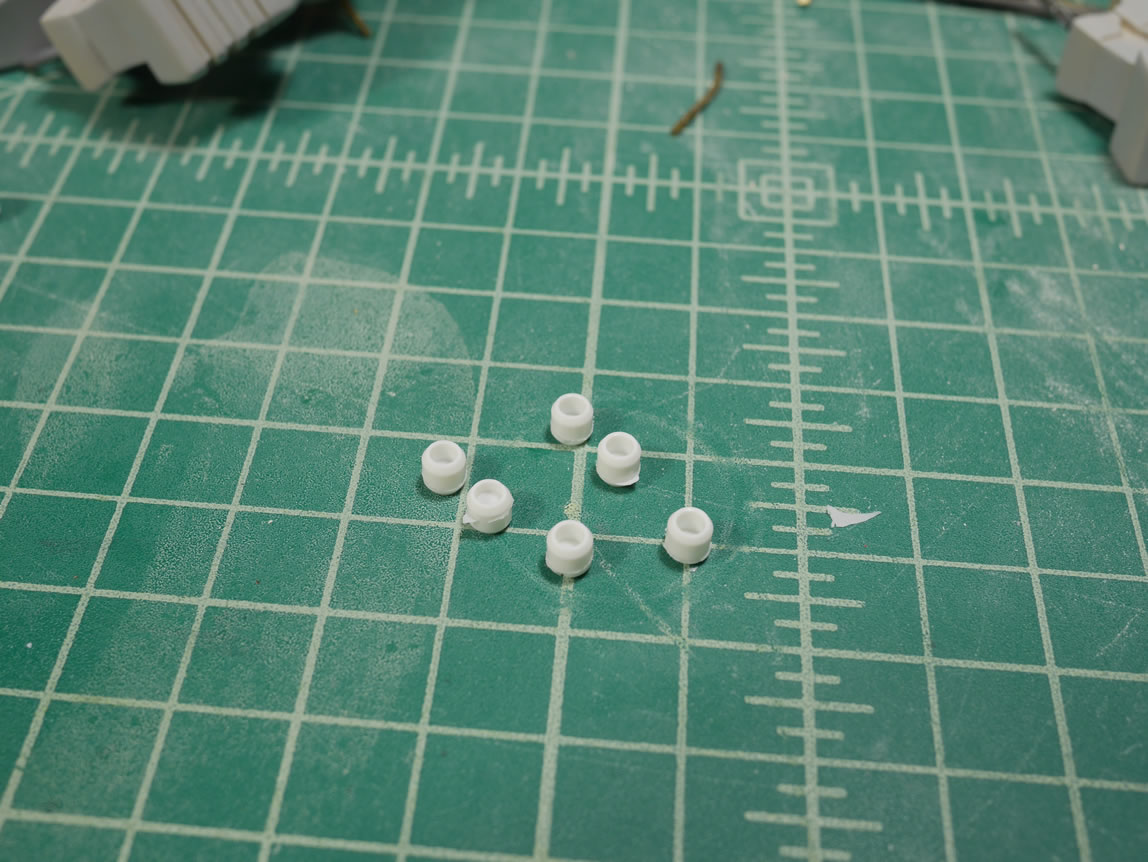
Back to the metal collar detail bit. I’m only using 6 of them, but still, why use up the metal bits when I can make copies and just have resin ones to use and paint? The first step is to create half a silicone mold. A lego box is created and playdough is used as a box bottom liner. The metal collars are pressed slightly into the playdough to hold them in place. Then silicone is mixed and poured into the box. The whole assembly is then placed into a pressure pot to help shrink bubbles.
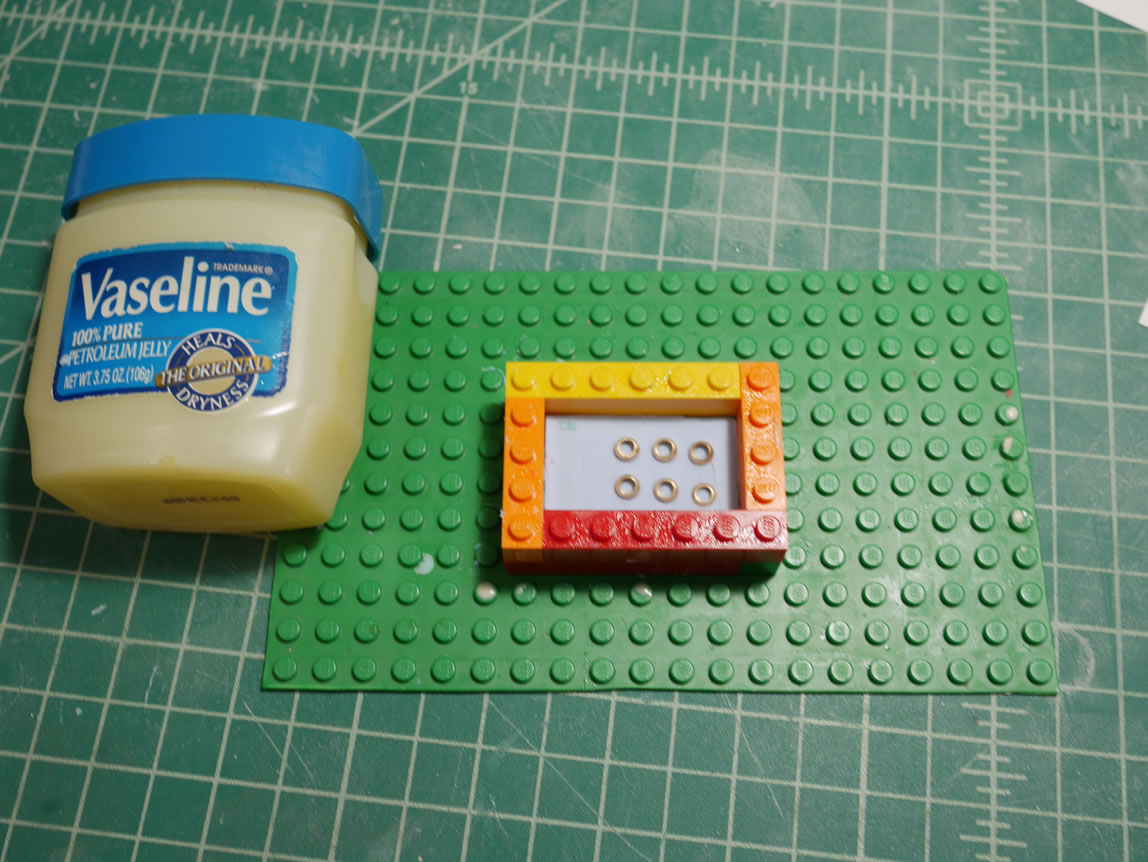
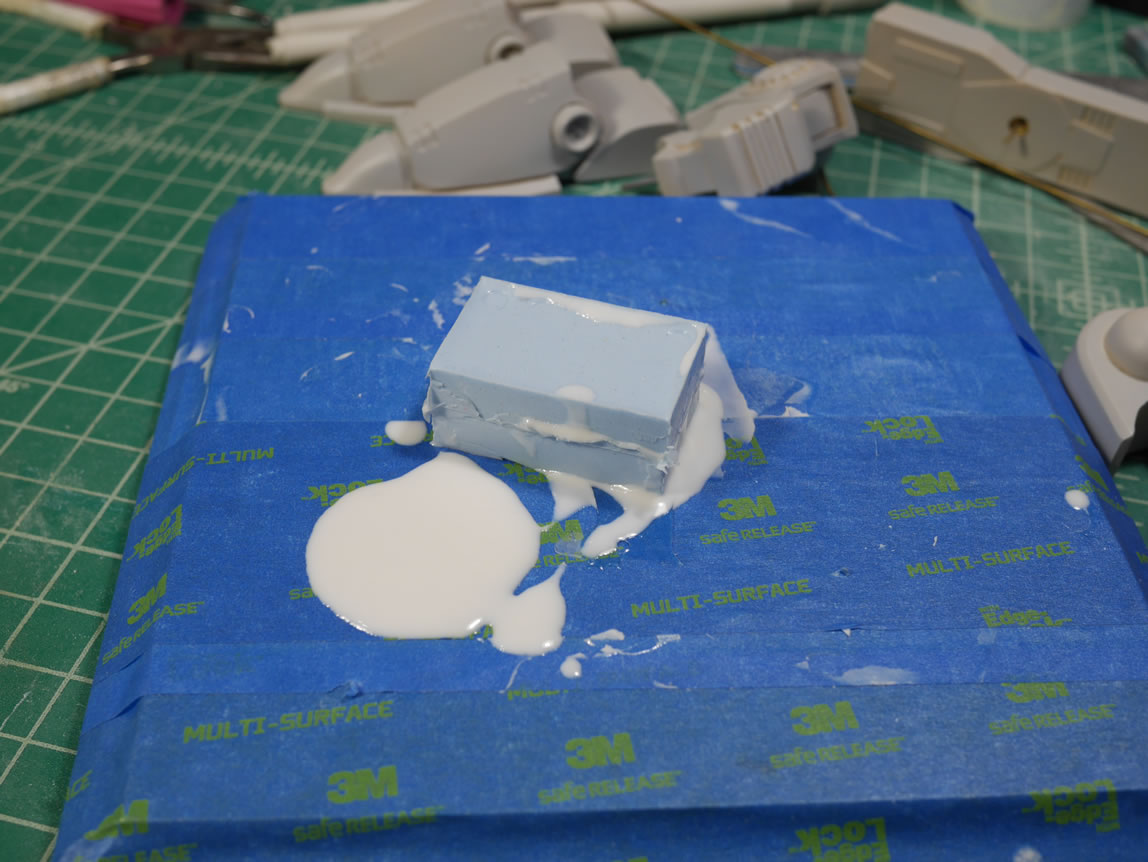
6 hours later, the silicone is cured and the lego box is disassembled. The excess playdough is washed away with some warm water and a toothbrush and the half mold is left to completely dry. Next, the box is rebuilt around the half mold and some vaseline is applied to the silicone especially in the hole areas to keep the next layer of silicone from sticking and completely sealing the metal collars in a block of silicone.
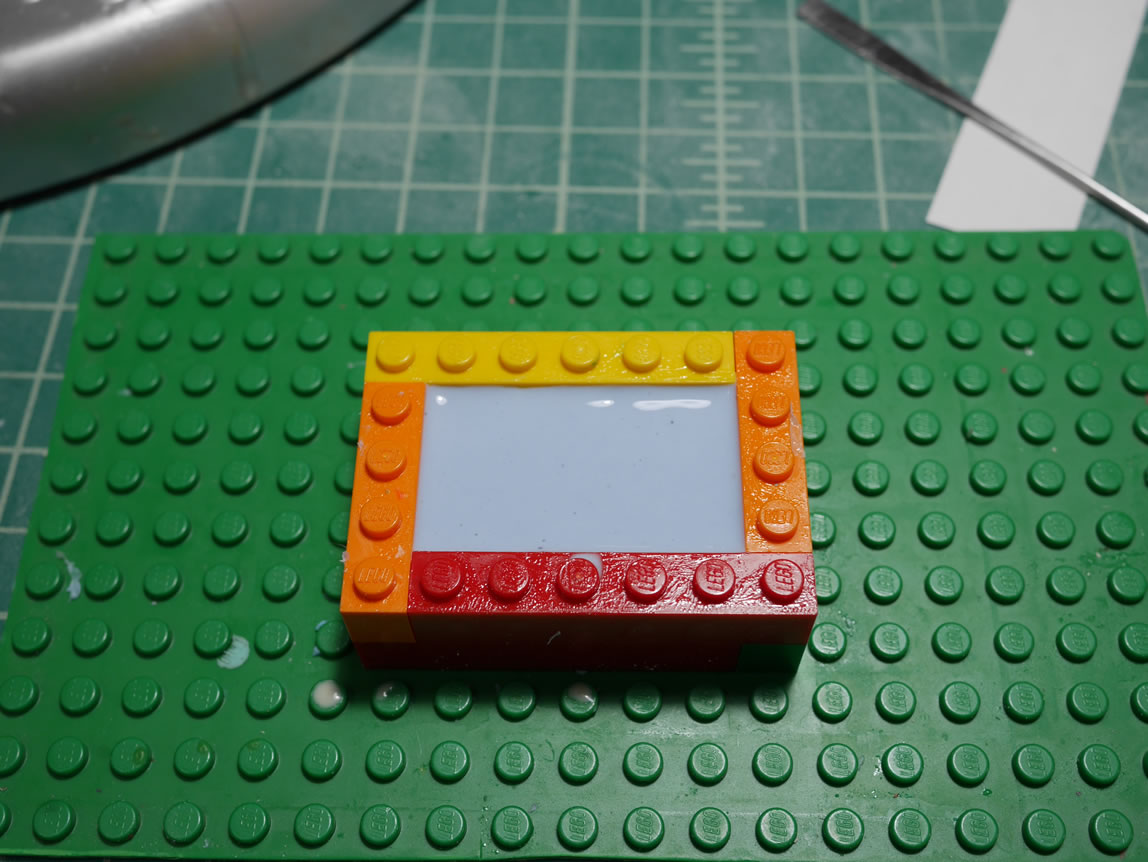
Another 6 hours in the pressure pot yields a block of silicone that separates where the vaseline was applied; but stuck together where the vaseline was not applied. The metal collars are pulled from the mold and put away. The mold is sprayed with some mold release agent and then baked at about 100 degrees F to heat up the mold and activate the mold release. Once that is all done, we are ready for casting.

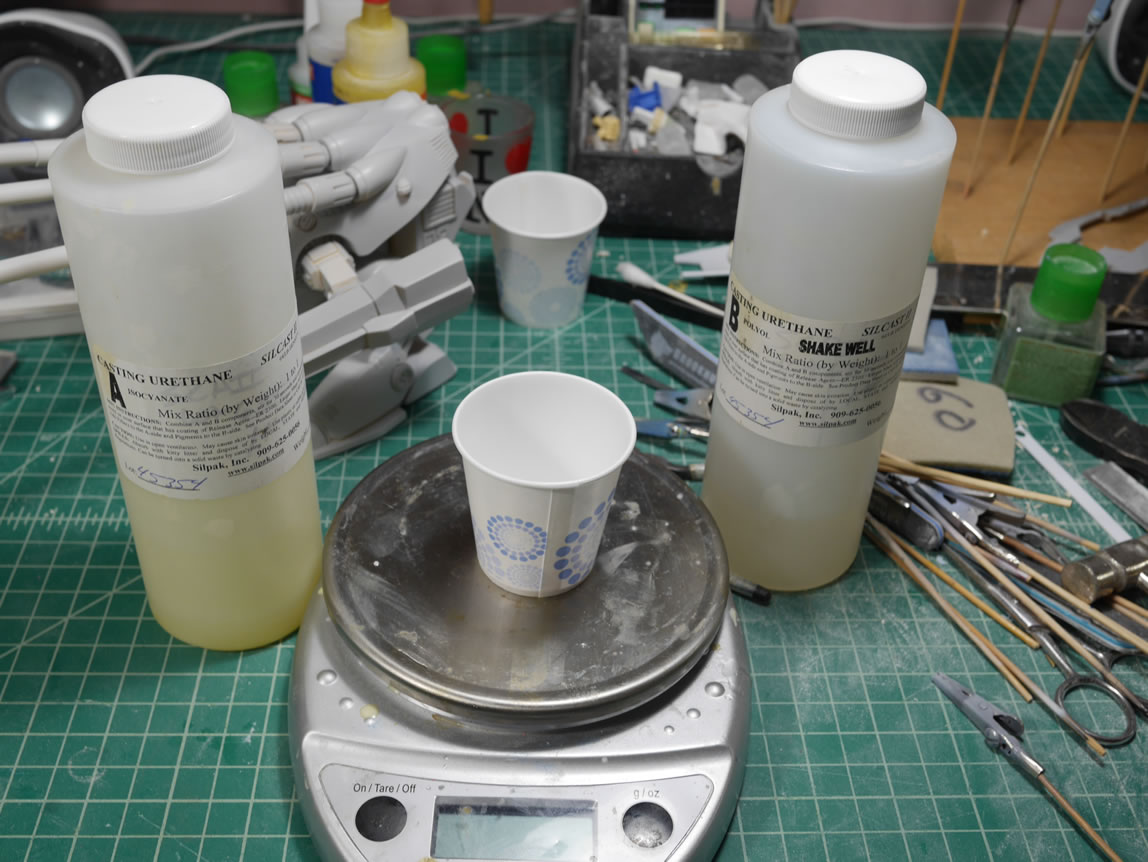
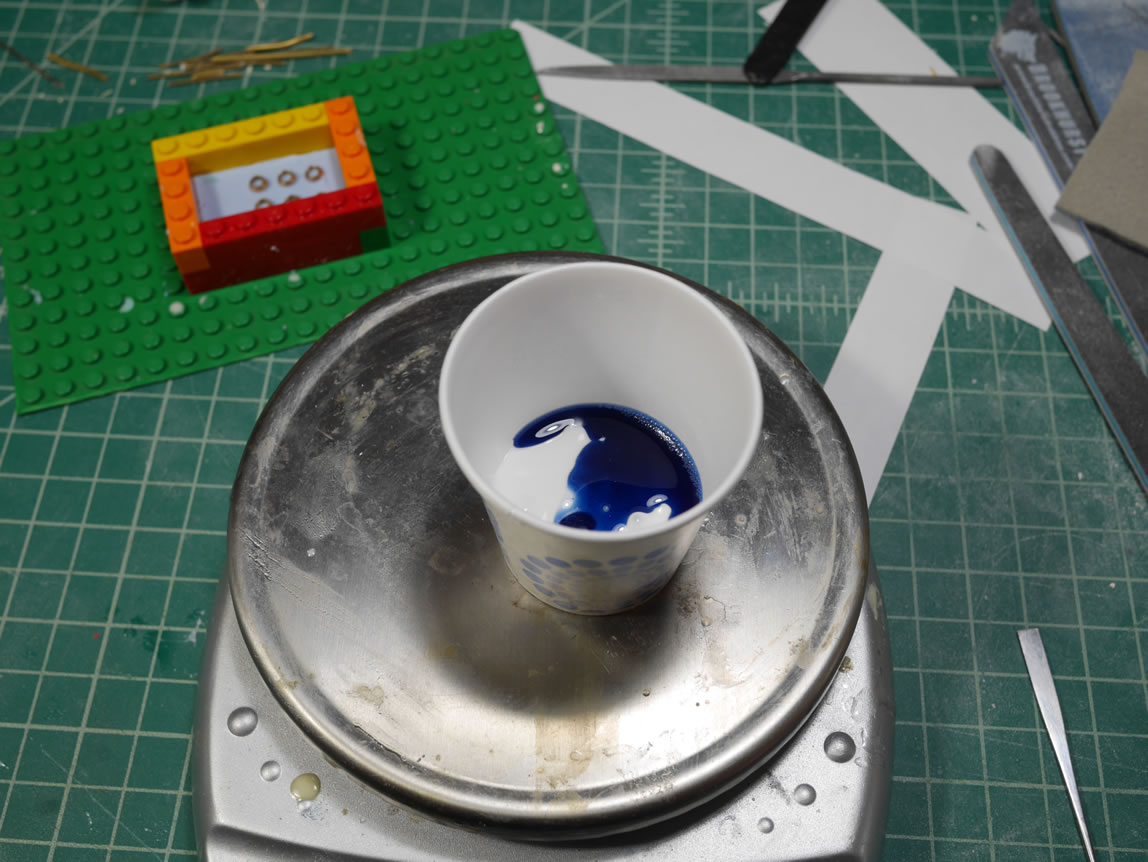
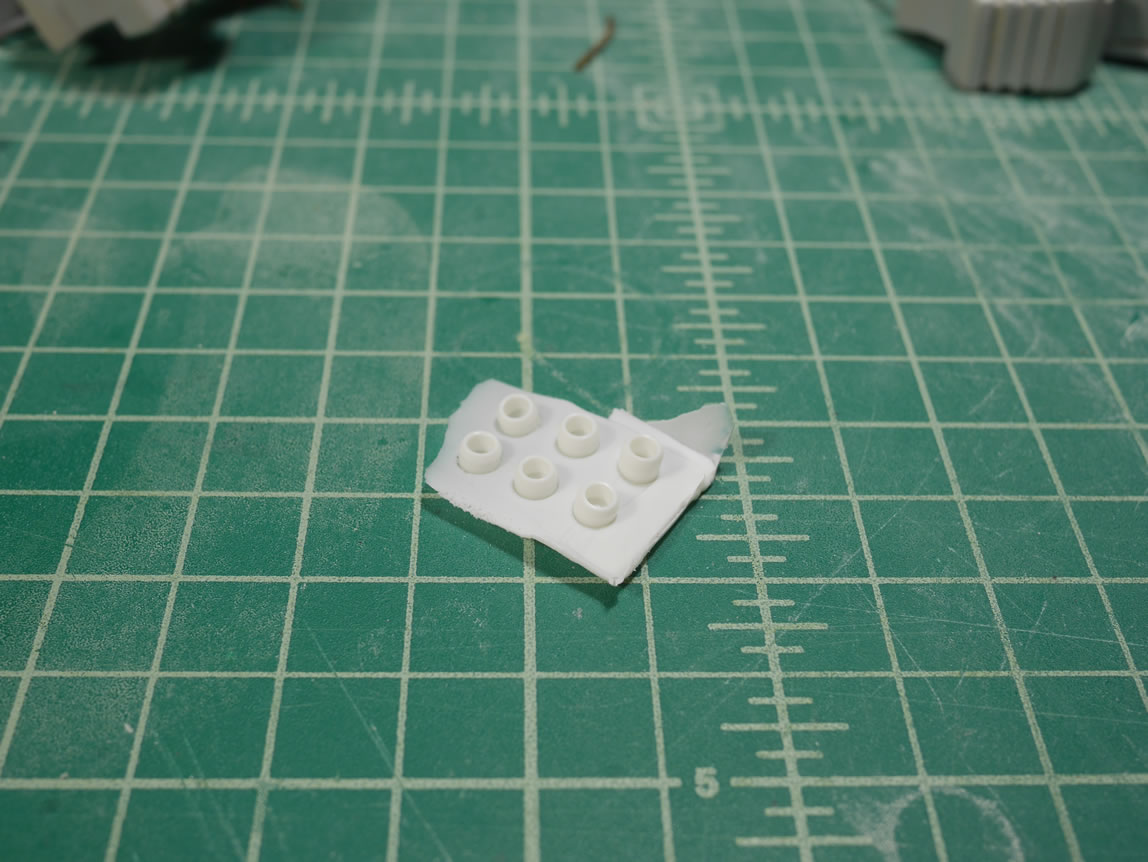
The two part urethane resin has a gel time of 3 minutes, so there’s not much work time. The benefit is that the cure time is really short. Once poured into the mold the mold is placed into the pressure pot quickly and then left for about 15 minutes. The resin is not completely cured, but solid enough to pull from the mold. Once demolded, the resin is left overnight to fully cure. The resin collars work just as well as the metal collars. They’re half the weight and I have an endless supply of them.
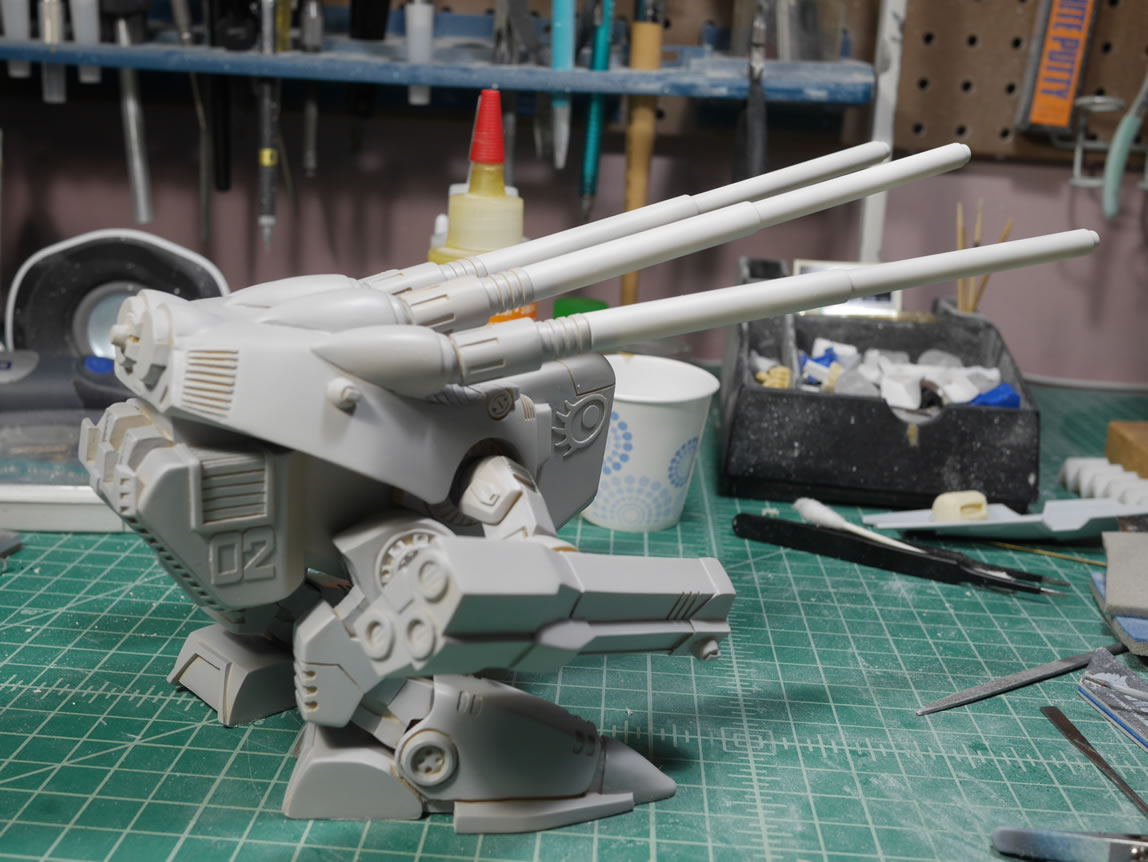
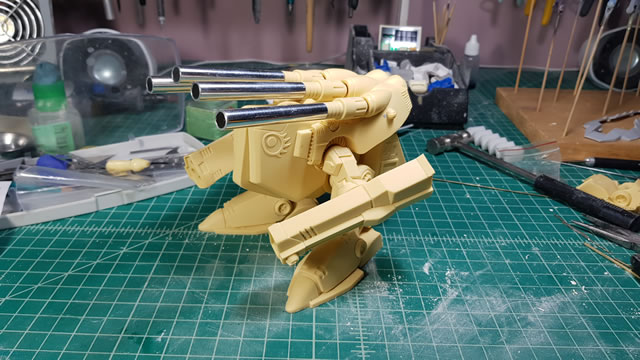
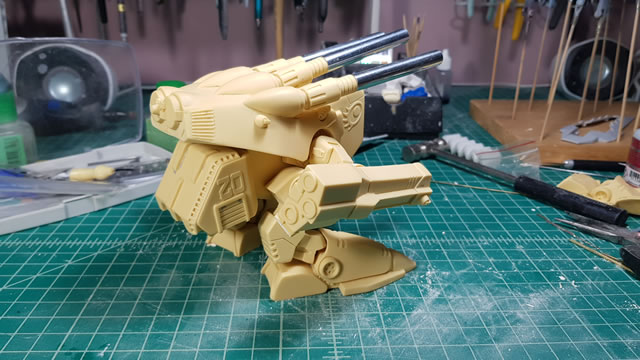
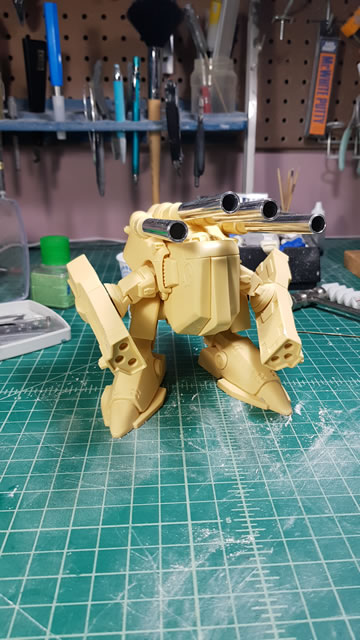
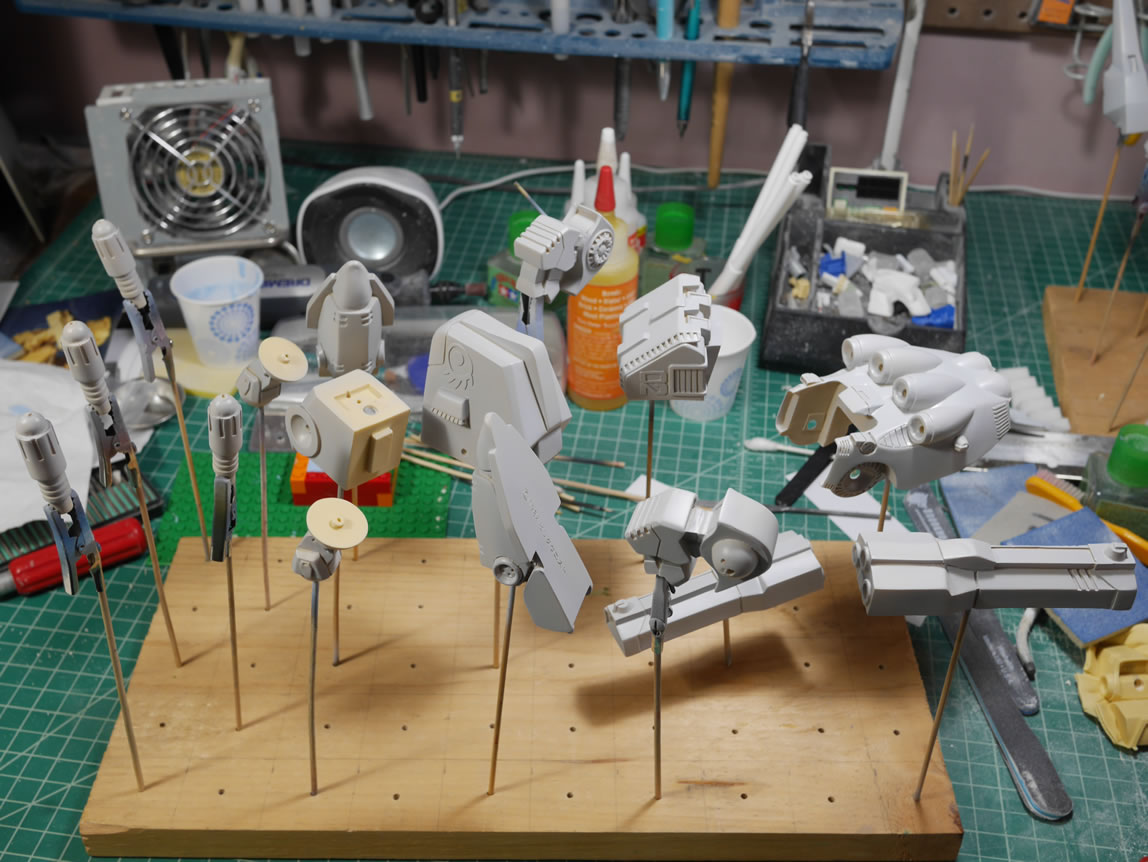
Back to the Monster itself, the primer has cured and I get a quick assembly together to check fit as well as take a few snap shots. There are some surface defects to fix, but the little project is coming along fairly nicely.
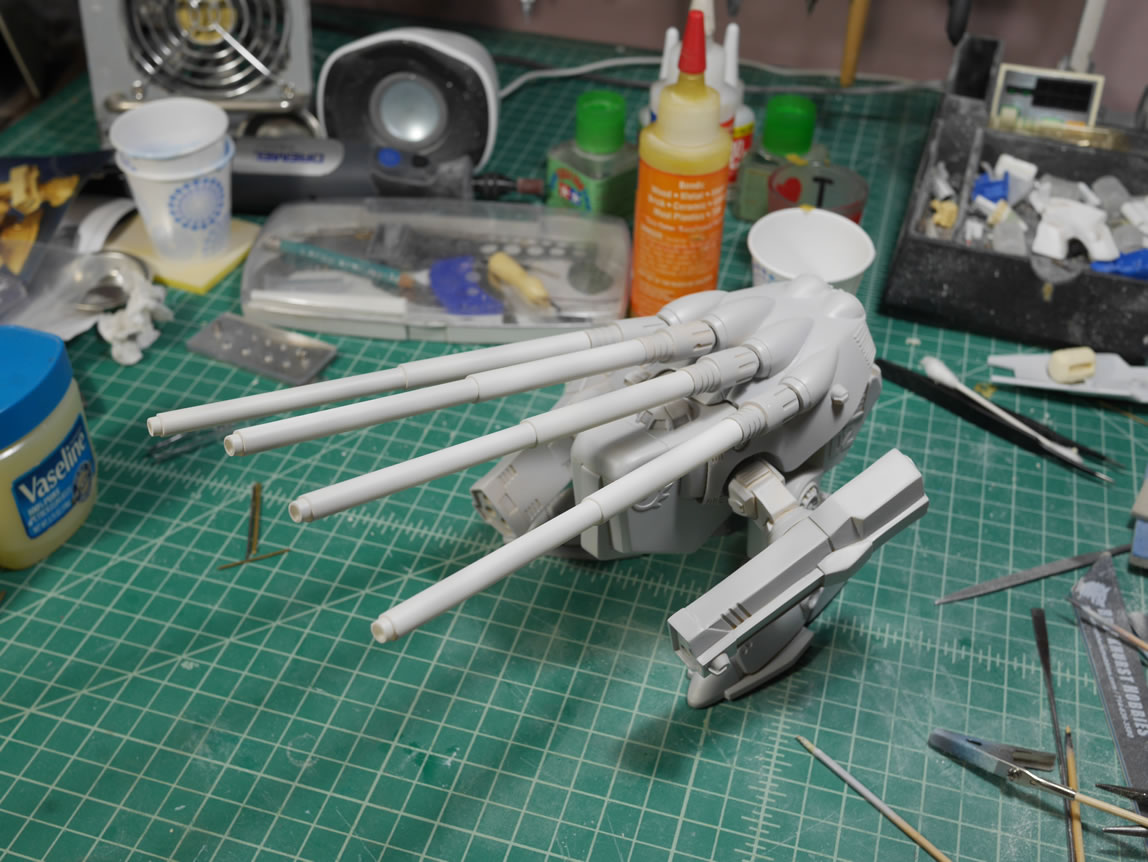
Some pictures of the rear and side view.