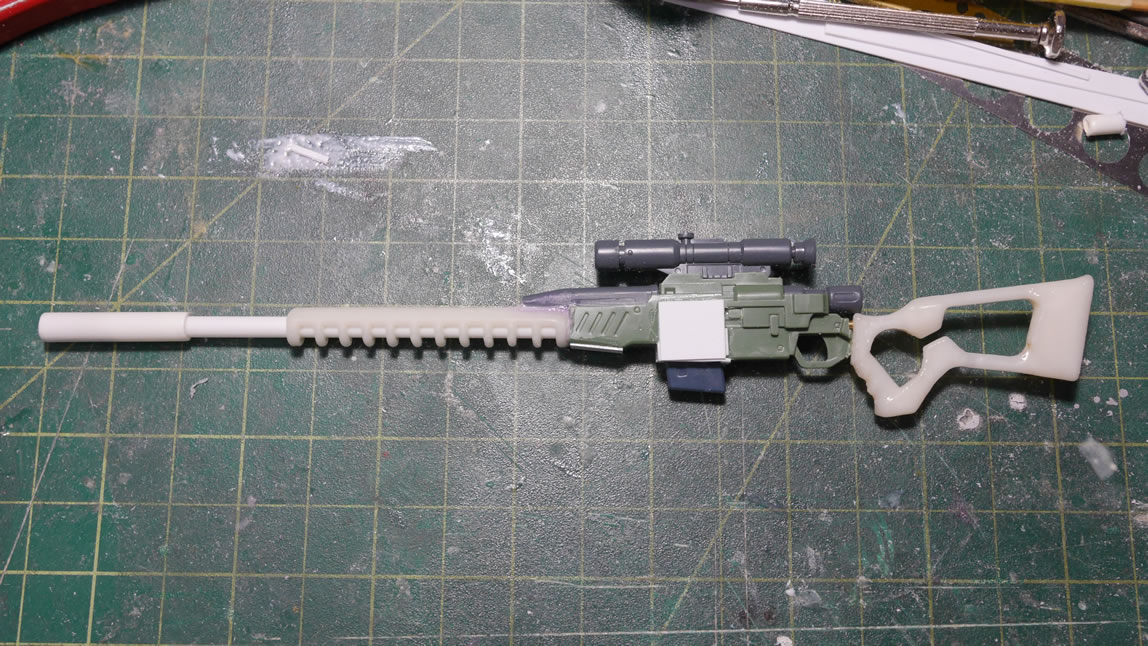
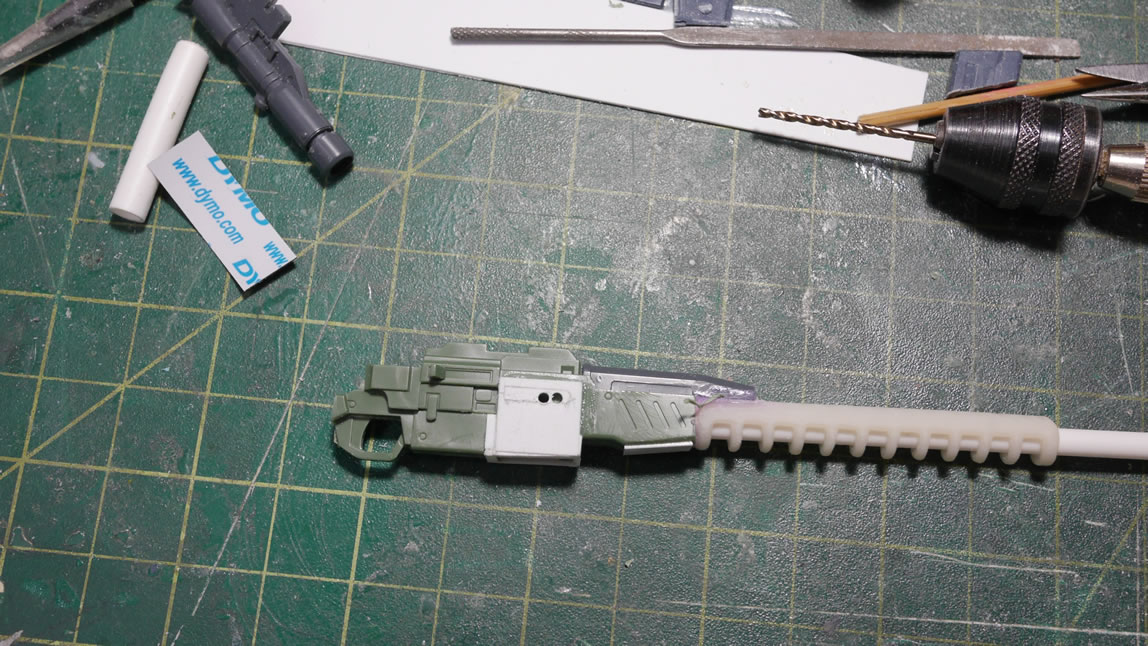
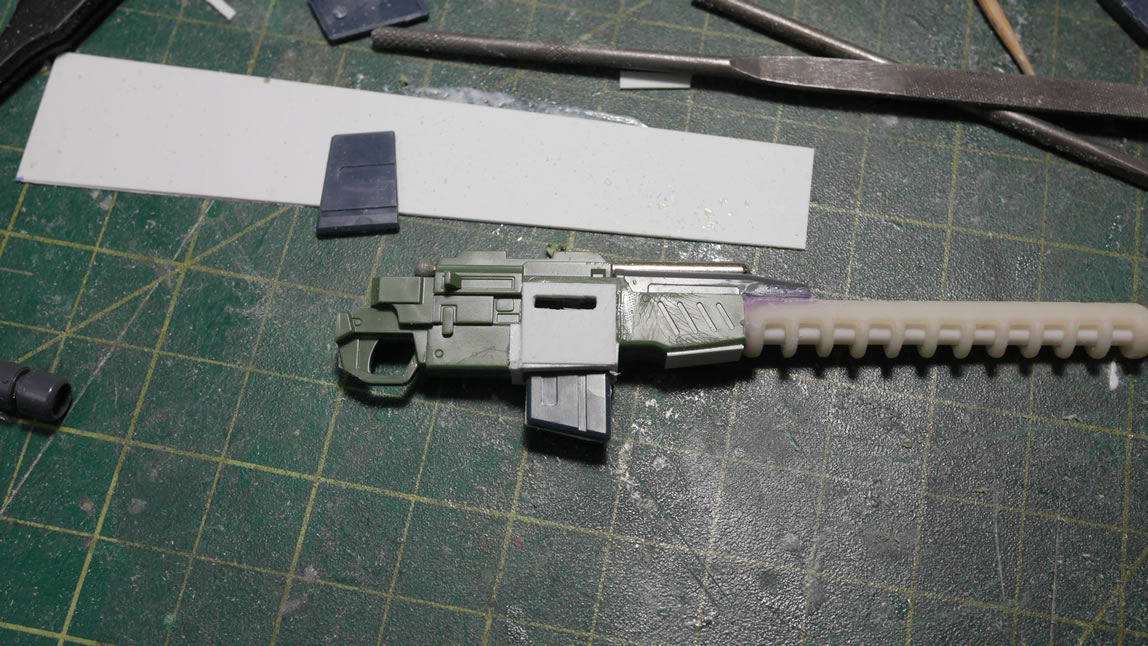
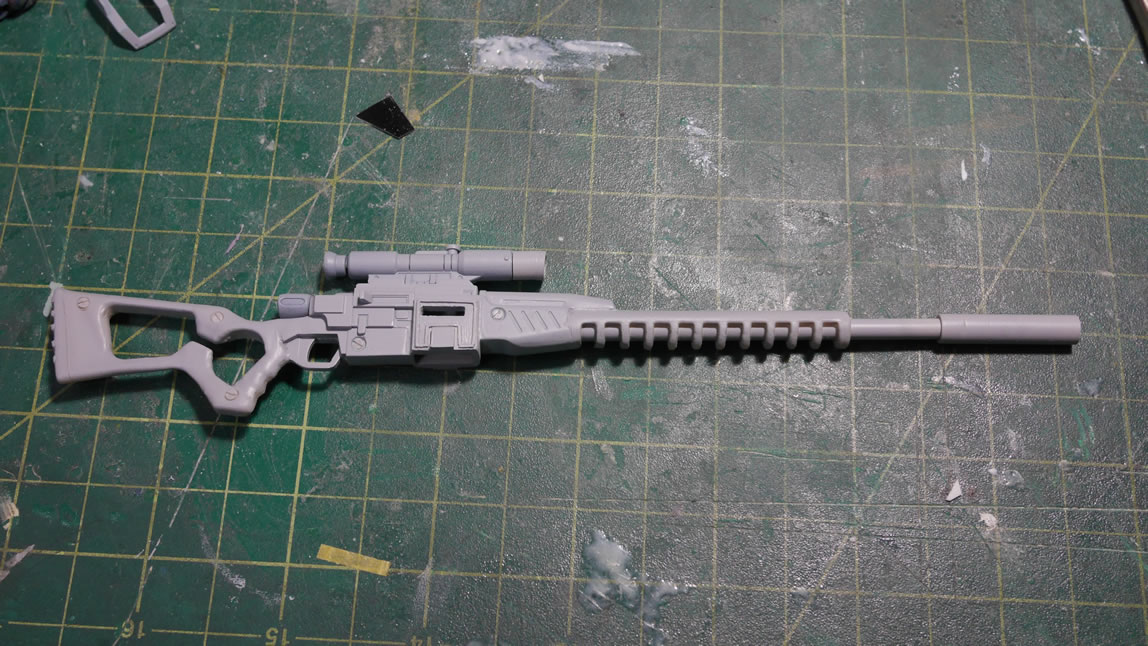
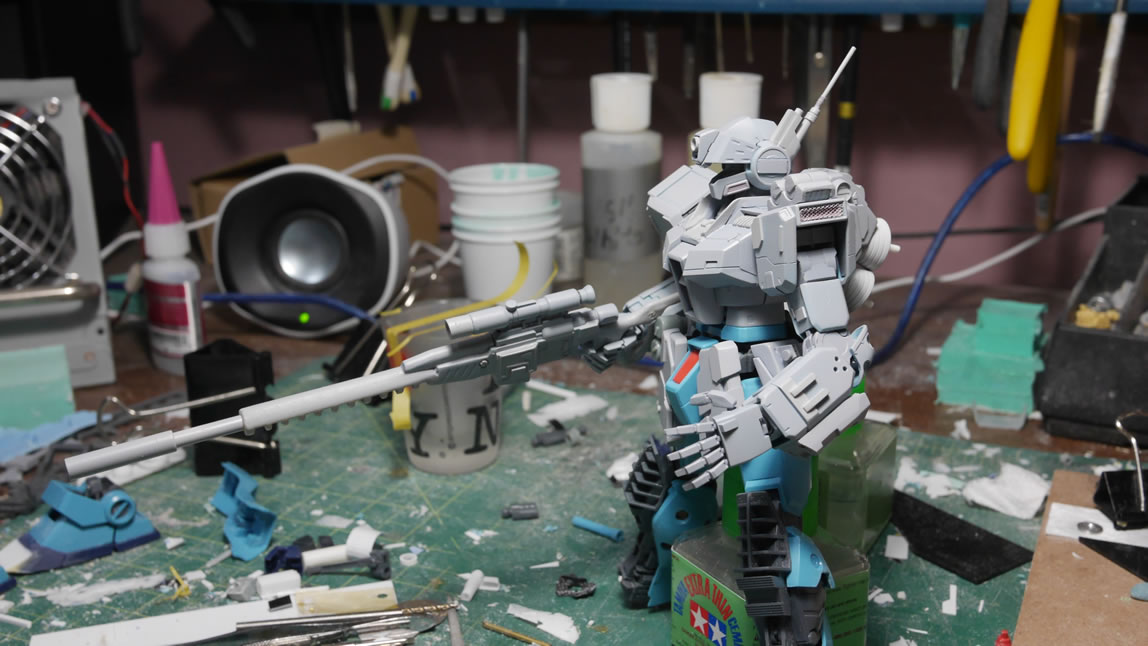
It’s Monday, time for the blog post that brings everyone up to speed on last week’s Sniper work. The main focus for this update will be the sniper rifle which I finally revisit after the very first post with a half-assed slapping of a new barrel and new stock onto the sucker. In the below picture, you can see that quite a bit of work has been done to transform the standard GM Sniper 2’s rifle to a one that the GM Sniper 2 would pick up in New Vegas.
![]()
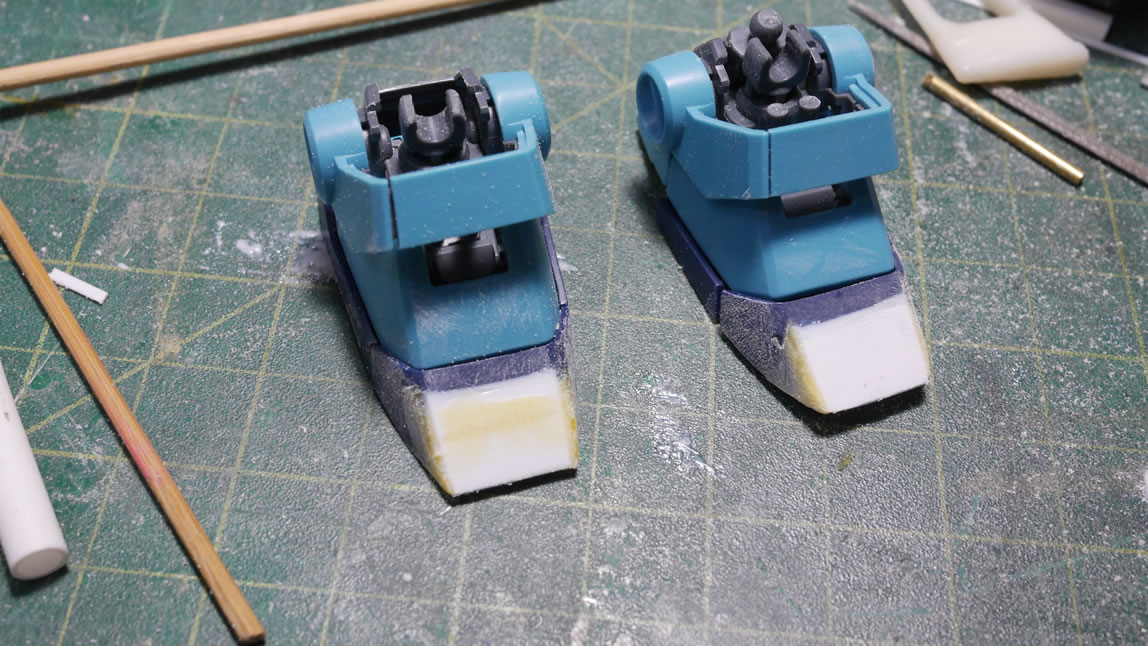
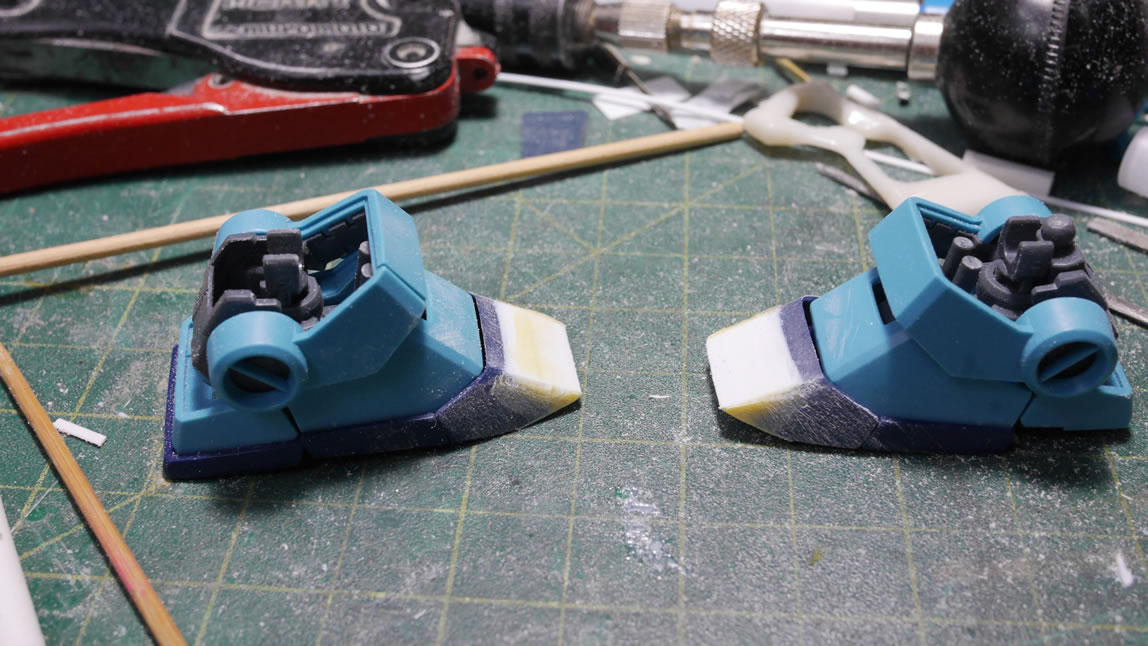
Other than the rifle, I got some work done of the arms, started in on the feet, and got the upper half of the body primed. Details after the jump.
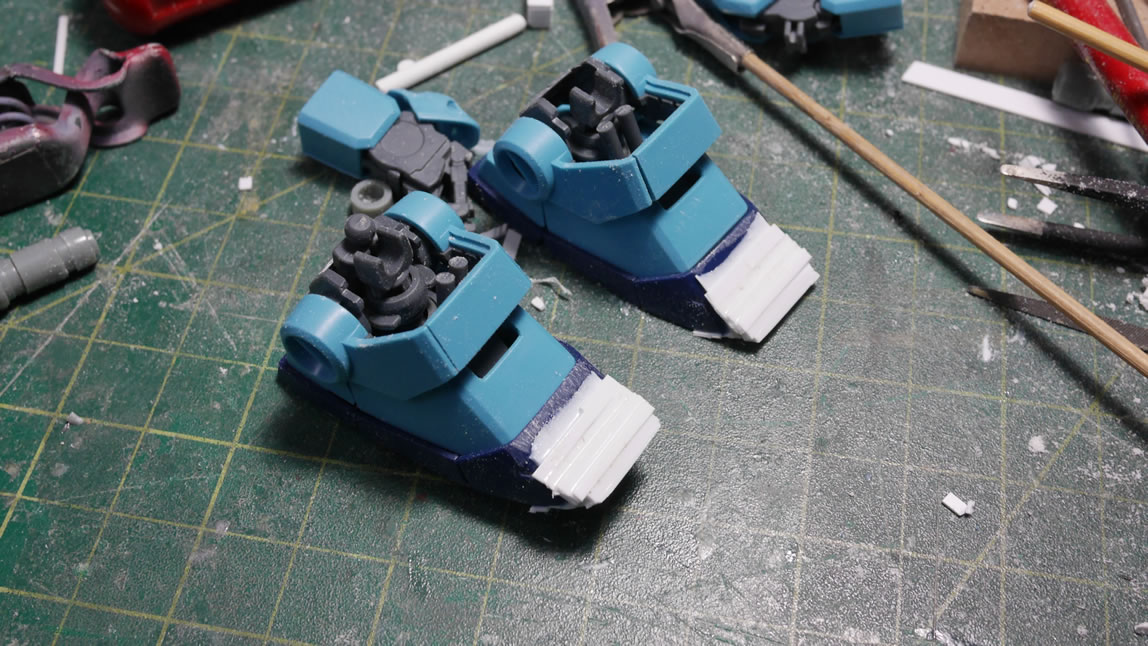
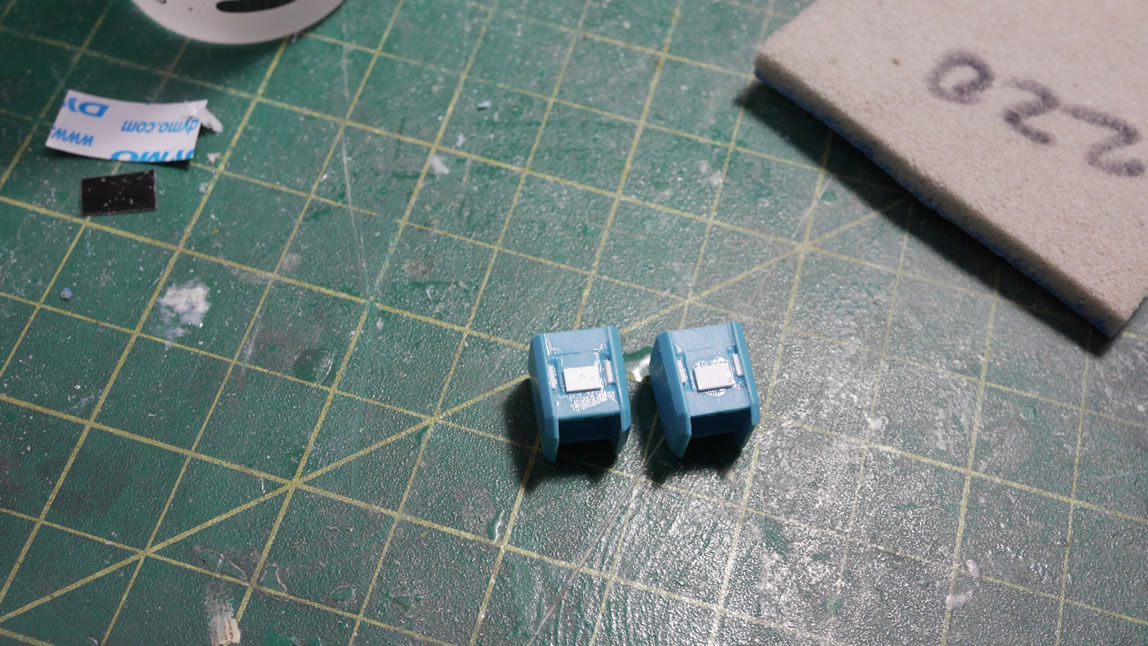
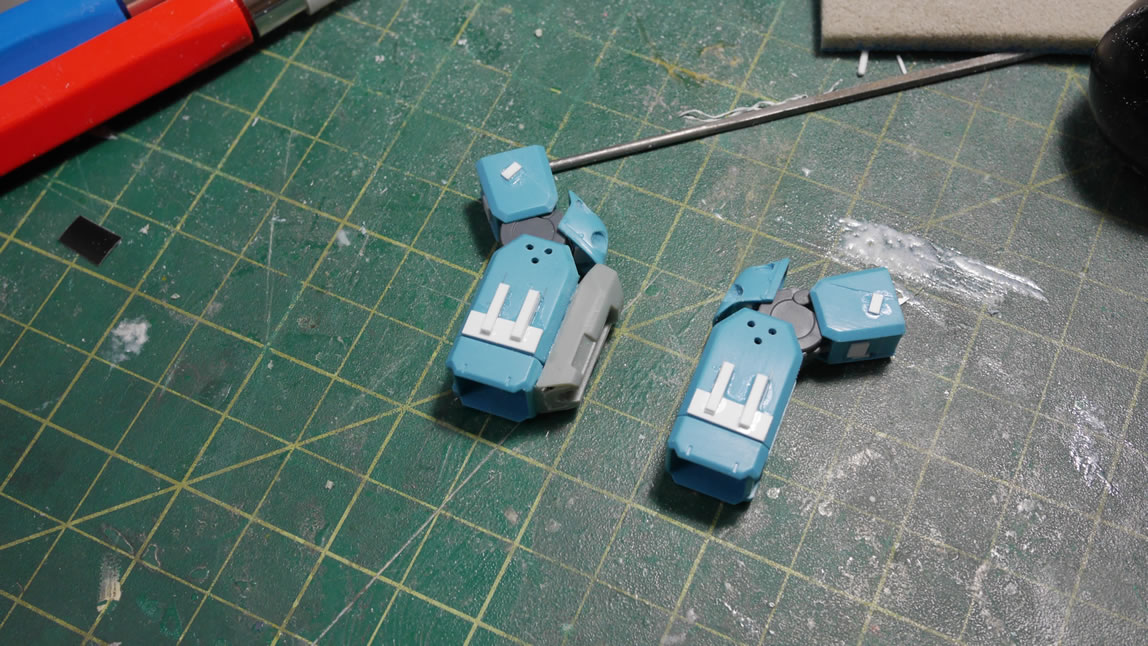
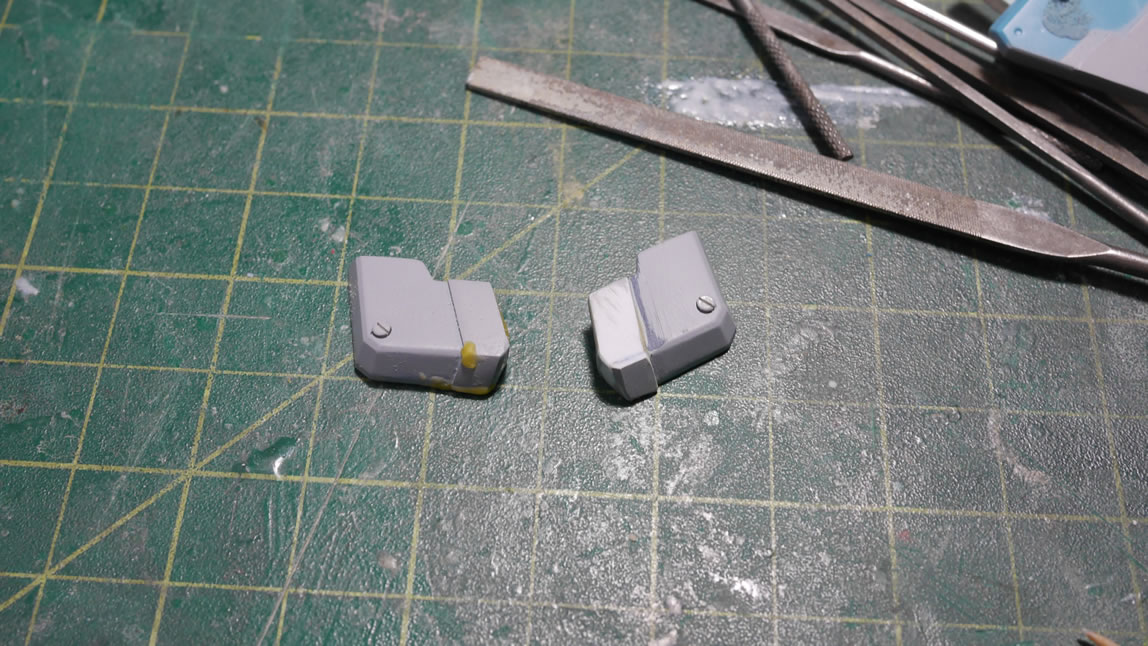
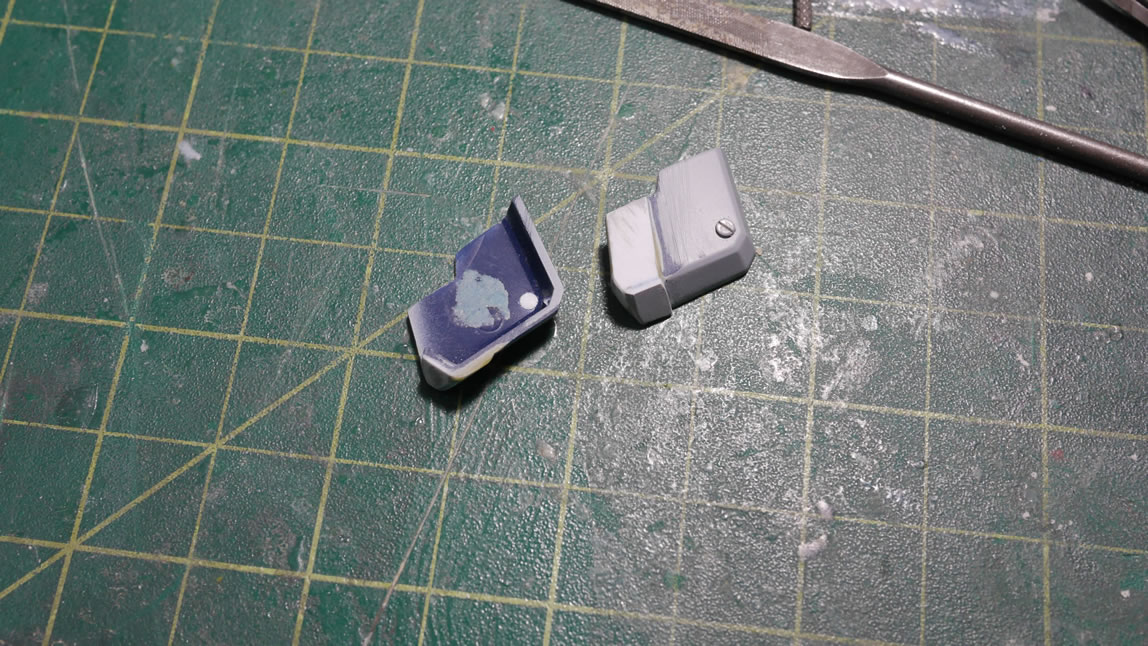
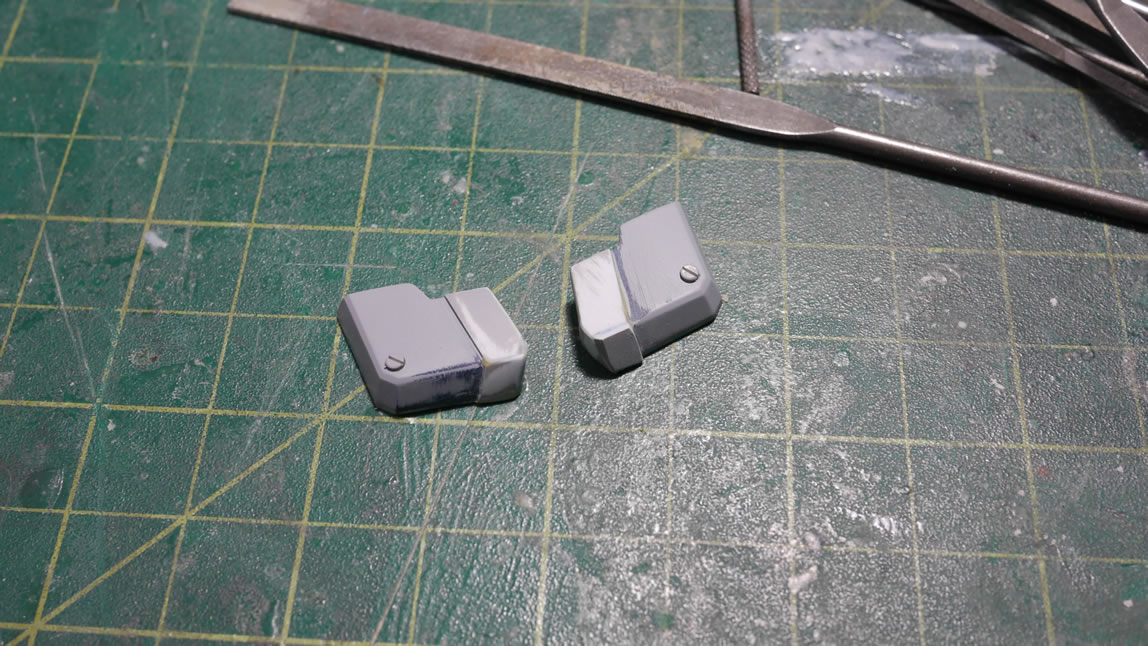
I actually started working on the feet as one of the first mods to this project, but have been dragging my own feet on the damn process. The task is pretty slow since I need to glue layers of styrene, let that cure, then sand it down, then repeat the process with more styrene. The process is fairly laborious and boring. I have been holding off on posting about it for a while since I wanted something more substantial; or at the very least, something visually entertaining when I got around to this. But I’ve been stuck in the loop for this mod.
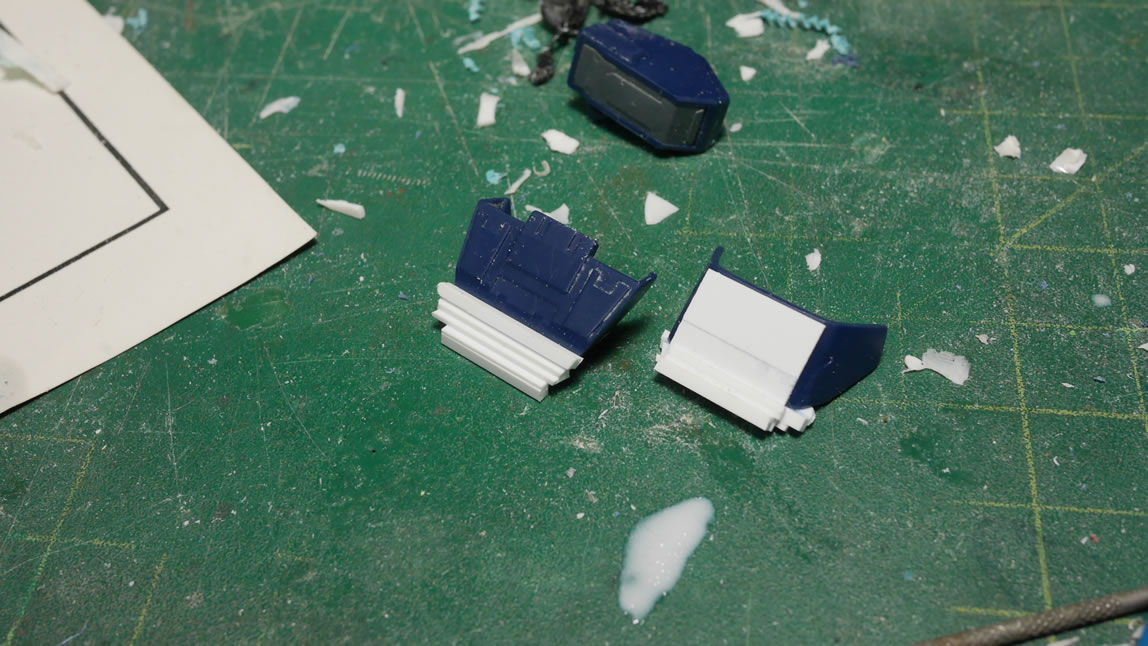
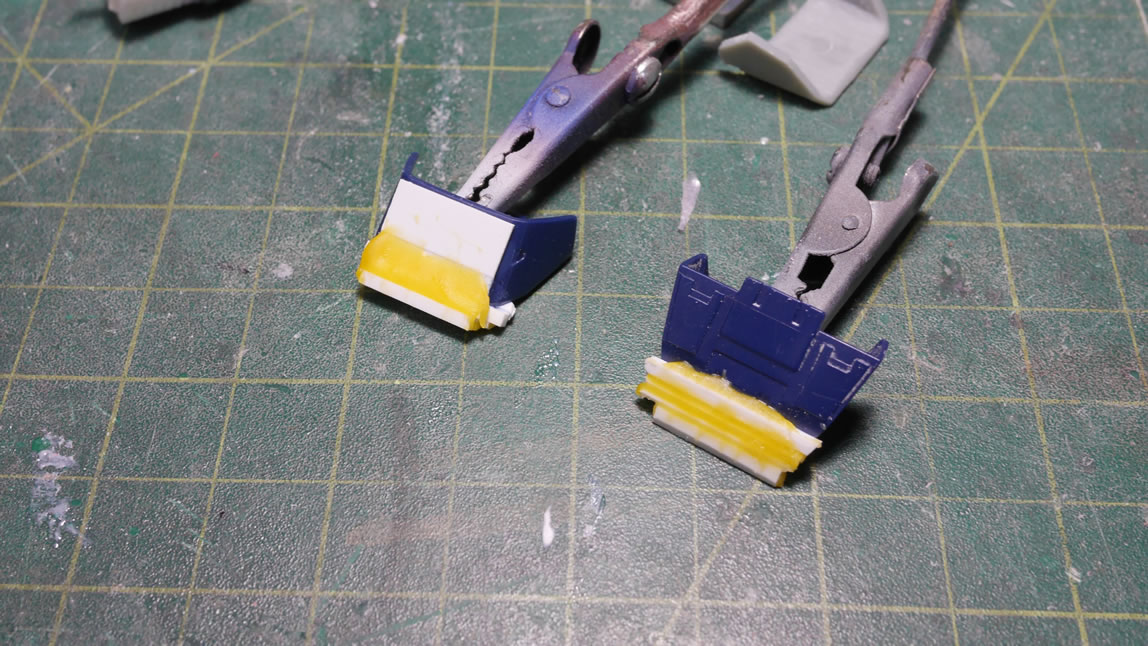
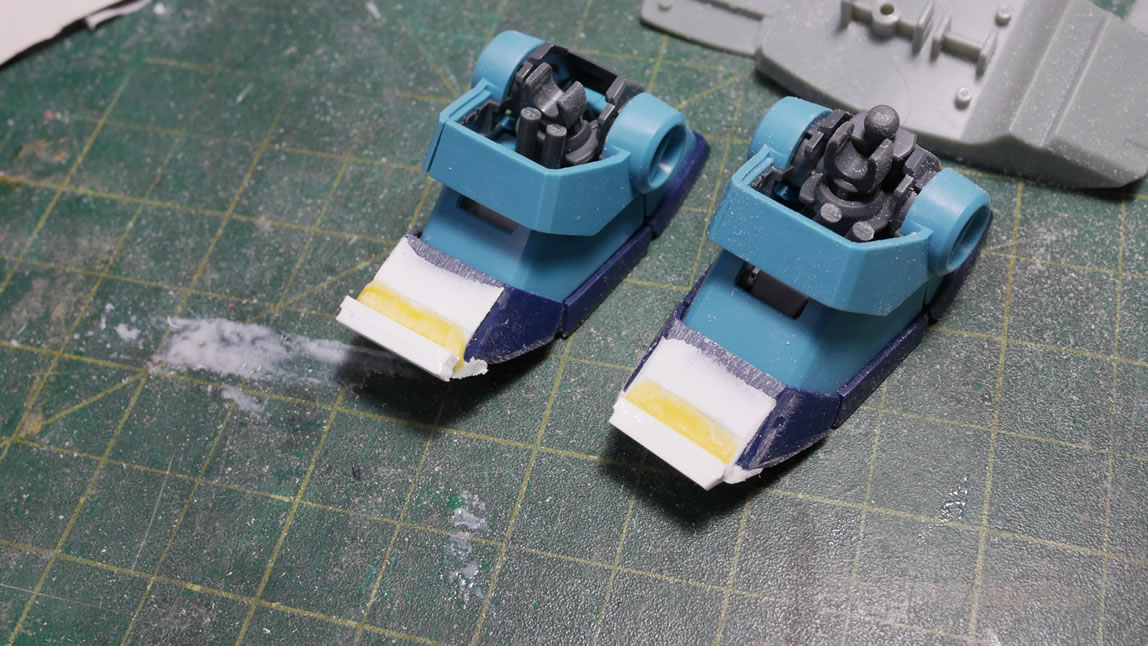
The real task comes when dealing with the correct proportions and getting the correct shape for both pieces. Granted, I could have cut the work in half by just building one foot, then making a mold of that part and casting it. Actually, that is still an option now that I may do since there is still the bottom detail that needs work. Great, now I’ve wasted my effort on an extra foot piece that I really didn’t need to do. It’s better to figure these things out now than later I guess. This should effectively pull me out of my loop that I’ve been trapped.
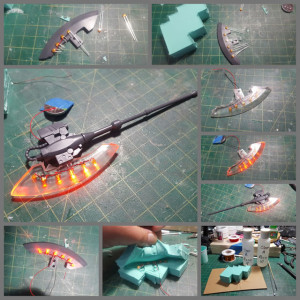
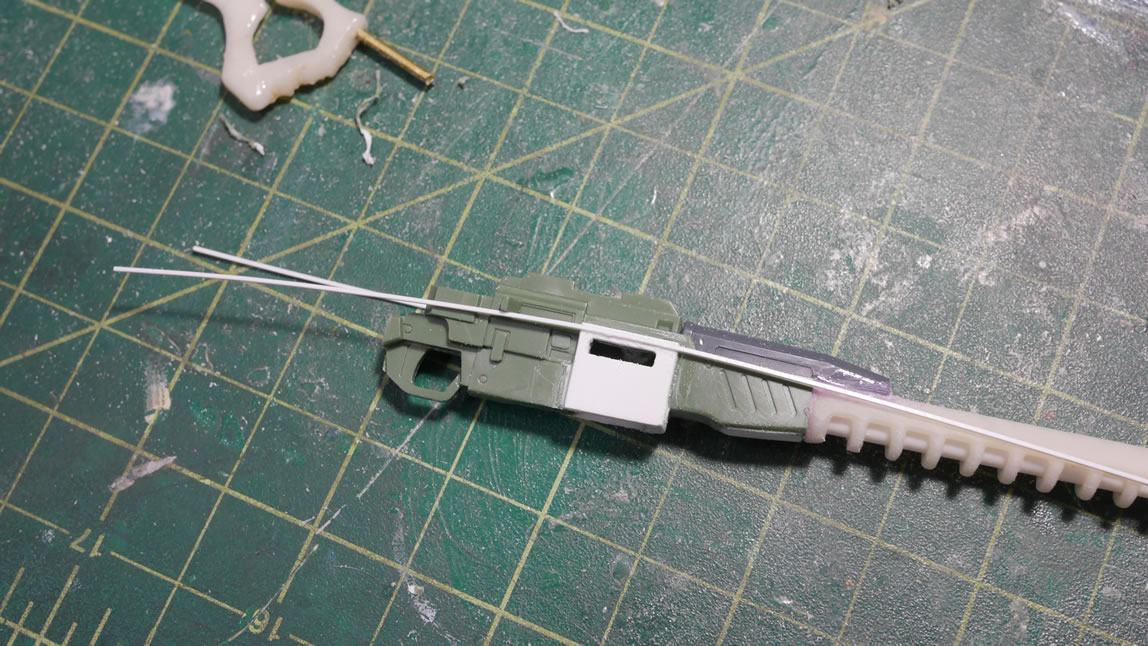
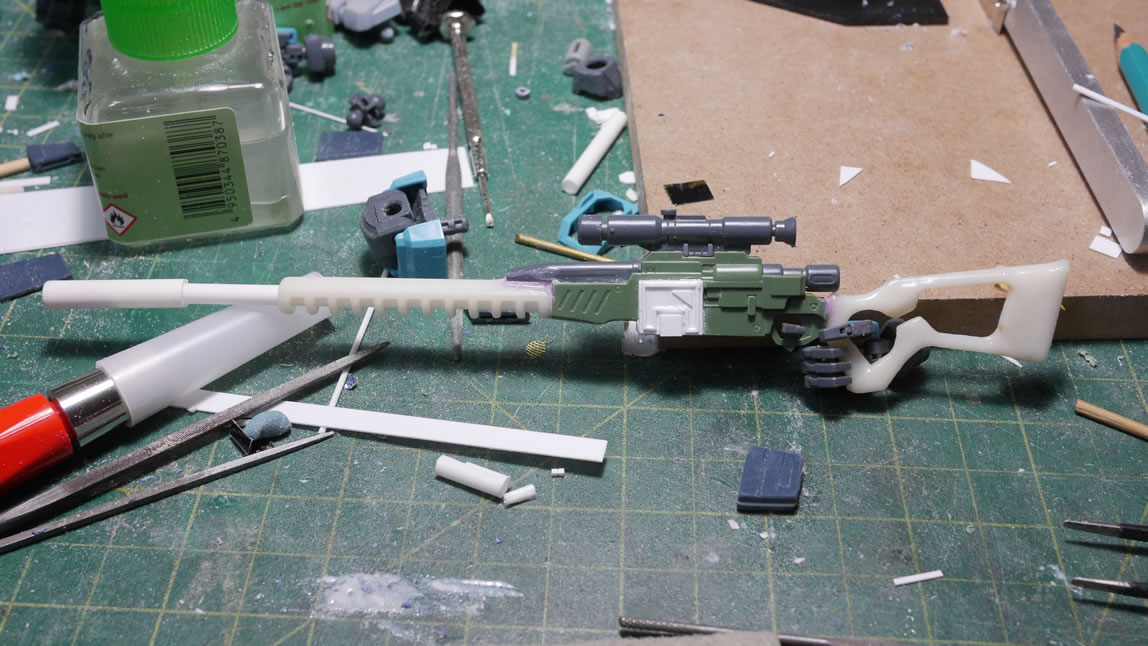
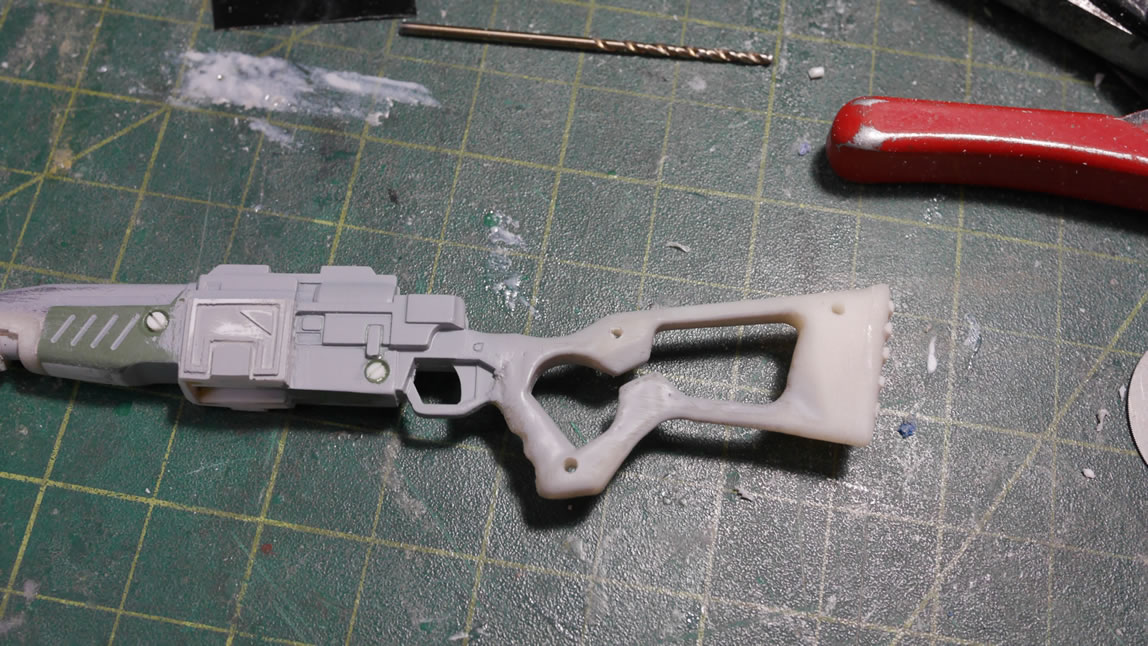
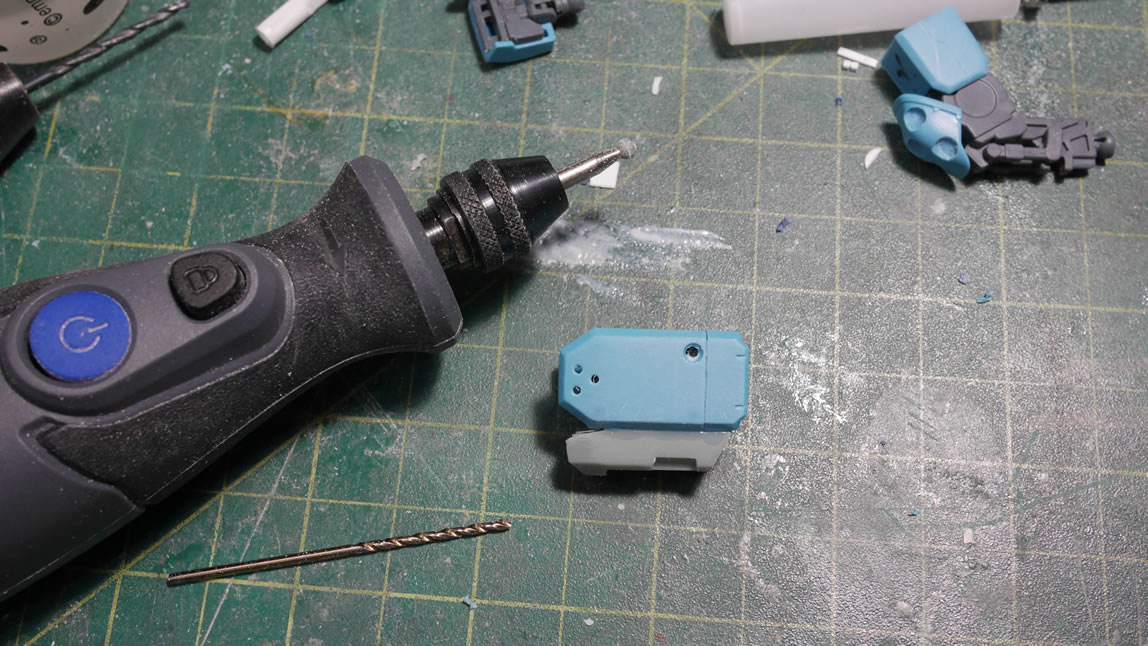
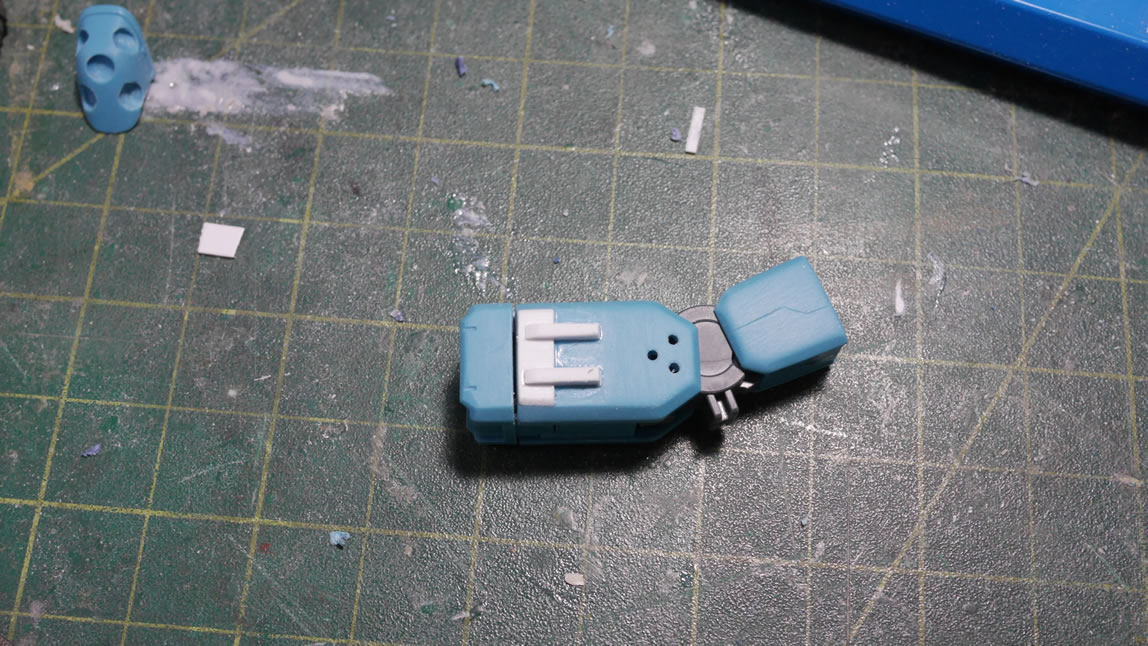
Ok, the real meat of this post starts here. Last week, we left off with attaching the new barrel to the chopped foregrip and gluing plastic plating around the midsection of the rifle’s lower receiver. Here, I’ve added a magazine and the stock and some plastic plating on the bottom of the foregrip to help build up the transition to the bottom of the new barrel piece.
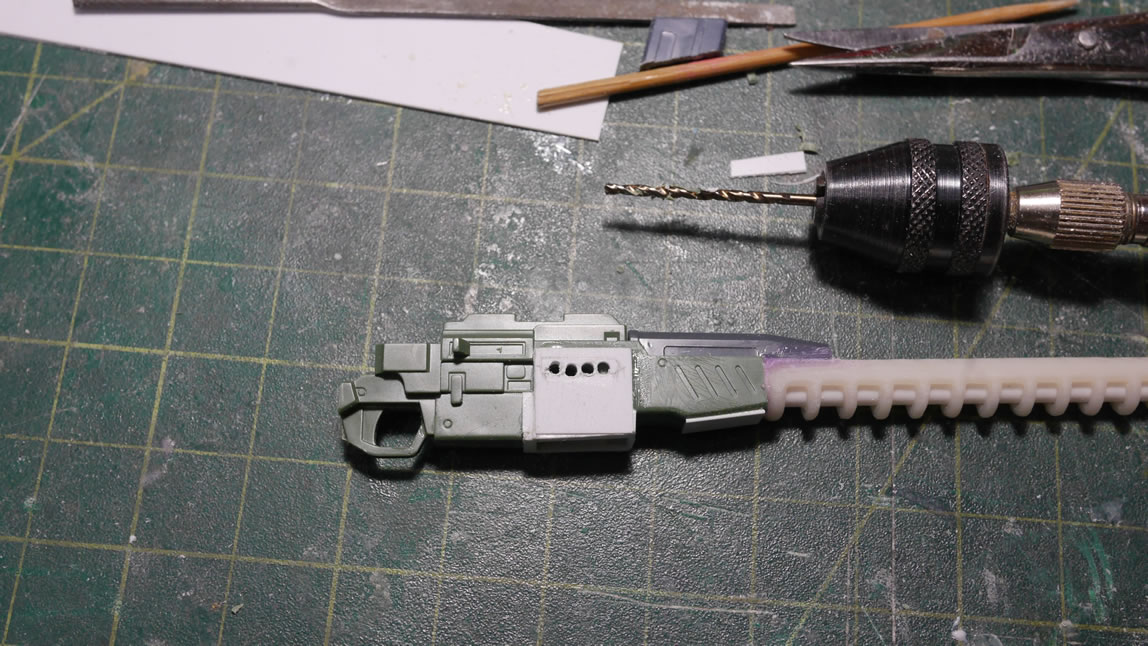
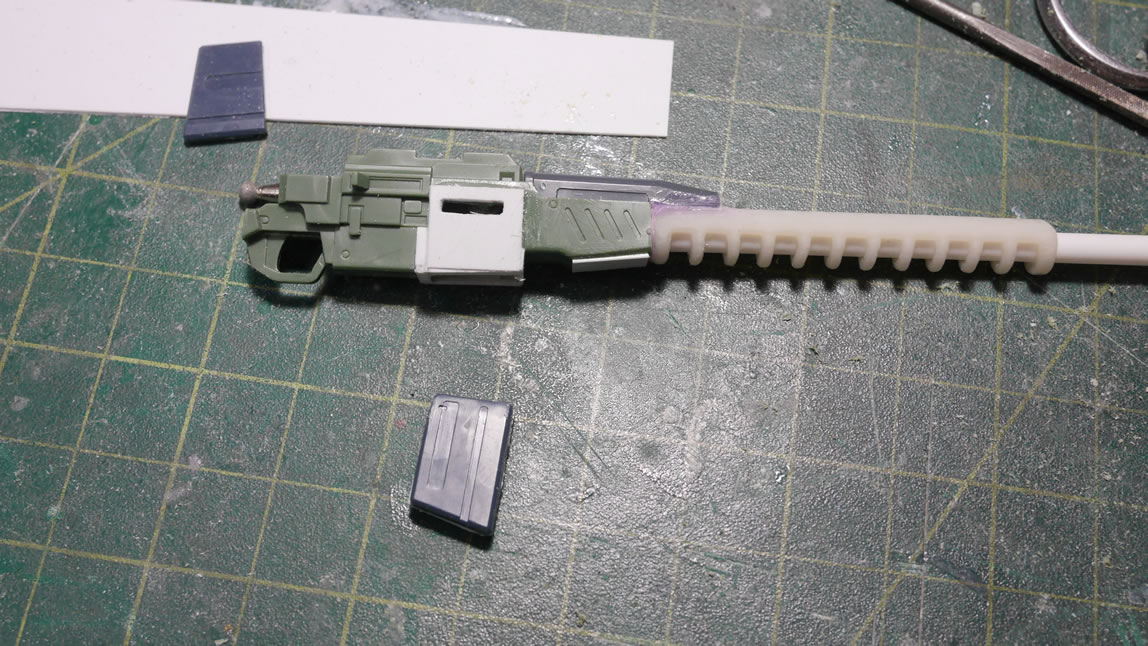
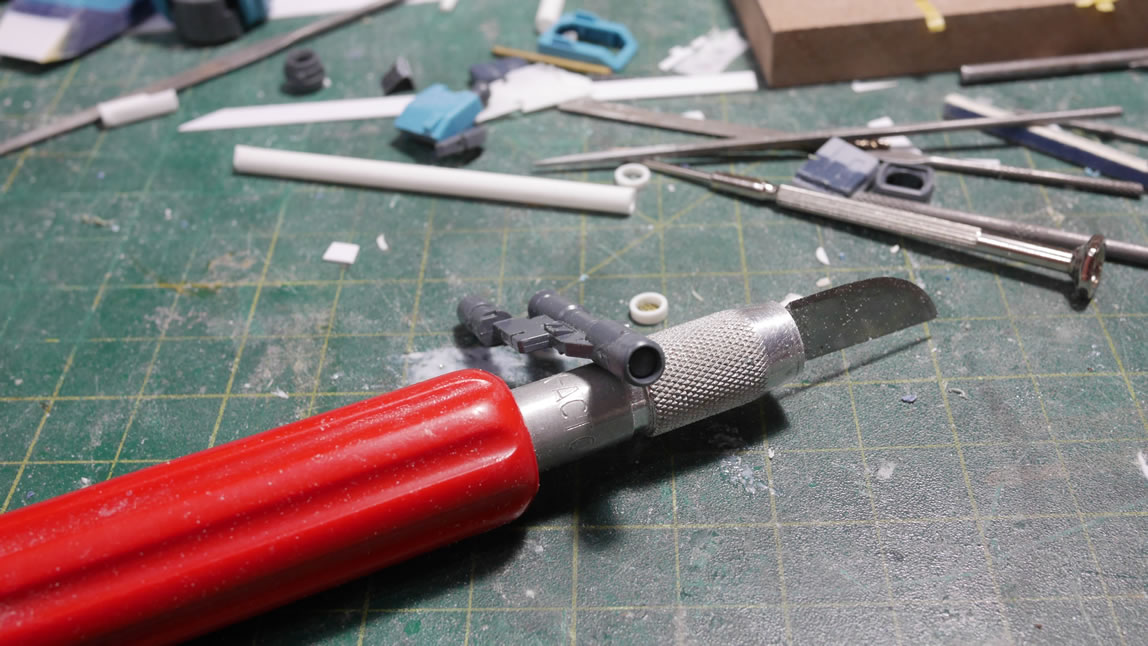
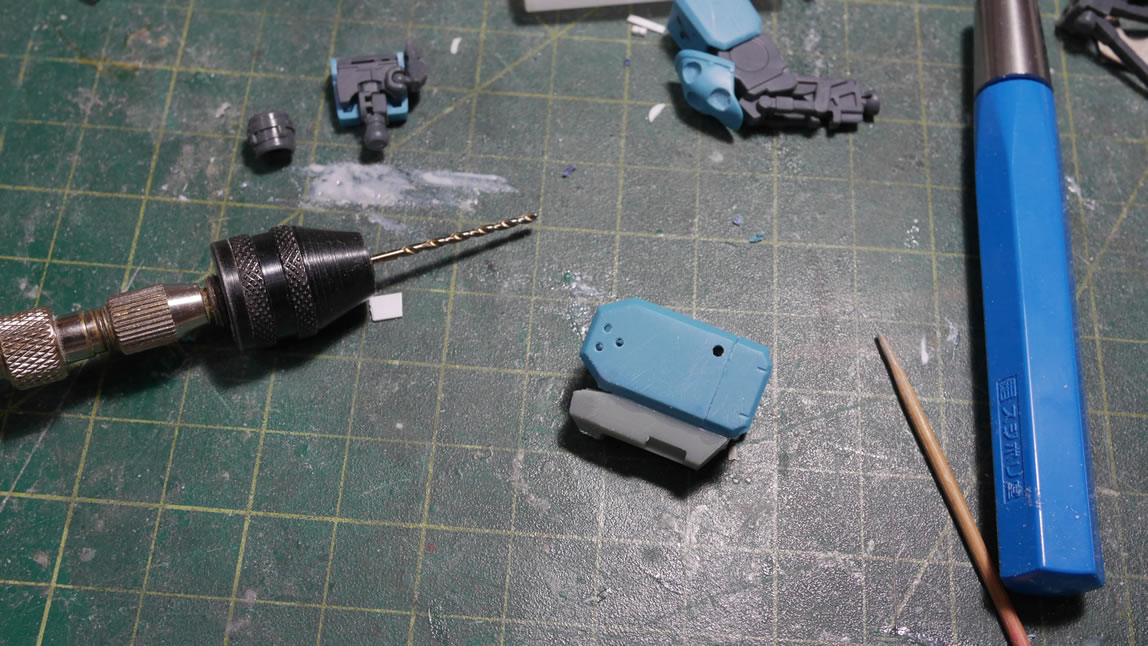
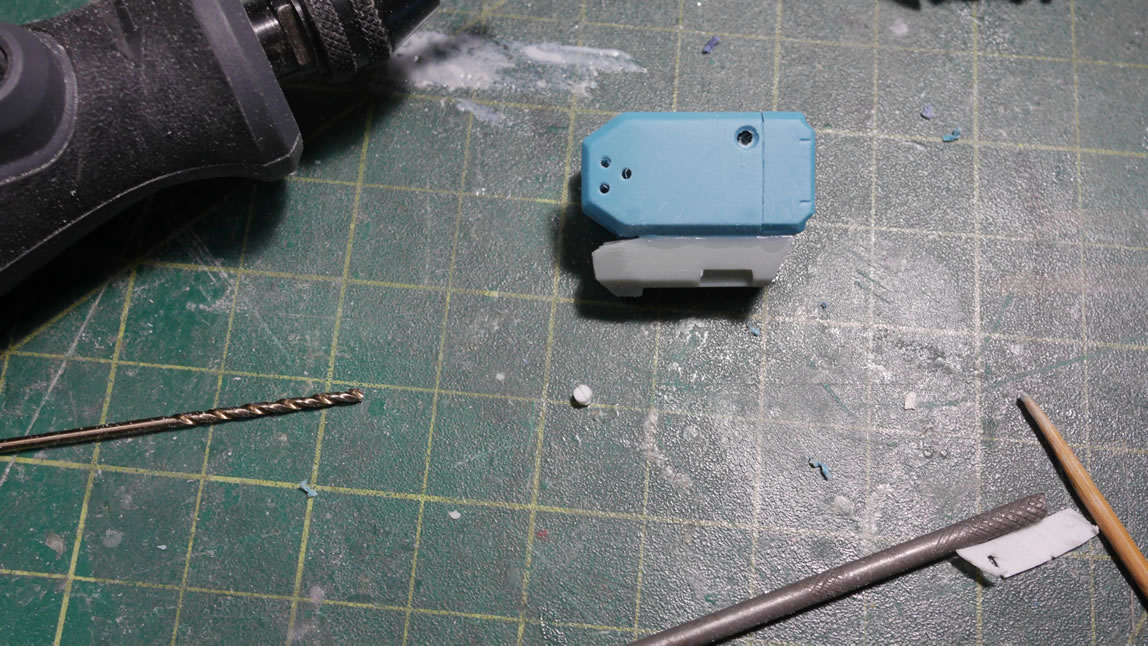
The styrene plating that I slapped together is to create the lower magazine receiver. Once that cured, I did some rough sanding then drew out a box for an exhaust port for spend shell casings. Next, I drilled out some holes within this box. These are pilot holes that start the process of creating the exhaust port. The hobby knife is used to break the thin areas between the pilot holes and to get a rough edge going. Once there is enough space, I can start in with metal files and start shaping out the exhaust port.
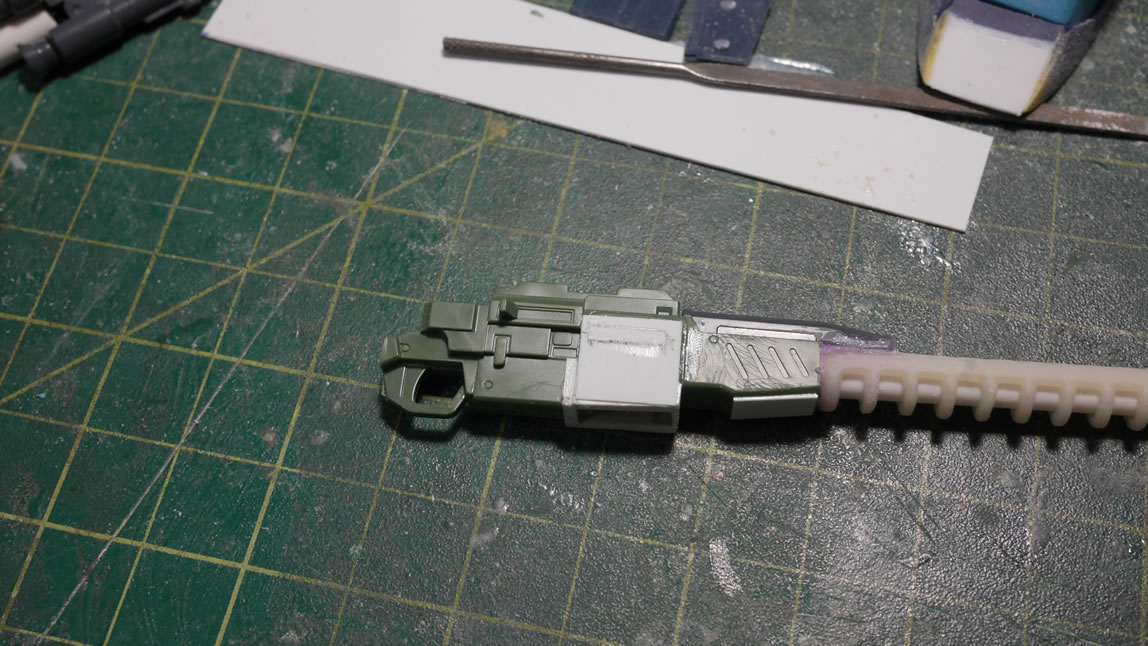
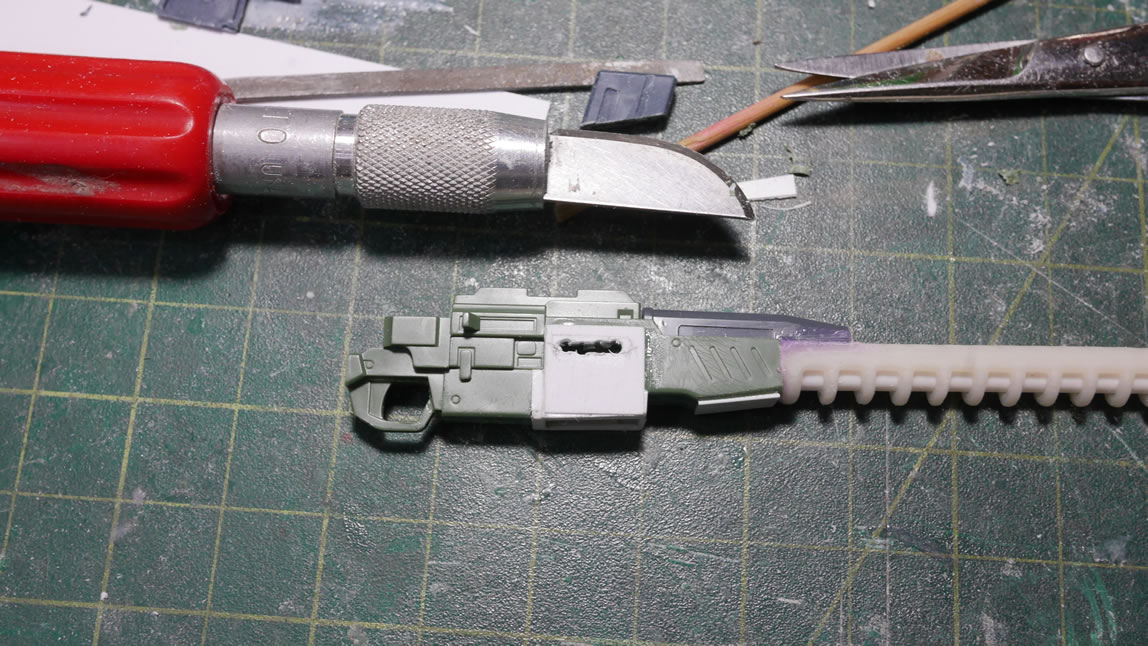
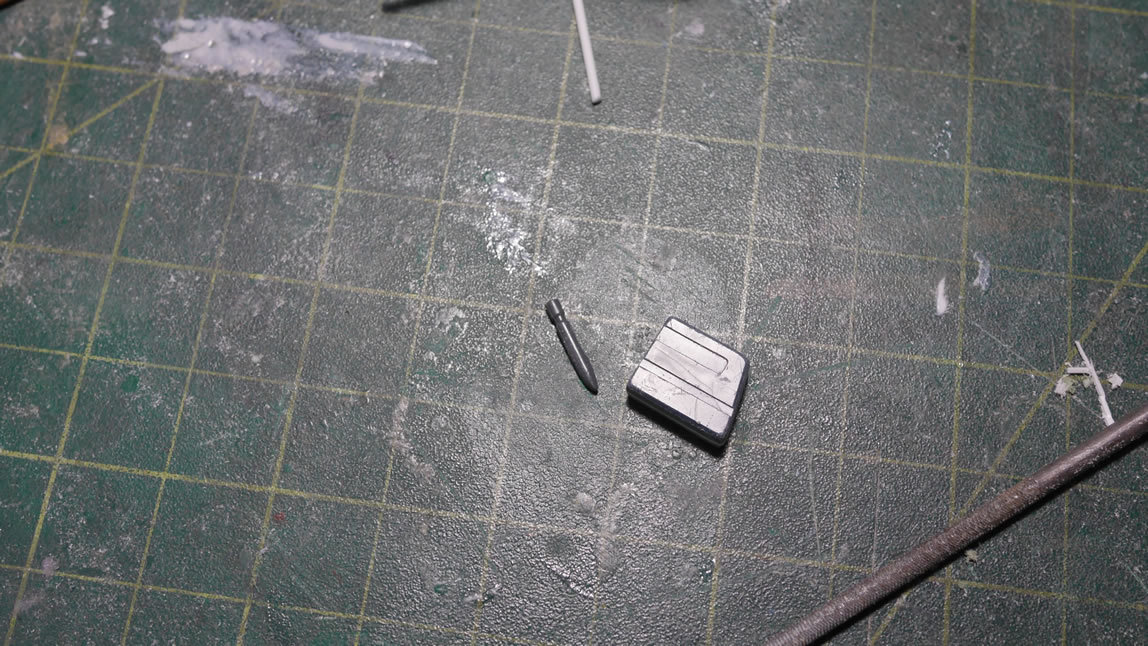
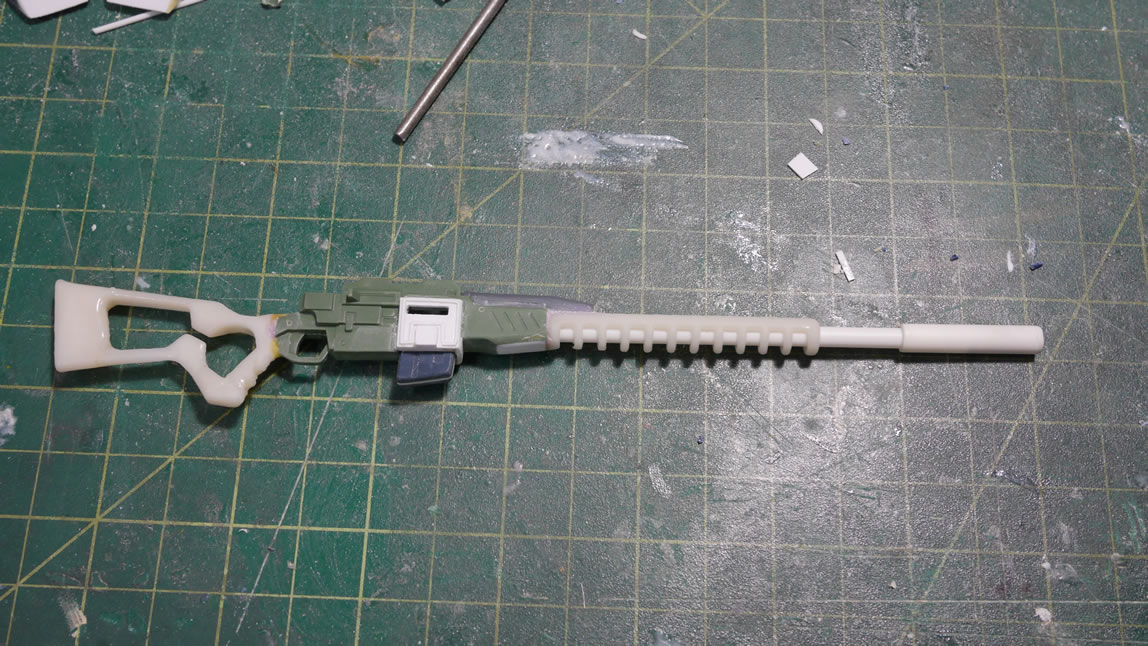
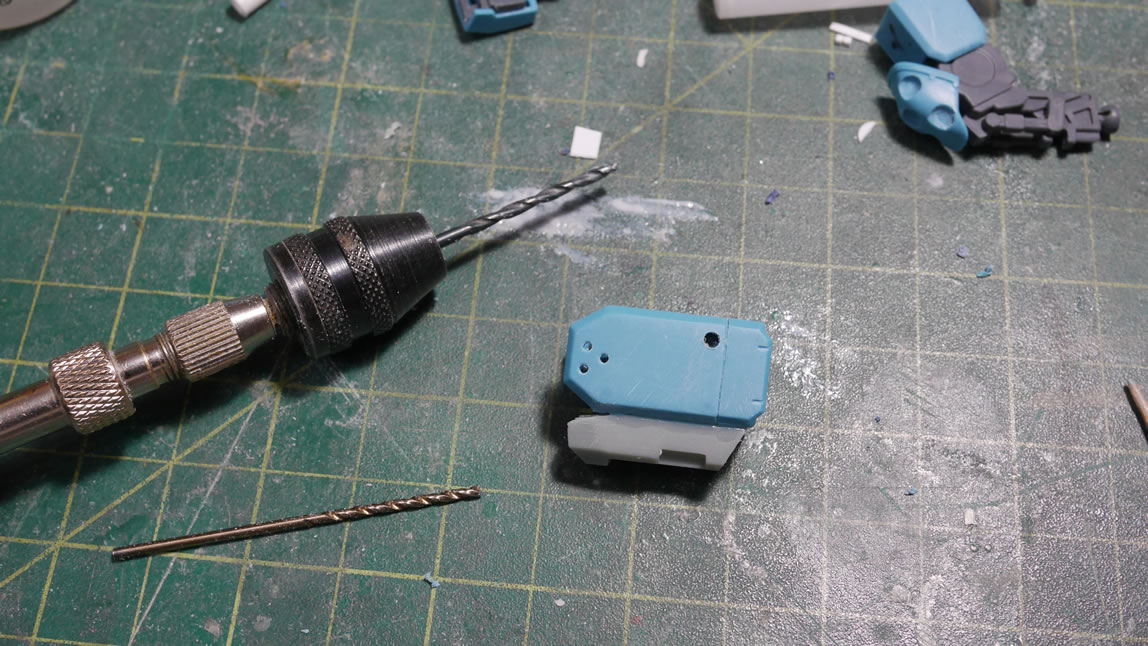
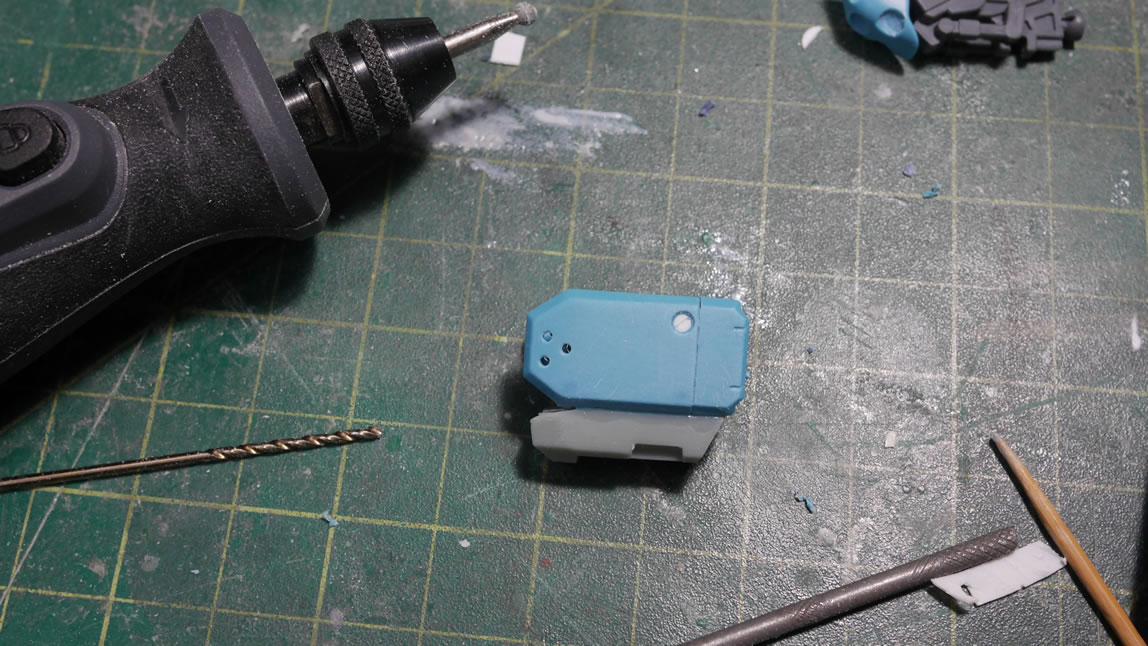
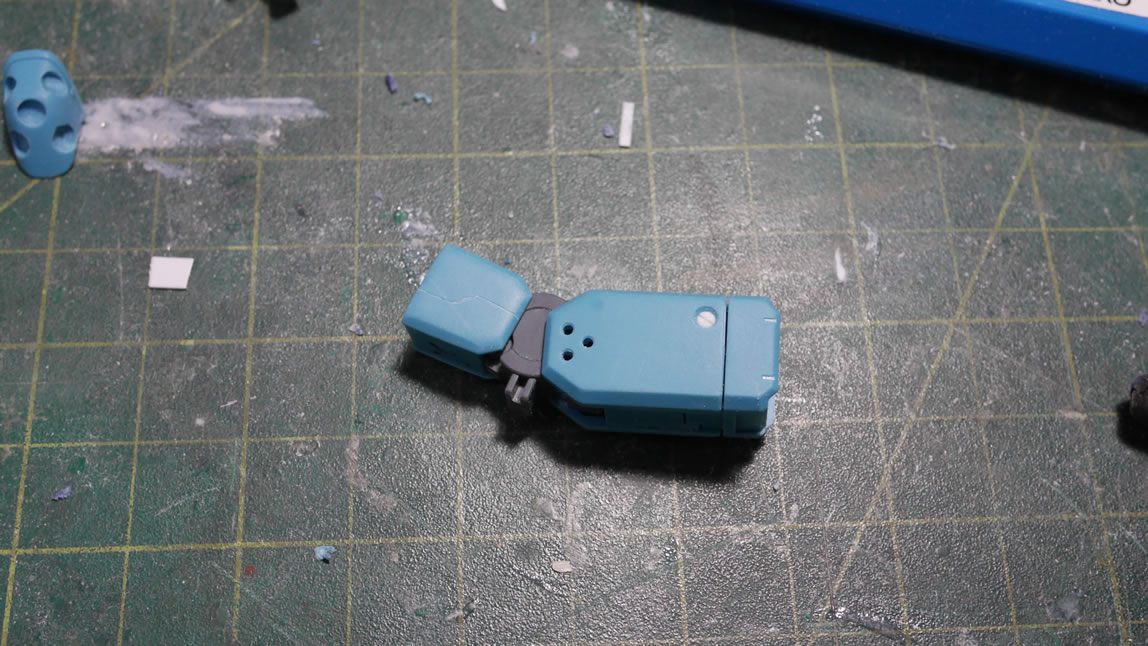
The kit comes with a magazine for the Sniper’s SMG, but it wasn’t going to fit my needs; so I looked in my box of spare parts and found a tree from the GM Kai kit. The magazine for that kit’s machine gun was almost perfect. Almost because it was too thin on it’s own, so I glued the two halves to a few strips of styrene. I also had to cut the top of the magazine since it was too tall for my use as a low profile, low capacity magazine. Yes, I inserted the magazine backwards in the 4th picture. But I was really testing the functional gimmick of having this part removable. I did the same thing here as with the exhaust port. I drilled out some pilot holes, cut the excess walls between the pilot holes, then sanded away using metal files to clear out the area for the magazine. With the exhaust port exposed, I glued a round to the top of the magazine that I will detail up so when done, you should be able to see the round inside the exhaust port.

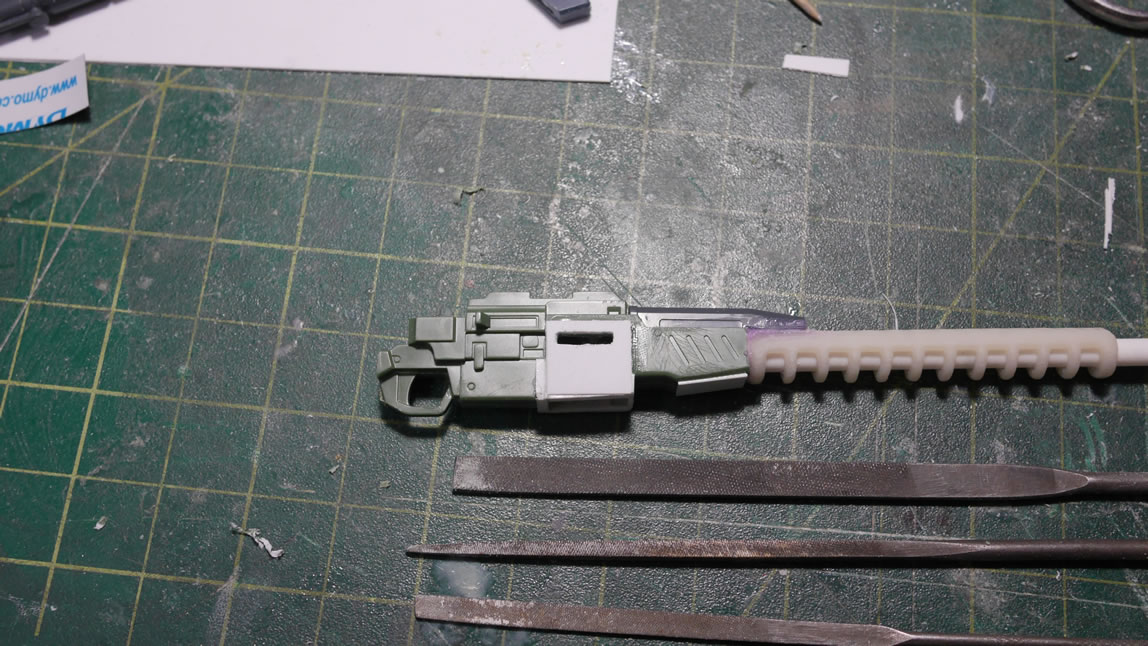
Cleaning up the lower receiver mods, the face of the magazine receiver needs some detailing. Thin strips of styrene is glued into position. Square and triangle pieces of styrene are also glued to finish the detailing. It looks messy, but once the glue cures, a metal file will help sculpt and straighten everything out.
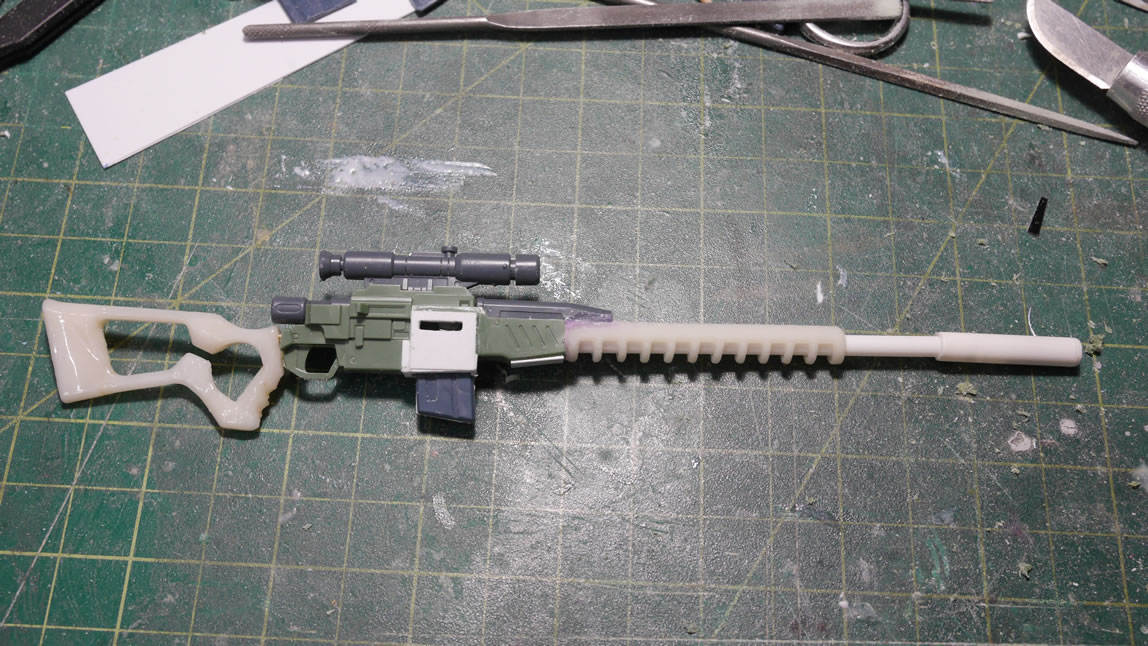
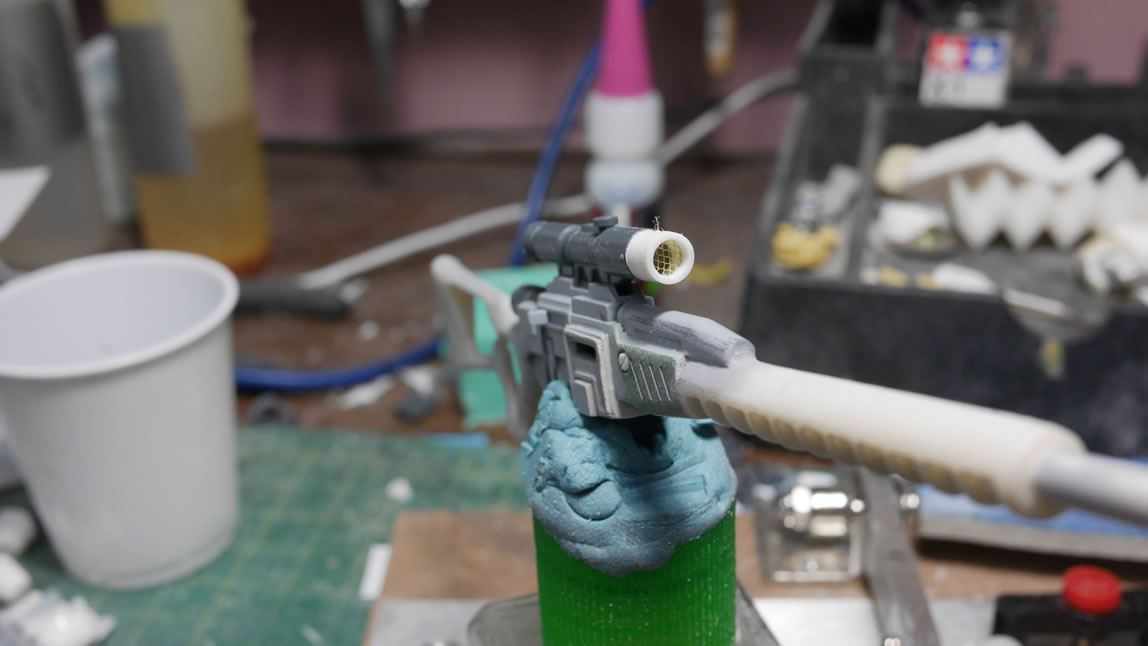
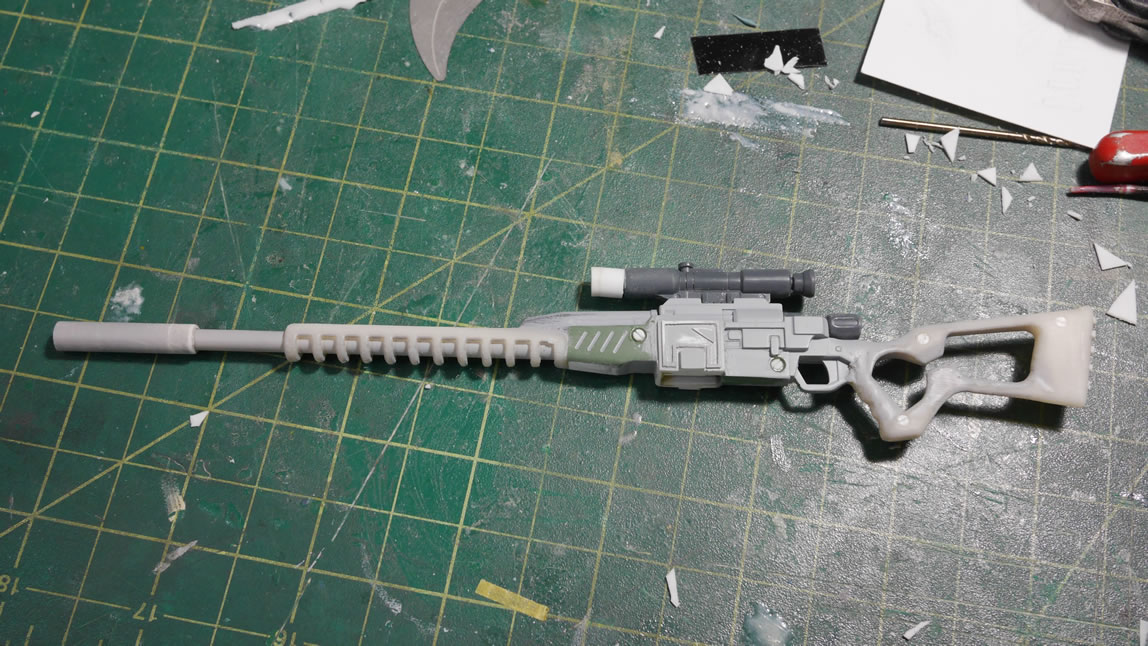
The front of the gun is done, time to glue in the stock. Once the glue set for the stock and back of the rifle; light curing putty is used to fill and build up the transition areas. It is starting to come together, but it still looks like a frankensteinly mashed weapon.
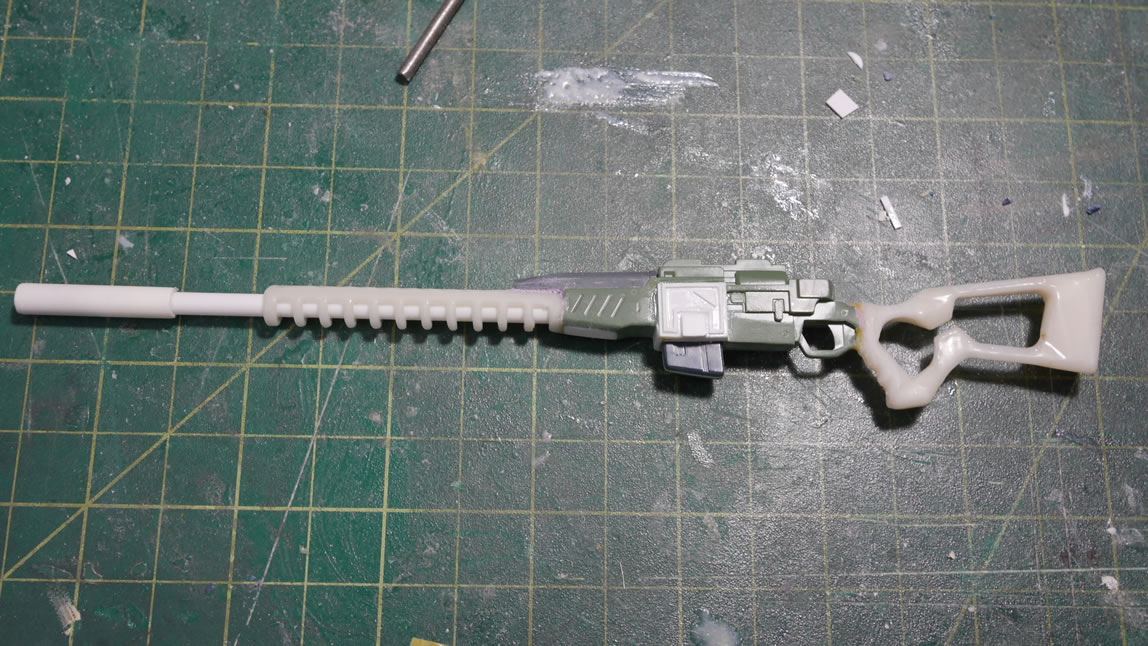
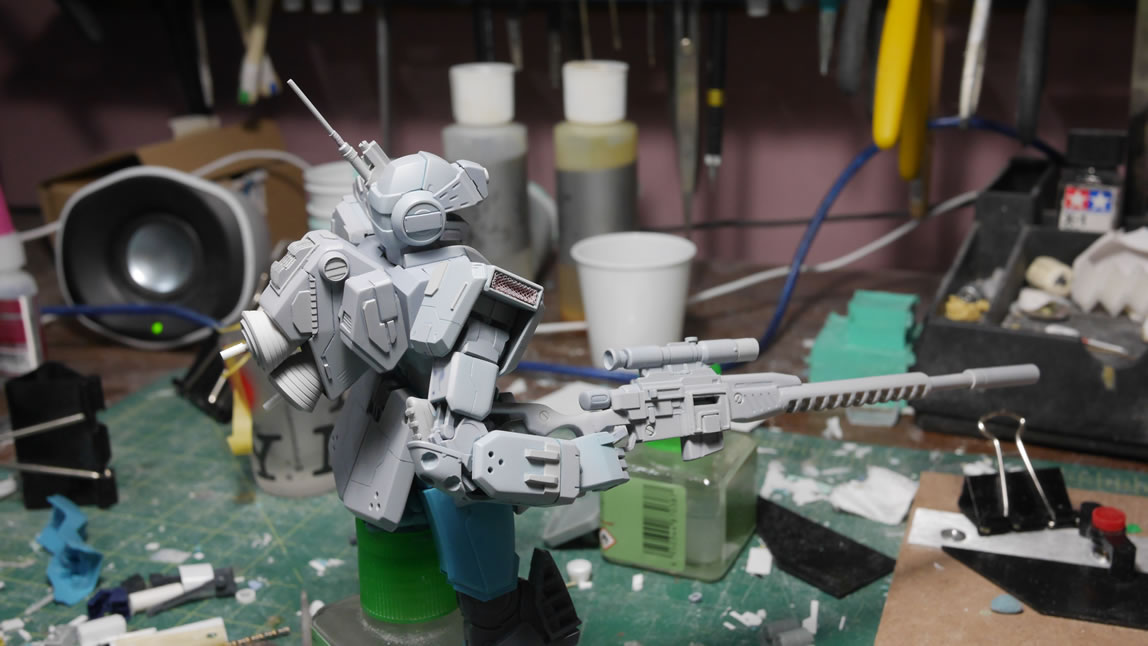
The first priming session starts to really tie the rifle together. It also shows all the missed transition areas that need to be puttied and fixed as well as all the missed sanding areas. But it is definitely coming along and now looks so much different from the original weapon.
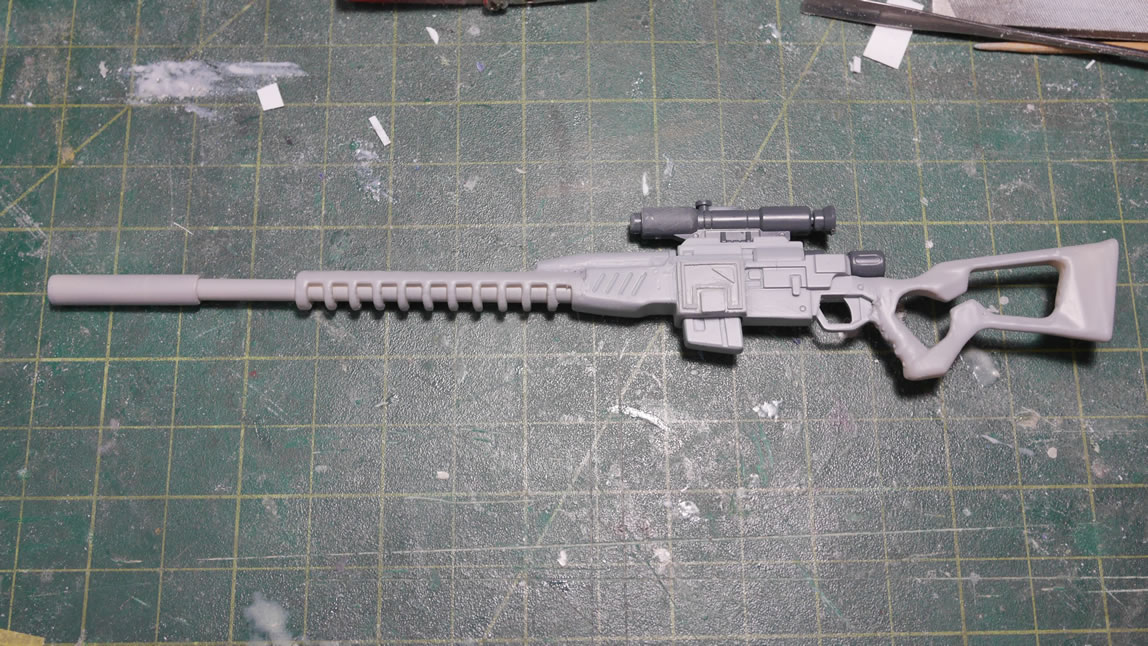
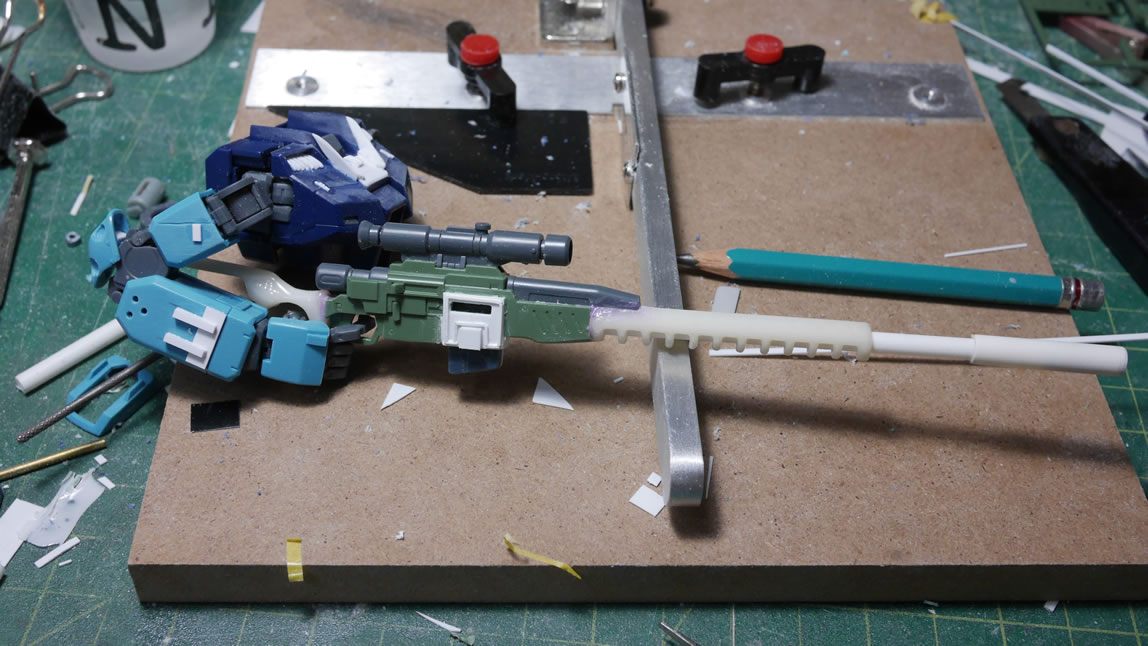
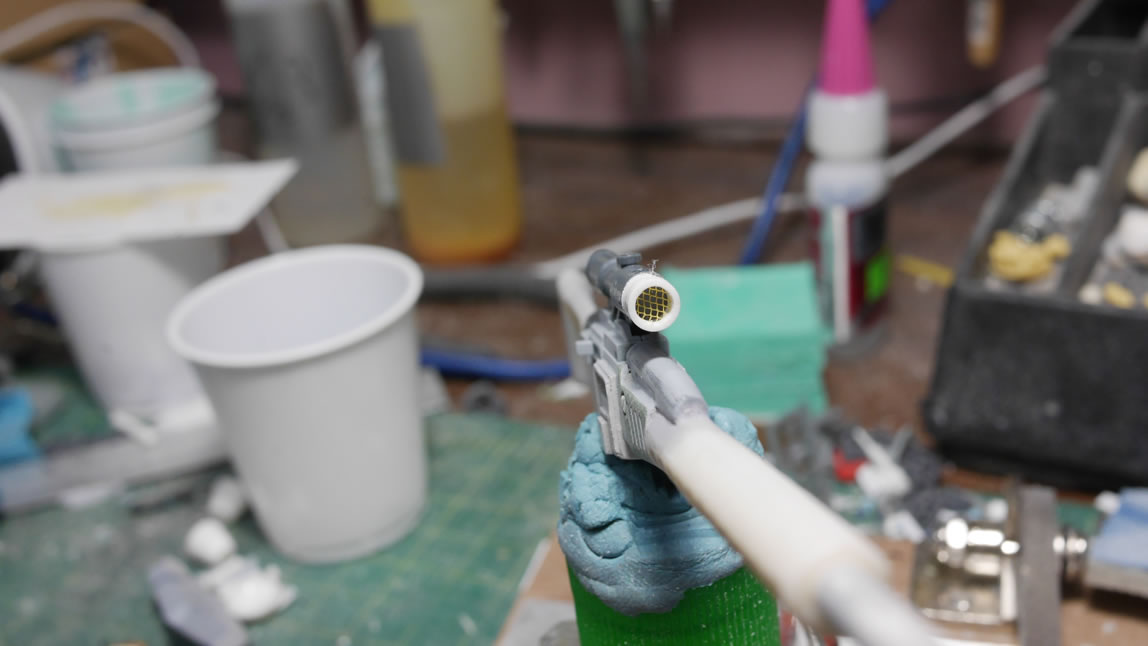
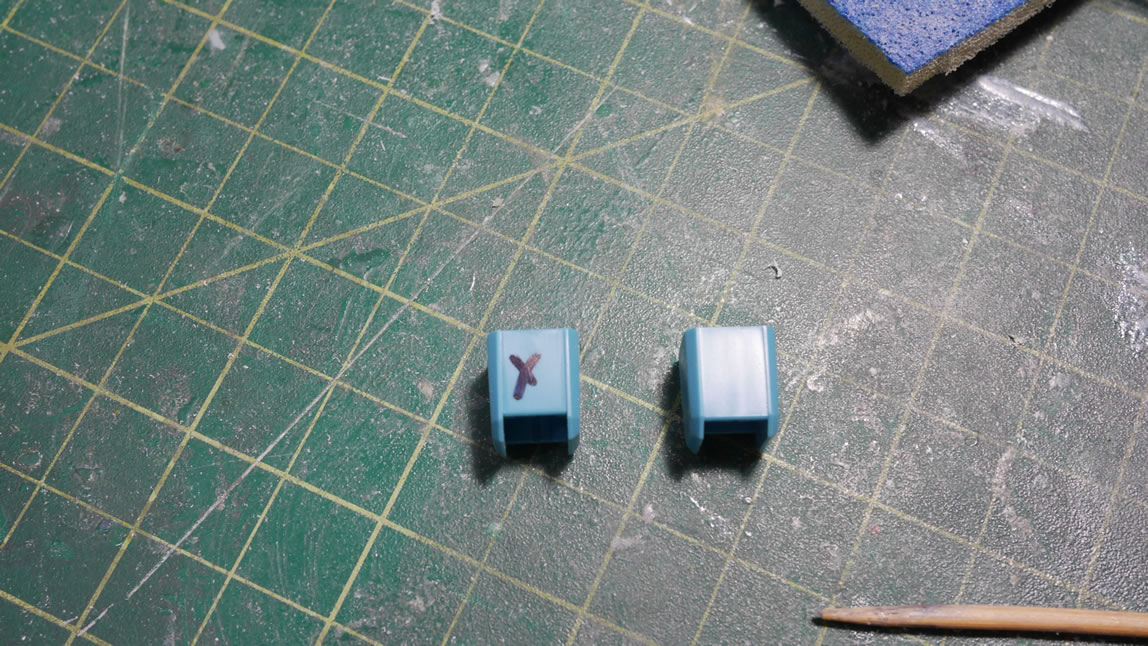
In the above picture, I didn’t prime the scope. When I primed the main rifle, I had just glued the two pieces of the scope together so that seam needed to cure up before sanding it down and priming. It was at this time that another idea popped into my head. I can modify the scope too.
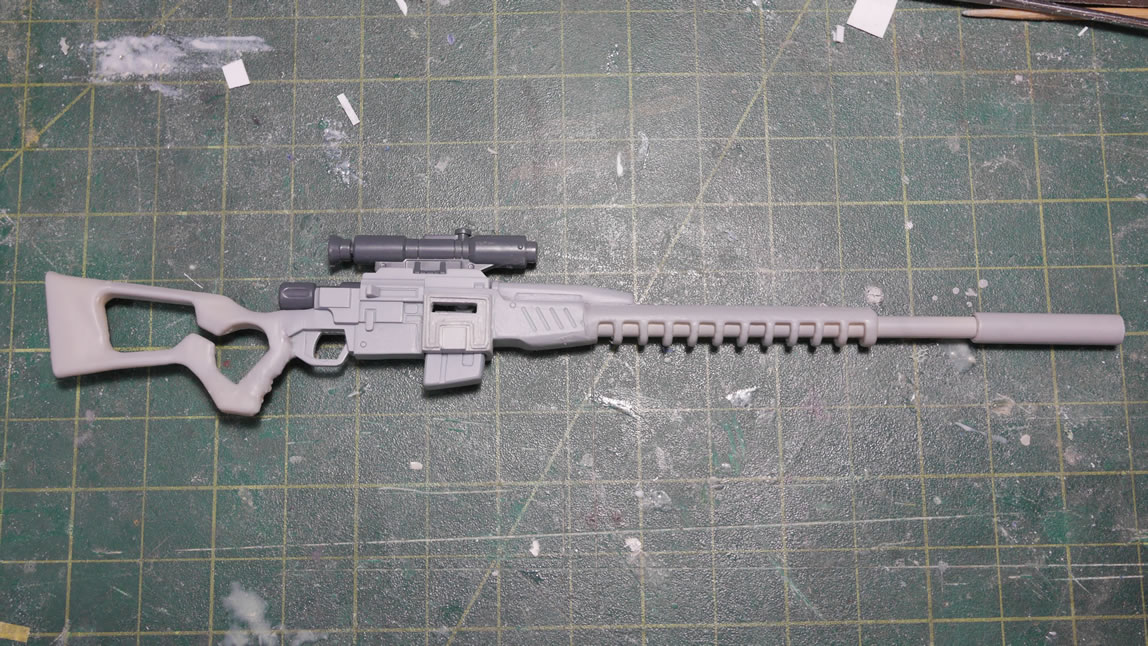
I removed the front lens piece and replaced it with a piece of styrene tube that matched the diameter of the existing part. To this, I punched out some mesh and glued this to one end of the styrene tube. I cut another small length of styrene tube and glued this to the back of the mesh side so that I have a styrene tube with a piece of mesh in the middle. The male attachment point for the scope’s body will now be the new lens for the scope.
Now the question is why the hell did I add a piece of mesh to the lens? Well, in real world sniper scopes, you can get an anti-reflection scope cover. Suspension of disbelief is required. This is the Gundam world, and gunpla is freedom. There, all my bases are covered for why I did this now. Plus, it just looks damn cool, so there!
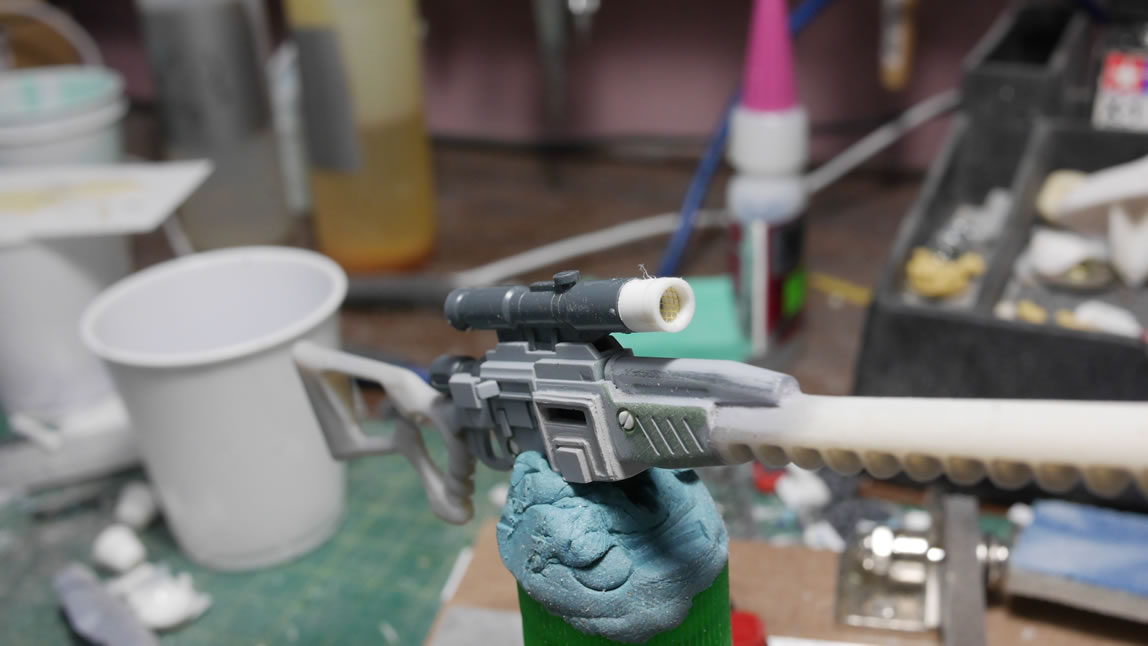
Next up, I focused on the stock. I glued some styrene strips to the back of the stock. Scribed a line. Then drilled out some holes and added some resin minus mold pieces as bolt piece for the stock. Cleaning up the styrene strips, the filled transition area fixes from the first priming session, and the scribed line; the rifle is primed again and everything is finally coming together.
Returning to the arms, I scribed a diagonal line and glued a strip of styrene to the upper arm pieces. The upper arm pieces have directionality to them – meaning, there is a front and back part if you are not careful, this can really fuck up your day. I’ve kind of learned my lesson about this in the past, so I marked the back areas just to make sure. I got to working on the front areas with some scribing and styrene strip addons.
I added some styrene to the forearms as well.
After sanding and shaping the styrene details for the forearms; I drilled a small pilot hole for more details. Once the pilot hole is punched out, the location of the hole is checked. Satisfied; a bigger drill bit is used to widen the hole. The last part is to use the dremel with a ball sanding bit to bevel the hole.
A resin minus mold piece is glued into position. After a few days, the upper arm detail didn’t look good to me, so I removed the diagonal styrene and filled the scribed line and started over. I replaced that detail with a simple straight line + diagonal + straight line detail. The arms are ready for primer.
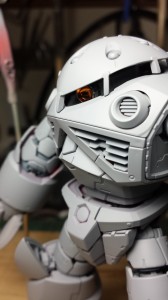
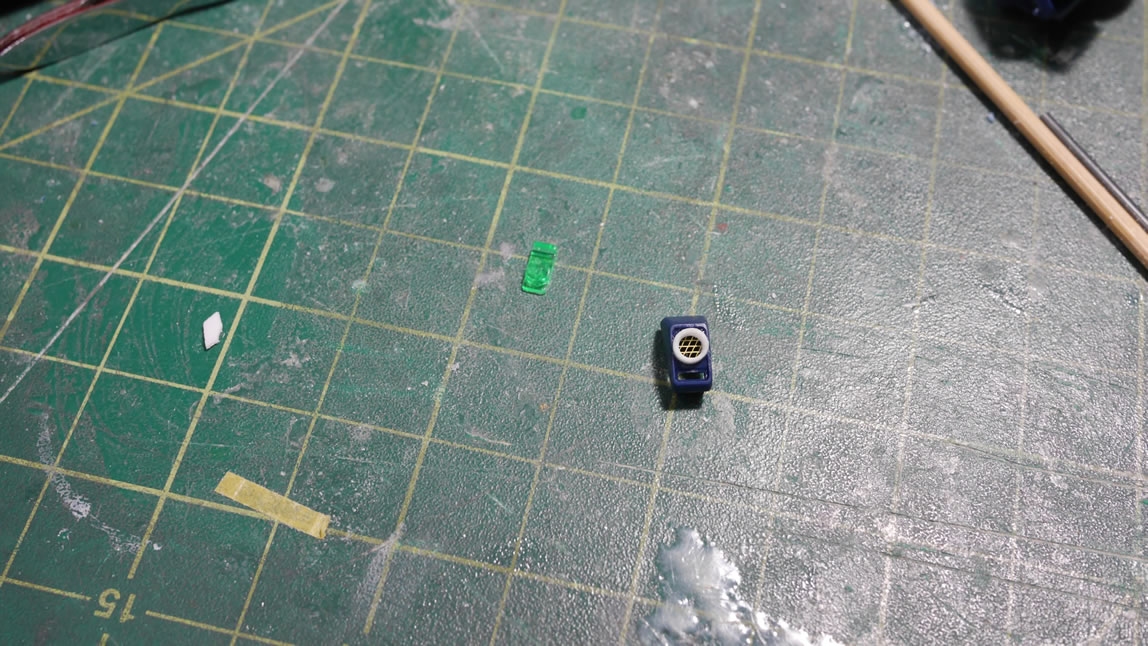
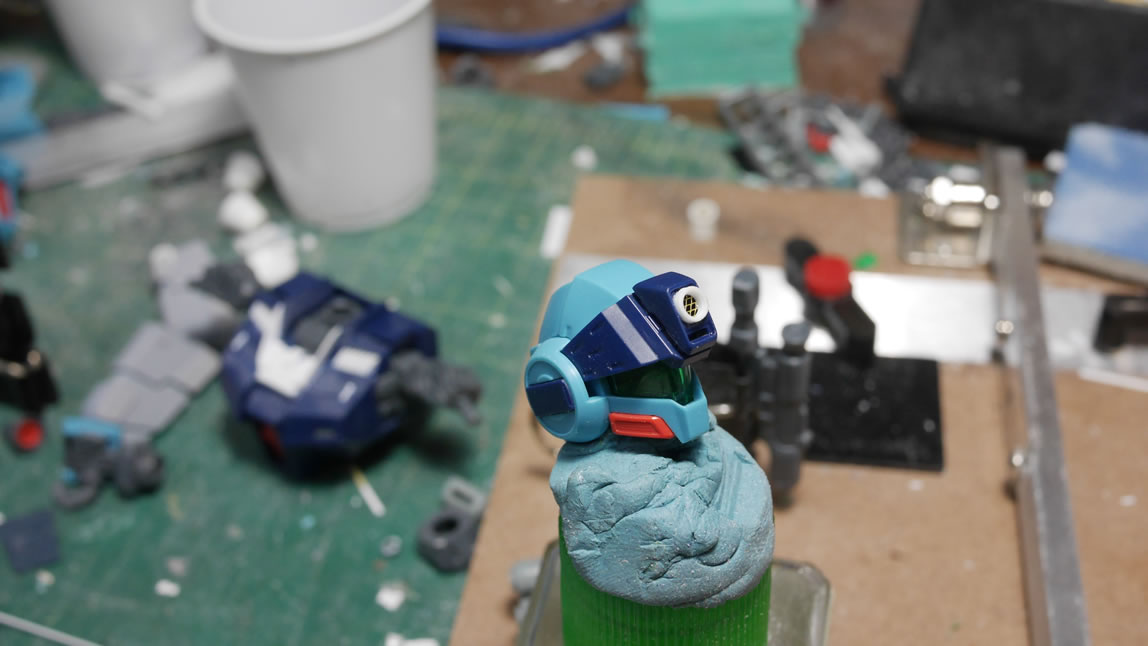
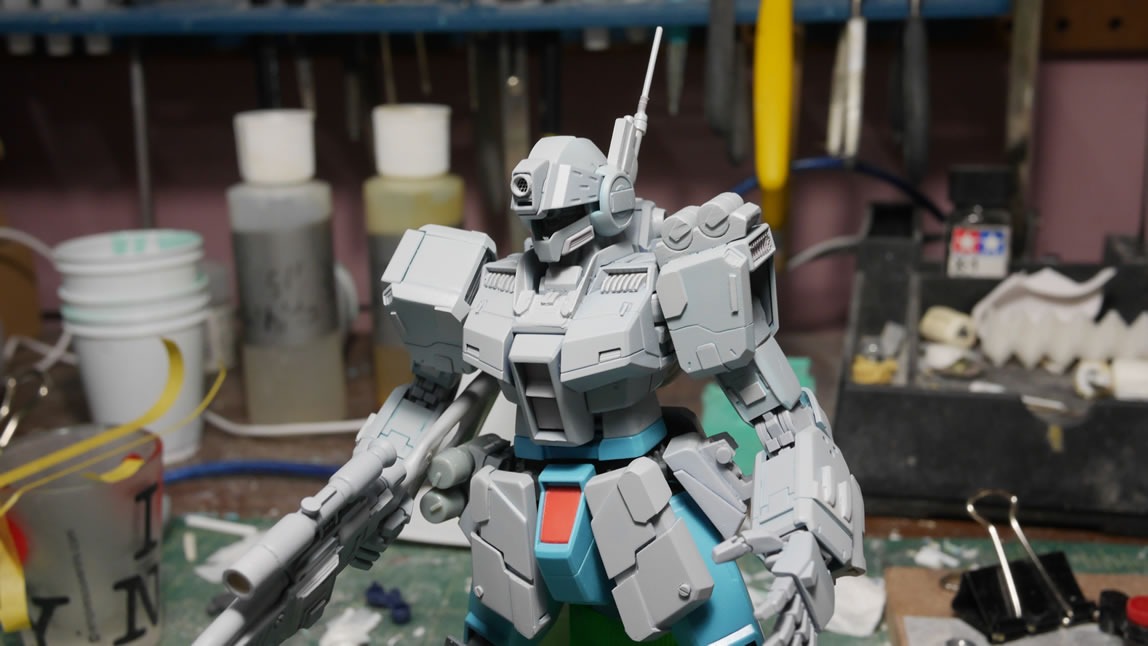
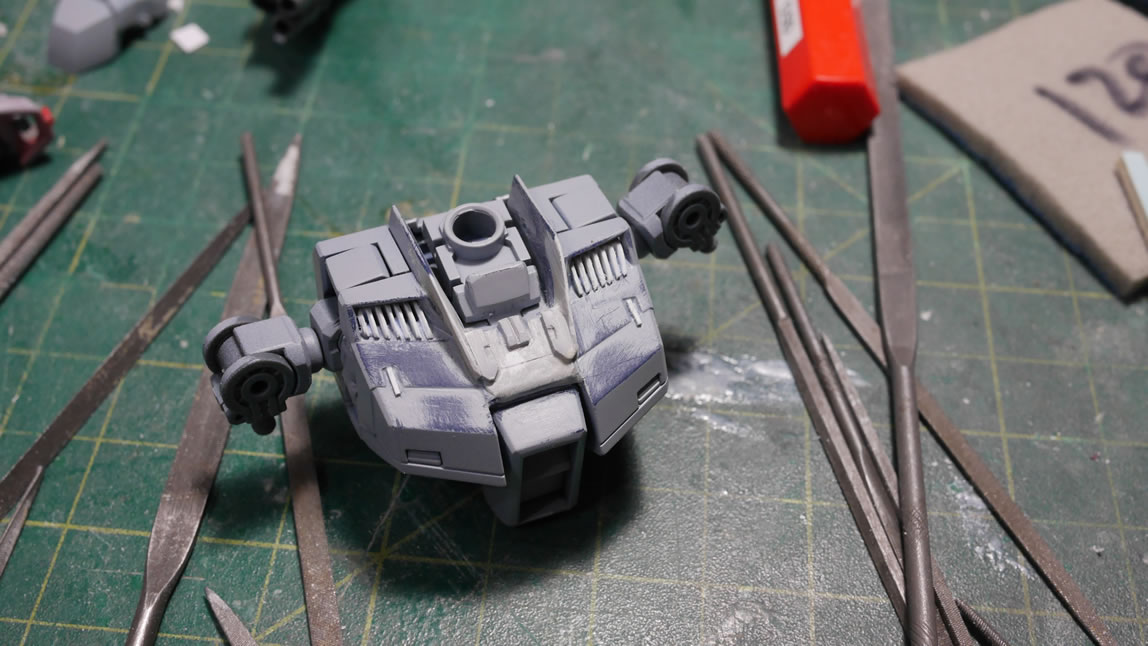
Scope works part deux: since I did the rifle scope, I mind as well add the same bit to the head scope. Same deal, except on a thinner styrene tube that fit the sniper’s head optics area. I punched out a small mesh circle and glued this to the styrene tube, then glued it into place. I think the detail looks fairly decent.
The chest piece is roughly cleaned up and ready for priming too.
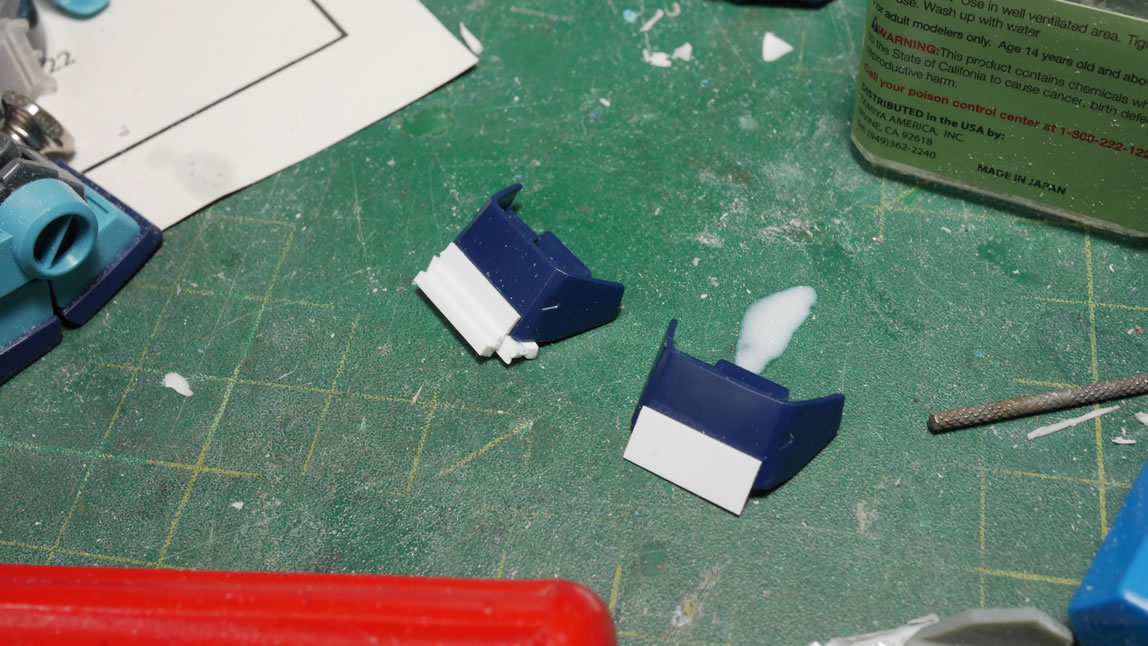
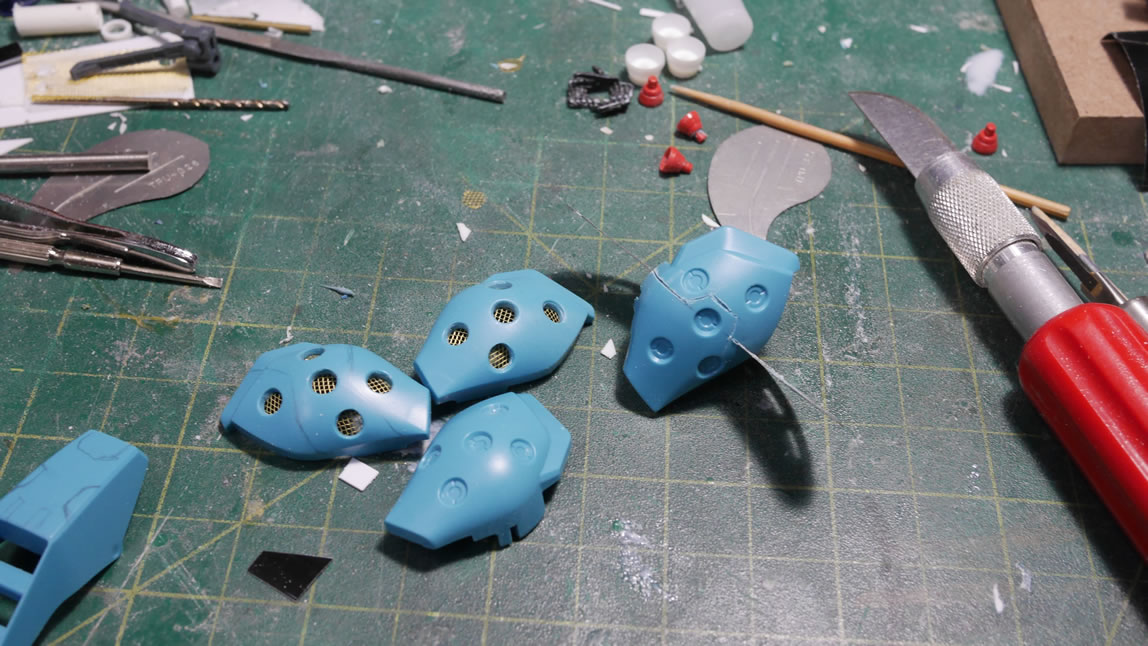
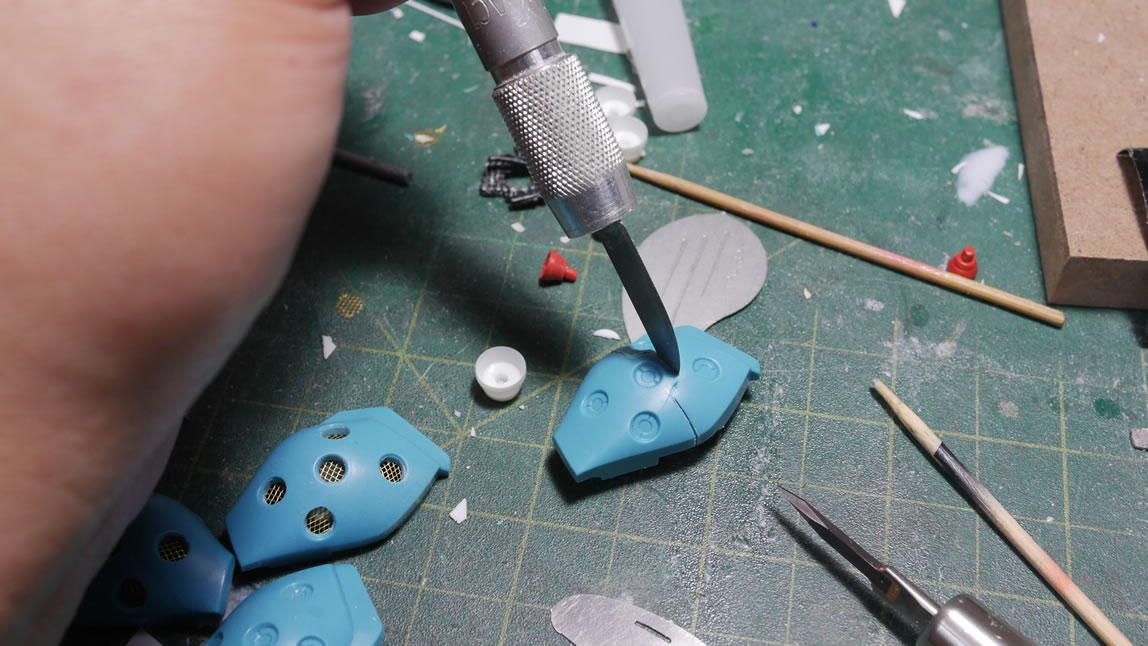
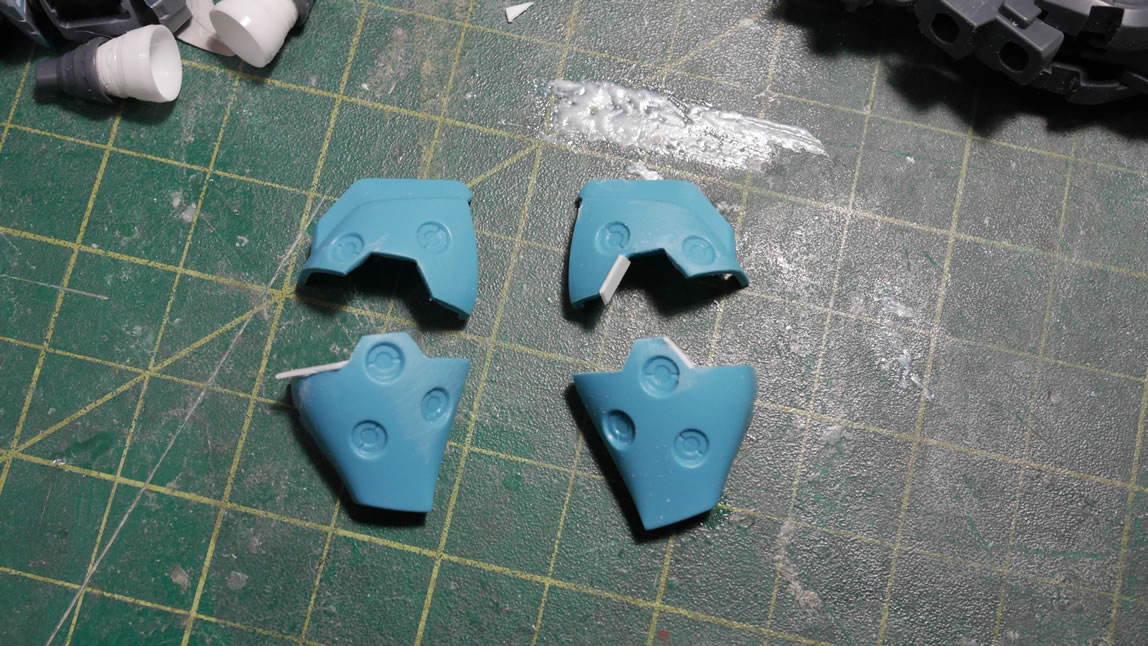
I finally get some more work on the legs. I want to do something similar to the skirts and cut up only one side of the calf area. So the same process is used. I measured and taped up the legs and scribed a guideline. Then hobby saws are used to cut inwards. A hobby knife and scribing is used to cut the diagonals and middle sections. And the metal files are used to clean up everything.
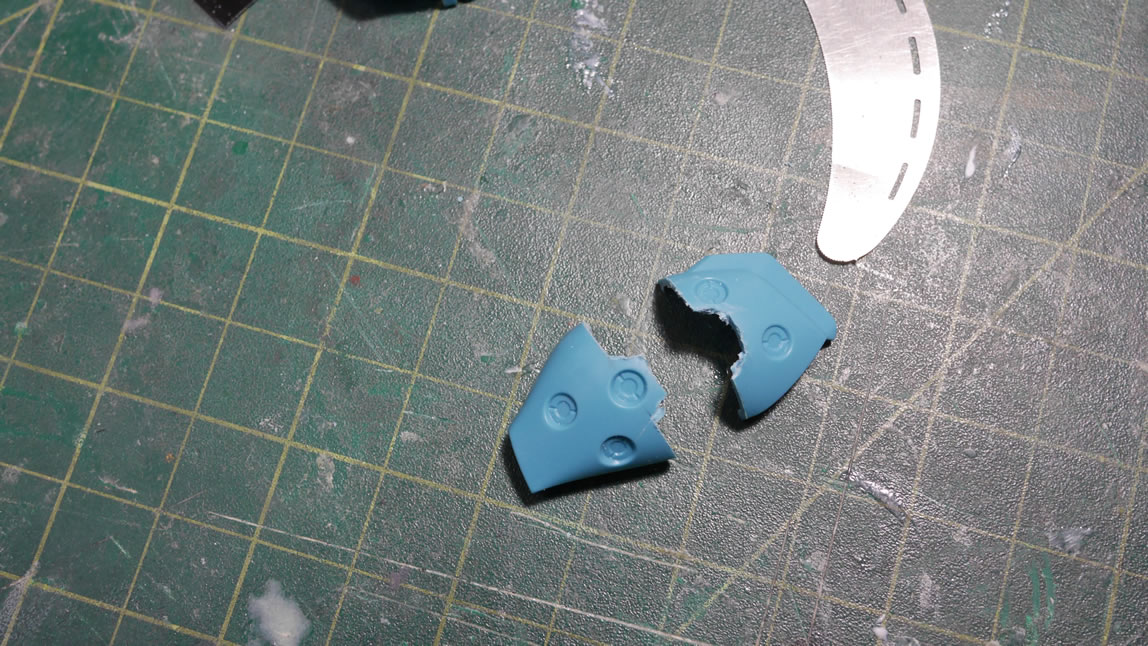
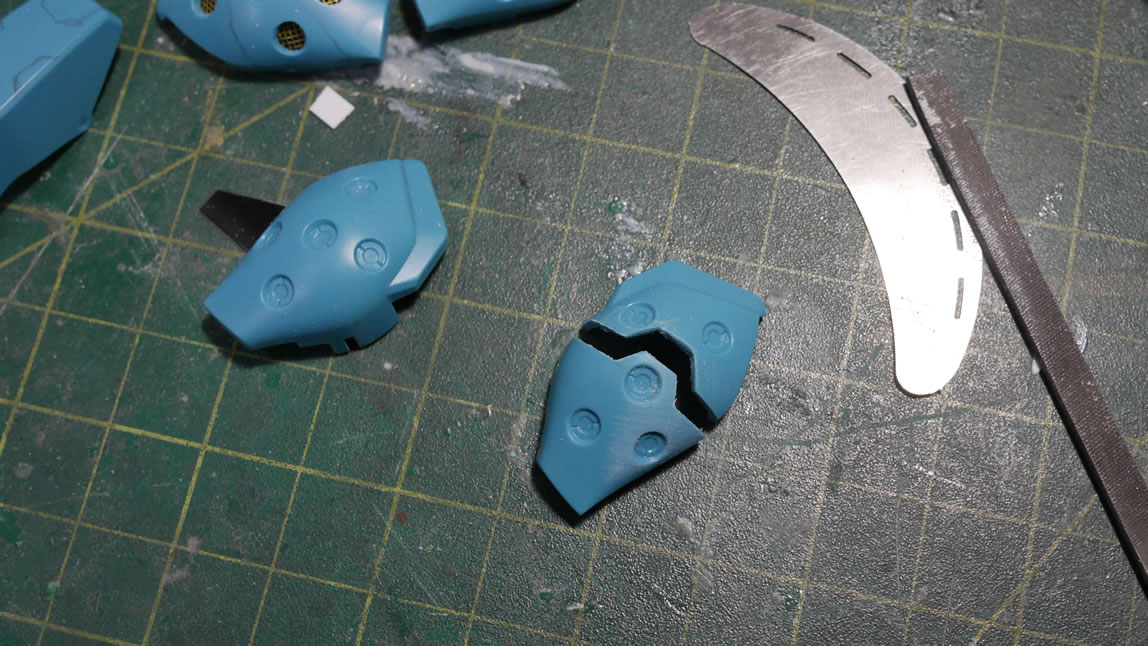
And of course. Things don’t working out quite so well. So here is an example of cutting away too much plastic or making a mistake and needing to fix it. I glued in some styrene to start rebuilding the mistake of cutting./sanding away too much plastic.
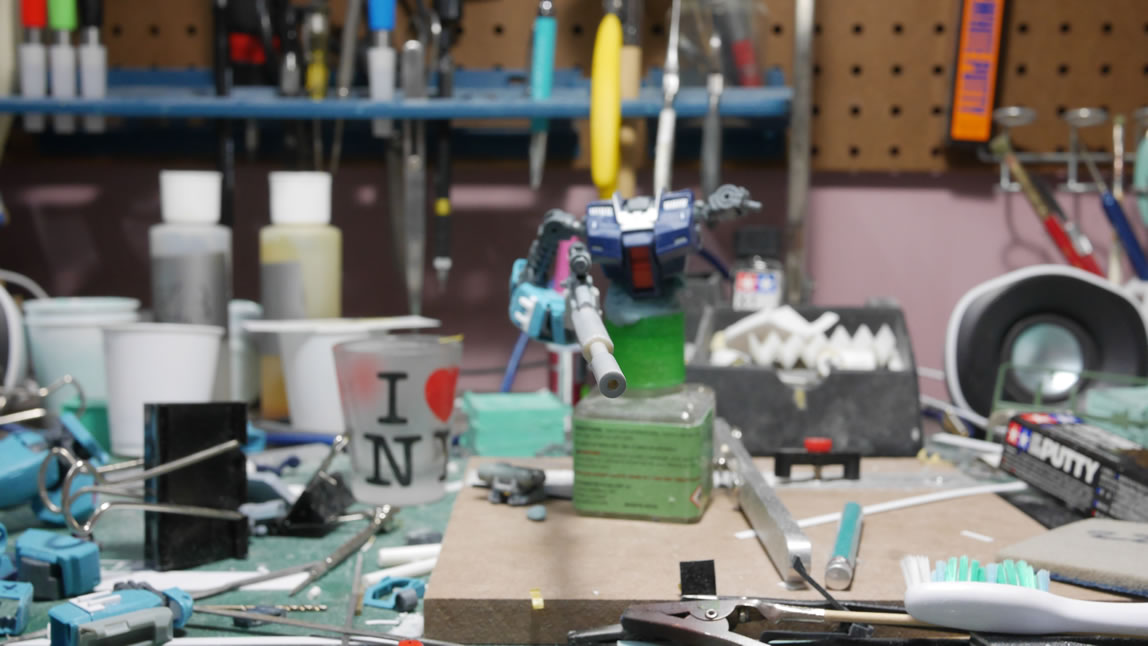
Frustrated with the legs, I glued the styrene fixes and moved onto something much more productive. Priming! Priming really ties all the mods together and I get a real look at the progress. I also get a real look at all the mistakes that will need to be fixed. The key is patience and imagining the bigger picture. Focusing too much on the small areas will trap you in a loop that you’ve never get out of or it’ll destroy your motivation and the project goes into development hell.
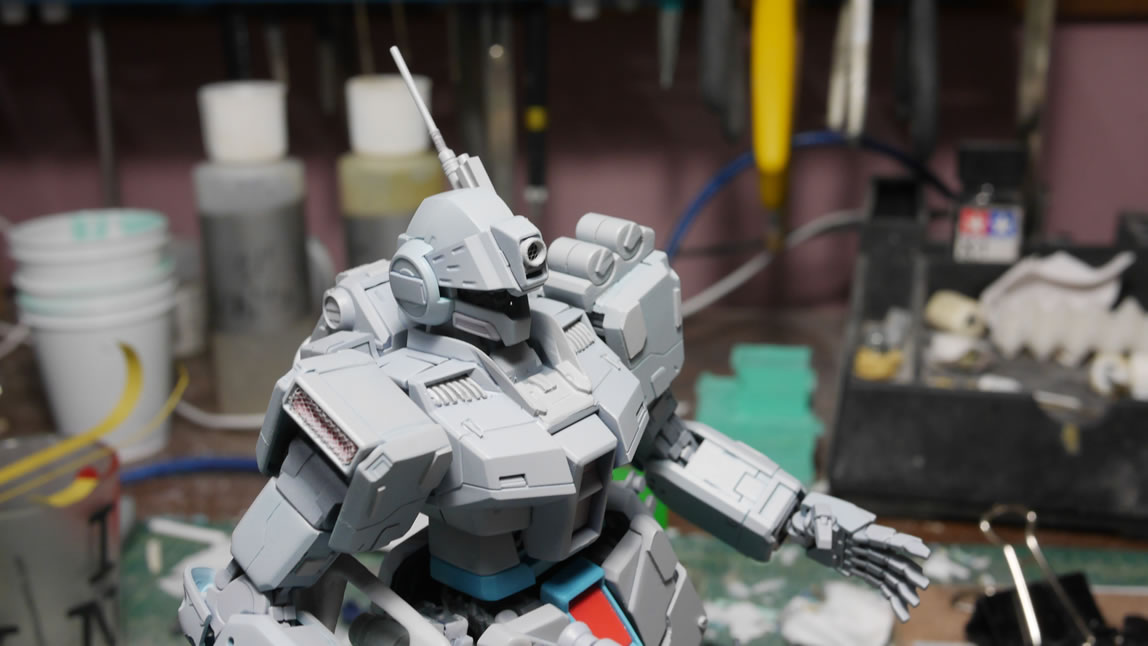
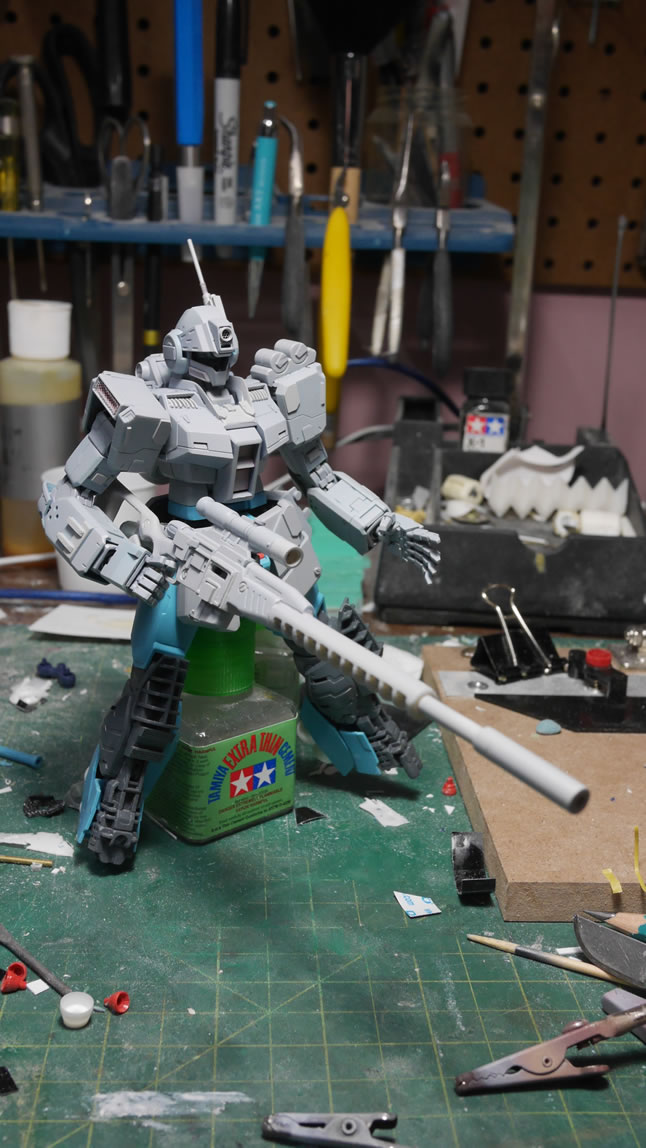
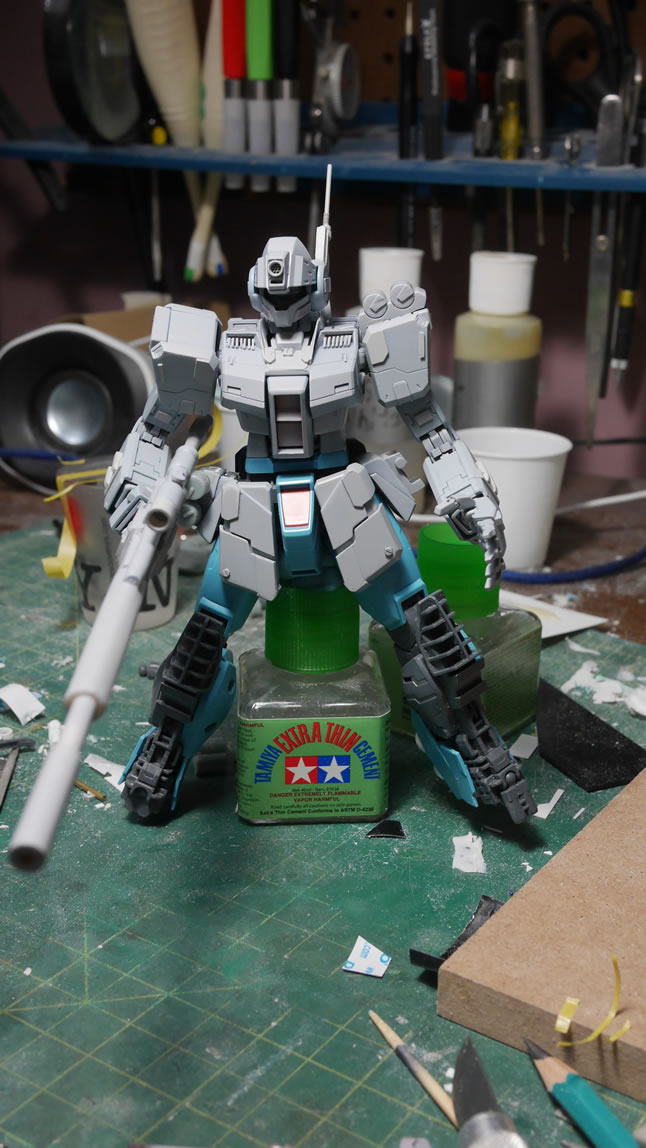
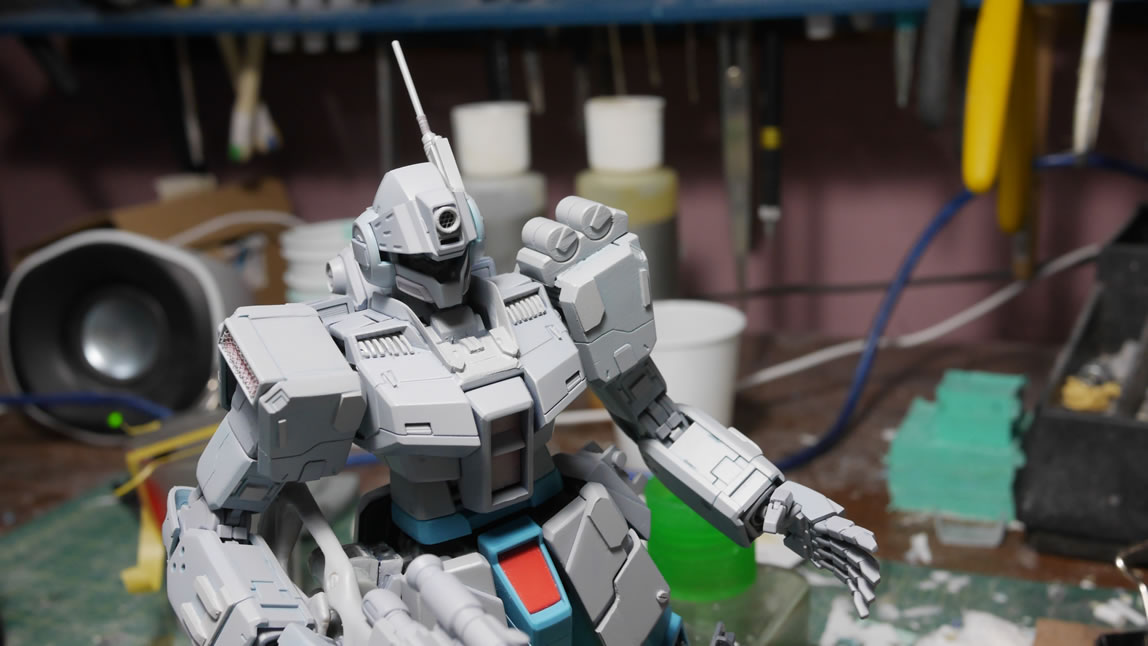
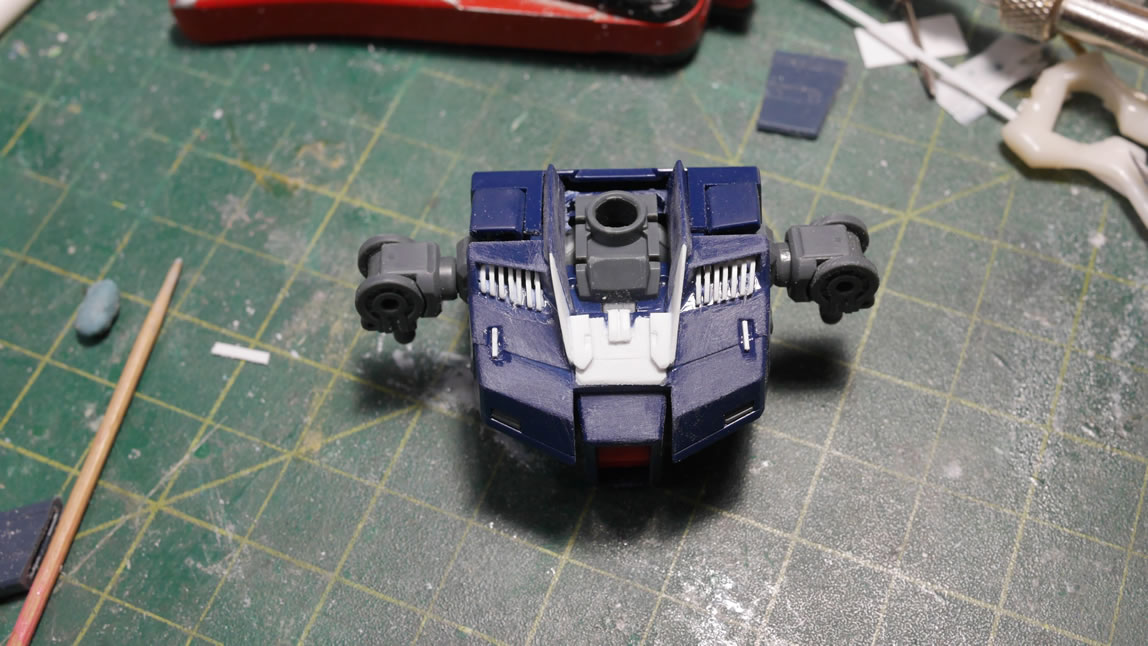
Here are some more angles for the primed upper half of the kit. I think I am already more than halfway done with the building and modding part of this project. The once a week major priming session really works to reboot the motivation.

Once the primer cures and I’m doing looking at the big picture; it’s time to focus back on the little details and get to fixing all the surface defects. Light curing putty comes in really handy since it allows for some really quick putty work. If I’m not in a rush, I will use dissolved putty or another other styrene based putties that take several hours to cure.
This may be the last update for this project for a little while since I will be traveling at the end of the week. Until the next post!