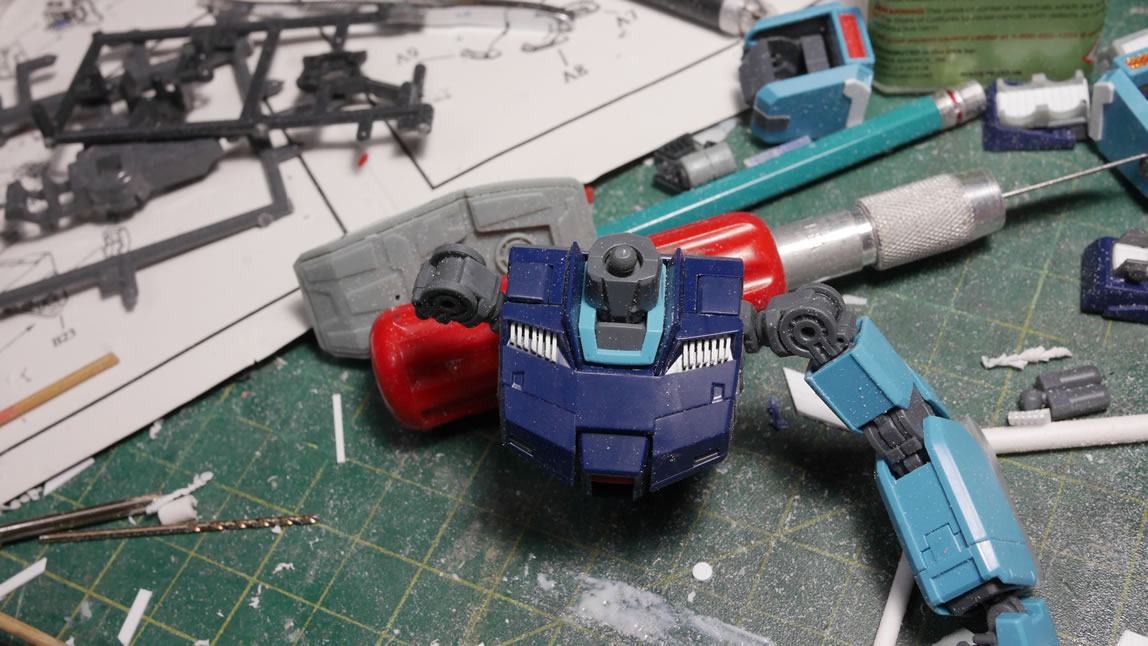
This is going to be a fairly sizable update. This includes the work from last week as well as over the weekend. I’m starting to focus and get more and more work done as the inspiration continues. The front skirts are REALLY plain looking. Yes, it’s a grunt suit, so it should be relatively simplistic cannon fodder that all GMs aspire to be; but it’s just plastic, so what’s better than cutting the plastic and then gluing more plastic to the cut plastic? There are still some scattered bits of work here and there as is typical with this kind of build. While glue or putty is drying, the focus on other sections keeps the work going. All the while, I’m taking pictures of all the progress.
Full details of the work and pictures after the jump!
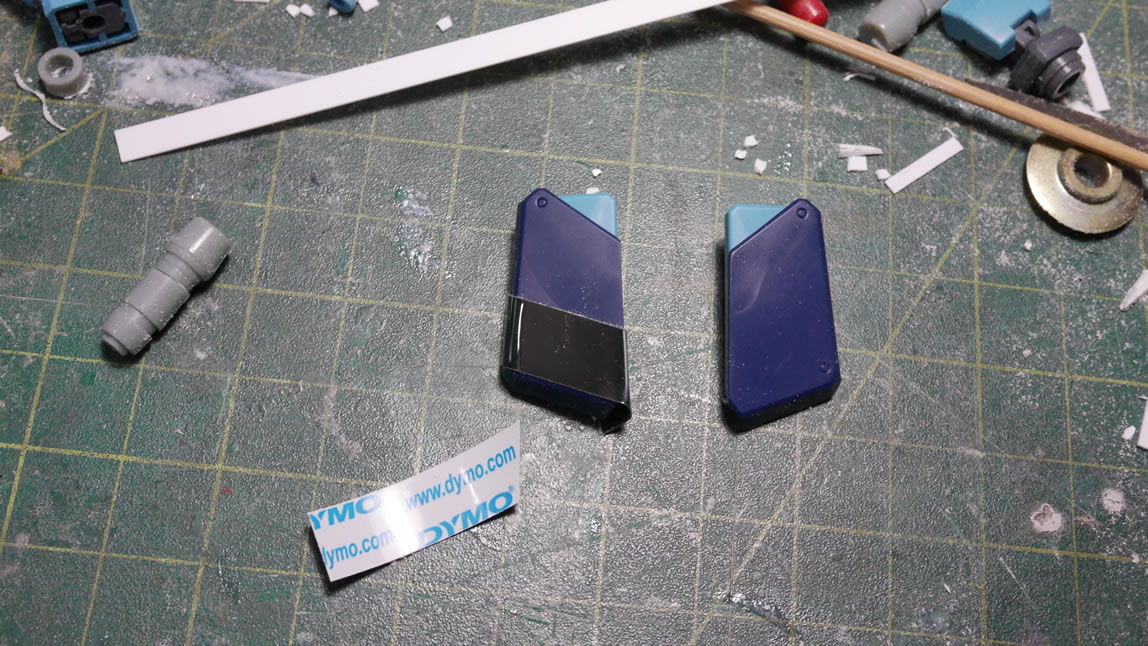
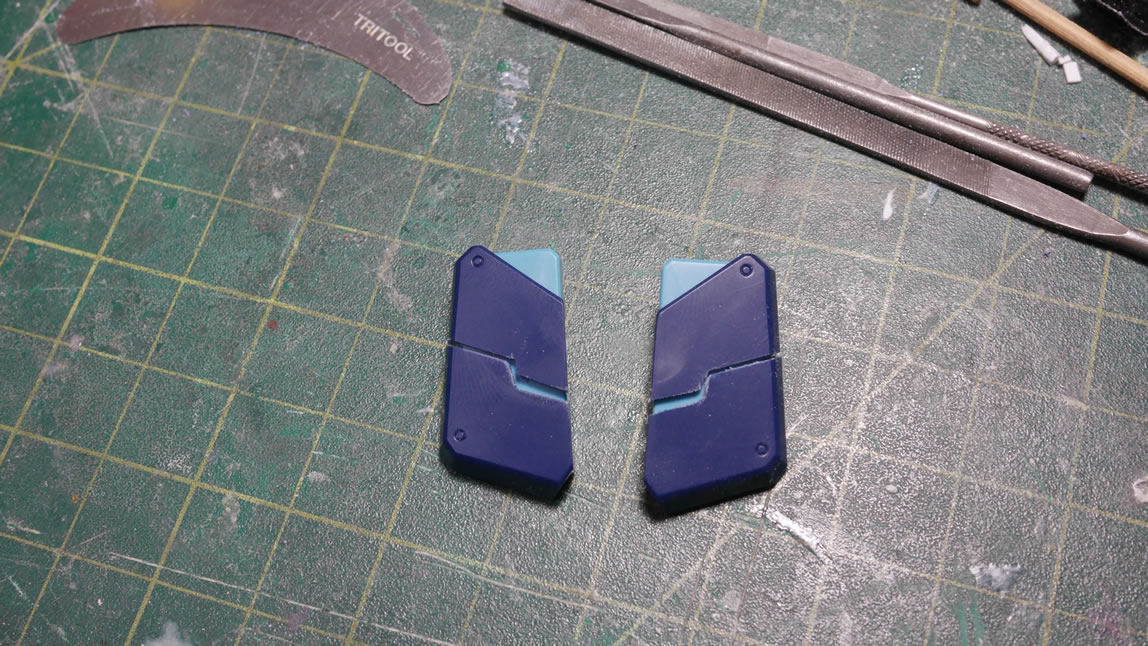
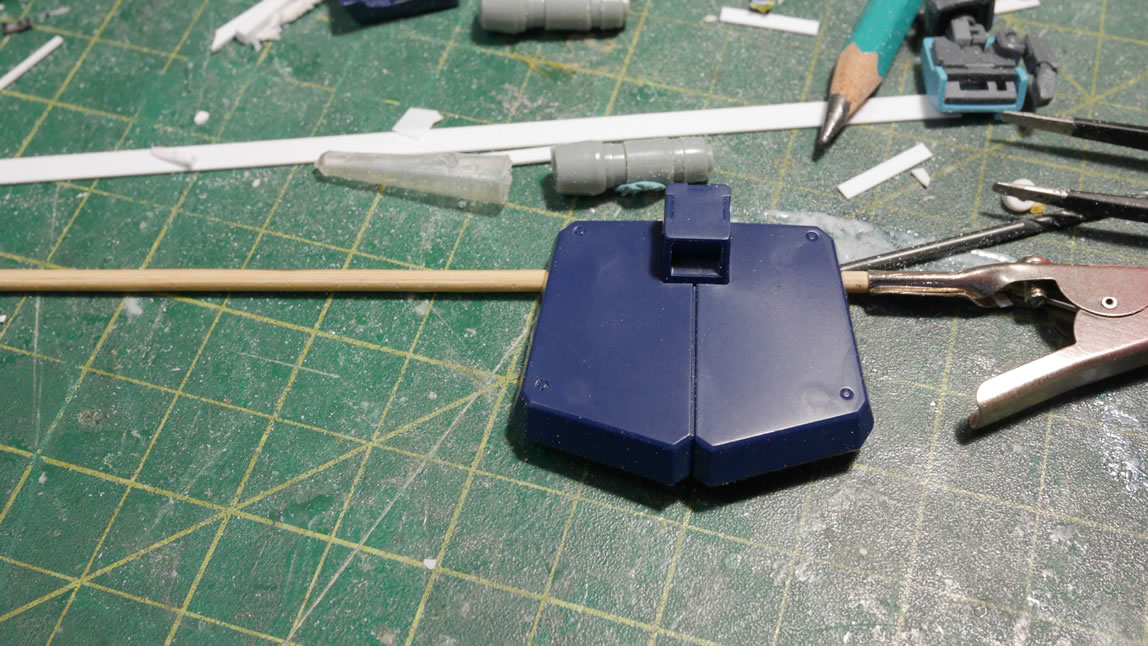
Starting off with the skirts. Yes, they’re plain, and that open space is just screaming to get some detailing.
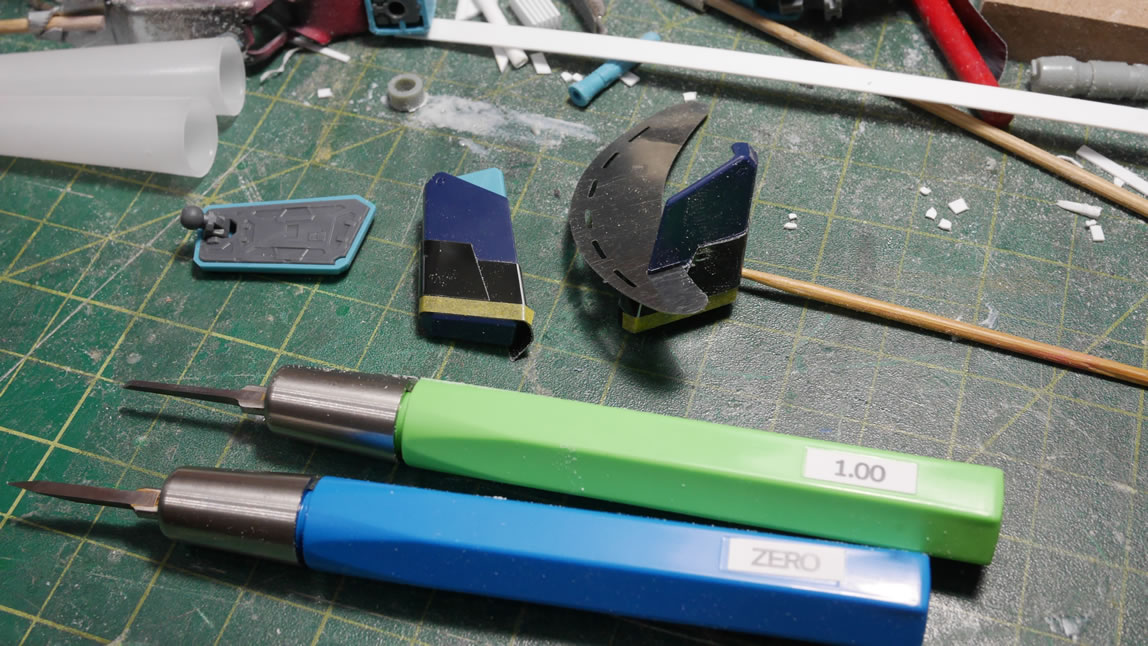
The first step is to plan out the design. I use dymo tape since it is fairly thick and works well as a guide for scribing tools or saws. The first line is laid and I align the tape against the bottom of the skirt. This way, I know how to line this up on the other skirt piece. Once I have the first layer of dymo tape, I laid down a thin piece of masking tape as a second guide. I cut the next layer of dymo tape at 60 degrees and laid it down using the masking tape as guide. Now I have the first level of design done; I made the mirror image for the other side.
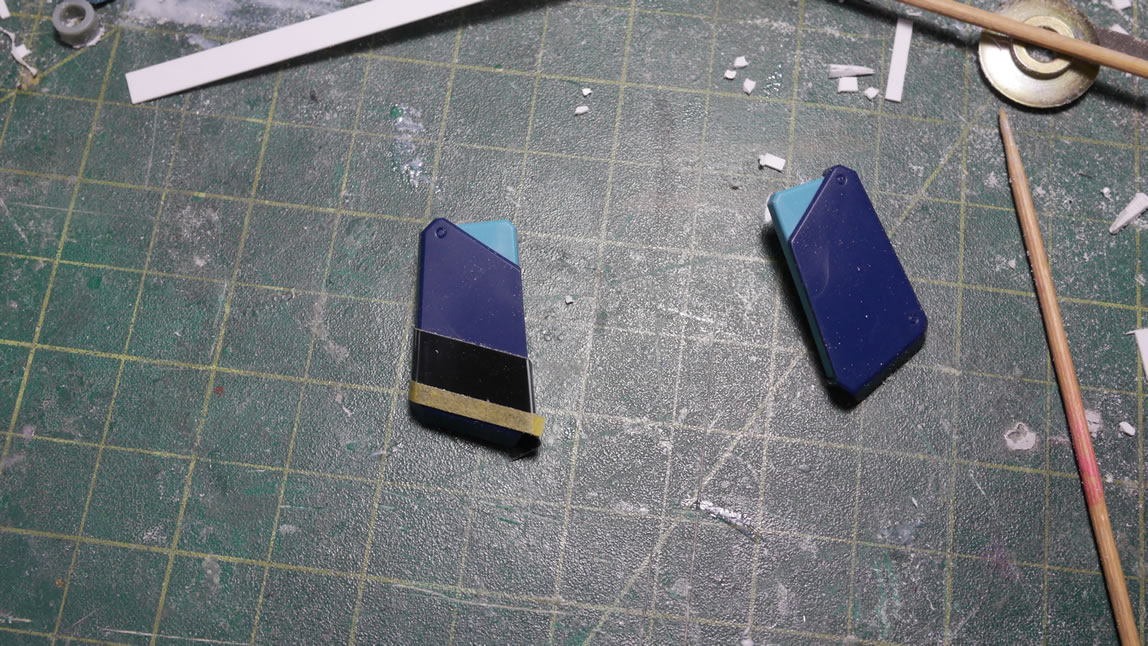
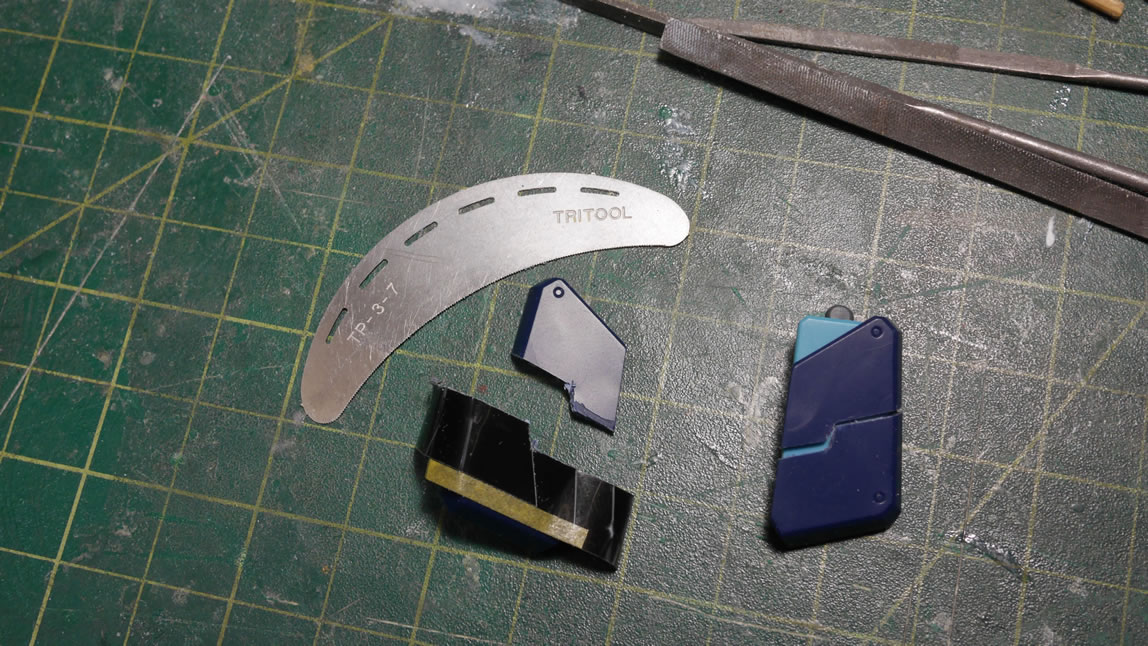
The scribing tools are used to make groove lines. Once I have the guidelines in; the thin hobby saws come out and I start to cut the pieces from the sides of the part inward towards the middle. The middle will be difficult to cut with the saw, so the saw is not used to cut this area. I scribe the middle line a few times to thin down the plastic then take a hobby knife to press in and break the line. Since the plastic is fairly thin, I can snap the part and get a fairly clean break. Sanding the edges cleans up the rough edges from the cutting as well as creates a separation line between the two cut pieces. One horizontal side is sanded to remove more plastic than the other edges to create a wider gap.
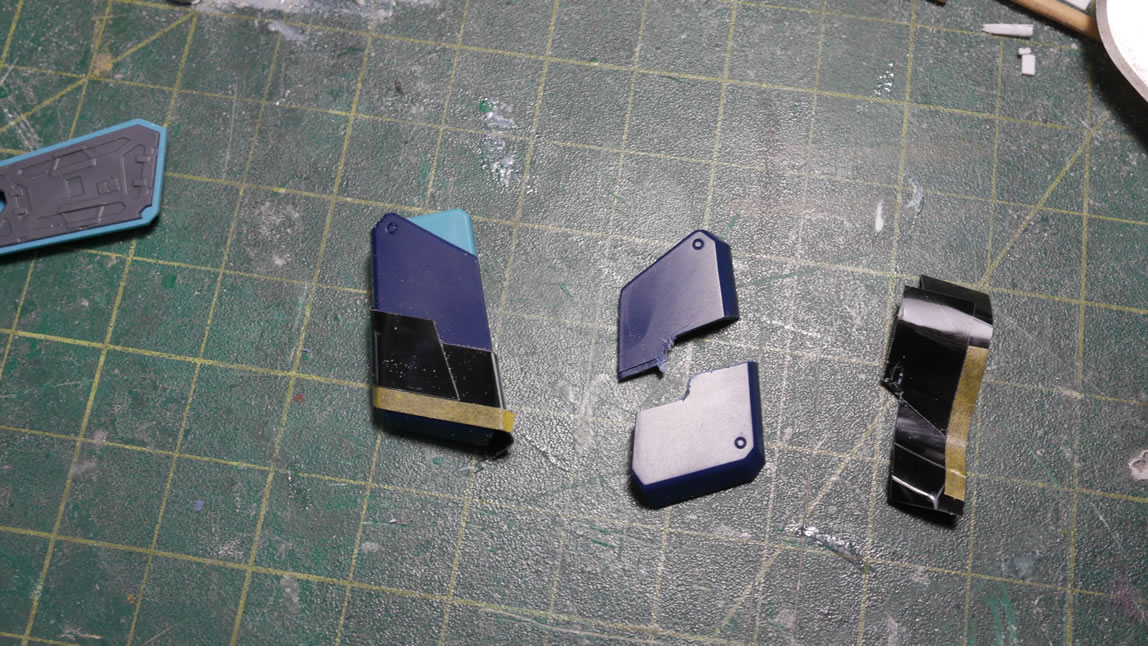
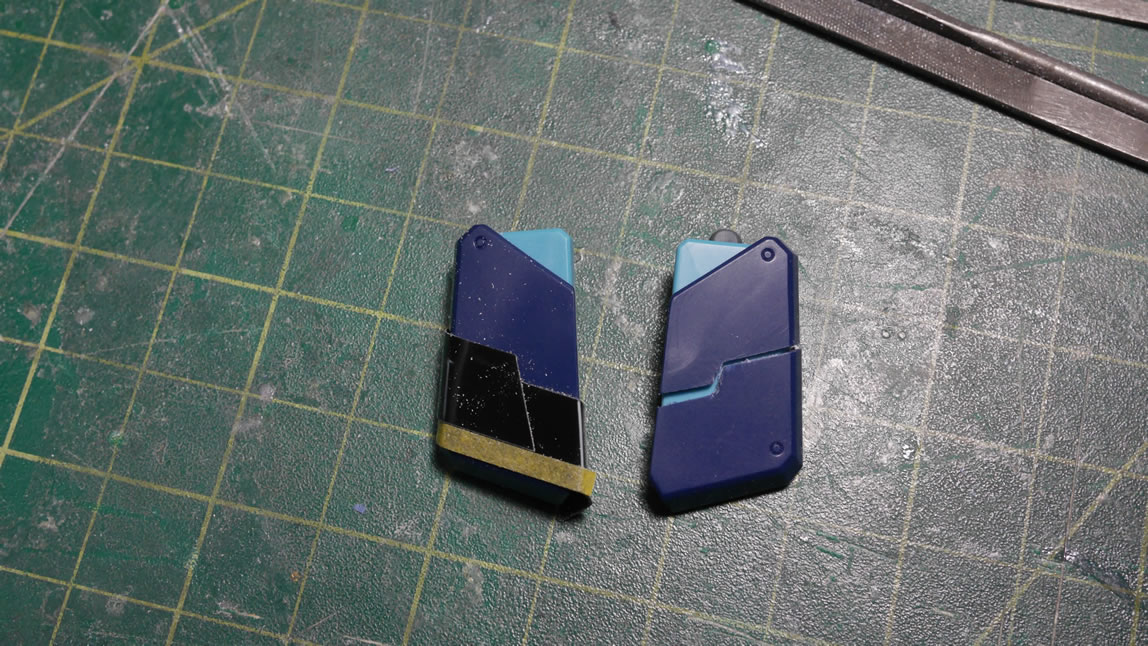
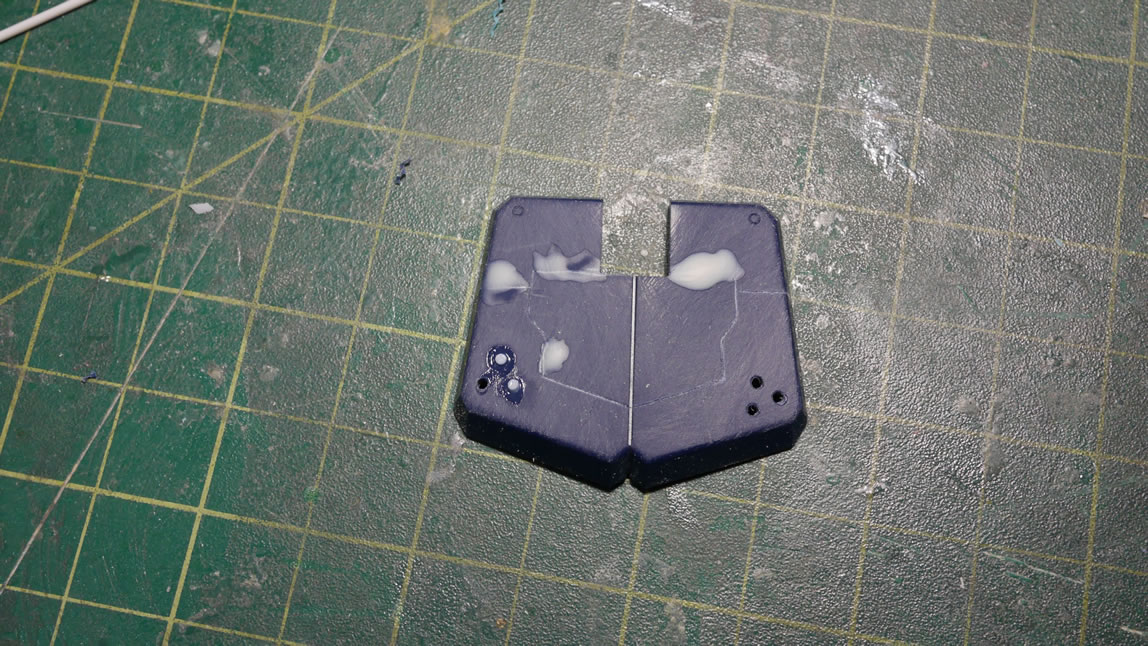
Most of the cutting work is done with the hobby saws and the detail work is done with a metal file to sand down the edges. Here’s what the skirt looks like assembled. Breaking apart the skirt adds a nice bit detail to the plain surface.
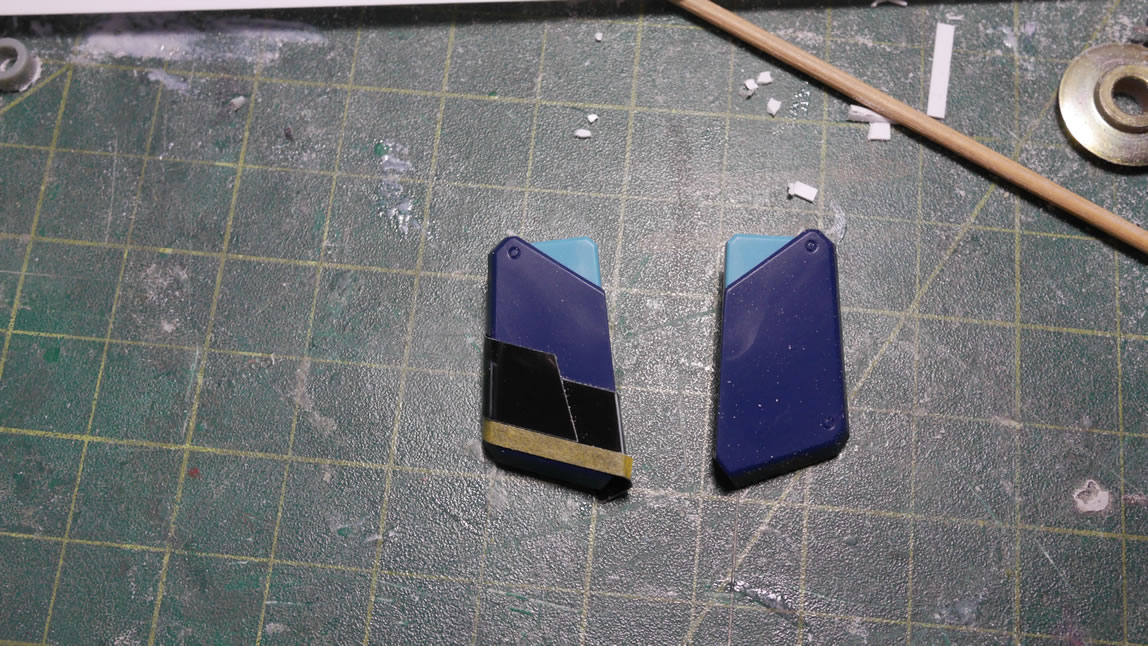
Next up, I want to remove even more plastic, so again, some guide masking tape is placed, followed by the dymo tape.
The scriber is used to channel out a guideline. Saws are then used to cut away the excess plastic, files to clean up the rough edges, then once assembled, the design is starting form.

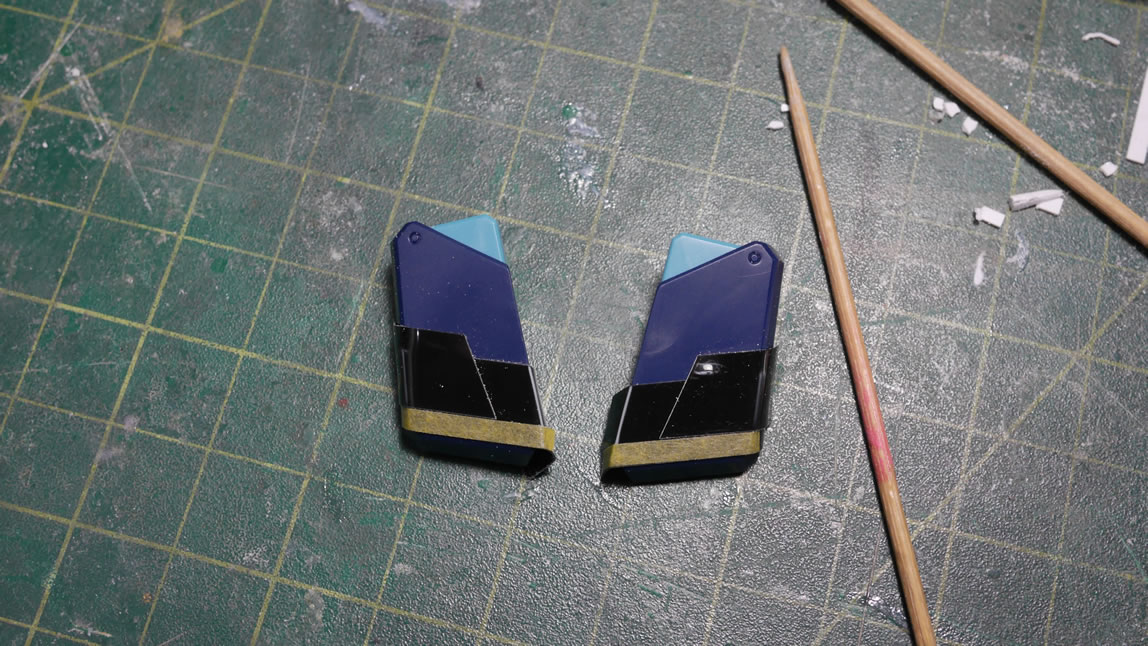
Some cut strips of styrene glued to the surface adds another layer of detail. The raised detail gives some added depth to the skirts. The last bit was to drill out a hole for a resin minus detail piece.
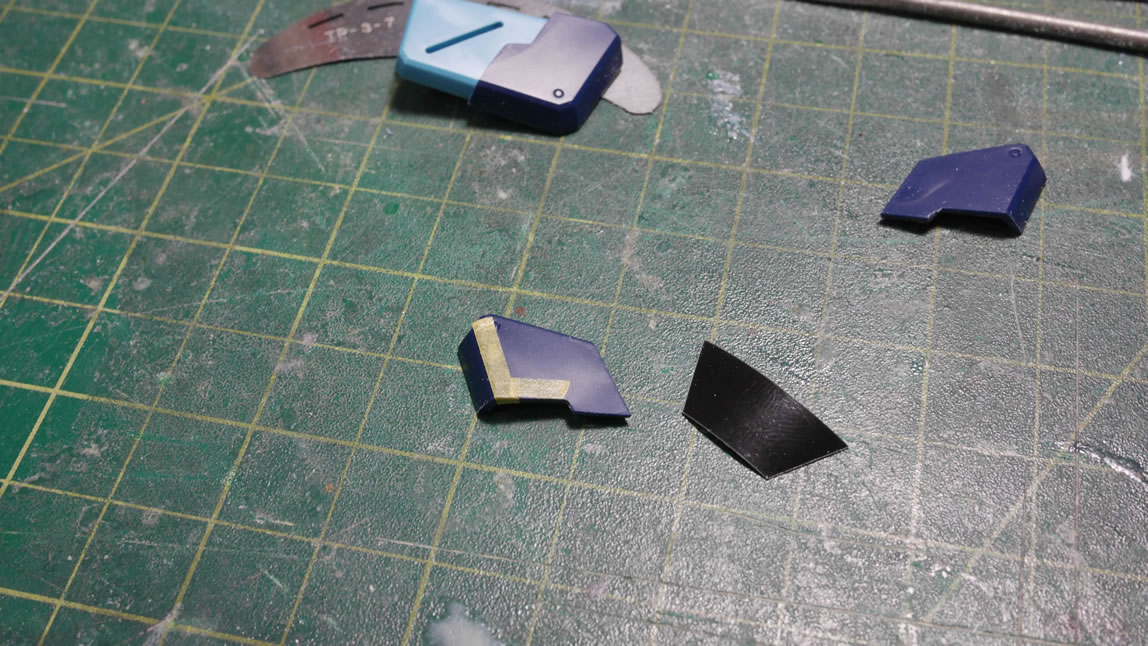
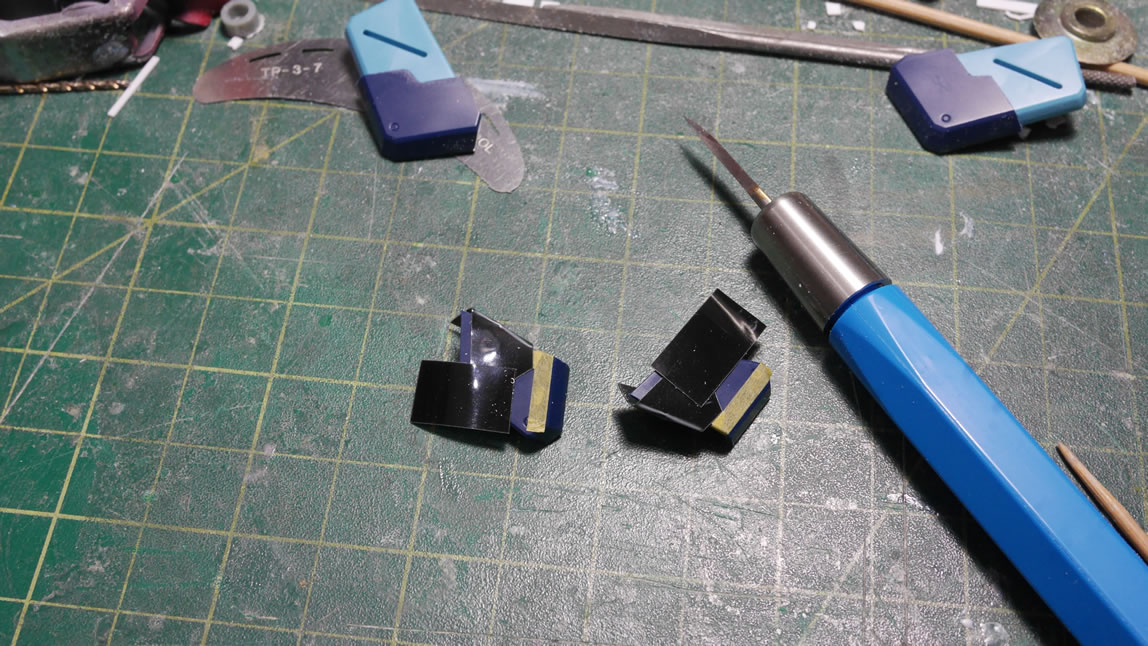
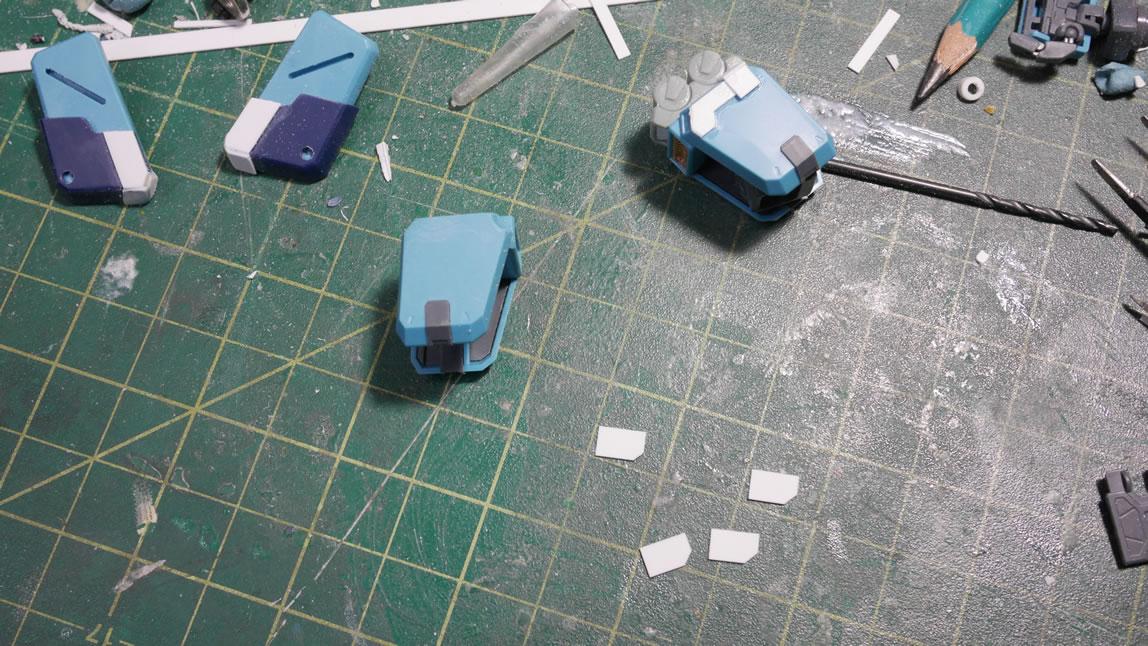
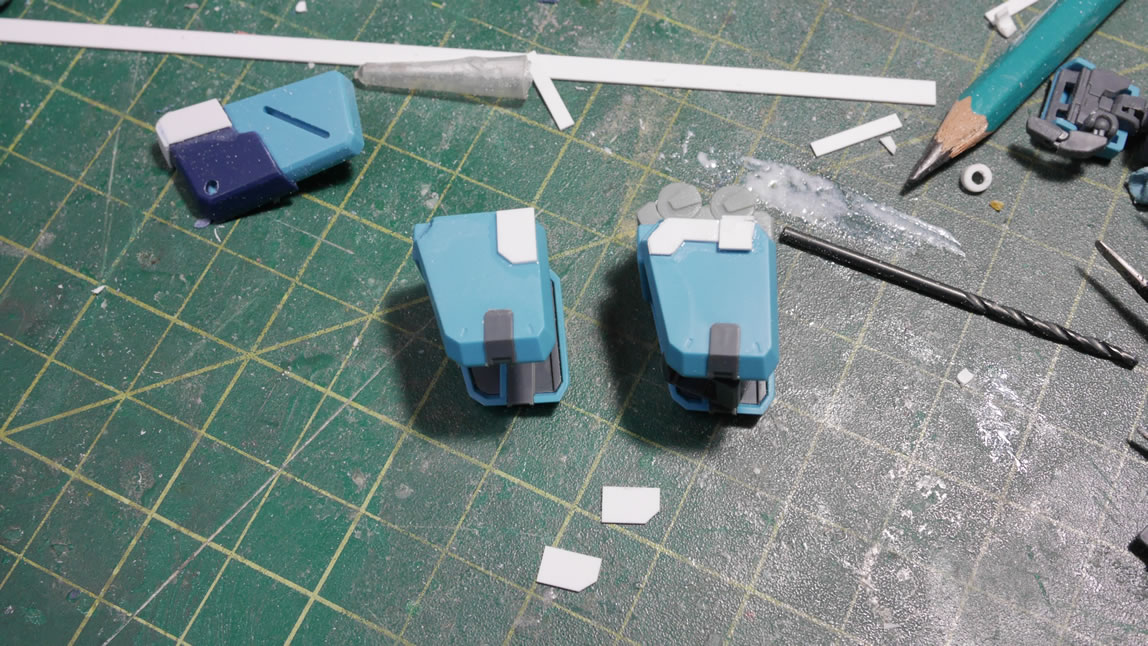
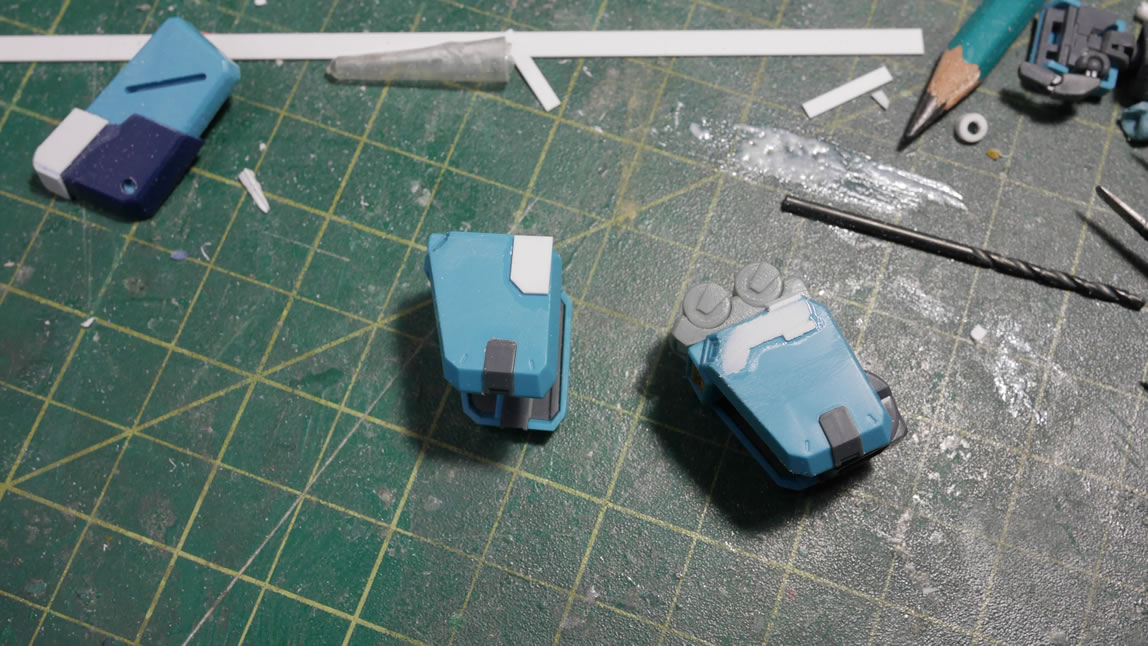
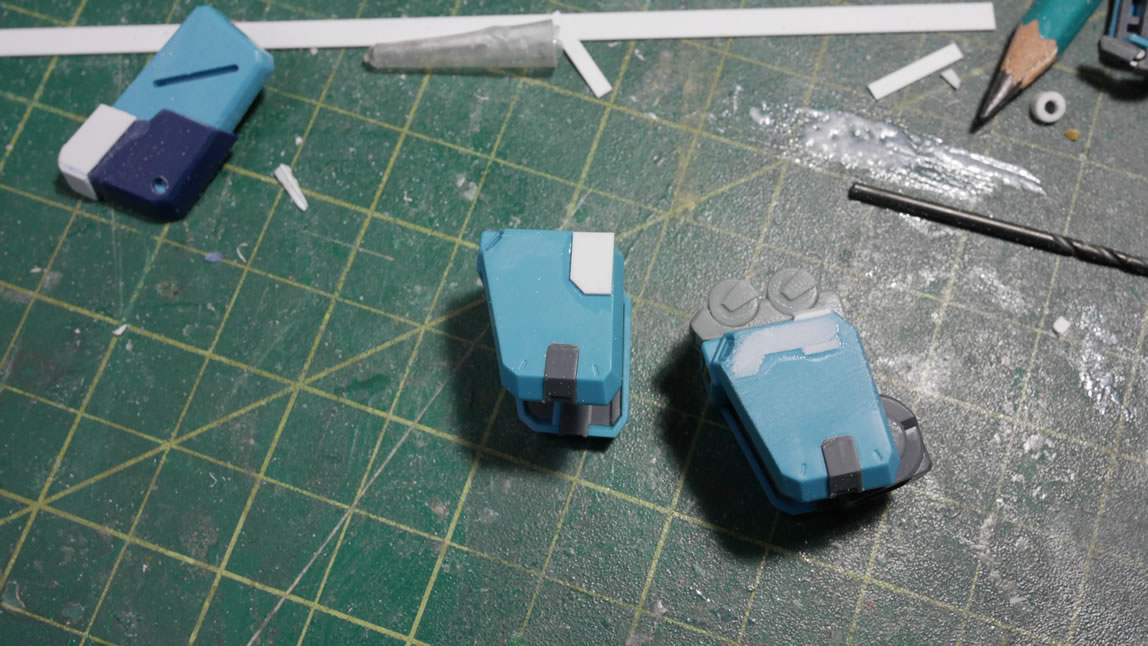
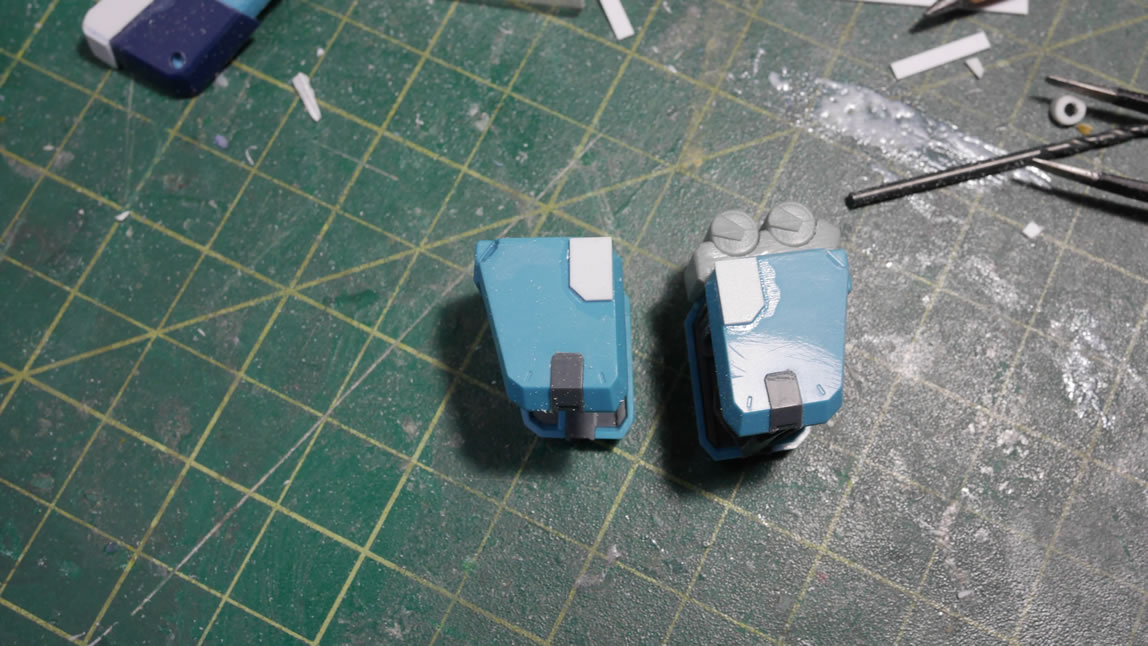
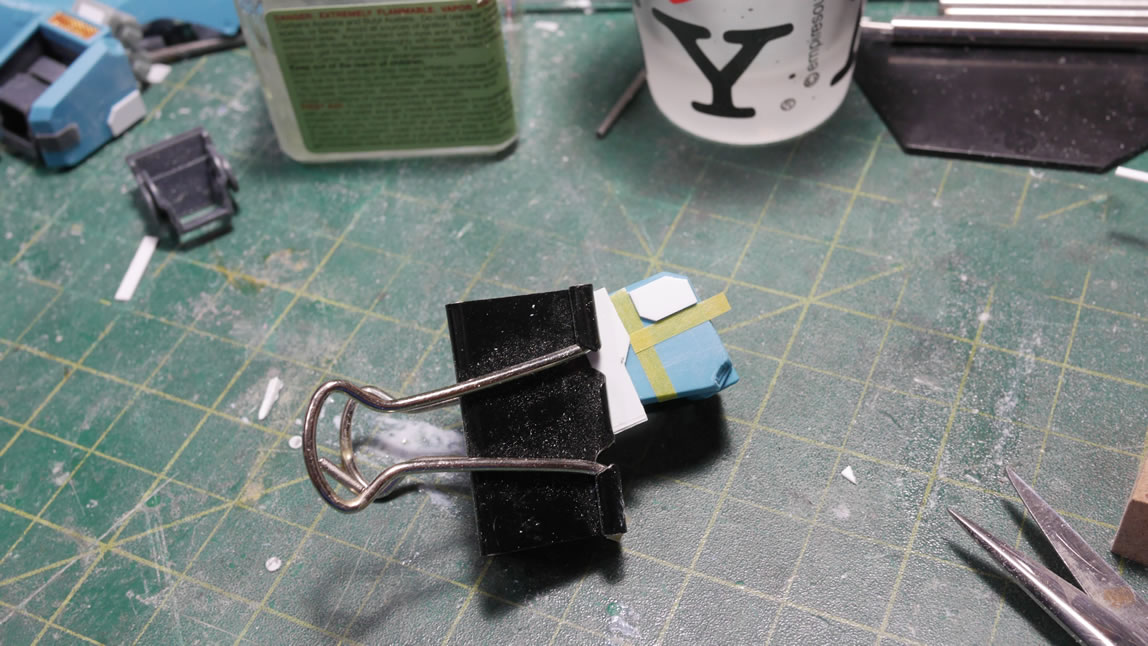
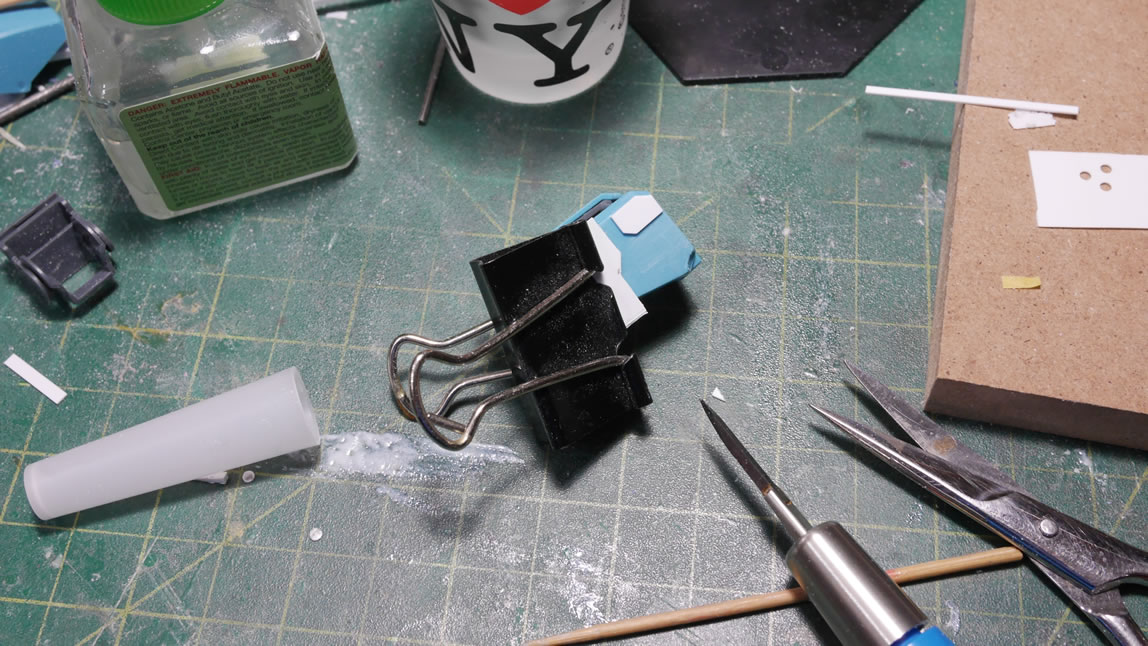
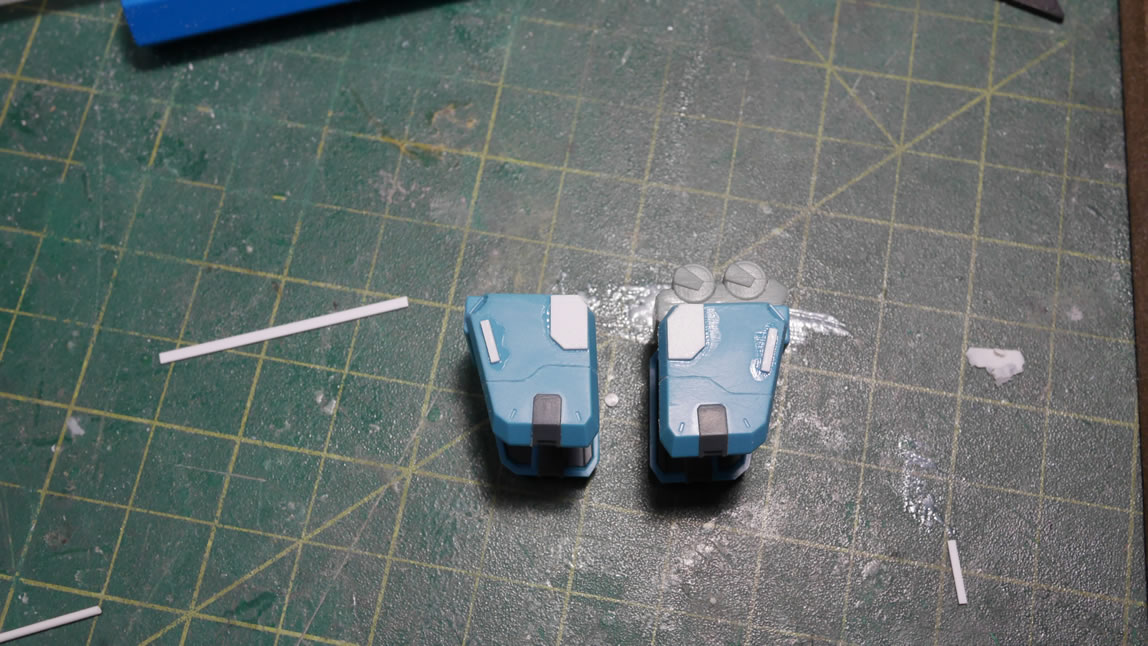
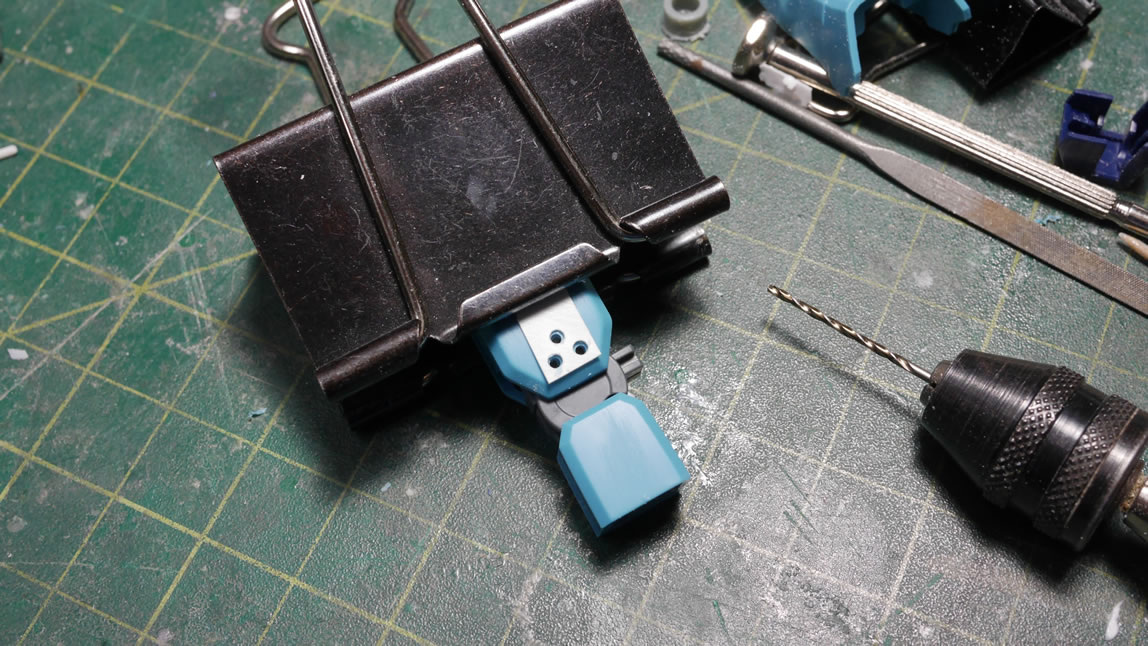
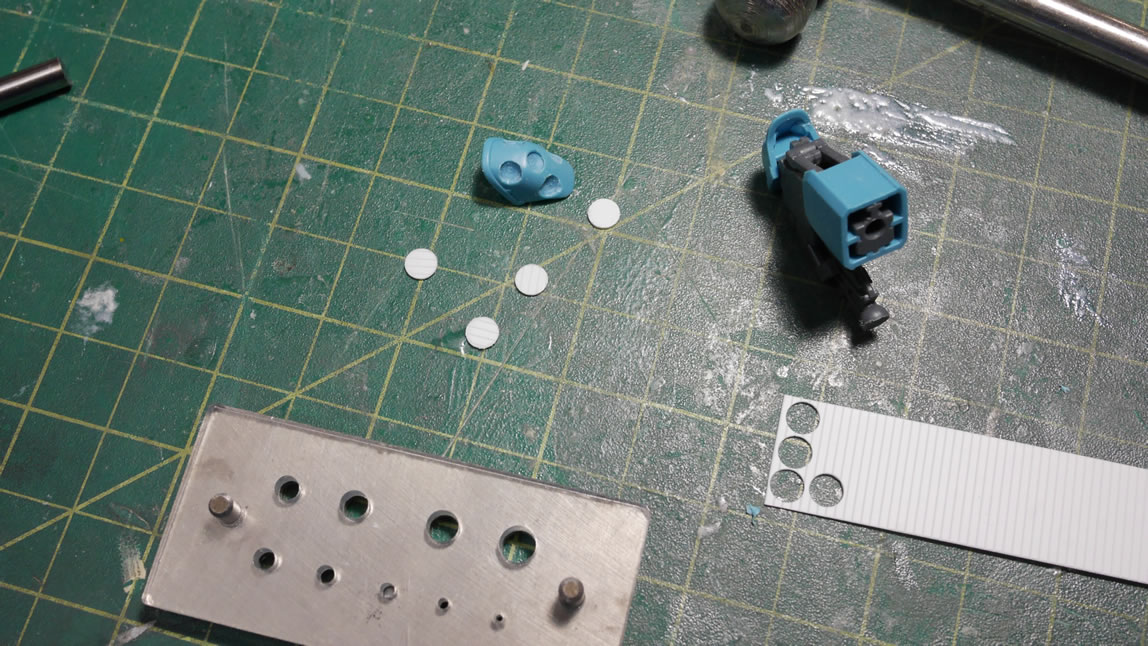
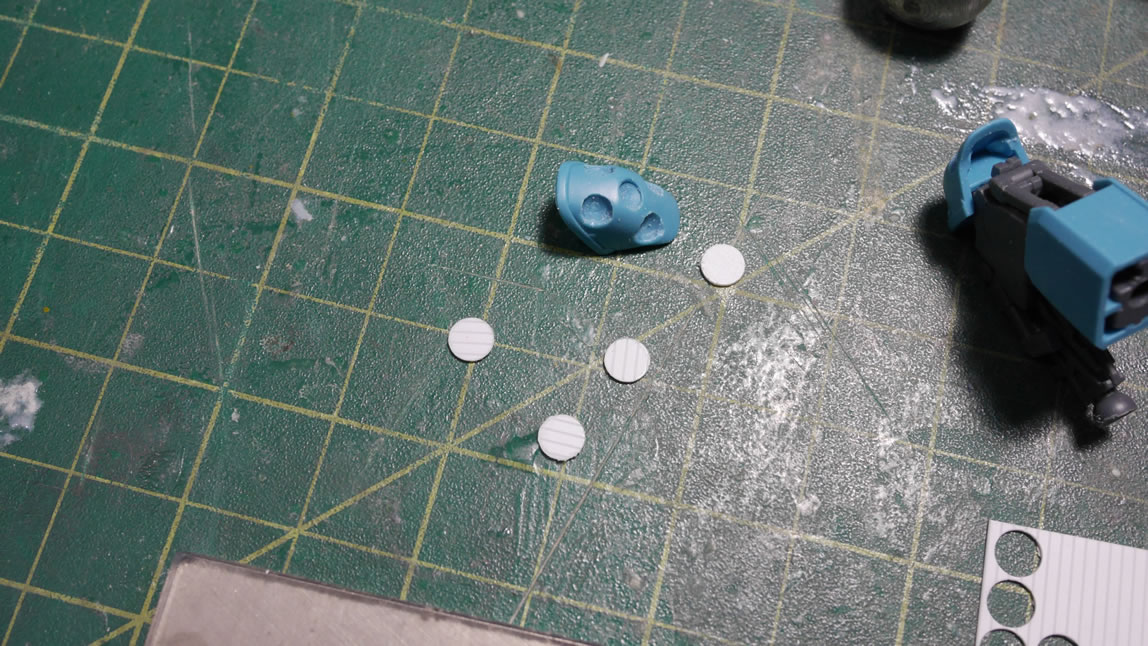
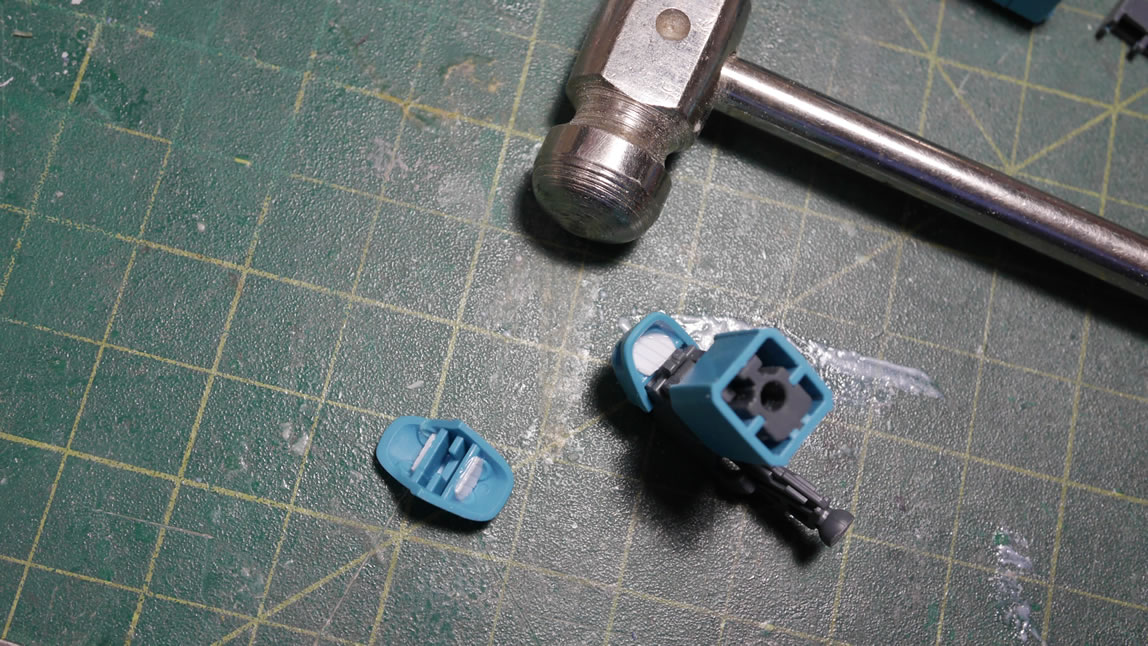
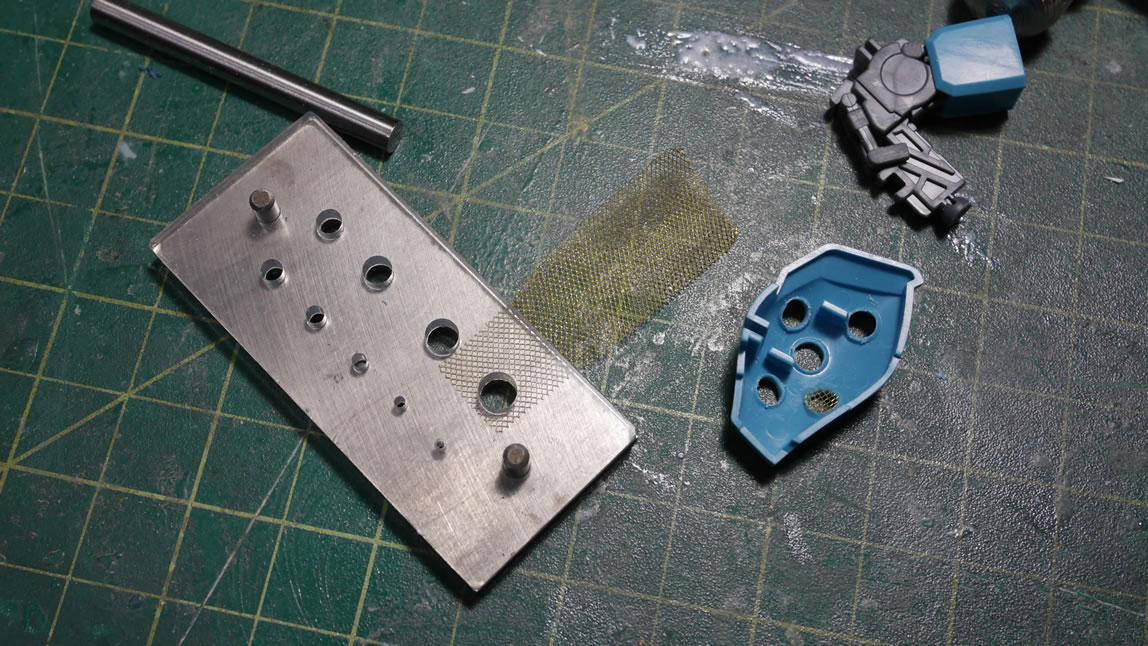
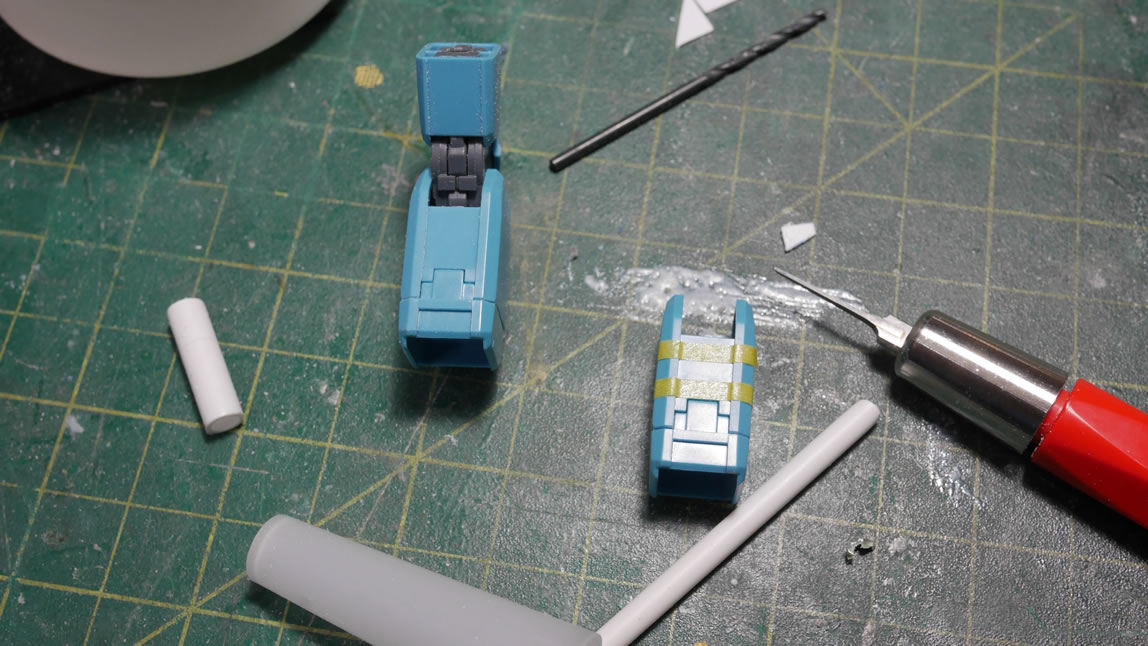
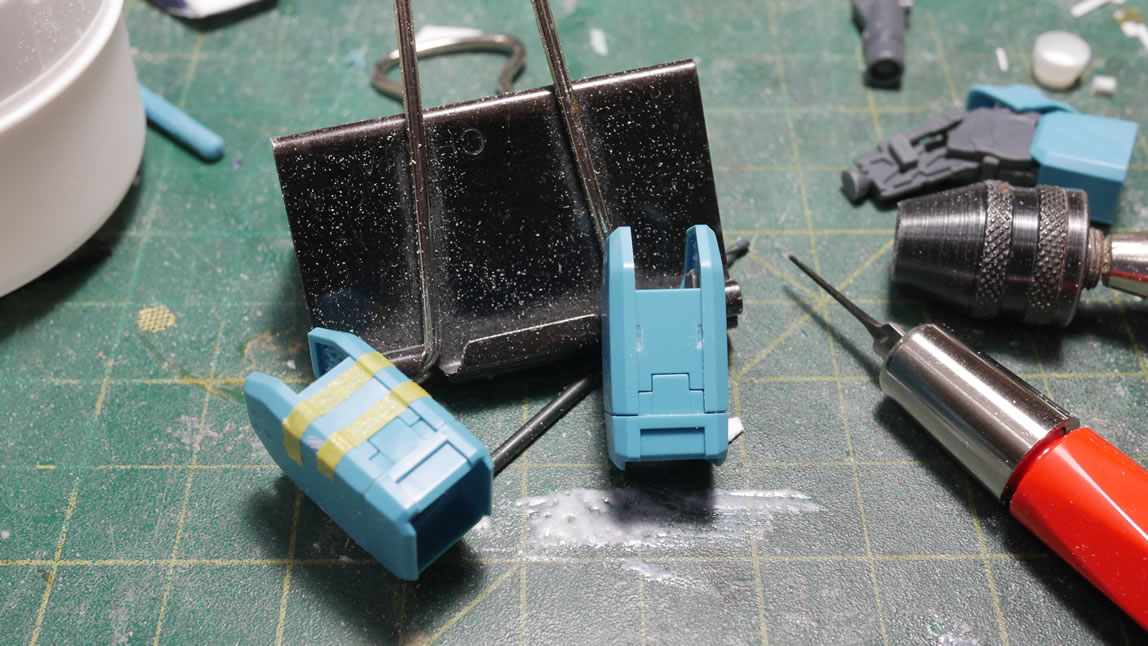
Next up, I decided that the original antenna just didn’t look good. The clippers went to work *snip* *snip*, and off it came. I have some pieces of styrene, an I-beam, styrene rectangles, strips, rods, and tubes of different sizes. It’s a matter of cutting and gluing to create the new antenna. I had to let the glue set up before continuing to add little details.

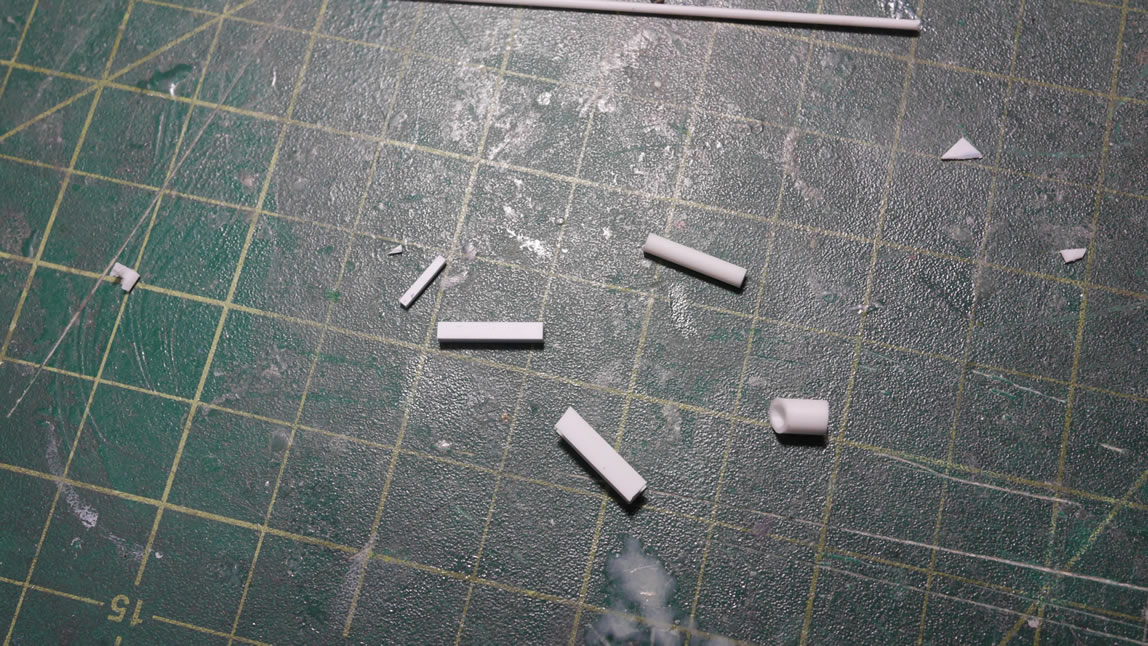
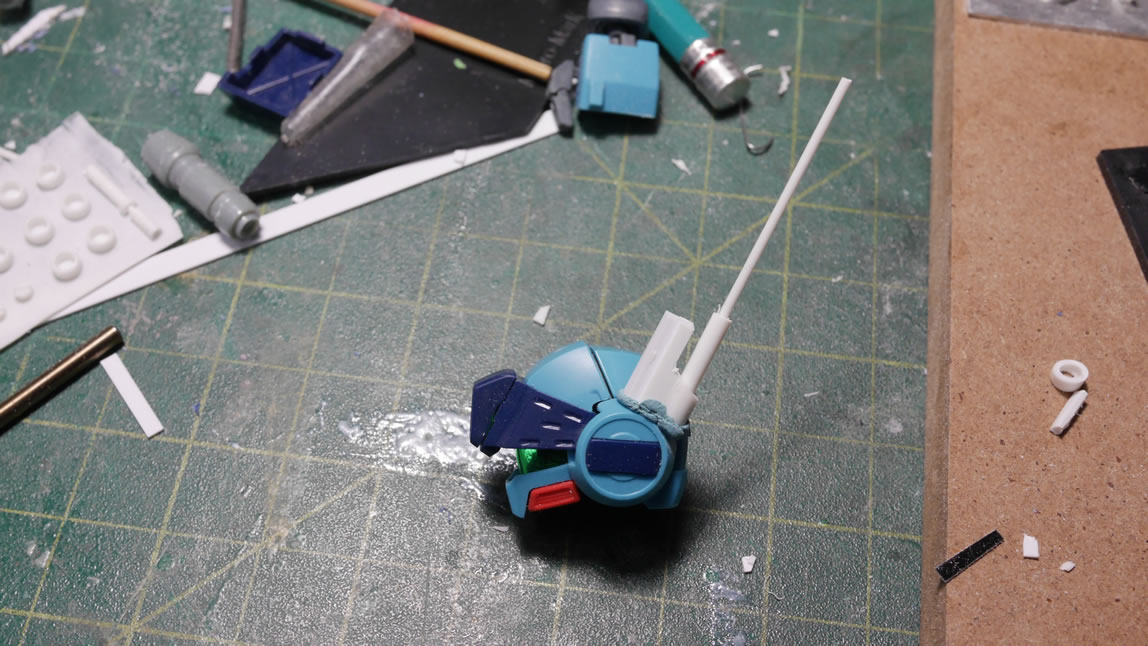
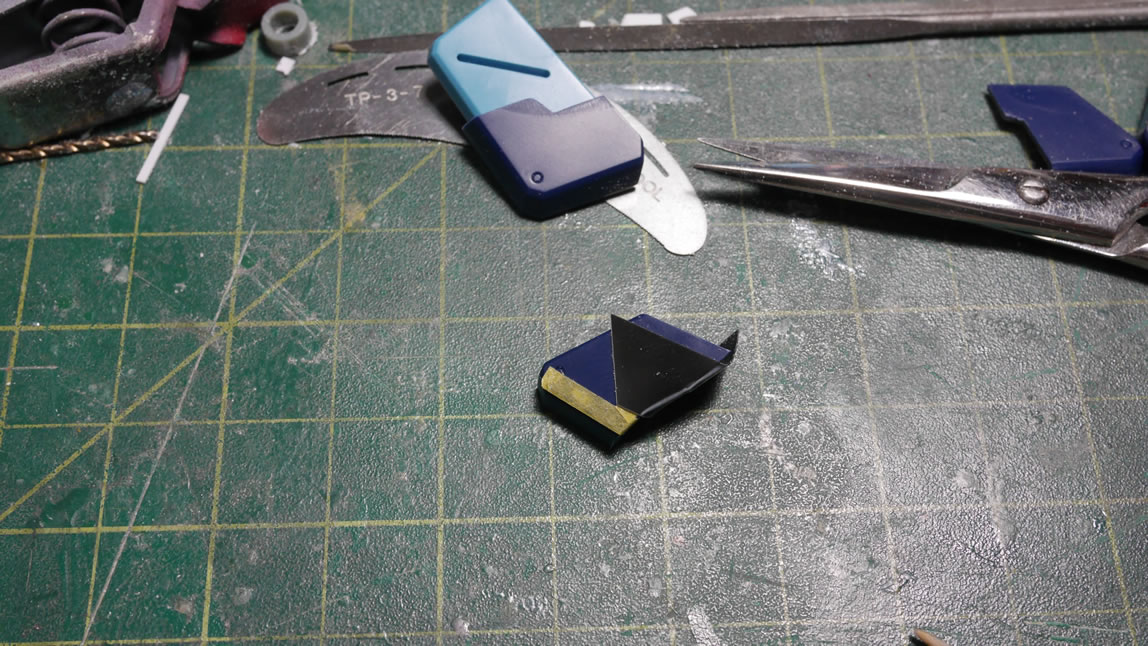
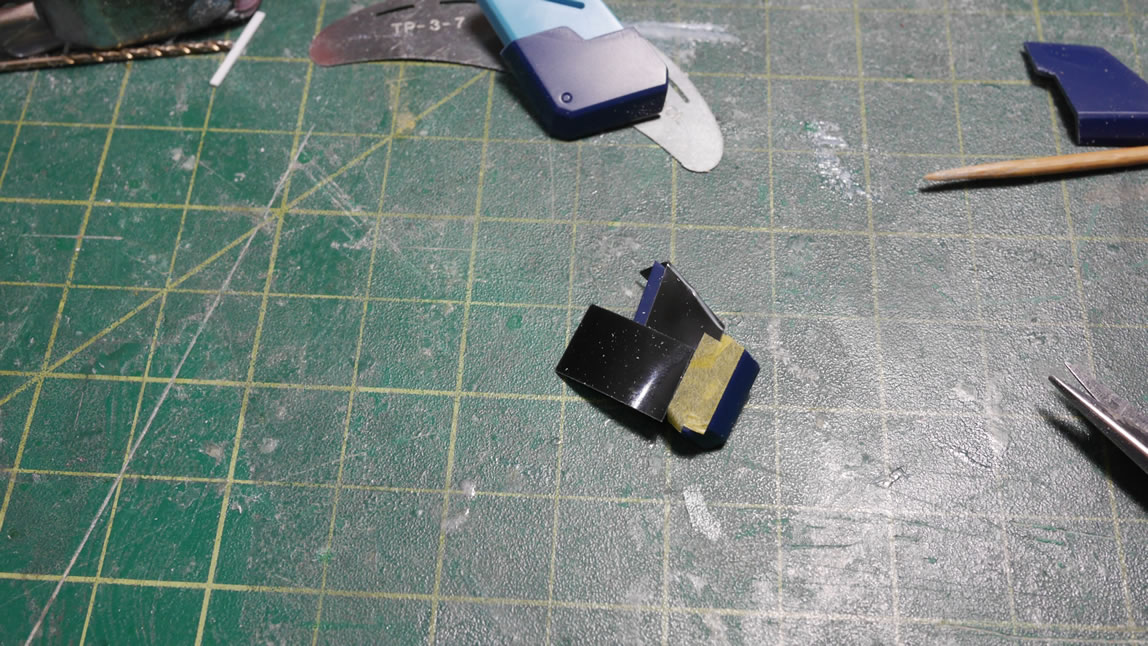
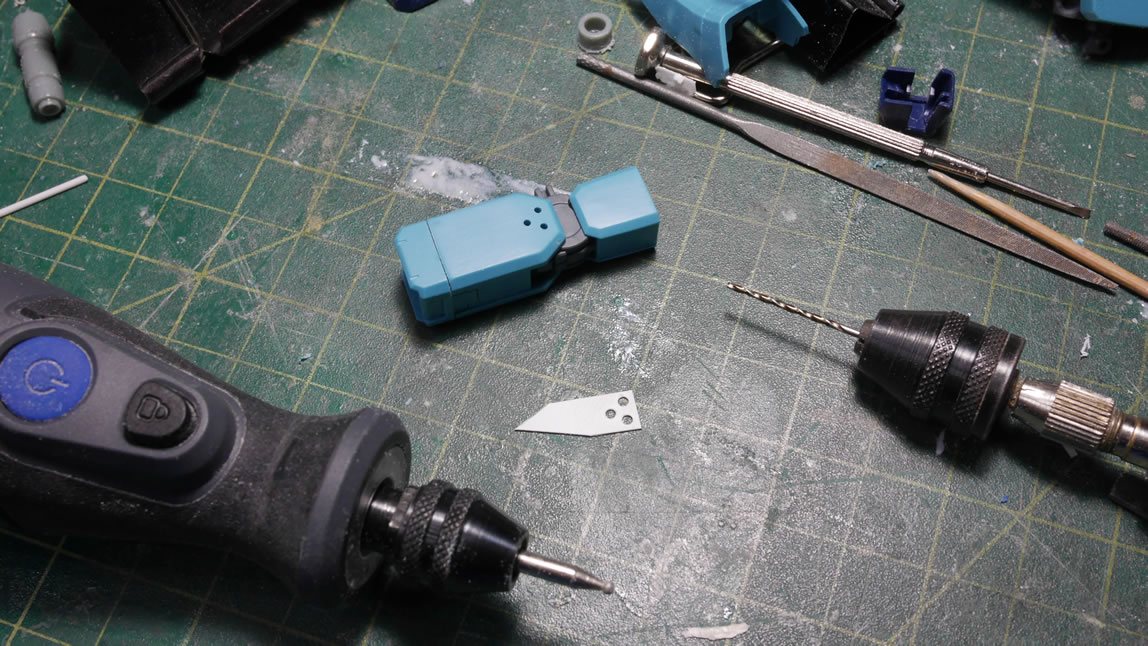
Small details round out the rest of the antenna. A resin minus detail, a metal collar piece, another resin collar piece and some magnet wire wrapped around the smallest antenna piece finish everything up.
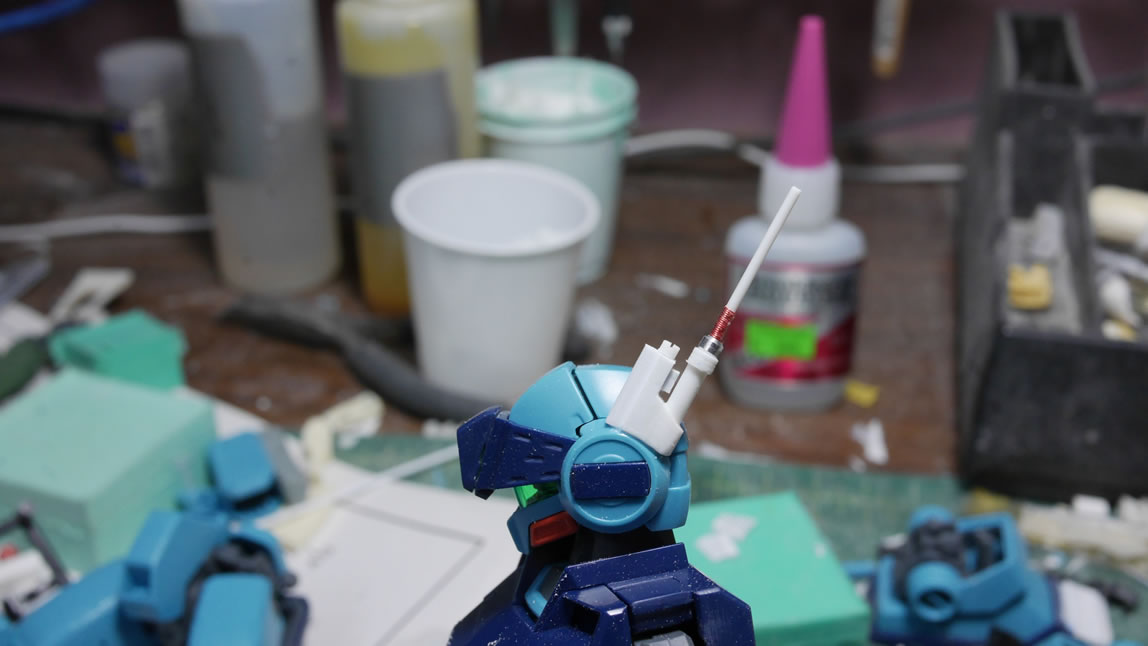
The antenna build was quite easy and if I didn’t wait for the glue to set up, can be done relatively quickly. Here’s a video I made of that process:
It should take you about 20 minutes of actual building time. You really should wait for the glue to cure for each step however and enjoy the build! Moving on, I did some vent work for the upper torso vents. Same process with the backpack heatsink; glue strips of plastic together, then sand it down to sculpt the final look.

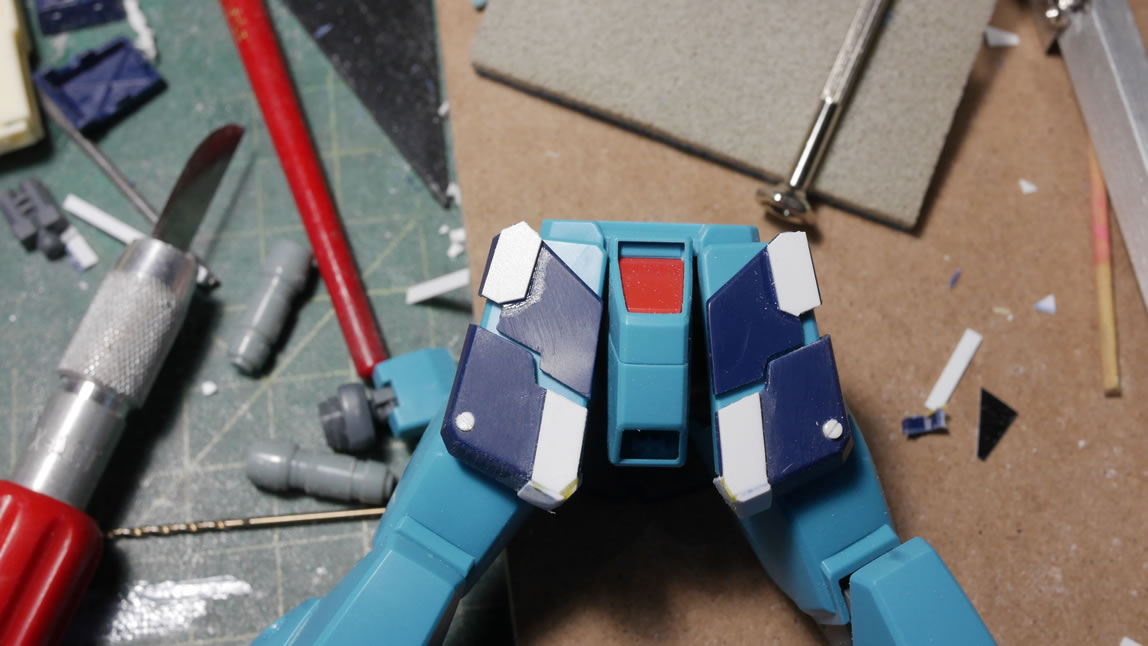
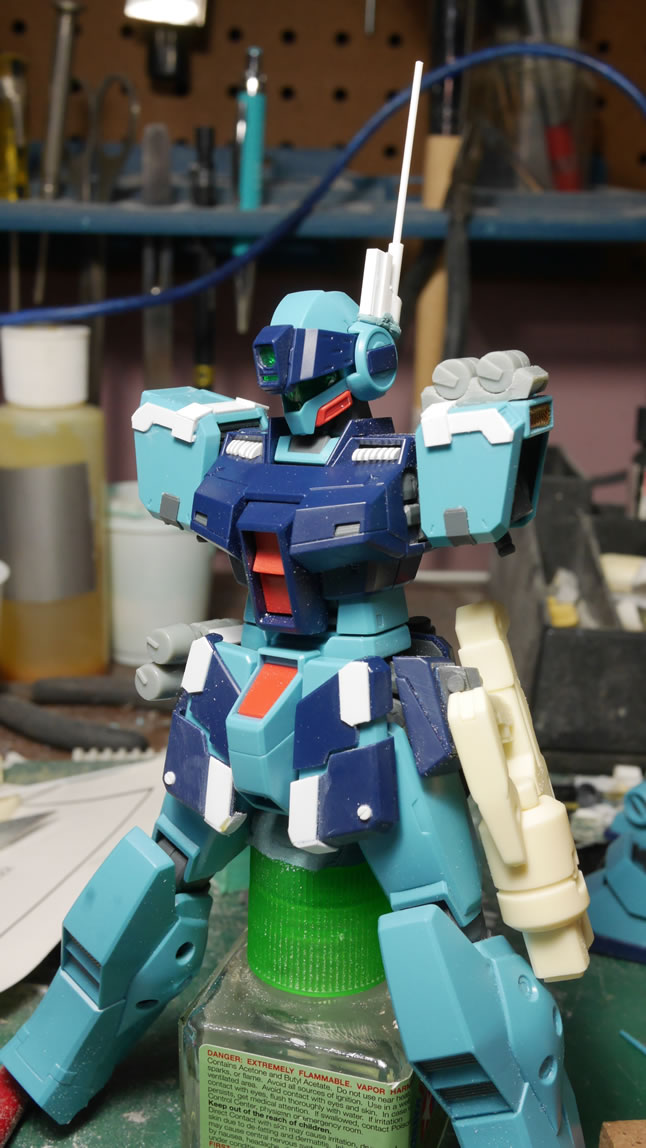
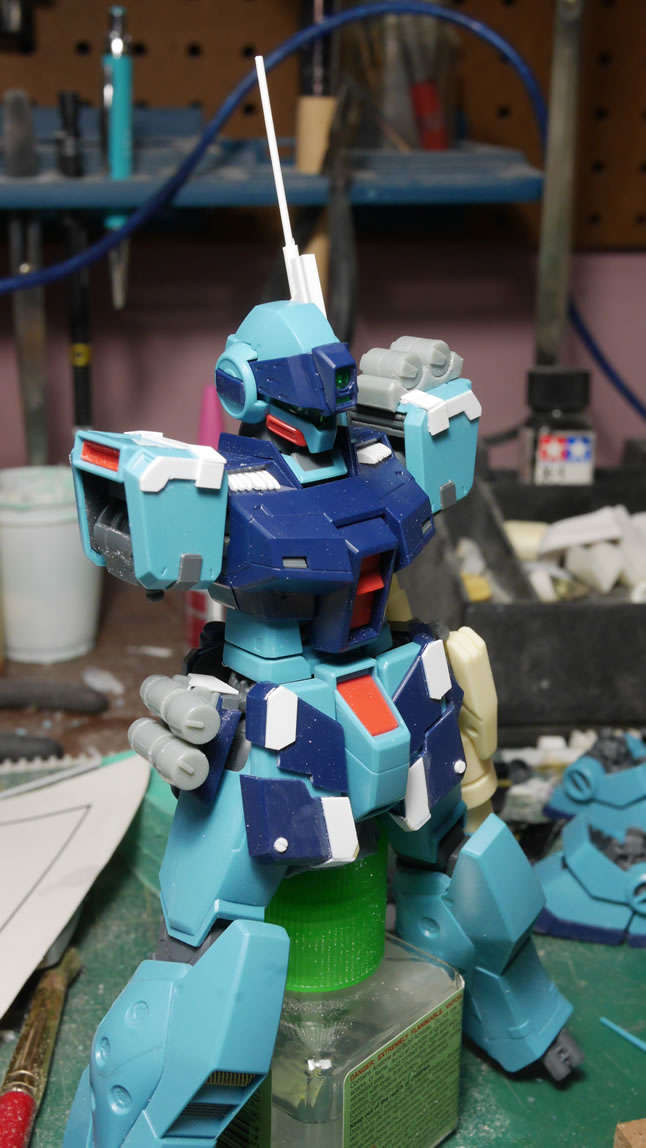
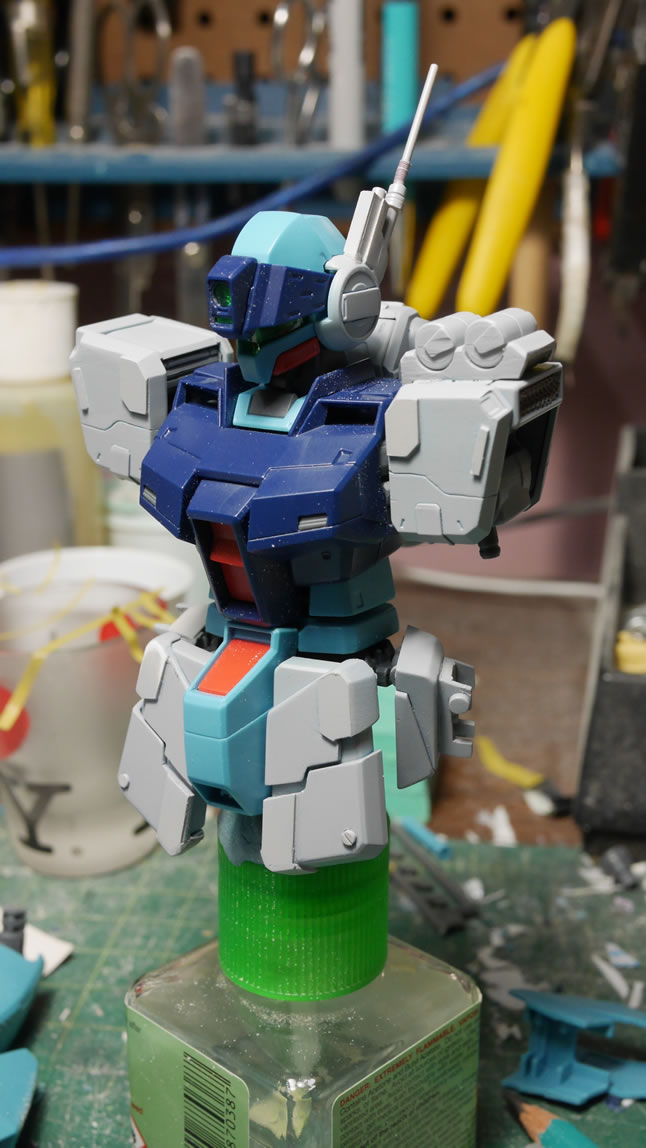
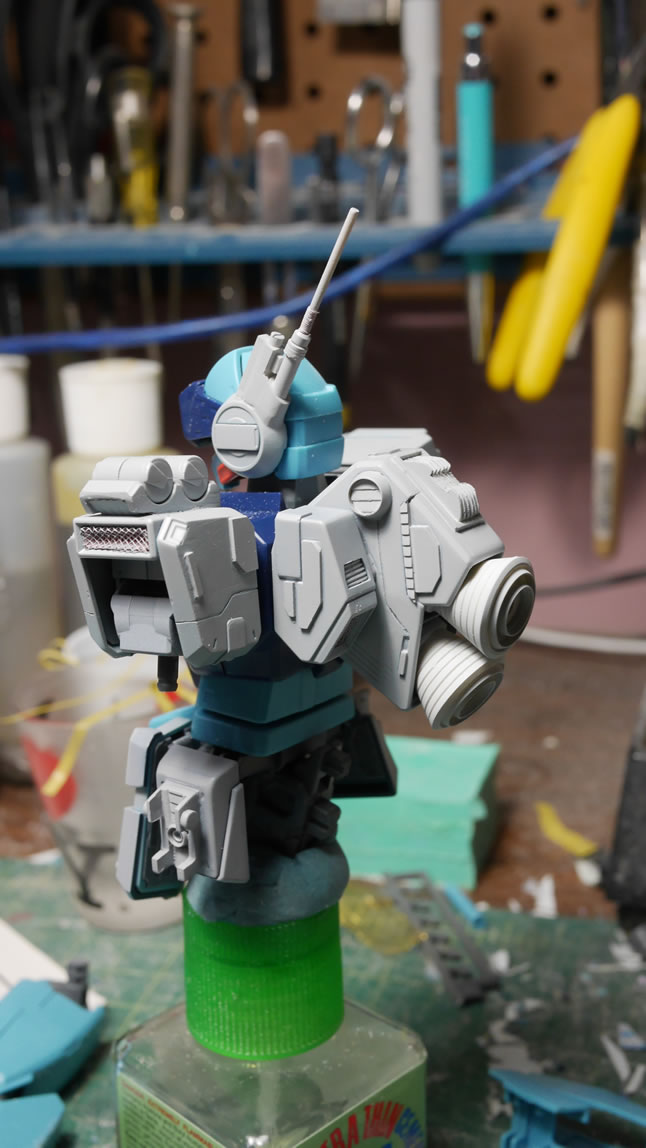
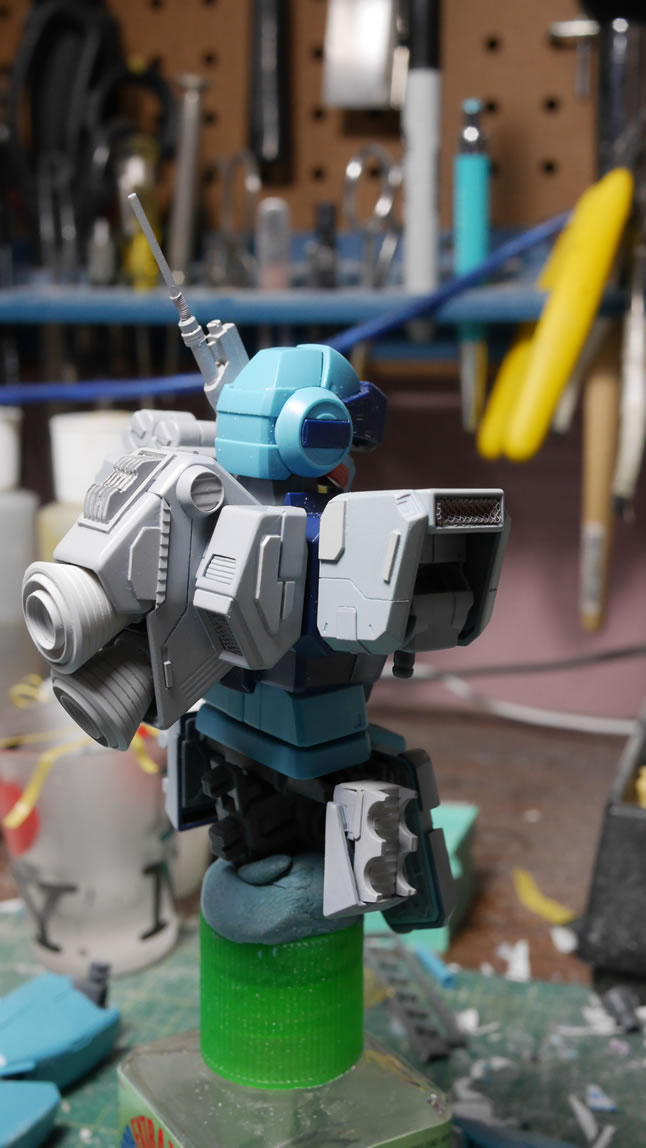
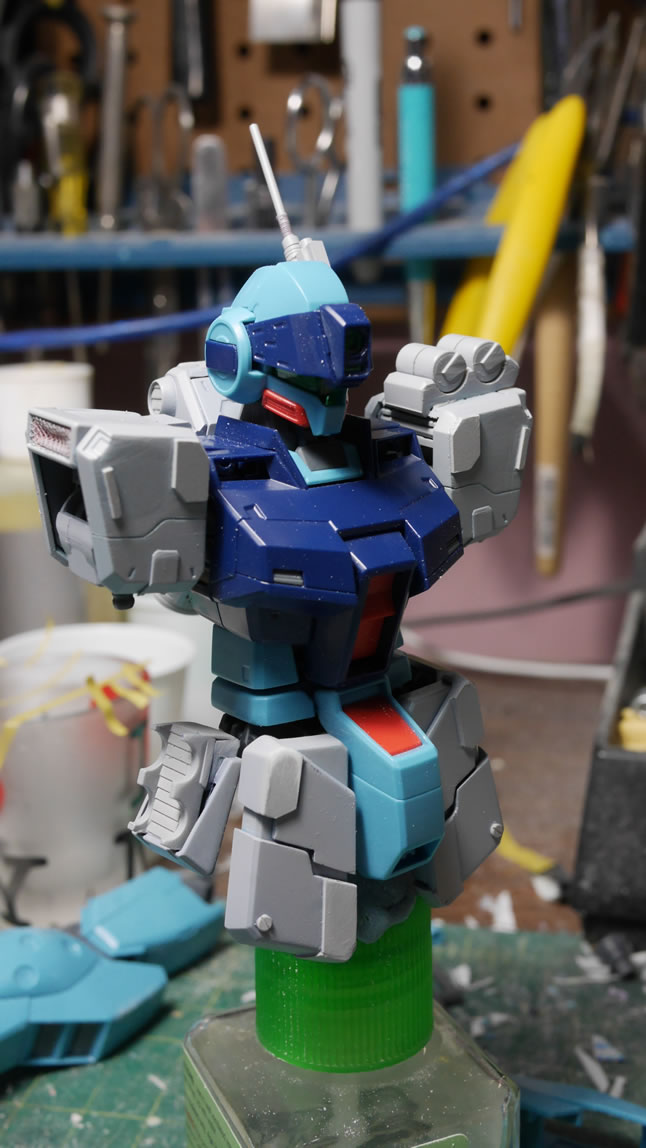
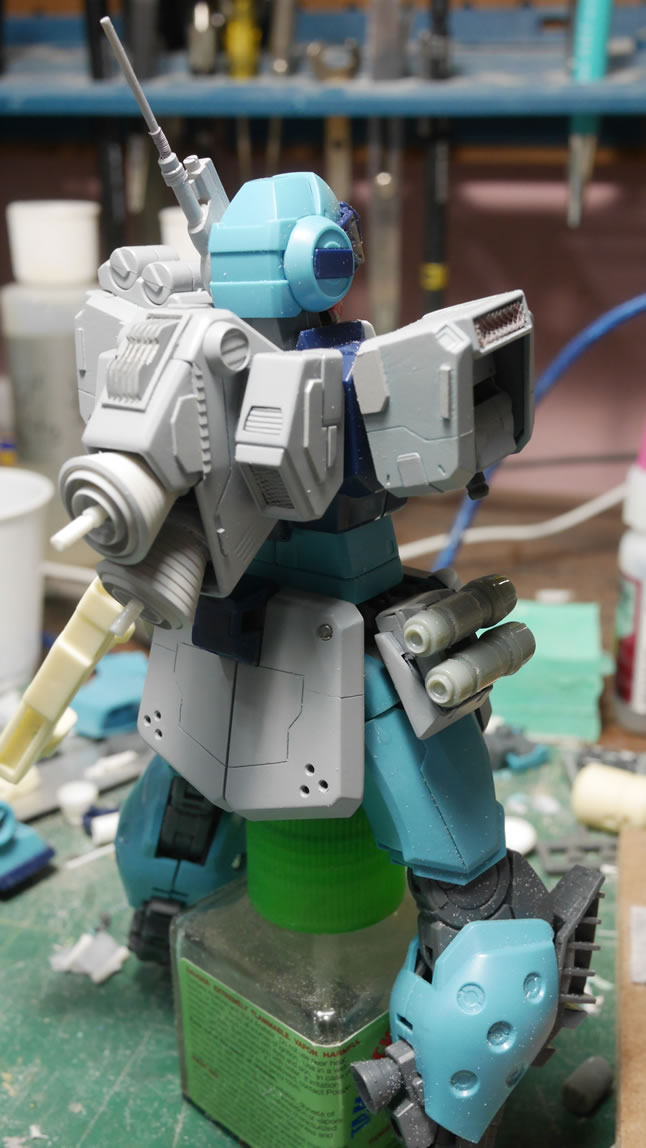
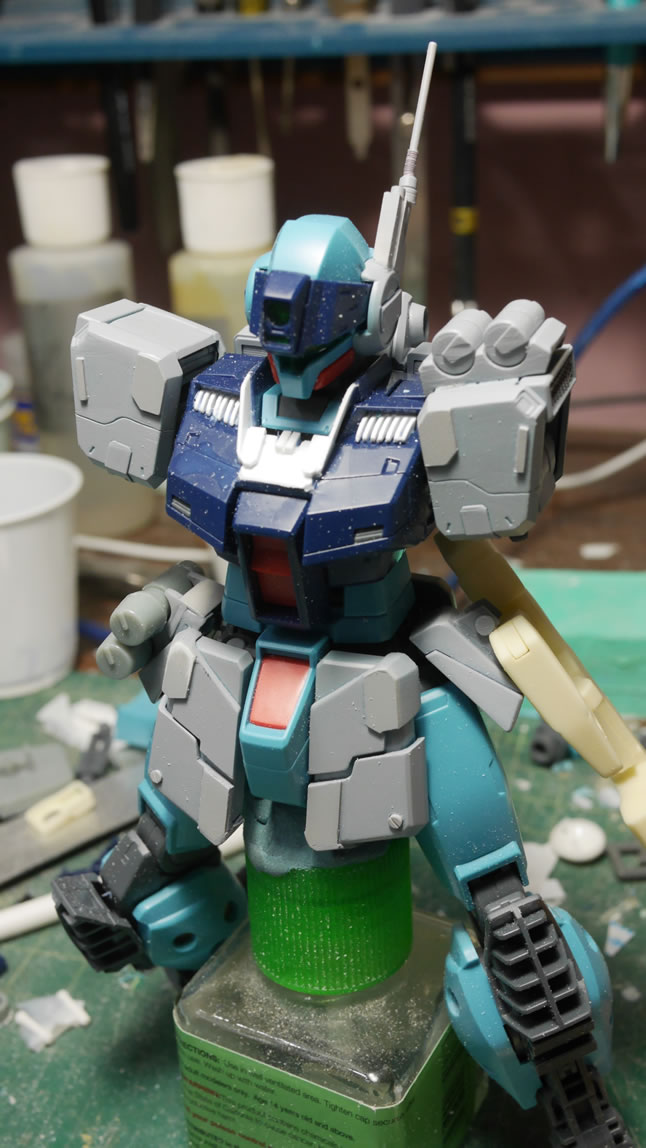
This catches us up with the second half of last week. At this point, I assembled the modded parts to get a look and feel for things. It is easier to visualize the mods after a layer of primer, but I’m still working on things so this is a good quick visual before continuing.
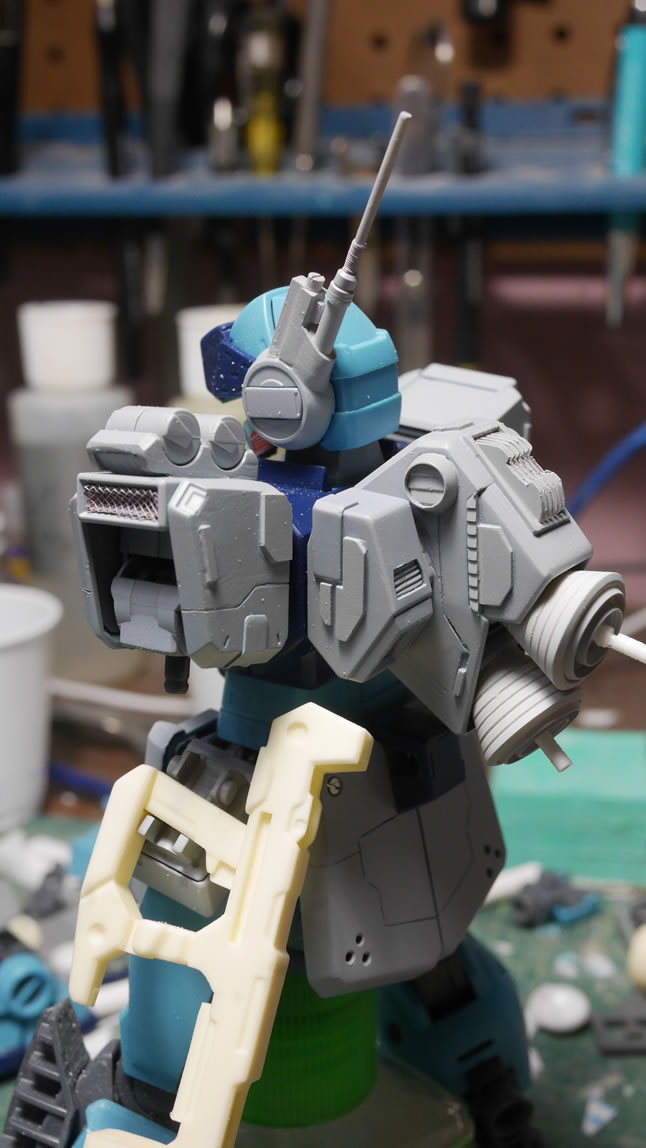
After mulling about the pla plating on the shoulders. I didn’t know where I was going, and it wasn’t looking good to me. So I took out the sanded and effectively erased the plating that was glued on the shoulders.
I cut out some smaller bits of plastic this time. I visualized that the shoulders would look better with minimal plating over what I was originally trying to do. It’s only plastic, so if you add too much, you can easily take it away. If you take away too much, you can always add it back. It really is just labor. Building models is fun! Right?
Once the new styrene pieces are glued. I used some masking tape as guides and using a template I created from a strip of plastic. Placed it along the guides and held it down with a paper clip, and scribed some new lines. I have four sides to scribe, and since they were all the same piece effectively – a template would make things work faster. The last thing was to add a small sliver of styrene to the edges of the shoulder. This adds a little more depth with the raised detail.
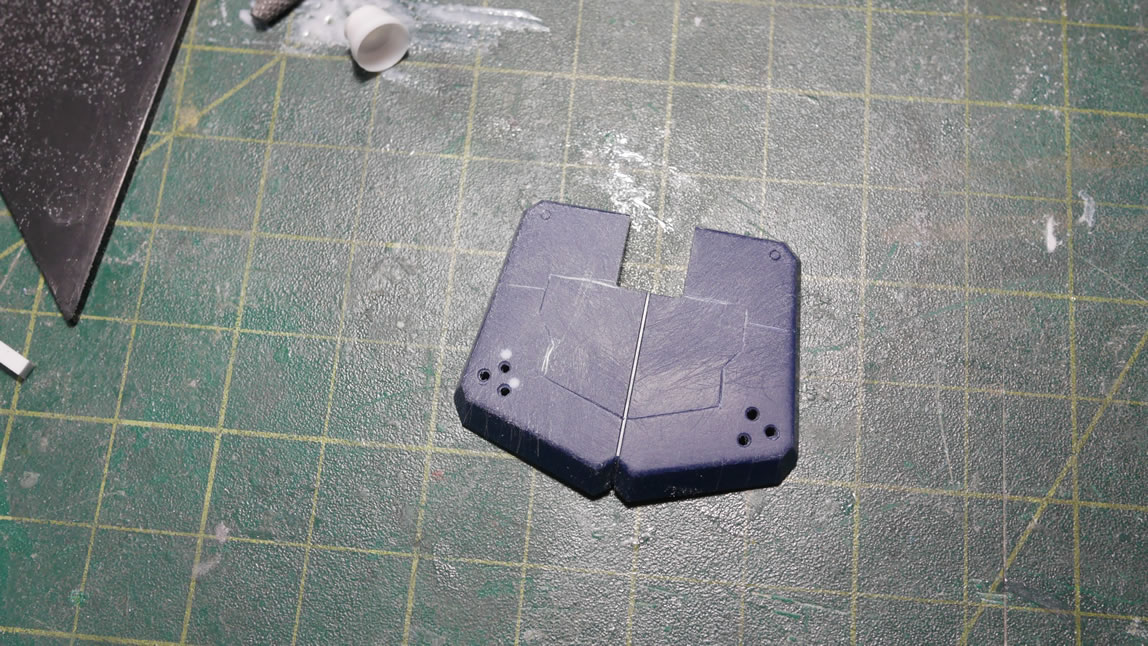
Returning to the last part of the waist, I figured I’d do some scribing on the back skirts as well as add some drilled out holes. In the next picture, you can see some dissolved putty on the part because I screwed up on the scribing. You can see two sets of holes too. One that is done decently, and another not so – the left side. I ended up having to fill in the holes with styrene rods. The lesson here is that you do not need to worry about screwing up. Because you will. Accept it and get to work fixing it when it does happen. I believe if you ask any model builder, there’s a decent amount of time spent fixing mistakes for any kit they build.
Looking at the picture, how did I get the right side looking decent while screwing up the left? Templates. My first attempt, I eyeballed and freehanded the drilling and apparently I was also drunk. In the below example, I added the same tri-circle drilled out look to the arms. This time, I created a template. I took a strip of plastic, drew out a triangle, then drilled out some holes in the triangle to create a drilling template. Having a template helps make things more uniform. Especially if you’re reusing a detail effect in multiple places or even on mirrored parts. The left side of the skirt is still curing from the fixes, but I was able to test out the new template on the right side successfully.
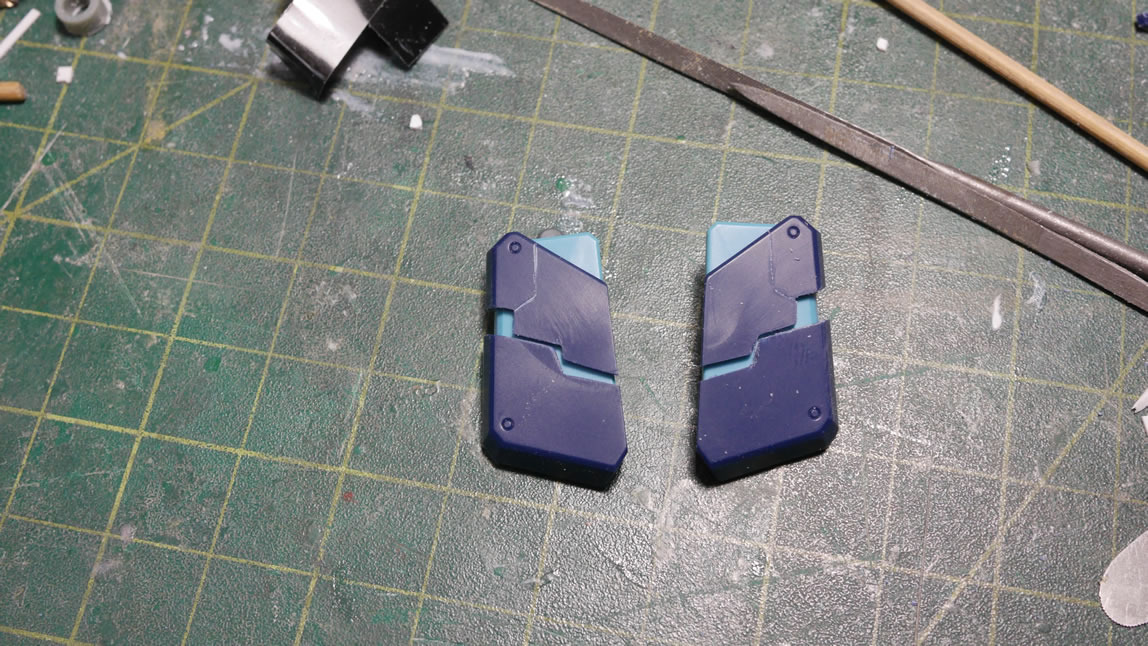
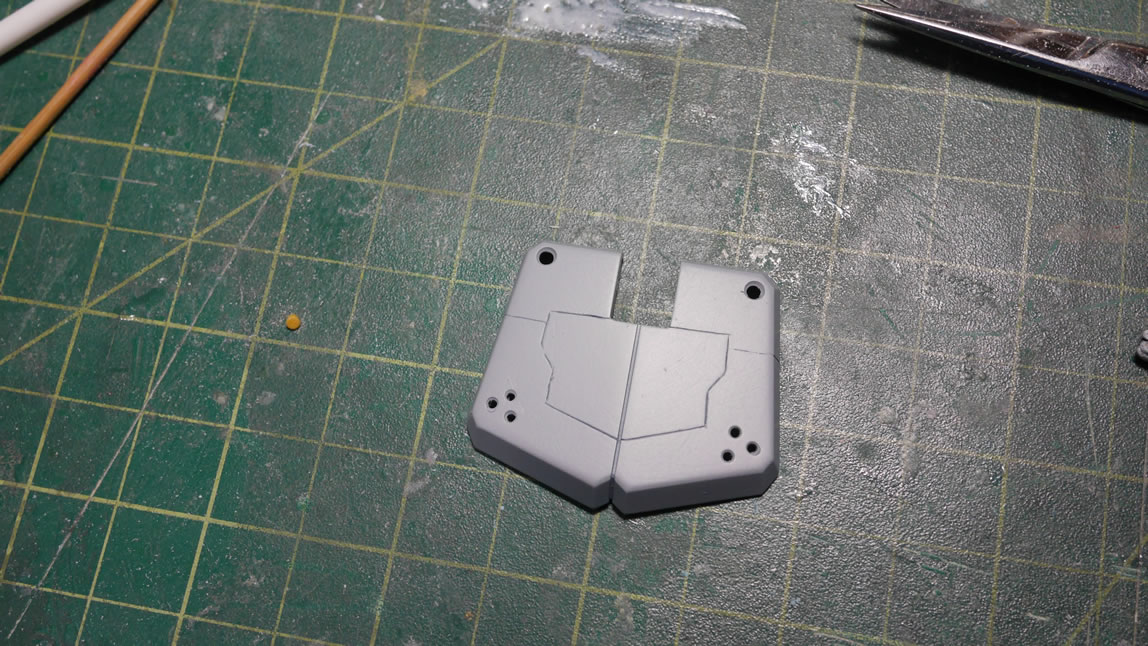
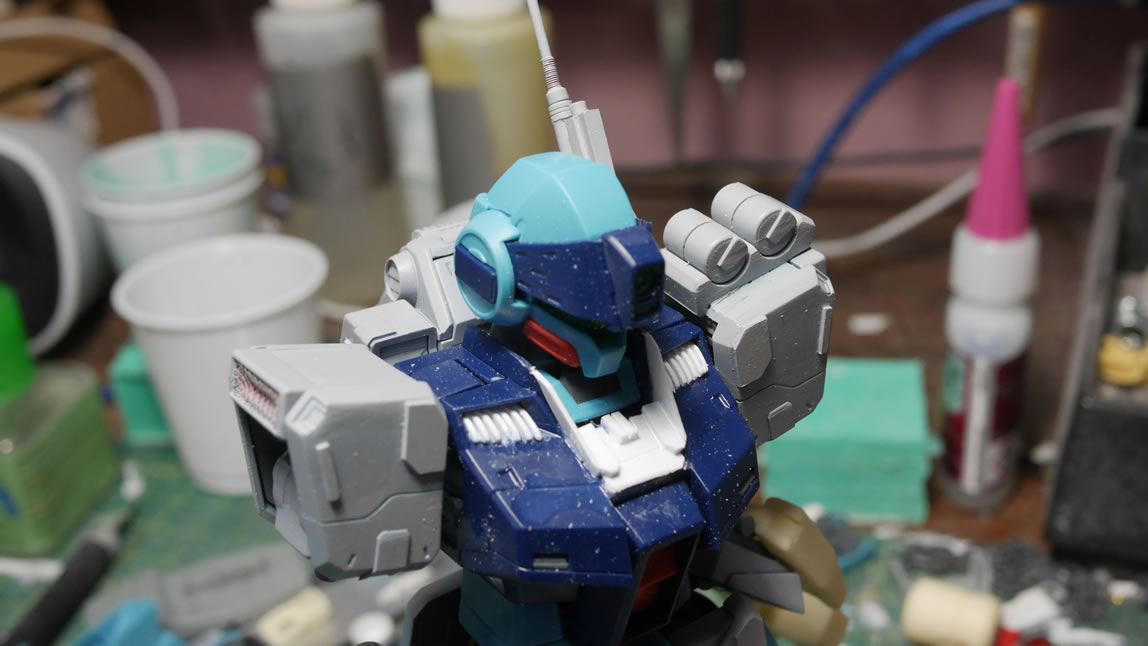
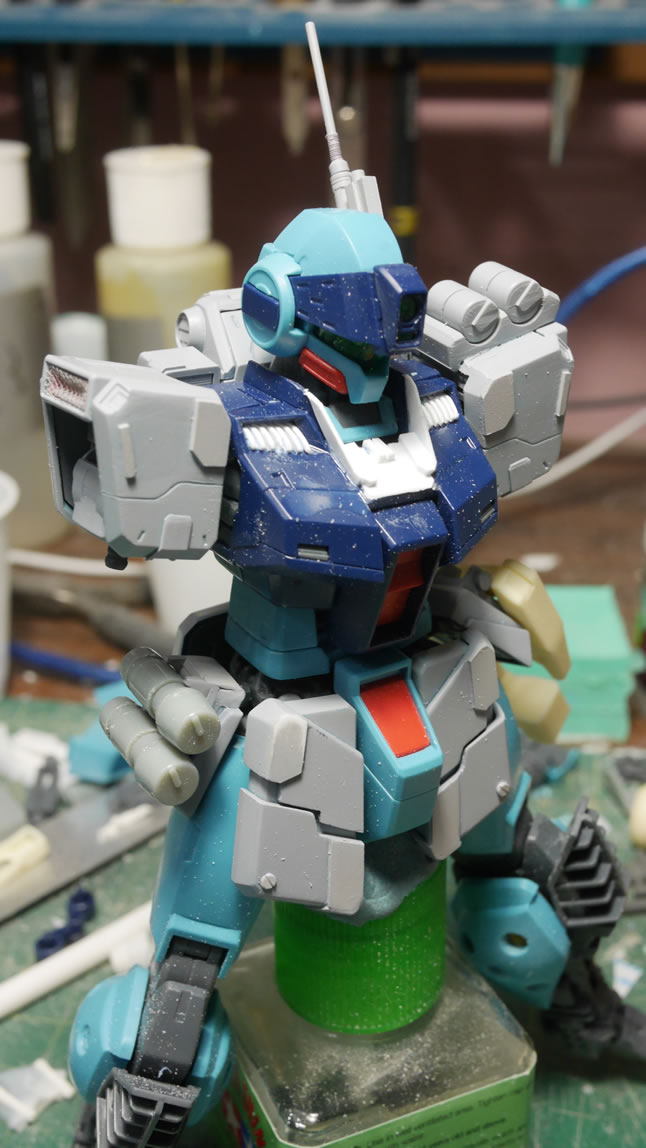
Friday came around and I was at a point where I had a decent number of parts ready for the first layer of primer. Here’s what the kit looks like after priming the front and side skirts as well as the shoulders and the new antenna. Things are starting to come together and the mods are being tied together visually with the primer. There are still sanding mistakes and areas that need attention; but the uniform grey is a milestone accomplishment. Proof of progress so to speak.
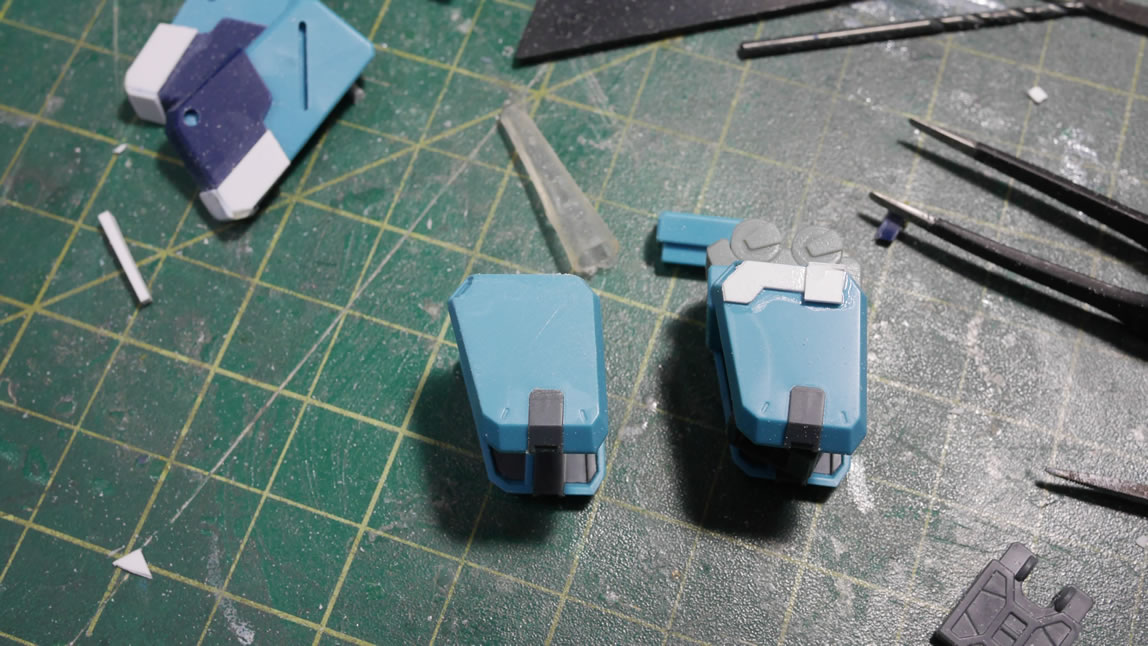
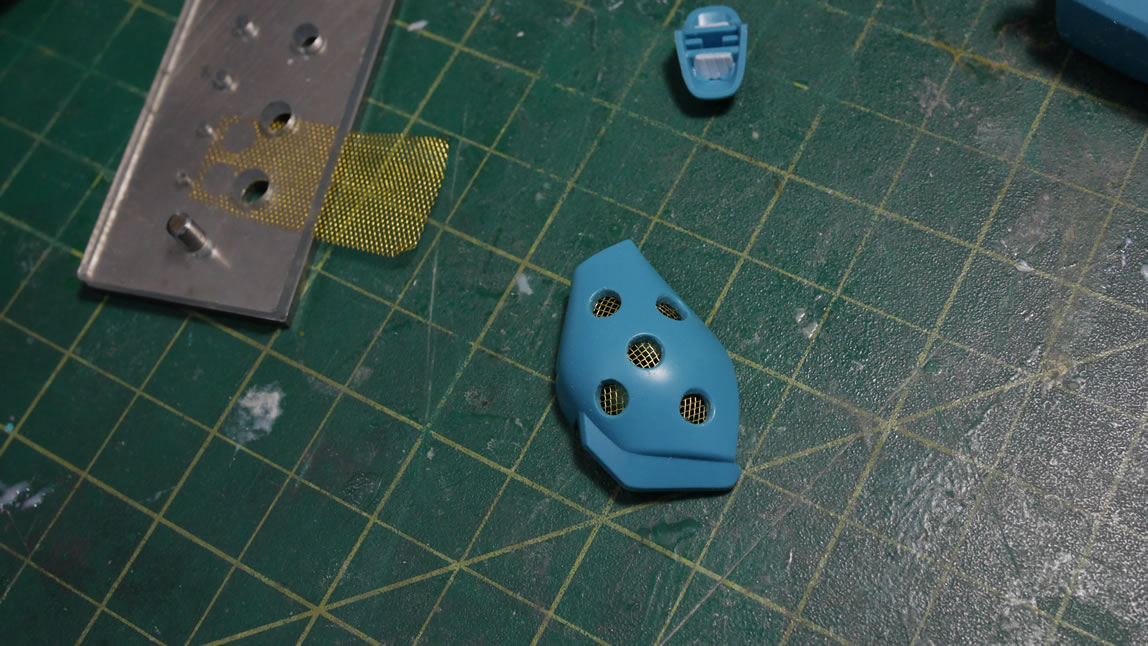
The start of the weekend begins with the circle punch set. The elbow covers for the kit have an empty space that just begs for a little bit of detailing. Taking some corrugated plastic and the punch set. I cut some circle details and glued them into place and trimmed the excess. This is a small detail bit that is very easy to do.
The punch set is also used on some metal mesh to cut the meshing for the inner leg pieces. I drilled out the holes for the inner section of the legs and just glued the mesh to the insides. Yes, the mesh is facing different directions… things like this really mess with the OCD of fellow modelers. Fun things to do to your friends. But I may end up fixing this as I really haven’t started on the legs much.
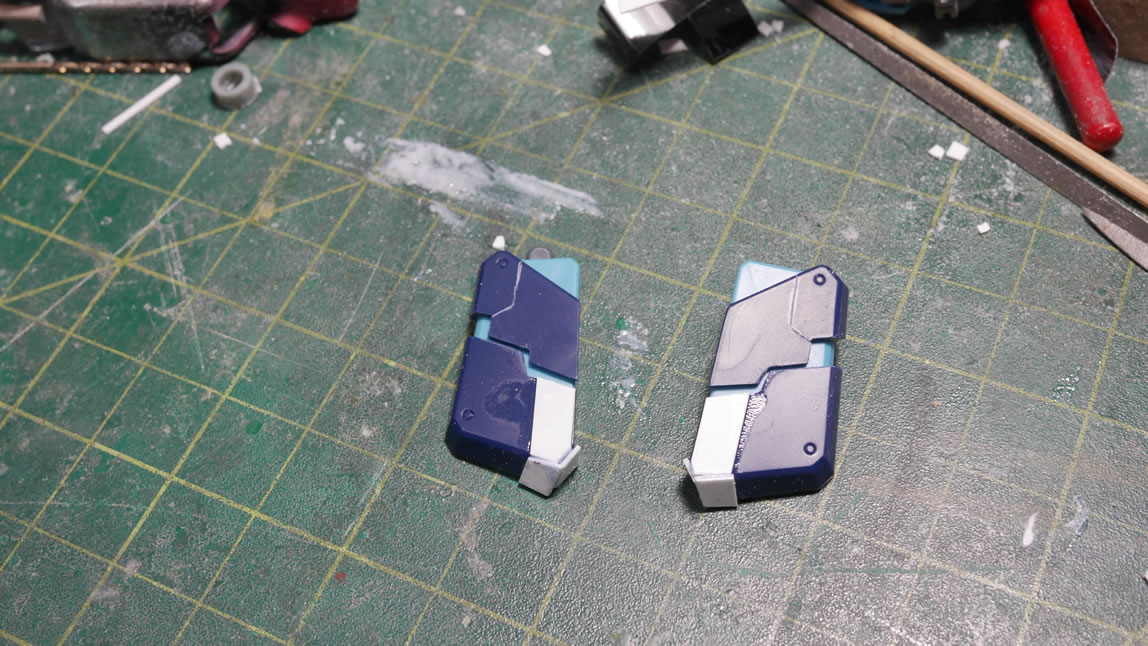
Back to the rear skirts; since the putty has cured as well as the filled in hole. I templated the left side and drilled out some holes. I sanded down the dried putty and re-scribed the lines. This still looks very messy since you cannot tell where the clean lines are vs the filled mistake lines. I also drilled out the upper corners of the skirts for some minus detail bits.

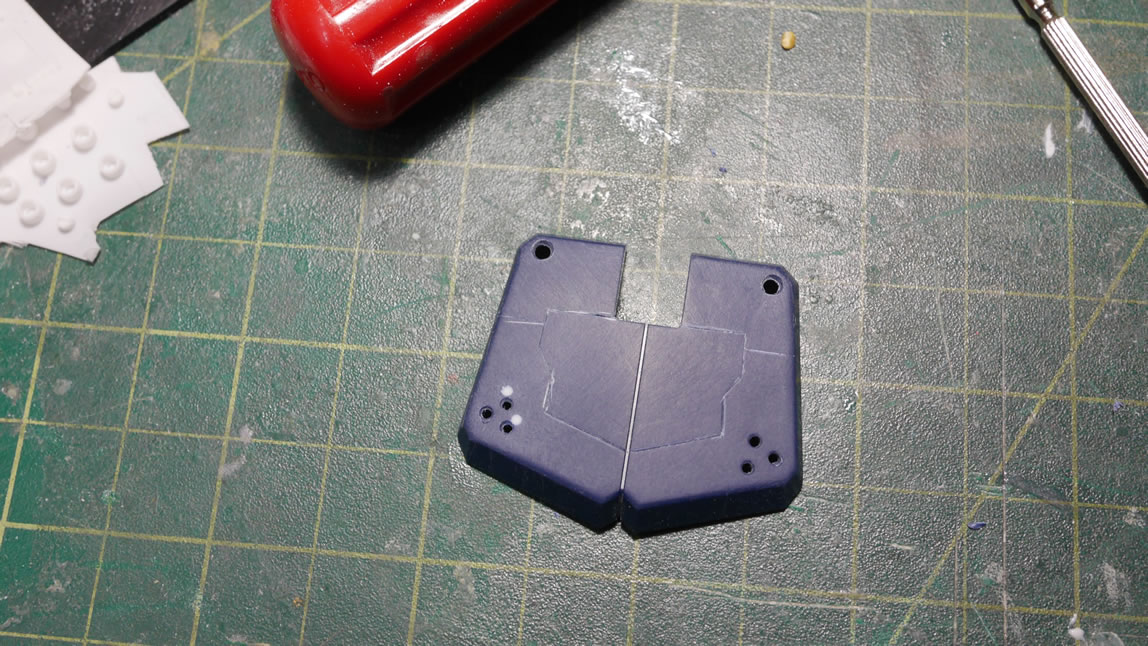
Once primed, things start to look better. The bad holes have been filled as well as the bad lines. Adding in the metal minus detail is the last thing I did to this so far. I may still add some styrene, but look for that in the next update. I will probably add something – just not sure what.
Rifle work
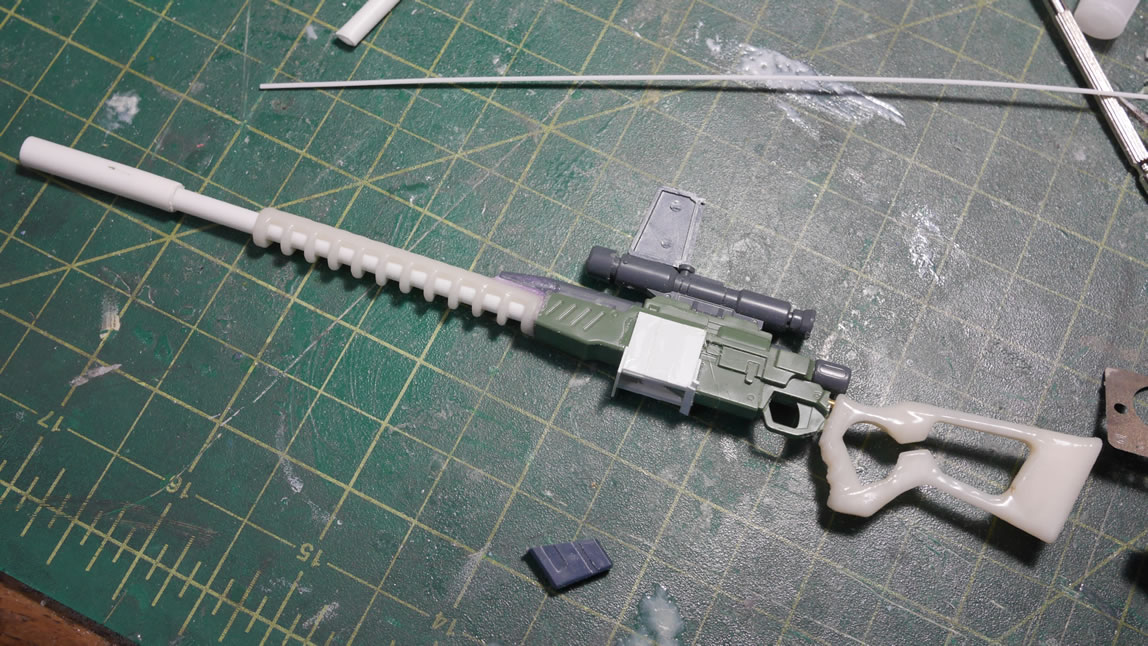
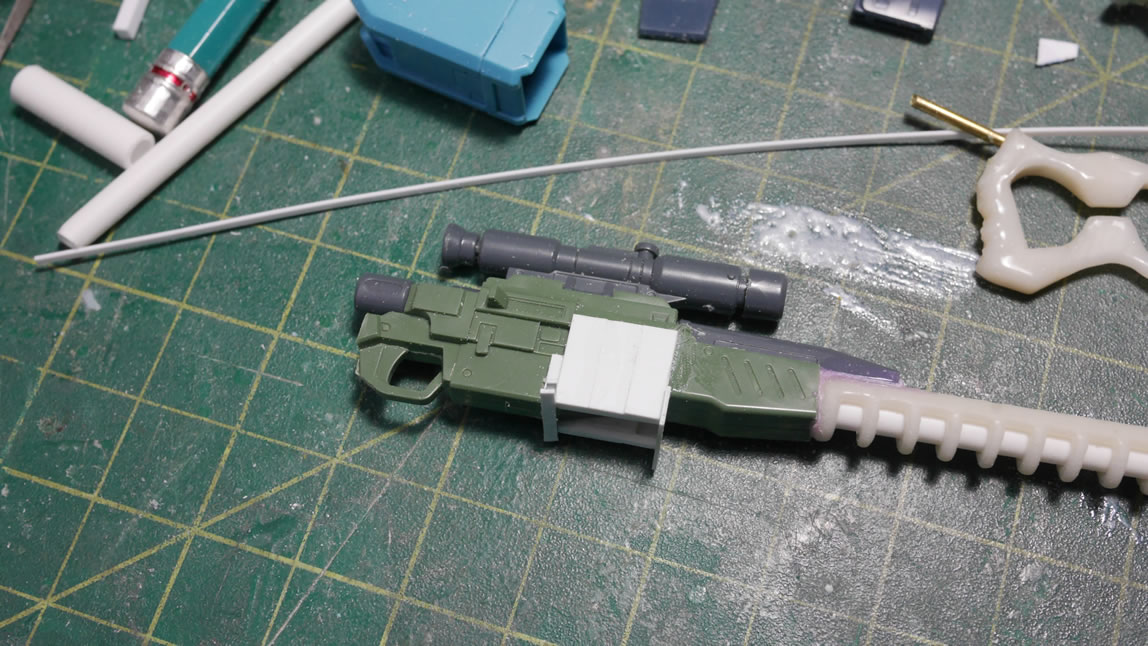
Next, we return the to first thing I was modifying – even before I finished sanding and assembling the initial test fit for the kit. I cut down the main body of the rifle because it was just too damn long with the new barrel. The 3D printed piece along with the styrene barrel are glued into place. And I start work on building the lower section for the relocated magazine clip. Not much, but at least the rifle is starting to get some real work.
The inner arm pieces are masked off with some guide tape to scribe in a small detail line.
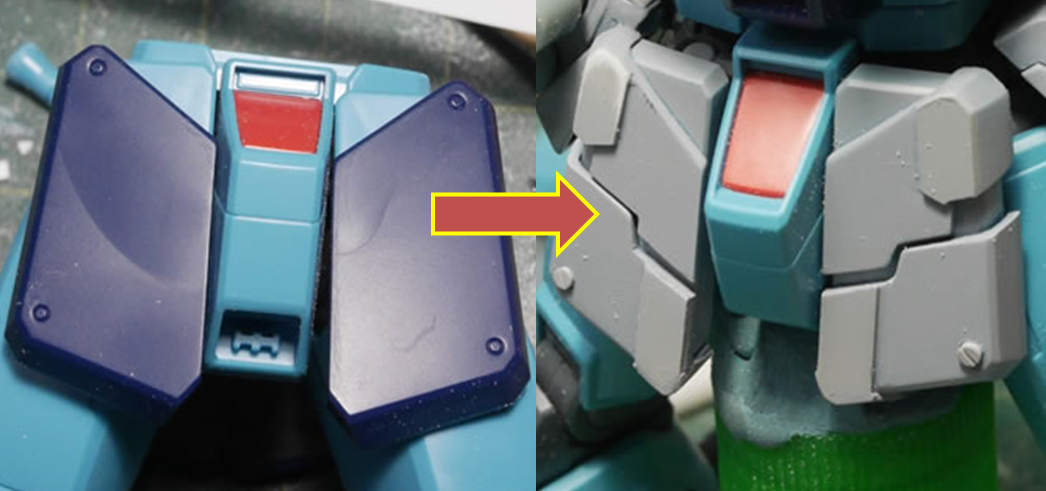
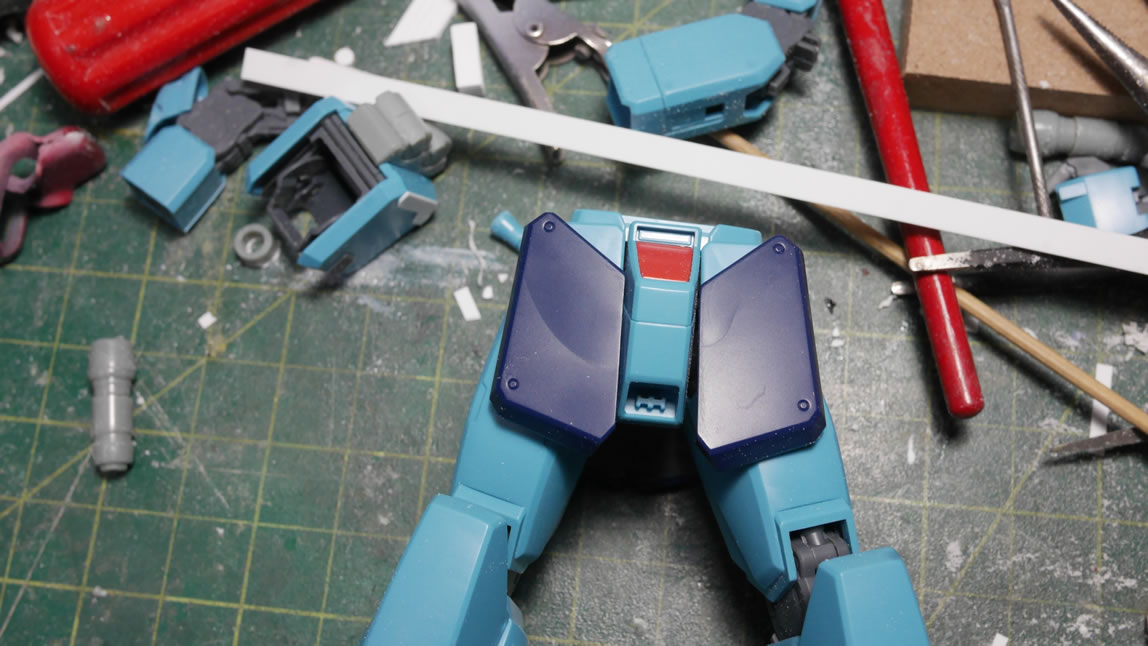
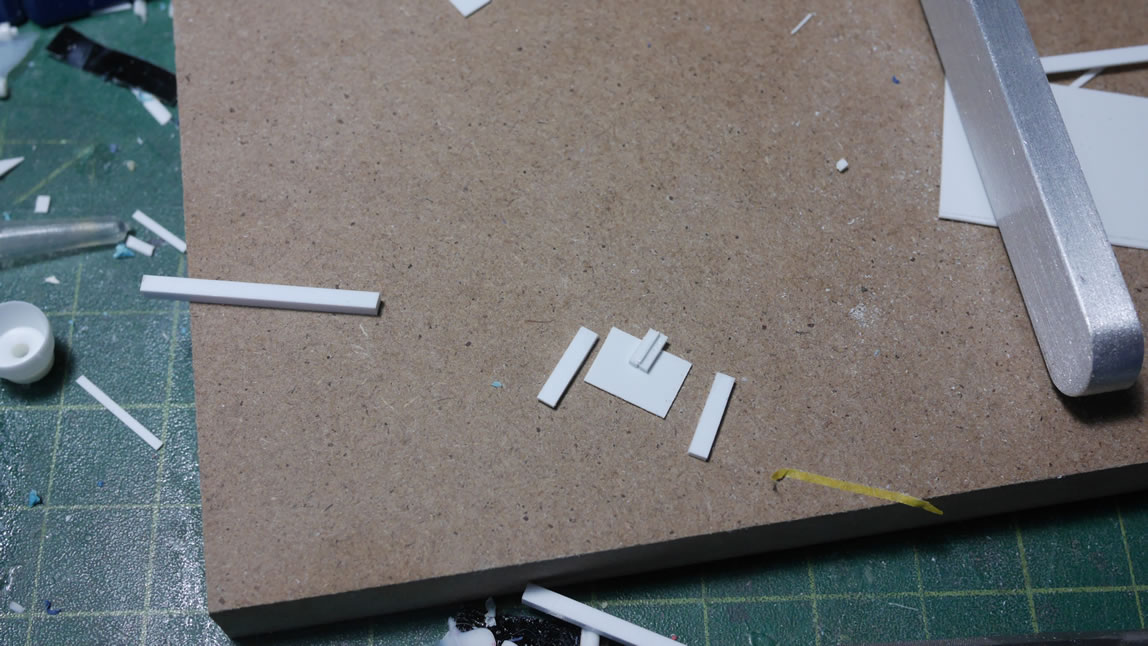
I have been mulling over what to do with the chest for a while and finally came up with an idea late Saturday night after the build gathering. I measured out some styrene strips and glued them to the collar and upper torso of the kit. This will be a frame of sorts for some detailing that I will add. The detail bit will be glued to plate of plastic sitting within the frame just below the neck.
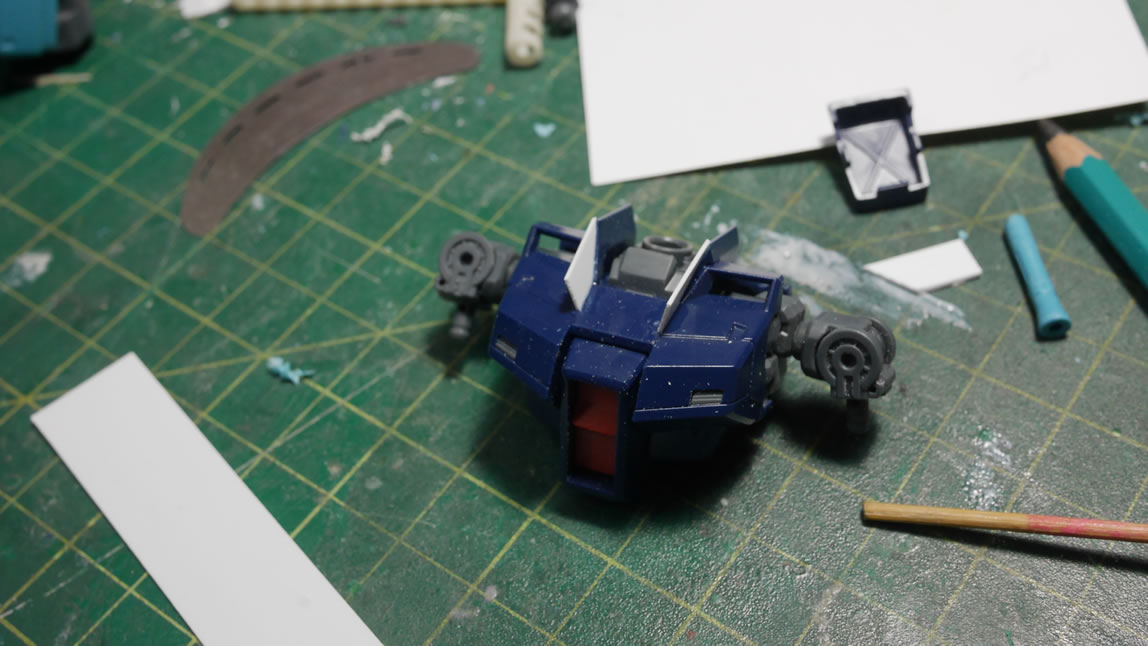

Letting the glue set over night, I used some masking tape as a guide and trimmed down the 70’s era super collar. Some light sanding to shape and conform the part to the original collar, I can get to work on adding more details.
Again, I’m working with bits of styrene. I glued some thin strips together to create the three main components for the chest detail. For the middle piece; I glued two thin styrene strips with very thin strip in the middle to get a slight space between the two strips. The main plate is glued to the chest followed by the three detail pieces. Once the glue sets up, I can continue to sand down and sculpt out the details for this area.
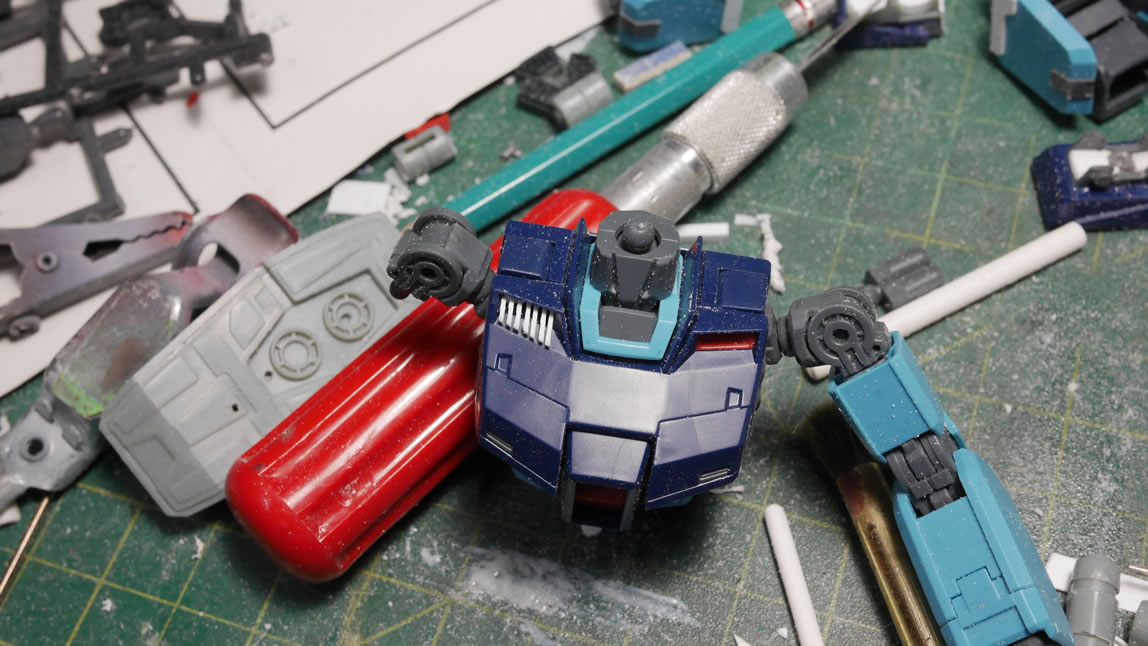
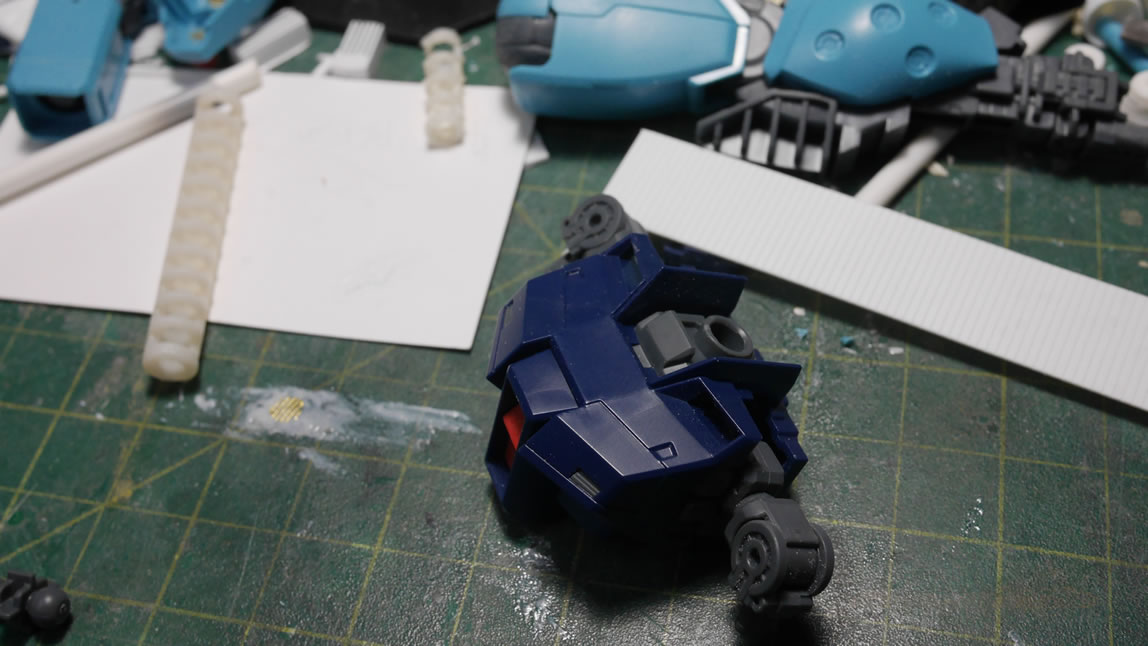
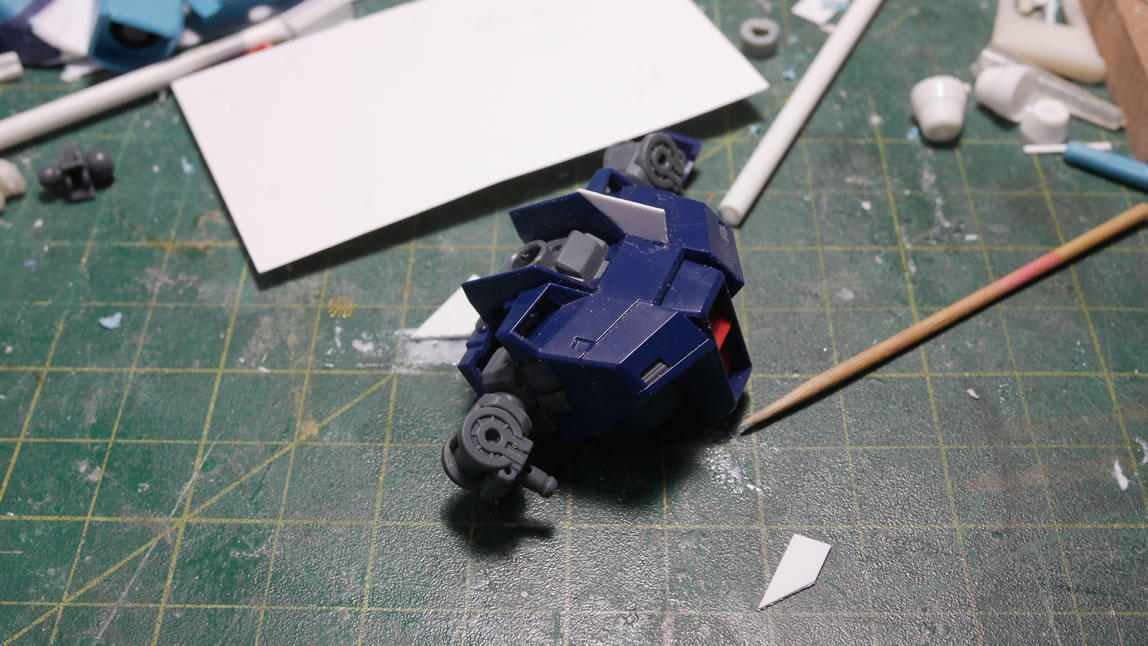
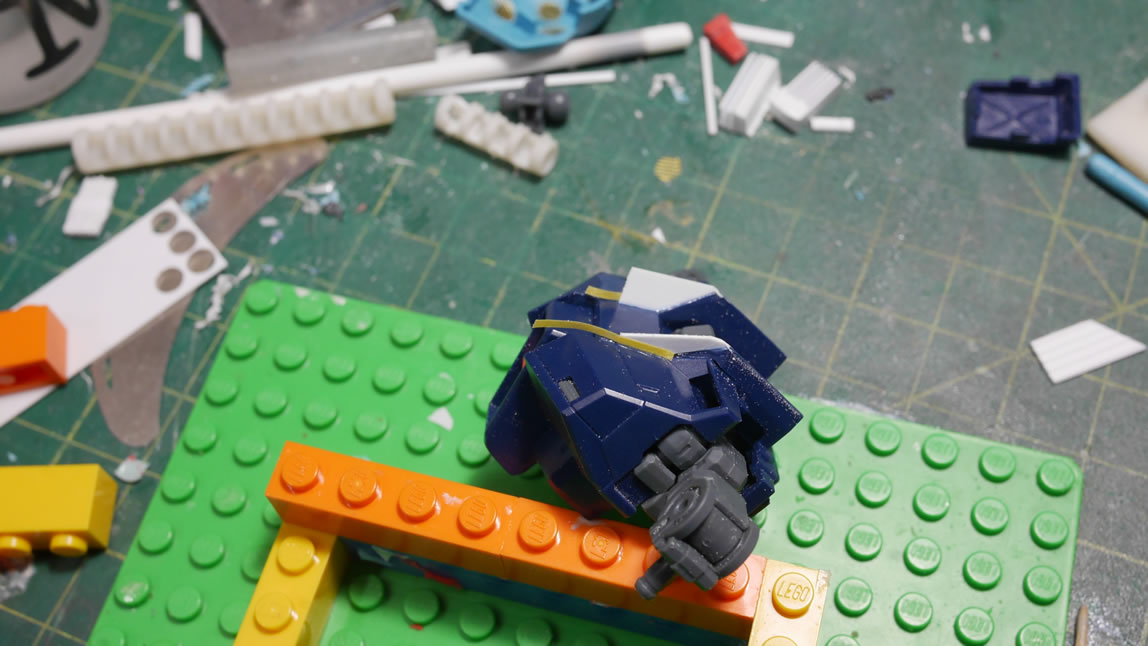
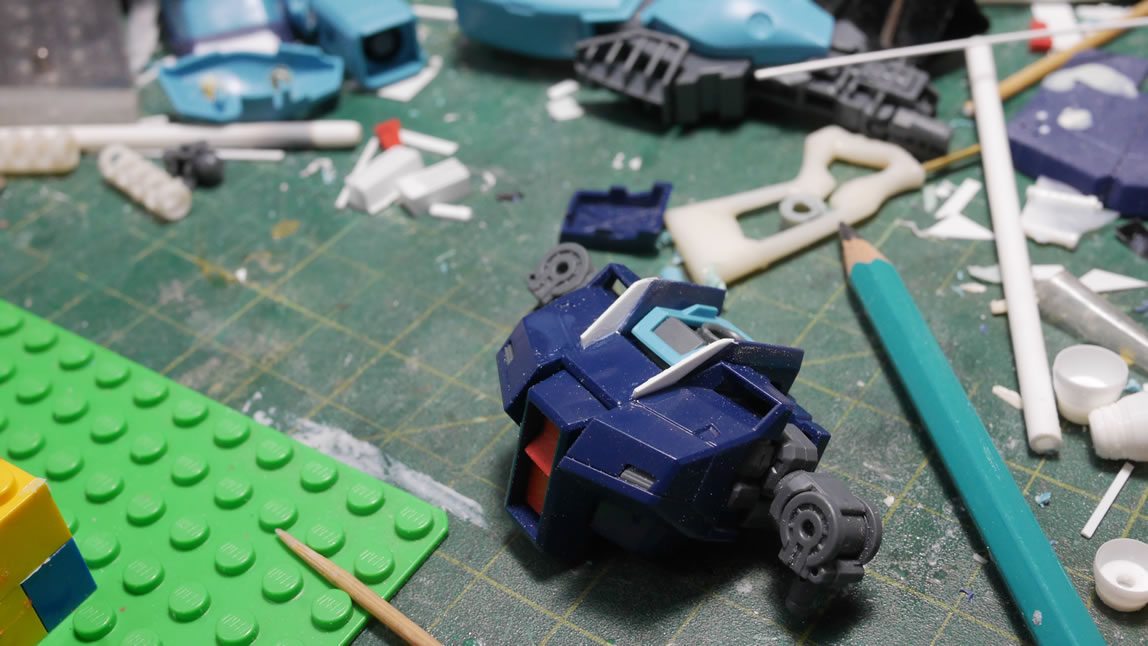
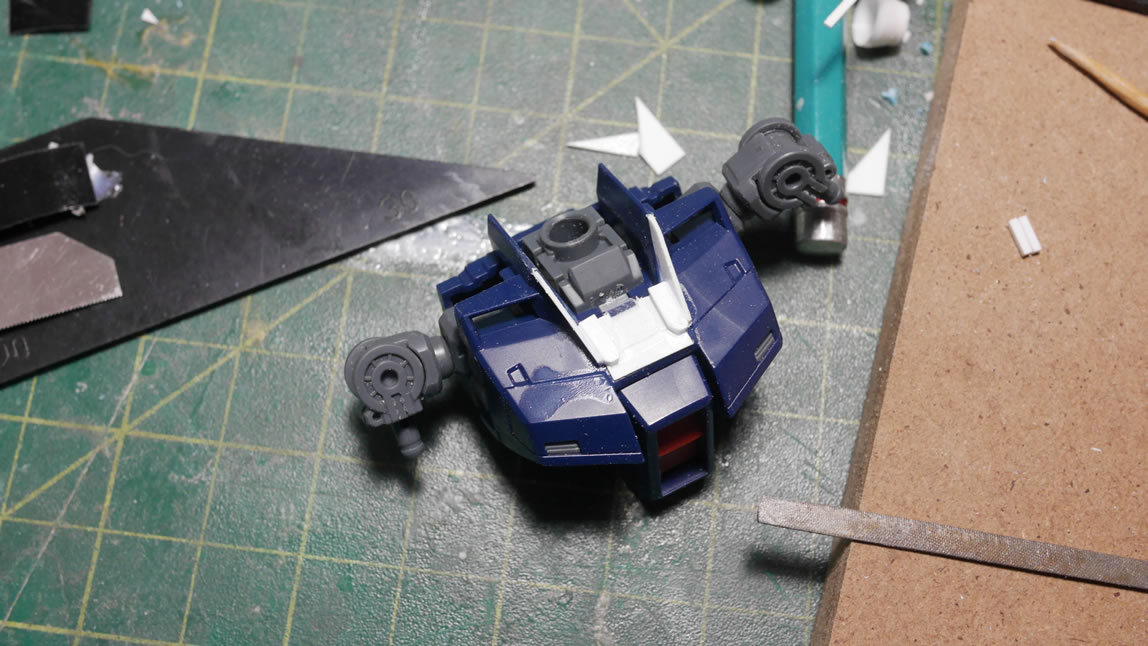
Here’s what the kit looks like after all the weekend’s work. I still have the feet, the rest of the arms, and the legs that really haven’t saw much progress, yet.
Hopefully I have a productive week and I can squeeze another blog update later this week. Until then, enjoy this post!