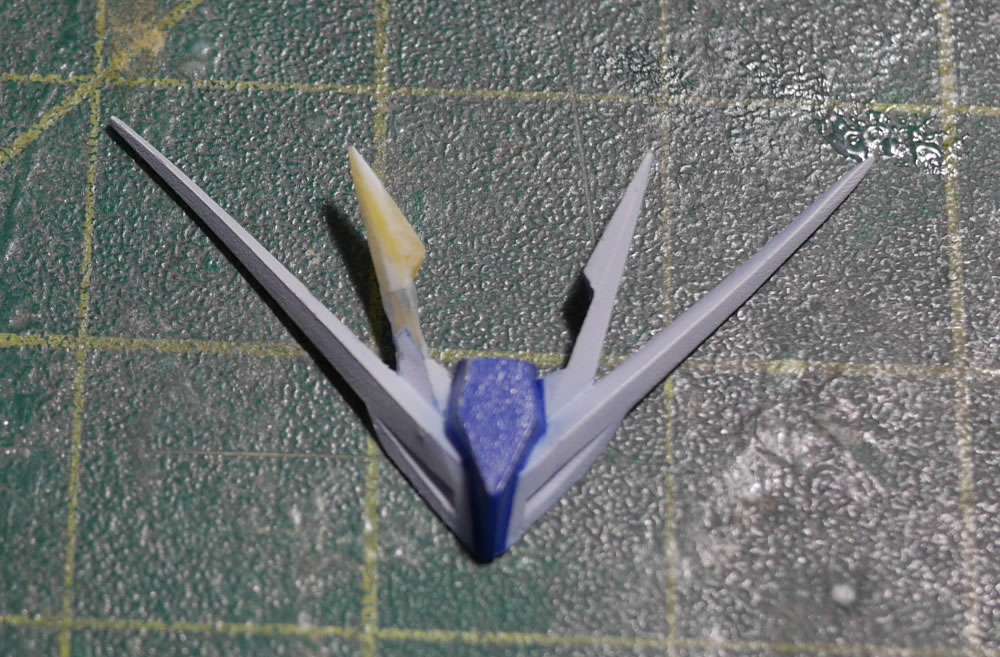
So you broke a v-fin? It happens. It happens at the worst time possible. Is there actually a good time for breaking a V-fin? Possibly, when cutting it up to create a super saiyan v-fin. But most of the time, we scream obscenities when this happens. And this happened to me a few nights ago when I had just got done with all the principal painting for the VP Hi Nu kit I’ve diligently picked back up. What better way to kill the momentum, then snapping a part that has survived multiple boxing and unboxing, moves from one workshop to another, from one build gathering location to another, etc. The back of the damn Hi Nu is horribly imbalanced due to the amount of solid resin pieces added by the conversion kit. My original stand that held the kit didn’t hold and the kit fell backwards. As it did this, the V-fin, already glued to the head piece snagged on one my fat sausage like finger and, *snap* the inner piece of the fin goes flying to who knows where. Carpet probably ate it.
It’s resin, but the process to fix this is the same as any other bandai V-fin out there.
First step, if you cannot find the broken part, glue a strip of styrene to the broken end and let the glue cure up. My first attempt, yes, it did break while I was in the middle of fixing this, but more on that later; was to use styrene glue and at least melt one end against the resin. This sort work. Again, until it broke again later. Since it’s a bond between resin and styrene, I recommend using CA glue. If it’s your standard bandai plastic, I highly recommend using styrene glue to weld the two broken ends together. Or weld a piece of styrene to the broken end.
I measured the original fin and trimmed the styrene to size before moving onto the next step.
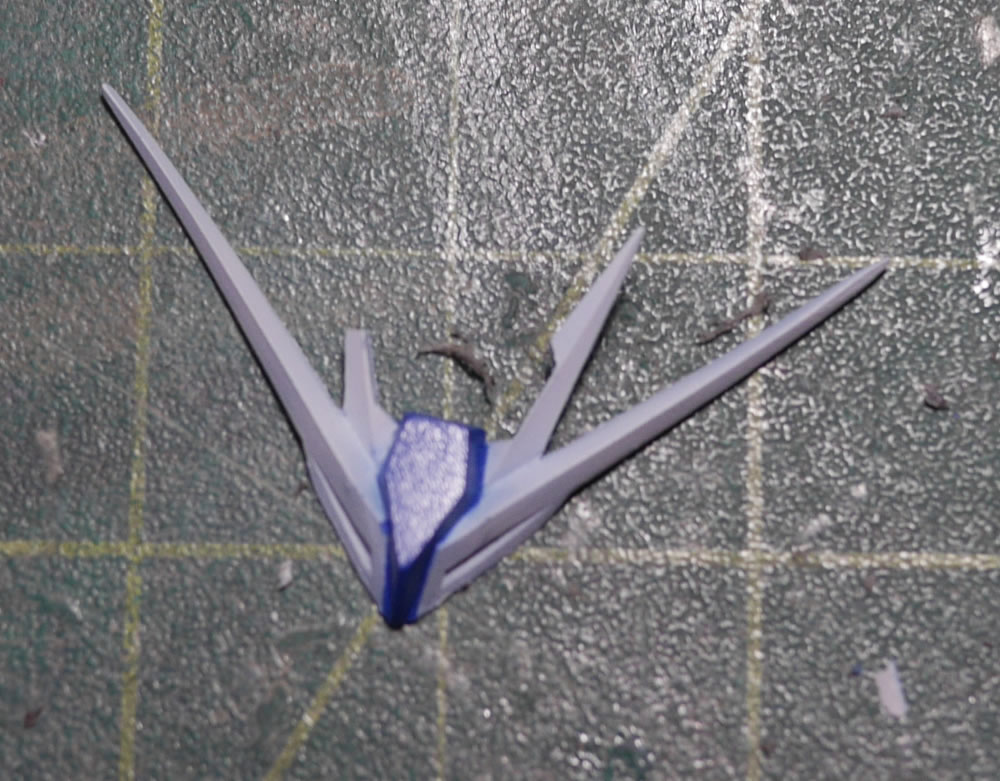
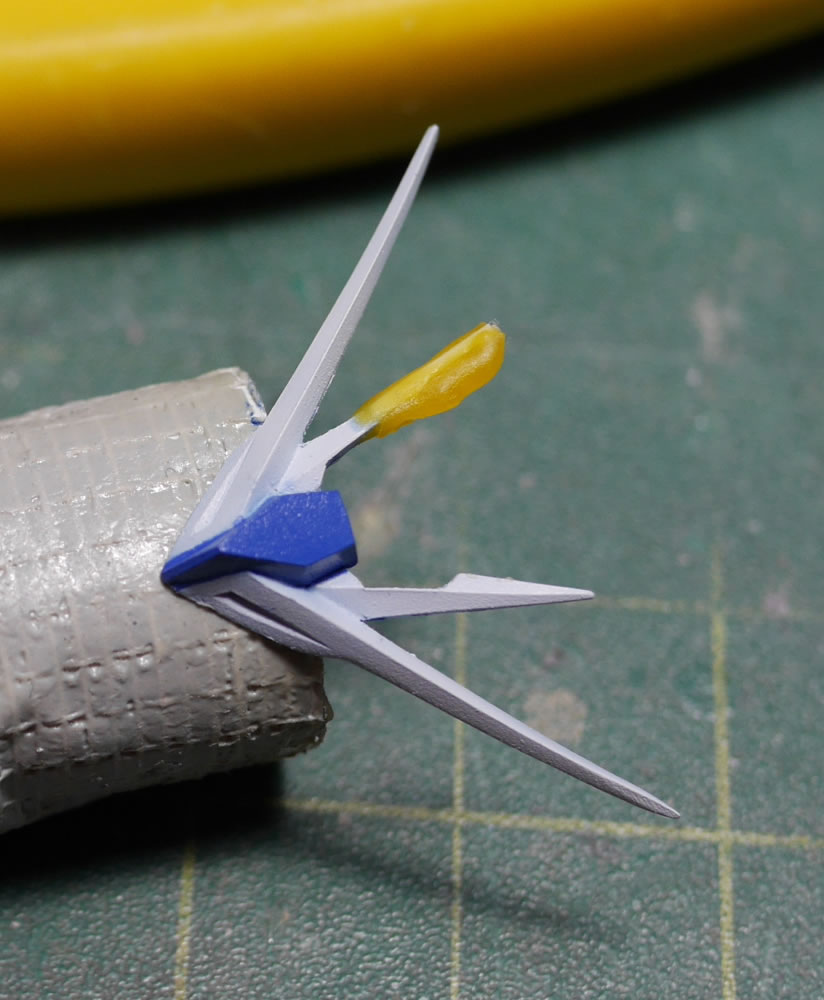
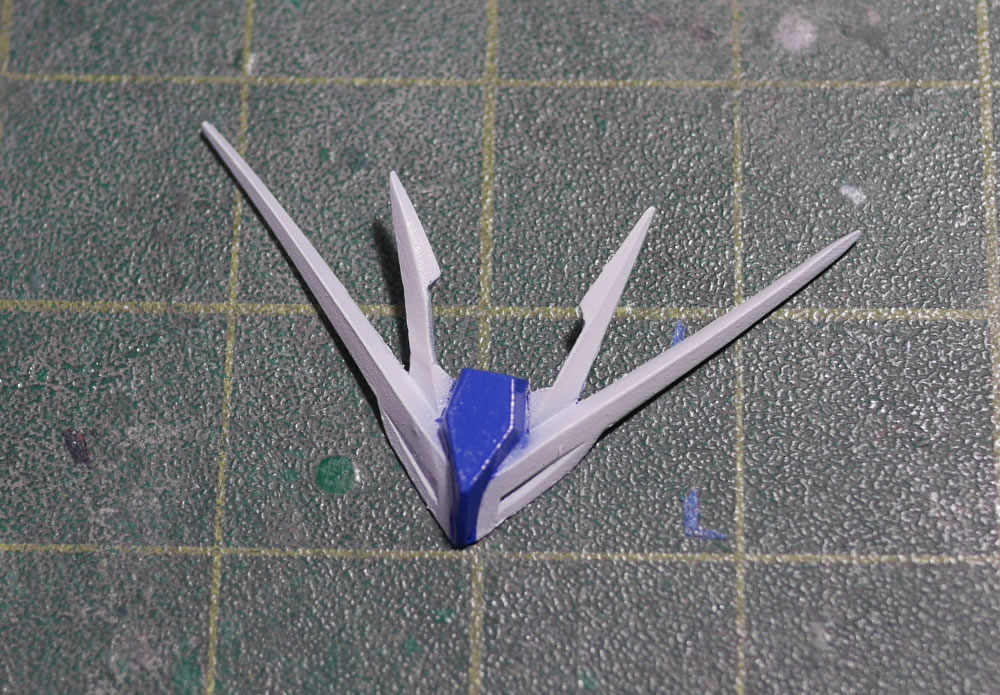
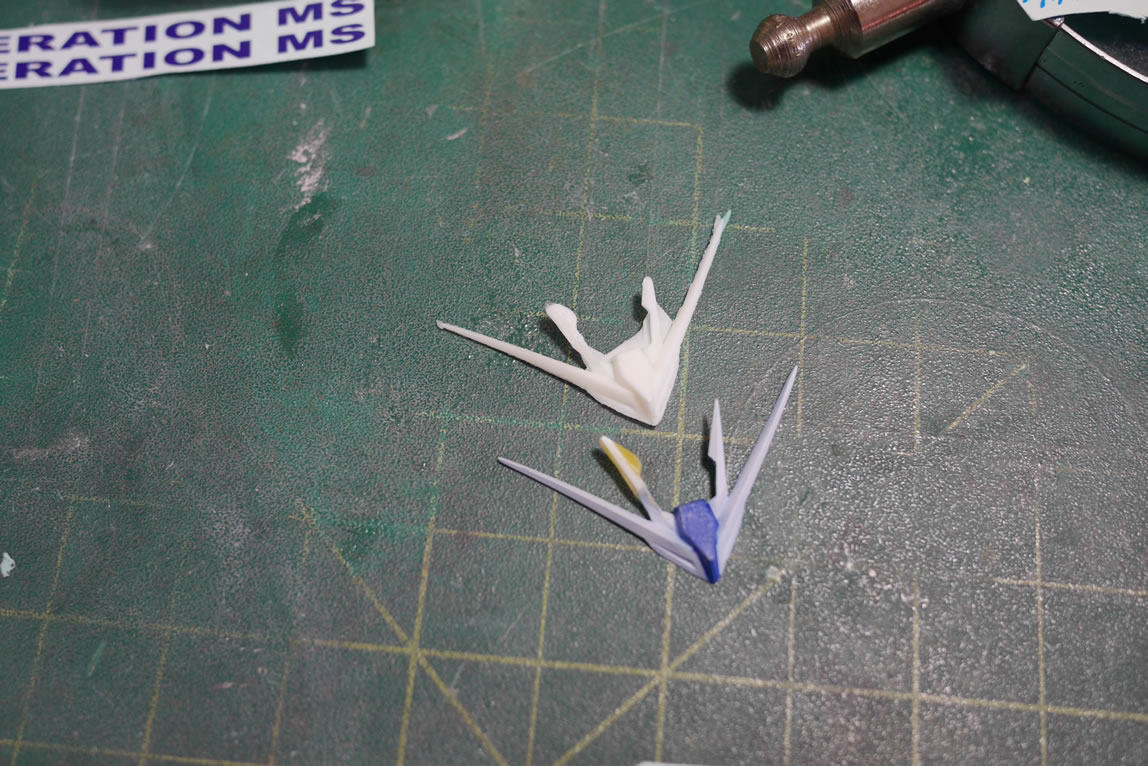
Moving on. Since I did not find the part. I wasn’t going to further stoke my anger by attempting to tear apart my workshop area to find the broken piece. I need to rebuild this from scratch. I could drill a small hole, add in some wire, and then build around the part. BUT, this fin piece was really too thin for anything useful. It’s not load bearing, so I can ignore the need to strength. The yellow stuff below is light curing putty. The styrene structure is just that; structure for the putty. I could have just as easily slapped on more putty, but there’s no structure. It is cheaper to use styrene over that much putty anyways.
The light curing putty was added in two stages. The first initial glob is cured then an additional glob is added since the v-fin piece has some detail and isn’t just a straight fin piece. Why make things easy and break off a straight piece of a fin… I should only break off the detailed fin.
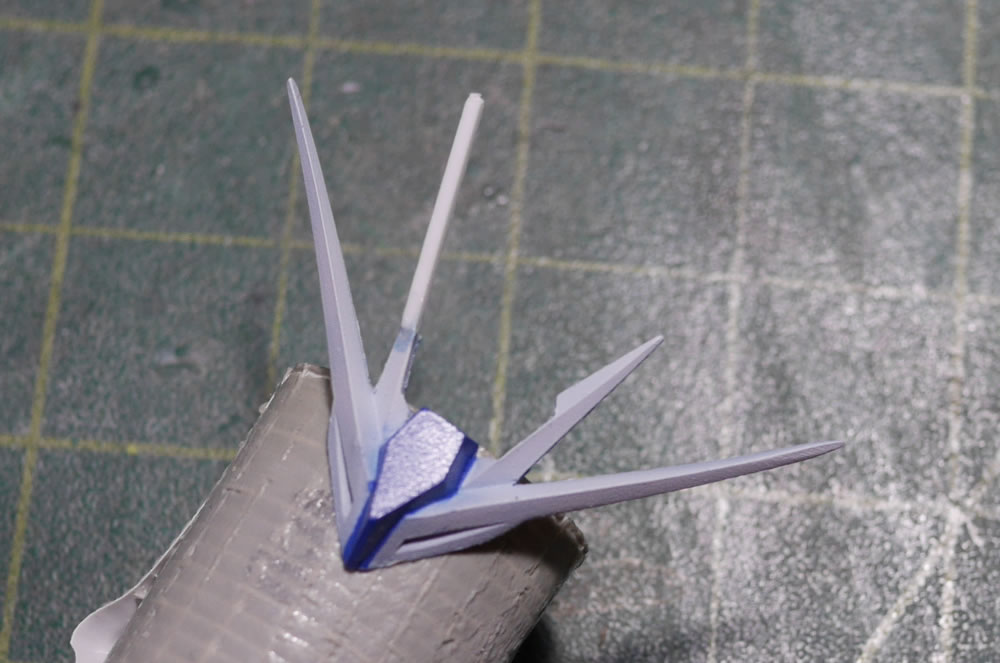
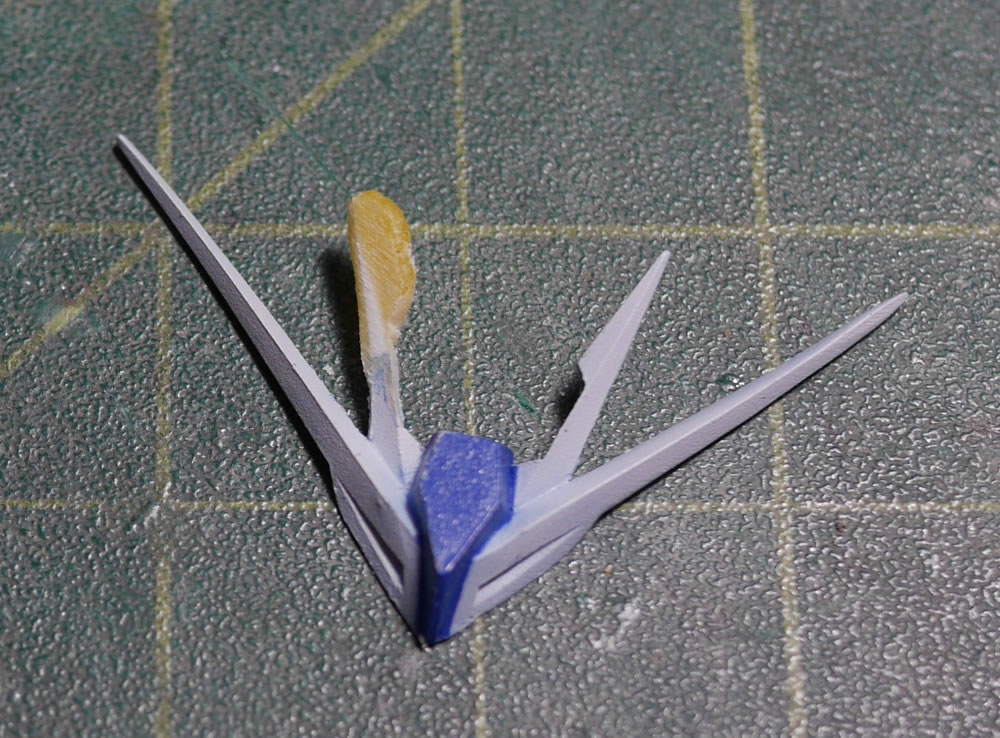
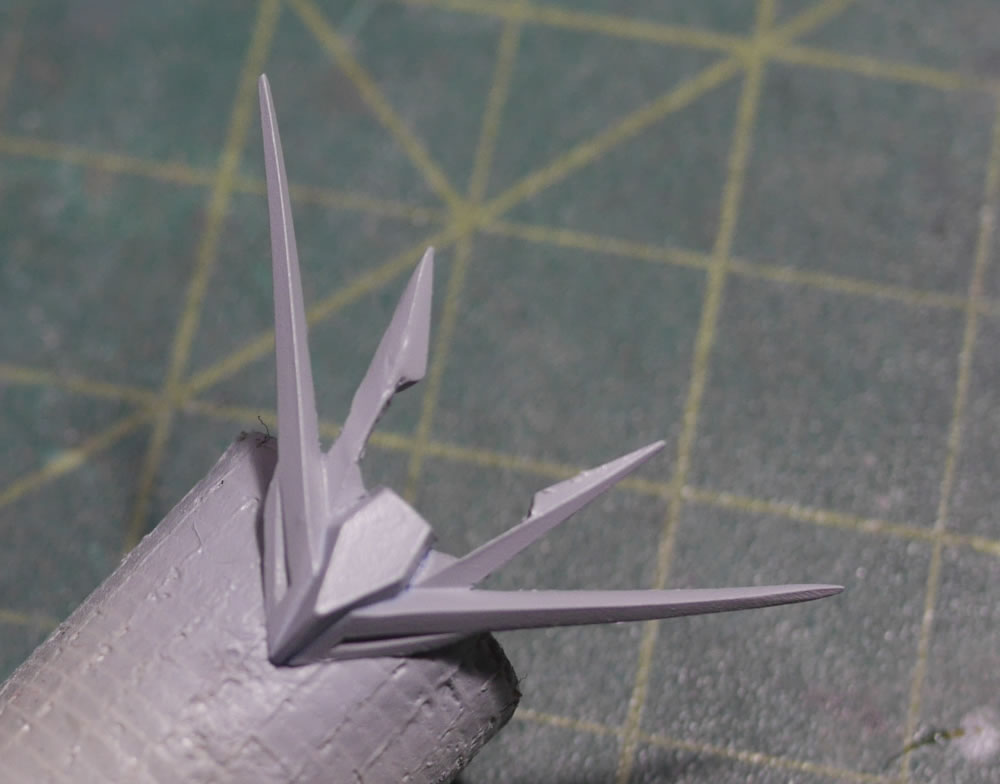
Putty is applied and now for the VERY careful sanding down to get the right shape. I did some measuring and using metal files as well as sanding sticks, I start getting a rough shape. And it is in the middle of this sanding process that the original styrene glue bond broke. I used CA glue and also made a mold – I will elaborate later in this post on that.
Regardless, the CA bond held and I continued to carefully sand and shape the fin. This is a slow and fairly precise process, so TAKE YOUR FUCKING TIME! Or you just may end up breaking. Enjoy the time spend fixing your fuck up. It’s part of model building. You’re going to fuck up. End of story. Scream your obscenities and when you calm down, get to work and fix it.
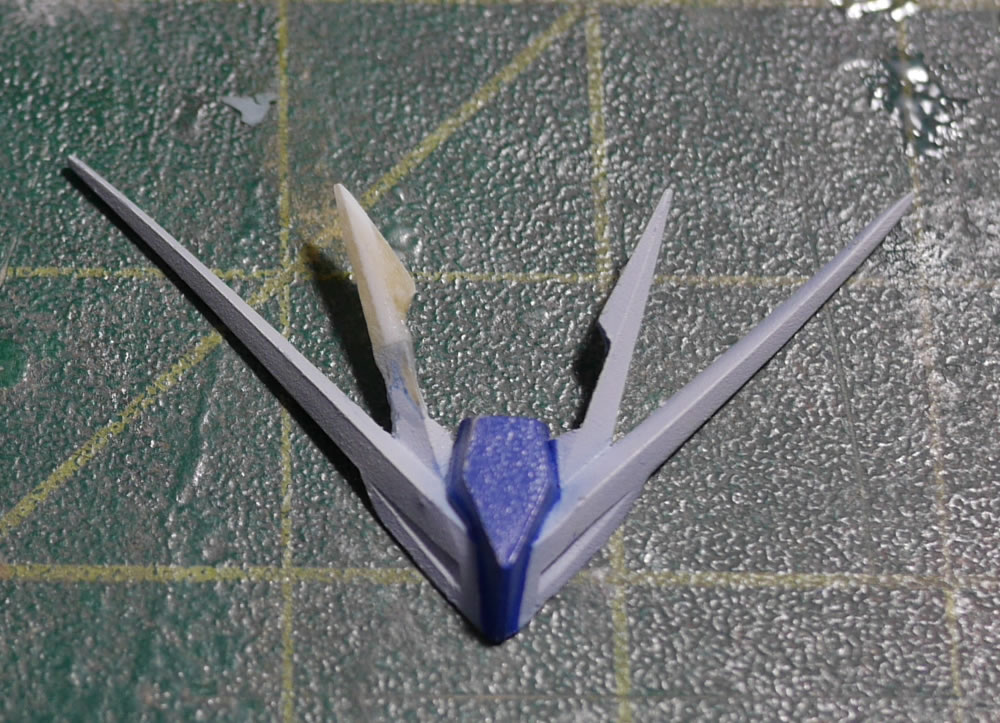
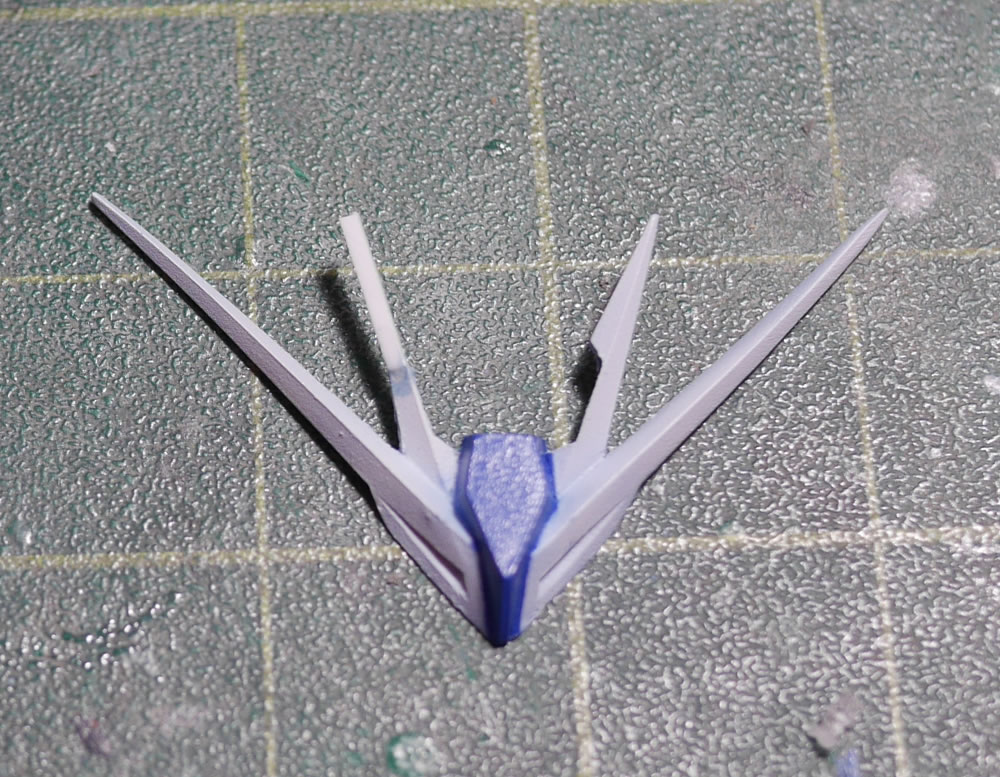
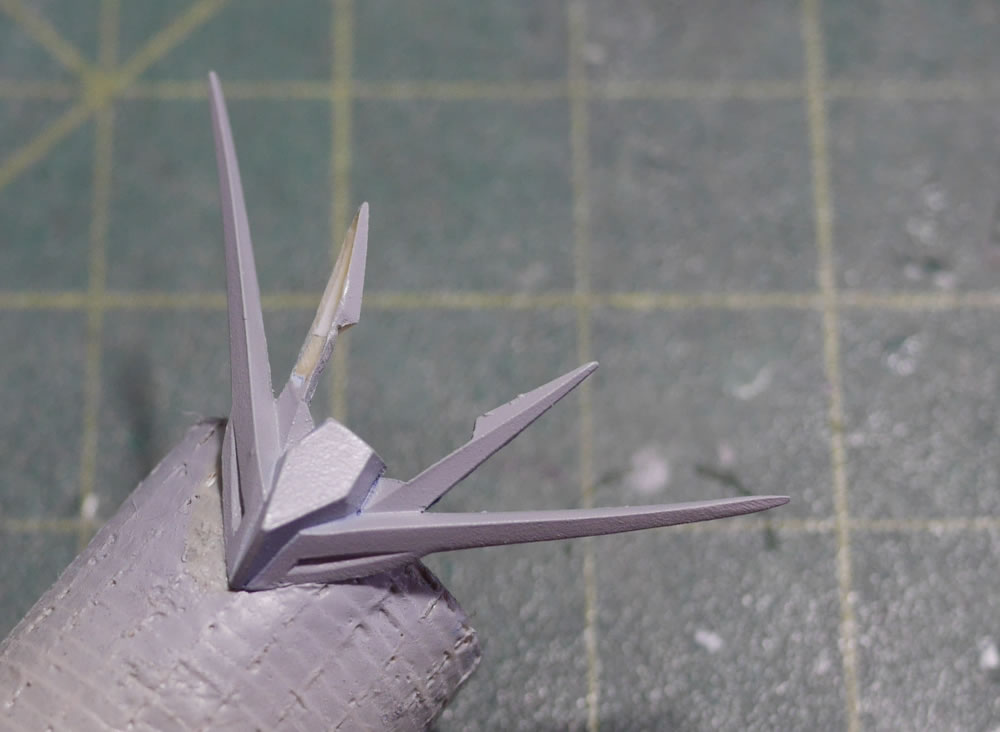
Eventually, the part takes decent shape that to truly check the part; prime it. And of course, it’s not a perfect fix right out of the gate.
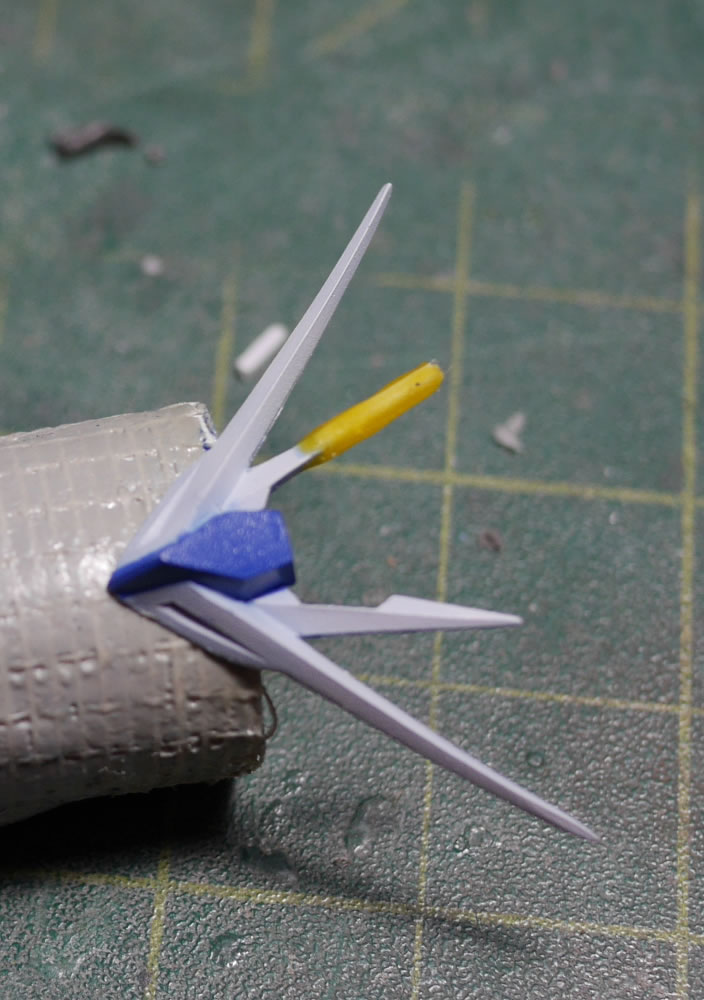
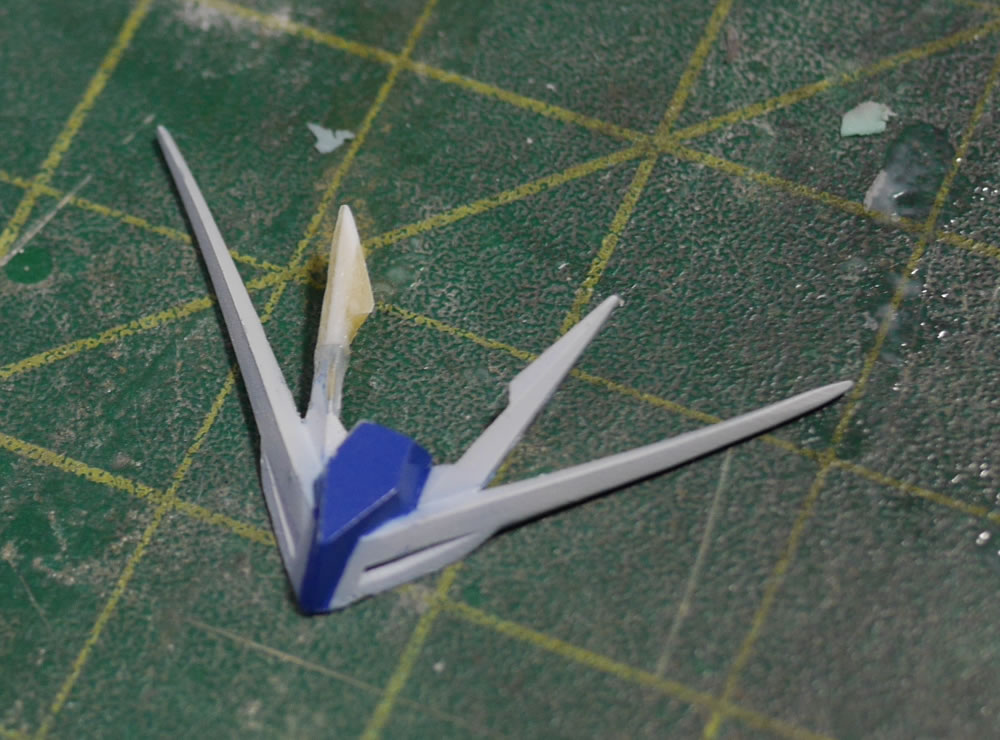
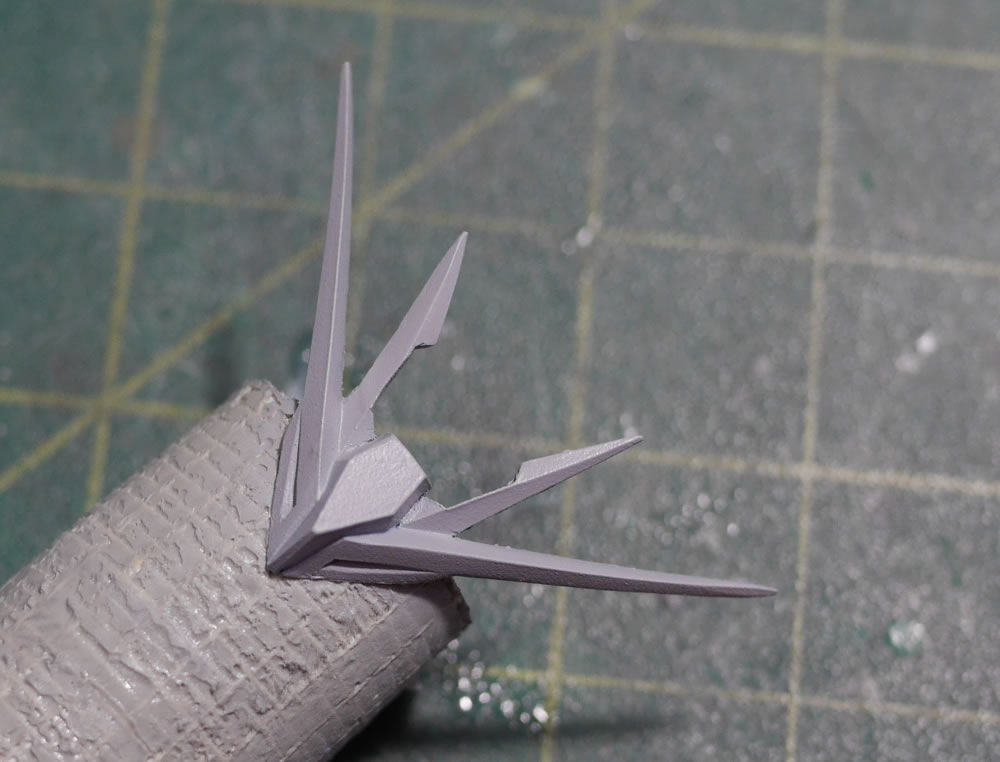
A few more rounds of sanding, measuring, and before long, I’ve got a primed part that looks pretty damn close to the original. And getting it painted is the easy part. Done.
Now earlier when the styrene glue bond broke; I went and used CA glue. When the CA glue cured, I got out the mold making materials and made a two part silicone mold of the roughly shaped fix-in-progress part. This way, if the CA glue bond breaks, I can make a solid resin copy, and work on that.
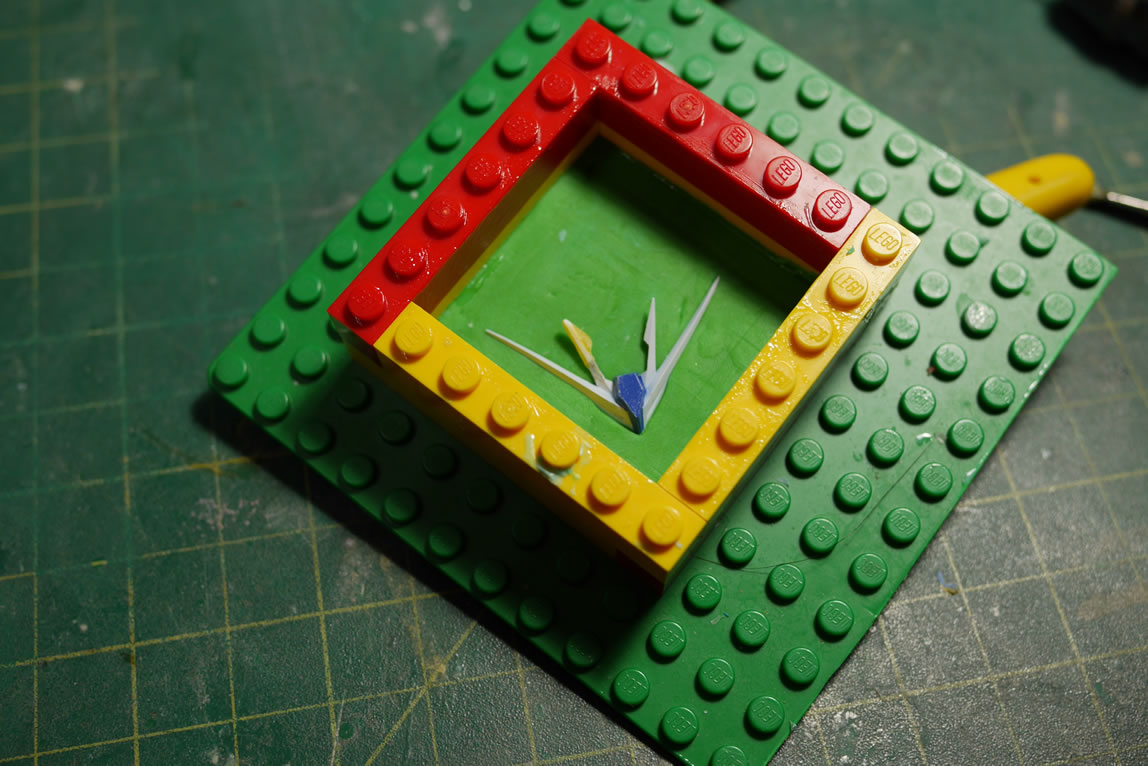
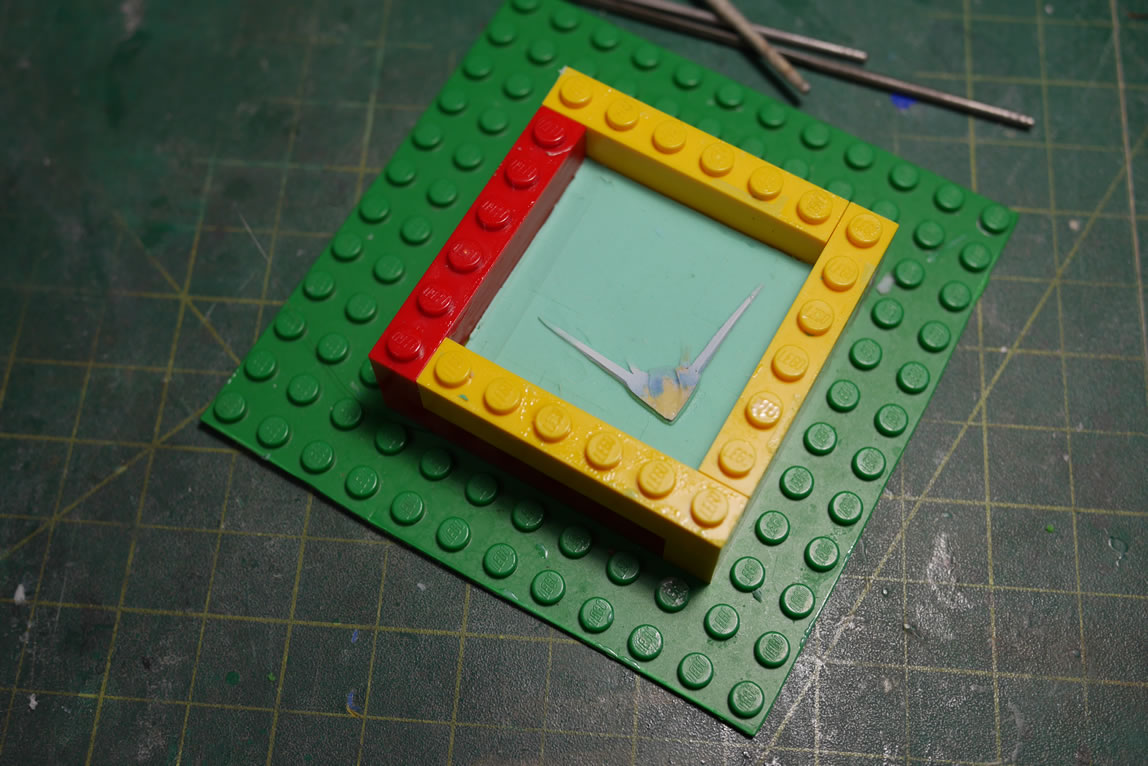
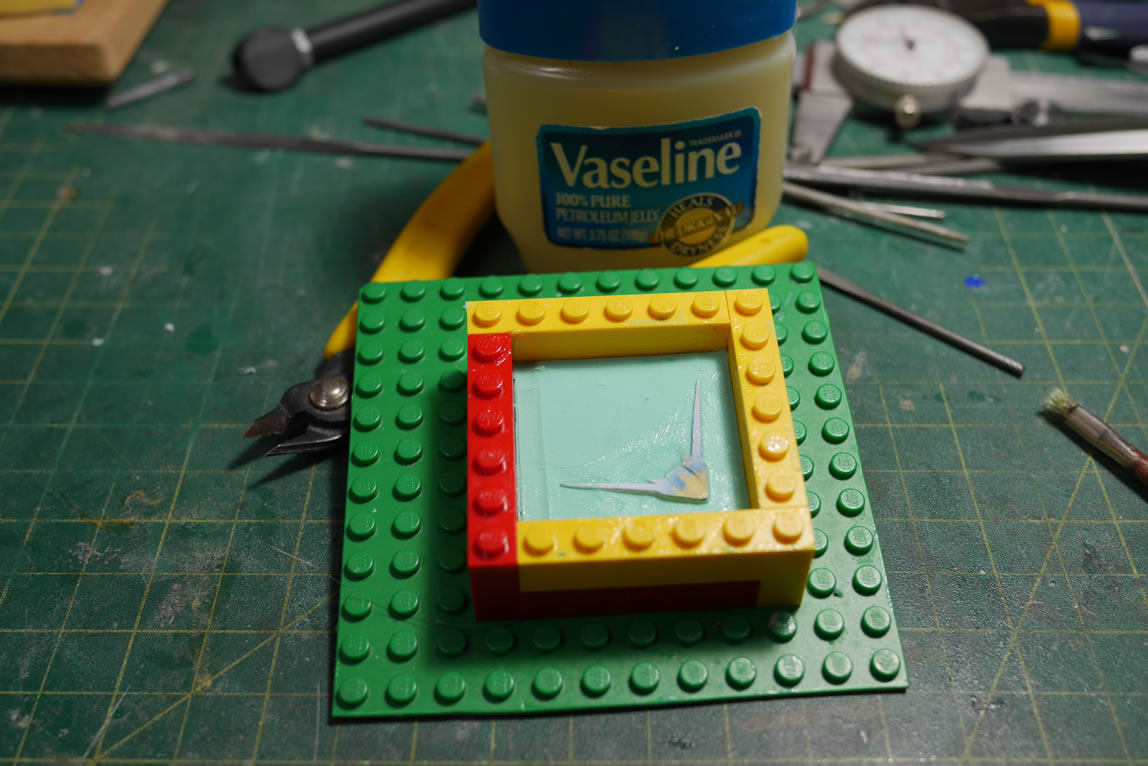
I made a resin copy as a backup if I ran into problems trying to fix the original piece. This whole section is completely moot, because I was able to fix the original part without another break in the middle of reshaping the new fin piece. But I took the time to make a mold, so why waste those pictures.

So how do you fix a broken v-fin? Glue, sanding, maybe some styrene, and maybe some putty – but TONS of patience.
“So how do you fix a broken v-fin? Glue, sanding, maybe some styrene, and maybe some putty – but TONS of patience.”
And swearing, don’t forget swearing.
More swearing… because I ended up breaking it… AGAIN… *sigh* but it’s fix now… again… at least until the next time I look at it and it’ll break…
Kinda new to the hobby and ended up breaking a PG Strike Rouge V-fin, thought it’d be a good time to learn some extra things, but can I ask what you mean by Styrene as silly as it sounds?
Styrene is plastic. At local hobby shops, they sell strips of it – usually white in color, and in all sorts of shapes and sizes. So when I glue a strip of styrene to the head, I’m just gluing a piece of plastic. The plastic cement works on styrene plastic (bandai plastic is basically colored styrene) basically bonding the parts together. Ask all the questions you can; we’re here to help!