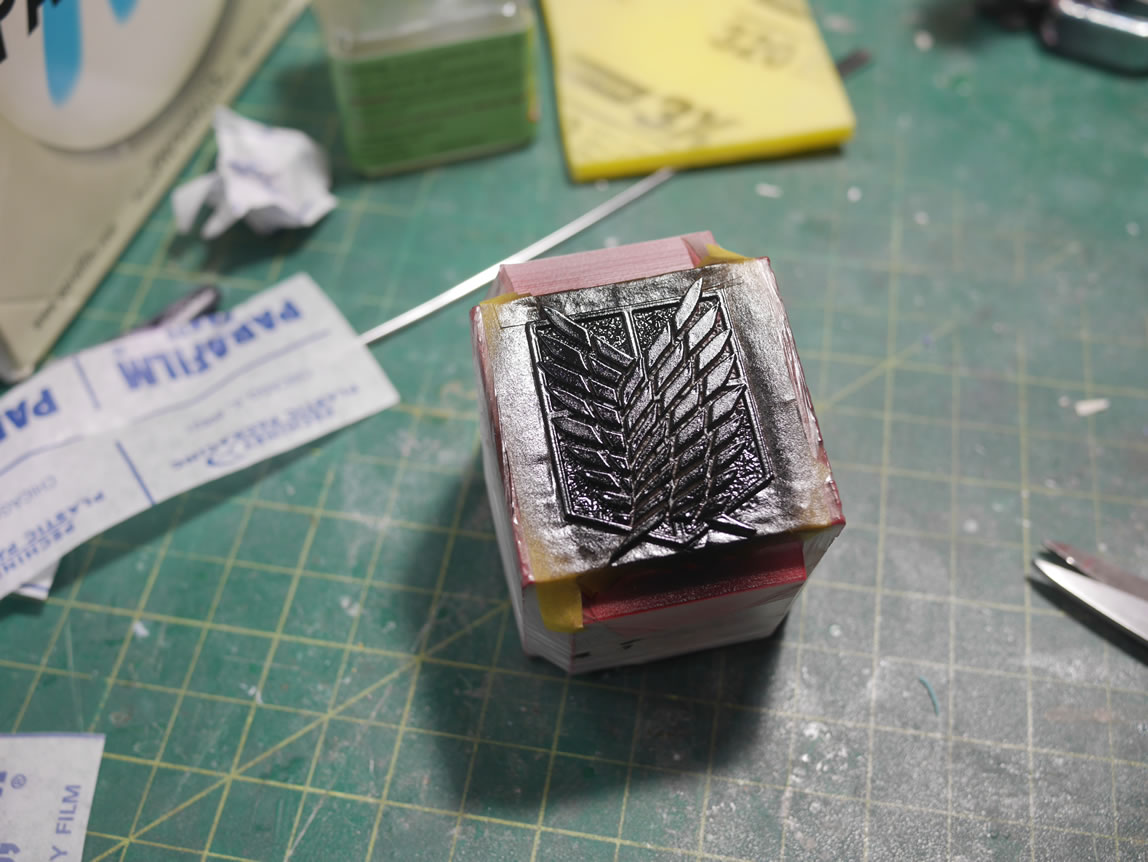
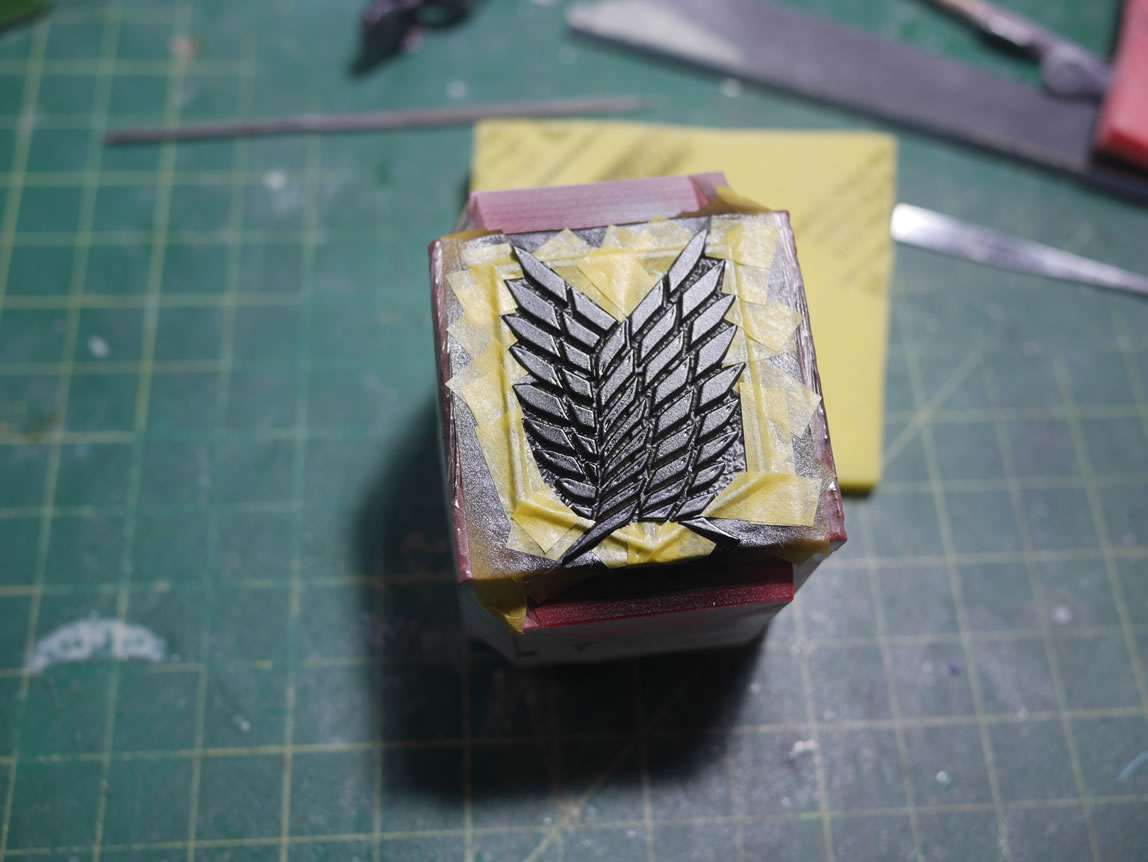
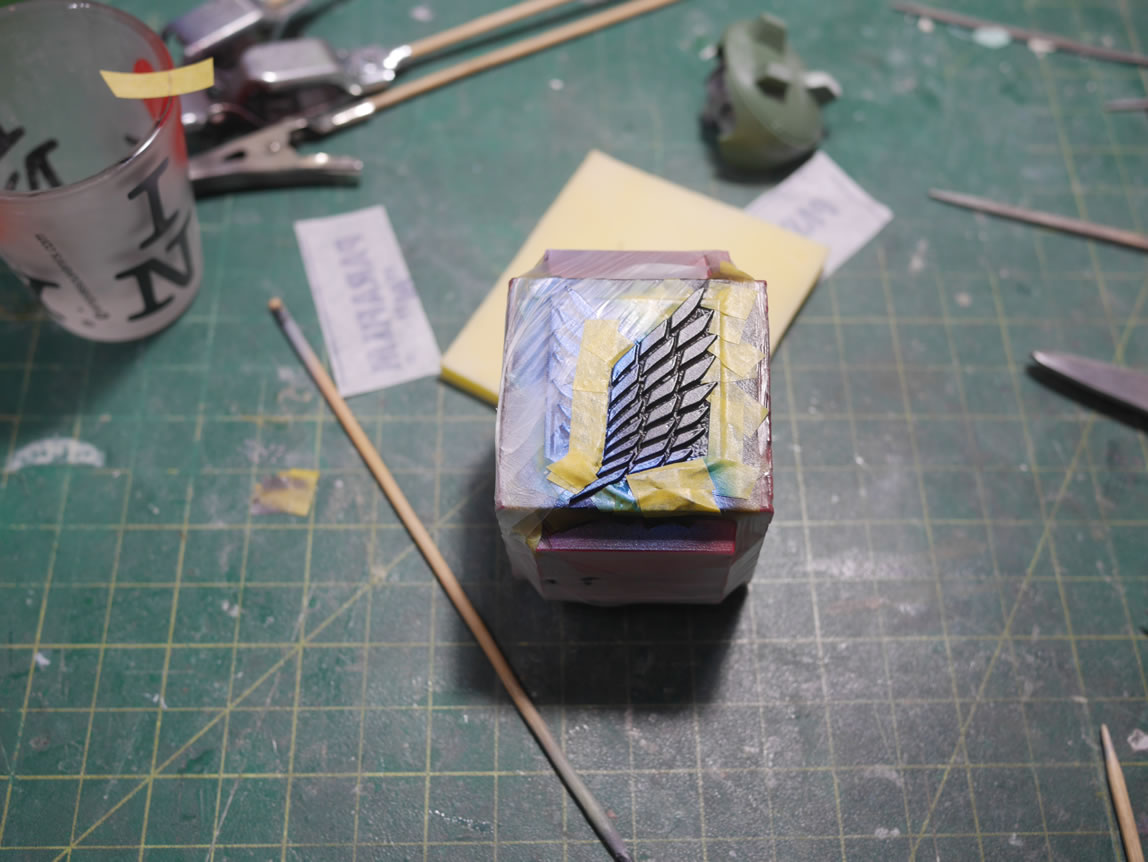
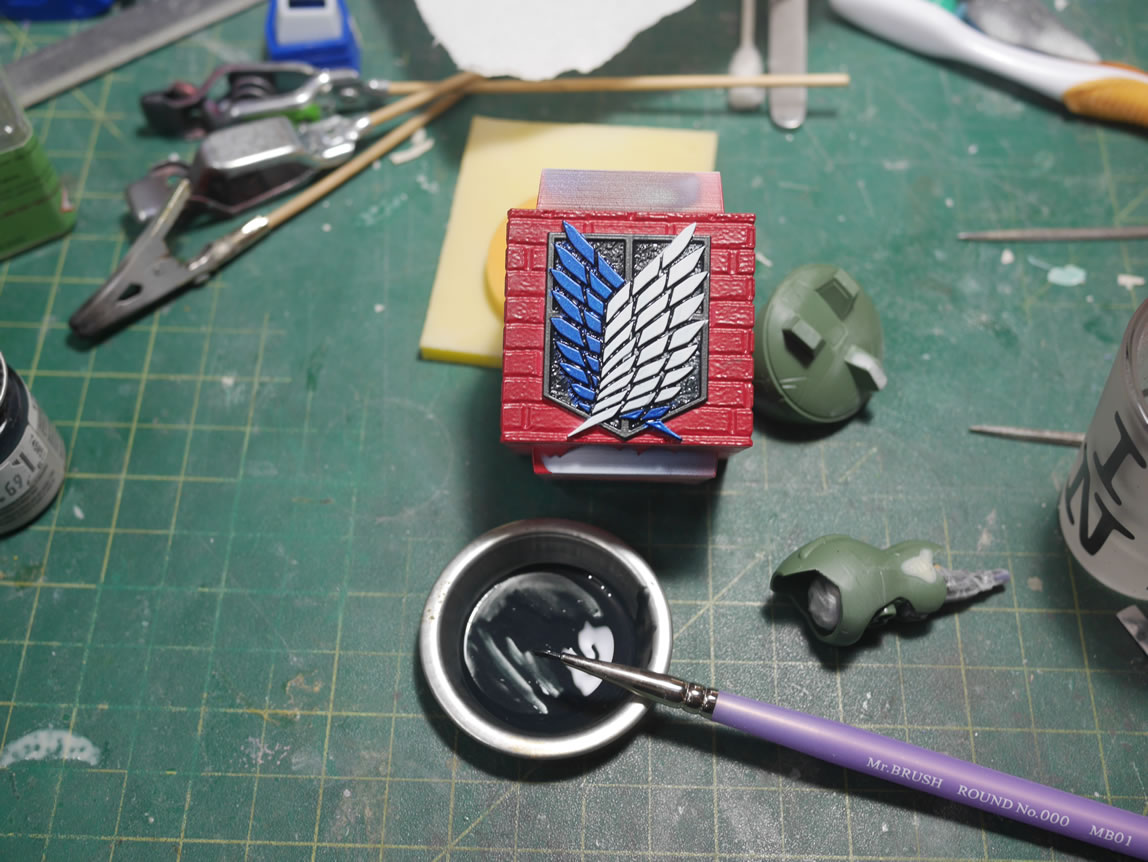
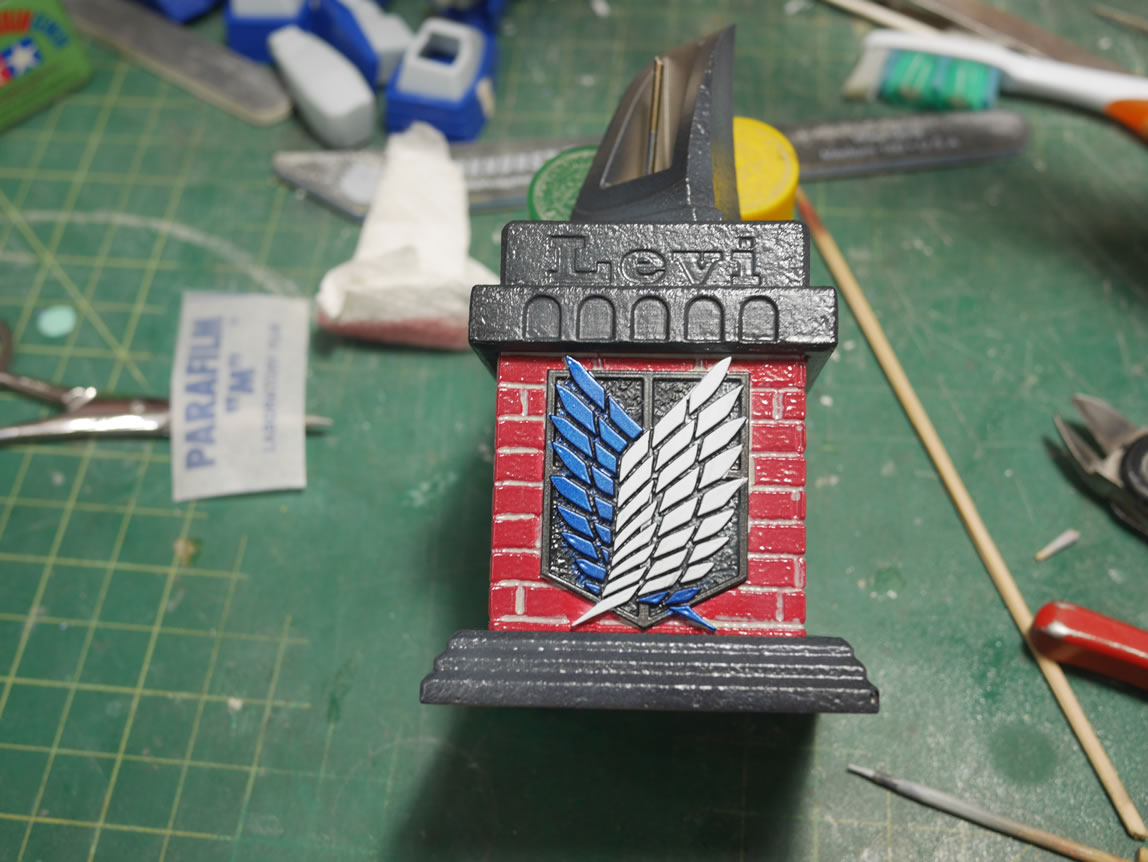
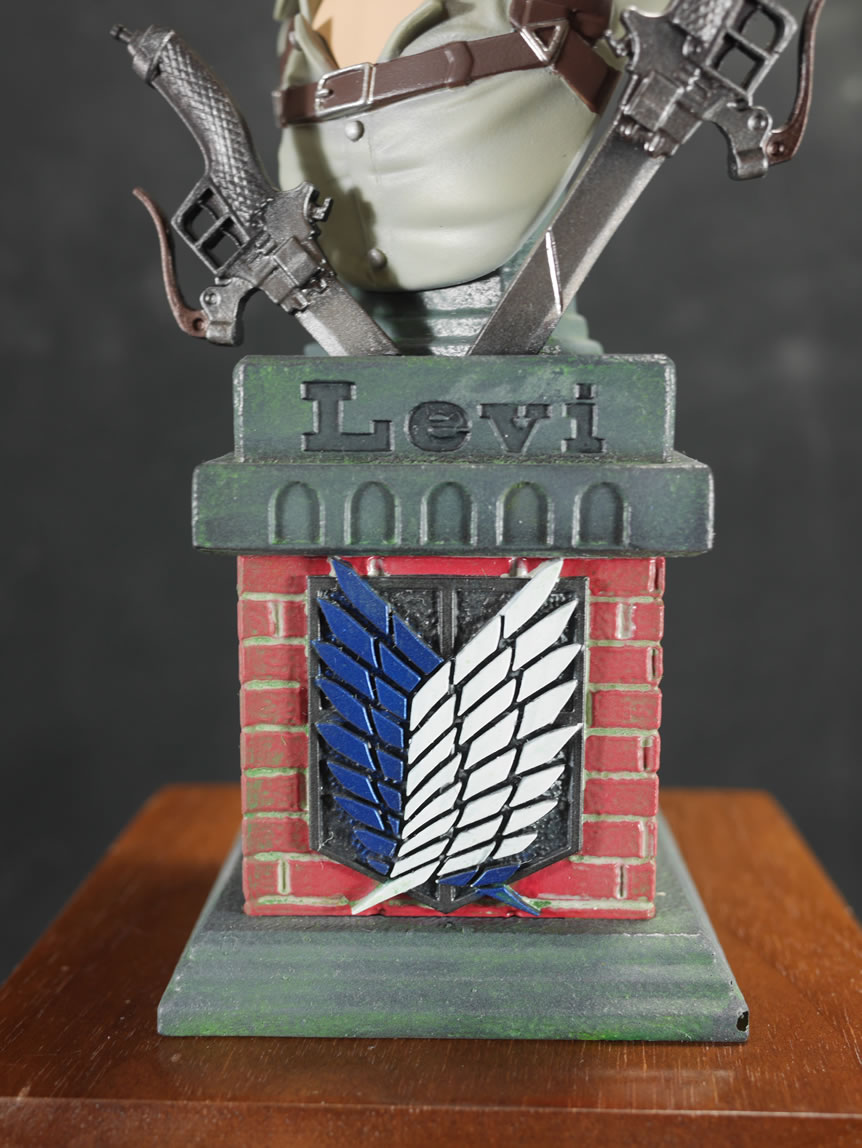
This has been a very productive weekend. Granted I was working on both kits for a while and I did start this kit a while ago and worked on it on and off over the past year, but nothing significant until I moved to the new house. Last week’s post showed some decent progress and during the downtime from the Gusion work, I focused on this, and vice versa. The box art shows the base as done in a single grey color. Almost like a tombstone. I didn’t care for it and thought it would look nicer with the Survey Corps logo painted up. As usual, I always start with the lowest surface level, which was the brick. It was also the largest surface area, so that was painted with a dark red that looked as close to your standard red brick as my colorblind eyes could see. Once that dried, it was masked off and gloss black painted for the emblem proper. Once the black cured, the emblem’s borders were painted with alclad steel.
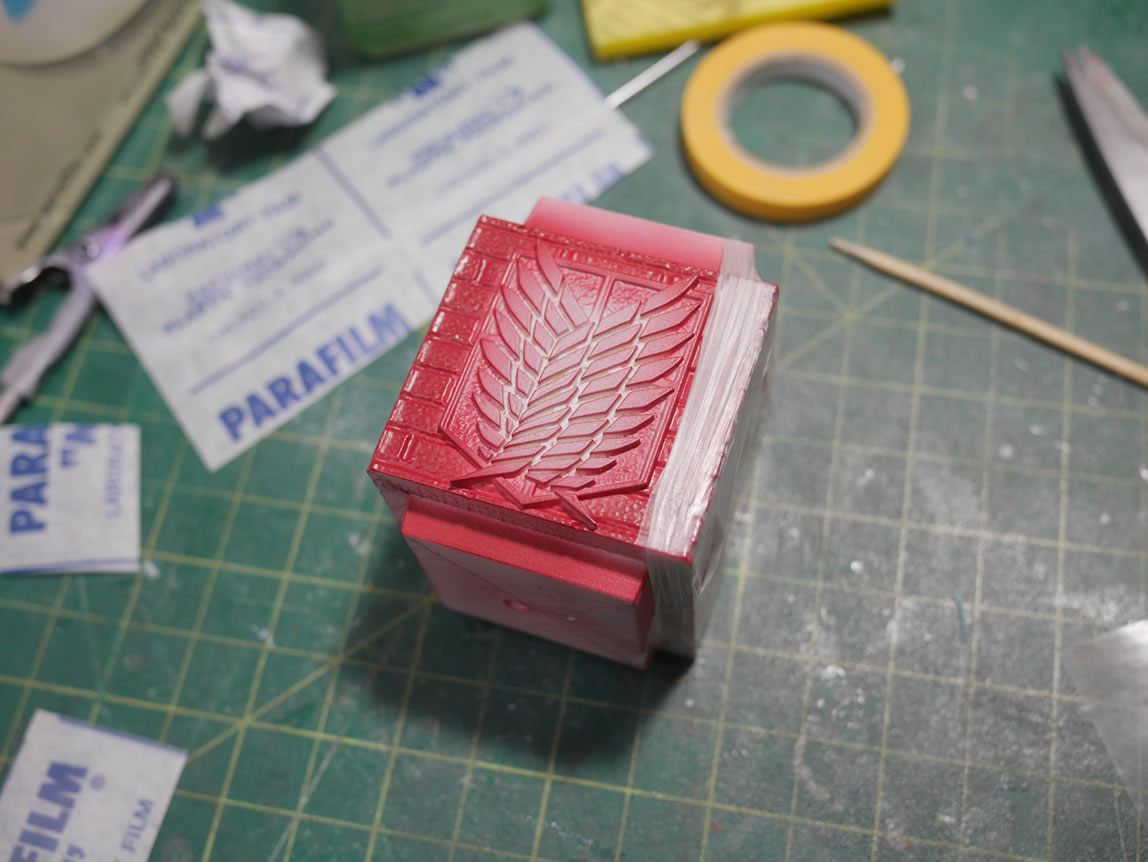

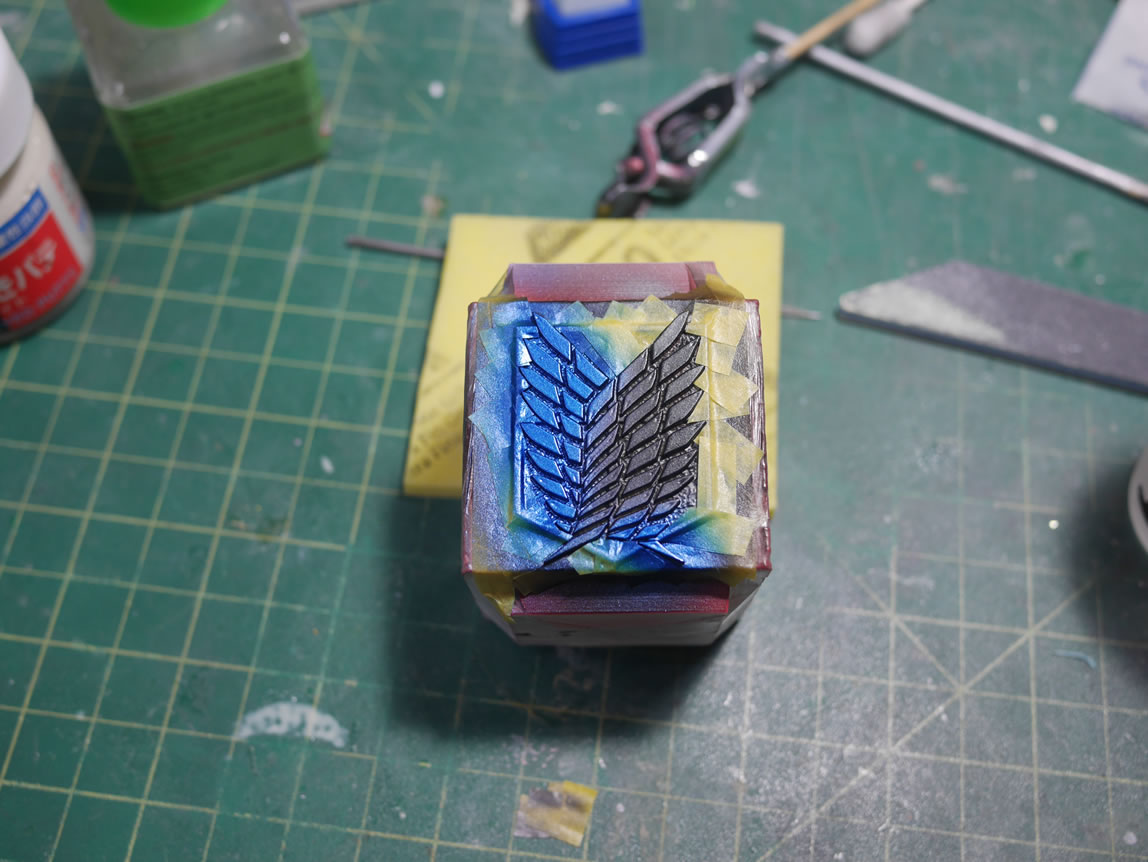
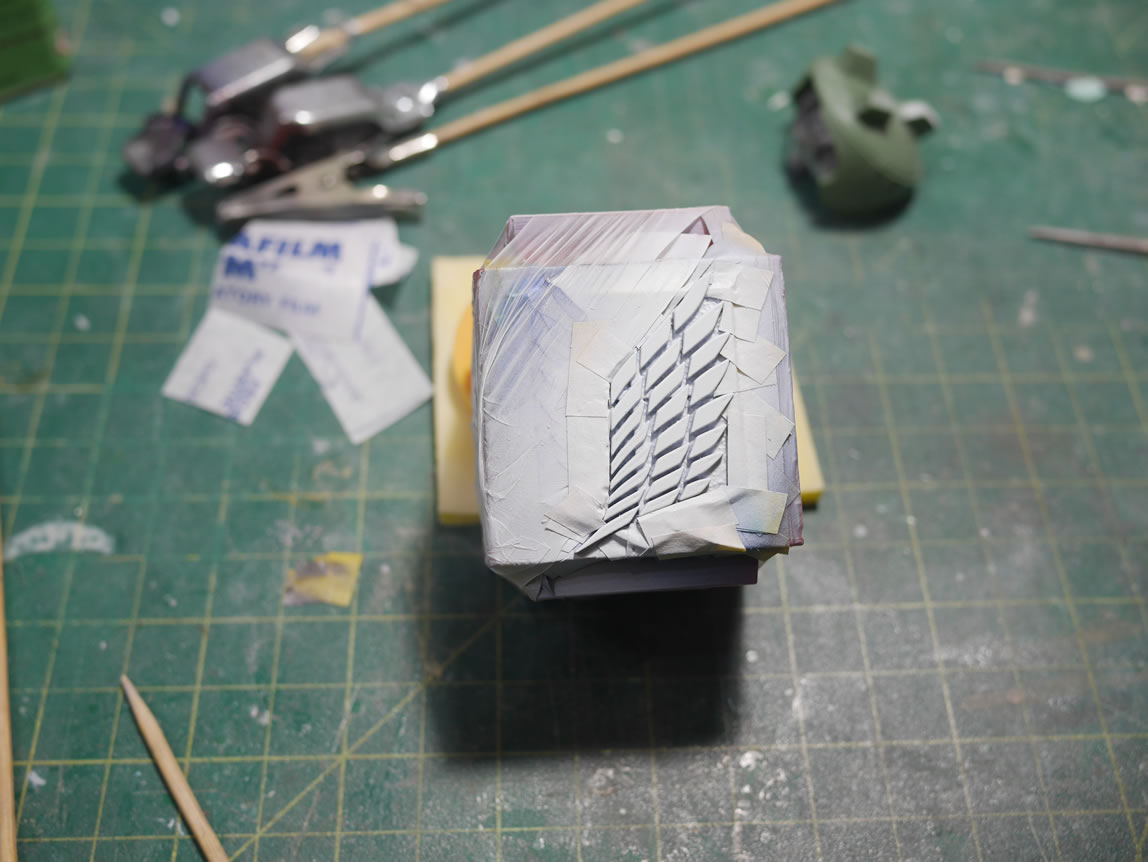
Once that cured, the metallic border was masked off and I looked through my box of blue paint and focused on the bottle of Subaru World Rally automotive touch up paint code 02C. Spraying it on, there’s a slight metallic look to the finish and it just looked damn good to me. So good, that this changed my paint scheming ideas for the Gusion. Back to the lego part, the blue wing area is masked off and white painted for the other side. Again, dry, mask, paint – repeat.
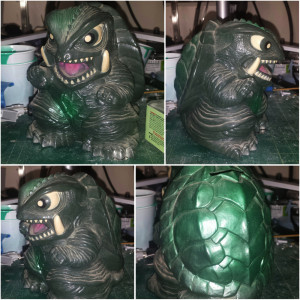
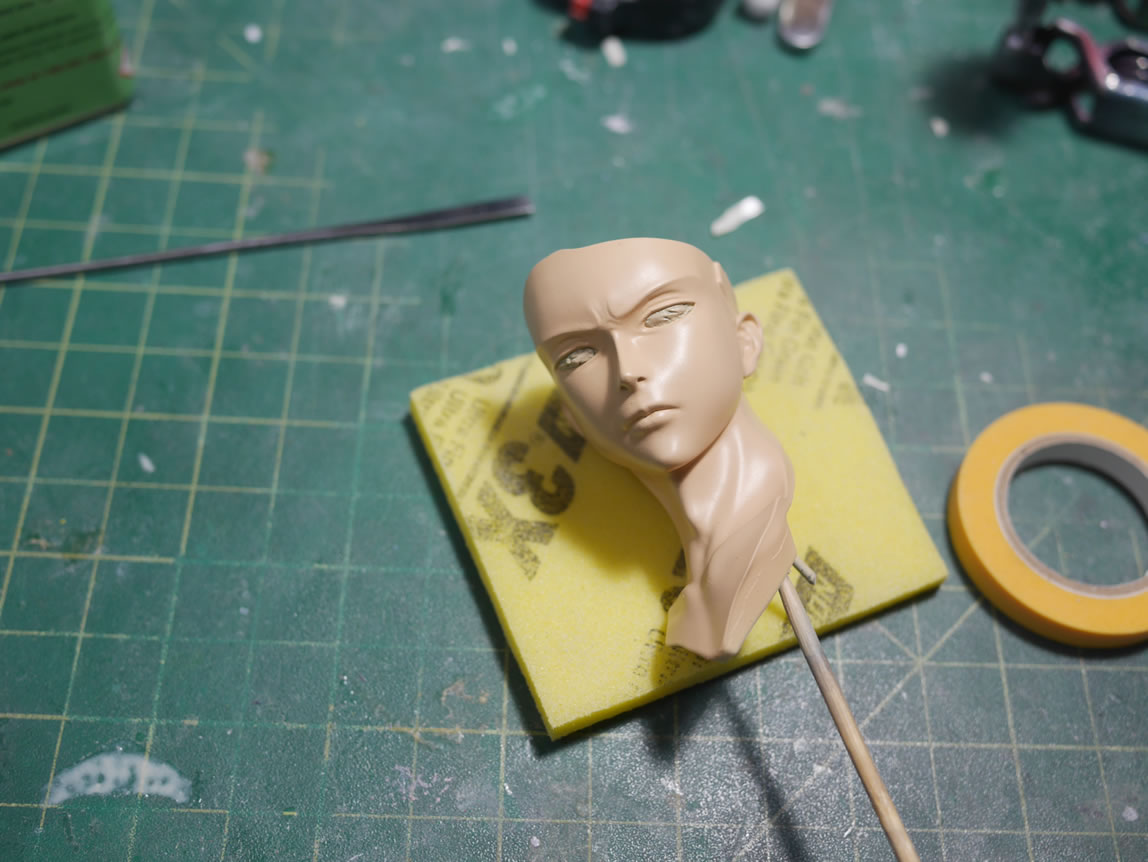
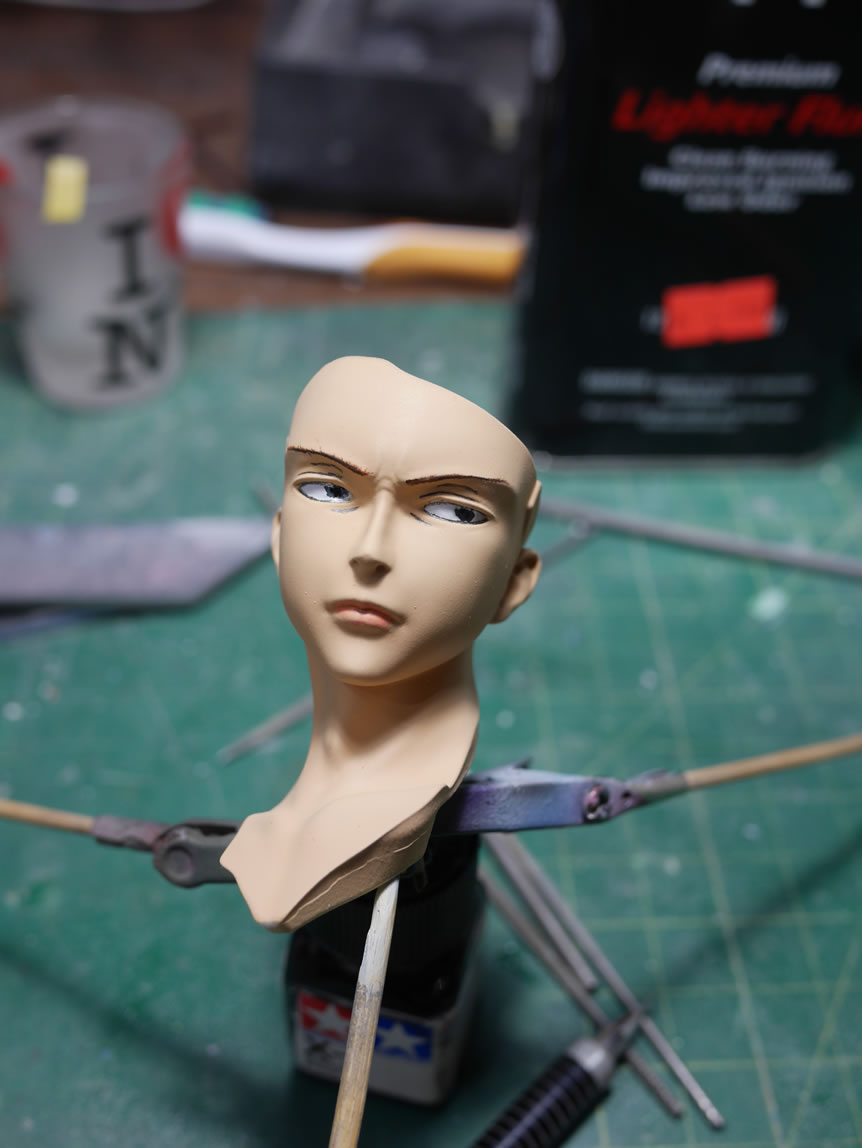
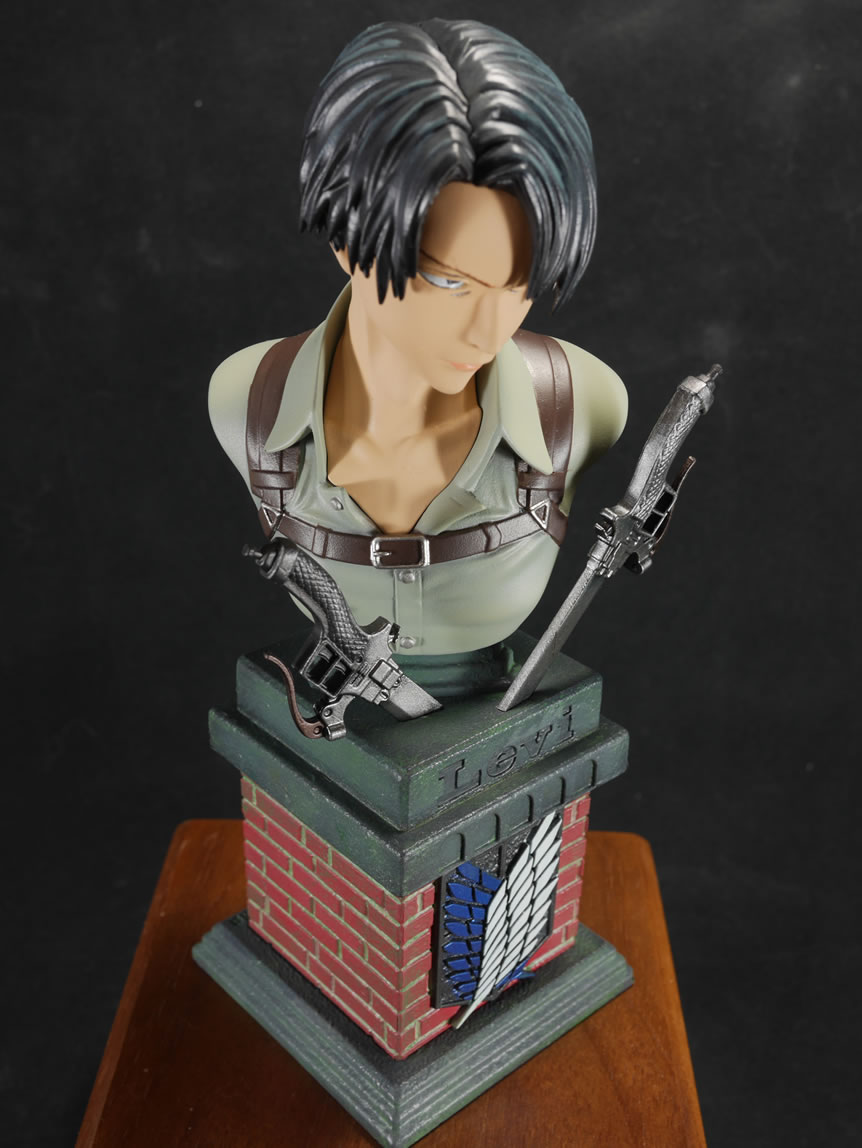
During the downtimes between layers of paint, I got the main skin tone painted and highlighted. I also flipped back to the Gusion and actually finished that sucker faster because I was just avoiding the eye work. The skin was first painted in white to neutralize the grey primer color, then the eyes were masked off with sticky tack. And after the skin tone and highlights, focus went back to the Gusion and other elements of the Levi kit.
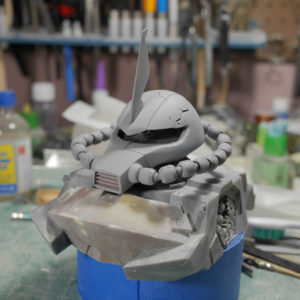
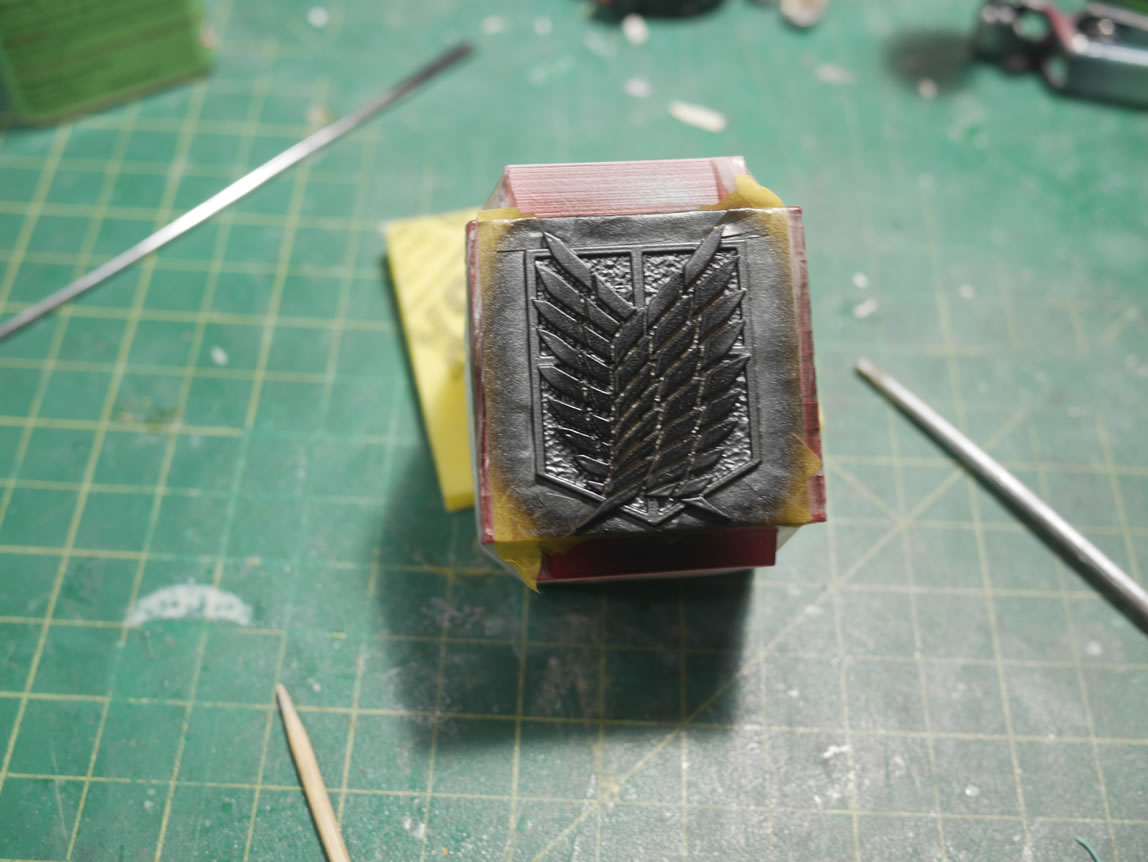
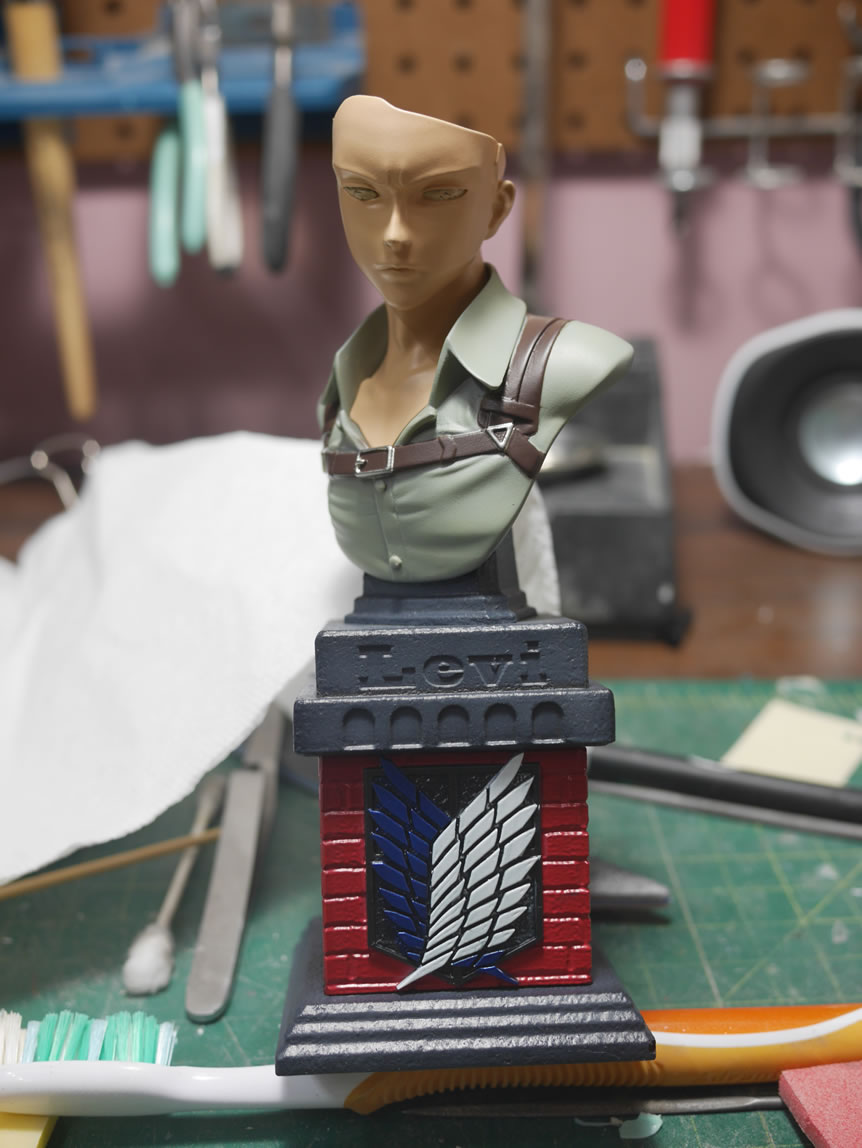
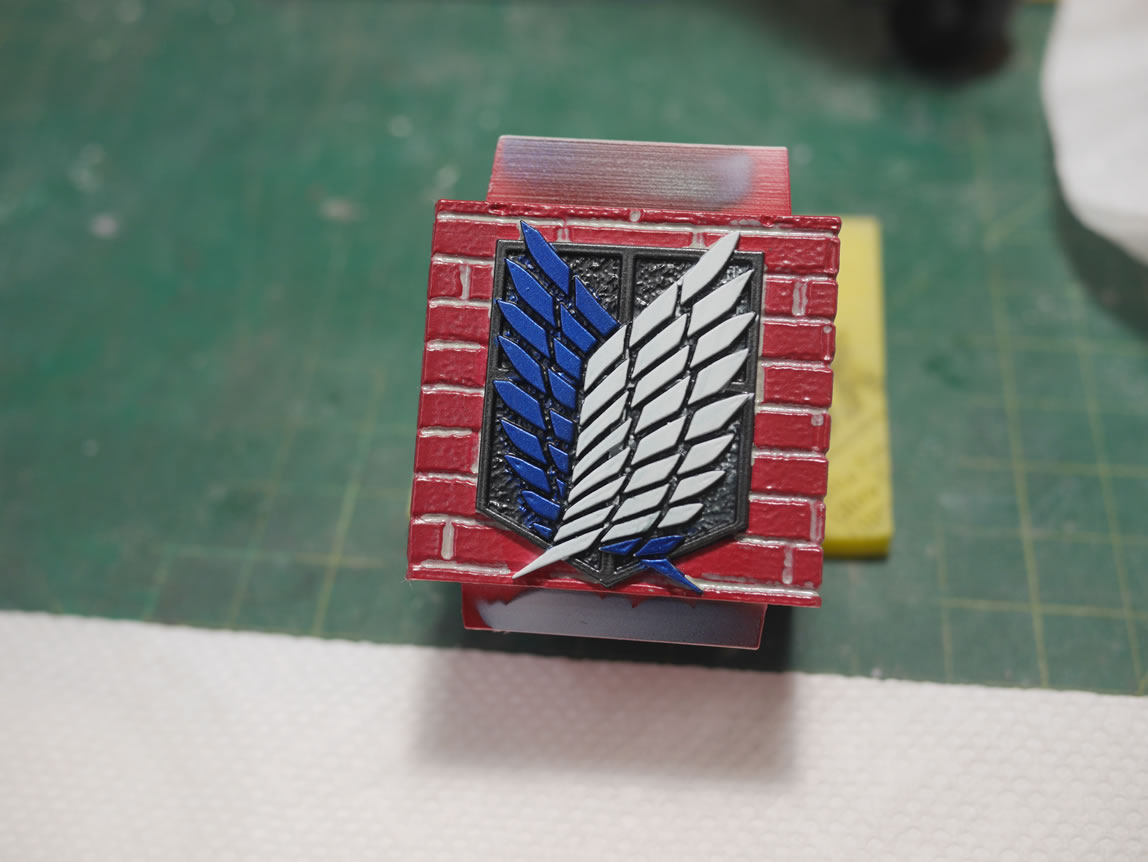
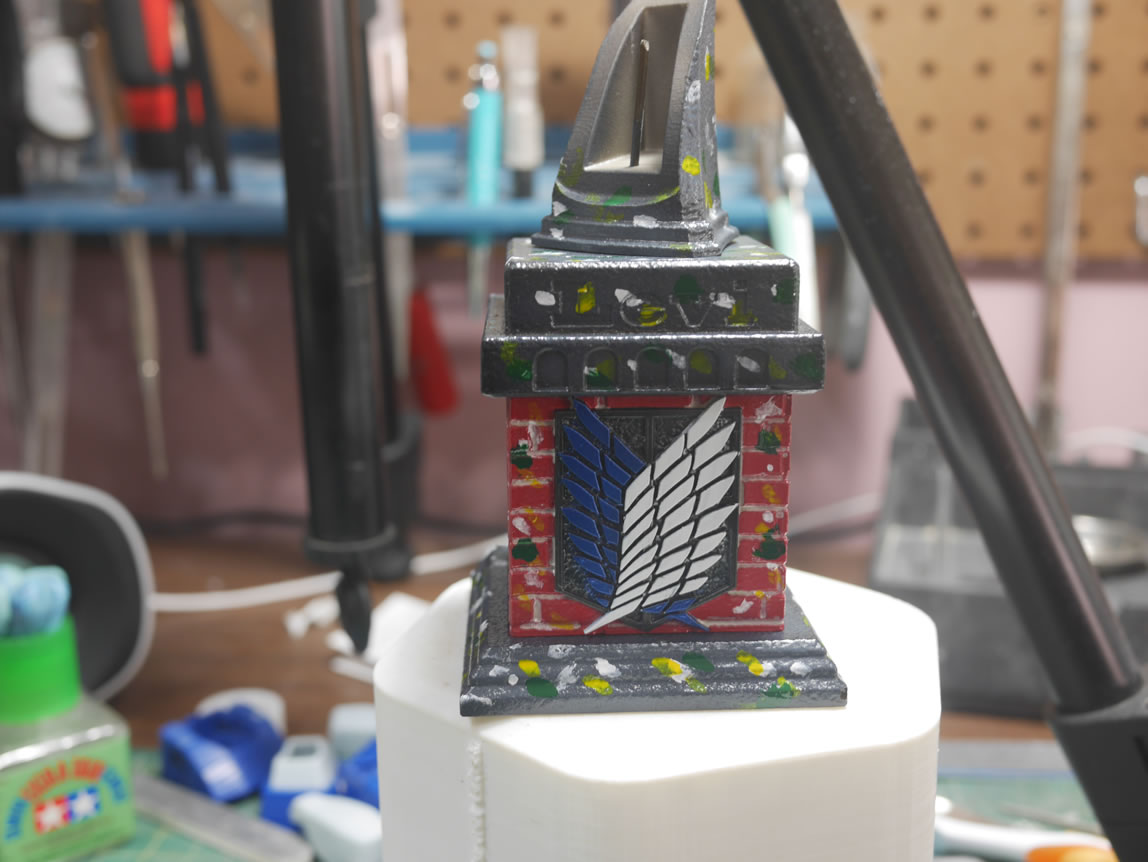
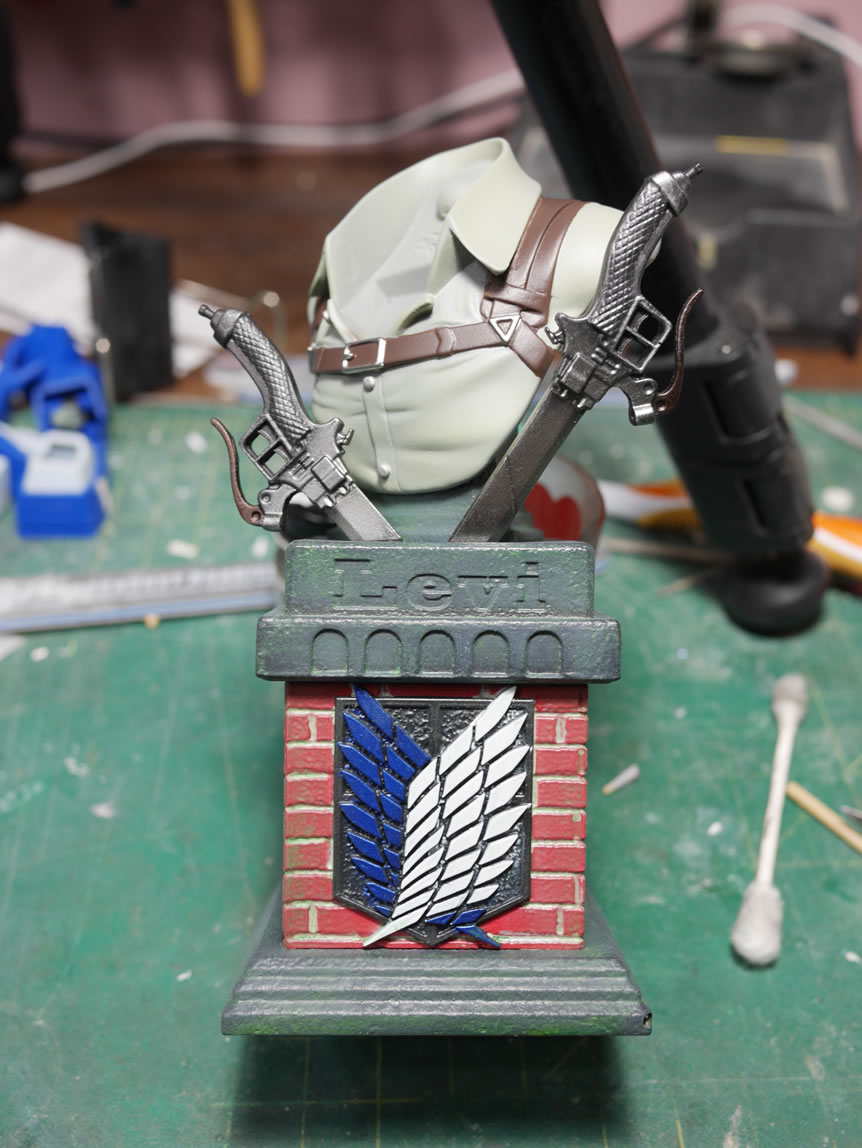
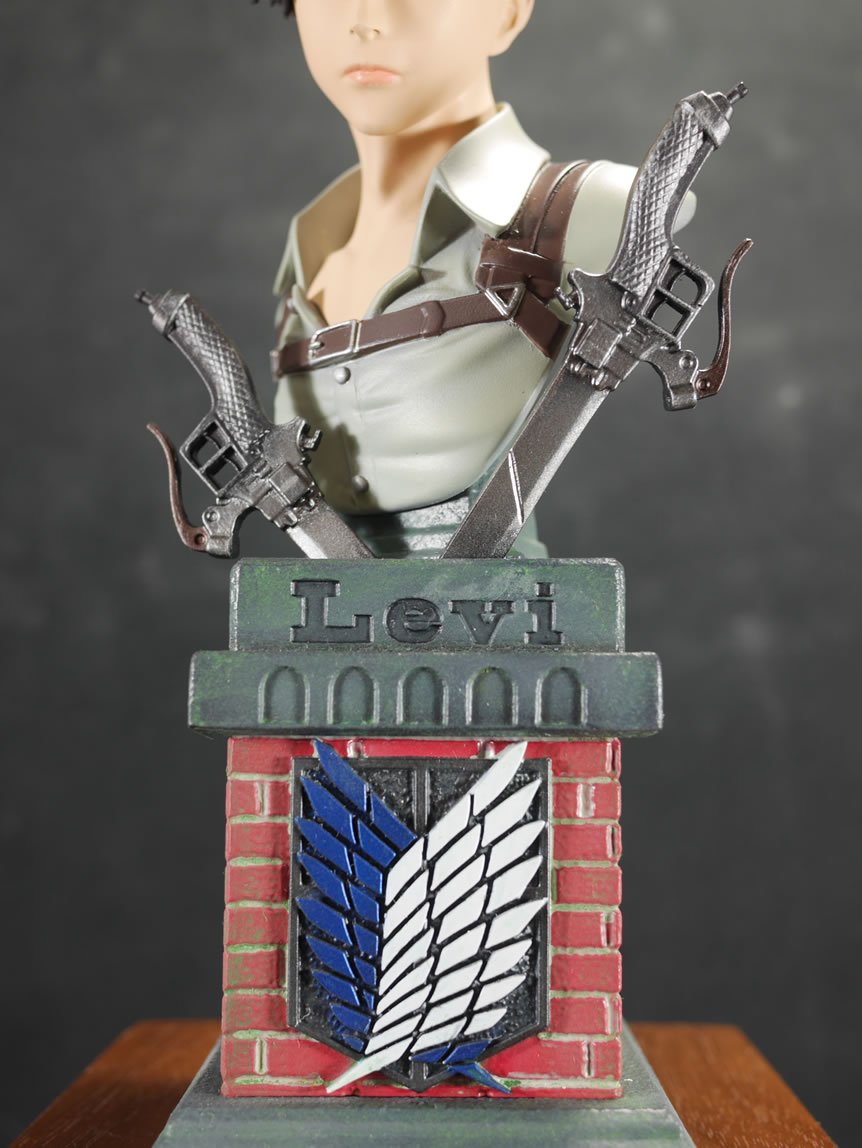
Returning back to the base, the wing masking is unmasked but the lower areas for the wings are blue and white. I could have spent the time to mask off the lower areas before painting the wing details; but I figured an enamel wash with a dark metallic grey would work best. So I have the before and after wash picture. The wings really start to stand out after the wash. I did a test picture with the other components of the bust. I had gotten the main body painted using the same paint, mask, paint as with everything else with the resin kit. The bricks needed some enhancement as well, so a Light grey wash was done for the mortar areas between the bricks.
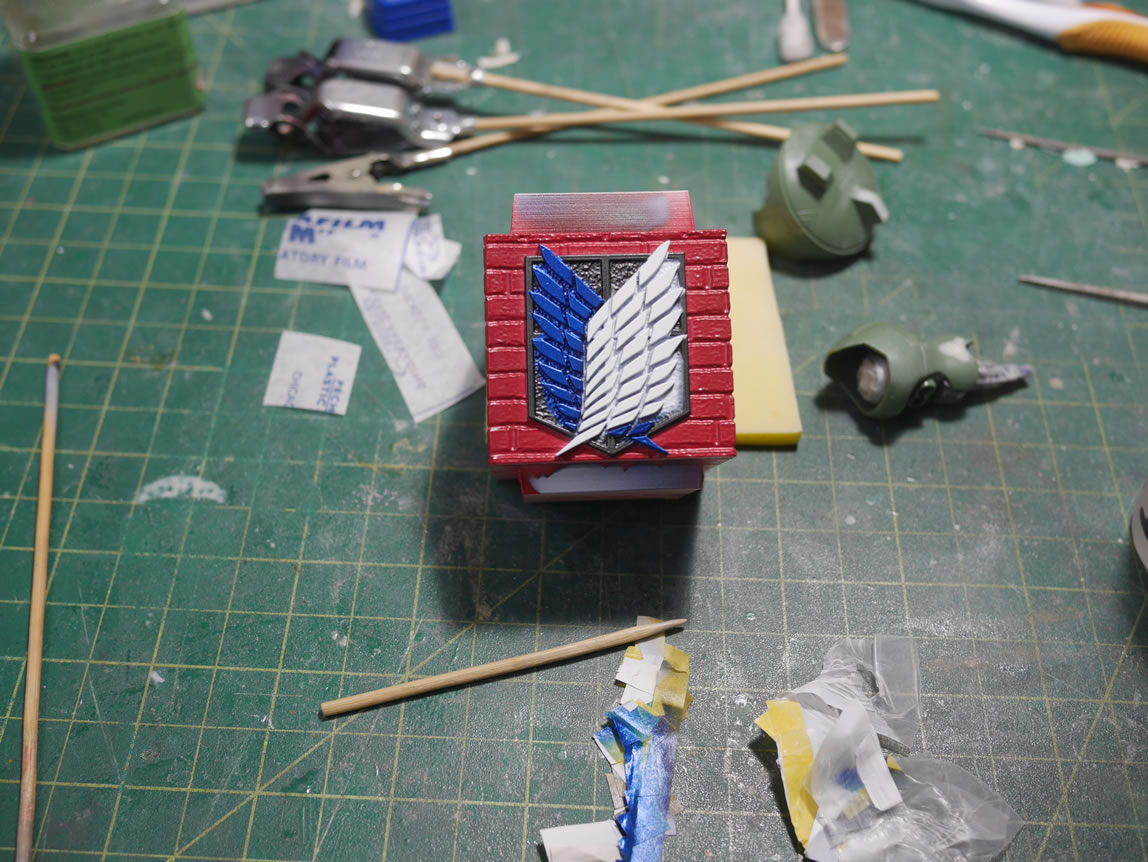
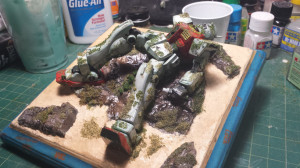
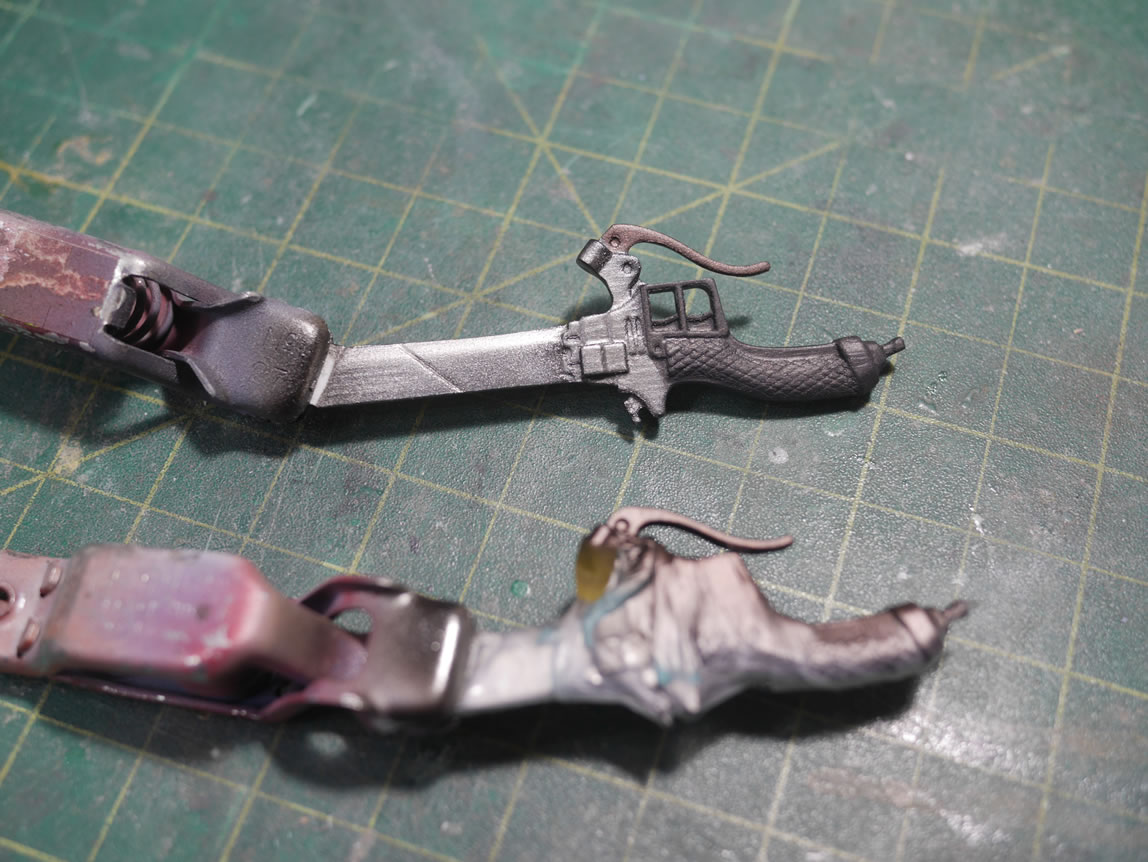
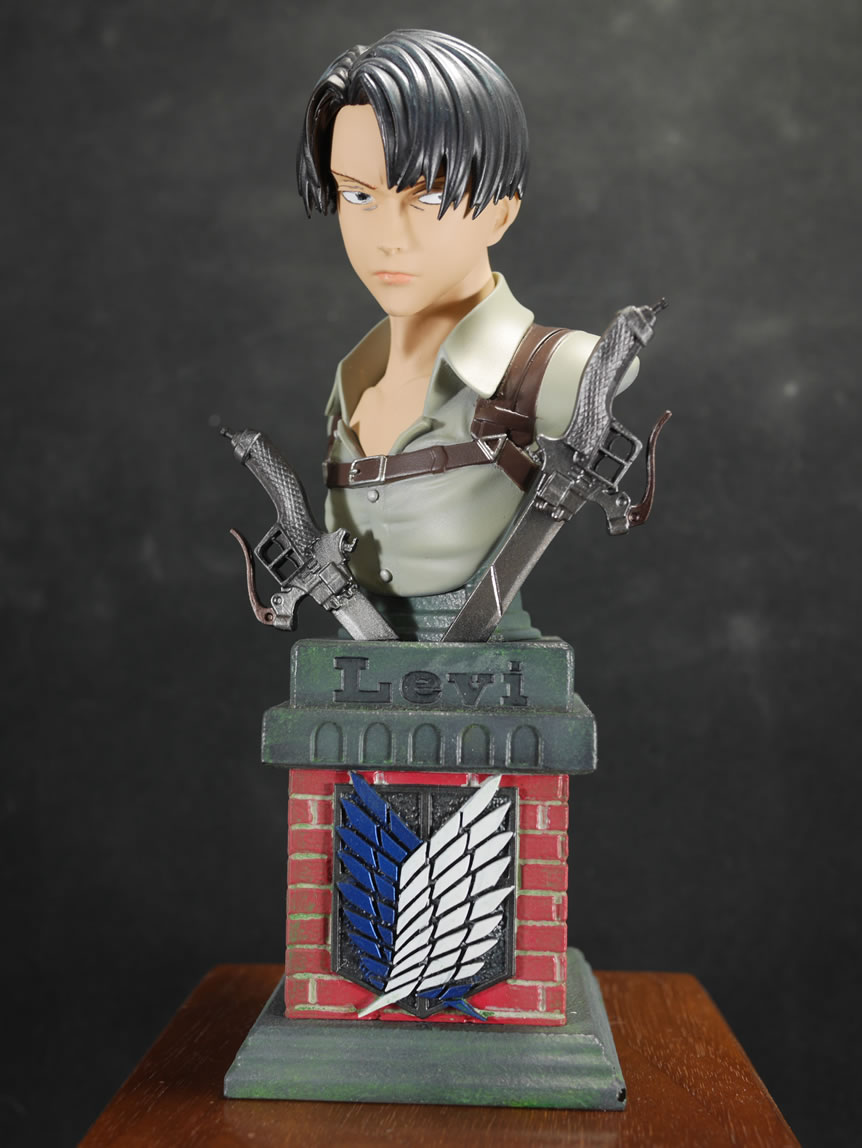
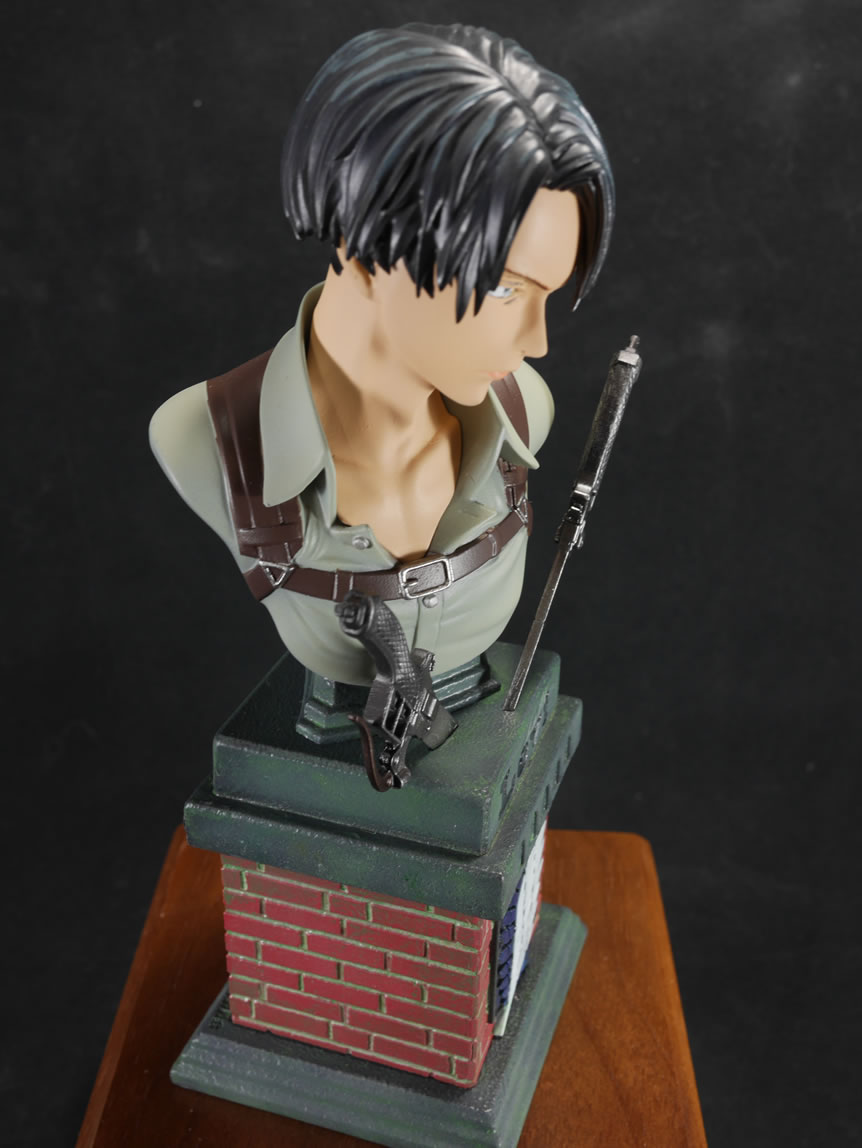
On to the other areas of the kit, the swords are cycled through the paint, mask, paint, repeat to get a few tones of metallics. The blades were stainless steel, the upper handle steel, the lower hander burnt iron, and the trigger handle with jet exhaust since it has a copperish tint that I liked. Back to the base, I sprayed a clear gloss to protect the mortar color from the next step, a filter. Enamel white, yellow, and green are put to task for the filter. This helps give the weathered finish to the base. I avoided the Survey Corp emblem as I wanted that to stay clean to help it stand out. A clear flat over the brick and grey parts finishes the base.
The last bit of work was done for the eye details, the eyebrows, and lips. I used some colored pencils to do the eyebrows and the lips. I think I had more control and the finish looked decent. Once the eyes were drawn and painted in, I assembled the hair and finished painting in the highlights.
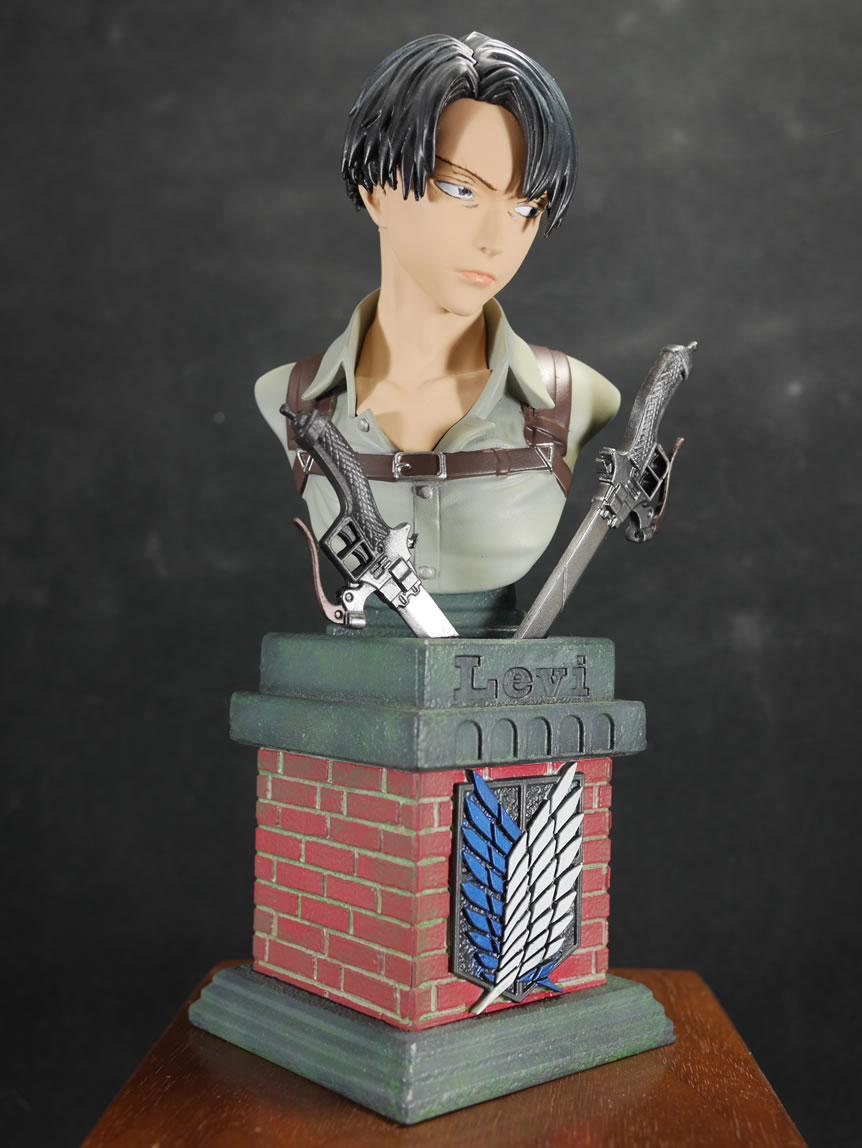
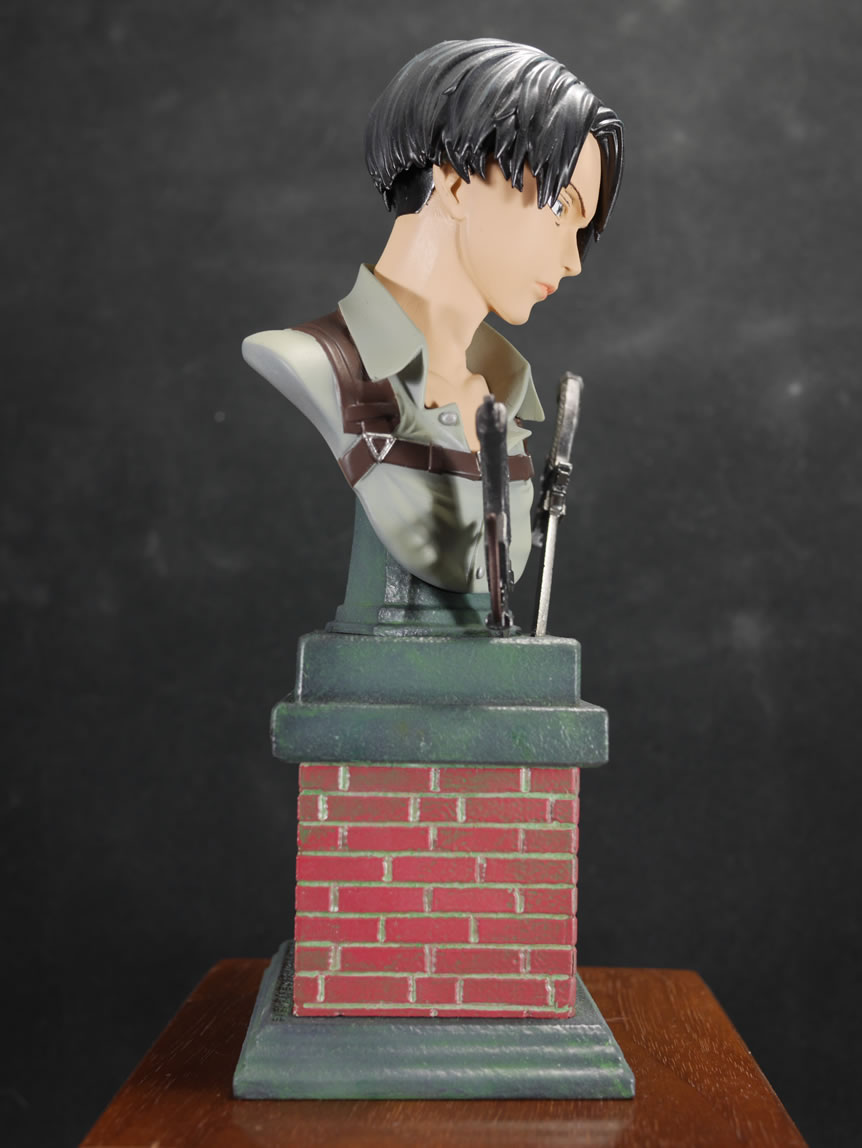
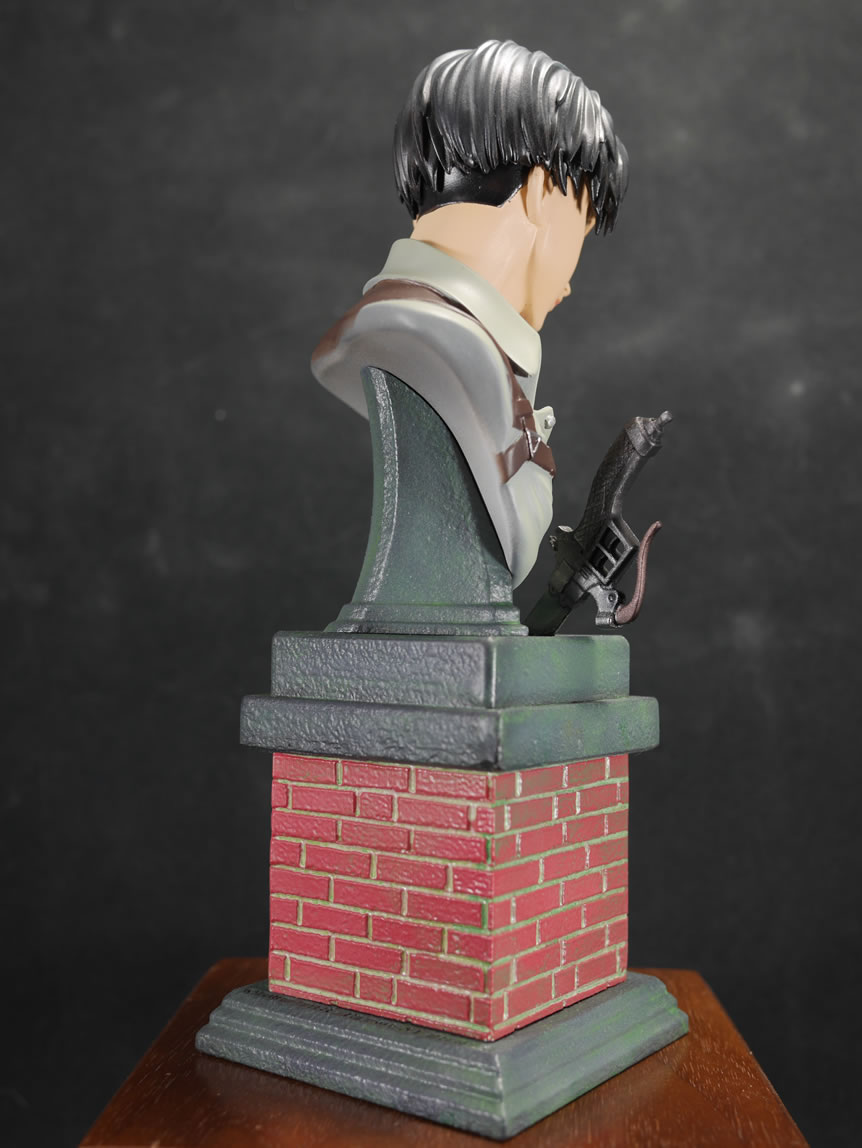
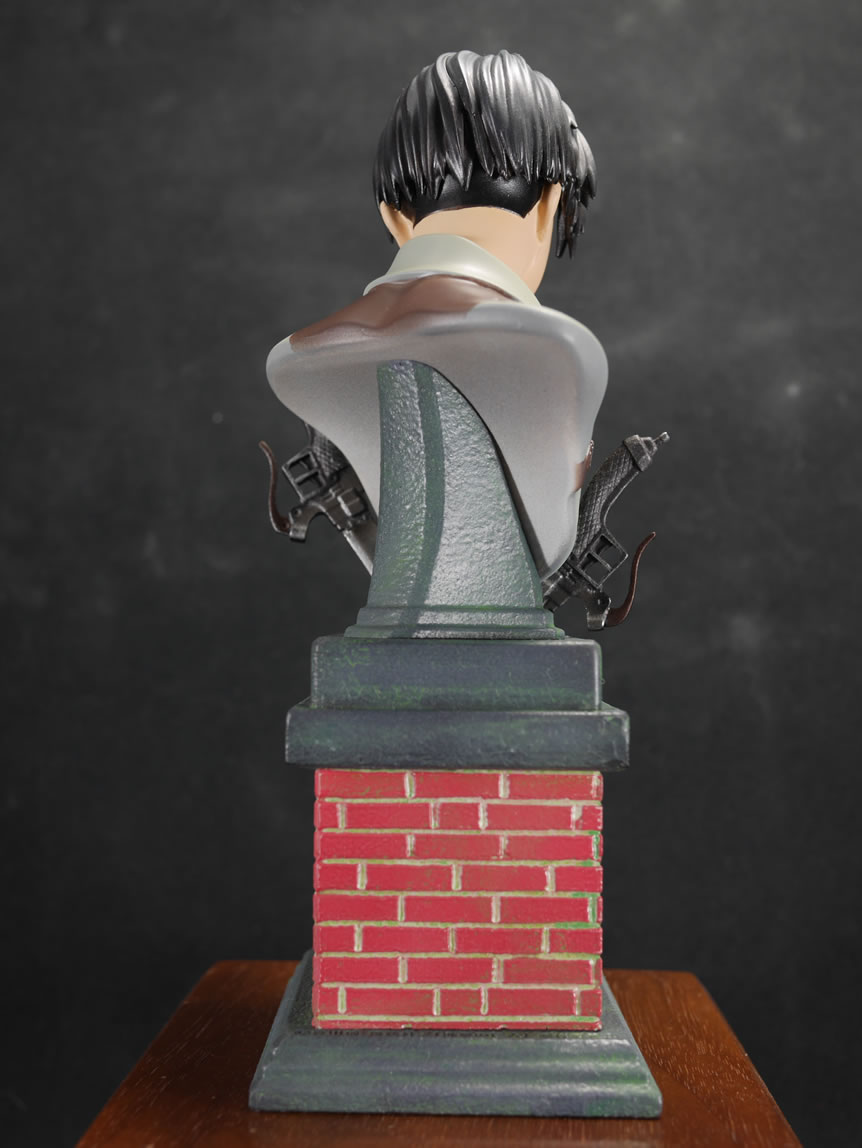
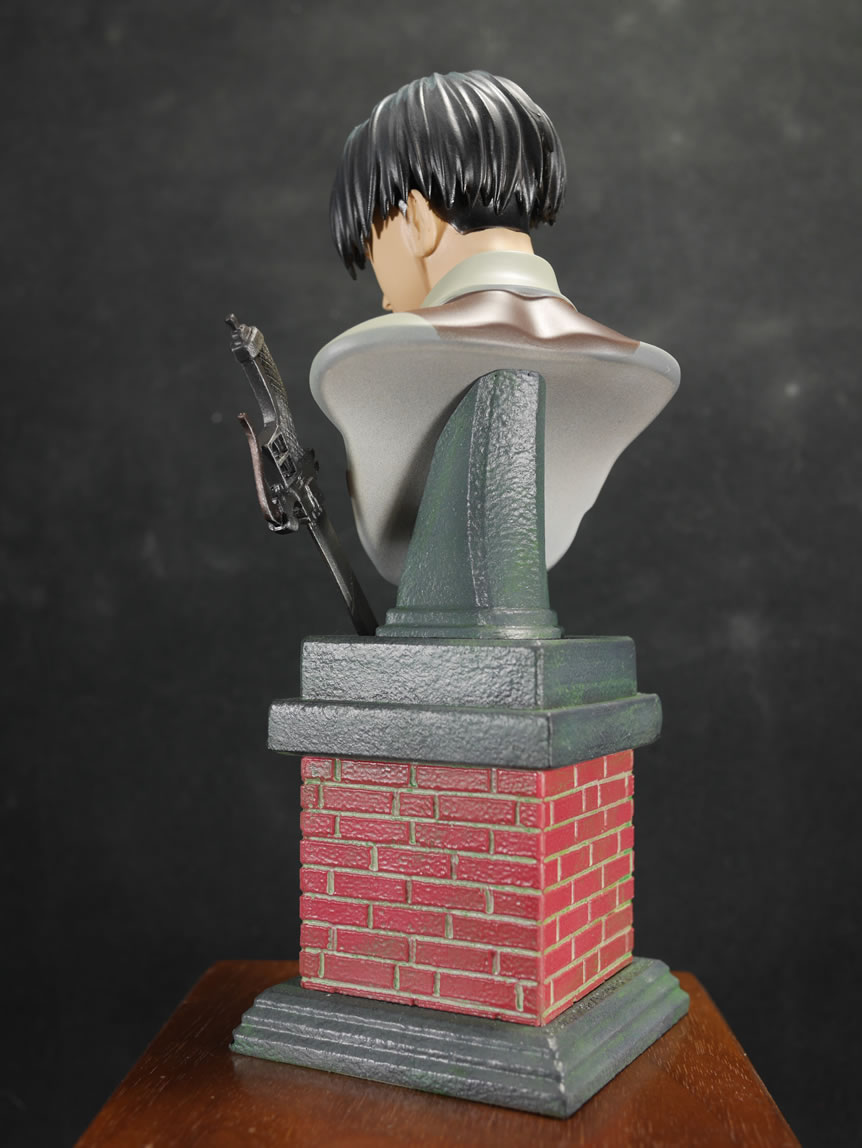
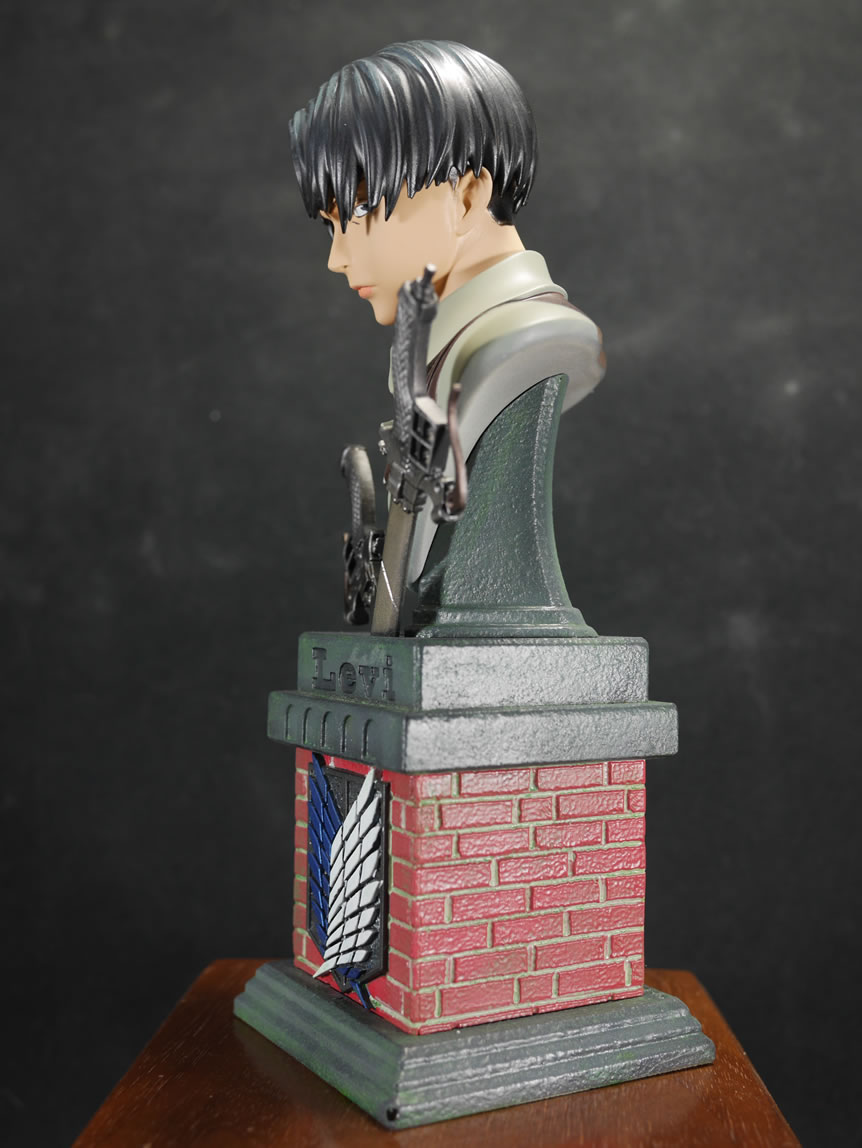
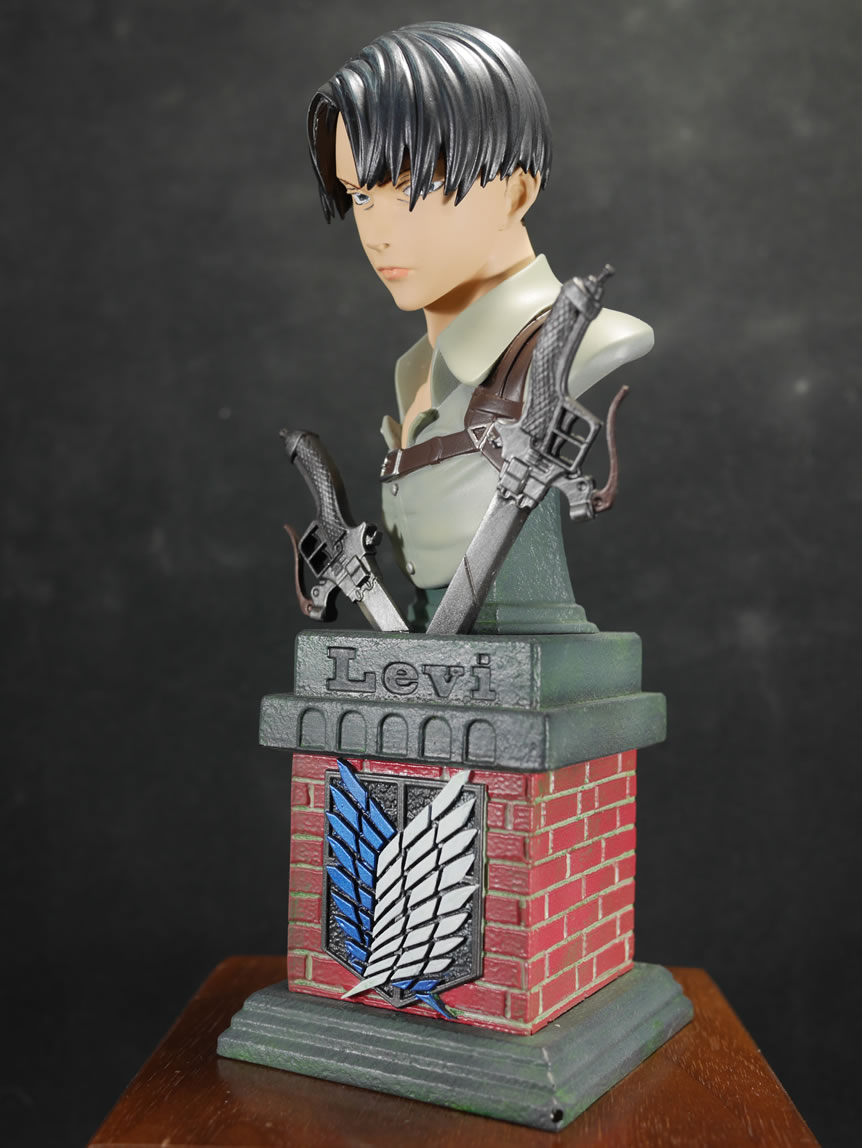
And with that, the second project that I had been working on in tandem with the Gusion is done. Here are some completed pictures:
|
|
|
|
|
|
|
|
|
|
|
|