I often overlook the importance of the tools I have in my workbench. We’re often asked, “what do you recommend for tools?” That is a bit of a loaded question. There is a missing quantifier there. I’ve built my current set of tools over a period of 16 years, and it’s still in the process of building. But I’ll do some quick breakdowns for the tools I have for basic building, to some more specialized tools and their uses.
The basics:
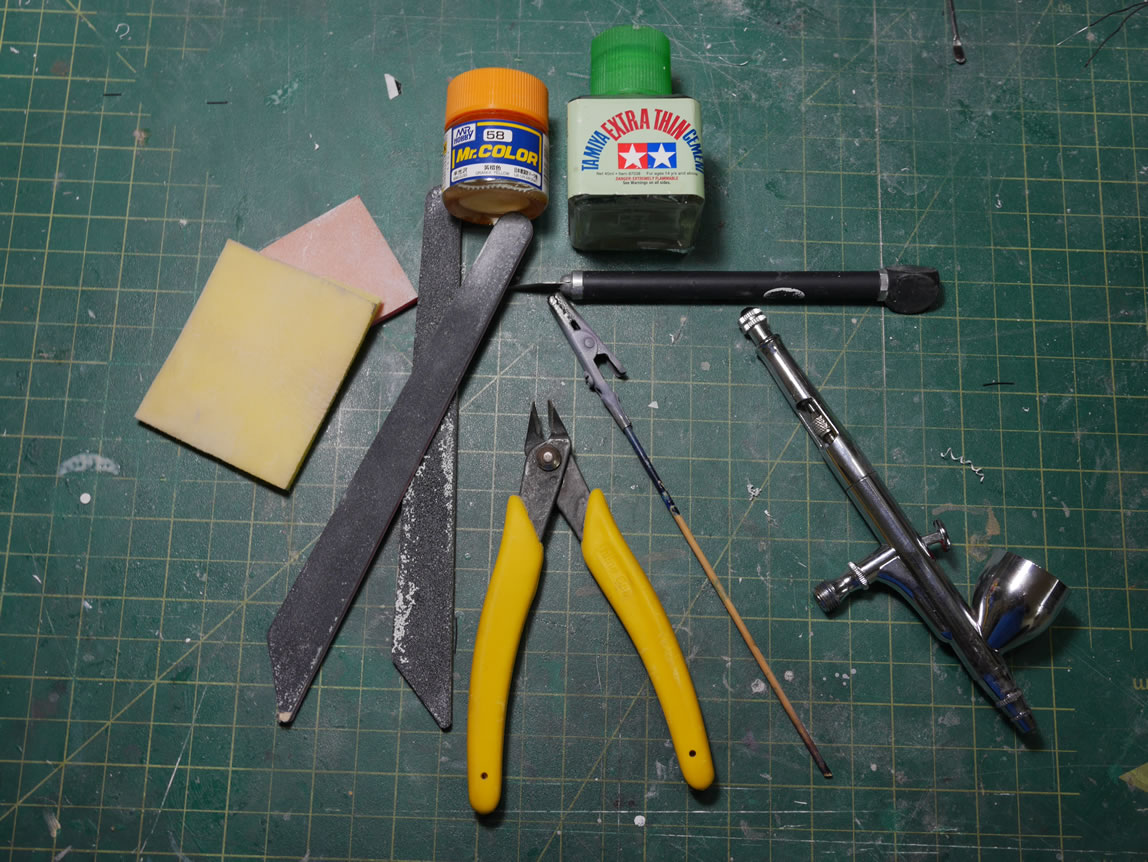
- Sanding sticks/pads
- Hobby knife
- Nippers
- Glue
- Bamboo Skewers + alligator clips
- Styrofoam board (holds skewers)
- Paint
- Airbrush
The above is my most basic set of tools. In lieu of the airbrush, when I first started, I used spray cans and hand brushing. But everything else is the most basic of tools for building a kit from start to finish.
Now, over the span of 15 or os years, I’ve managed to accumulate a crap ton of tools, some more useful than others, but useful nonetheless. Starting with sanding tools, other than the sanding sticks and sanding pads from above, I’ve also added the following sanding tools.
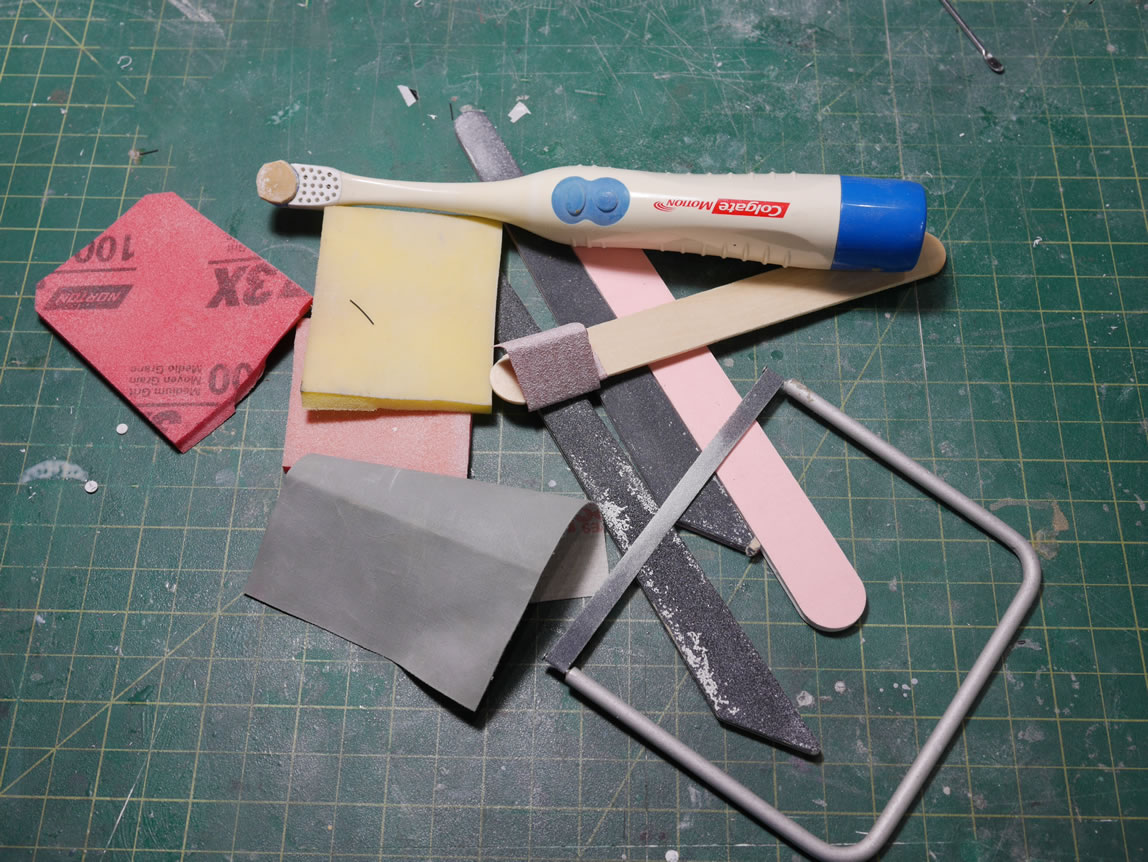

- Flex-i-file
- Old electric toothbrush turned into electric sander
- Metal files
- Micromesh sanding sheets
- Wood stick + Sand paper
Next up are tools use mostly in making modifications and scratch building. Most of these are some sort of specialized cutting tools for more precise cutting of various types of styrene such as sheets, rods, tubes, etc. Others are measurement tools, most useful is the calipers for measurement. The other item is the BMC scribers that are excellent scribing tools.
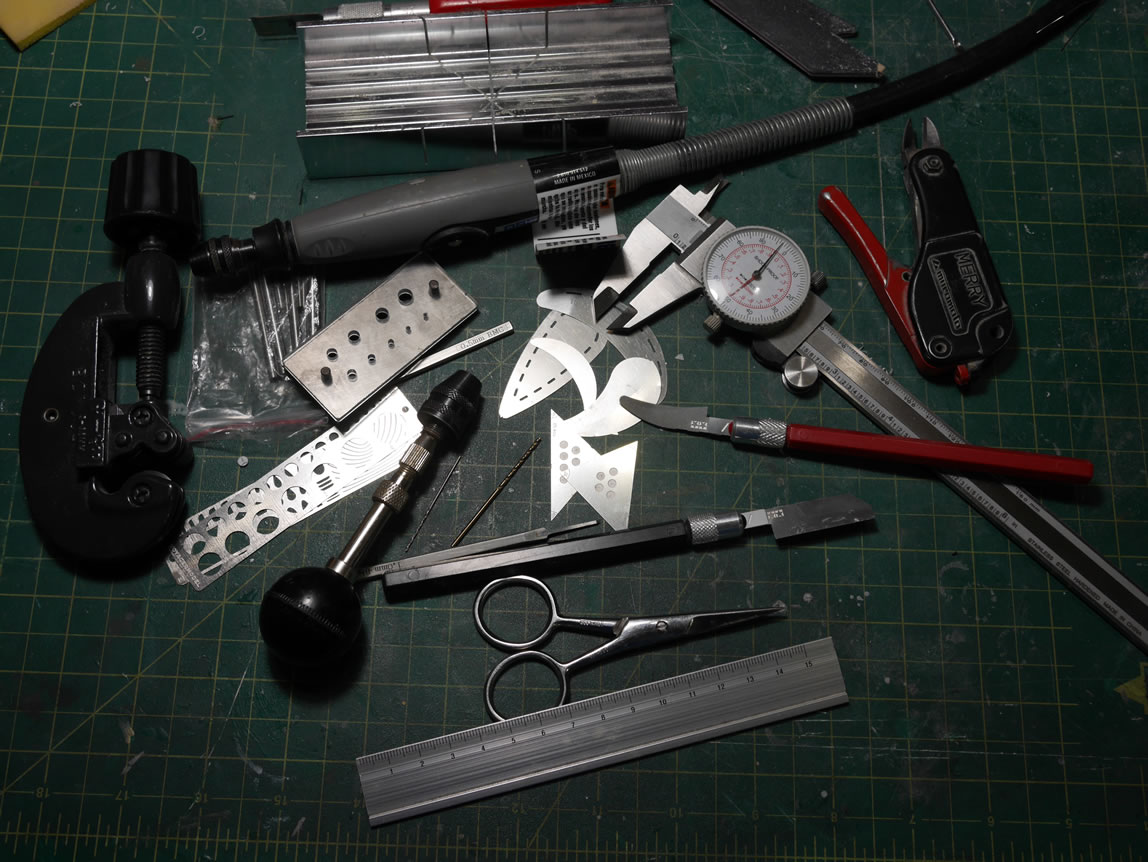
- Miter box for cutting styrene
- Dremel flex shaft
- Pipe cutter
- Hole punch set
- Tamiya saws
- Hasegawa tritool saws
- Hasegawa angle tool
- Side cutter (expensive nippers)
- Pinvise
- BMC Scribers
- Scissors
- Metal ruler
- Caliper
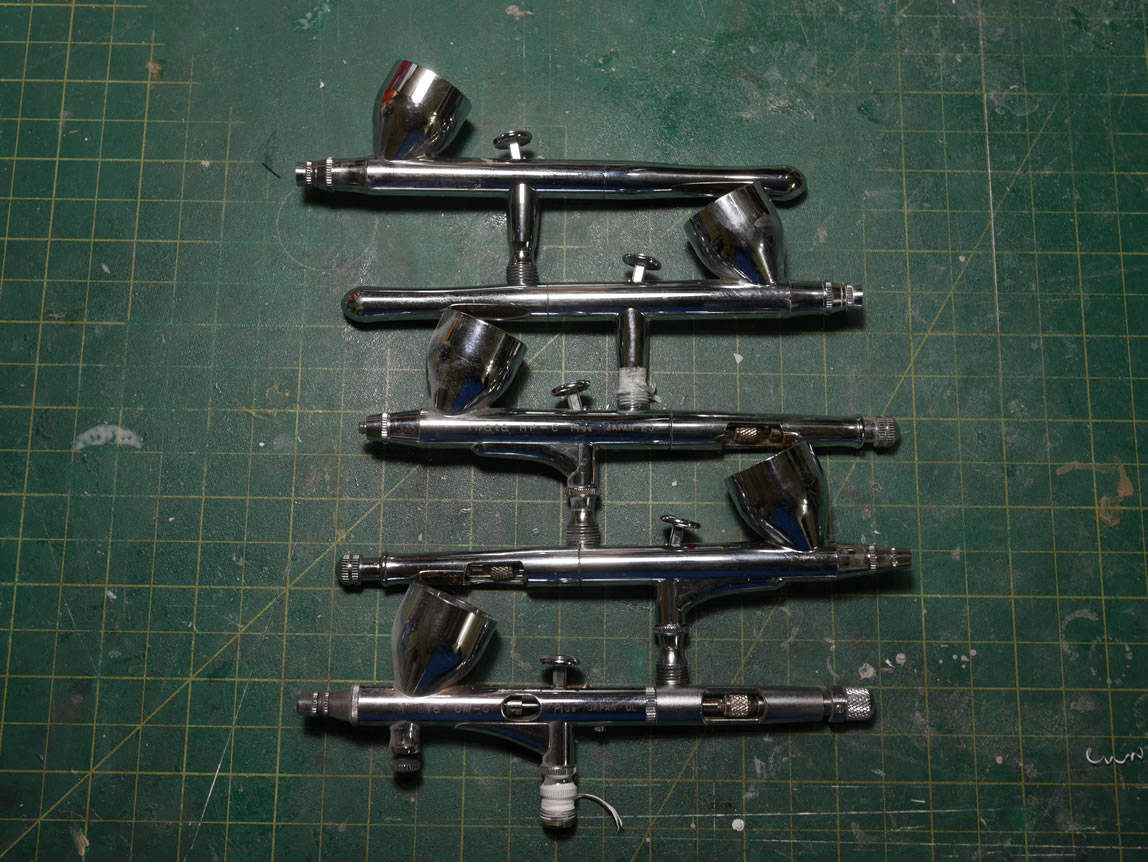
The next set of tools are the airbrushes. Over the years, I’ve built up a few airbrushes. Of all these airbrushes, I use one for 90% of my painting: an HP-C Plus from Iwata. I first started airbrushing with a Badger Crescendo bottom feed airbrush. I didn’t care for the bottom feed style and purchased an Iwata Revolution CR. That was a very good airbrush for starting and learning. I used that for a few years before upgrading to the Iwata HP-C Plus. 10 years ago I picked up an Iwata CM-C Plus, which was a very expensive airbrush with a very fine needle; and I haven’t really found the need for that airbrush that the HP-C didn’t do just fine. The HP-C was a vast improvement over the Revolution CR, but to this day, I still use the Revolution for larger paint jobs. Changing out paints with the same airbrush works, but every now and then, having multiple airbrushes plugged in with different paints can be useful. But the set of airbrushes was built up over the course of 15 years.
Next up are tools that I use for electronic mods. Since the space in the models for MGs and HGUC kits can be minimal, I try to use the thinnest wires for the job with adding LEDs to kits. I used 30 gauge wire wrapping
wires. The wires were stripped and wrapped using a wire wrapping tool I picked up from the local electronic shop. Needle nose pliers are useful for holding and stripping the wires. In necessary cases, a soldering iron is used as well. But most cases, the electronics are wire wrapped.


- 30 gauge wire
- Wire wrapping tool w/ wire stripping tool (fits inside the handle)
- Needle nose pliers
- Soldering iron
- Hot glue gun
Consumables
These are not necessarily tools that last forever, but in the realm of items used for building; these can be considered tools. Starting off with glues. Since the above picture has a hot glue gun that comes in very handy for work on dioramas. Below are a group of different types of glues that have different properties and are used for very specific purposes.
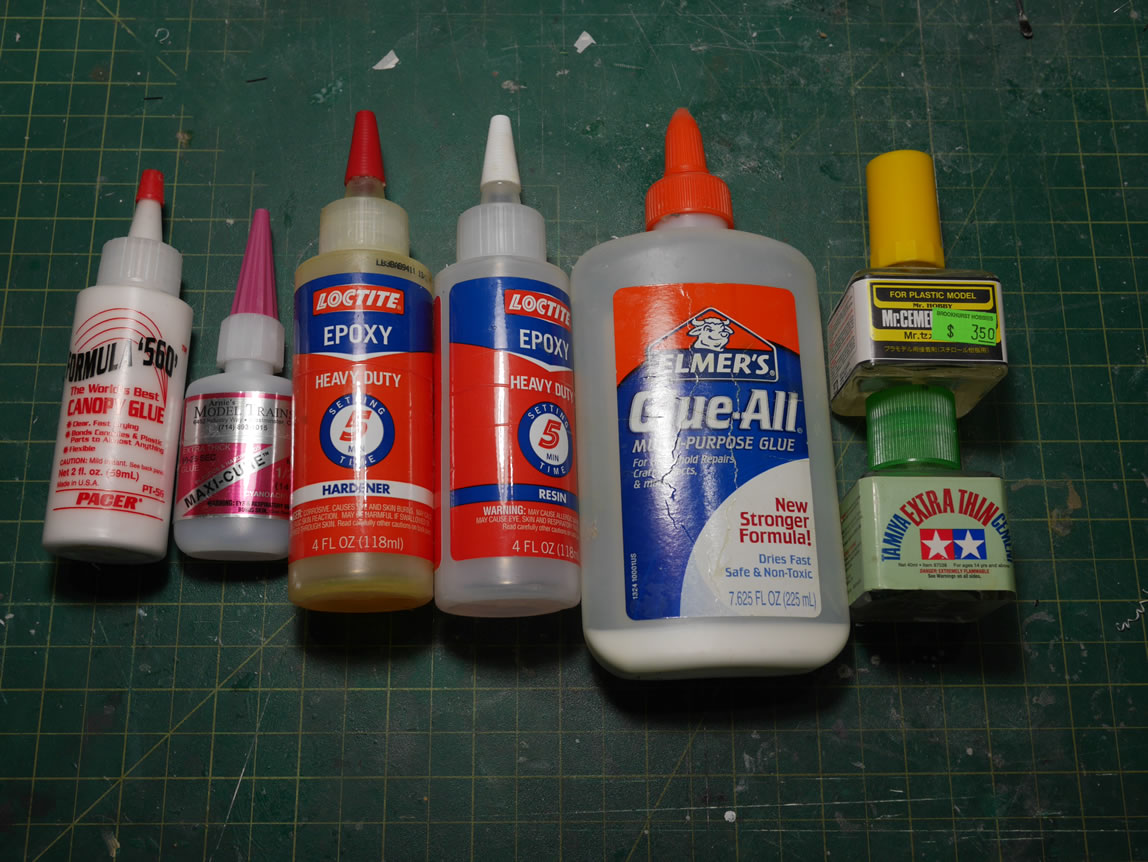
- 5-minute epoxy glue
- Tamiya extra thin styrene glue
- Mr cement styrene glue
- White canopy glue
- CA glue
- Elmer’s white glue
Putties come in all shapes and sizes. Like the glues above, each have their special properties and areas where they are best utilized. The epoxy putty is great for sculpting, filling large areas, reshaping areas, and making transitions; dry/cure times are usually several hours to a full day depending on thickness. Basic white putty is toluene based and good for thin layers over styrene to fill small cracks and holes, the dry time is the same as styrene glues. Mr dissolved putty is a relative new product that is very liquid and dries to a consistency similar to resin, easy to sand and very quick drying. The stuff is great for filling in small cracks and seams. The final product is light curing putty which is a very fast curing product allowing for quick putty and sand sessions.
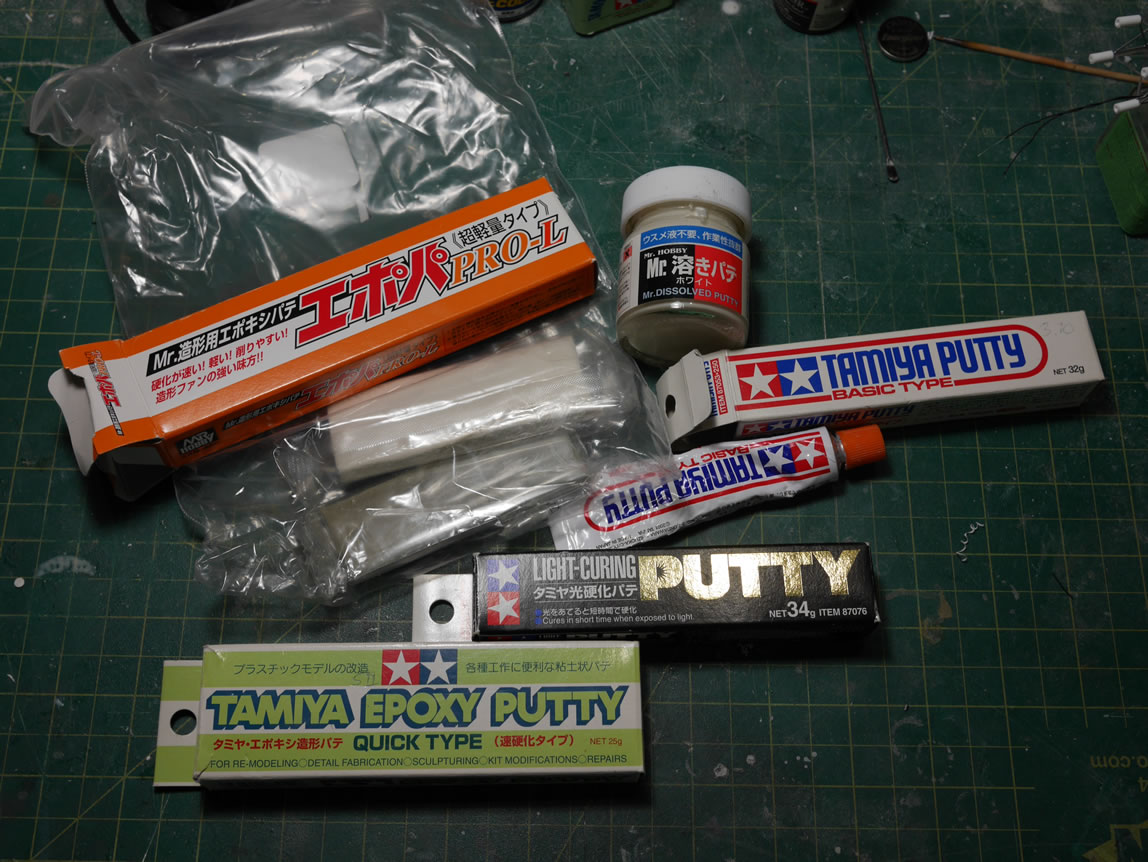
- Tamiya epoxy putty
- Mr epoxy putty pro
- Tamiya basic putty
- Mr dissolved putty
- Tamiya light curing putty
The paints I used primarily lacquer based using alclad II, Mr Color, and Finisher’s. For doing pane lines and weathering, enamels from model masters, tamiya, and humbrol. Acrylics are craft paints, tamiya, and vallejo(not pictured). As with putties and glues, each paint have different special uses.
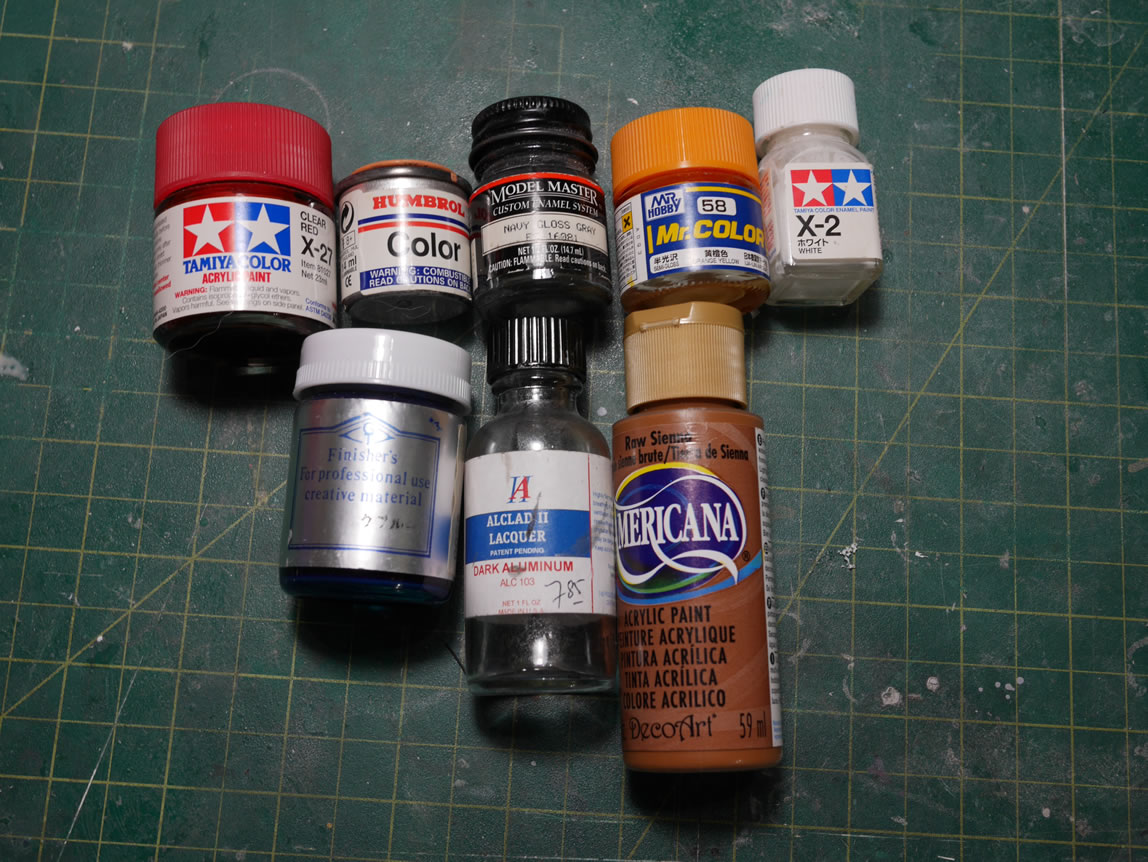
- Alclad II
- Mr. color
- Finisher’s
- Humbrol
- Model Masters
- Tamiya Acrylics
- Tamiya Enamel
- Vallejo
- Americana Acrylics
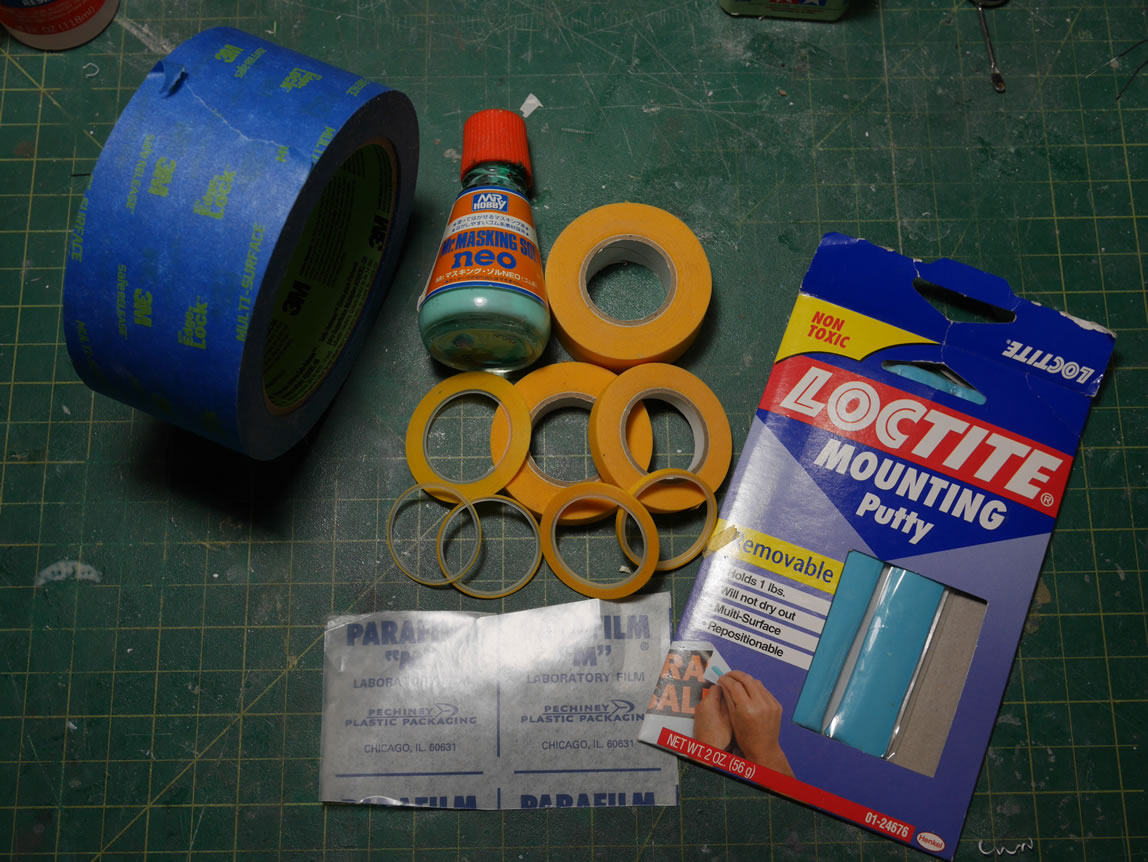
Masking tools go from different tape brands, sticky tack, liquid masks, and parafilm.
- Parafilm
- Tamiya masking tape
- 3M blue painters tape
- Mr masking sol neo
- Aizu micron masking tape
Pastels and the tamiya weathering kits are very similar products. Another similar product that I have not added to my arsenal are MiG pigments.

- Chalk pastels
- Tamiya weathering kit
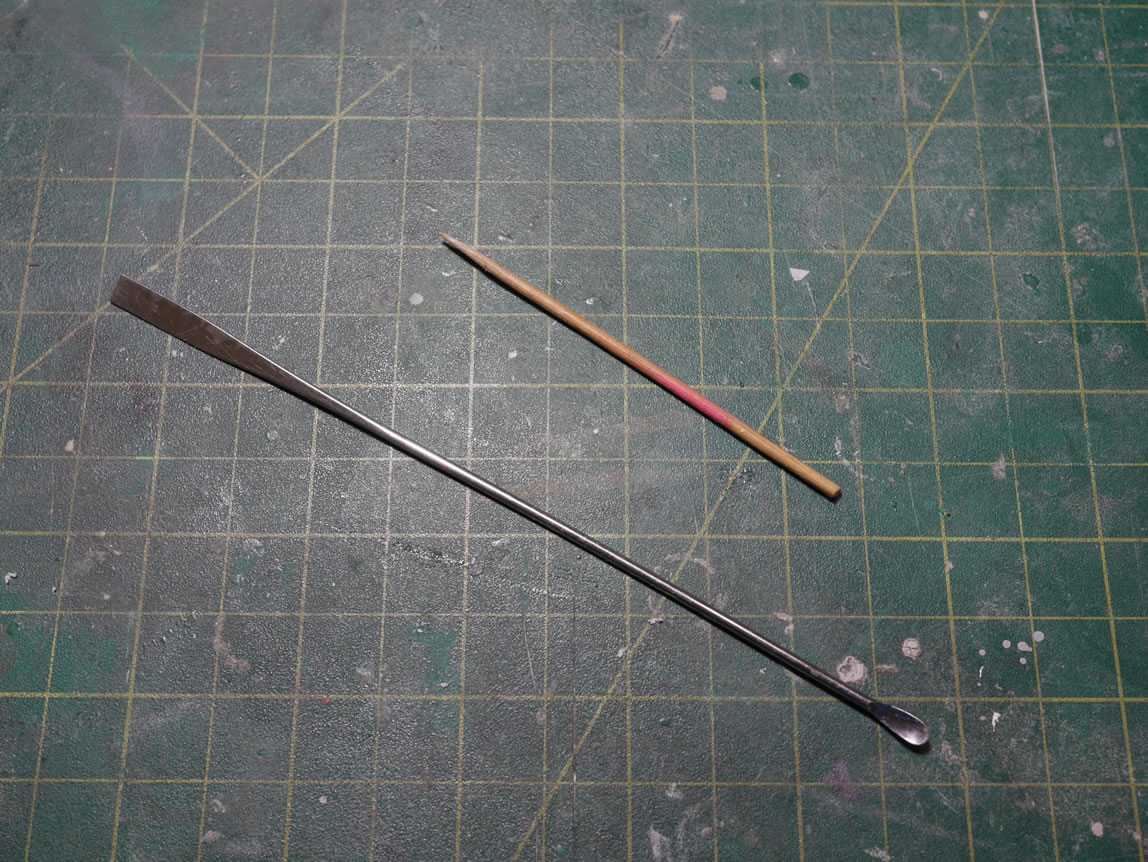
The book end to my collection of tools are the two tools that I use the most out of everything I have. A paint stirrer and a bamboo skewer. The paint stirrer is mostly to mix paints, scoop paints out, and as a putty application tool. The bamboo skewer functions similarly, but I also use it for applying masking tape, applying sticky tack, applying decals, removing sticky tack, applying glues etc. These are the most basic and simple tools on my bench, yet they are the most used and employed in every project.