Over the past couple of weeks, I spent some time fixing the damaged Sazabi. I checked out the wiring, and I found that one of the two small backpack lights is not turning on. So that’s one casualty that will not get fixed. The wiring for this bastard is a bit too complex to bother trying to fix that one light. I may end up just breaking other connections, so that is going to be left alone.
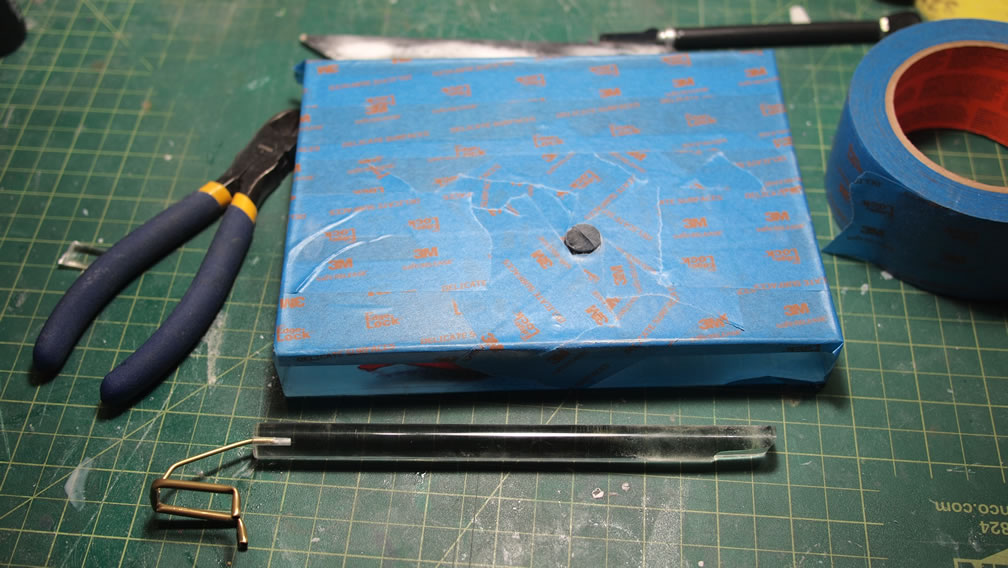
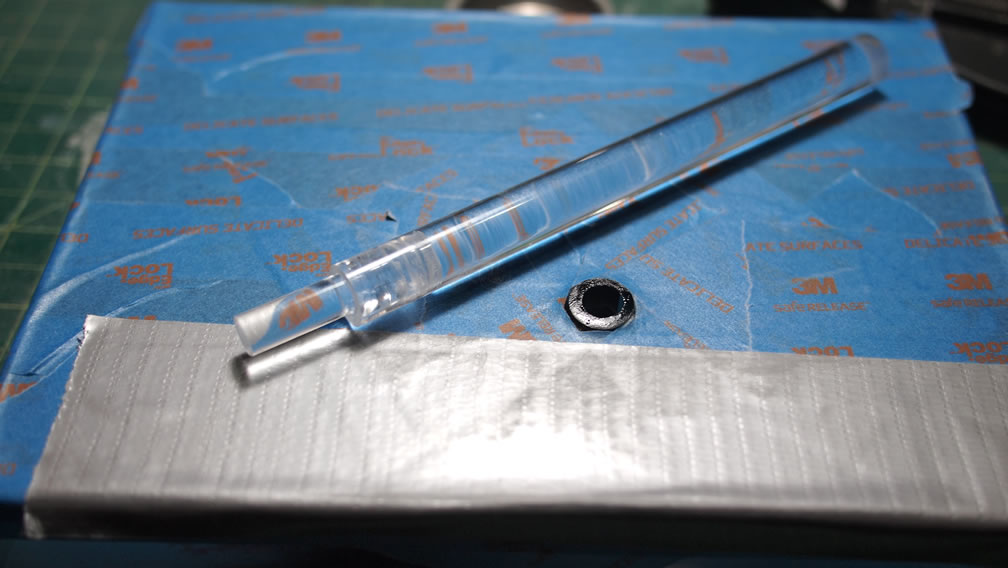
Starting with the base, the excess broken parts were cut. The base was then masked off so I could sand down the excess. I grabbed a new piece of acrylic rod and drilled out a section in the middle. The same was done to the corresponding joint piece on the base.
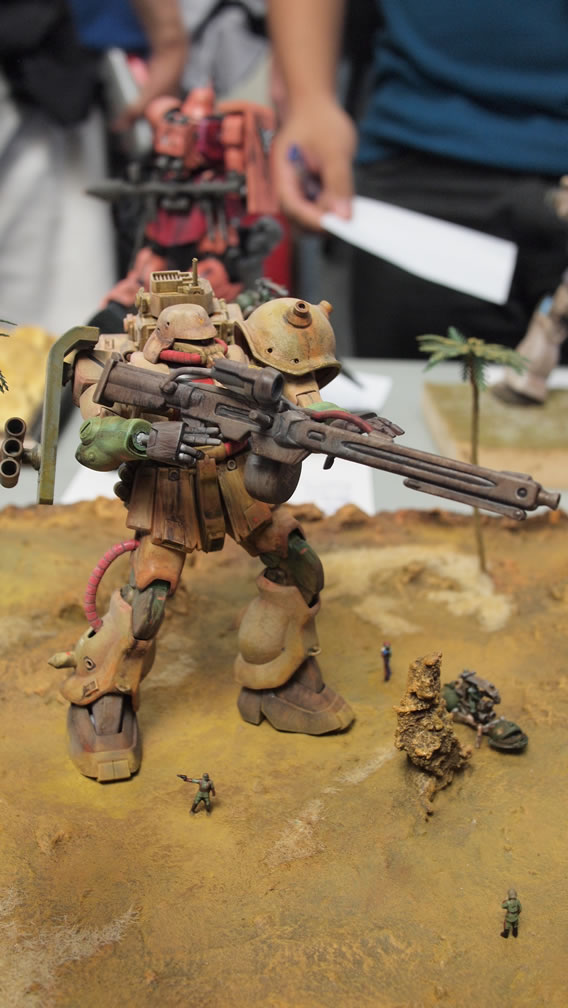
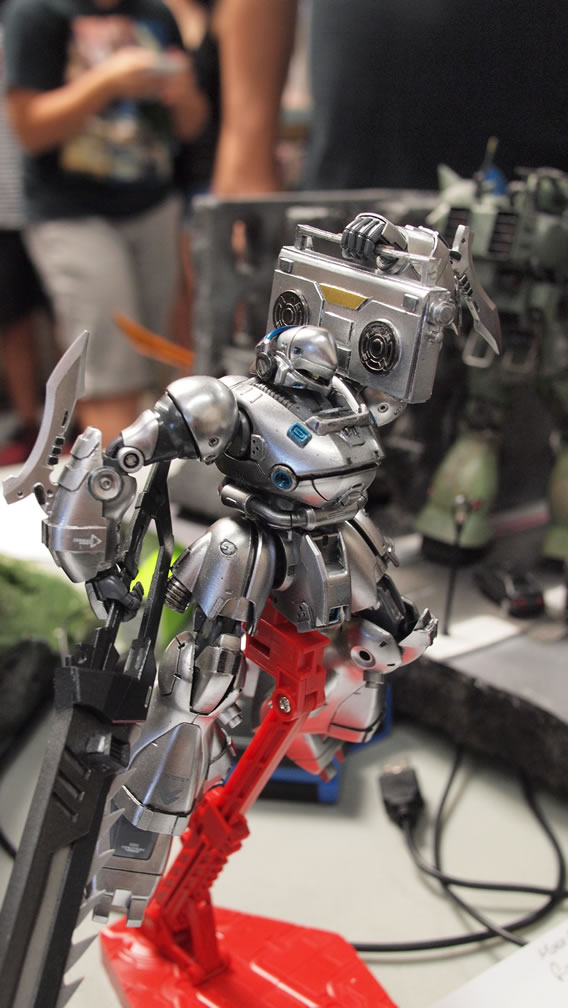
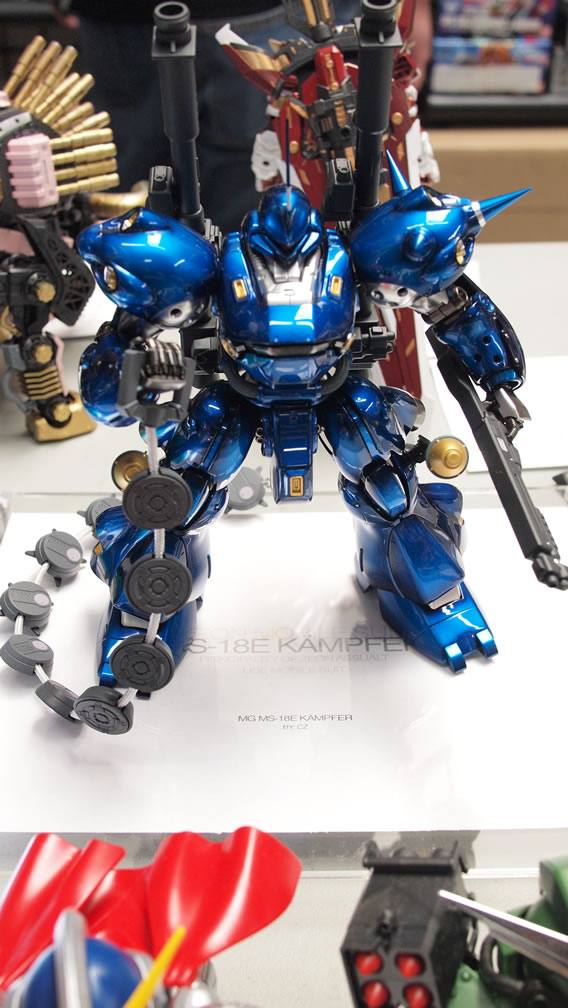
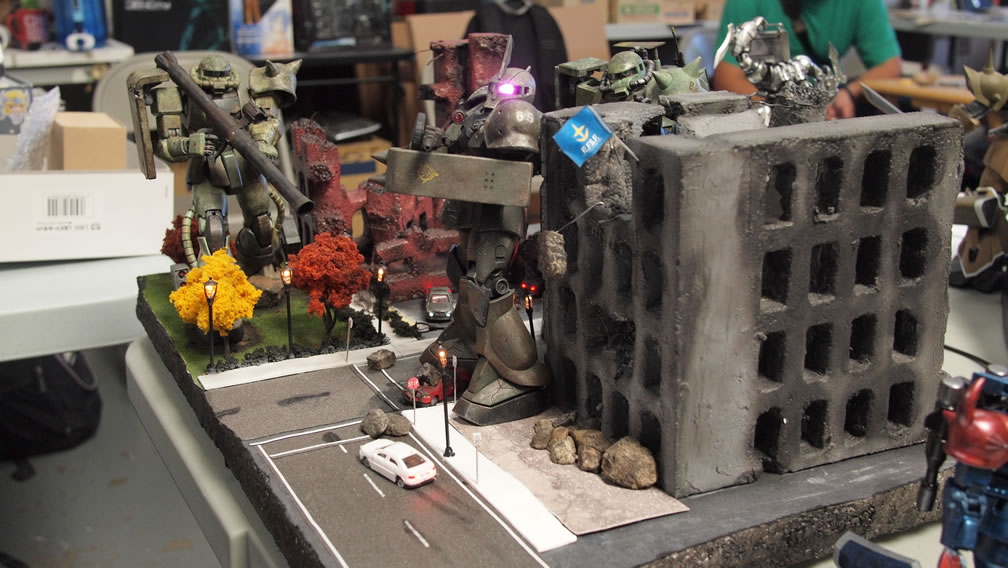
Angel and I also drove up to San Jose this past Saturday to invade Tatsu Hobby’s Mono Eye competition. Before jumping to images of an interracial gunpla themed movie by Ang Lee; we brought our respective wives with us on this quick little weekend getaway. Angel and I put up our kits as display only and helped judge the event. I guess showing our kits gives the guys some credence to our judging abilities. The Sazabi was just recently repaired and there are still some small issues with it, so I didn’t feel comfortable with entering it. Plus, we’re there to support Tatsu’s contest. There were a good number of people that recognized if not us, our kits and were pleasantly surprised that we made the drive for their one day event. There were a good number of excellent entries and a great deal of potential with some of the other builders. They are quite creative and just need some work on the basic building techniques to really get to that next level in building. It’s quite inspiring to see.

More pictures of the Sazabi repair after the jump.
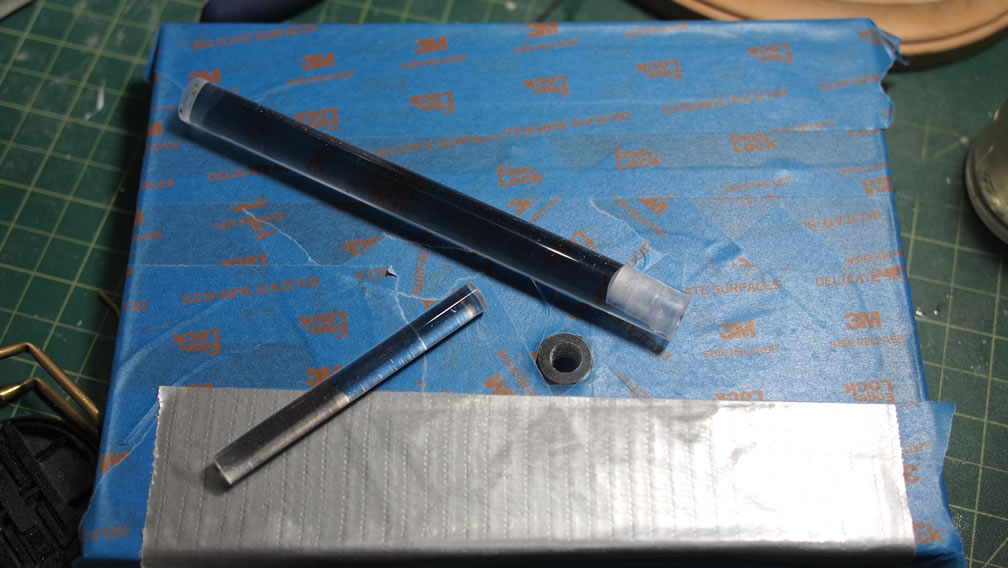
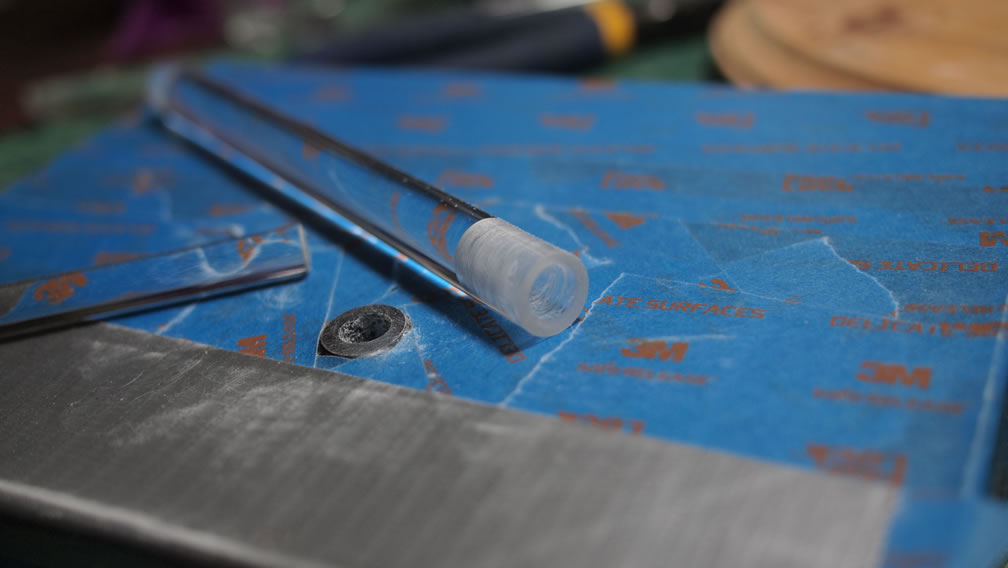
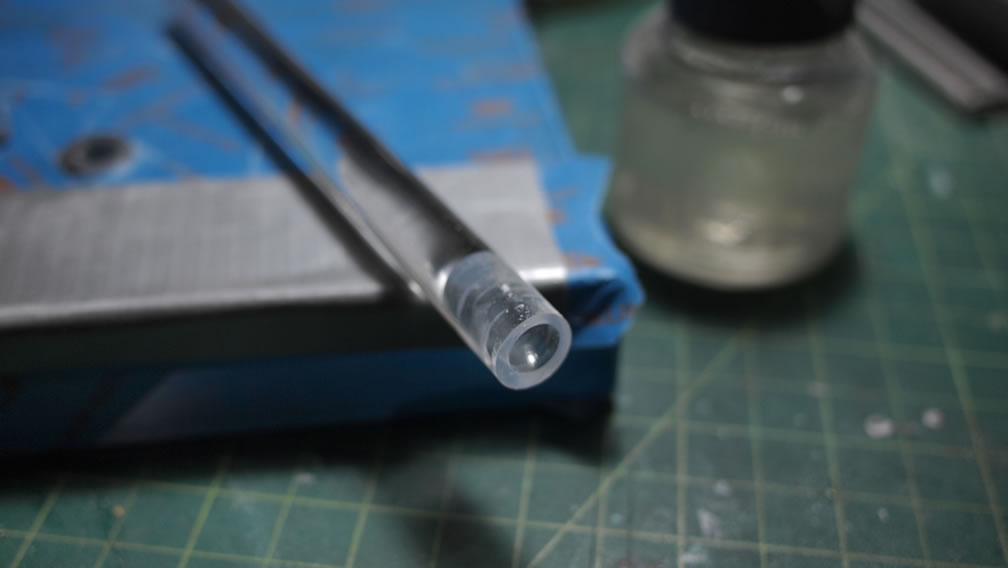
Some mr super clear gloss is applied to the inside of the drilled out areas, then the smaller acrylic rod is inserted into the main rod. If I just glued a new acrylic rod, there would be no strength to the bond and any flex would just result in the Sazabi falling again. I didn’t have a drill bit as big as the original acrylic rod to drill and tap the new rod into place, so this is the best method I could think of while maintaining as much as the clear look I had before the break. This is basically the same method I use to repair a broken joint. Instead of a metal rod, I’m using a clear acrylic rod as the pin between the two broken parts.
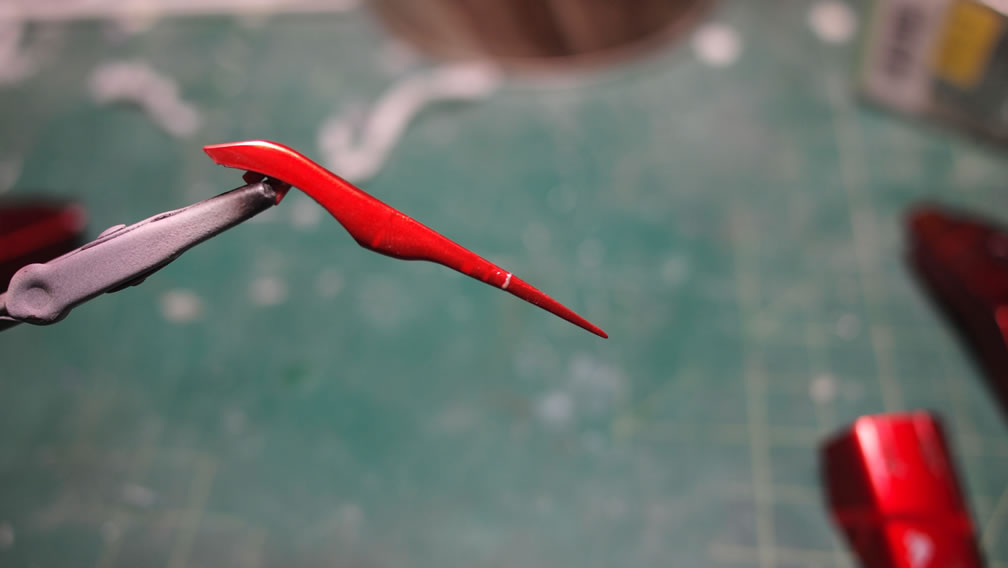
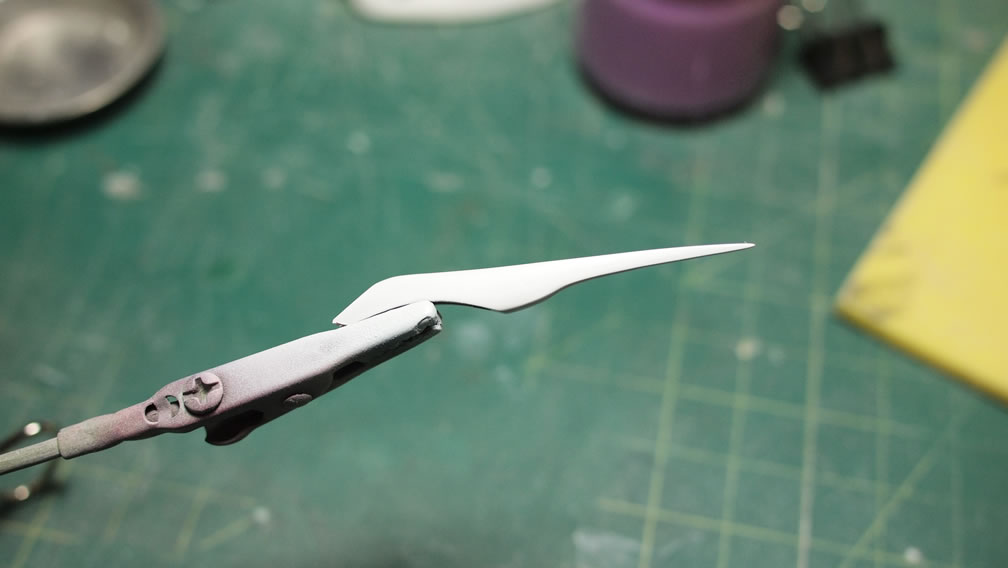
Next was assessing the damages to the kit itself. Although not too extensive; there were a decent number of areas that had paint damage; and one completely broken pieces. The antenna was glued together with just styrene glue. There’s no load bearing – at least it wasn’t expected to hold up the weight of a large glass shelf with it was originally built. So I just glued to the part without additional pins. The part is really too small and thin for such, and styrene glue works very well in this situation.
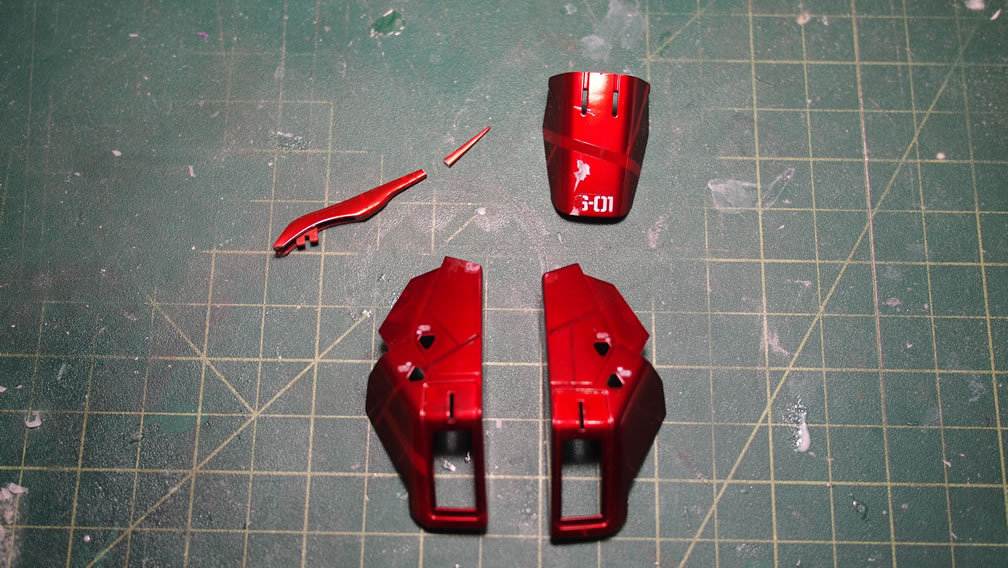
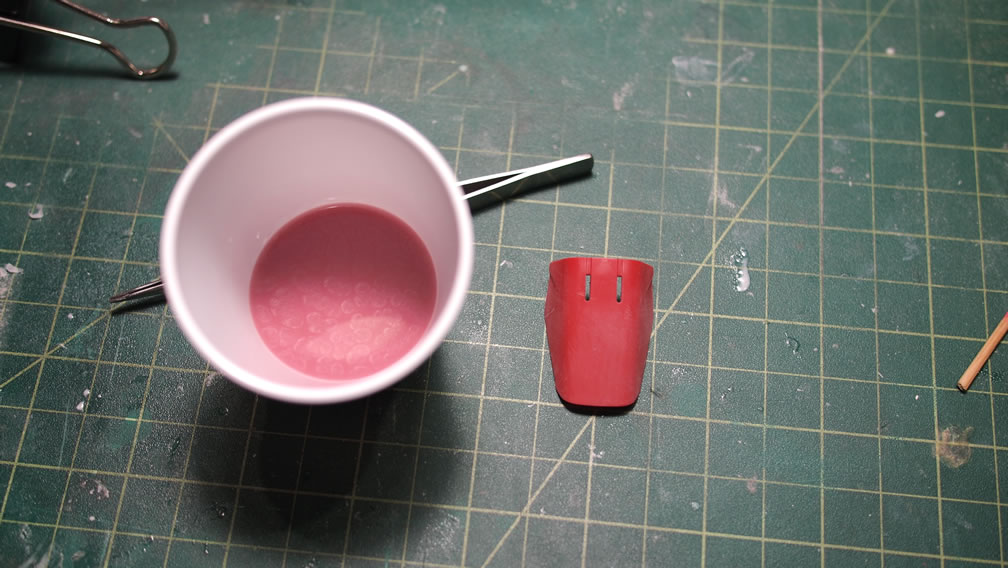
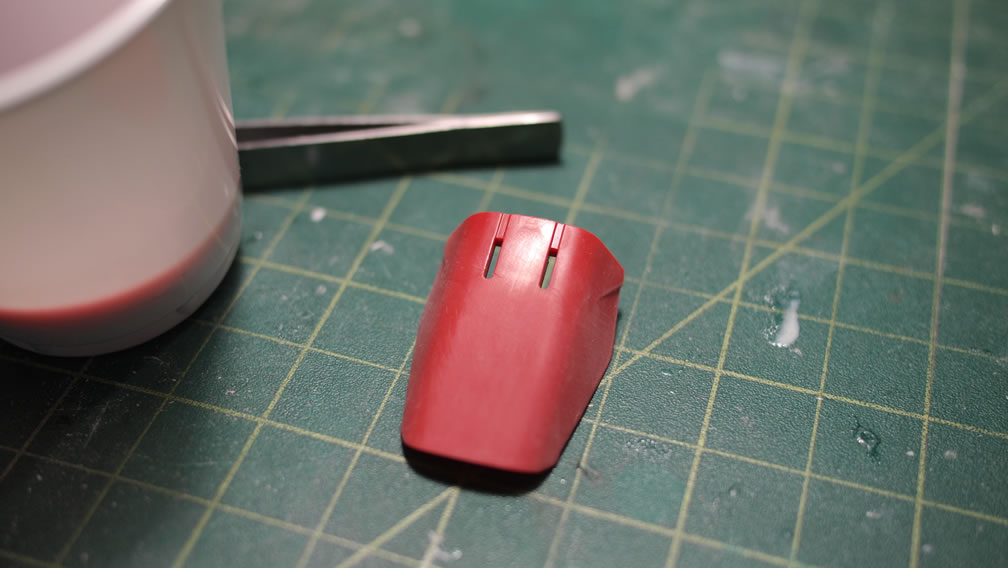
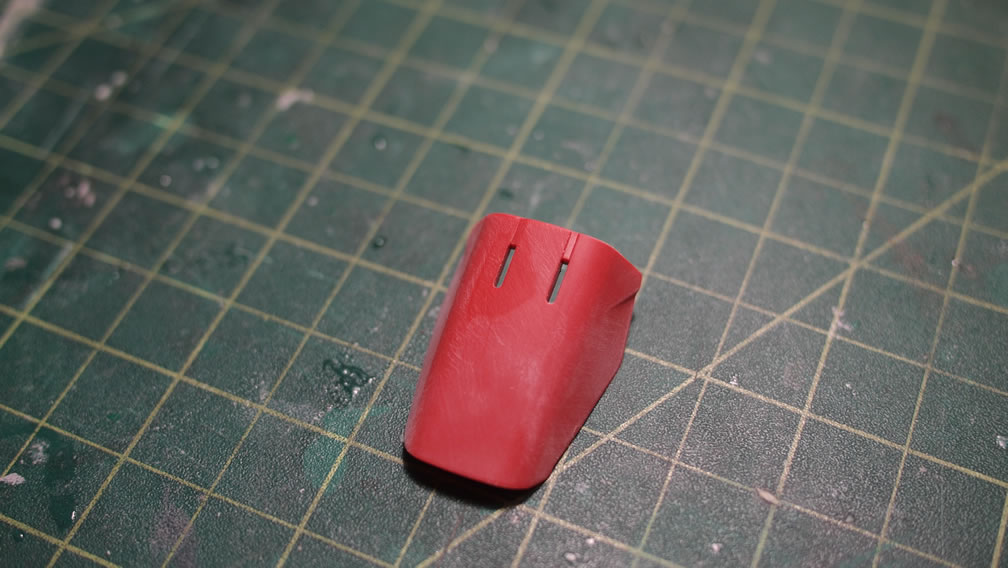
One of the front upper foot armor pieces was fairly damaged. There’s not salvaging for that particular decal and since I cannot print white, I cannot just print a replacement decal. So the entire part was dropped into a plastic cup filled with Mr Color Thinner and run through the ultrasonic cleaner to remove all paint down to the bare plastic. There was also a small dent in the plastic that needed some sanding.
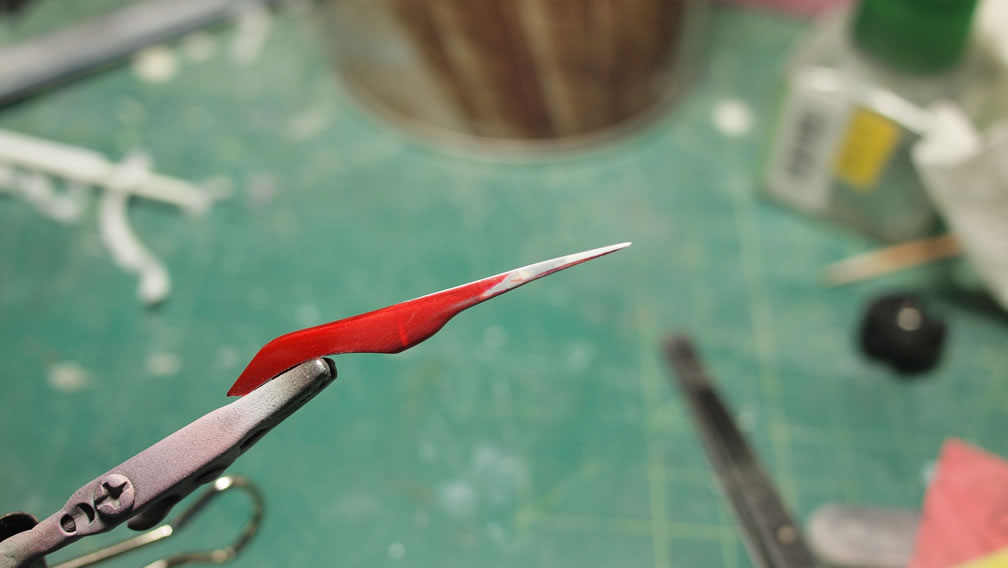
The antenna part is sanded down and after a small session with some dissolved putty, the part is ready for primer to check for the fix.
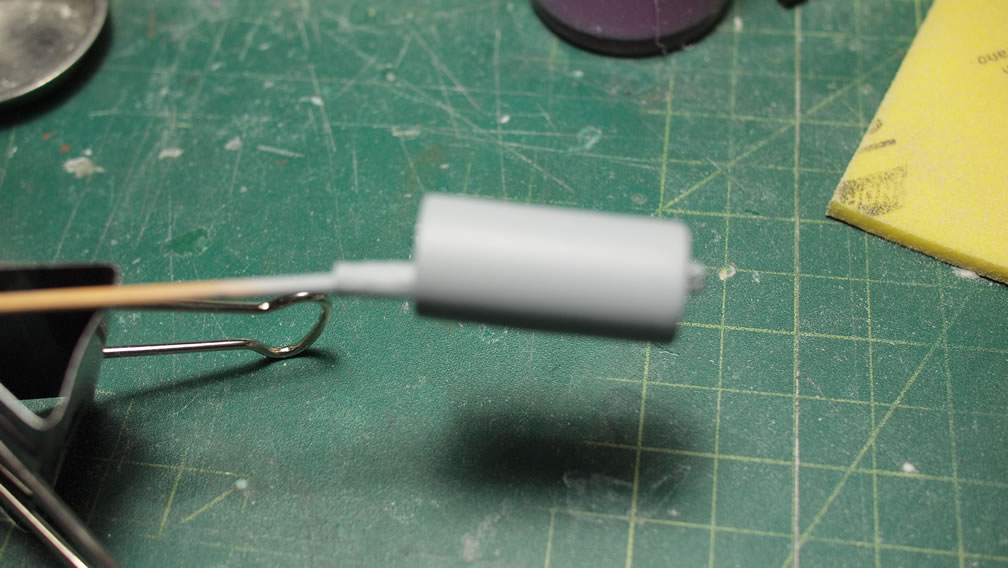
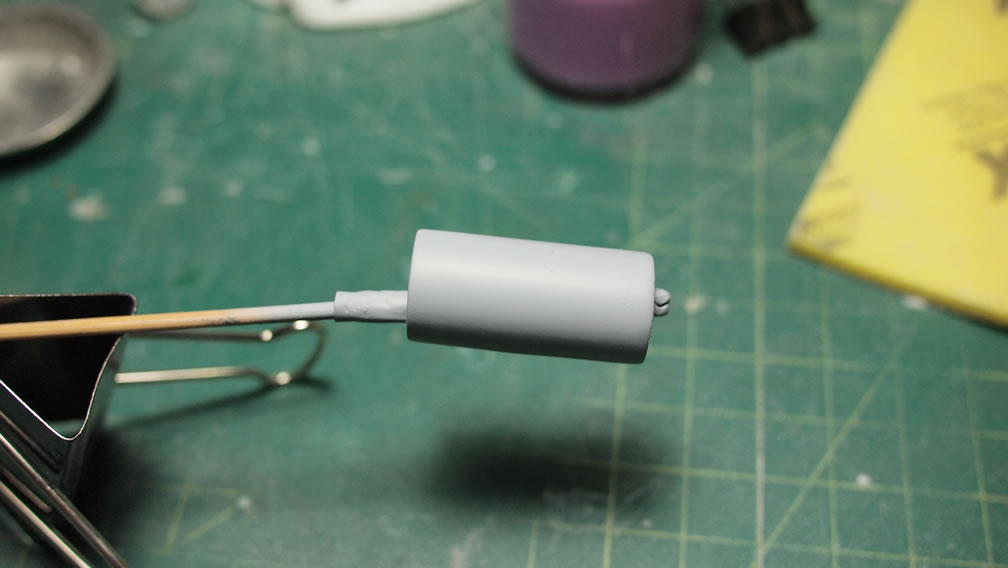
When I inserted the acrylic rod back into the base, the insert didn’t go as planned and the two main parts did not completely meet. There is about a half inch of the inner acrylic rod exposed. I felt the was a little weak, so I made a quick cylinder design on the 3D printer and printed it out. Sanded, primed, and painted the part and slipped this over the repaired area.
I was running very low on the paints that I used for the kit, but it was enough paint for the needed repairs. Parts were masked and painted in the same steps. And I actually took this kit and displayed it at Tatsu Hobby’s August Competition in San Jose this past weekend.

I did miss a few last minute entries, but I believe I got most of them. Click here for the rest of the pictures from Tatsu Hobby’s contest.
Video clip from the event: