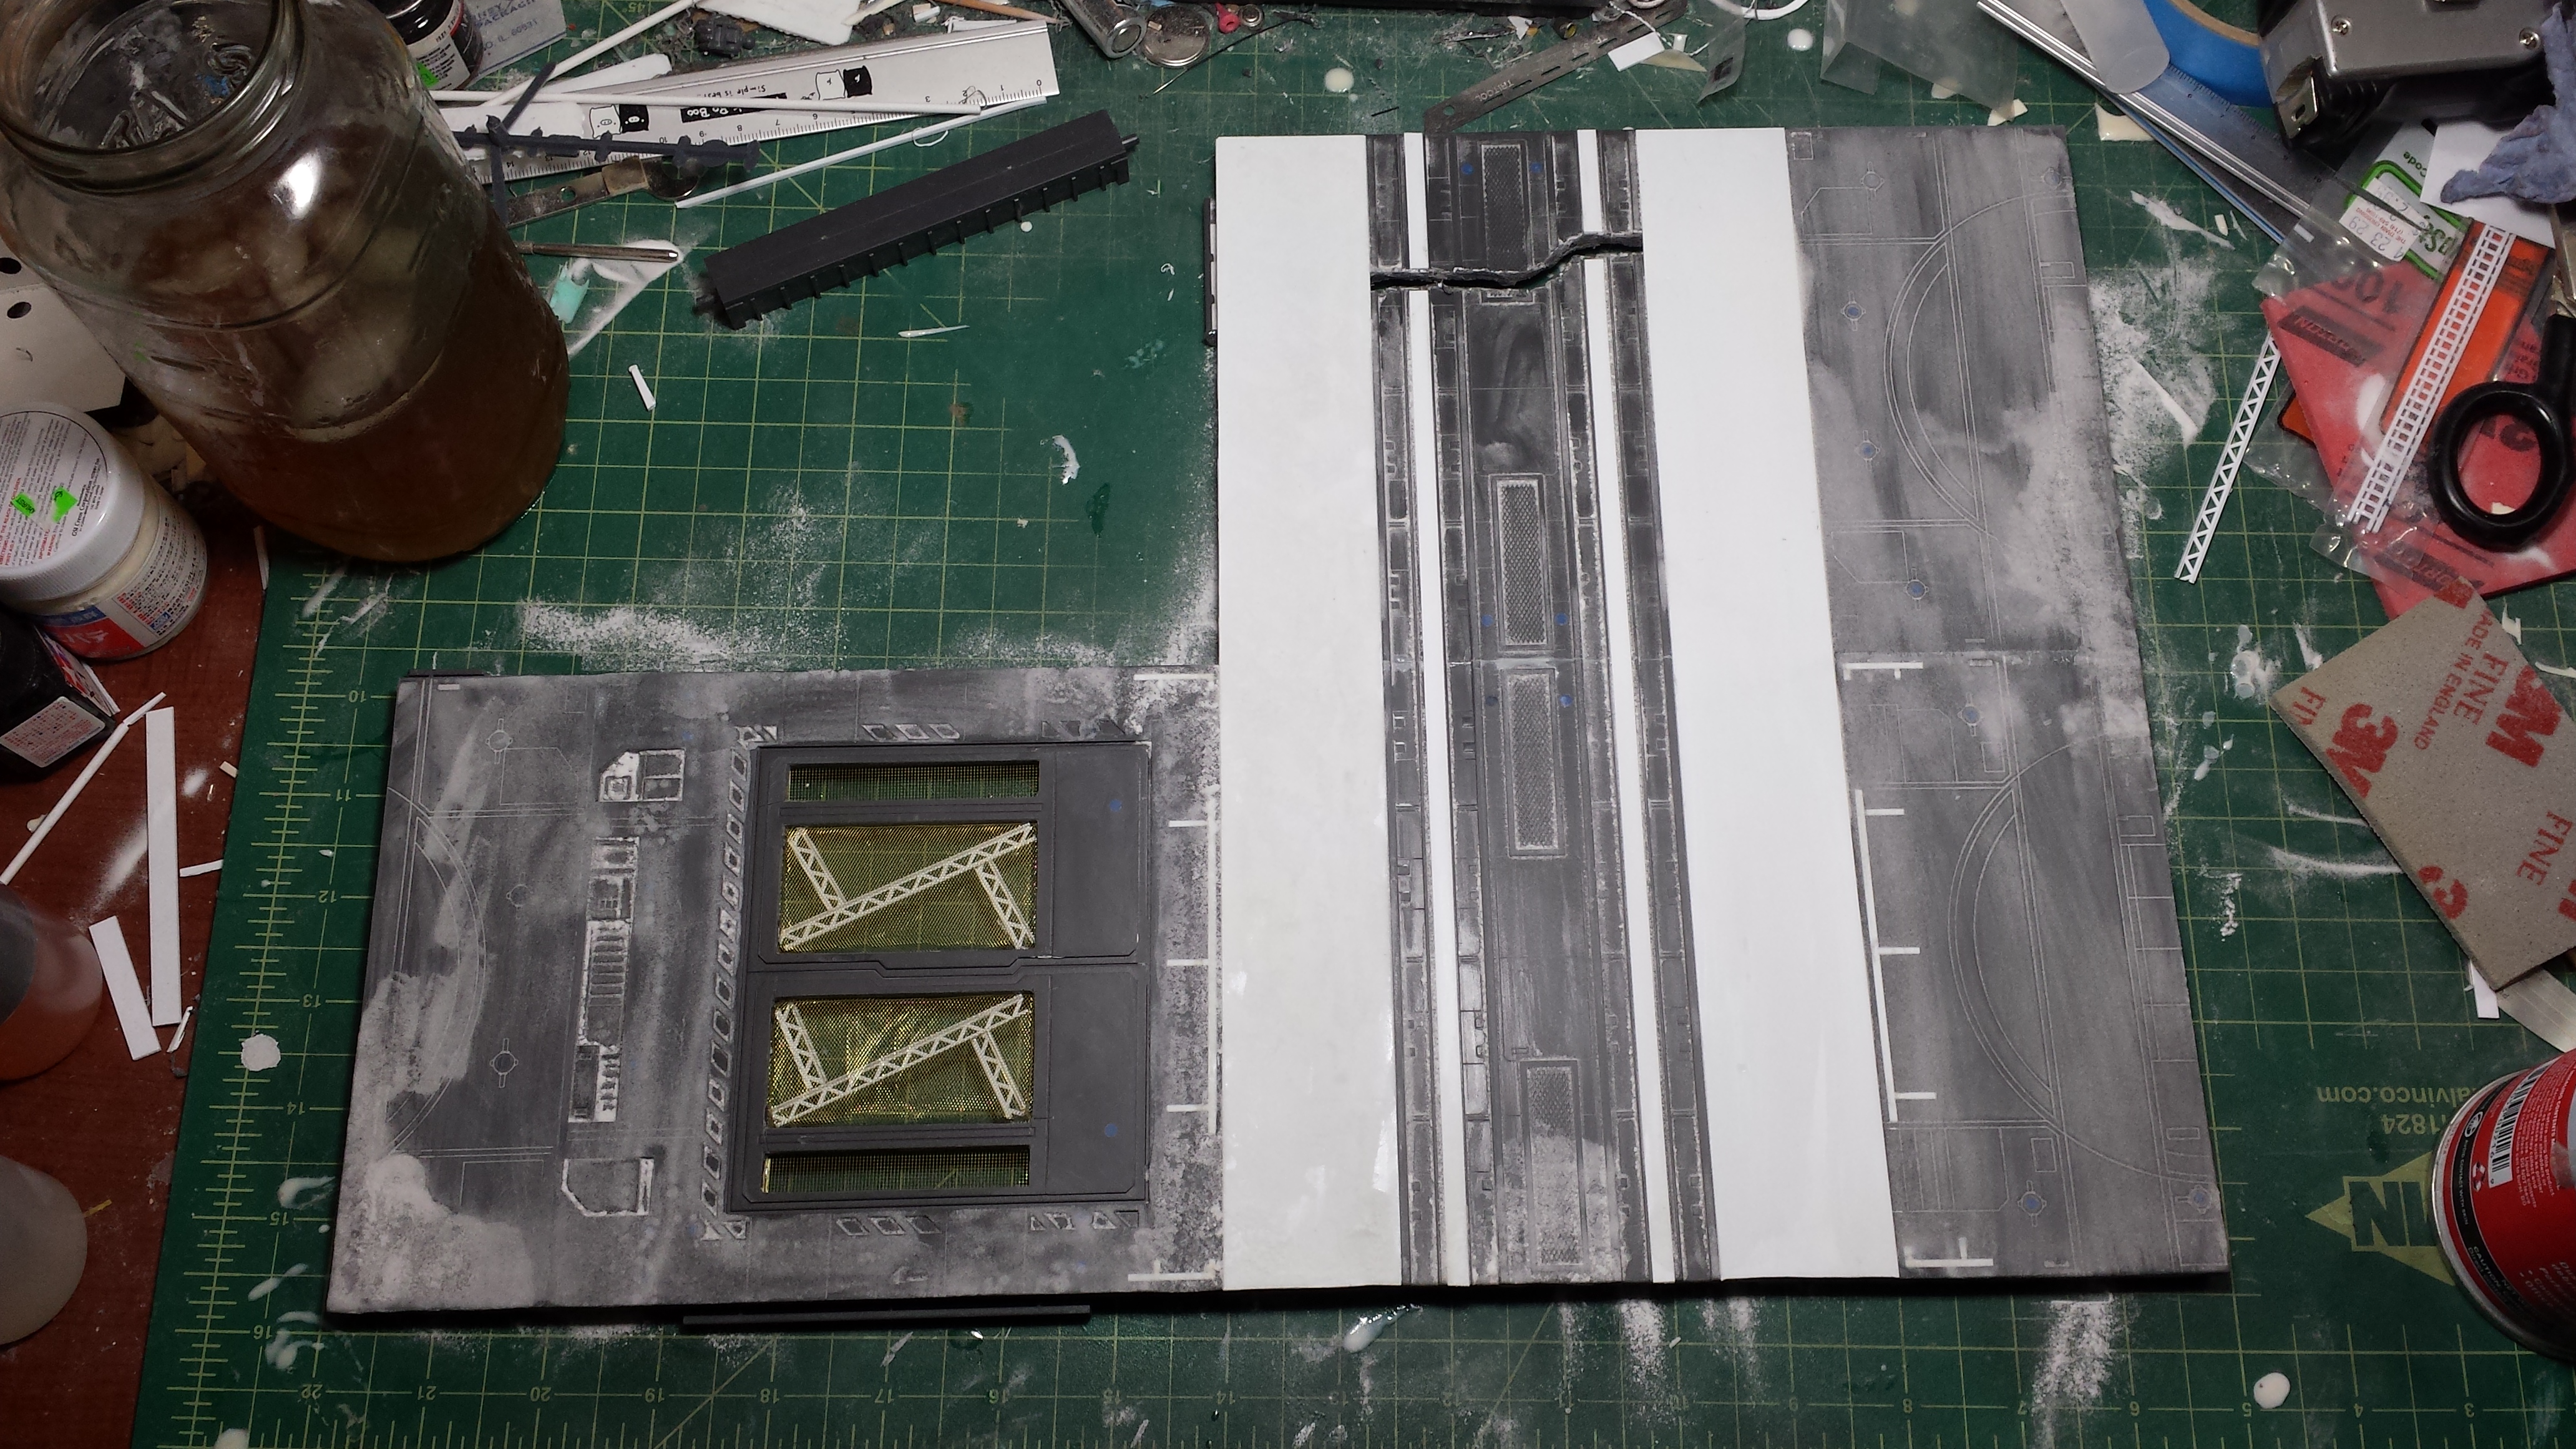
Last week, time was spent applying a pavement texture to the surface of the plastic base. With all the holes filled or covered with plastic the surface was ready.
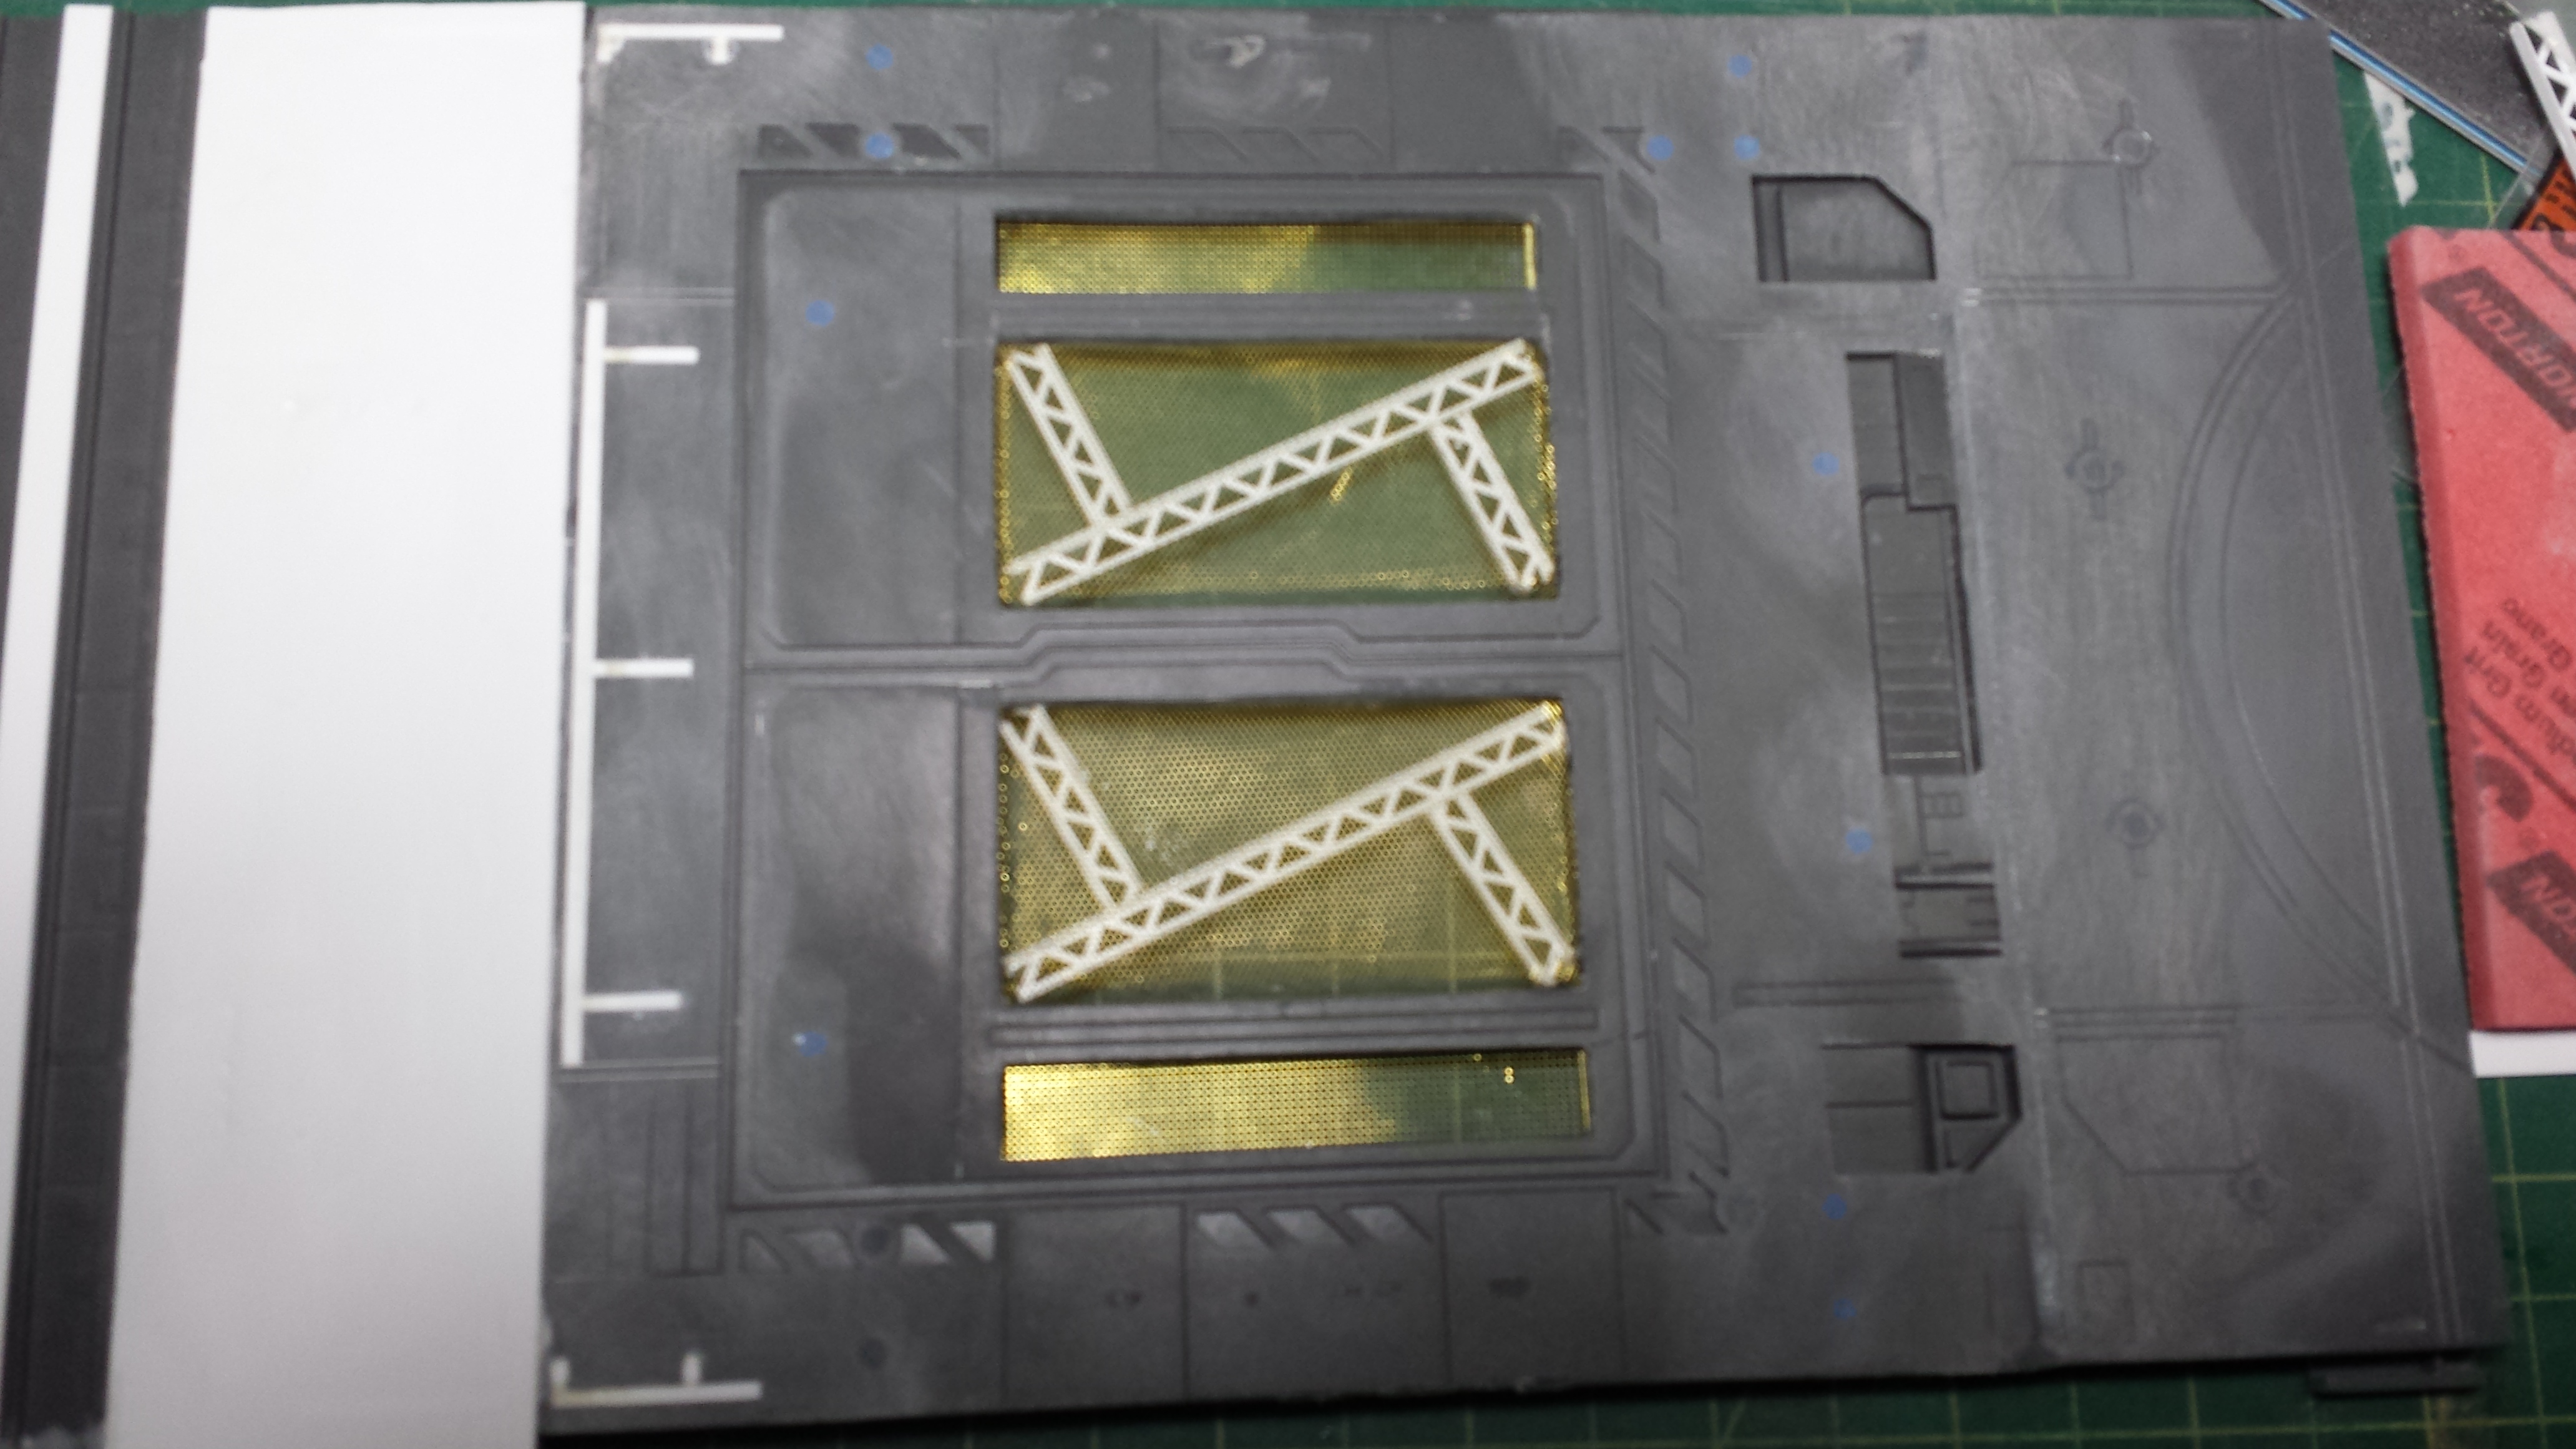
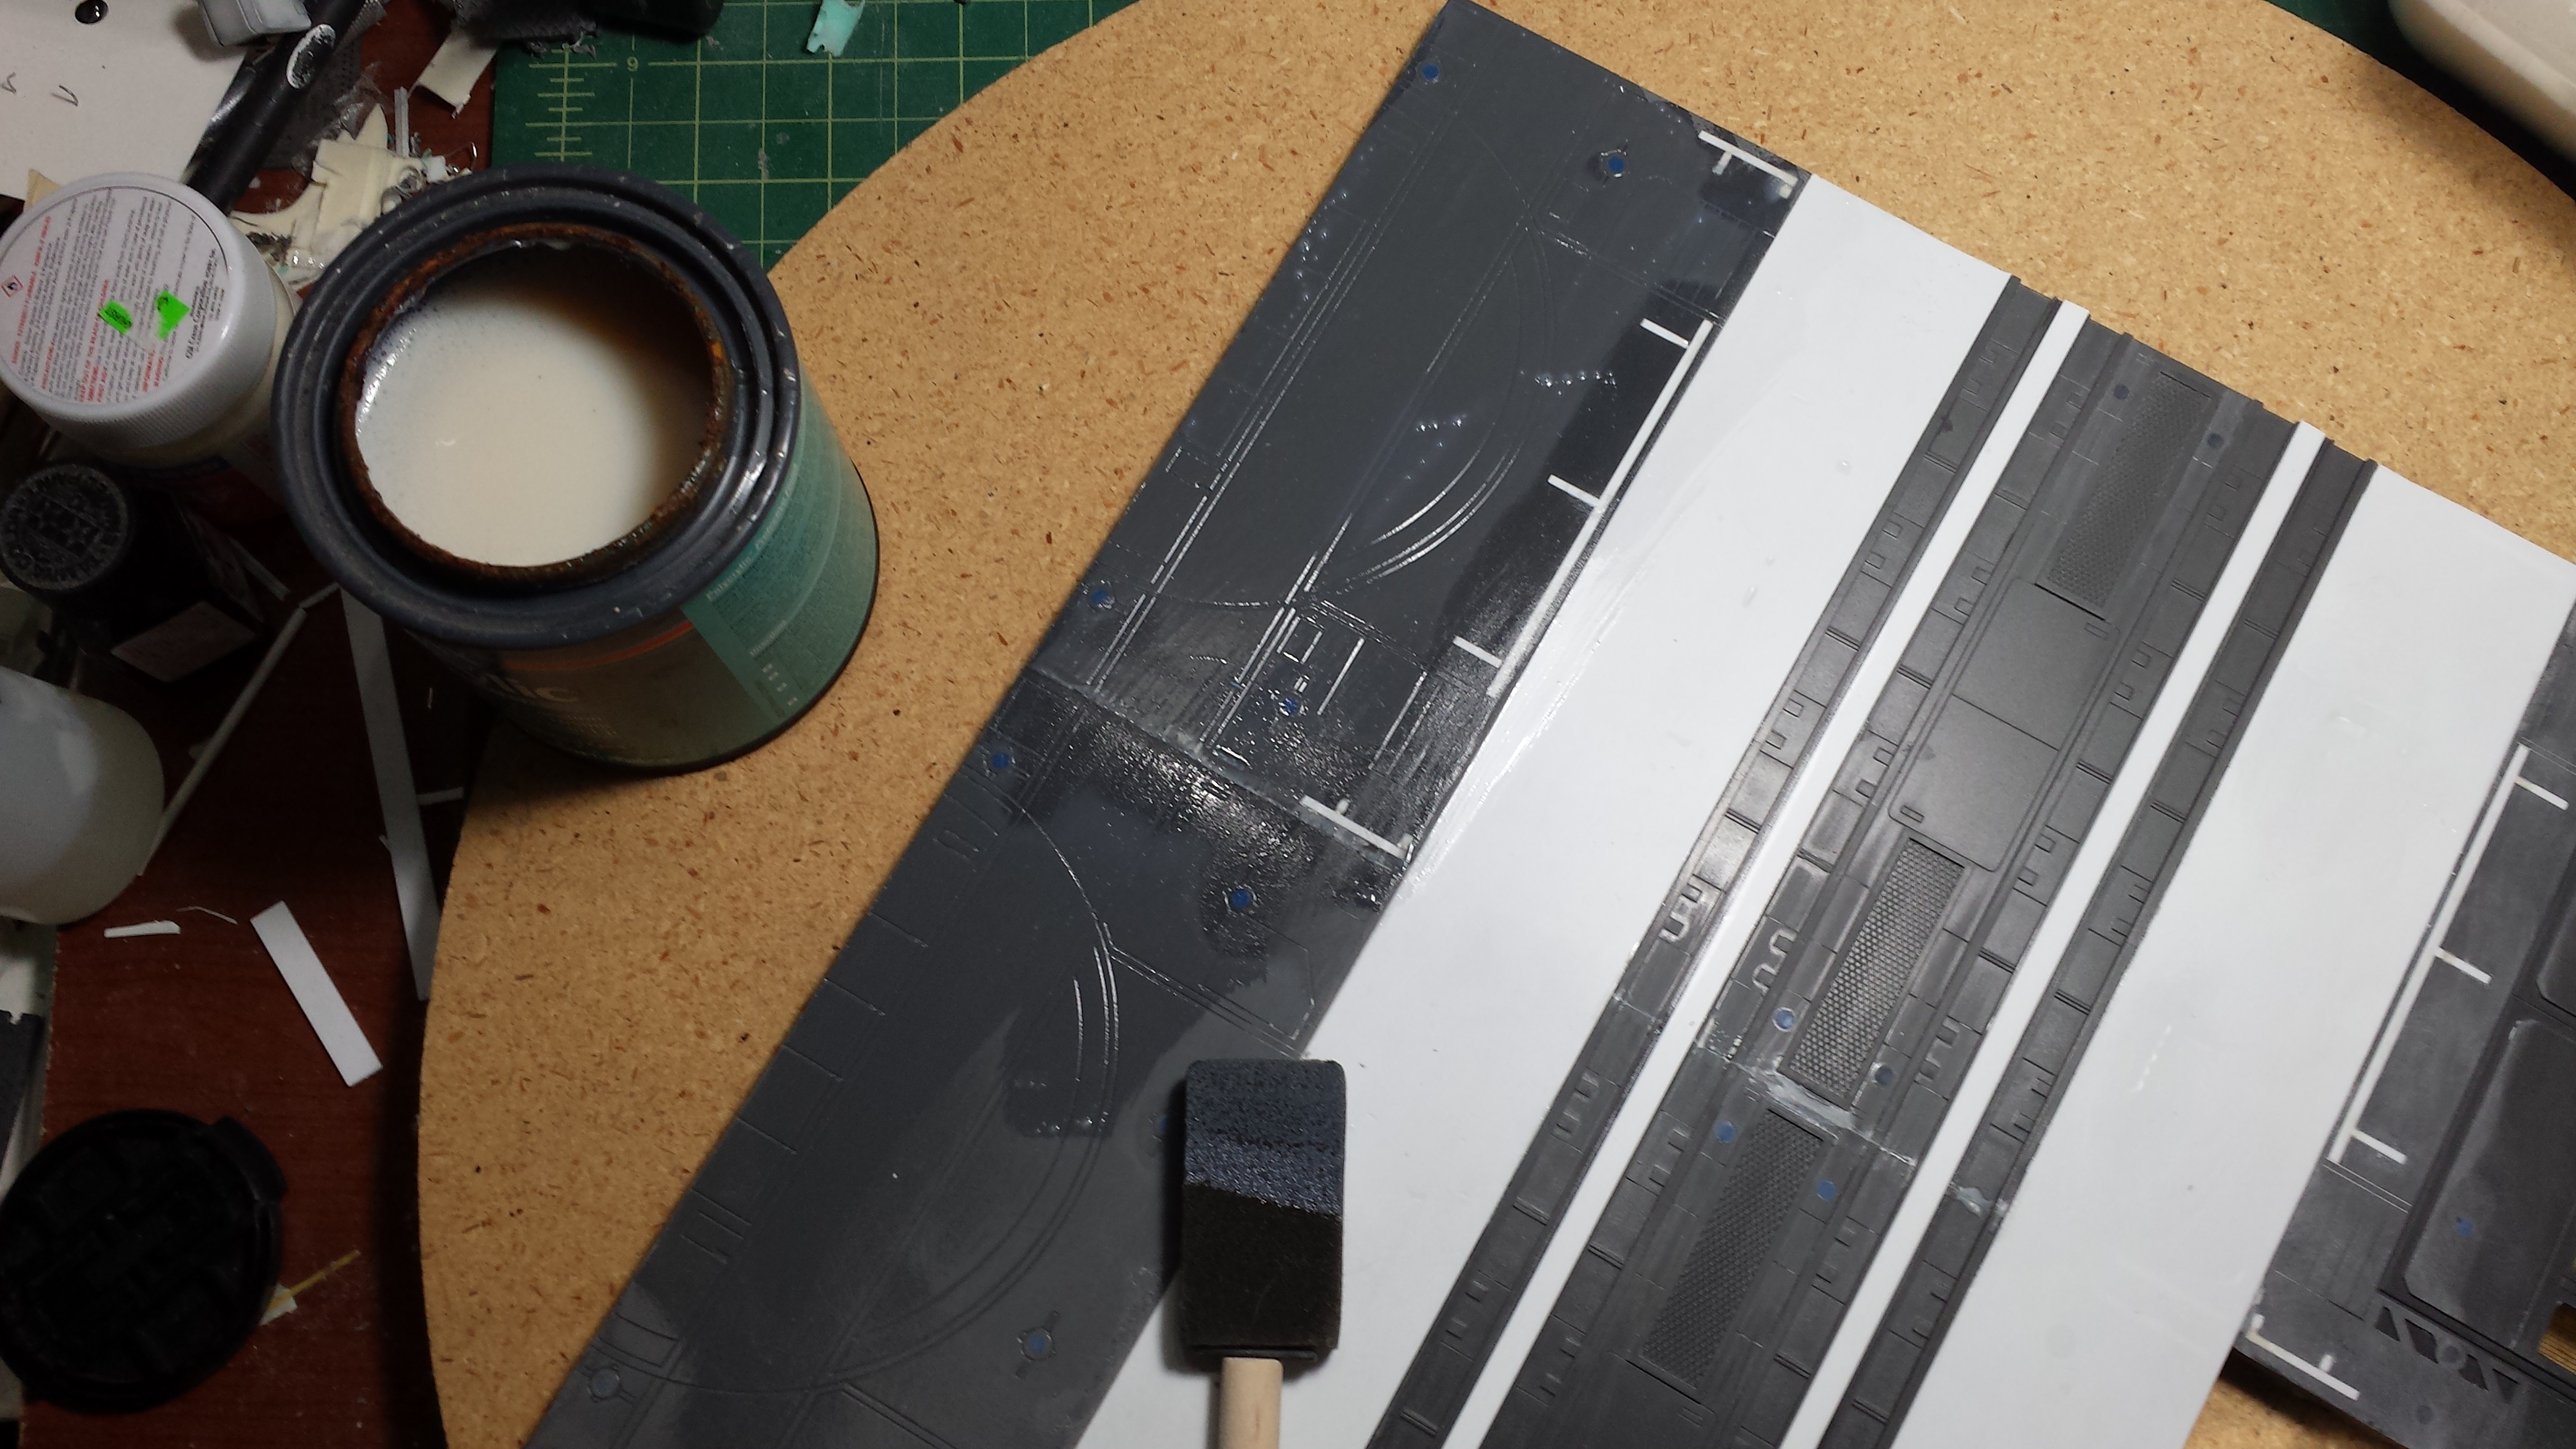
First thing done on the base since the last update was to till in the hole that I cut out. For this, I glue in some metal mesh, and for some detail, I glued in some styrene structure.
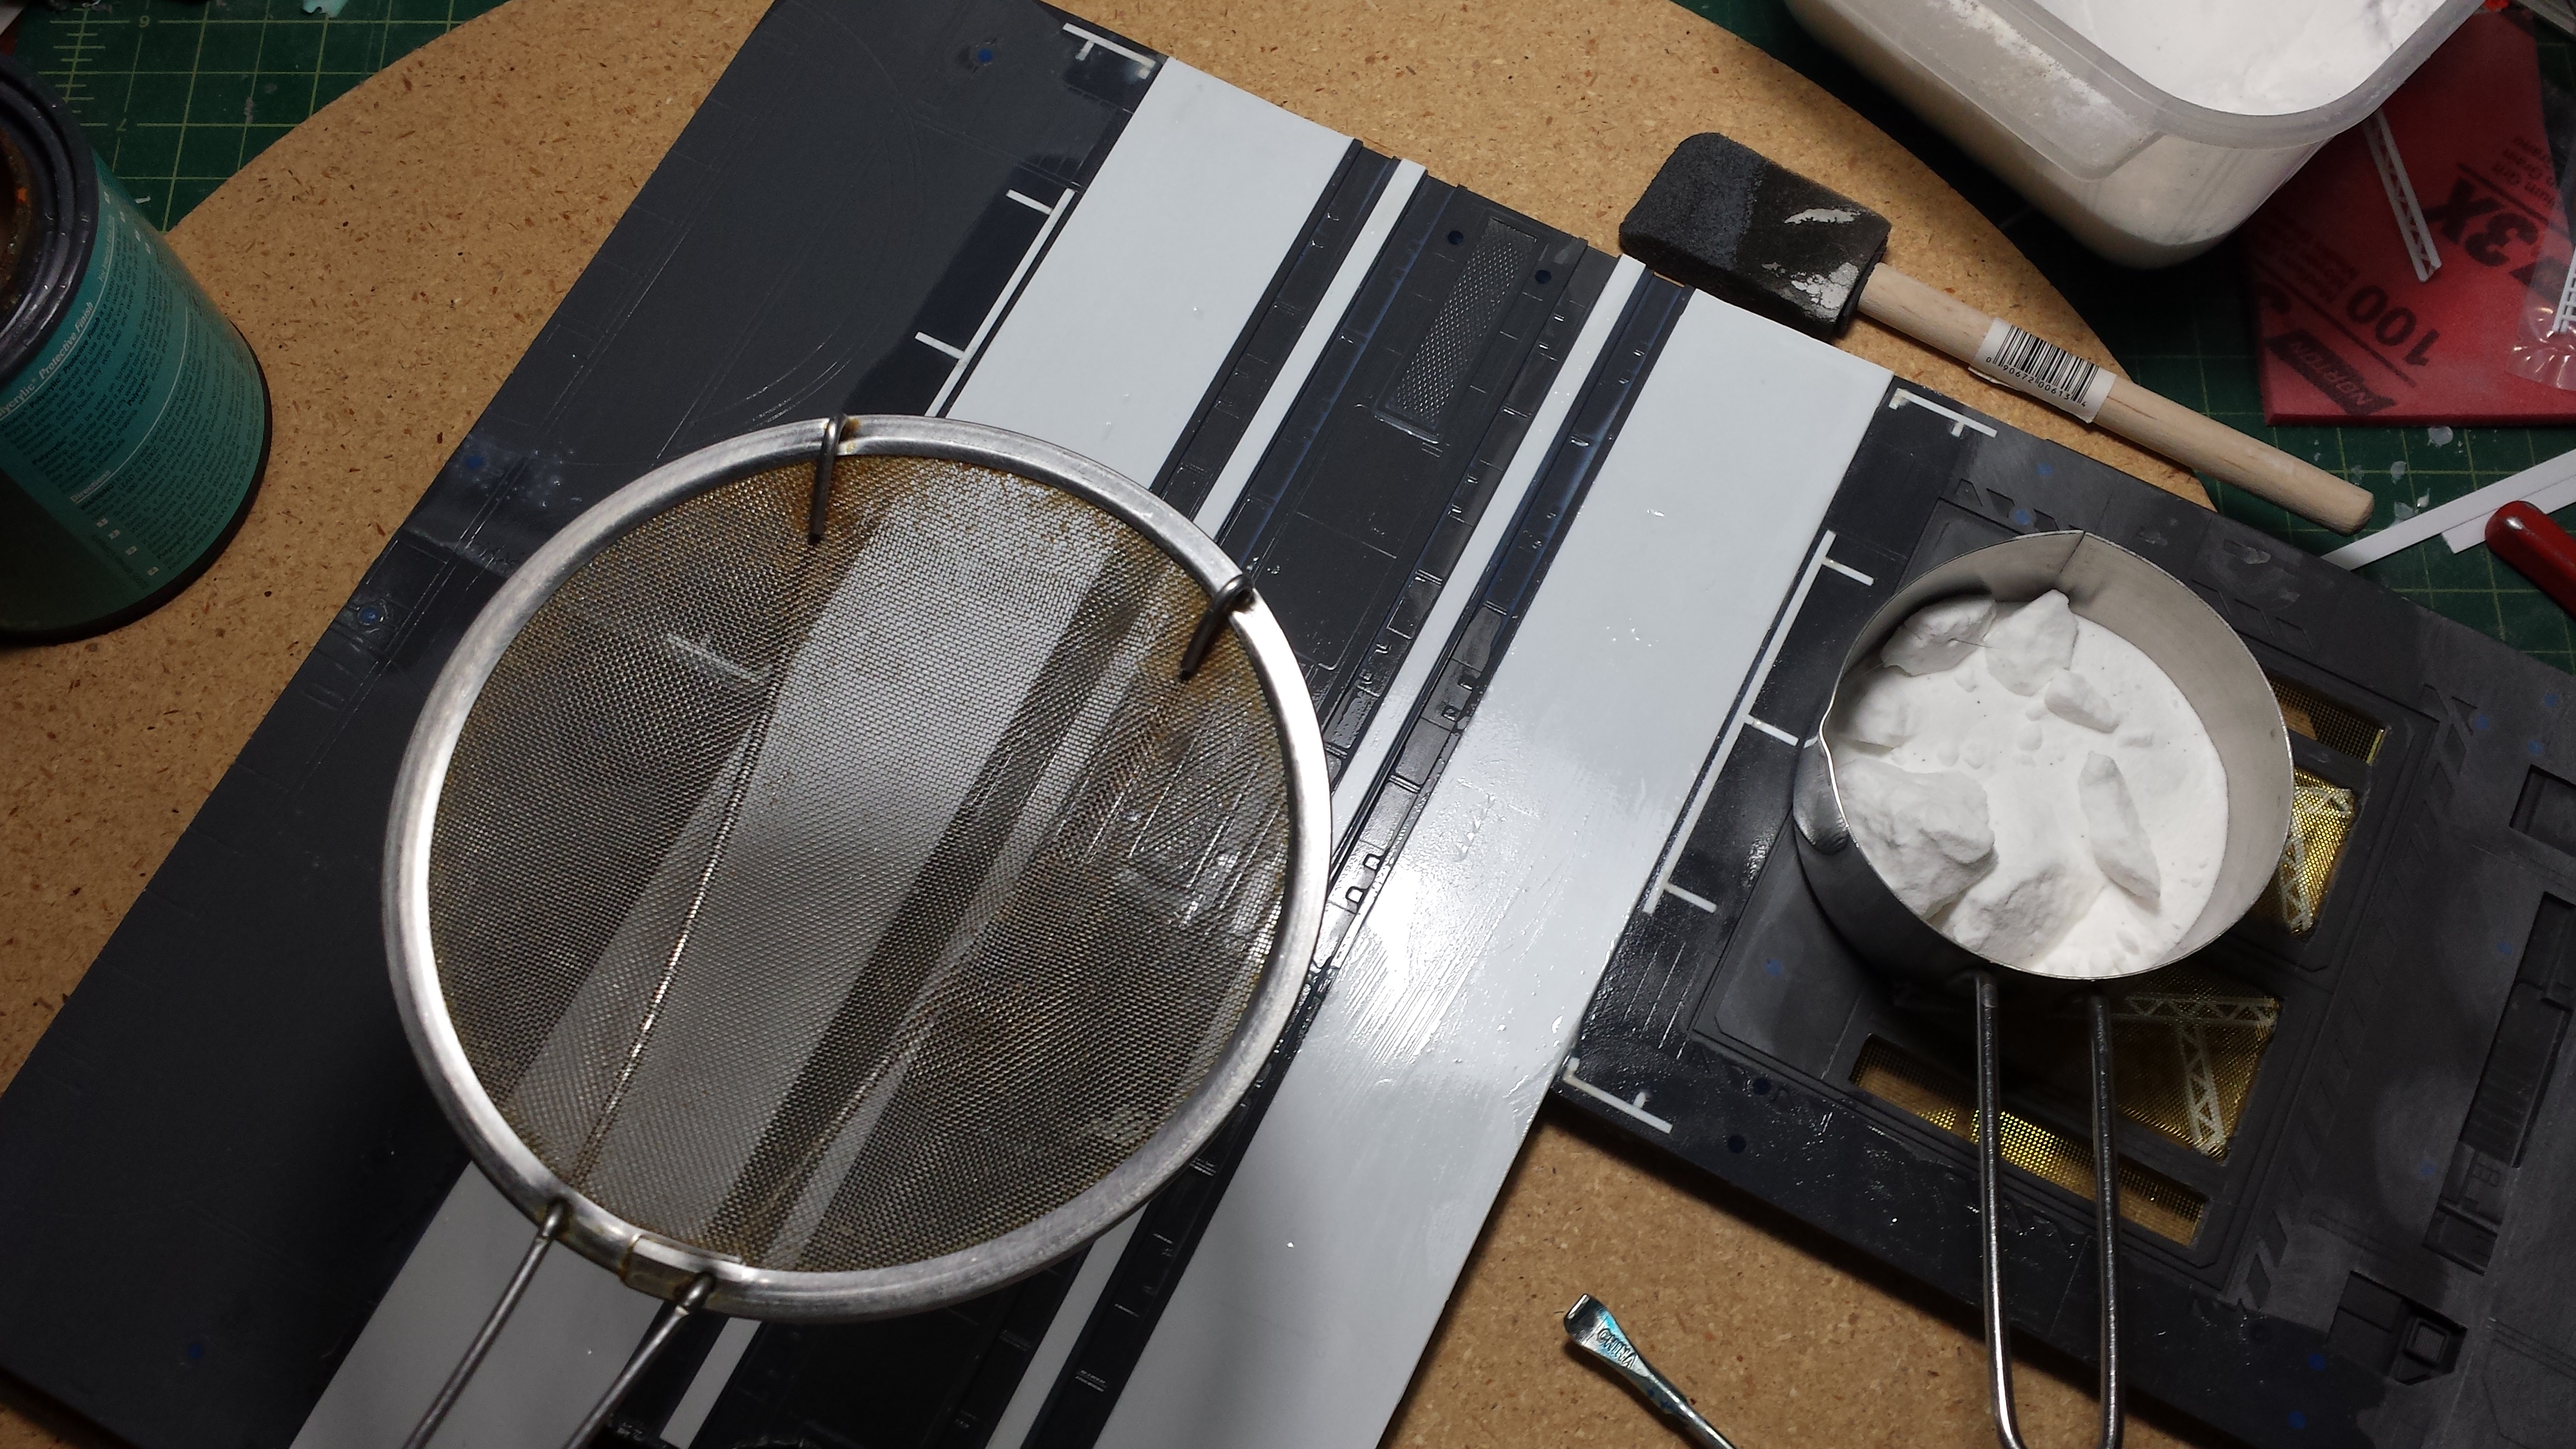
Once that set up, I grabbed some clear acrylic medium, a sponge brush, baking soda, and a wire mesh for sifting the baking soda.
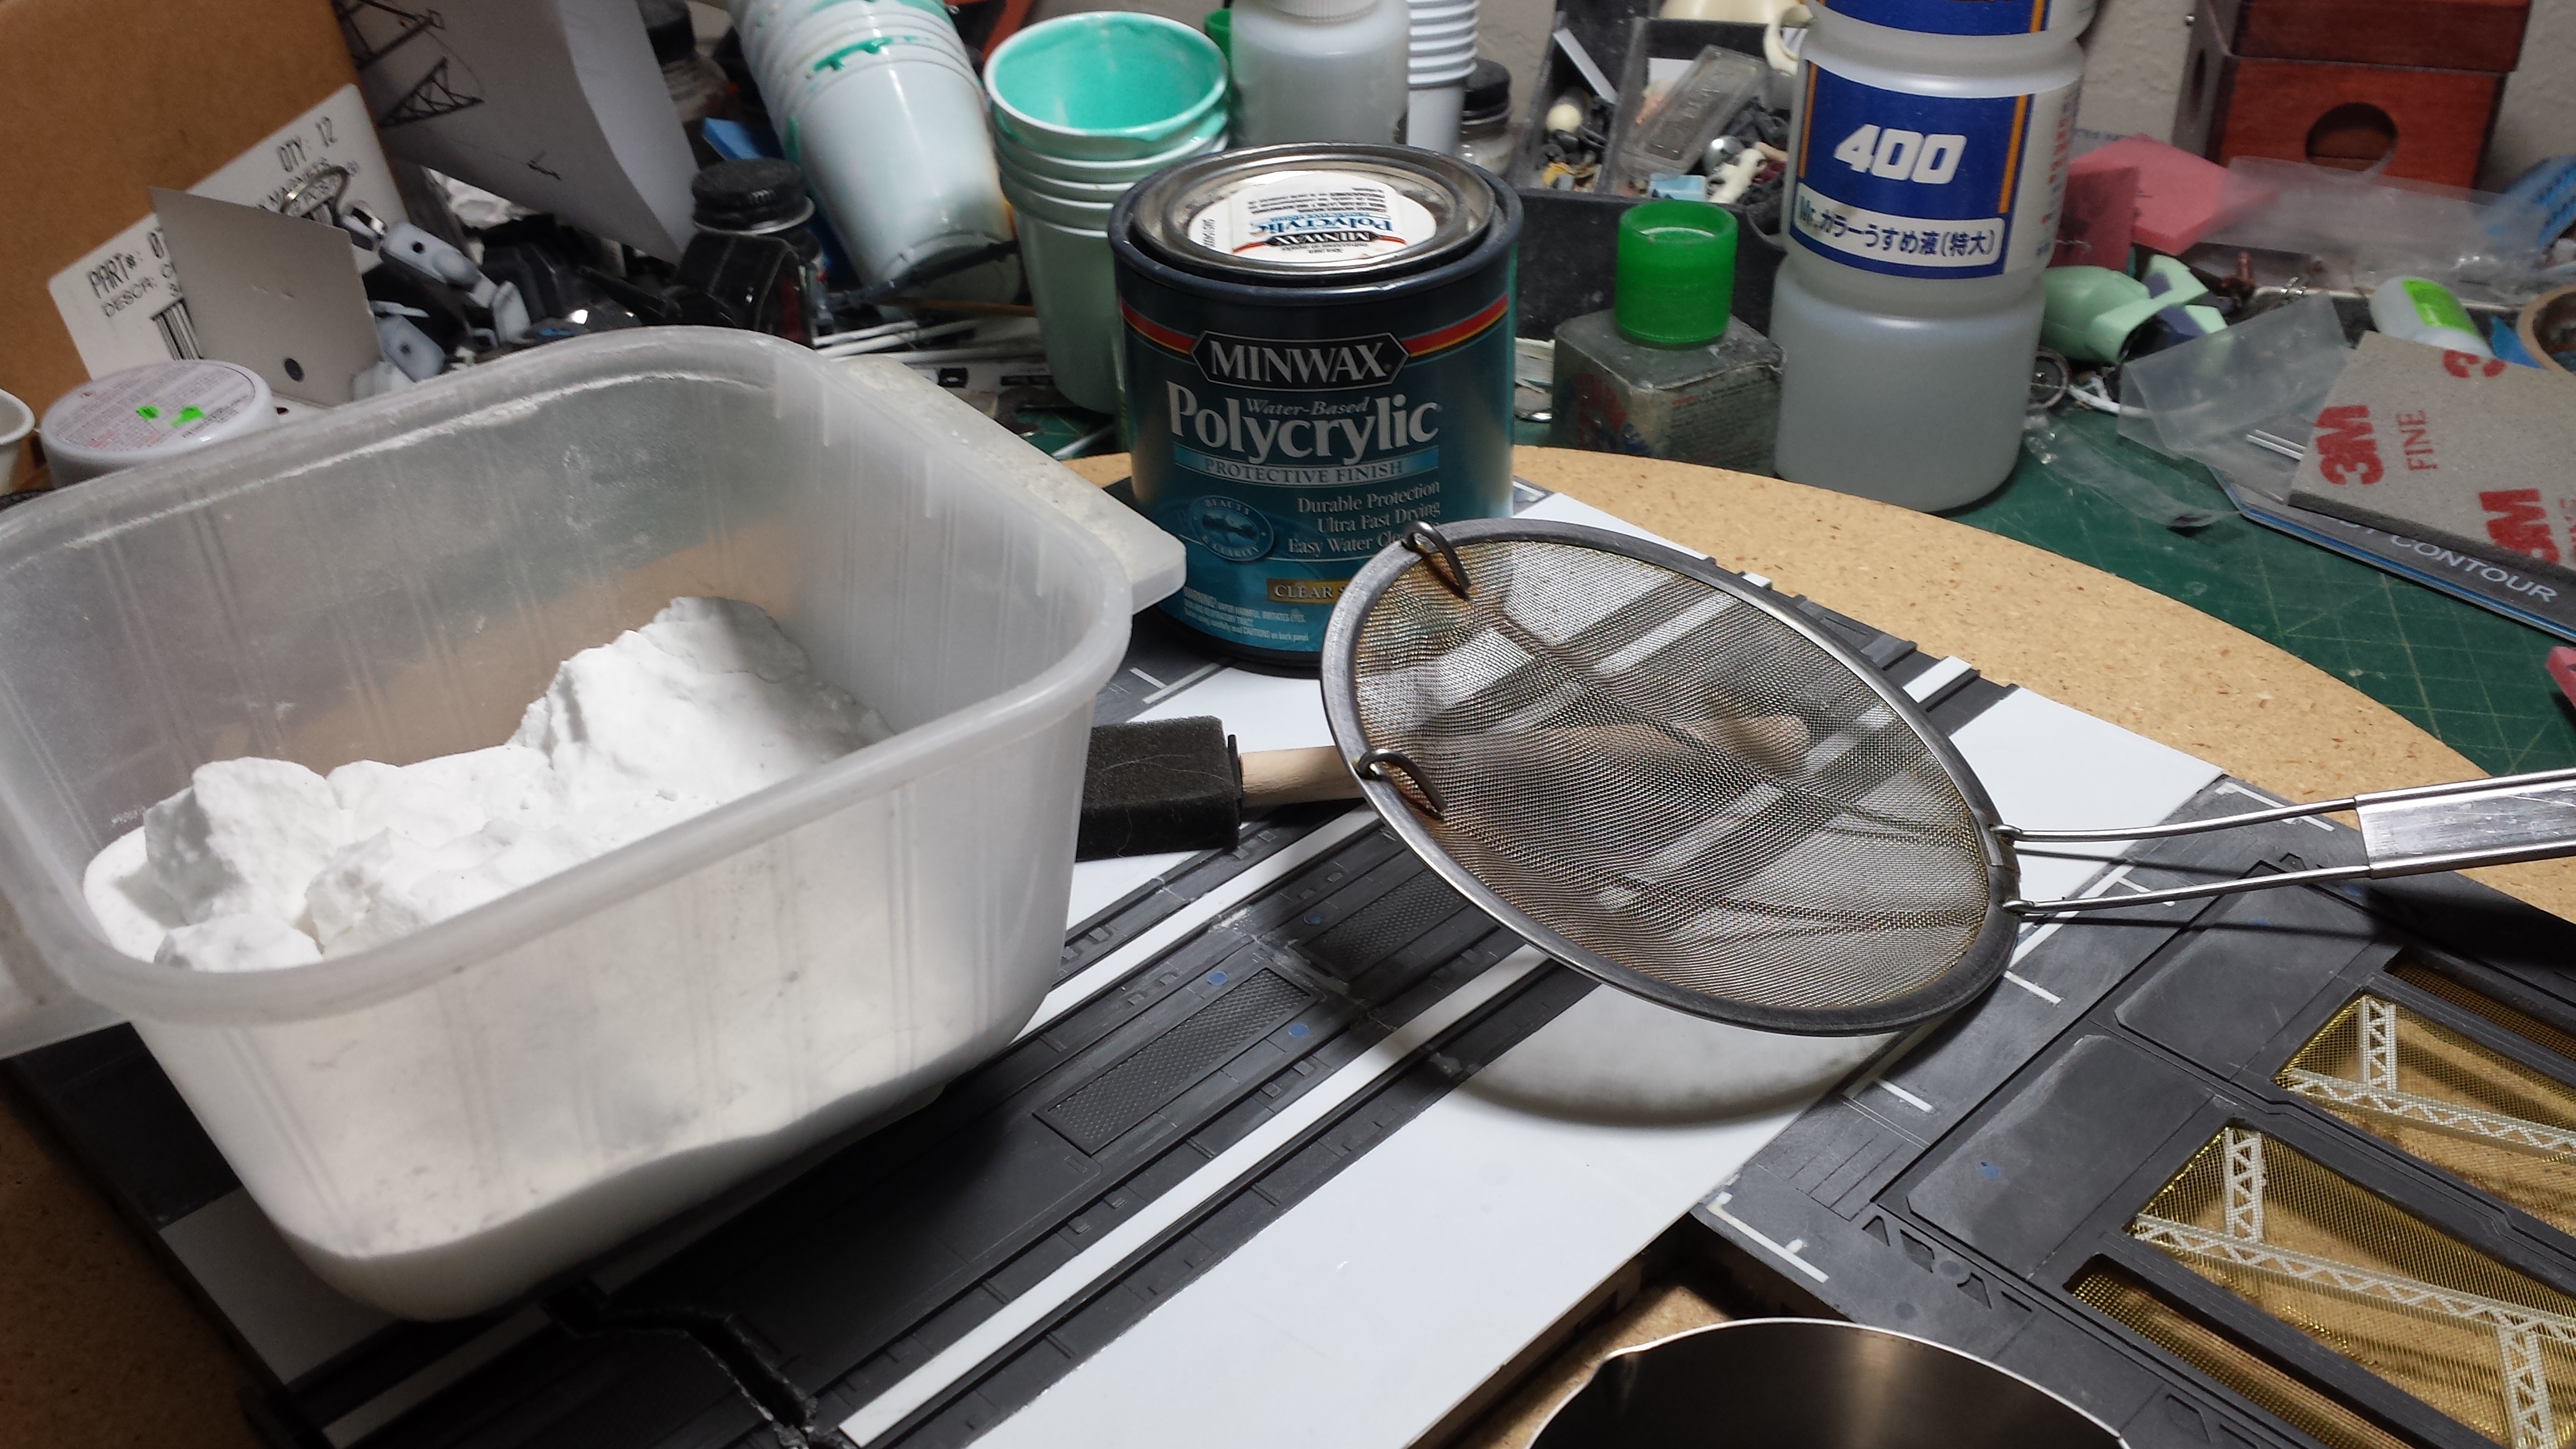
The acrylic medium is painted on to the surface of the base, and while wet, the baking soda is sifted over the wet surface. The base is left to sit over night while the medium dries.
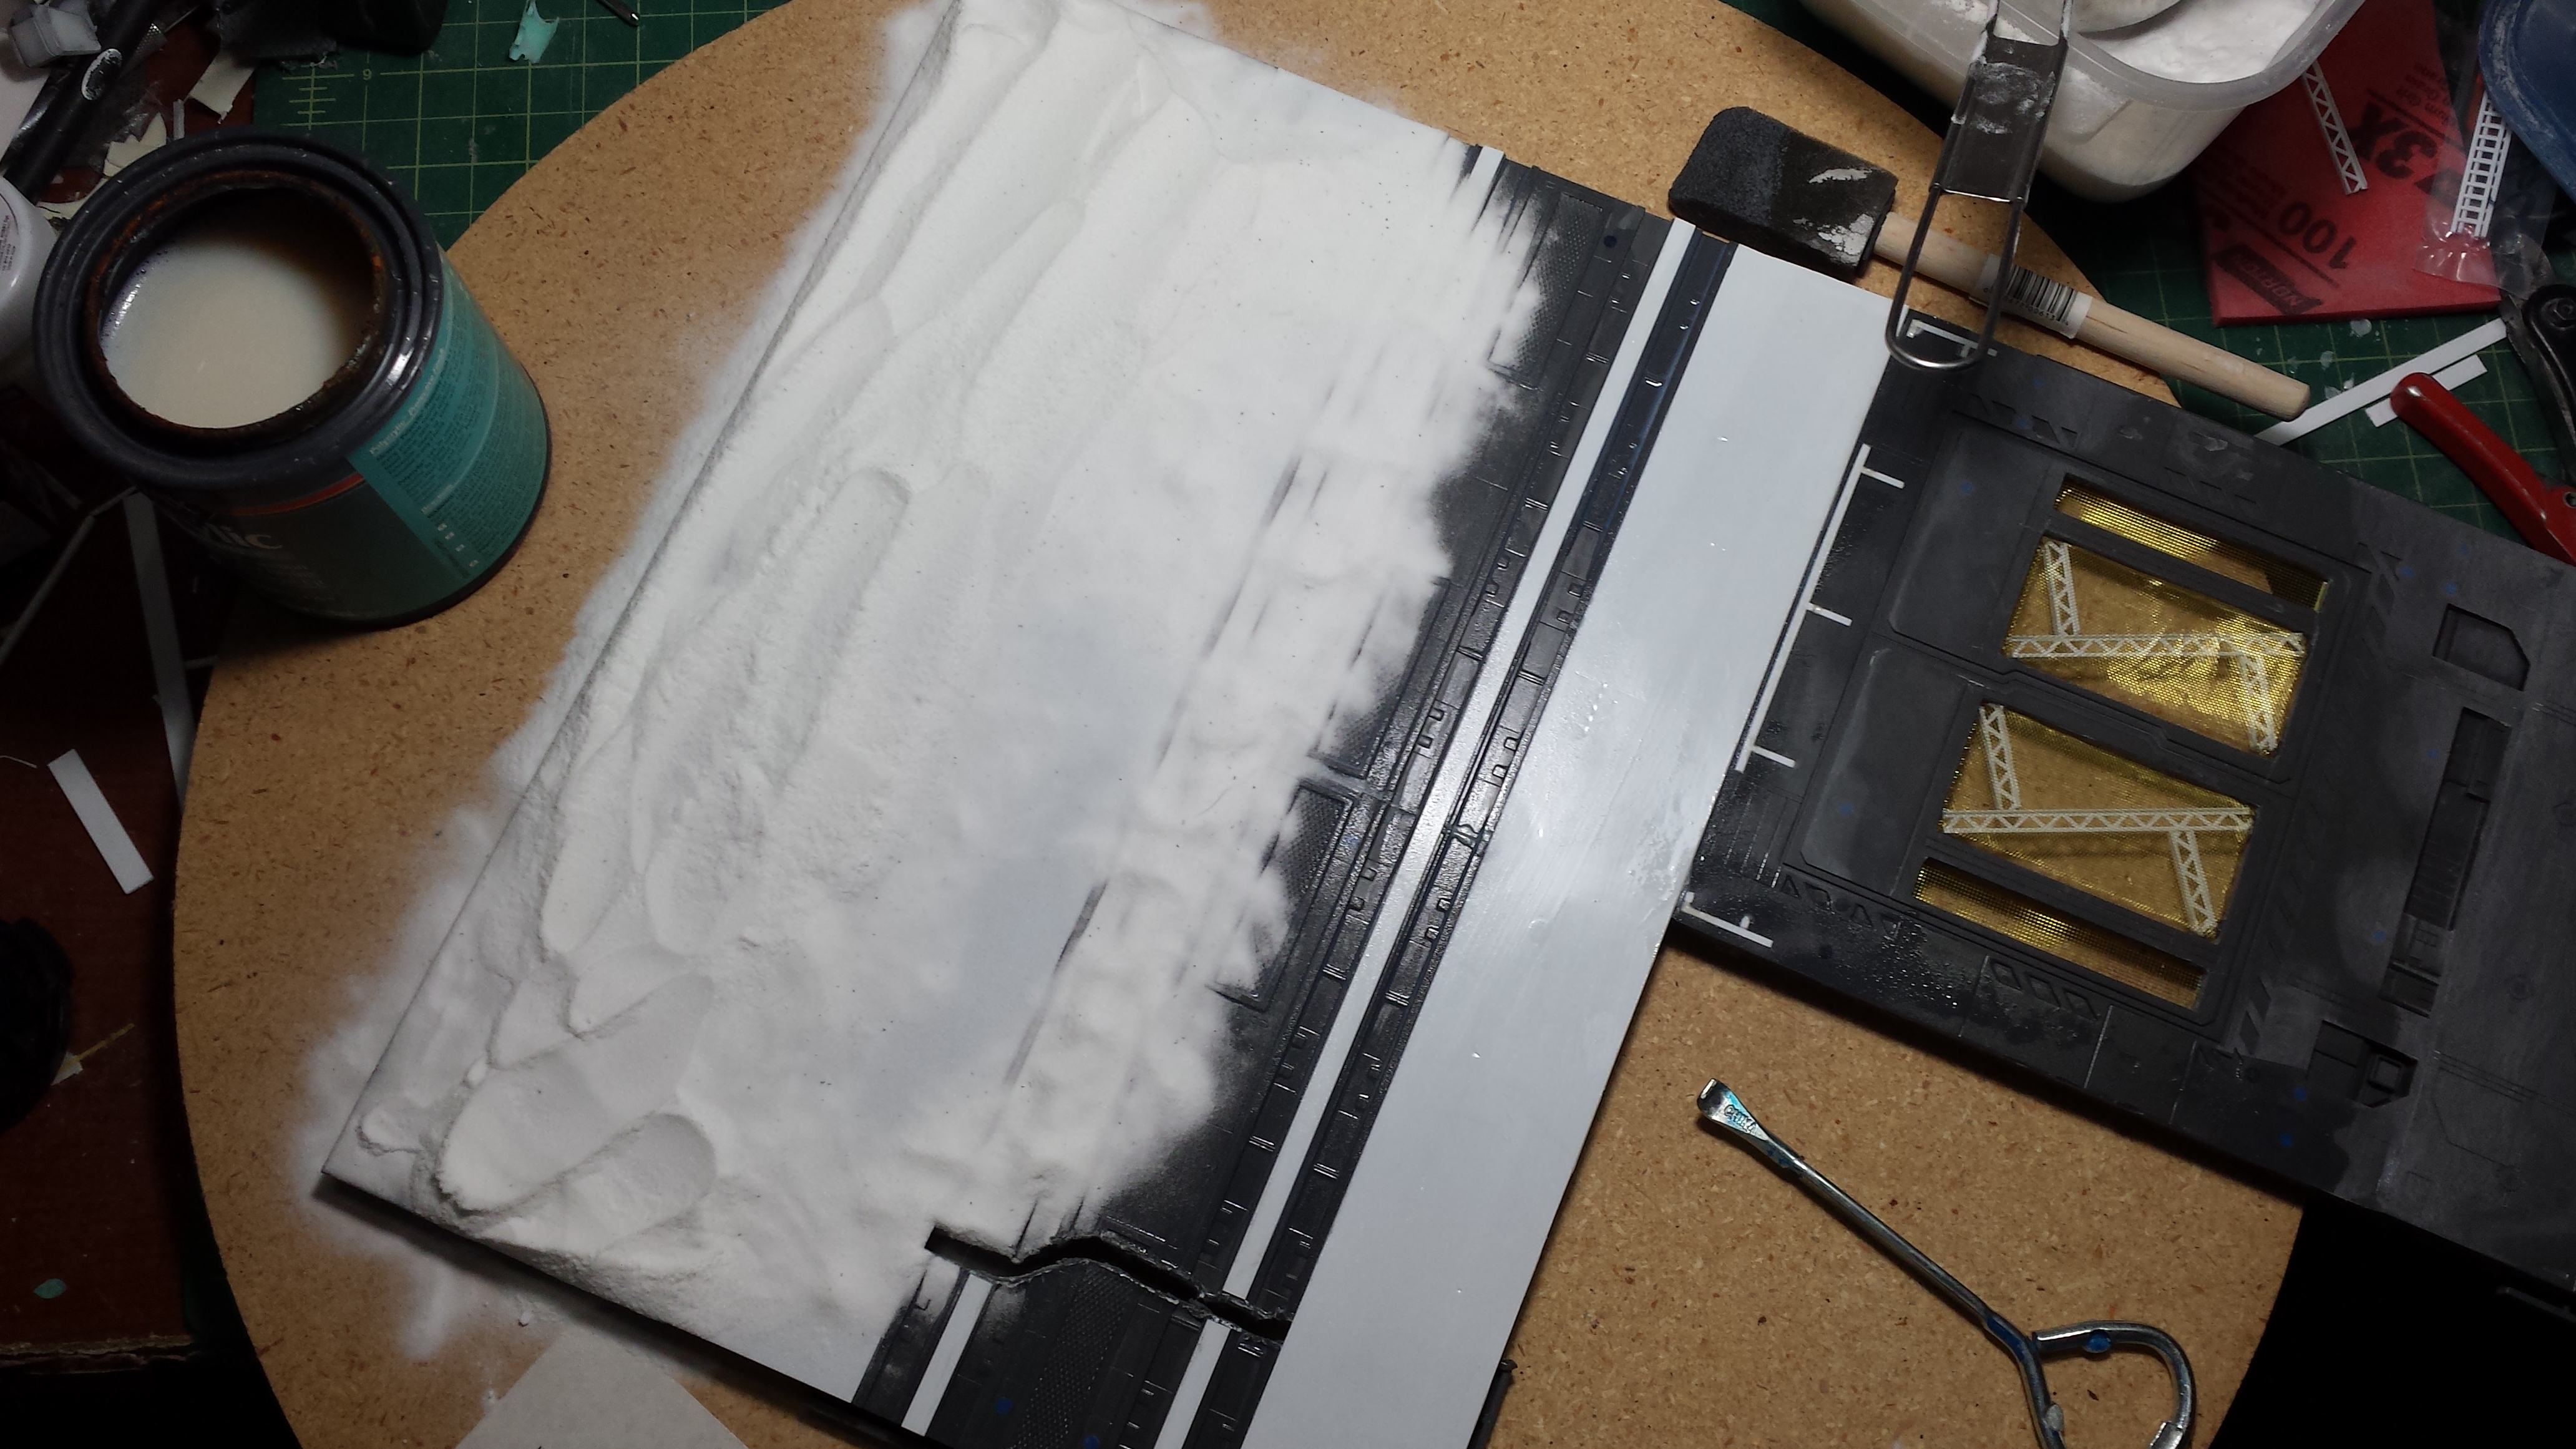
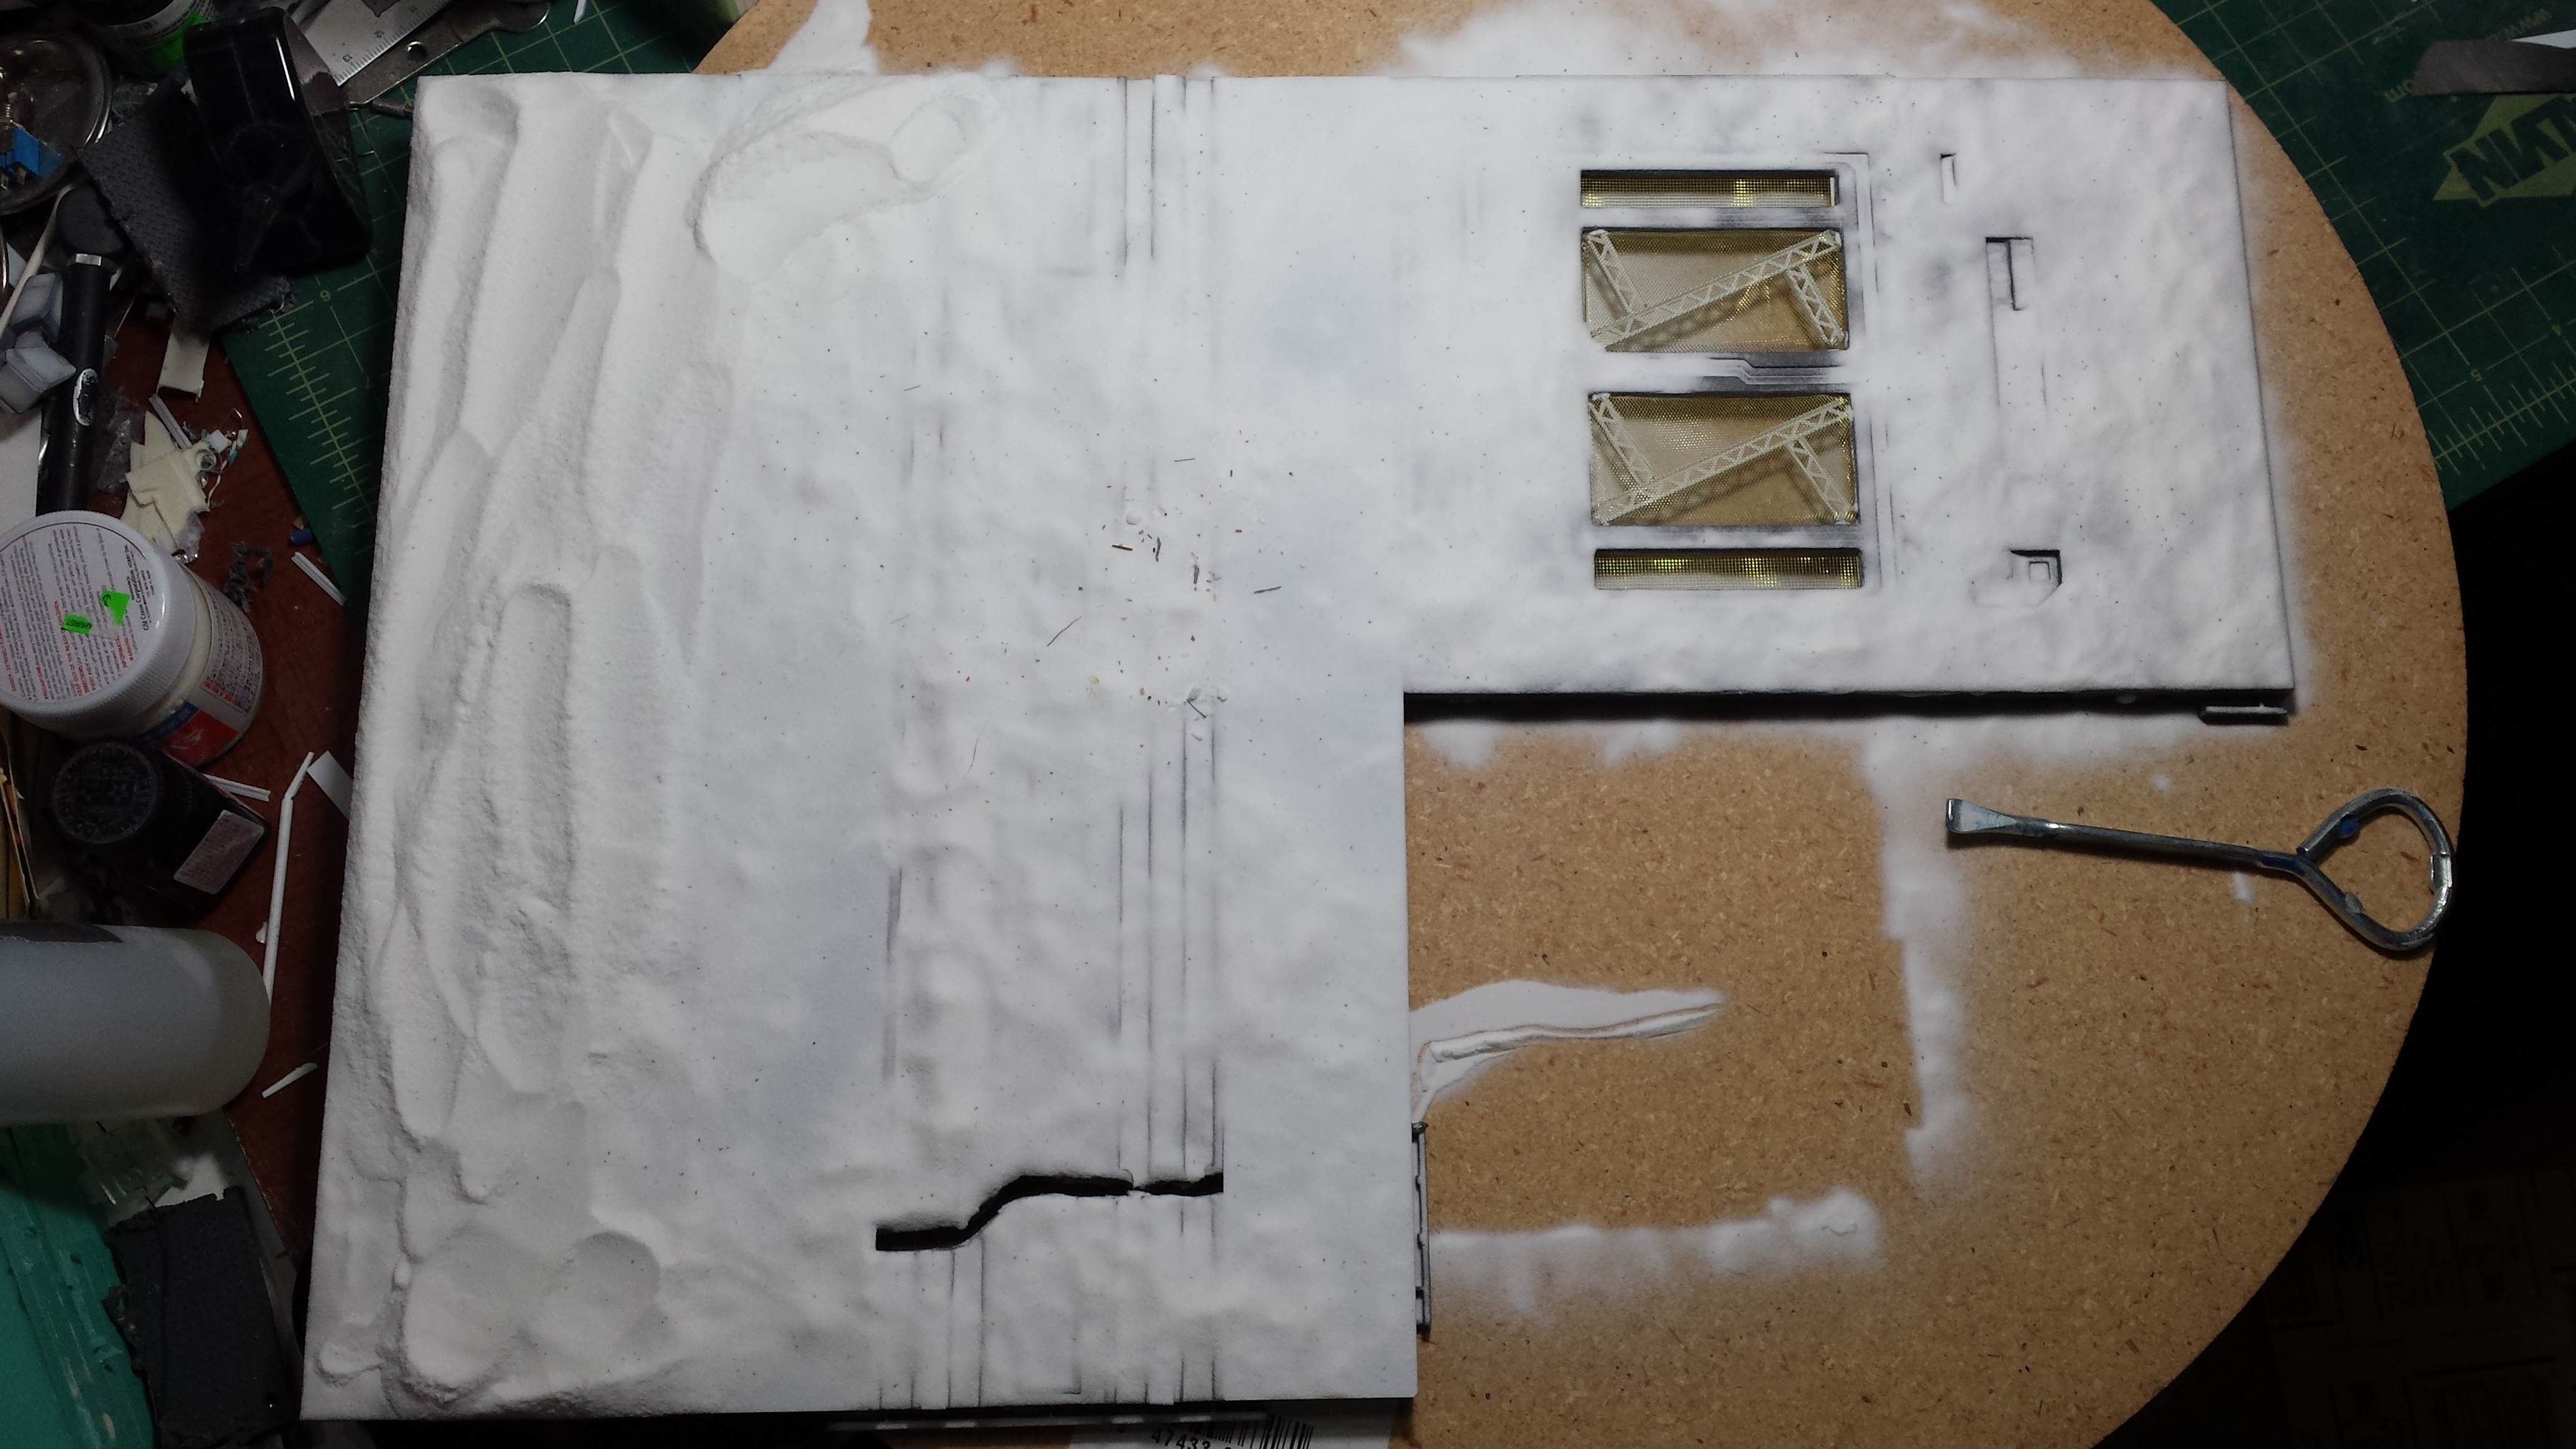
The following day, the excess baking soda is brushed off the surface. And the surface is lightly sanded to level things a bit. Now the surface has a little bit of a rough layer.
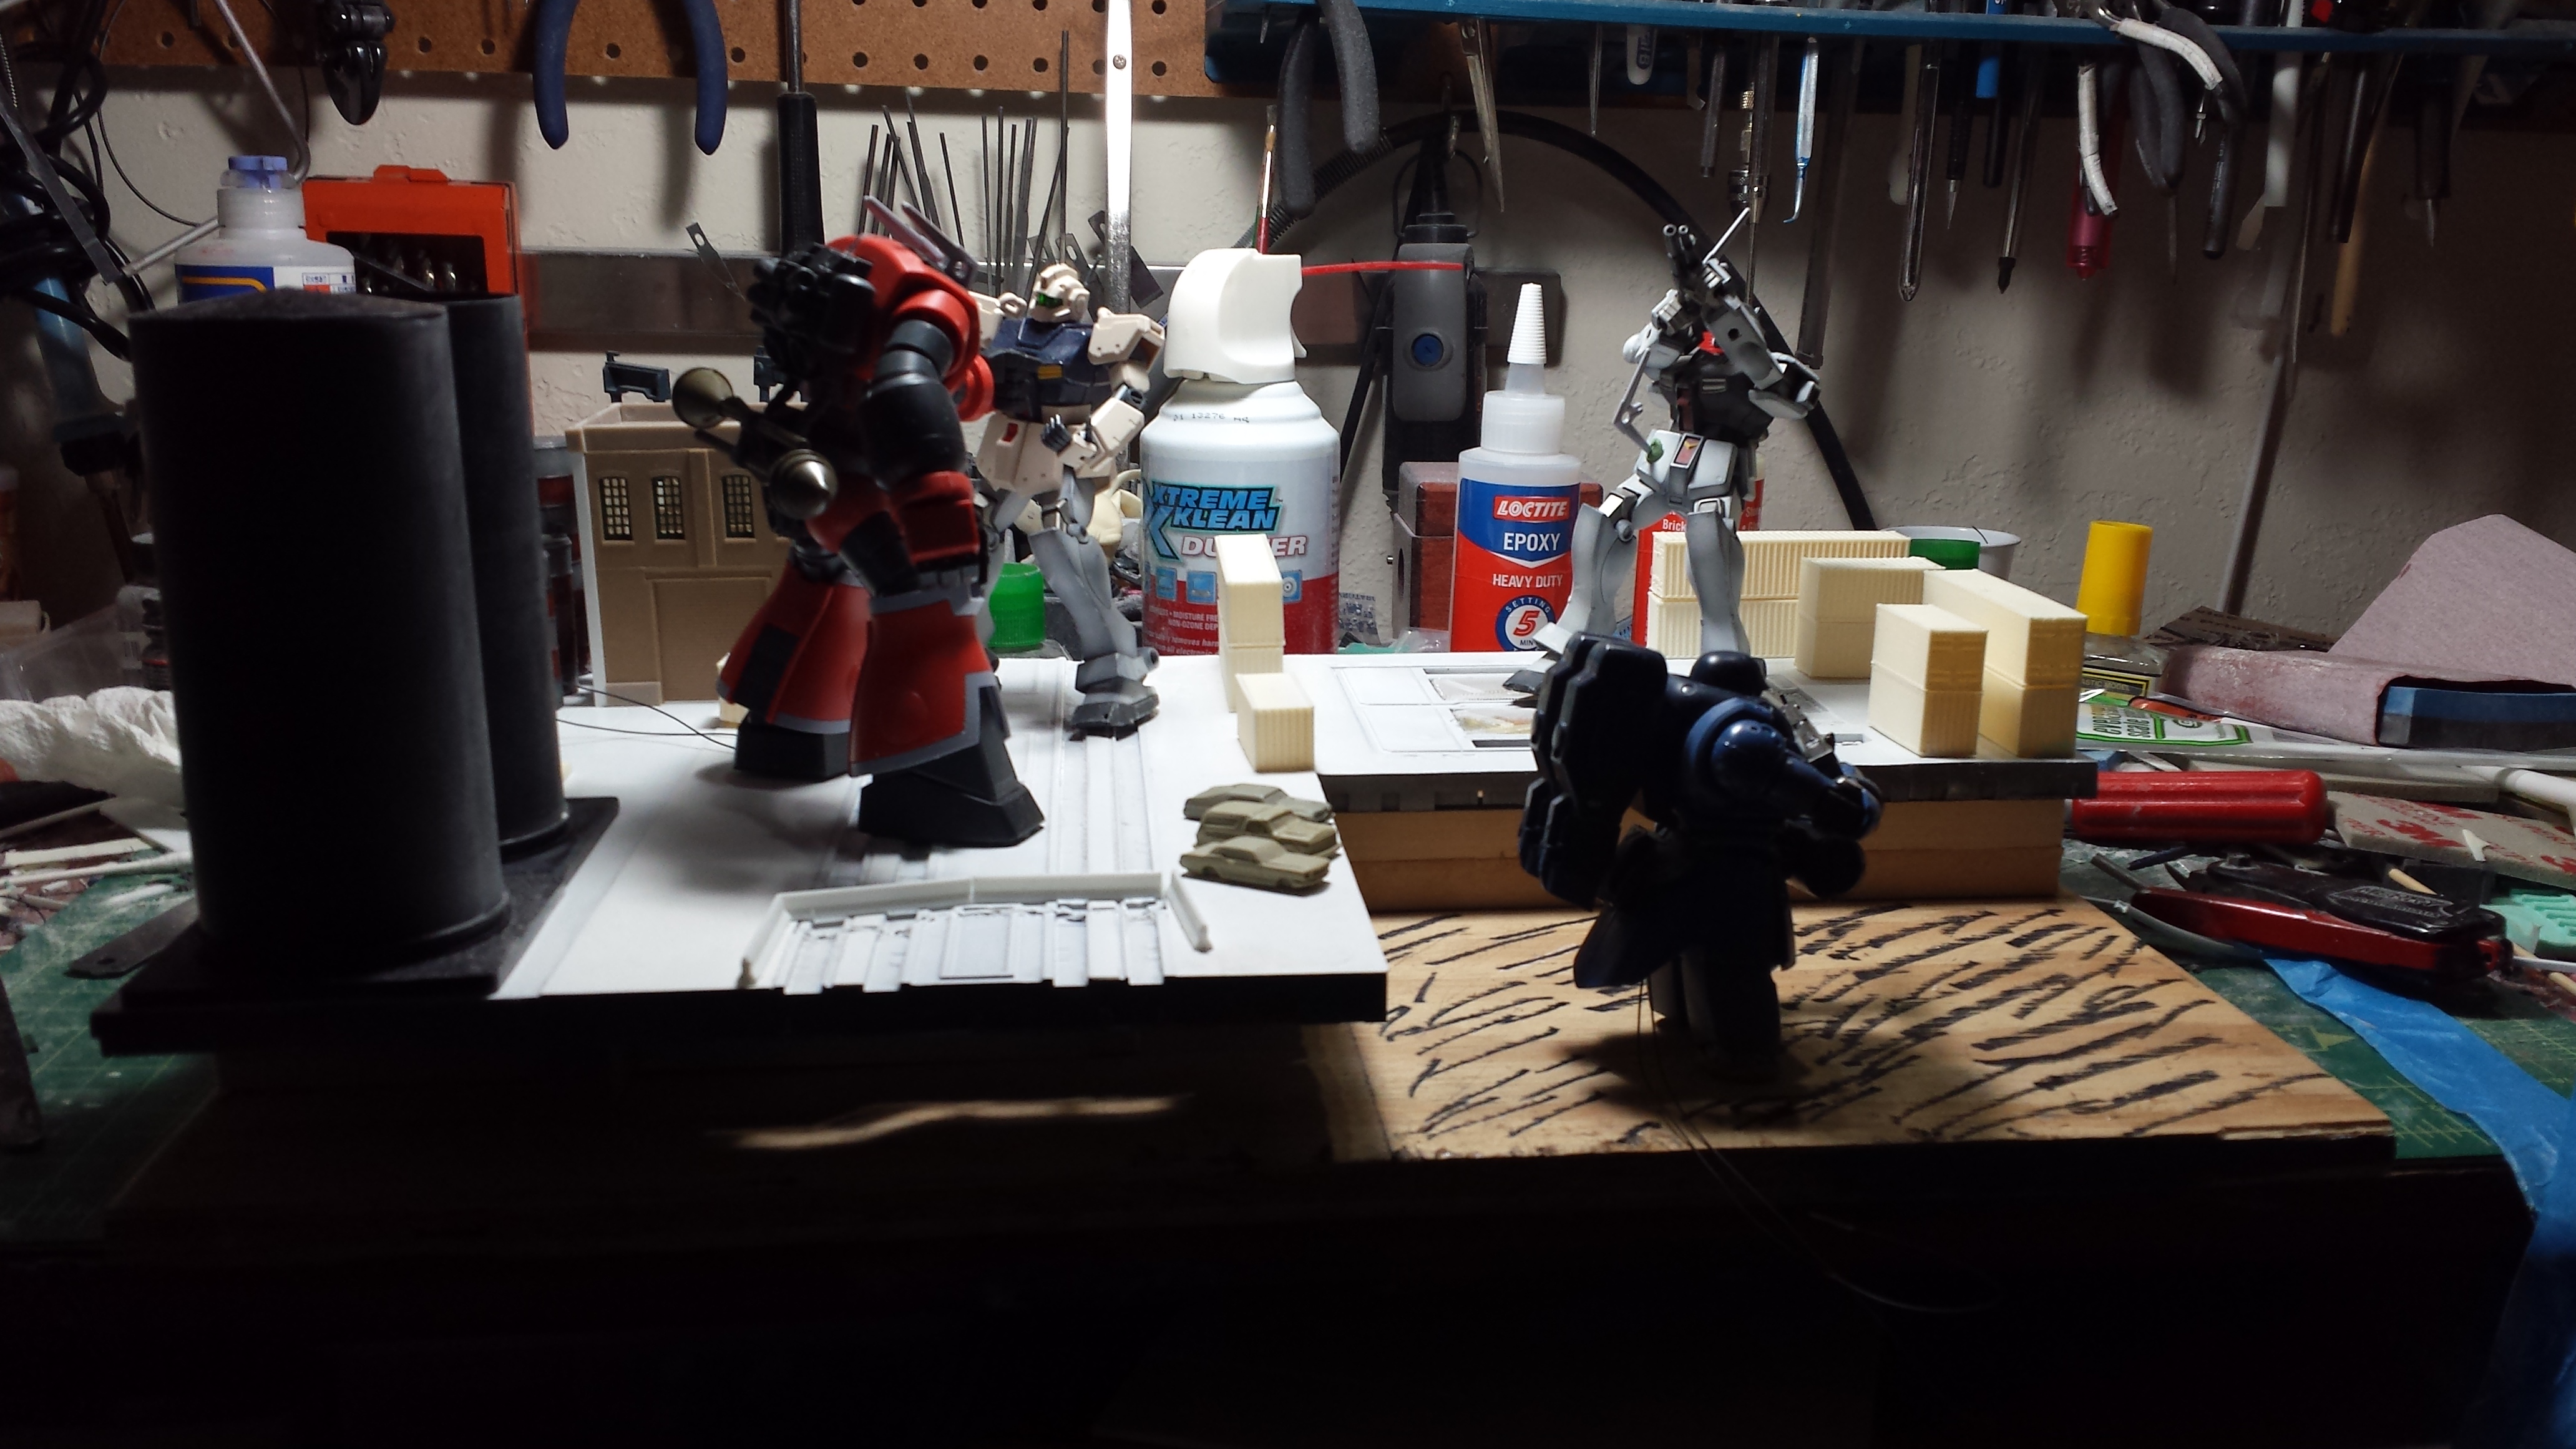
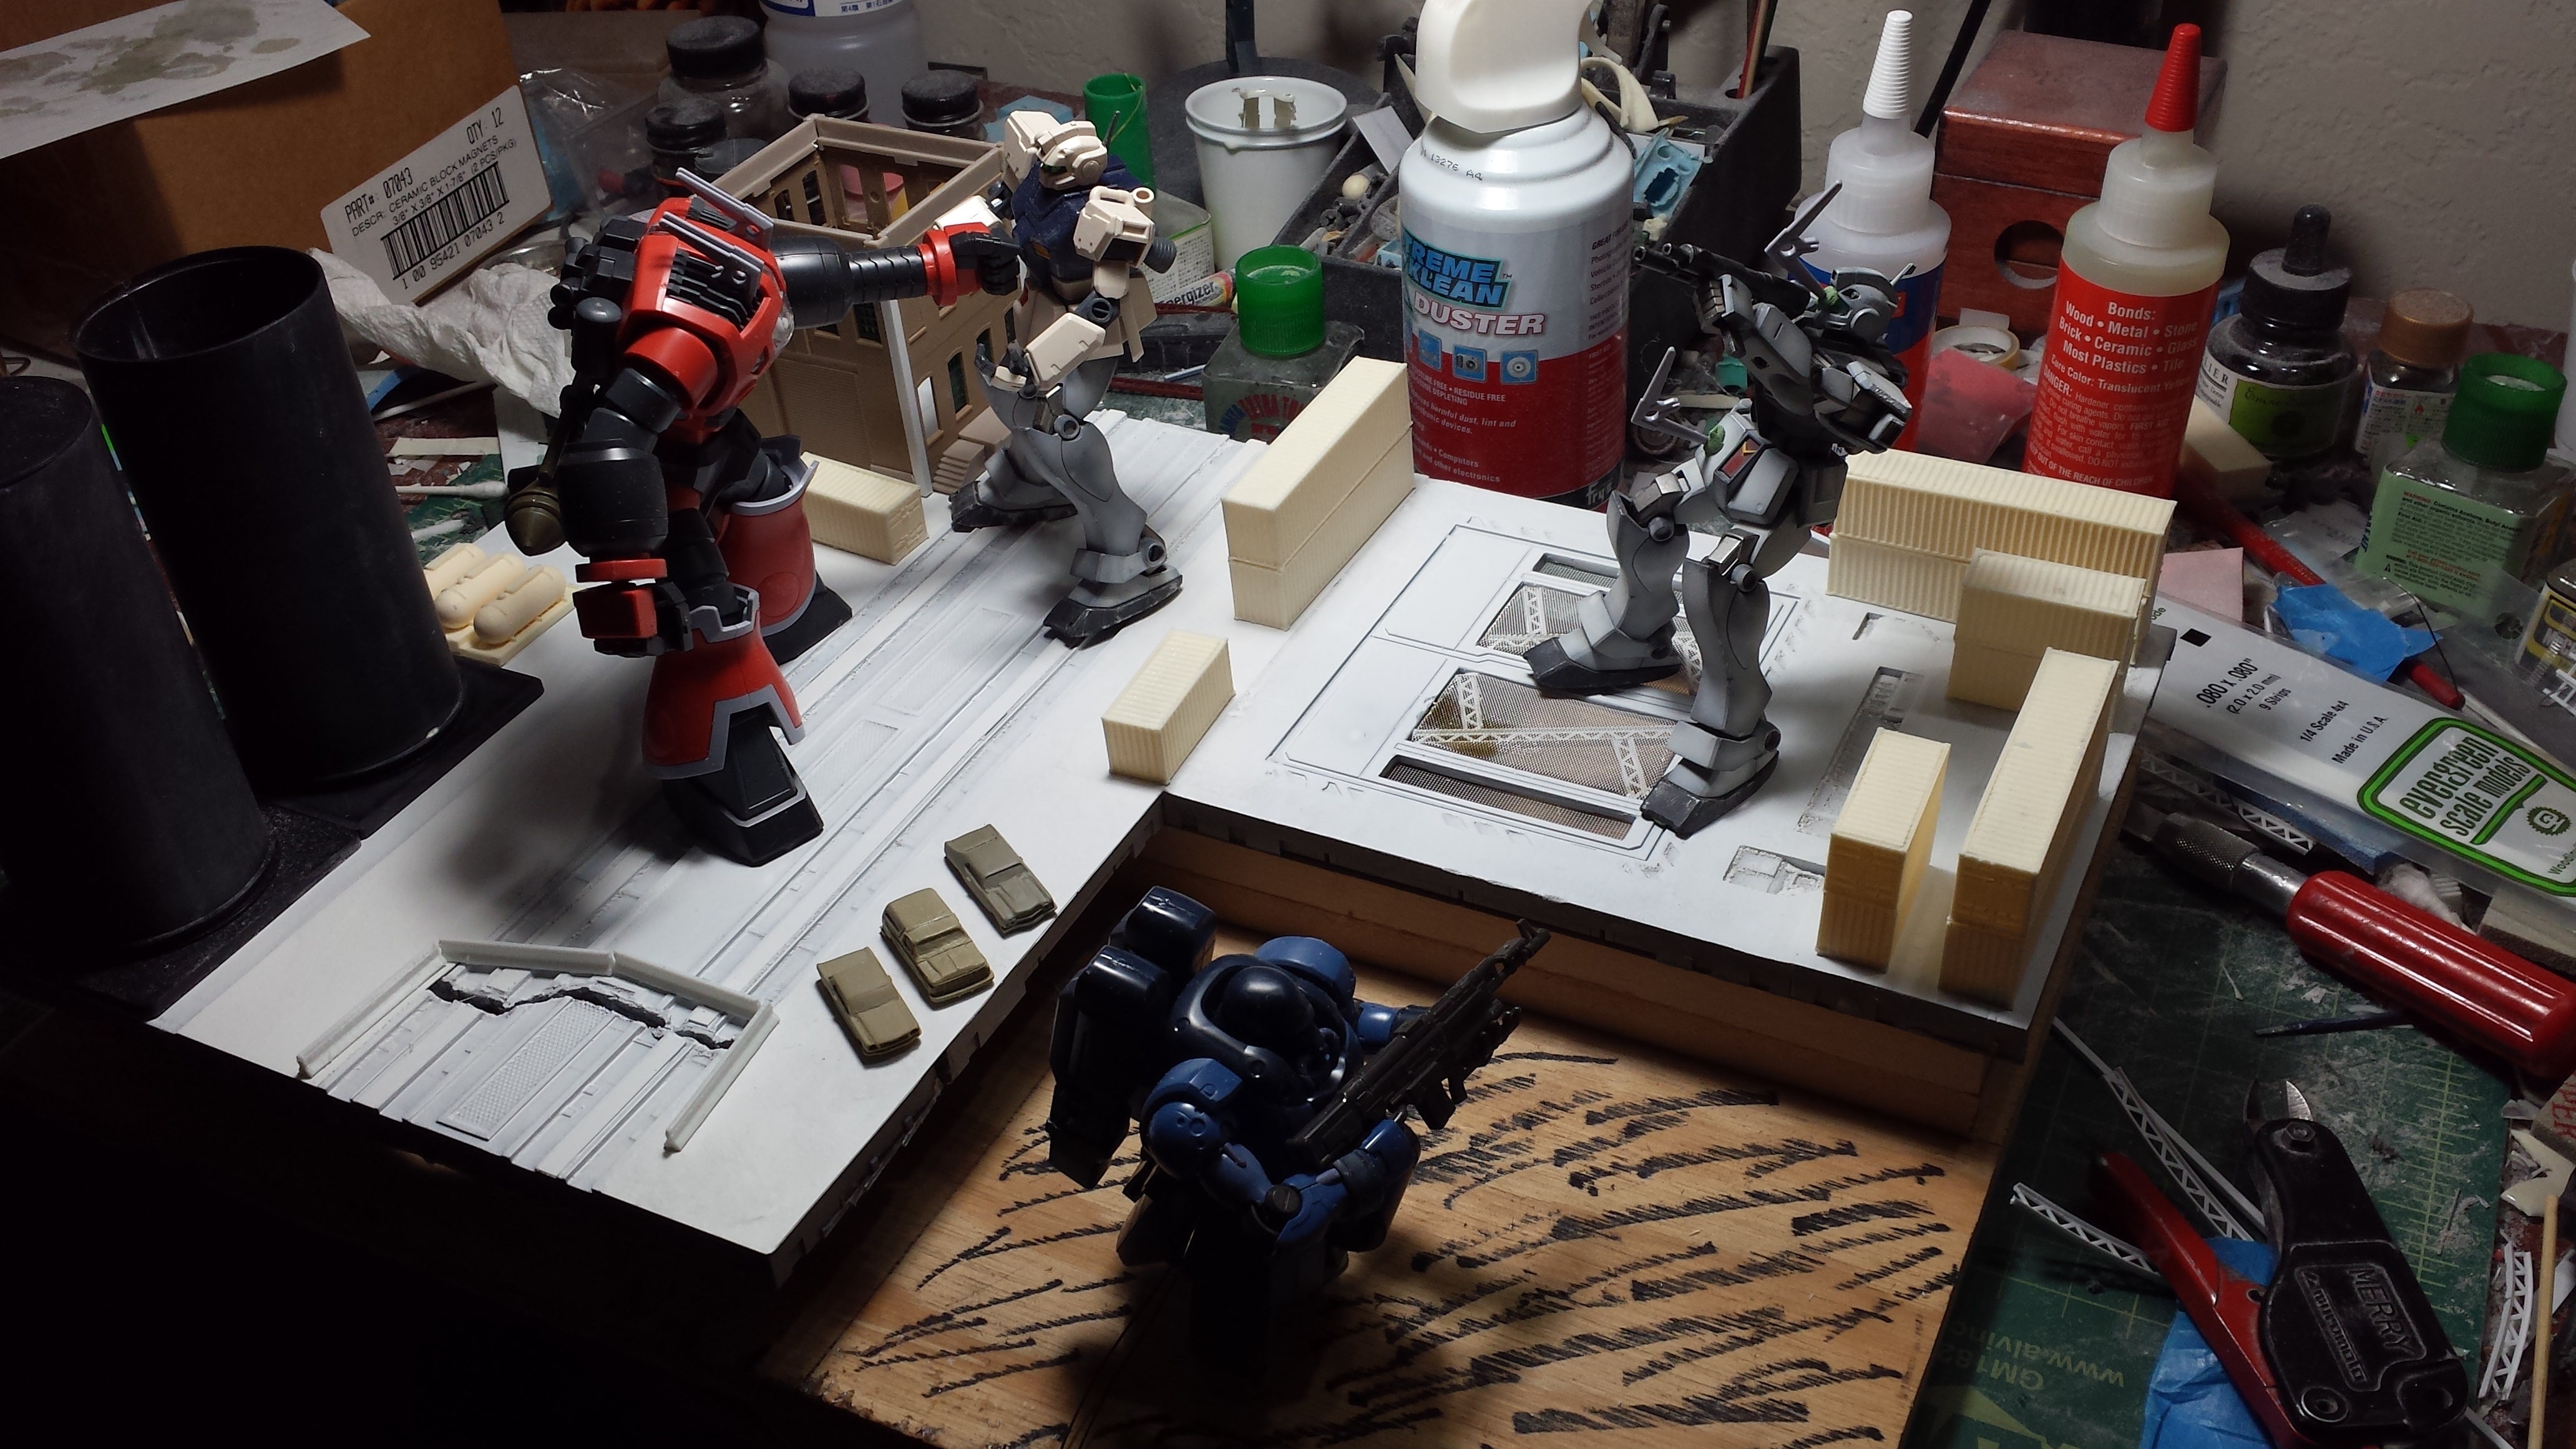
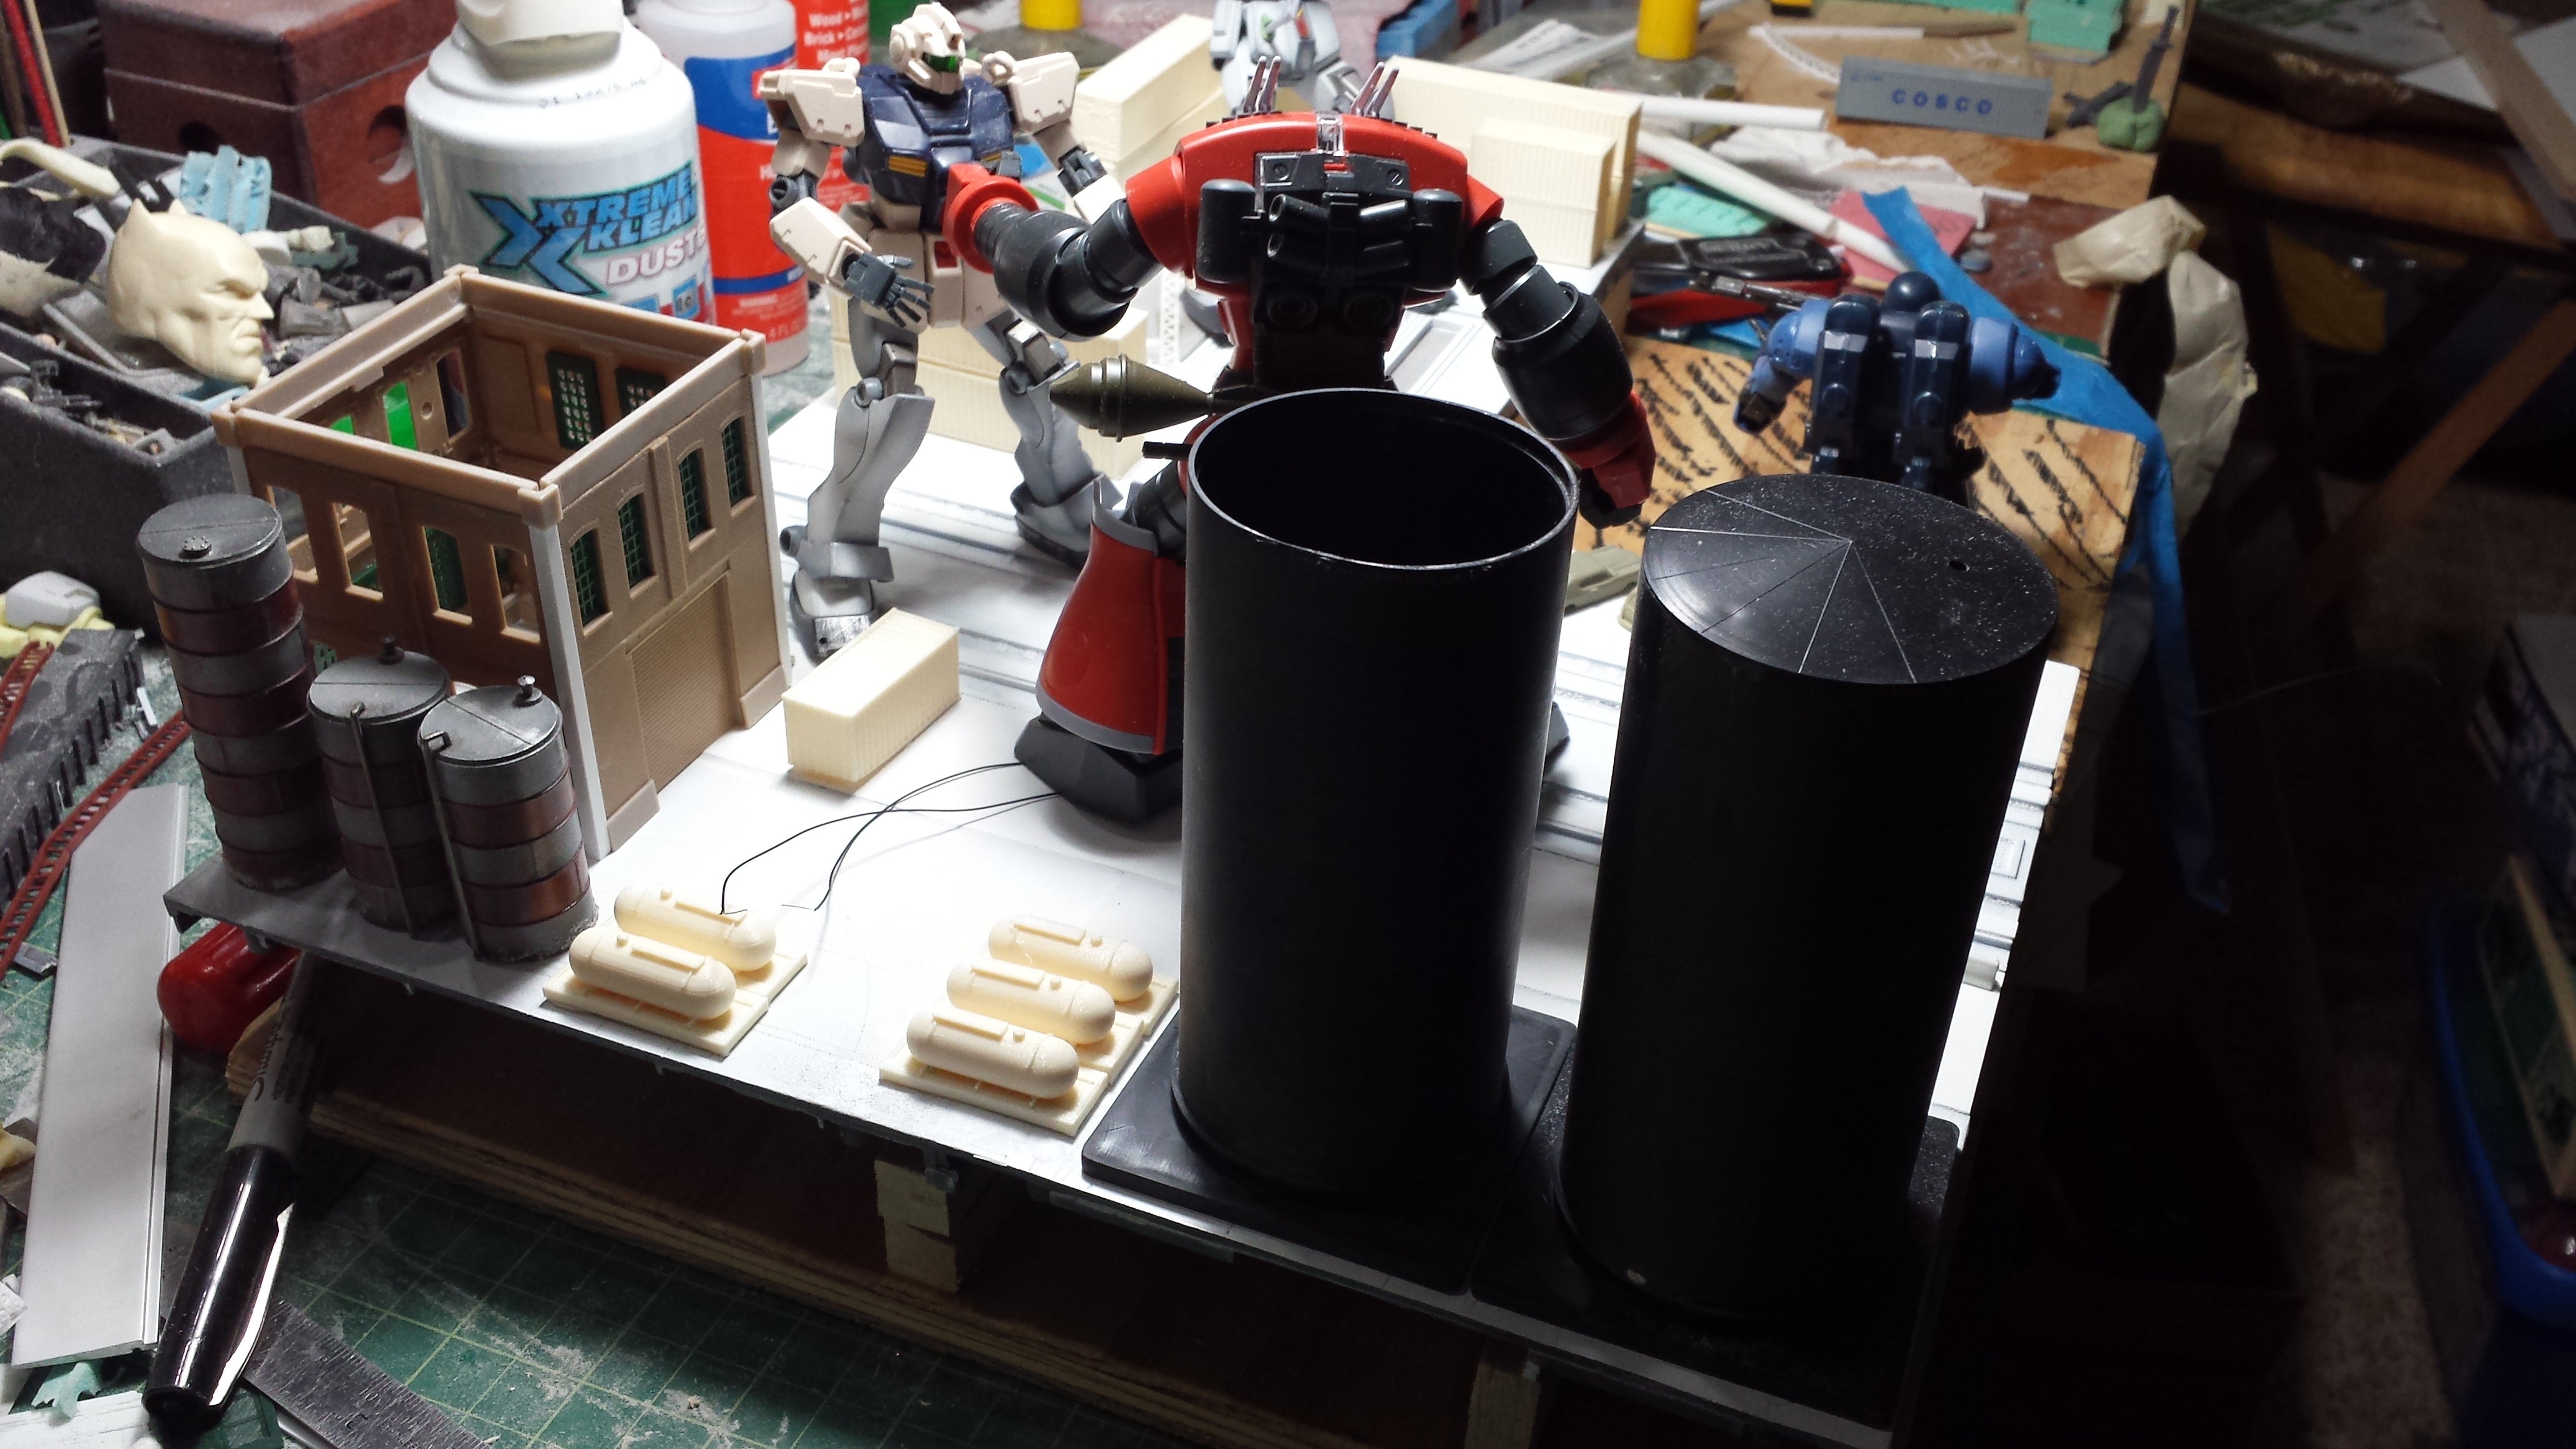
Next, the base was flipped over and balsa wood is glued to the underside to raise the base from the wood platform.

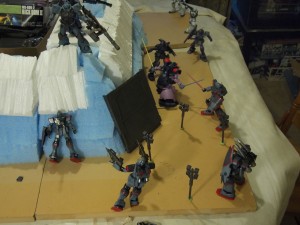
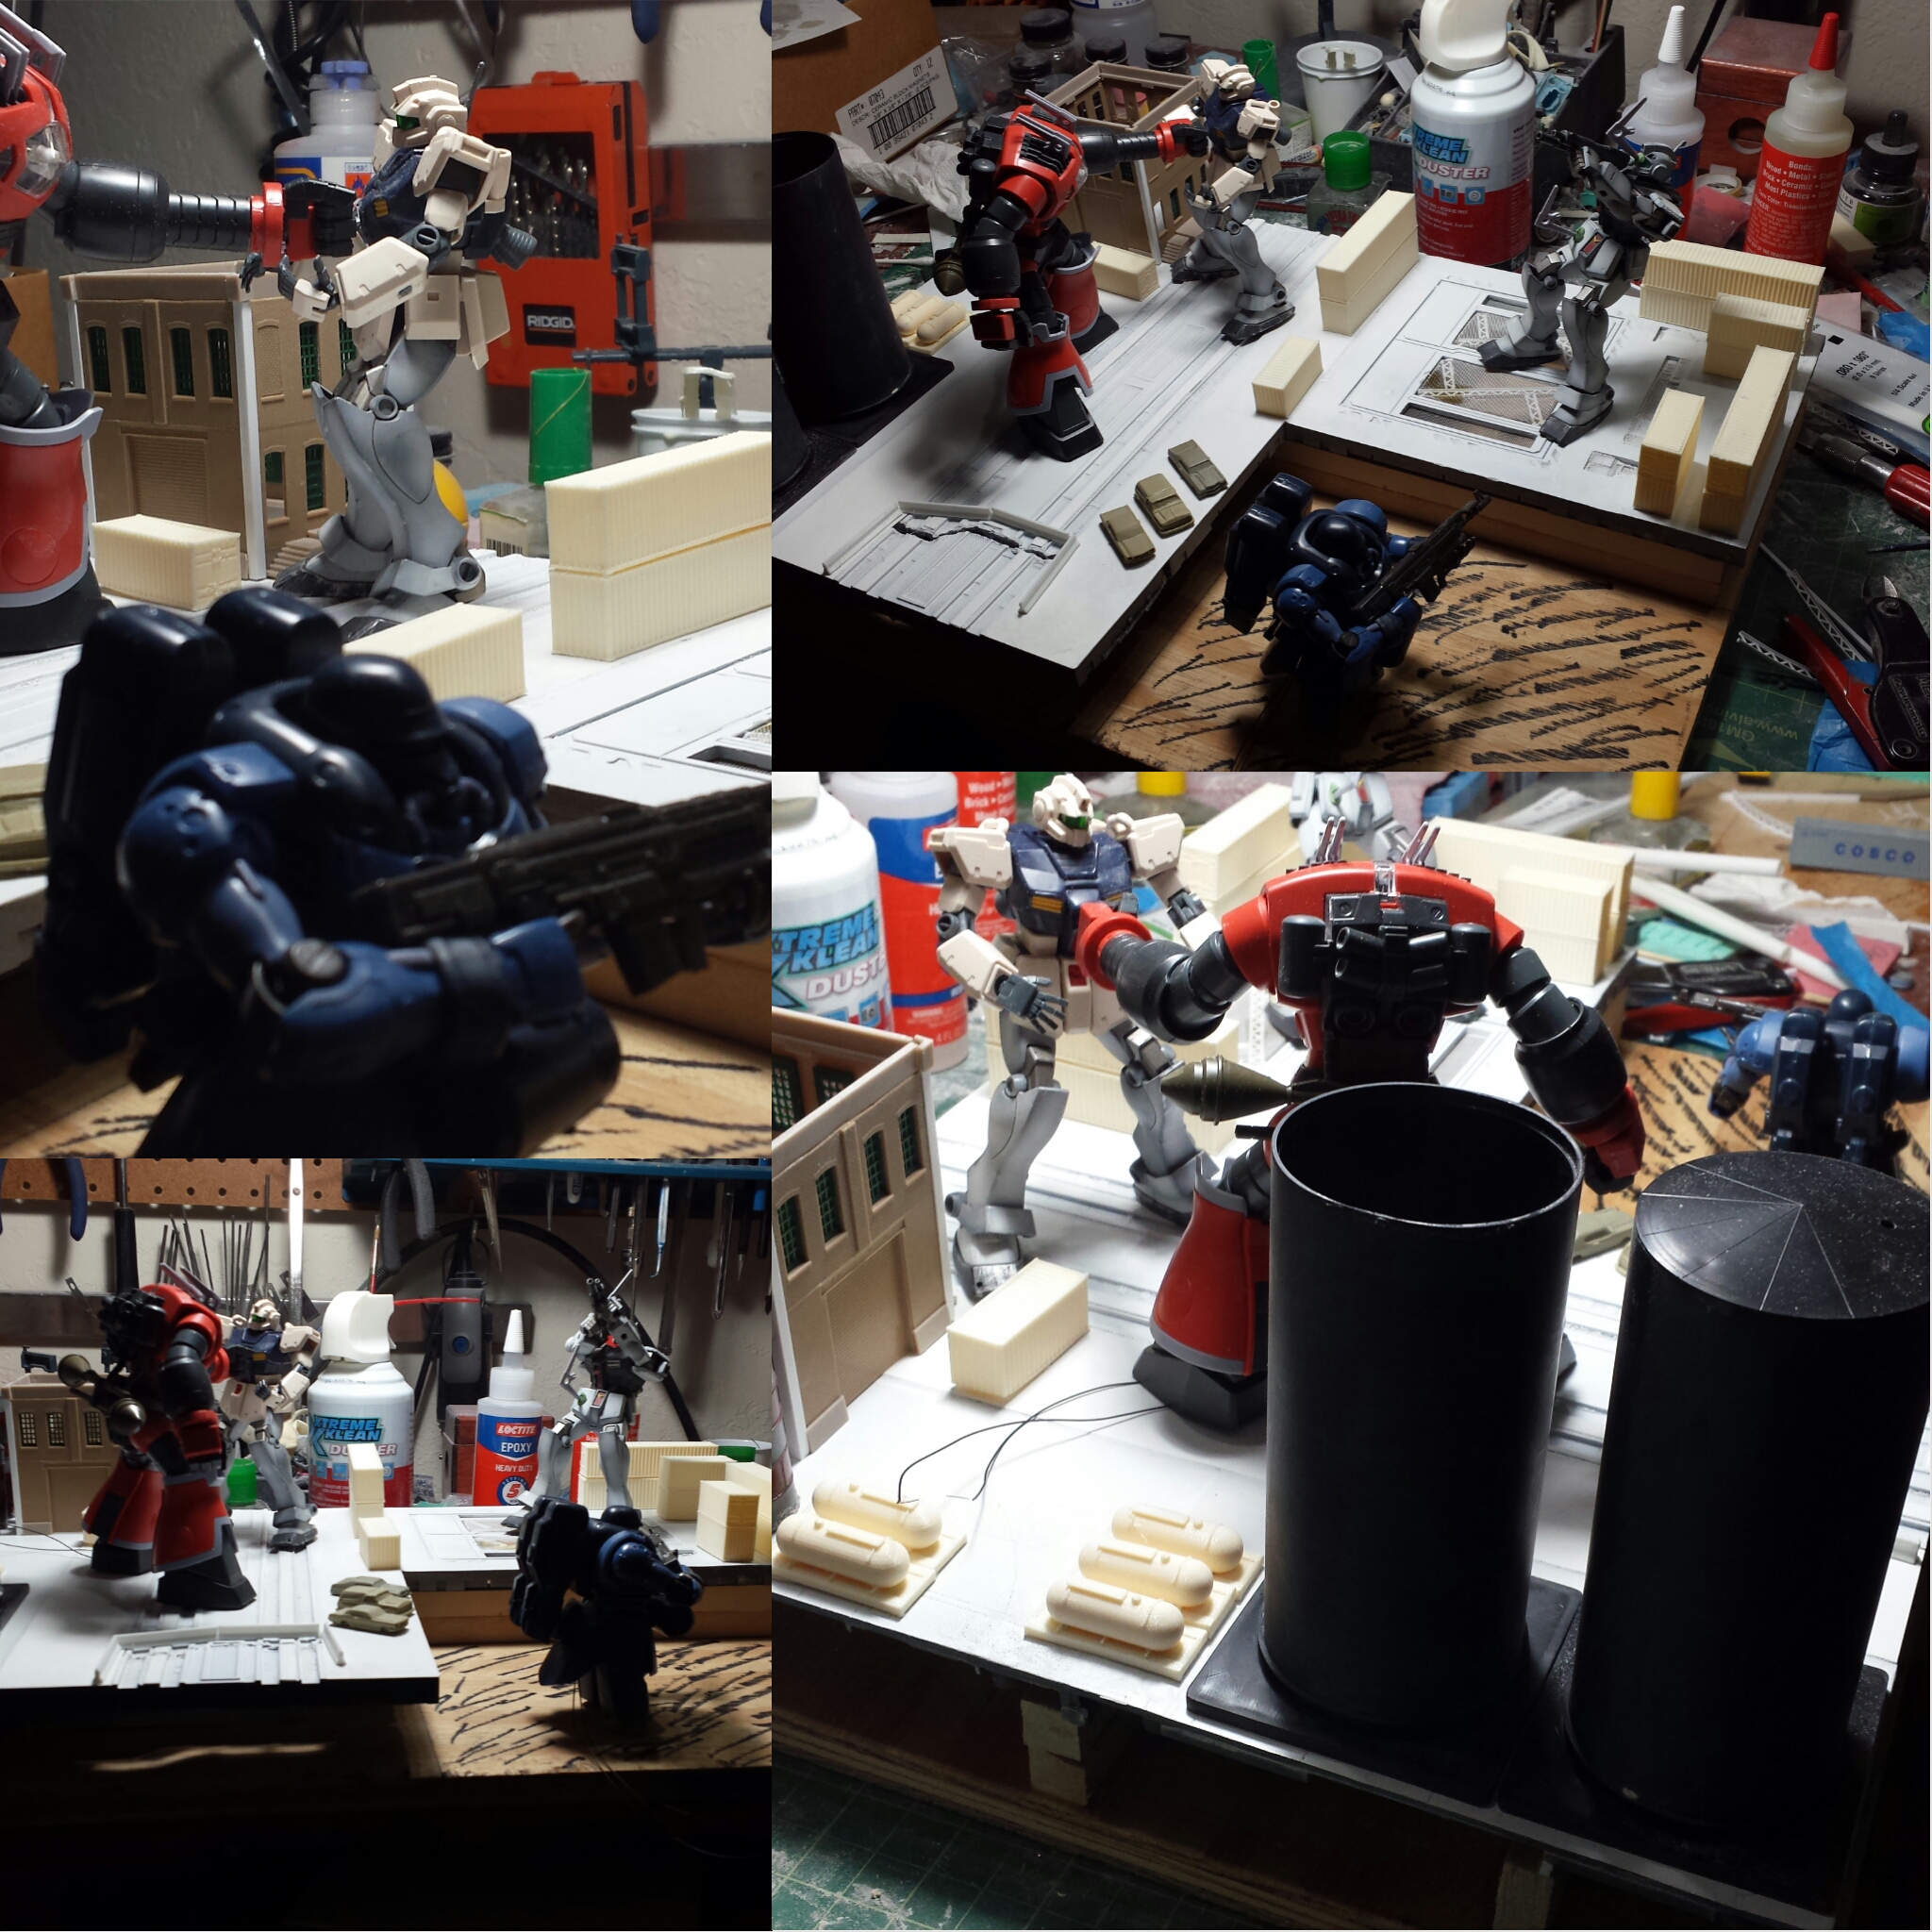
The base is flipped back over and white base is sprayed and a quick test with more resin cast containers, the worked on storage silos, small storage tanks as well as some additional work on the base’s building. Things are progressing along.