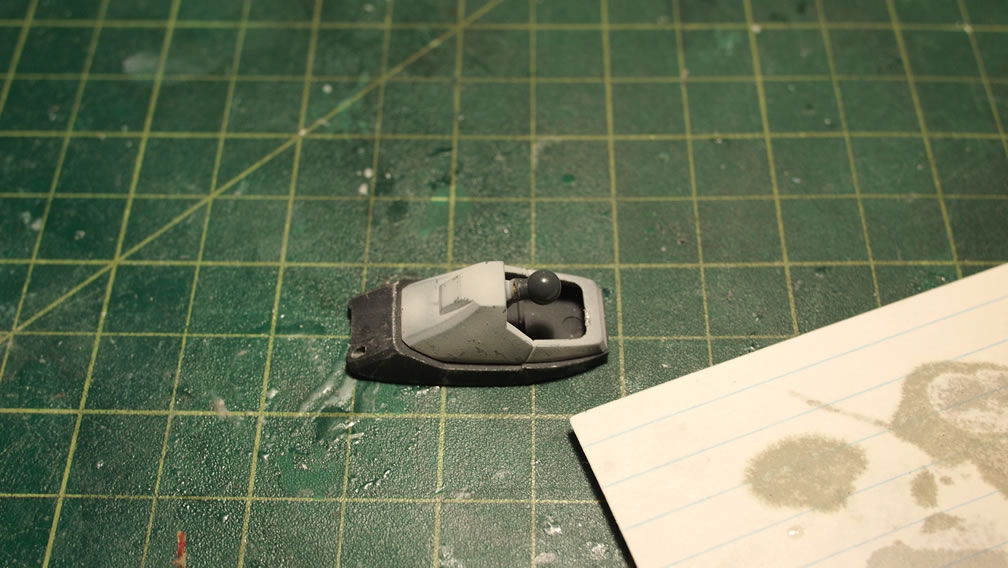
Probably late to the party, but since there are multiple methods for such fixes, I thought I would share mine, since the very thing happened on my current project. I broke a joint. Granted the kit was built over 10 years ago, and in an attempt to breath some life into this, some finessing with disassembly resulted in snapping the damn part. So here is a quick pictorial guide to my methodology.
Step one, break something. After a tirade of curse words and screaming, you calm down and get the necessary tools for the job.
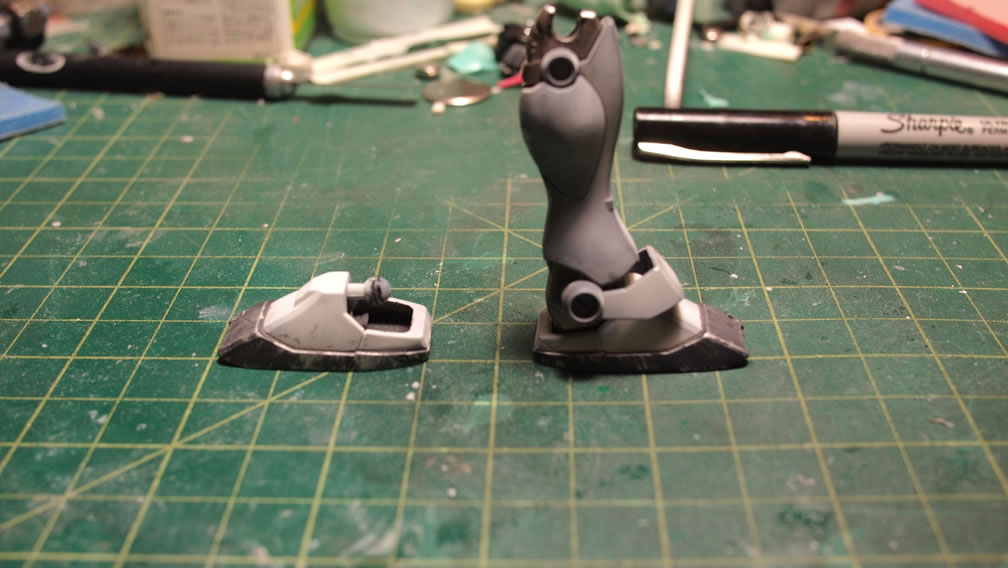
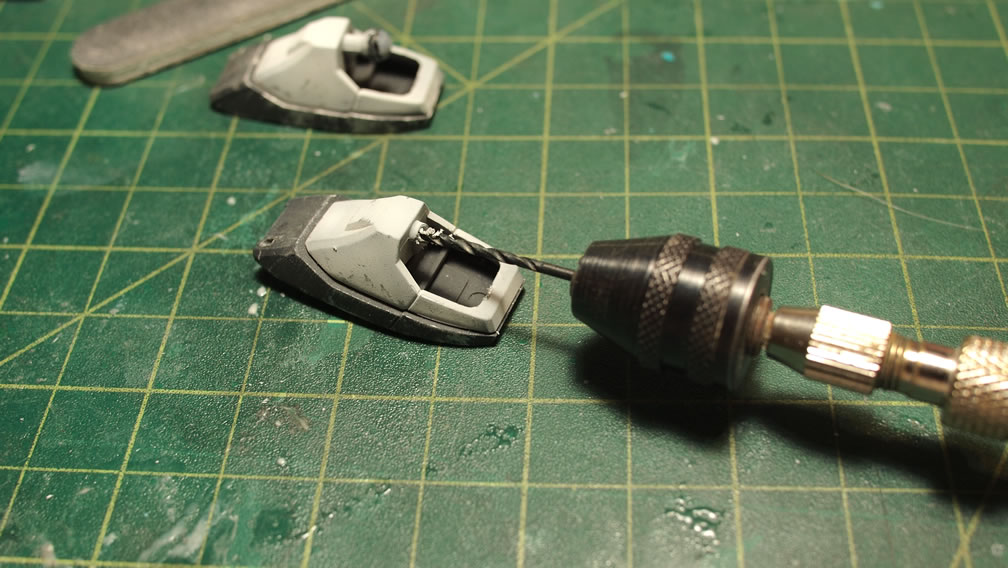
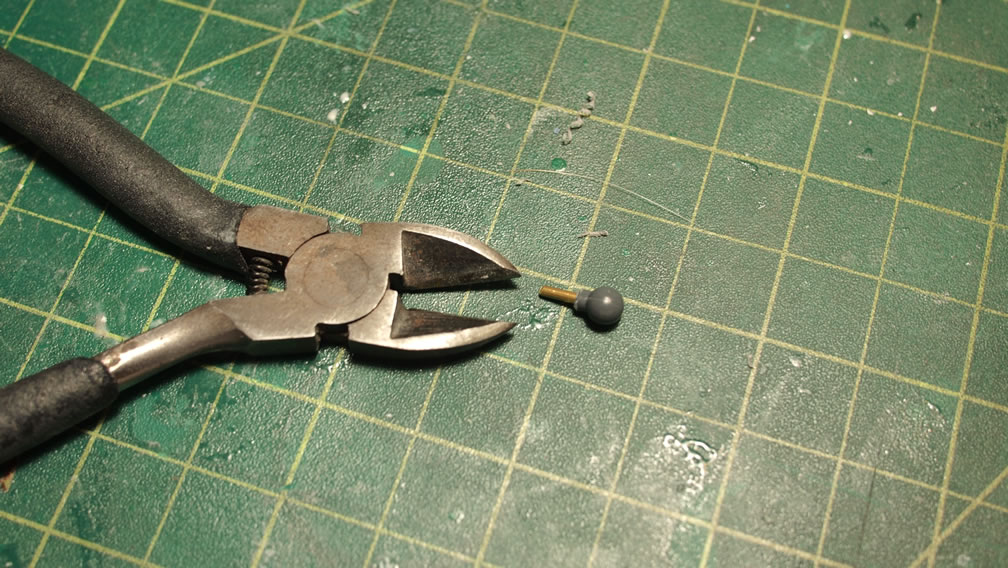
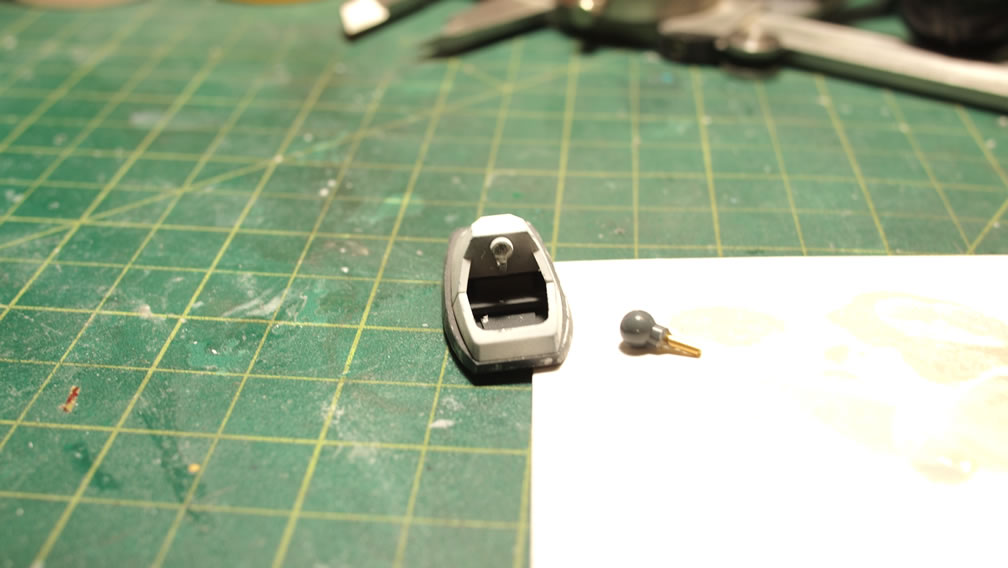
Hopefully you kept the broken parts. In my case, I have no idea where the broken part went off to, so I found a matching joint piece from a pile of spare parts and clipped it off. To start off, I drill out a small hole with a pin vise (hand operated drill). I use a hand operated drill because dremels are WAY too fast, and at that speed, plastic will melt, build up on the drill bit, and you will end up with a massive hole that you didn’t want. It is a bit tedious and slow, but this allows the most control when remove excess plastic. For precision, you can start with a smaller pilot hole to use as a guide for the larger hole. But that’s a matter of preference. Holes are drilled for both ends of the broken piece.
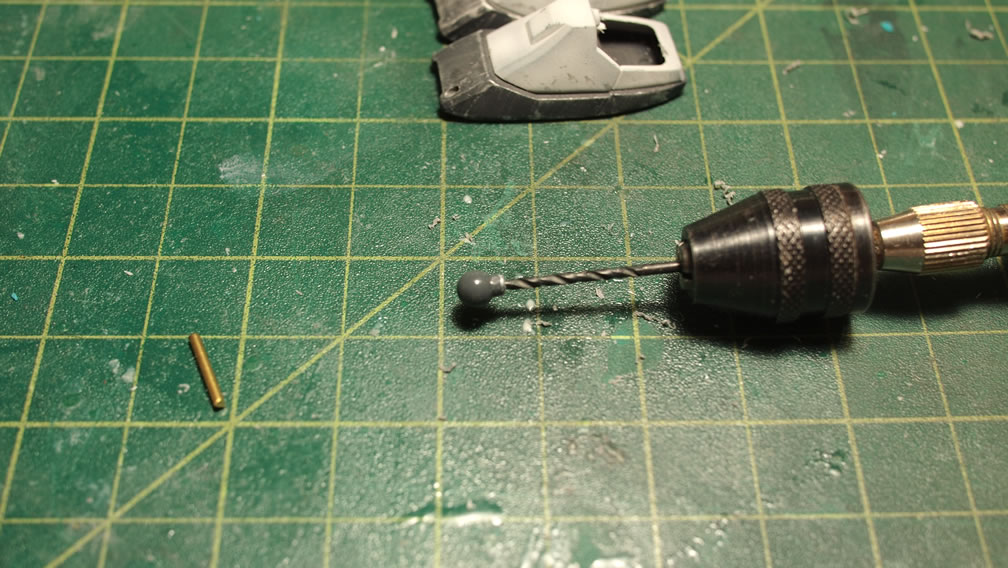
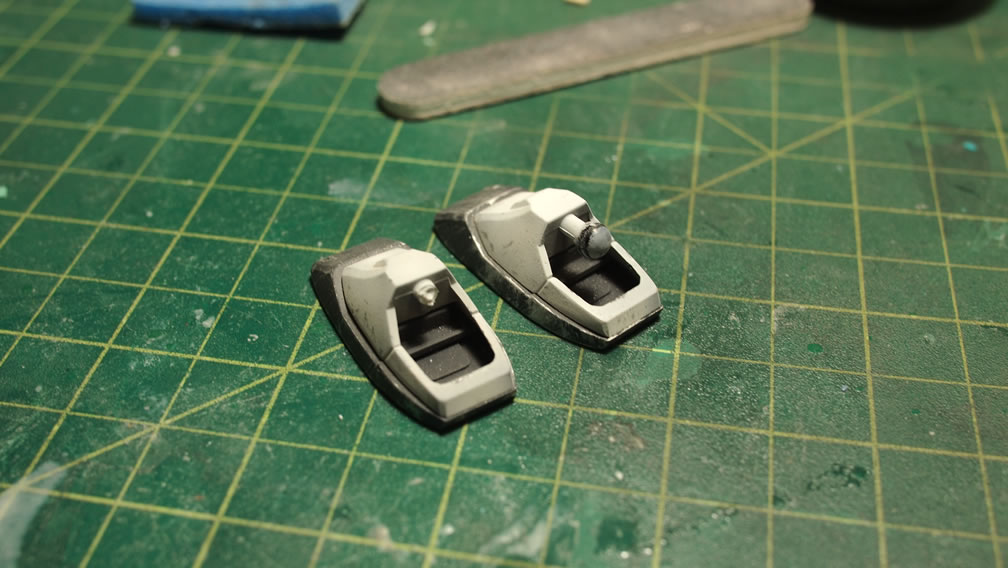
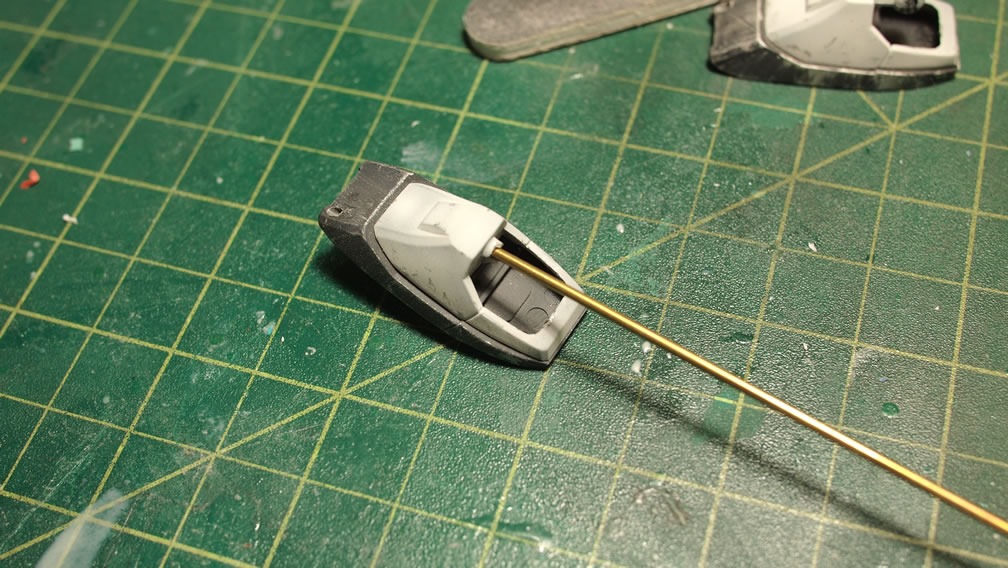
Brass rods from your local hobby shop are excellent scratch building parts. They are also quite strong, much stronger than the 10 year old plastic. So prior to drill, I measure out the brass rod diameters I had in stock, and selected one that fit best for this fix. I used a 1/16 inch bit with a 1.5mm diameter brass rod. The math puts it close enough, and the test fit was perfect. A section of the brass rod was cut and the second half of the broken piece capped at that end and put together. NOTHING IS GLUED! This is only a test fit.
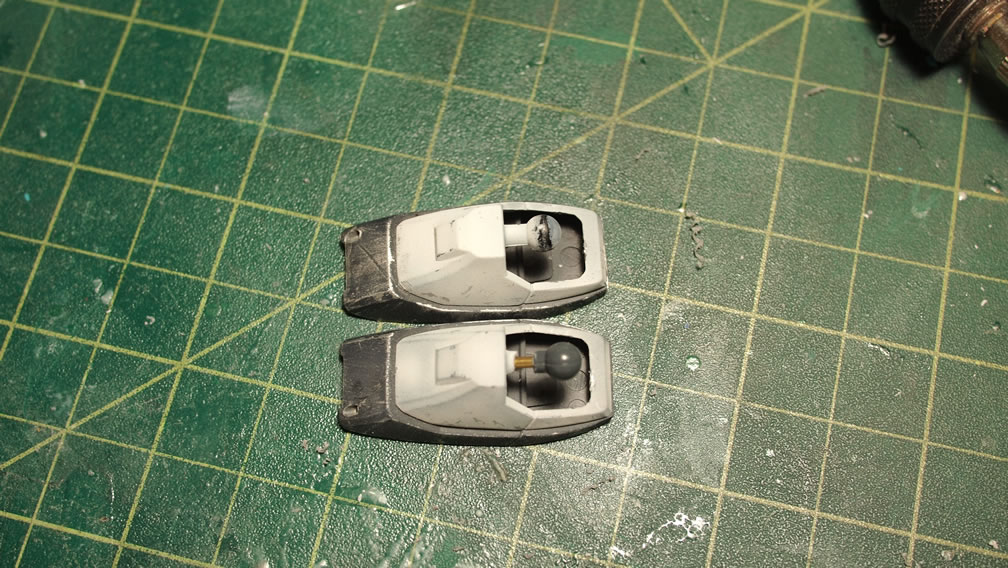
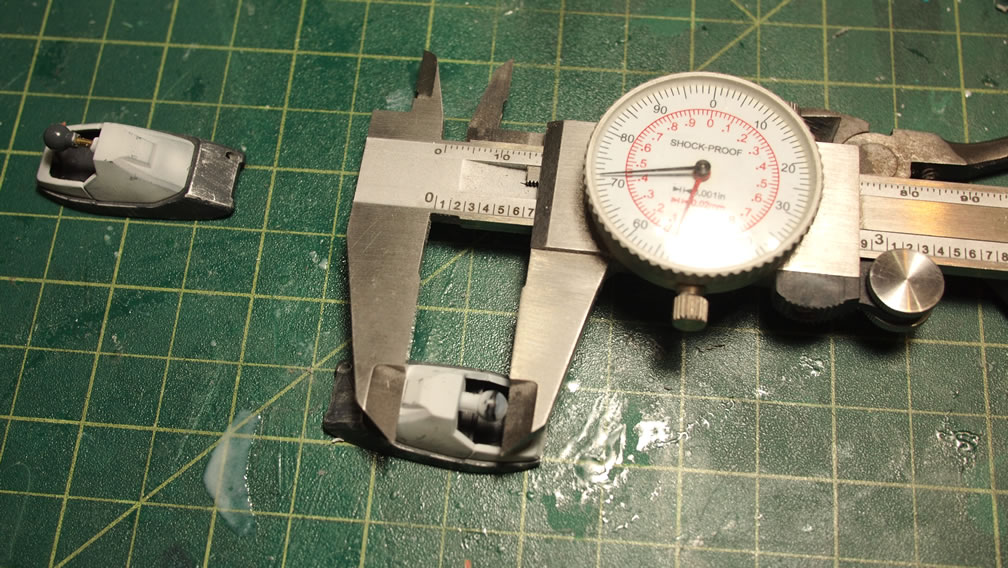
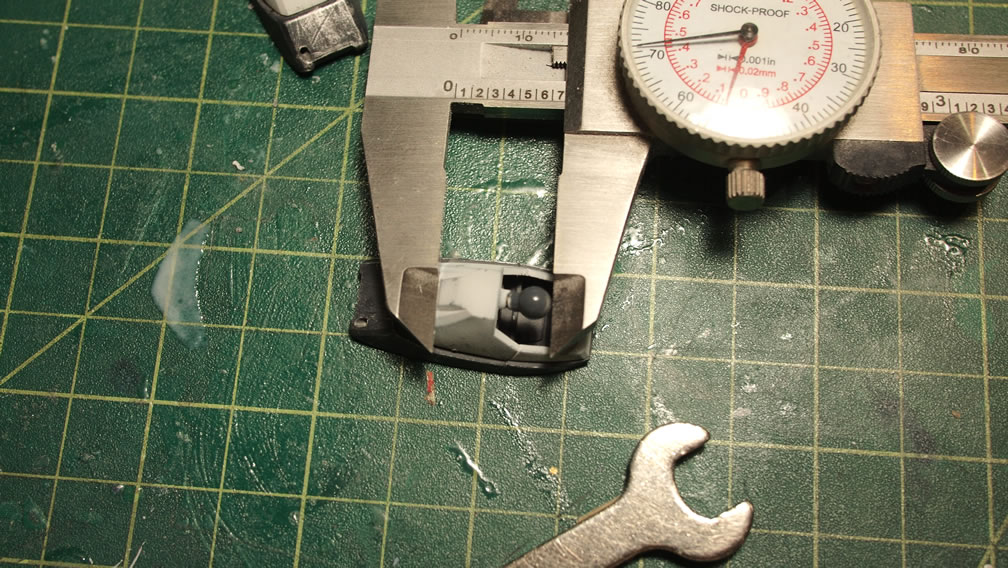
Granted I usually eyeball everything, but there is something to be said about precision. So for the sake of precision, I brought out my calipers. A ruler would work just the same. A measurement was taken from two solid points on the unbroken part. Then the same is done to the test fitted part. The test fitted part is too large, so I clipped excess brass rod and remeasured until the test fit matched up with the unbroken part.
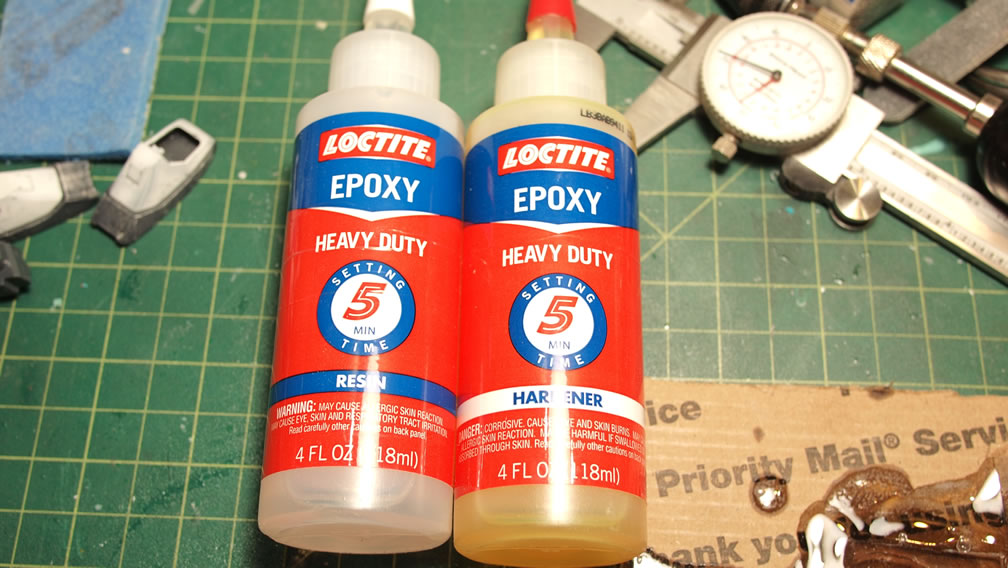
Glues. Most folks will grab their super glue or CA glue (same thing) and be done with this. I have found that super glue is too brittle for load bearing parts, for which the ankle joint of a HGUC GM Cold District, doesn’t weight that much, but it is still a load bearing joint. Styrene glue is out of the question too; again, load bearing. For this job, I use a 5 minute epoxy glue found at your local hardware store. It has some flex, will not craze plastic and ruin paint like super glue and sets faster than styrene glue. In my experience, I have found that super glue may attack the plastic weakening it, so that eventually, the fixed joint will become brittle and break. I have yet to find an instance where epoxy glue broke down.
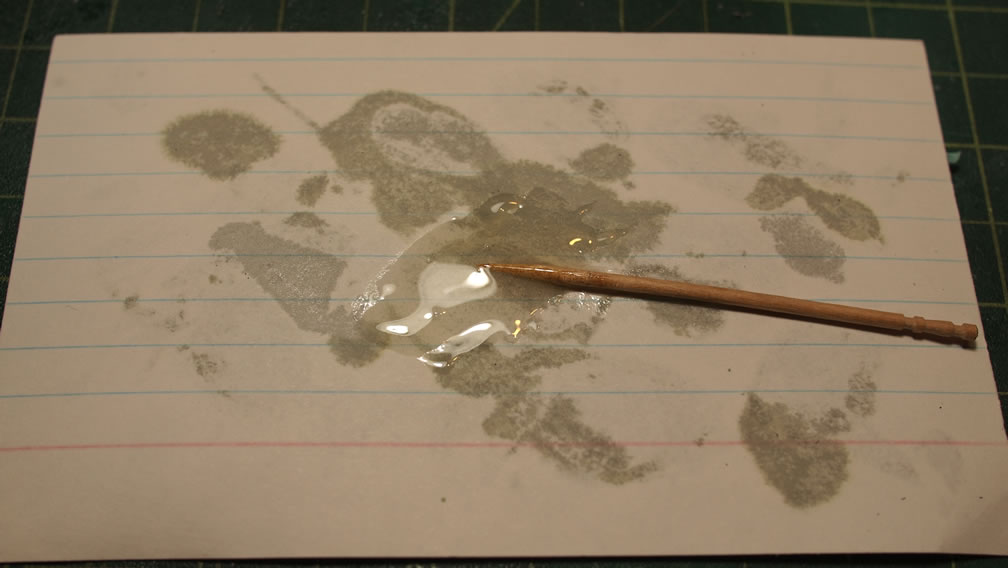
The two parts of the glue is mixed and an ample amount is applied to both drilled out ends of the plastic. The rod is then inserted and we’re done. Well, not quite. The epoxy glue needs at least 5 minutes to set up.
10 minutes later. Extra 5 for precautionary reasons, and the simple fact I’m not in too much of a hurry. The part is solid and placed into the original leg socket, moved around, removed, and replace. Done, a solid fix in about 30 minutes.