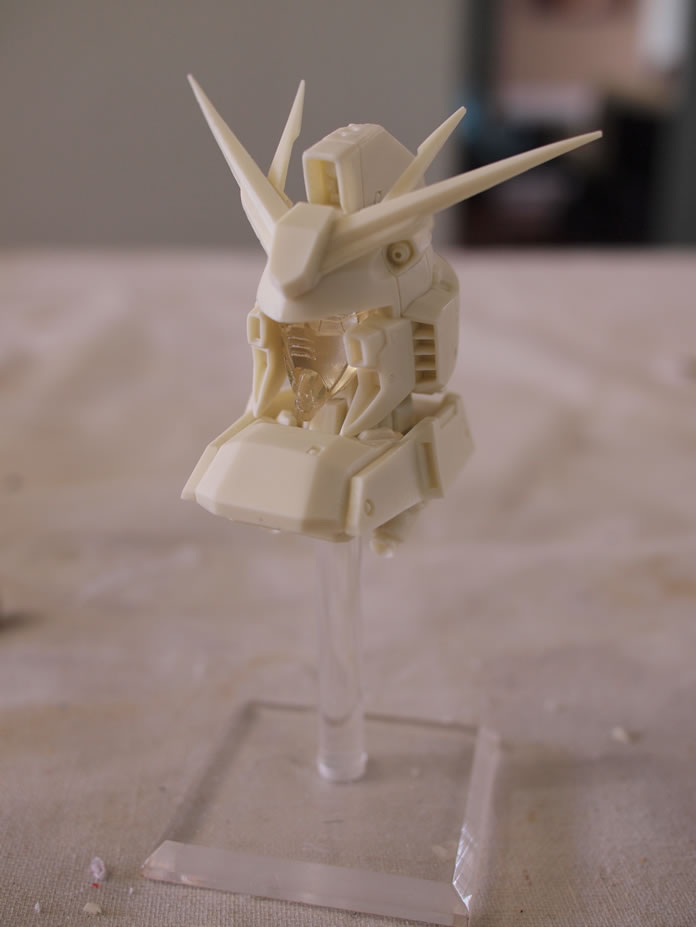
This past weekend was the monthly build gathering. ‘Twas a smaller gathering which afforded some time to focus on another quick resin kit. my friend Mitchell picked up this kit form Hong Kong and gave it to me a few years ago. From the initial look, it seemed like a scaled down version of the 1/35 Nu Gundam head from G-sys. I had built one of the 35th scale Nu heads at least 8 years ago. I had started back on my 1/100 Nu project, but the stage I’m at with that required more focus that I could give at a build gathering. So with tools in hand, some sticky tack, the 7 parts that composed this kit was quickly assembled. Let see how long it will take to complete this one – yeah, complete progress after the jump.
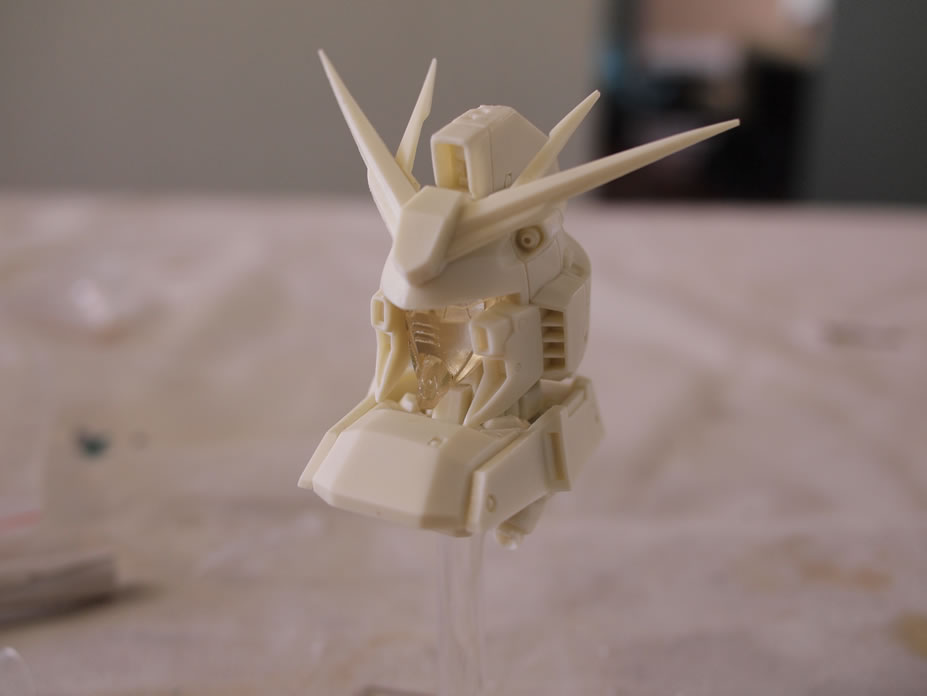
The kit is only 7 pieces, not including the acrylic rod and base. It also comes with a small decal sheet with 4 decals and a battery and multi colored LED assembly that I’m not entirely sure how it works. I mean, I can get the damn thing to blink multiple colors but there isn’t a switch to turn the system on or off. The face plate is a clear piece of resin, so that everything can be painted leaving some eyes to get lit up. The big 25th scale Nu head had a push button switch under the V-fin. I decided to forgo the lighting gimmick for this kit. On to the building.
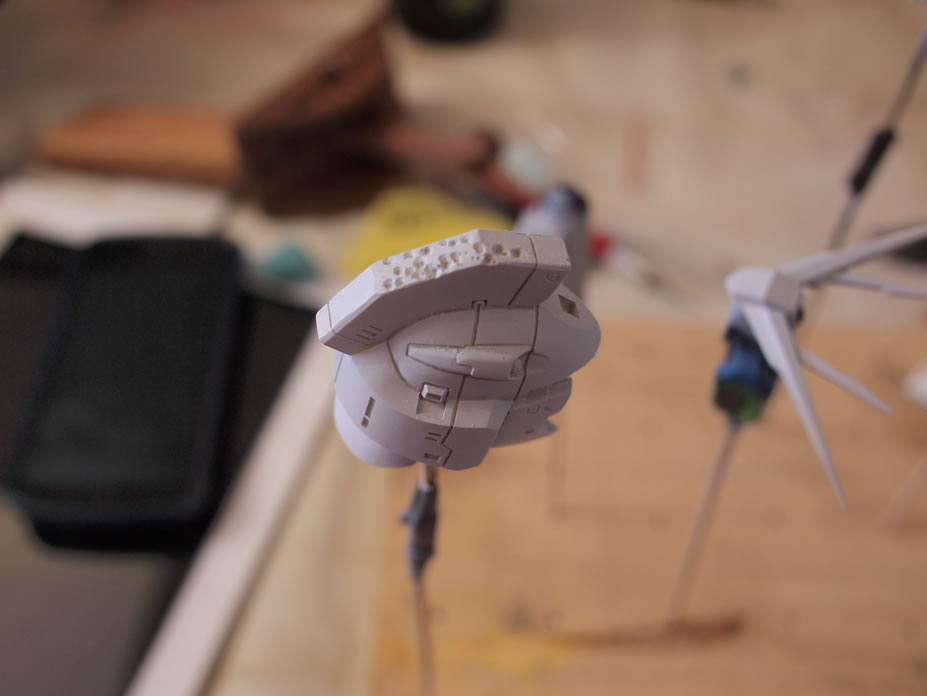
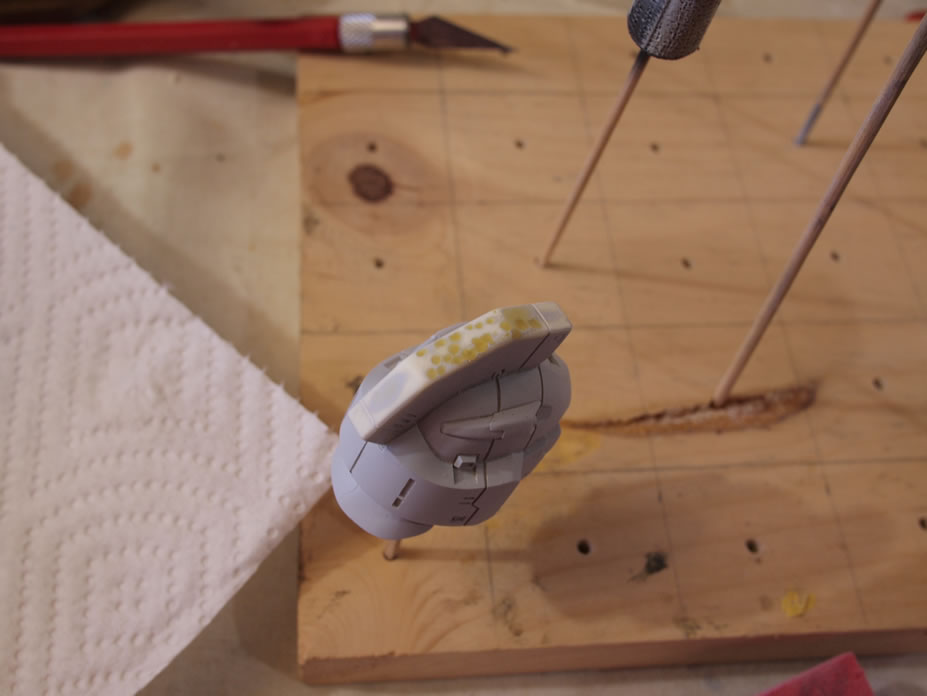
Sanding off the excess resin led to a great deal of pin holes on the top of the head piece as well as the bust base part. The hobby knife is employed to open up a great deal of the pin holes. As it stands in hindsight, I did miss a great deal of other pinholes, but since this was really just a fun quick and dirty build, I’m not going to be anal and fix those holes still existing.
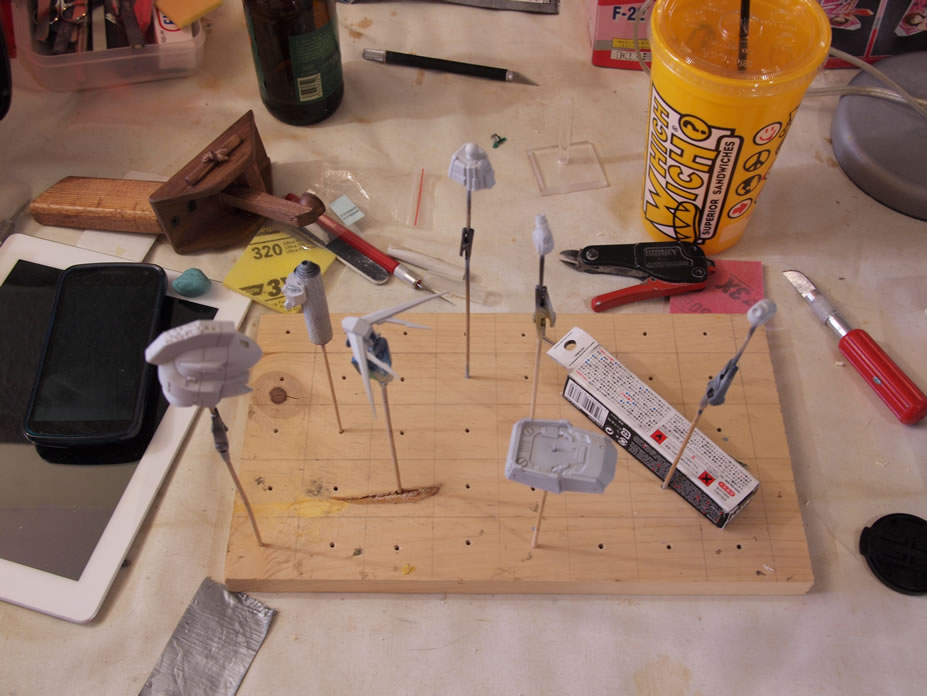
With the pin holes opened up and the majority of the parts sanded and cleaned up. The parts were thrown into a plastic cup filled with industrial purple cleaning solution and then placed into the ultrasonic cleaner. This pretty much speeds up process of letting the resin parts soak in the cleaning solution over night to rid the mold lines. With that done, the parts are extracted from the cleaning solution, the solution poured out, then rinsed with water. And finally placed in the cup with water and run through the ultrasonic cleaner one last time. The parts are then laid out to dry for about half and hour then placed on bamboo clips and primed.
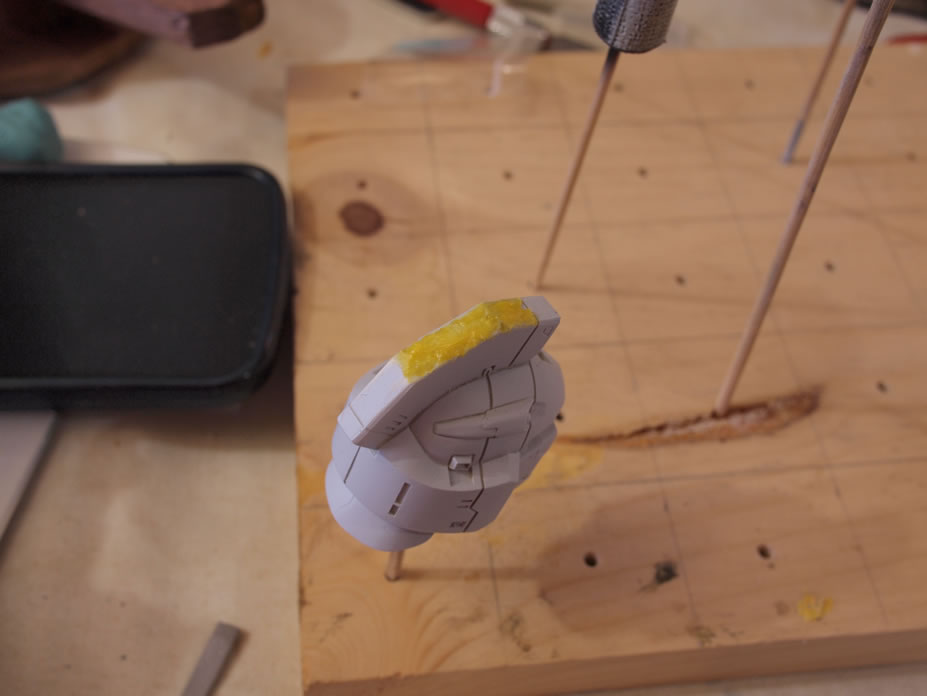
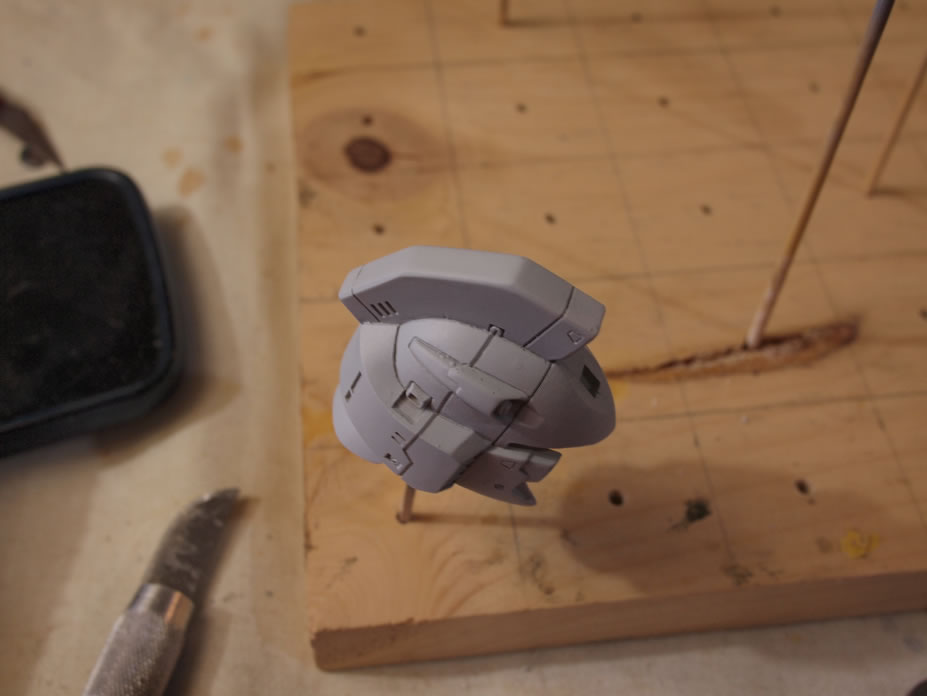
Priming revealed a few more missed pinhole areas so those were expanded once the putty dried. Next, I went and puttied the pinhole areas with light curing putty. A minute or so after sitting under the light, the putty is sanded and more putty is applied to missed areas and the process repeated until the surface looked fairly good. Light curing putty really helps with speed builds like this. I can do the entire putty/sand/prime cycle numerous times within a span of a couple of hours where it would take a couple of days to a week to do the same with epoxy putties.
The second priming session goes on and the pin holes are gone, well the pinholes I elected to fix anyways. Other pieces with missed sanding spots and other surface defects are fixed and primed. At this point in the build gathering, we’ve ordered some BBQ and popped in Django Unchained playing a drinking game for every time the word “nigger” is mentioned. Yeah, then game was doing ok up until Sam Jackson shows up.
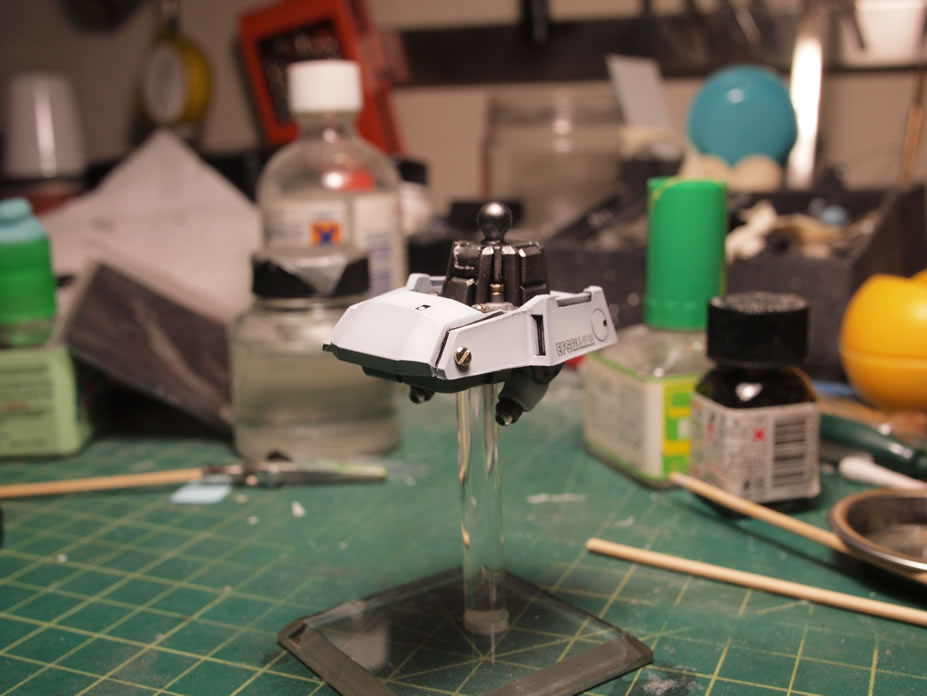
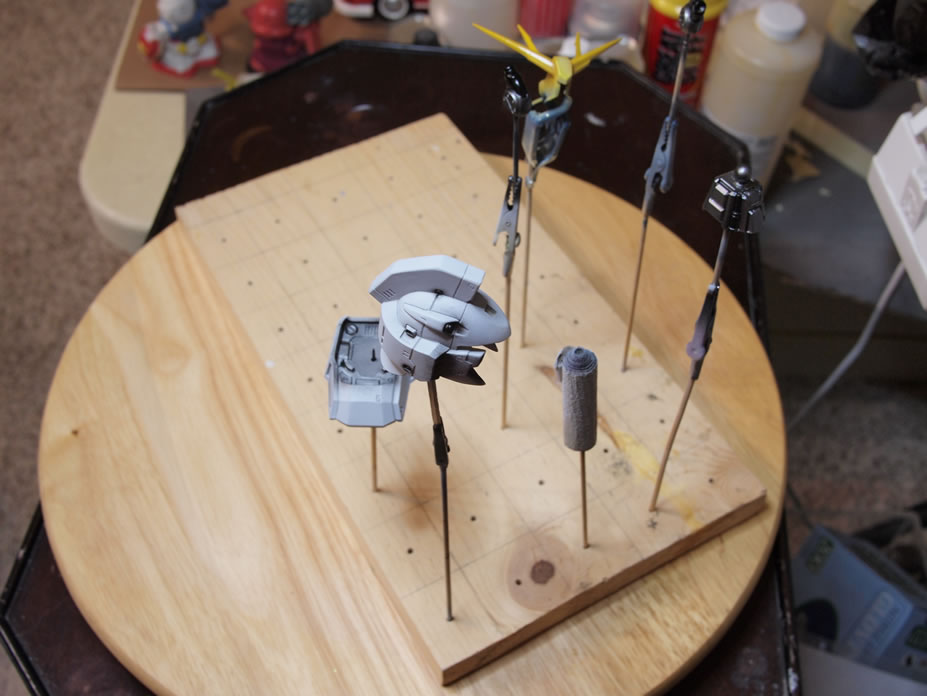
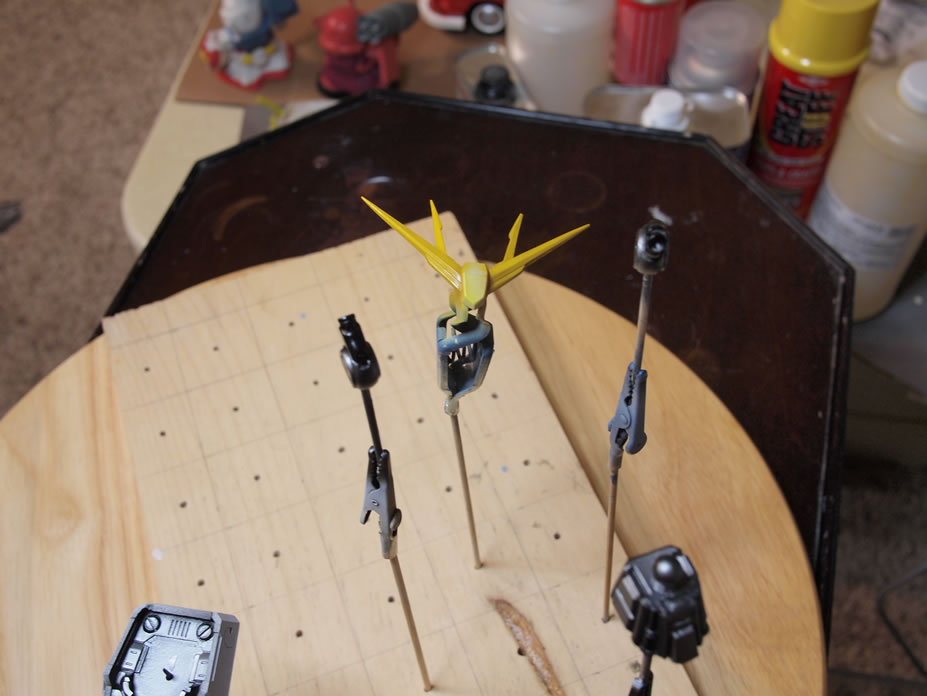
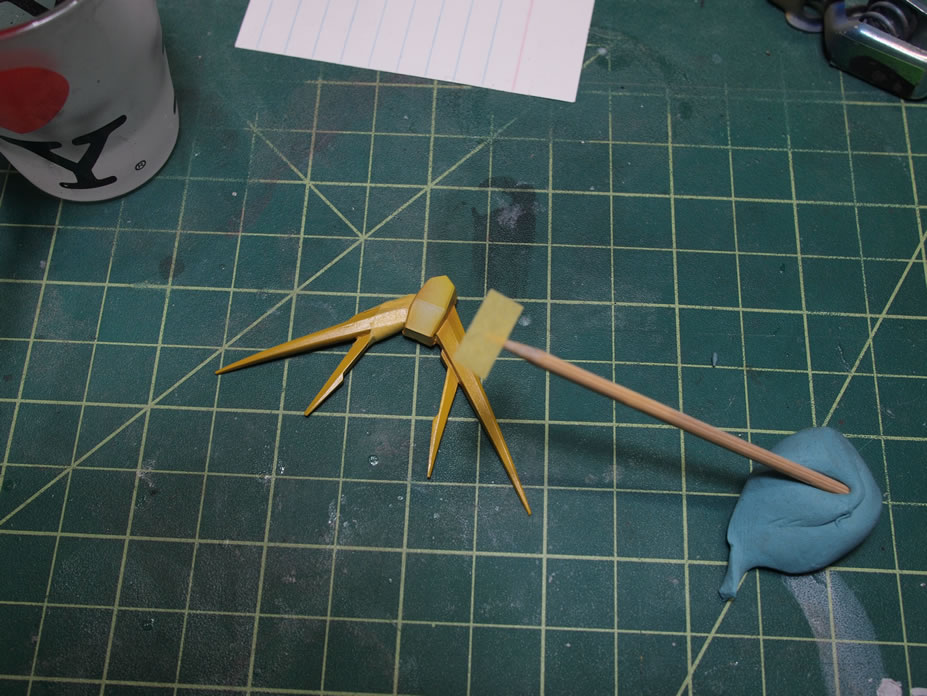
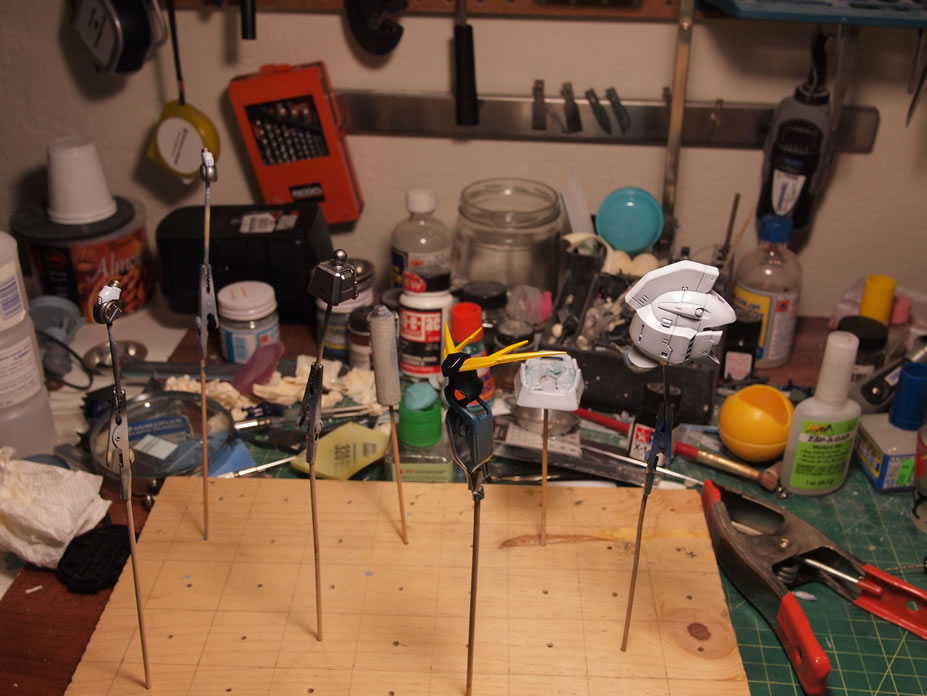
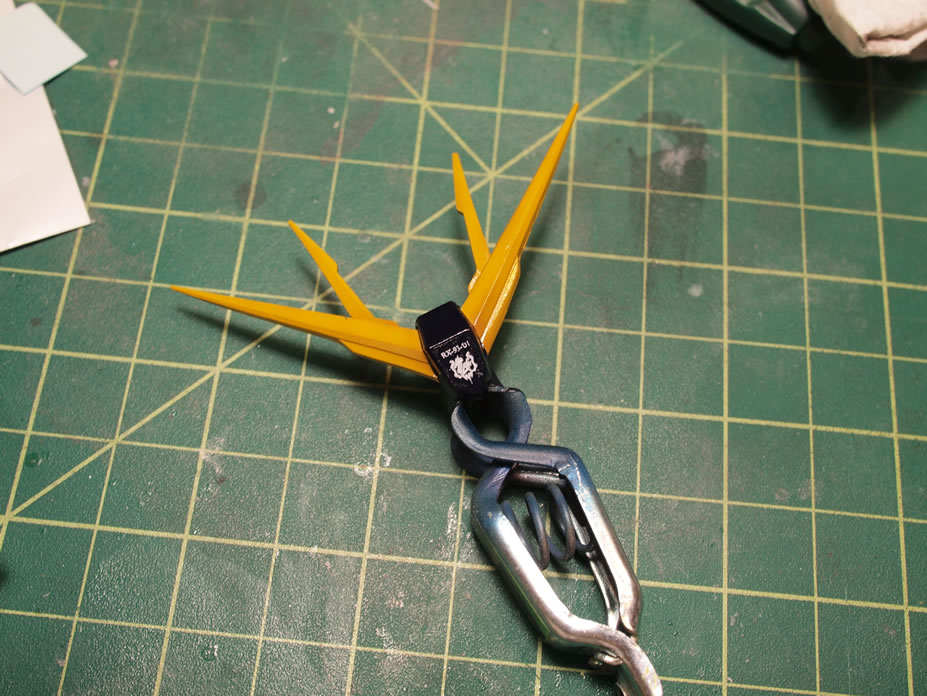
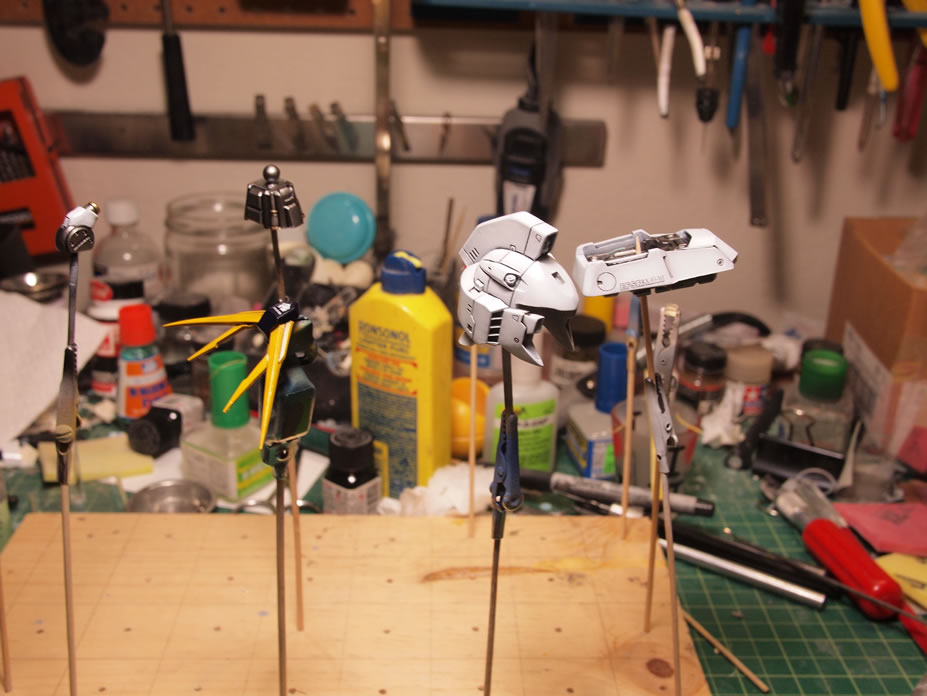
Bellies filled with BBQ and alcohol, movie over, we get back to building. The primed parts are given a quick rub with some high grit sanding pads to smooth out any additional particles that may have settled on the primed surface. And the first layers of base coat is sprayed. Wine red for the chin, black for the eyes and frame areas, and a sand yellow as the base for the V-fin. The wonderful thing about using lacquer paints is that I can continue with the shading tone minutes after the base layer has been sprayed. Deep yellow for the V-fin, deep rich red for the chin, and alclad magnesium for the major frame pieces. Not too bad to get some of the parts of this kit painted after starting it earlier in the day.
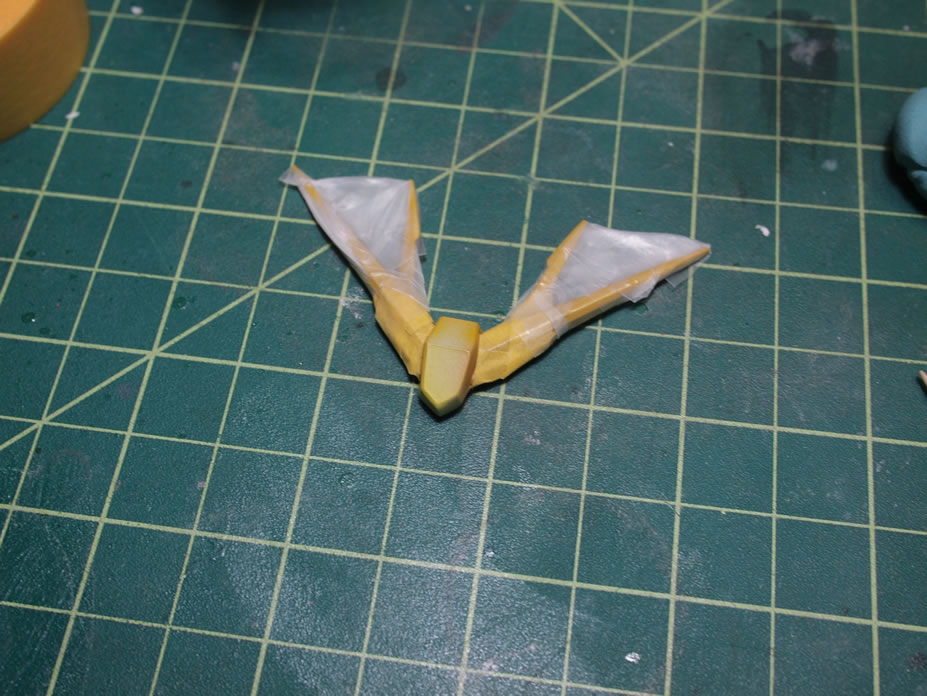
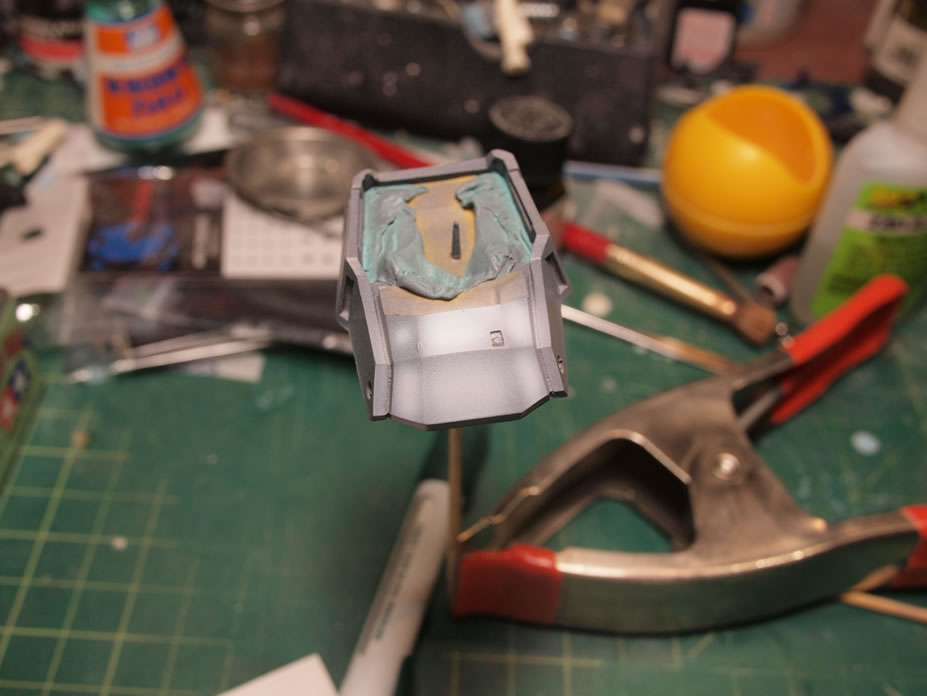
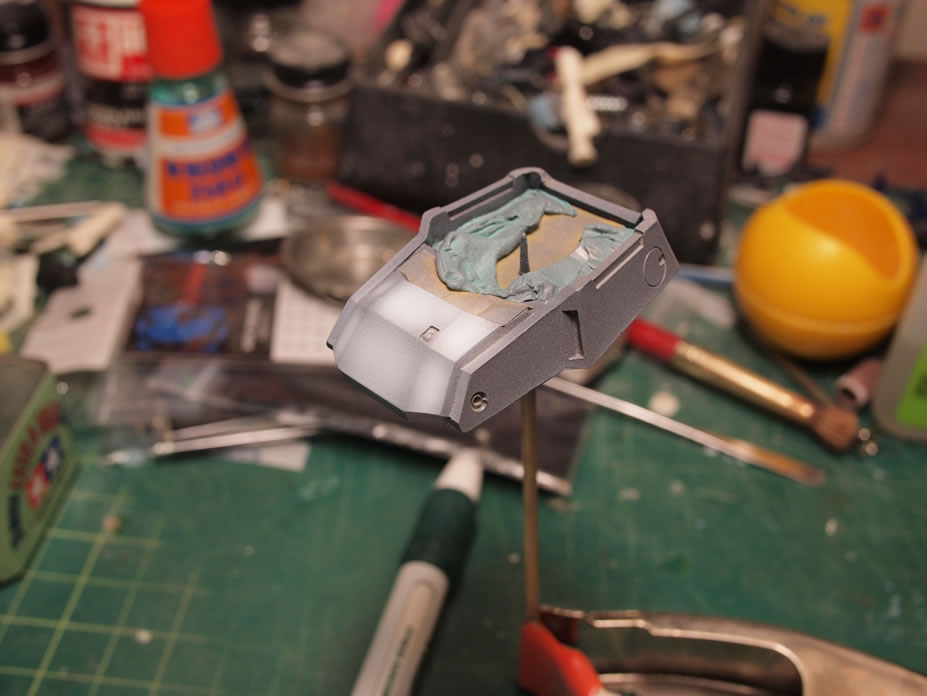
Work on the kit continued Sunday afternoon with masking off the V-Fin as well as the metallic painted areas of the head and bust pieces. Tape is used as well as para-film, blue sticky tack, and sol liquid mask.
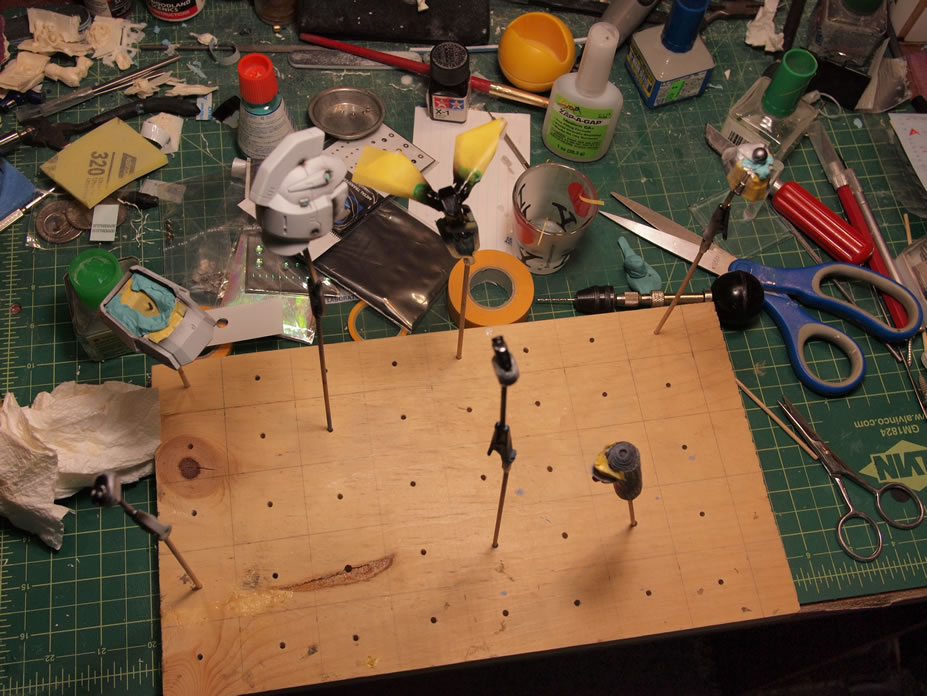
Sunday evening and the later evening saw the masked off areas painted, with some pieces are further masked and painted as the night progressed. The head piece and bust pieces are painted with a dark grey as the base color as the final progress for the day.

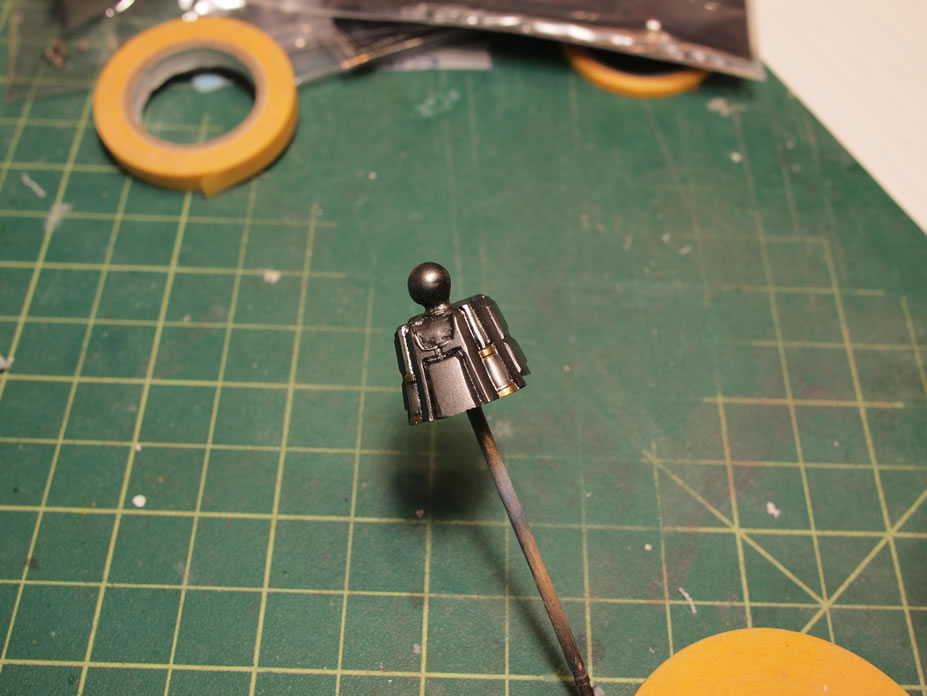

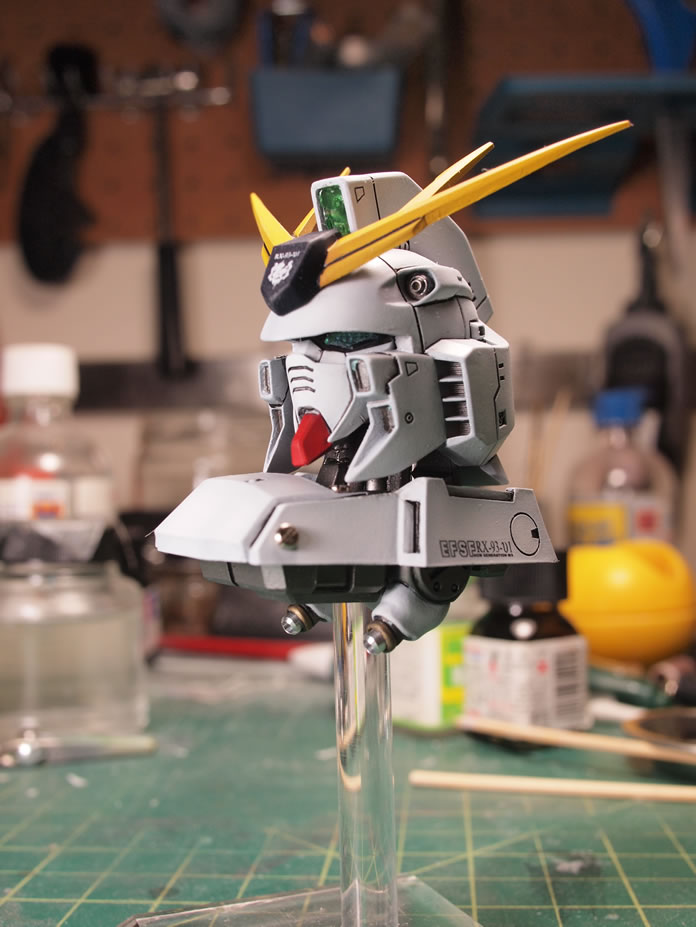
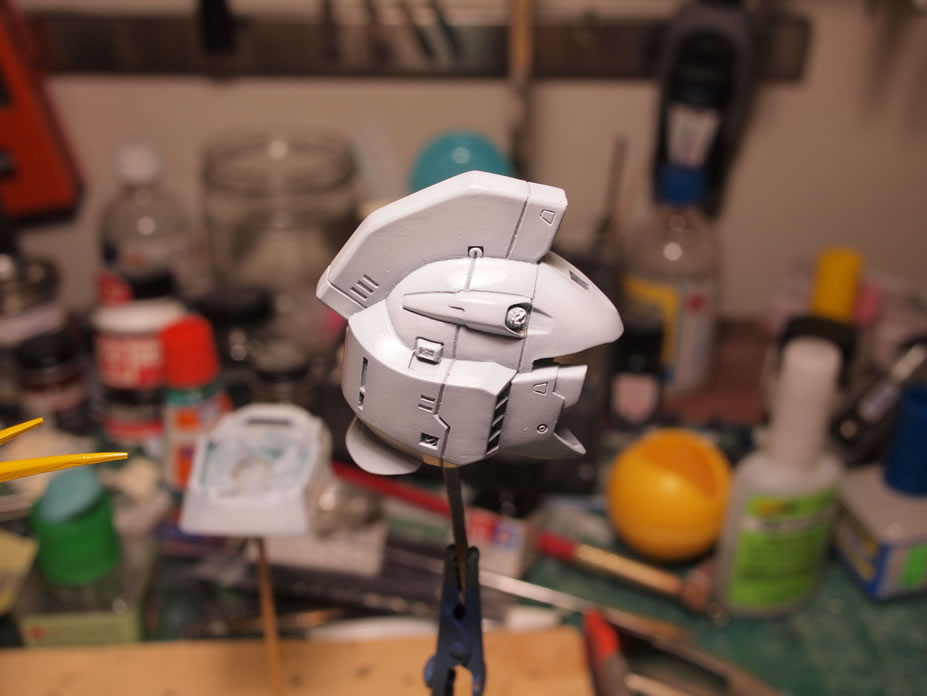
Last night, the head pieces and bust pieces are painted with gundam color white no. 5. Looking at my collection of paints, I hadn’t used much of the bottles of Gundam Colors I had, so the decision for what white tone to use was easy. Shading over the grey is just a practiced technique in airbrush control, good paint thinning, correct air pressure, spray distance, and ensuring that a light tacky paint layer is sprayed first before getting to the shading.
Center areas are sprayed feathering out to the edges, then with the entire part sprayed in that manner, the airbrush distance to the part is increased and paint is misted onto the part in light layers to blend in everything and fade out the stark dark shaded areas. Shading level is a personal preference and I enjoy a more subtle shading effect most of the time.
At this point, the color painting has concluded. Some of the masking is removed save for the masking over most of the metallic areas. And with about 5 or so minutes after spraying the white, I sprayed the clear gloss over everything. Then went and made dinner for the wife and I, ate, played with the corgis, and played a few rounds of Battle Operation.
Dinner and family fun time was enough to allow the clear gloss to dry. Granted, it’s not fully cured and for any regular competition level piece, I would have first allowed the previous layer of paint to cure for a day, then the clear gloss to cure for another full day. But this is a speed build. I cut out three decals and apply them to the kit and apply a small amount of decal setting solution.
While the decal setting solution is drying, I start the panel line wash process. The masking along the metallic areas of the bust pieces is removed. Tamiya gloss black and rosonol lighter fluid is mixed for the wash solution and then applied to the kit. The wash solution is allowed to dry on the surface of the kit for about 30 minutes after I finish.
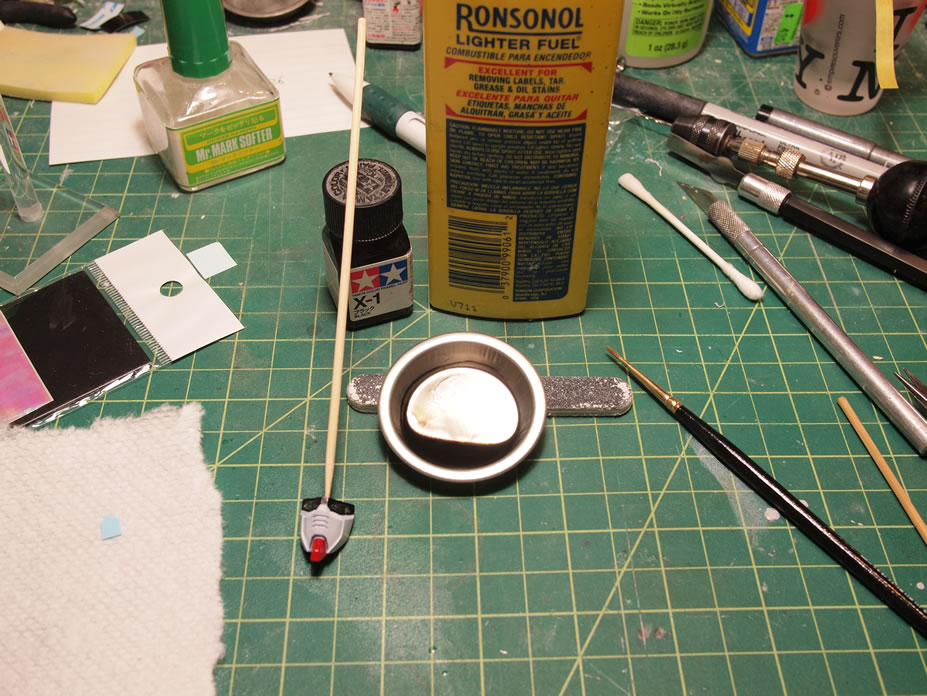
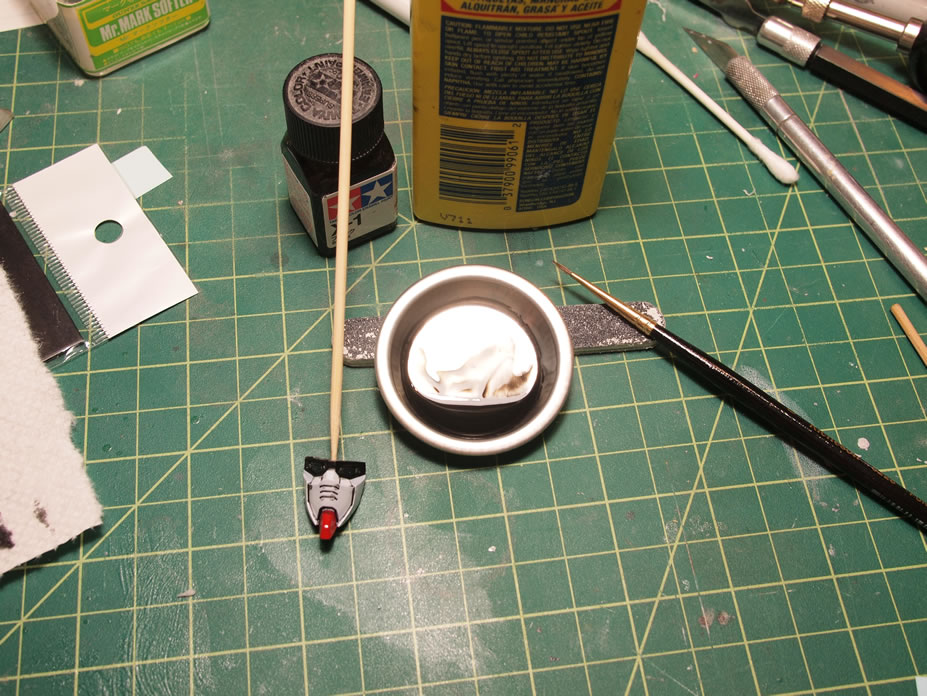
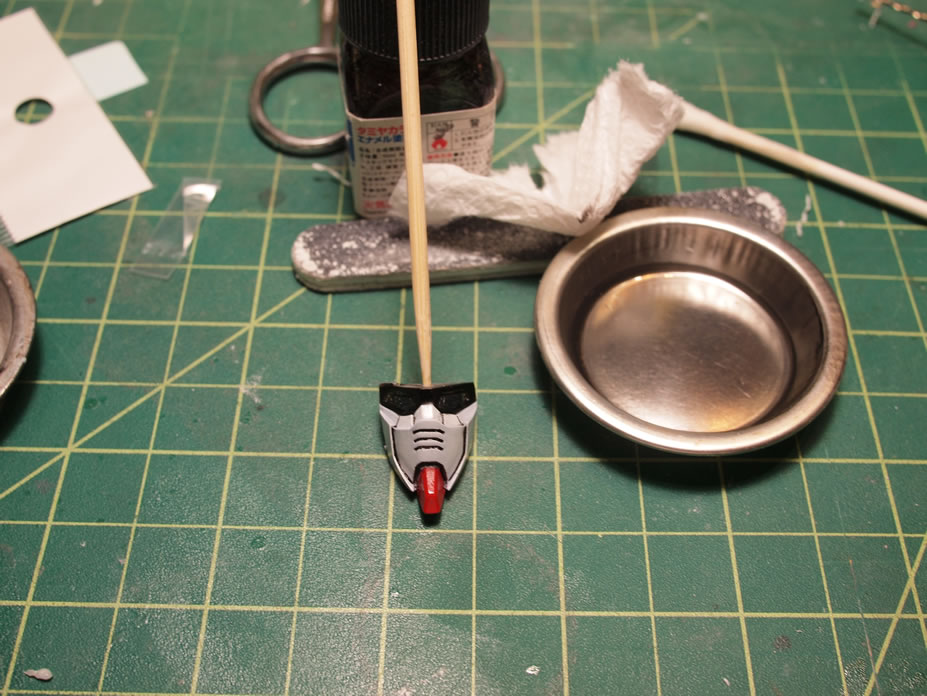
Since some of the areas were not clear coated with the clear gloss prior to the panel lining, I took some extra care to wipe the excess panel lines after everything had sat for the half hour. With the excess panel line ink removed from the kit, everything is sprayed with a clear flat coat to flatten the final paint tone. The metallic are lightly coated to give a more semi gloss feel than a full on matte finish for the rest of the kit.
Since I chose not to use the LED, I painted the back of the face piece black and used aurora decals for the eyes. With these decals, light reflecting will show different colors, it’s a pretty cool effect and I generally like using these decals on most Gundam eye and sensor areas. The front and back sensors were painted with alclad polished aluminum. There are clear resin pieces that are placed over these areas and those clear pieces were painted with a mixture of clear blue and clear yellow to get a clear green as I didn’t have a bottle of clear green to work with.

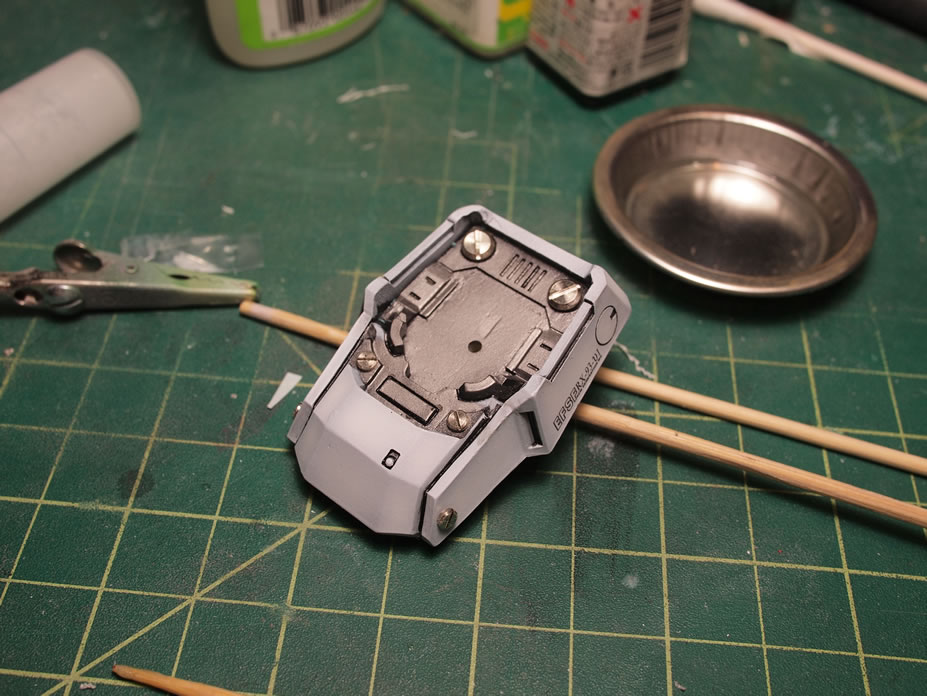
The final step was to add little metallic highlights to the main bust piece. The part had some details that I was just too lazy to mask and paint so I just replaced those areas with these metal highlights.
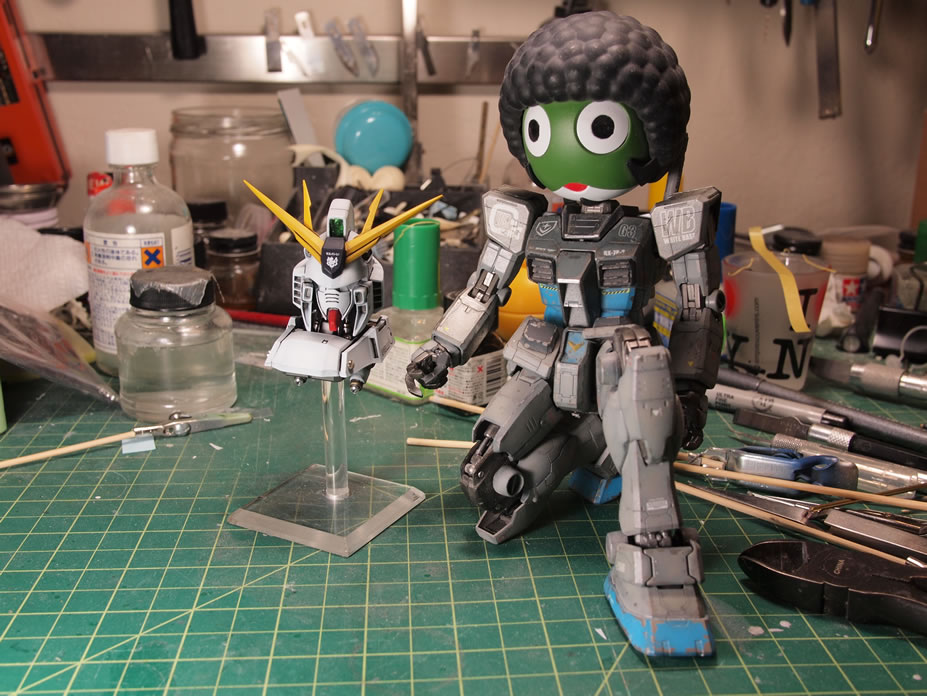
The last thing I did was to glue everything together and snap a picture next to keroro G3 for a size comparison. I should get some completed pictures up within the next few days or so.