Quick little update from the weekend and since the last post. I’ve been getting bits and pieces of work into the kit. Most of the torso parts have been completely painted. I’m still working on the upper arm thrusters as well as the little scratch built shoulder inserts.
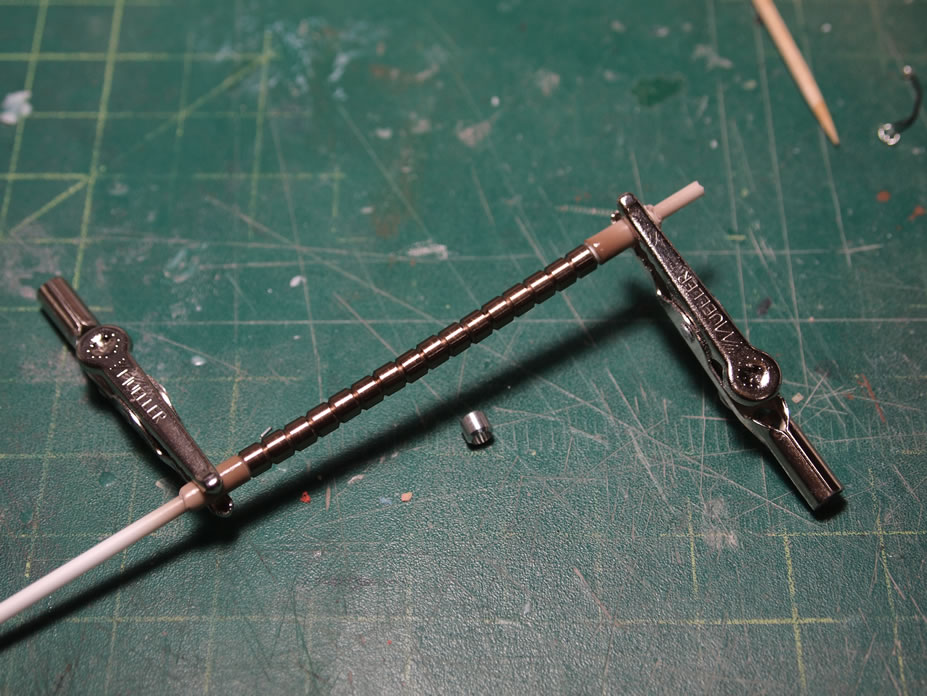
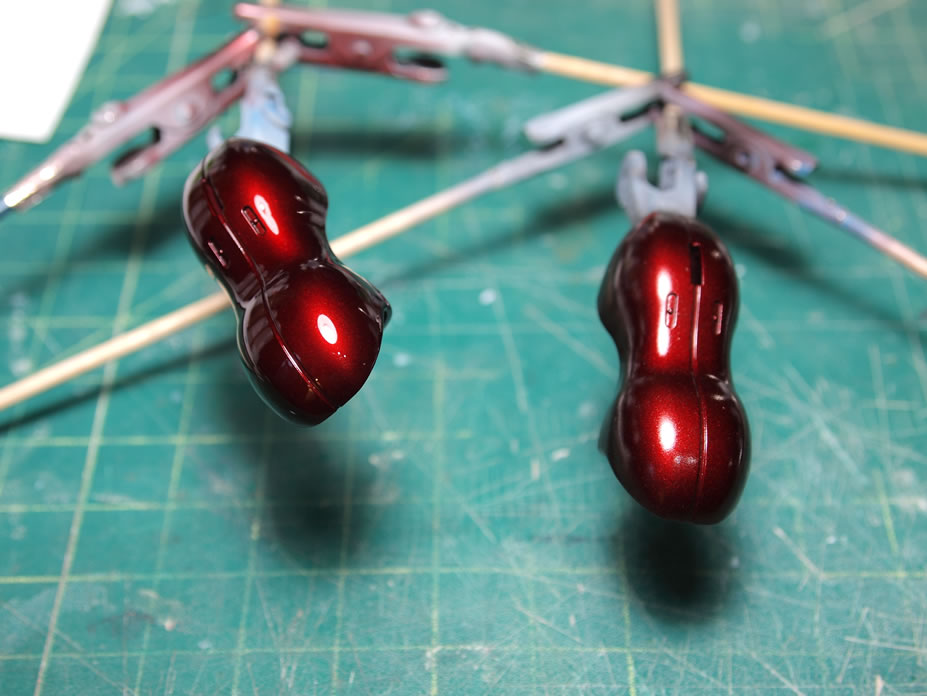
First off, I sprayed the metal collars that I’m using for the waist with Alclad Hot Metal Sephia. This is for MarkW who insisted that I at the very least tint the metal collars as opposed to just leaving them the natural brushed aluminum finish which looks pretty damn good on their own.
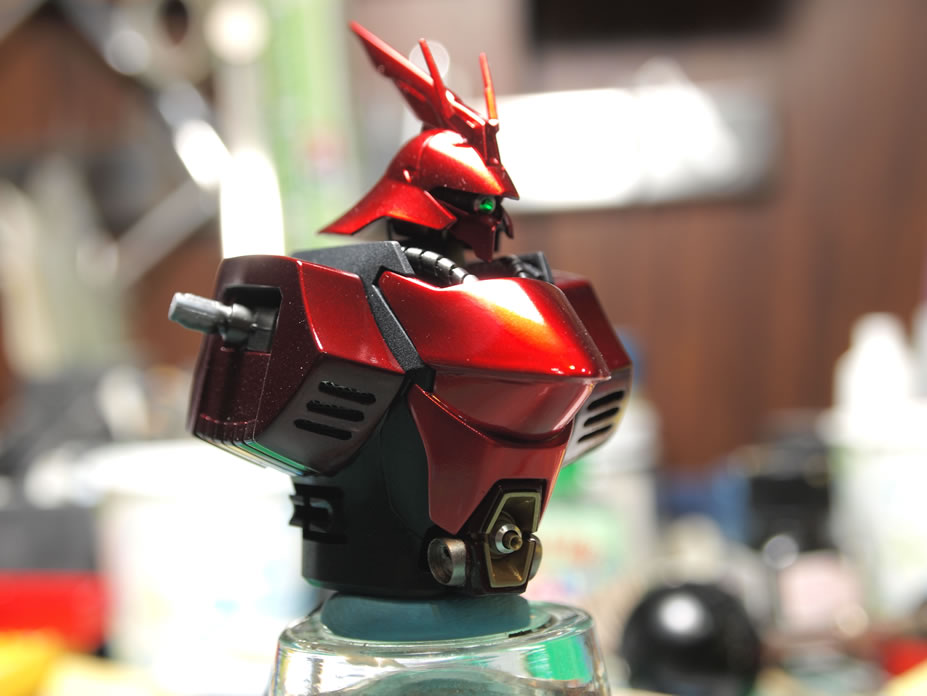
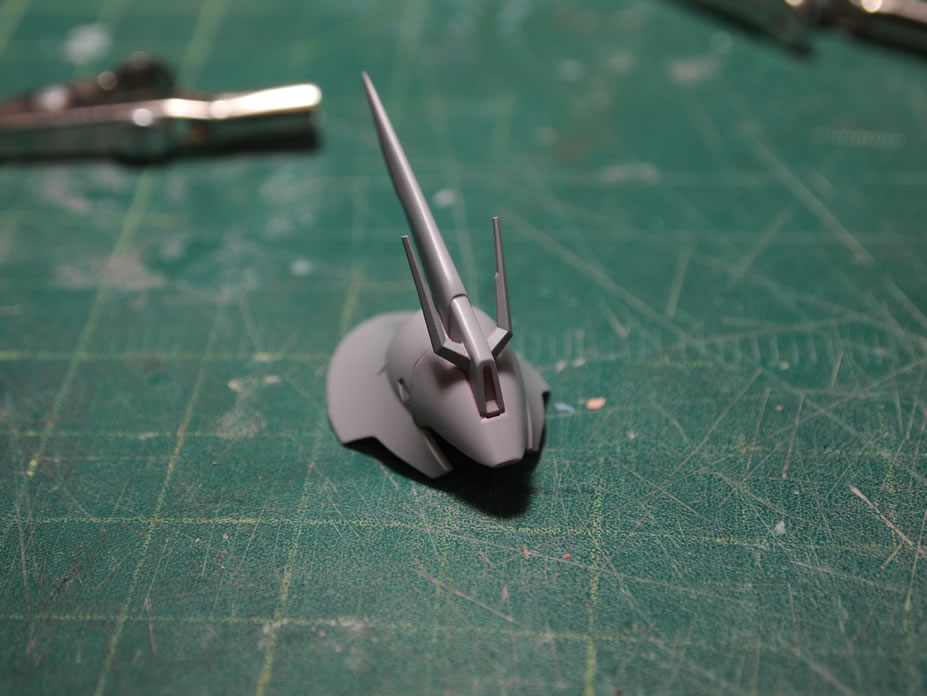
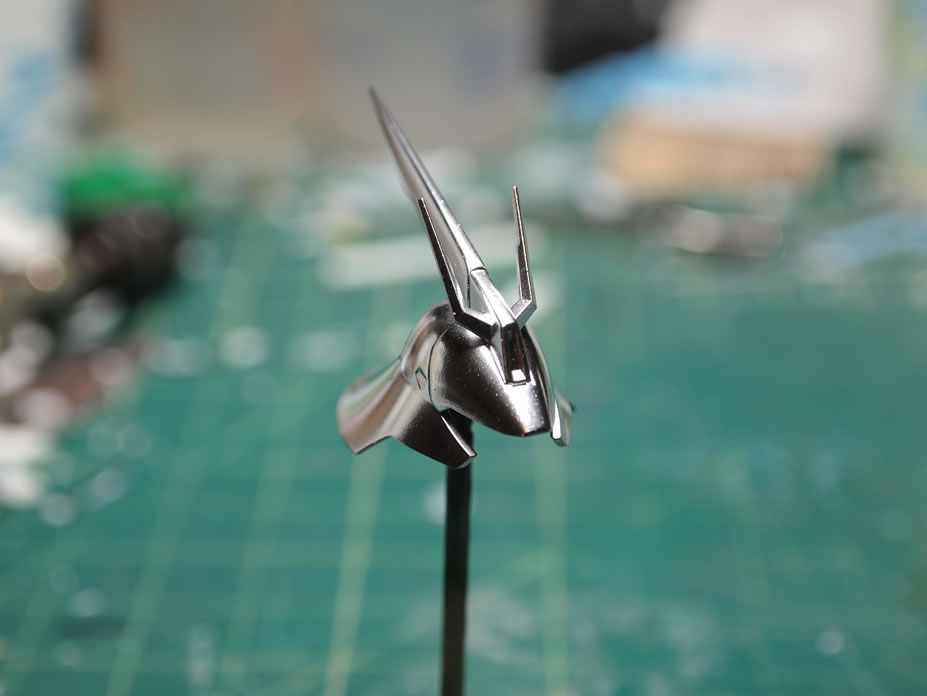
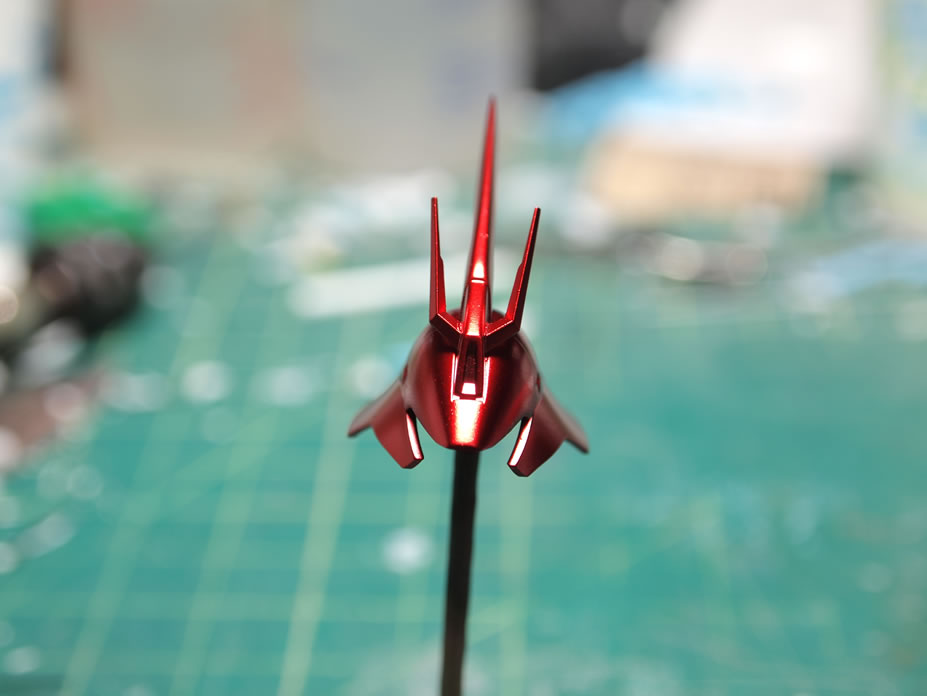
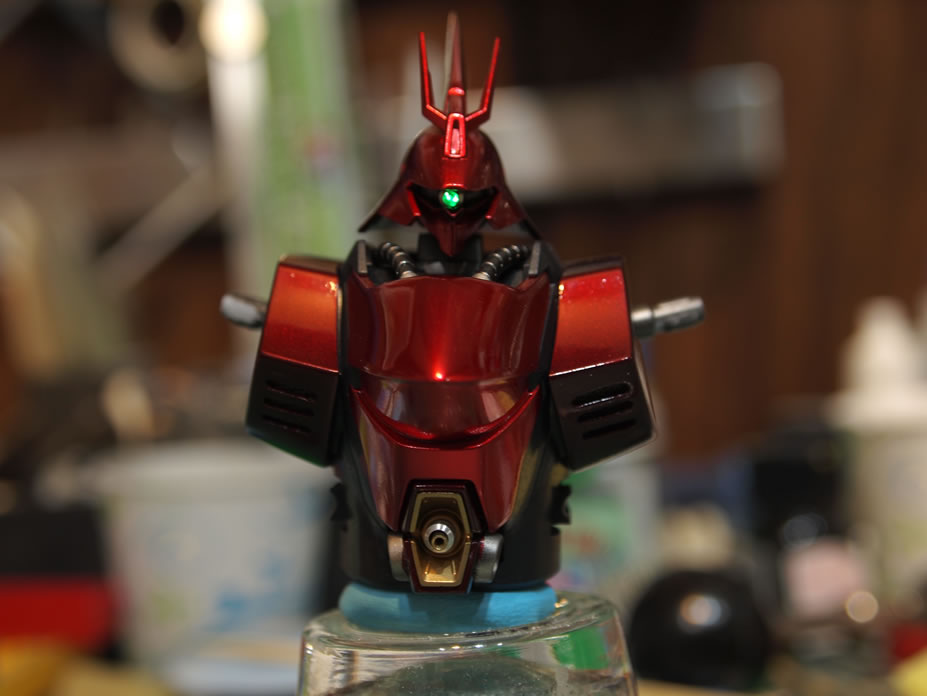
The head was primed, chromed, and sprayed with the hot metal red. Including the amount I used when I sprayed the test colors and the torso, I’m just about finished with one bottle of the Hot Metal Red. I picked up another, but I don’t think it’ll be enough for the skirts, legs, and feet. But I’ve yet to even start sanding and finishing up the lower half of the body so I’m not too concerned.
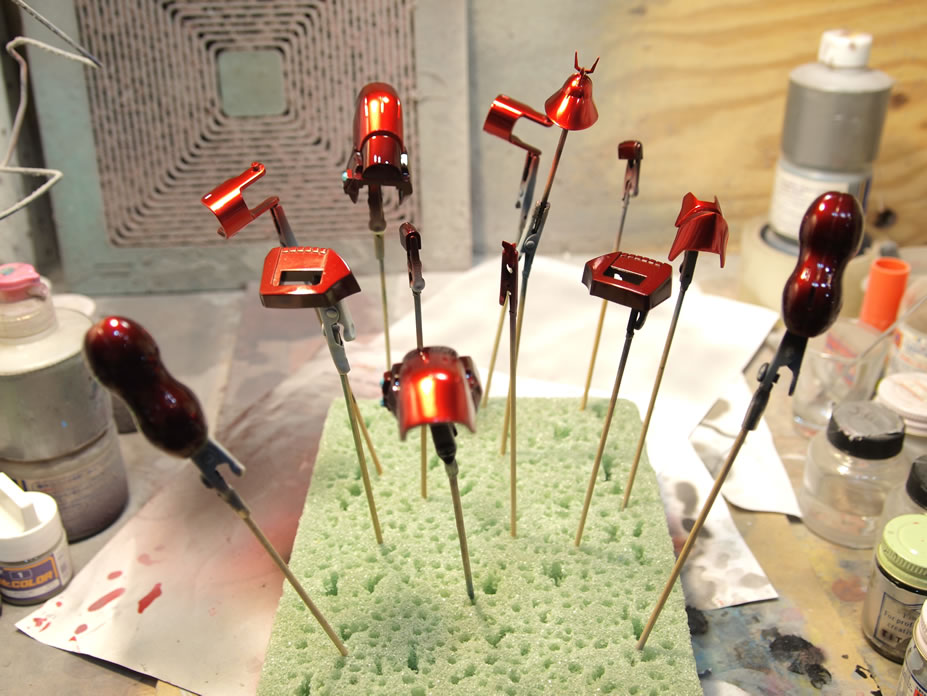
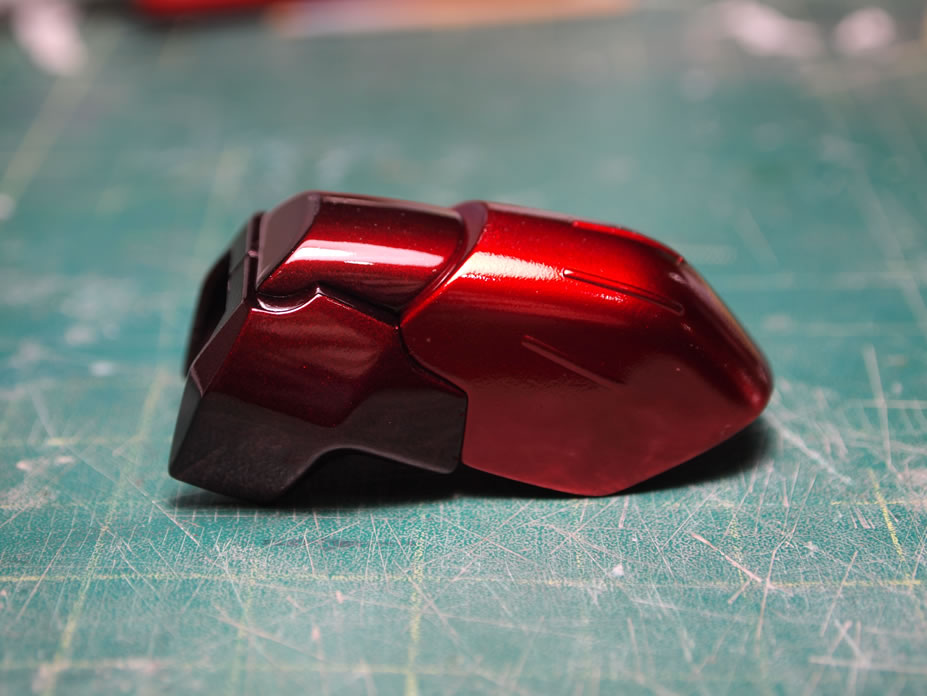
Saturday, I sprayed on a layer of Future Floor polish. I normally spray Mr Super Clear, but I didn’t know if the Alclad Hot Metal Red plays well with the lacquer based clear. Then again, reading the label/instructions on the alclad bottles, it specifically says to use an acrylic based clear. I just don’t like having to wait a full week for the stuff to fully cure up, but no worries, I can work on other things to keep my impatience in check. Here are the parts after spraying future. The last picture is a comparison shot, not sure how well it shows up, but it’s a big difference.
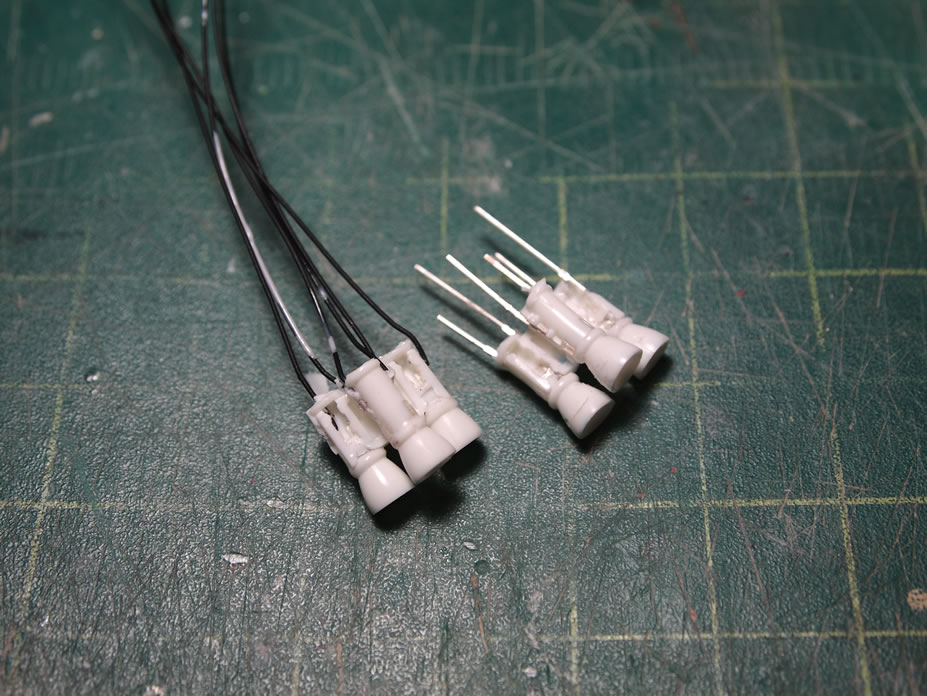
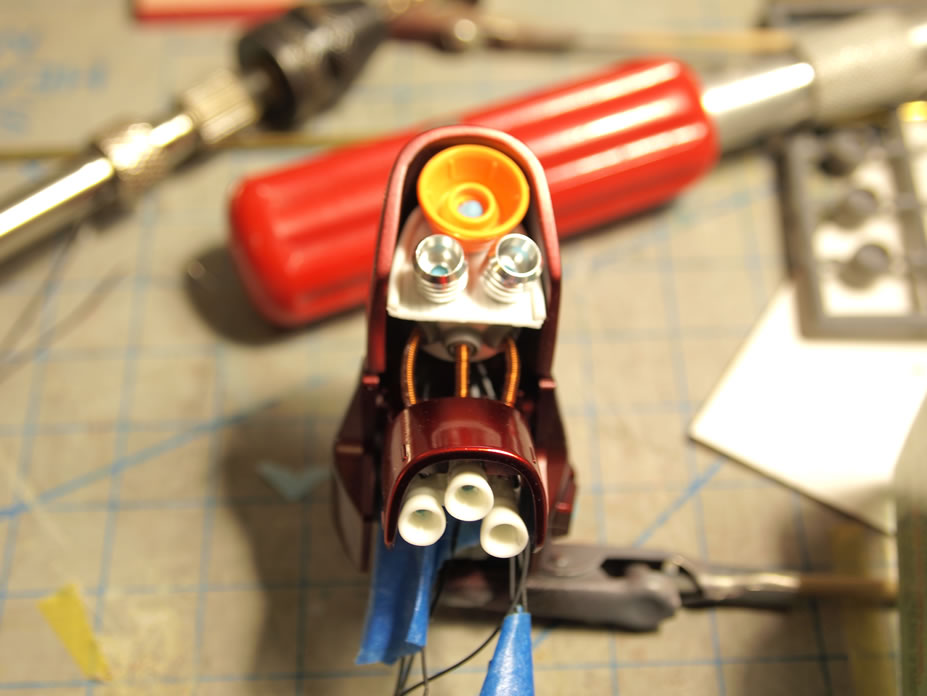
Now on to the arm thrusters. Granted I was pretty happy with what I had done with the whole casting of the LEDs inside the thruster units, but that happiness quickly dissolved when I set about figuring out the integration of the newly build thruster units into the kit. So using what I learned from the experience; I slightly modded the original piece, then remolded it. This time, the LED leads were cut and wire wrapped before casting them. And once cast, the new parts are MUCH easier to integrate. Here’s a picture of the new part in comparison with the old.
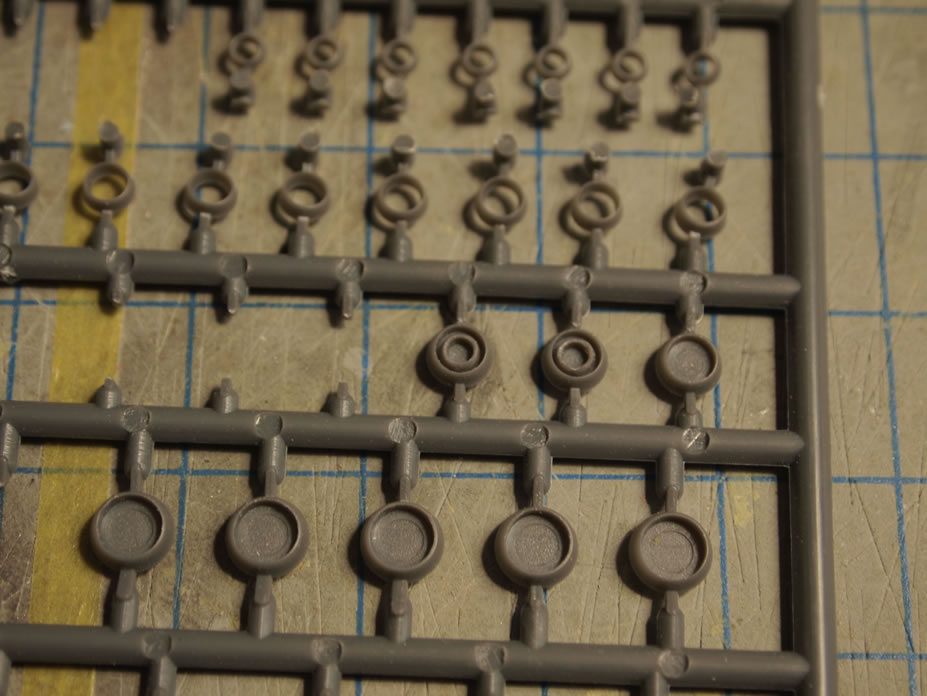
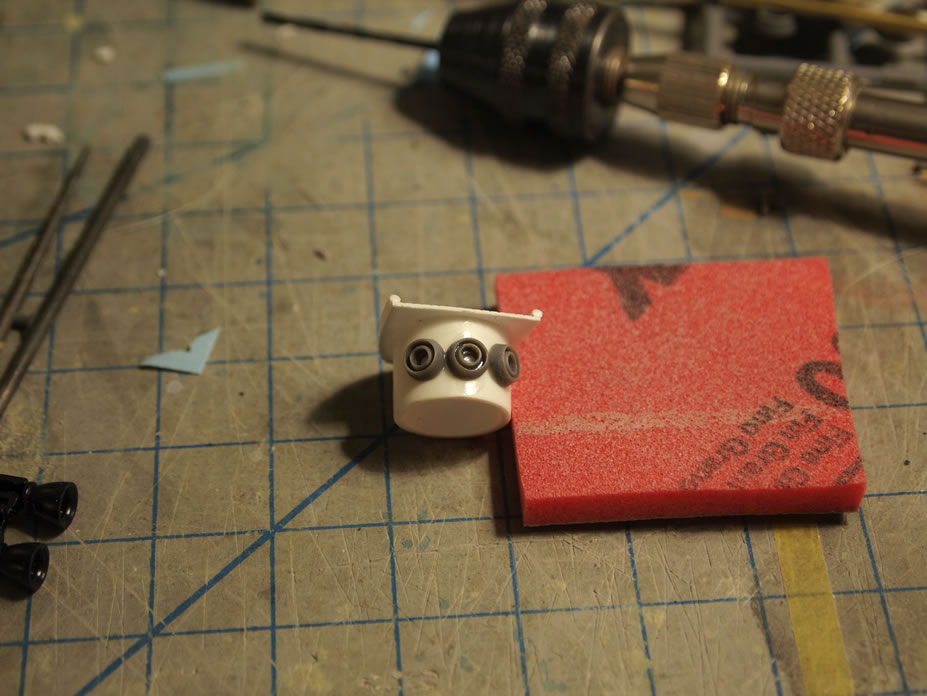
With the new part cast, I spent Sunday working on the integration. This brings the little shoulder detail insert I built a few weeks ago back into the picture. As I need to hide the wiring from the thrusters, I also needed to add a little bit of details to the shoulder insert. Time to kill two birds with a single stone. Starting off with some wave option parts, I glued one of the smaller rings into a circular mold to create a little detail port. Then glued these ports onto the shoulder pieces. I coiled up some magnet wire to make some springs and slipped the springs over the wires then threaded the wires through the ports and into the shoulder piece.
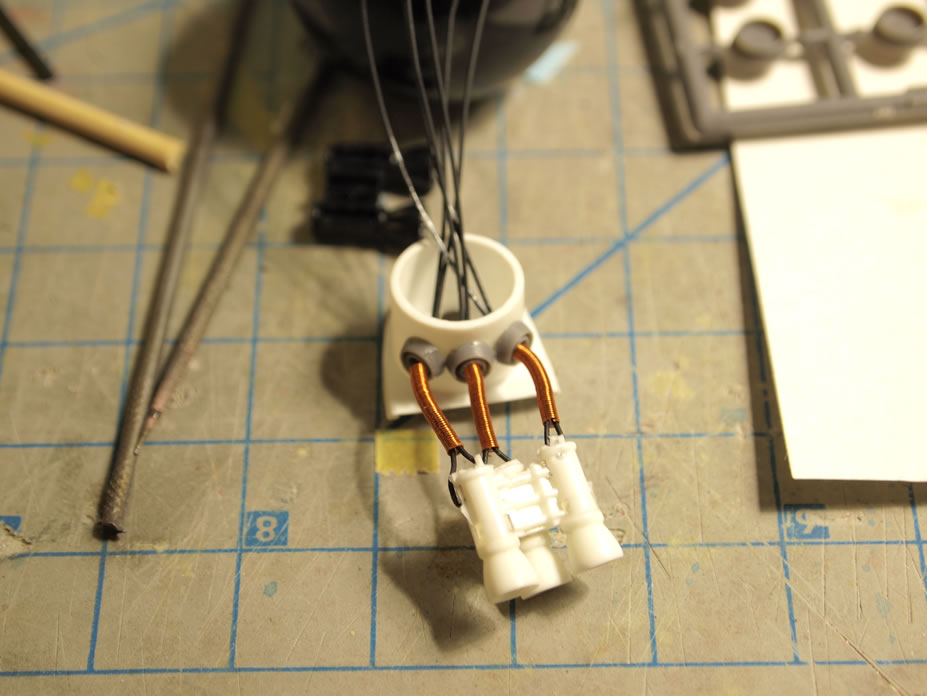
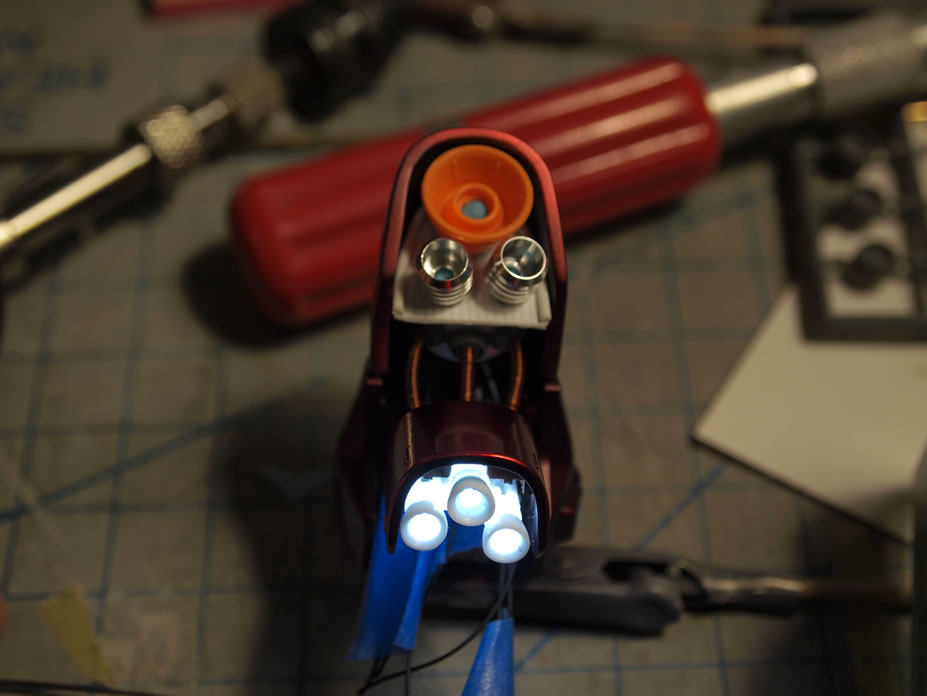
Here’s a test fit of the shoulder piece/arm thrusters, and a test lighting of the unit.
I still had one of the torso pieces that needed to be sprayed with future so I couldn’t complete the torso piece, but here’s what the Saz looks like so far, with the mono eye lit as well.

How did you make the plastic piece, with a chrome coating? Is it a special paint?
The parts are sprayed with alclad chrome. Alclad is an airbrush formulated paint that does a really good job of looking like real metal. There are other brands of paint that do this as well, but most are lacquer based paints and to get the effect you either have to use spray cans or an airbrush.
How did you spray on the red? Im working on a Kämpfer which I already chromed with alclad but when I added the clear blue (Tamiya clear blue) I lost a lot of Chrome.
it’s significantly less reflective than your sazabi.
Once you have the clear color on the surface. I sprayed on several coats of clear gloss. This helps make it very shiny. This technique takes a bit of practice. If your part looks dusty, then it may be your spray technique, the paint may be drying before it hits the surface.
I recommend spraying a light mist coat, then spraying heavier. It will look wet. Again, this technique takes practice. I do not use tamiya acrylic paints as I find them difficult to use. I use either alclad clears colors or lacquer based clear colors.