Time for another Saz update; and it has been a while. But first off, I re-themed the site’s front end. The wordpress end. The old style is a bit dated, and I’ve been meaning to do an update for a while. I did a little too many modifications on the last theme and that was a little too time consuming, so I grabbed a nice little theme that was very flexible with personalization and used my old theme’s main colors to retain some of my personal flavor. I think the site is a little more streamlined. I’ll be tweaking things here and there over the next week or so. I’m always open for comments, or if you want to be added to my rss feeds and what not, let me know. Hopefully the site is a little faster as well. And about the ads, well, I kinda buried them before, hopefully they’re not too distracting from the content.
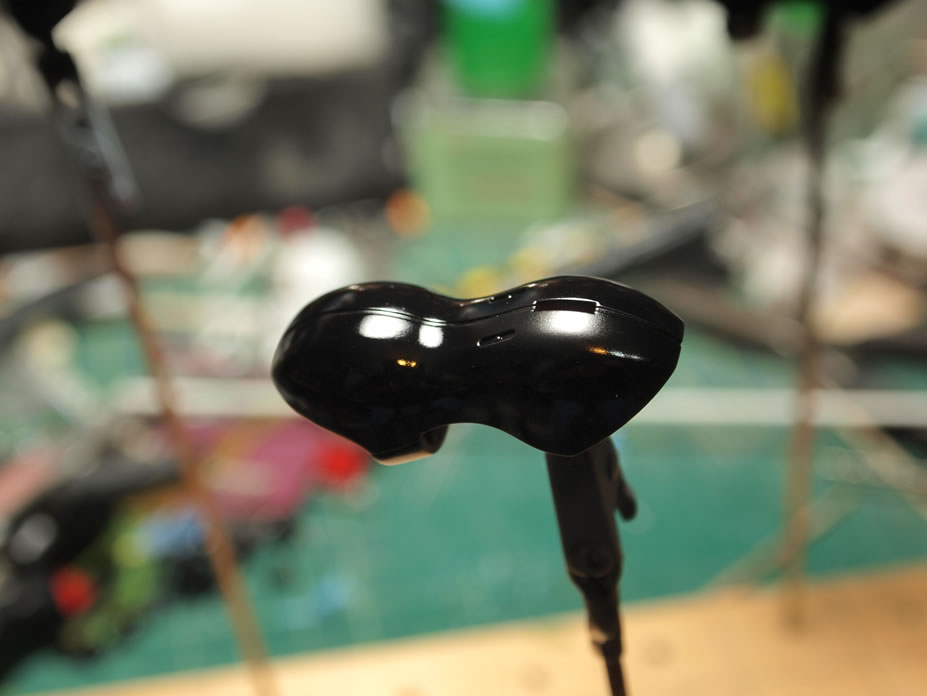
Ok, enough about the site, on to the Saz, for which I have been continually working on; but progress at this point was kinda slow, I was waiting for some lights and stuff to show up… So last I left, I had just gotten the first layer of primer on the little bastard. Well I had to go through several cycles of sand/putty/sand/prime/ repeat until I got the primer just right on the shoulders and chest. With that done, these past few days, I’ve been getting paint on the little bastard. Started off with the gloss black base.
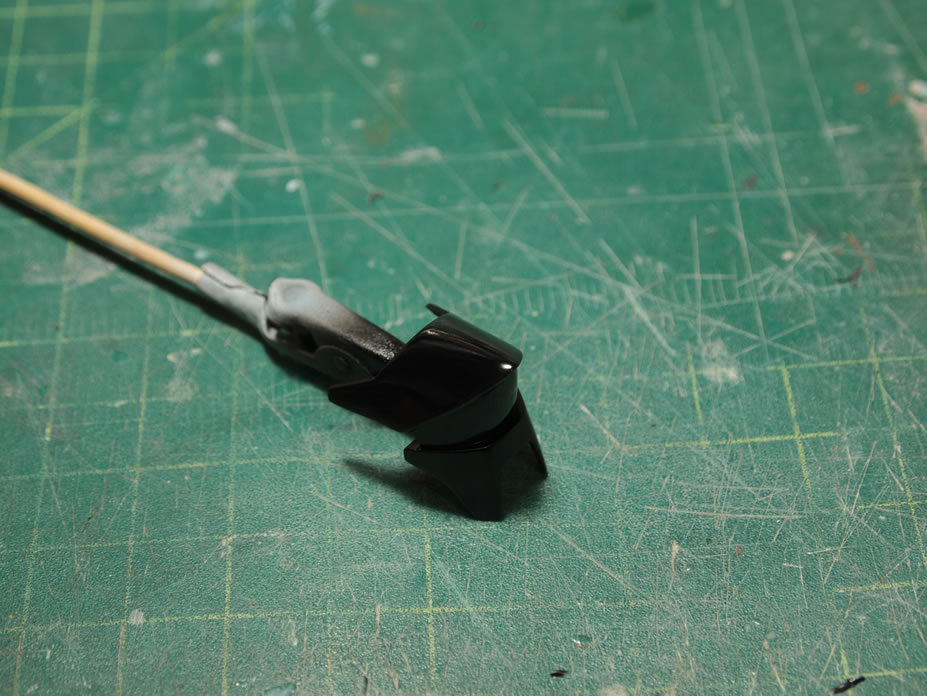
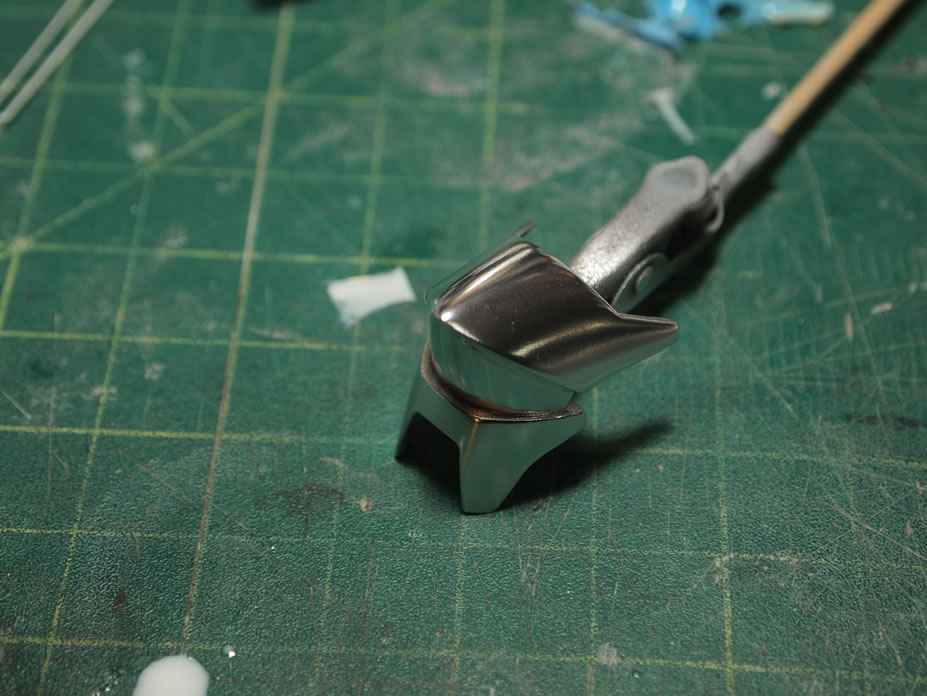
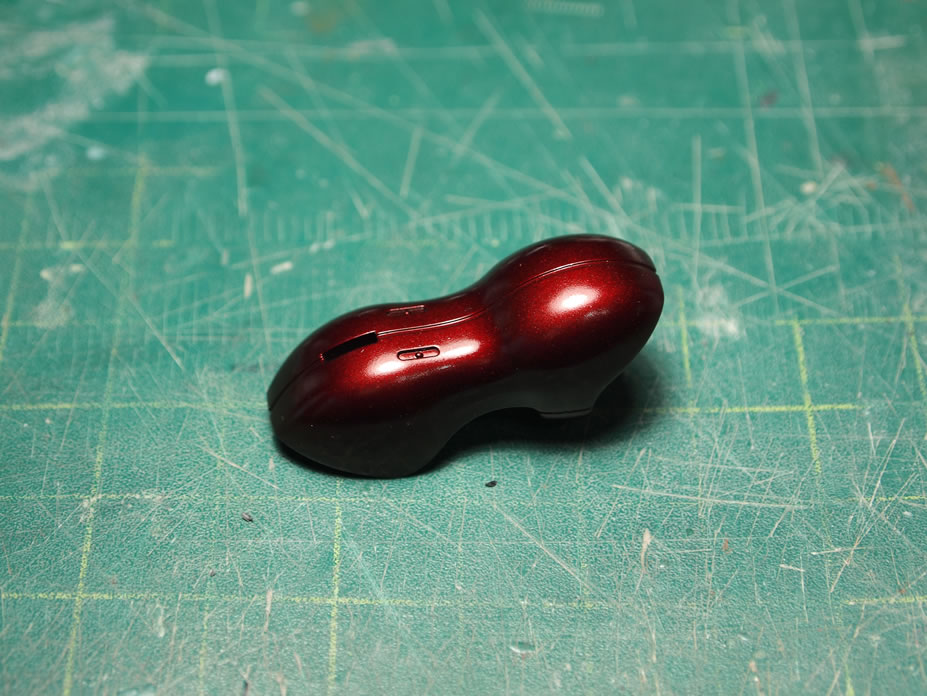
After the parts sat over night to fully cure up. Then the alclad chrome. Well, not all the parts got chrome. The Saz has a two tone red, some parts are a lighter tone of red than the others. So the lighter areas got the chrome, the darker areas were sprayed with alclad steel.

Now against my better judgment and what I always recommend to others; I went ahead and sprayed the next layer of paint only after waiting about half an hour to an hour for the paint to dry/cure. I blame Angel for this. But over the chromed and steel painted parts, I sprayed alclad’s hot metal red. This is like a deep clear red. It’s damn nice. I only sprayed the forearms, upper arms, a few of the shoulder pieces, and the torso pieces. And I’m over halfway through the bottle. I went out and picked up another bottle of the stuff today. I’m pretty sure that it’ll probably take yet another bottle to finish painting the entire kit…
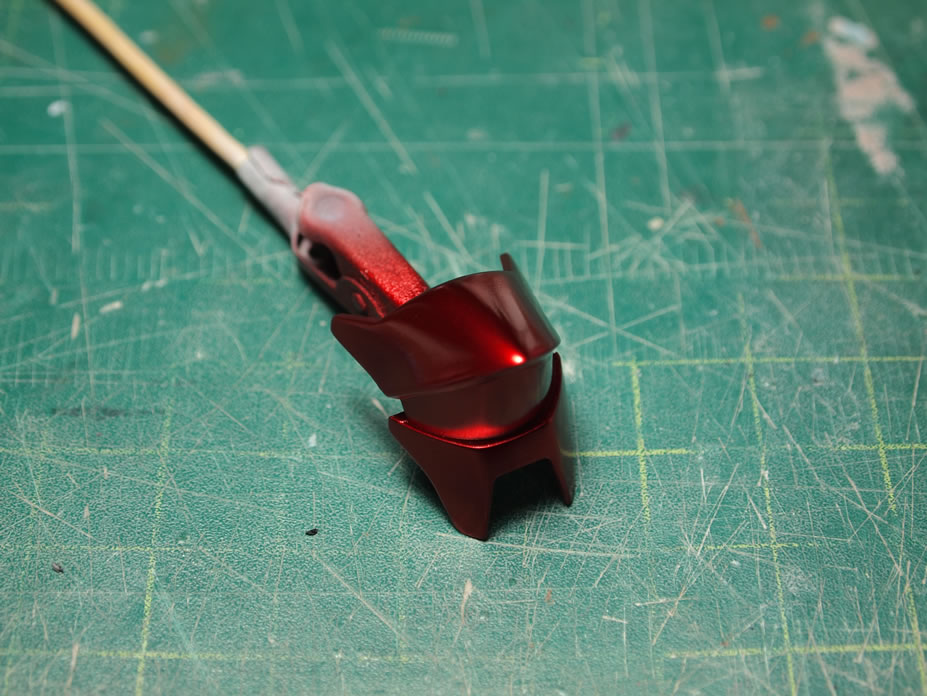
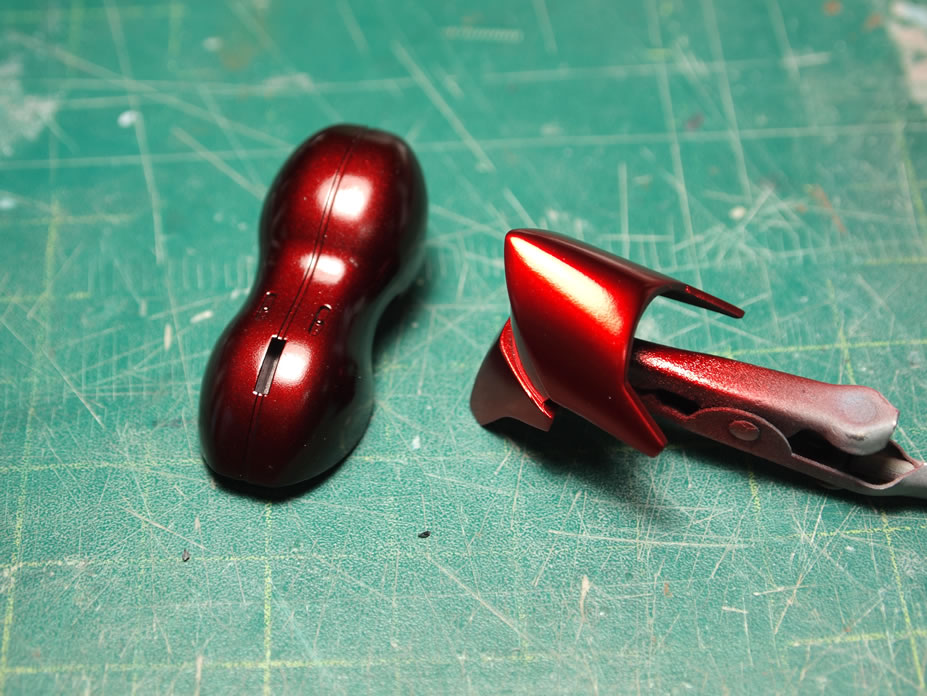
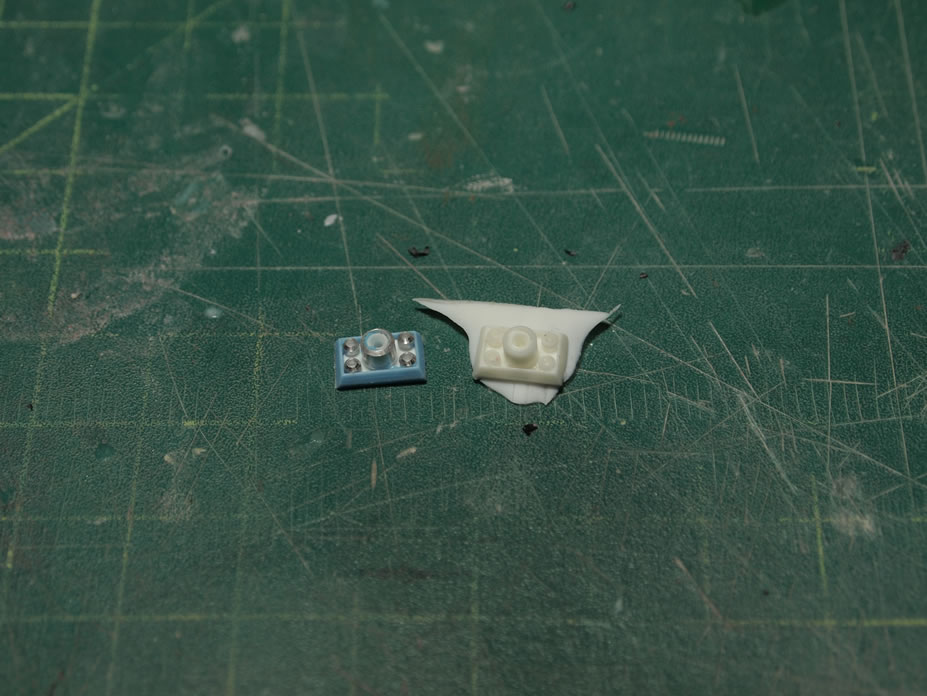
Here’s a picture with both parts, the tone difference is clear. It’s a little more subtle in person. I like it, and I think this should look fairly decent on the kit.
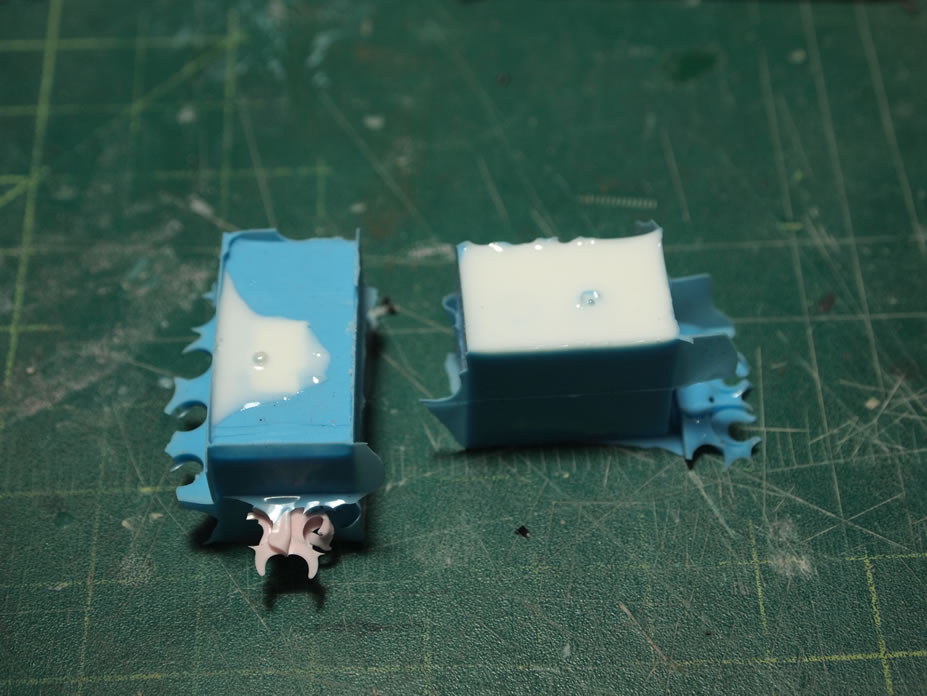
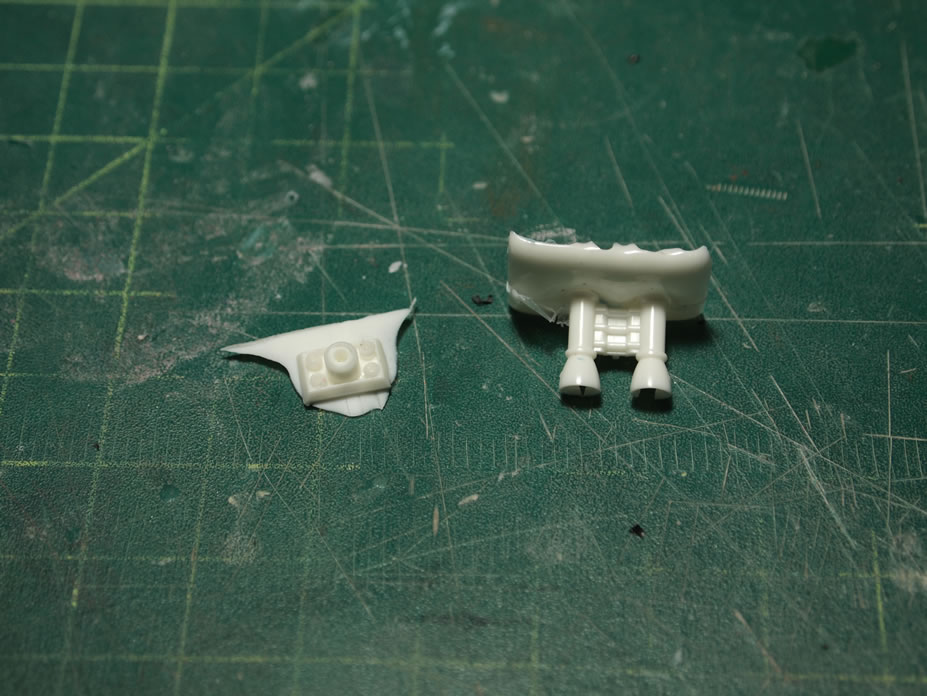
The other time consuming process is mold making and casting the resin. Actually the resin casting isn’t too time consuming, but it’s a fairly exact science. So some time was spent producing parts. The last picture in this set has the original part in comparison to the duplicated piece.
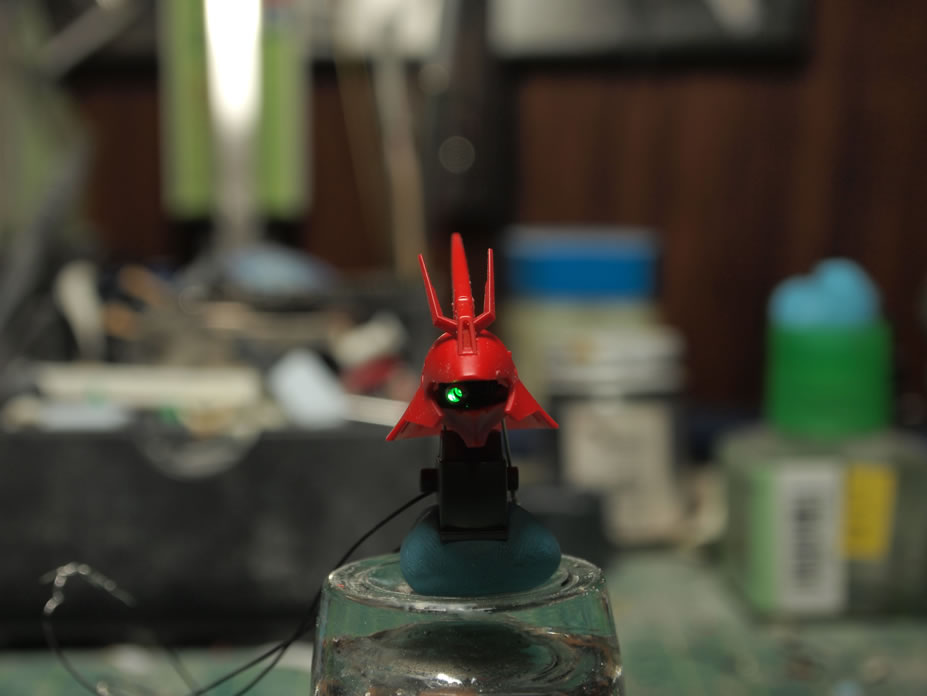
Now for tonight’s work. I spent the evening working on the mono eye. With my lights delivered the other day, I can continue working on the smaller lighted areas. Some cutting and fitting was done to the Saz’s head areas to get the 1.8mm LED into position for use with the mono eye piece.
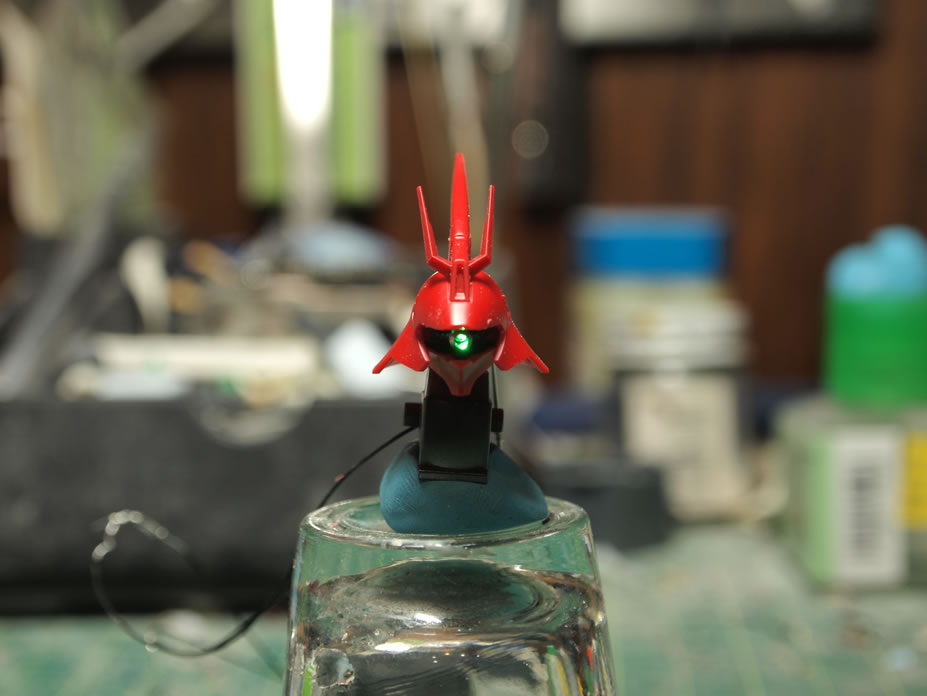
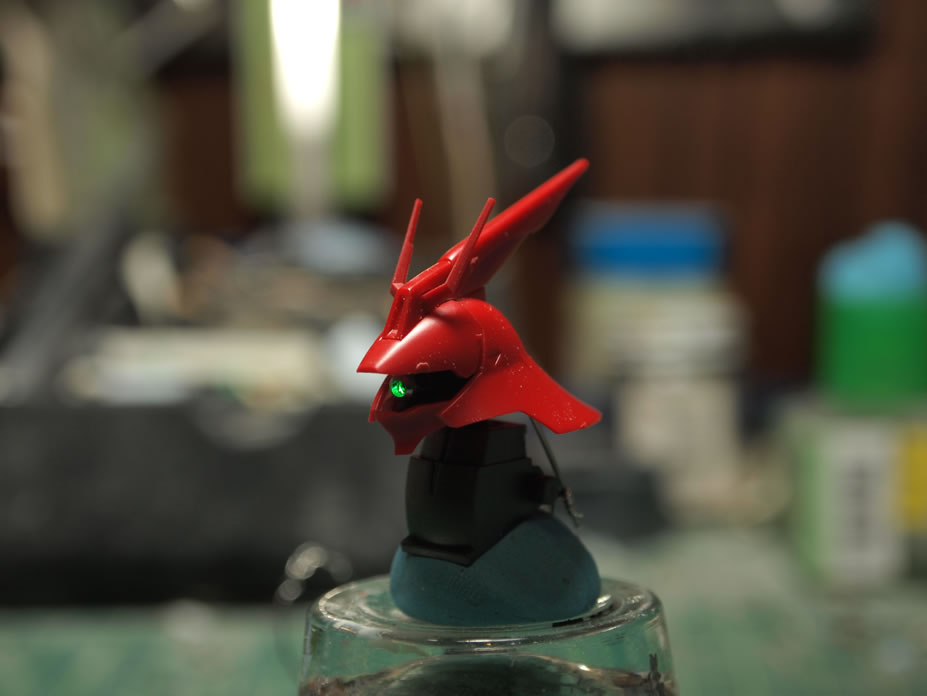
And with the way I have the LED implemented, the mono eye’s full functionality is intact, yeah, gimmicky but hell, it wasn’t too difficult to do.

Damn, it’s a frigging HGUC kit…but it’s a pretty damn big HGUC kit. Damn fun, I see the appeal in building these over MGs…
im curious to see where youre going with the mold casting. never seen that done before. the alcad paints really blow me away. also would appreciate an add to your rss feed too since you asked. i think youre already on mine. i like the new design but i personally didnt find anything wrong with the old one. keep up the great work!
Great post as usual, never tired of reading them!
Site does look more neat but personally, i prefer the previous font
Keep the updates coming!