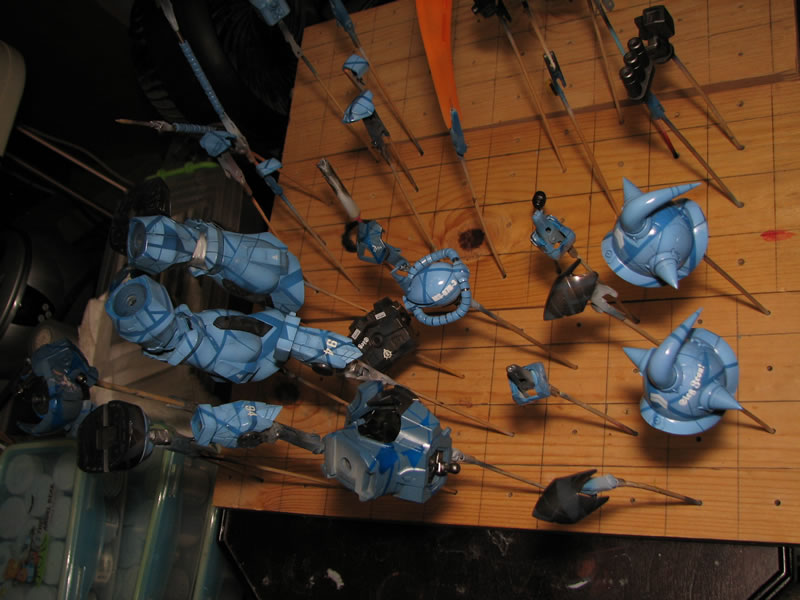
As stated in the previous post; when it gets down to the final stretch of things, the build progress slows down to a snails pace. The reason for this is that each of the final steps, although very quick and not in the least bit labor intensive just takes time and patience. Visibly, the work isn’t significant as these are minor details added to the kit. The reason for the slowness for the drawn out process is due to the cure times for the clear coats applied between the final layers.
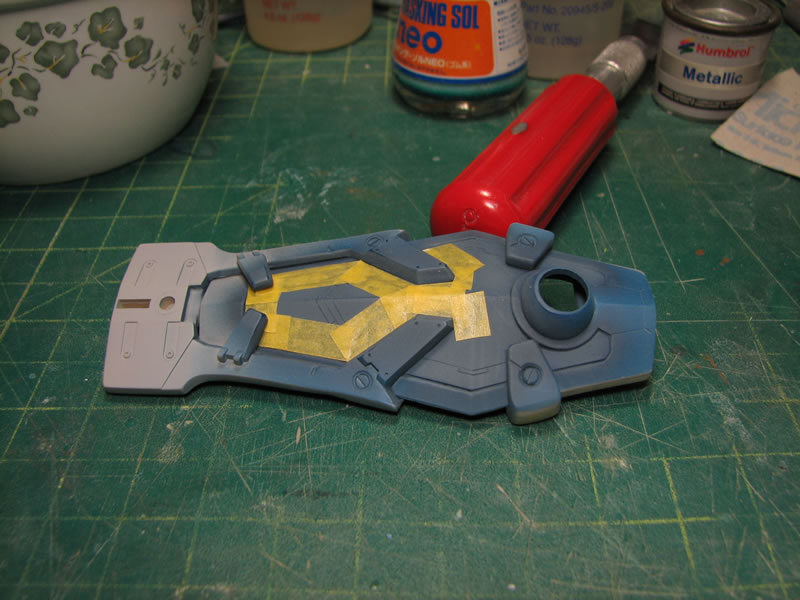
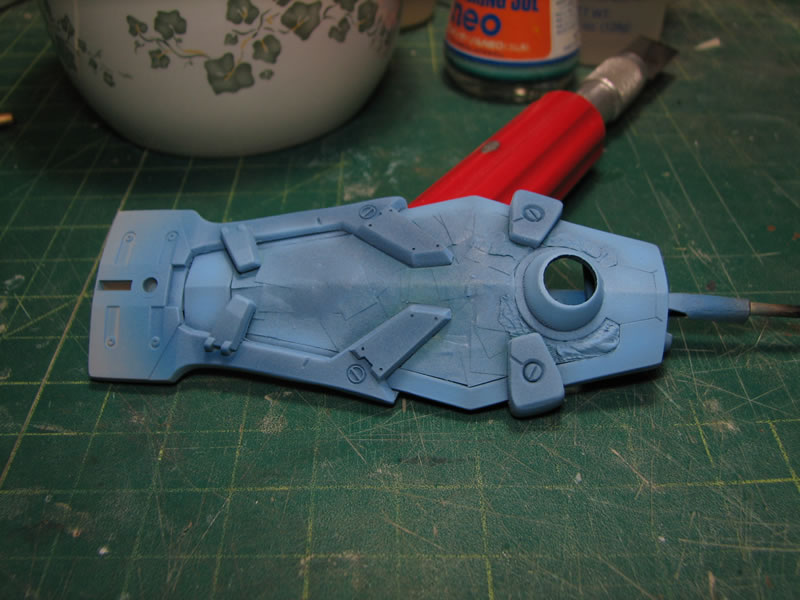
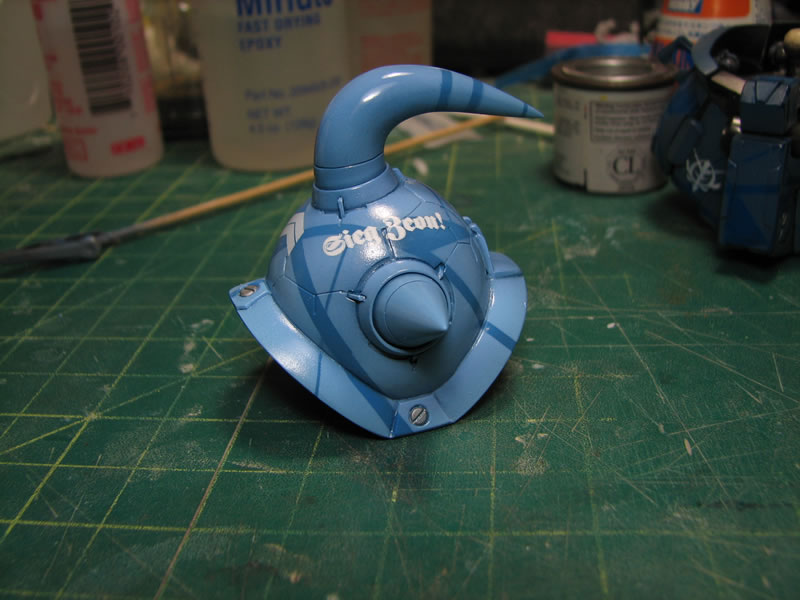
Before getting to the final process, here is the paint progression for the shield; being so consumed with the main body, I had completely neglected the shield. The shield was glued together so, I needed to pain from the inner layers, outward, masking at each paint level. Starting off with the bluish gray which is a humbrol enamel paint color azure blue sprayed over a dark base. This was then masked off after a day of curing and the outer rim of the shield was painted according to the color scheme for the main armor pieces using the light Gouf custom blue over a darker blue. After another day of curing, the outer rim was masked off to paint the metallic frame that is the gatling weapon’s frame.

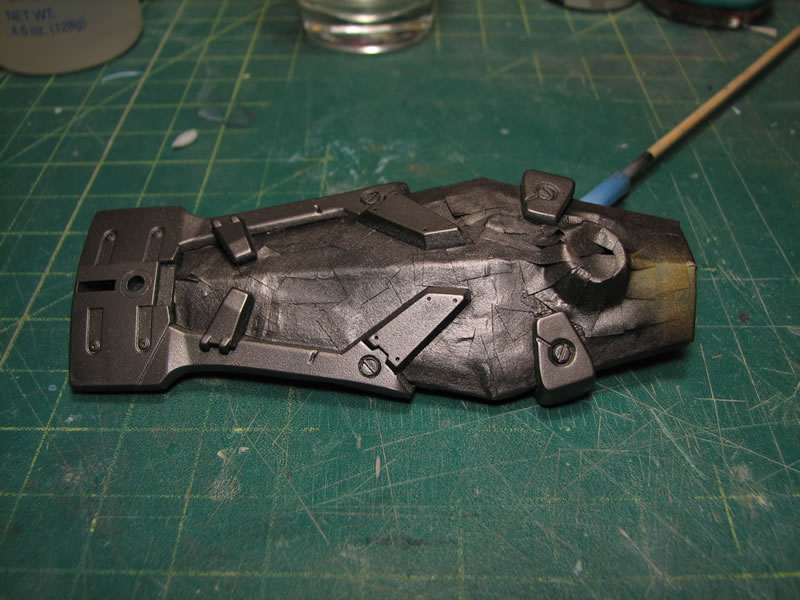
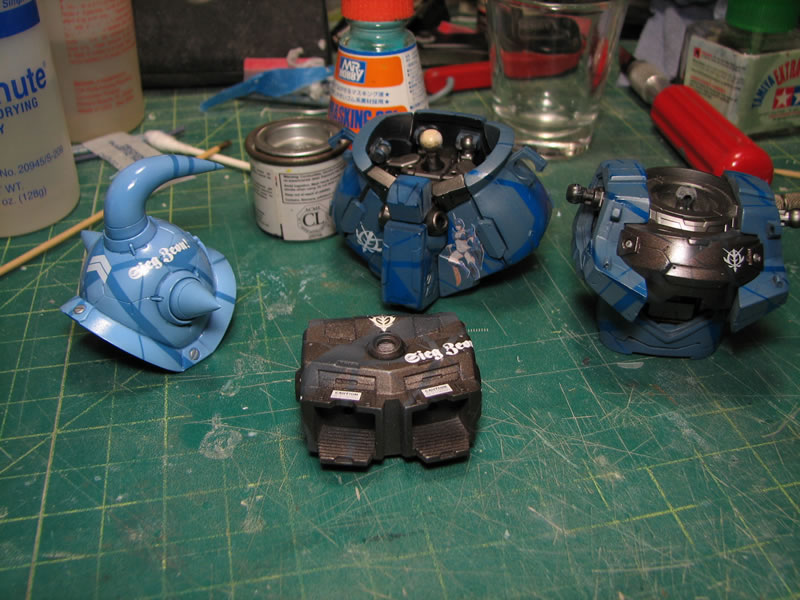
And with the metallics painted on the shield, all the masking layers can come off and here’s what the shield looks like. Looking at the pictures below, there is a little bit of an issue with the center opening of the upper shield, some of the paint was sanded off to smooth out some rough edges. This has been addressed; after the below pictures were taken, the shield was touched up with a little bit of paint.
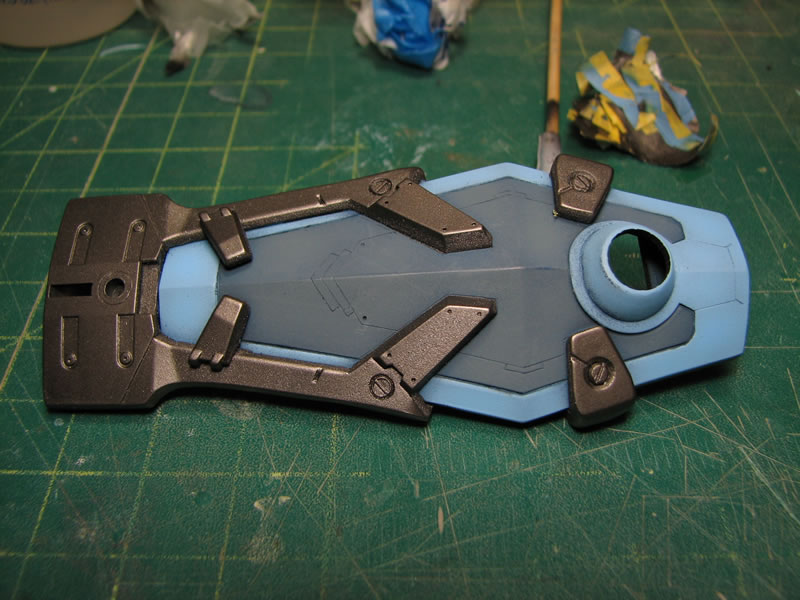
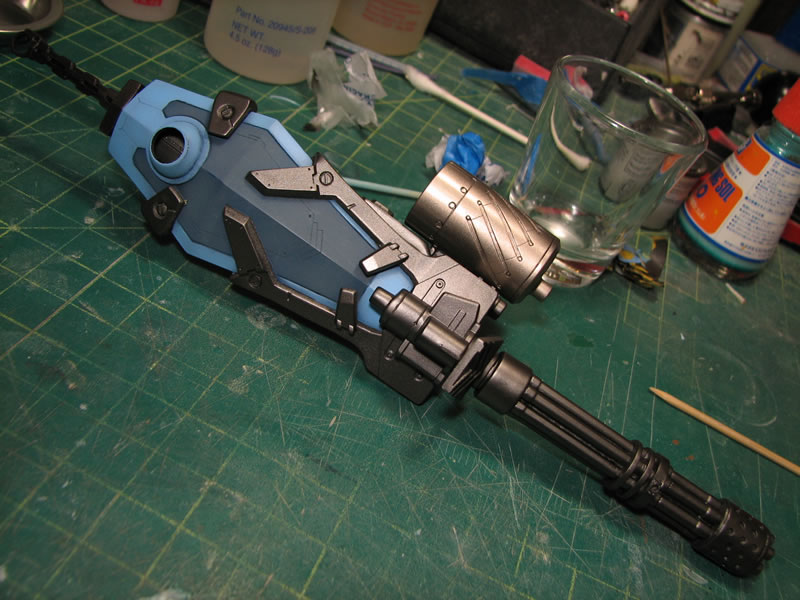
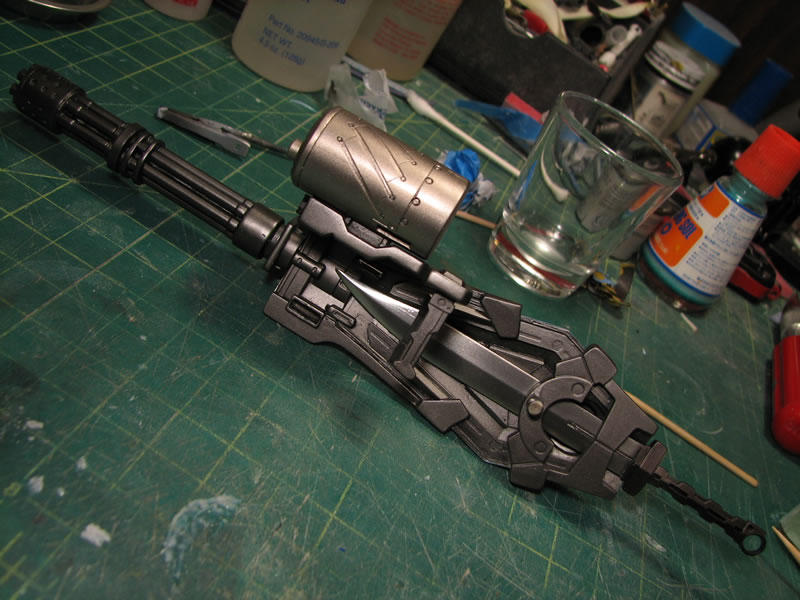
And to go along with the first picture at the top of this post, the back side of the shield with gatling gun in place for a quick mock up.
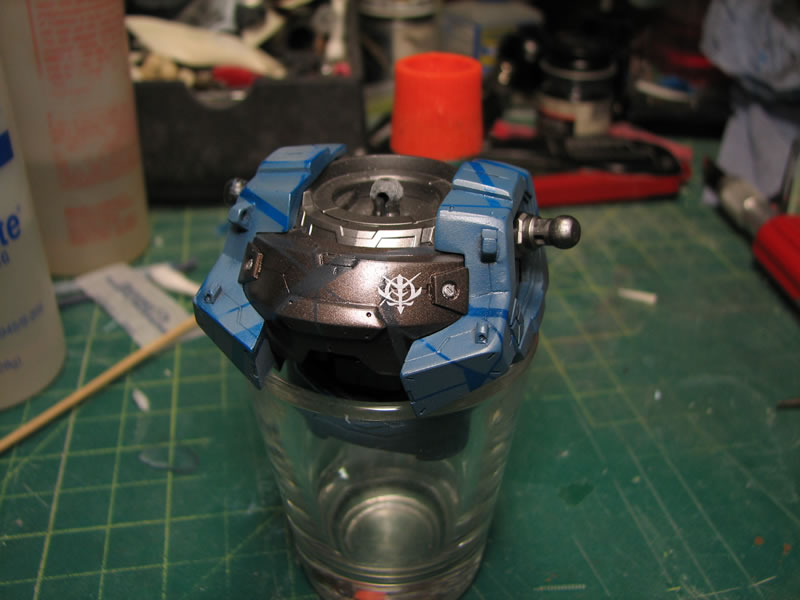
After the paint on the kit sets, the parts are sprayed with a clear gloss to prepare the surface for decals. After the gloss coat cures, the decals are applied. I spent the previous night applying decals to the kit. I didn’t put many decals, but just hit up the usual spots with warning labels and insignias.
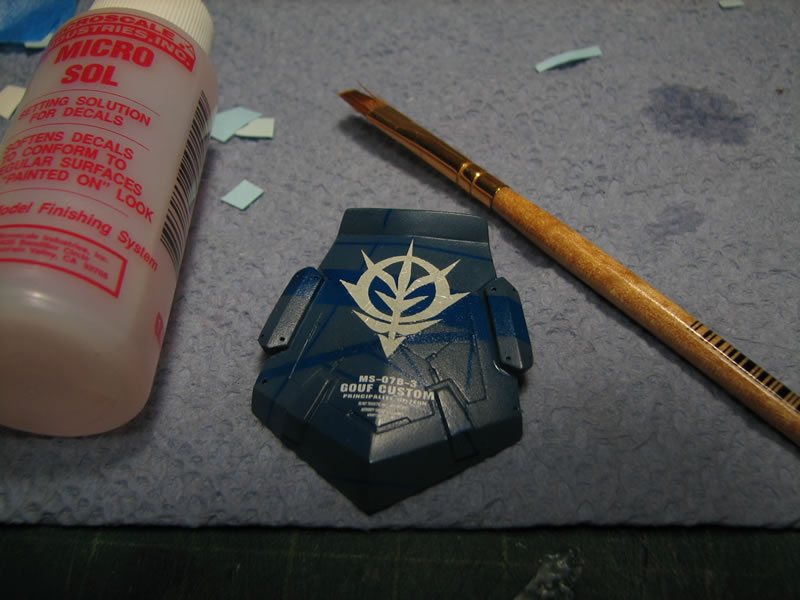
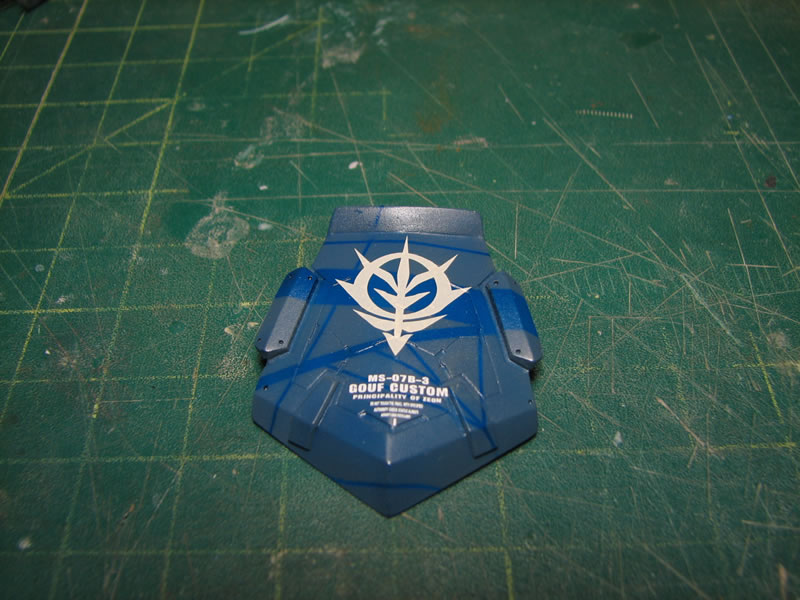
In the pictured example, after applying the mark softening agent, you can see the decal wrinkling up all over the place. This is normal. NEVER attempt to straighten this out as you will only end up ruining the decal – tearing it, moving it, etc. Just leave it alone. Walk away from it. Now a full day later, or when ever all the decal softening solution has evaporated away, you can see that the decal is nice and flat, no wrinkles. Again it is important to just carefully apply the decal softening agent by just placing a drop of the stuff onto the decal as it is placed on the kit then walk away. The solution will work it’s magic and even if it wrinkles in the process, the final decal will be nice and flat. Here’s proof.
All the parts decaled and ready for another shot of clear gloss to sandwich the decals between two layers of clear, further removing any trace of decal lines as well as protecting and preparing the surface for the next phase; the panel line wash.
Another thing done at this layer is to paint the small details. I used an enamel metallic and a fine brush to apply the detail accents to the various areas on the kit. This needs to fully dry/cure before I move on to spraying the clear gloss.
Allowing the paint to cure overnight, I woke up this morning and sprayed the next layer of clear gloss so that by the time I get off work today, I should be able to get the panel line wash done. So baring anything catastrophic happening; the next update should have the finished kit at the end of the weekend. Almost done.
Lol, nice pin-up girl decal. Did that come with the kit or is it custom?
Custom decal from samueldecal.com