This was a fairly busy weekend. The August build gathering was originally scheduled for the 21st, but since I’ll be in Vegas along with a few other guys from the build gathering, I moved it. Unfortunately, the date change affected a good number of folks that they couldn’t make it. I received email/messages from about 10 folks. We had about 15 folks at the gathering, so we would have had a fairly large gathering if those 10 showed. A nice low key gathering is always relaxing, especially since I can focus on the damn Gouf. In the middle of the gathering, I also had to run off to attend a wedding reception that I had forgotten was on my schedule; but more on that later. First up the Gouf.
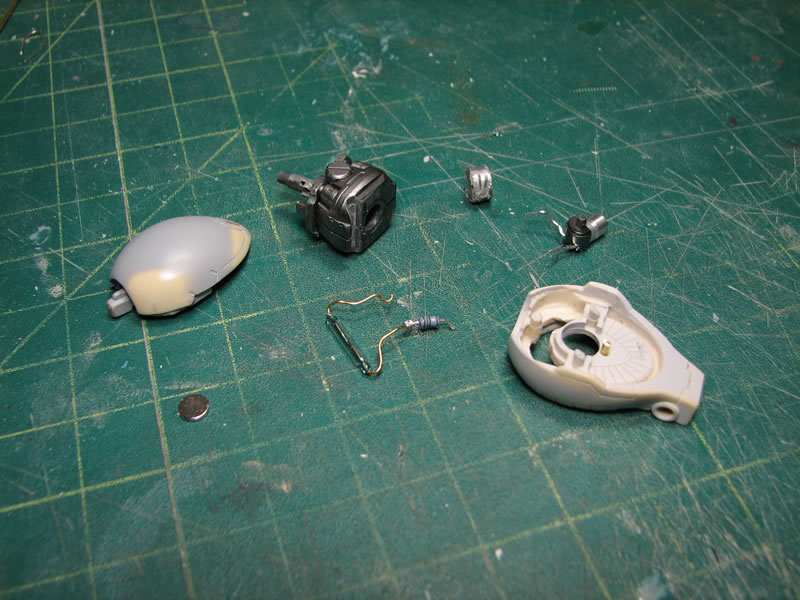
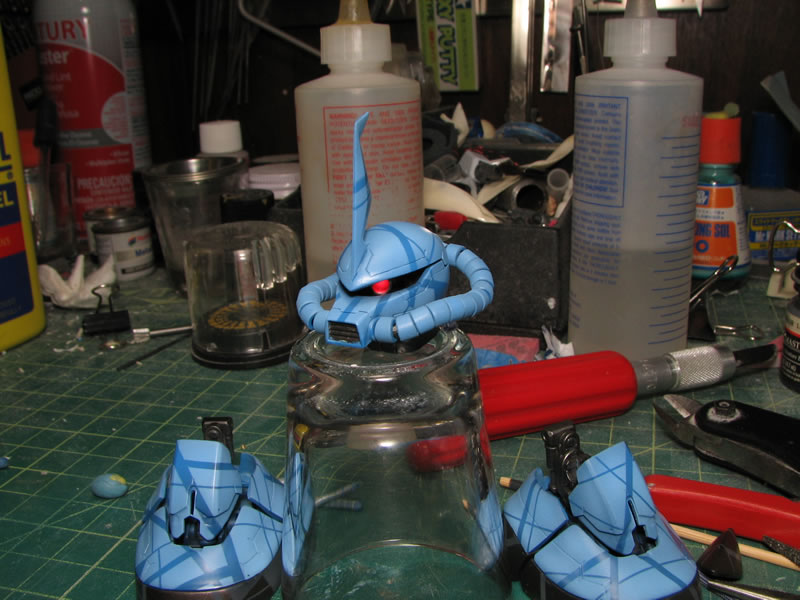
Returning to the previous update, I had forgotten to take apart the head and have all the internal components pictured, so below is a picture of the head components. Battery pack, LED, switch/resistor assembly, magnet, and the head pieces.
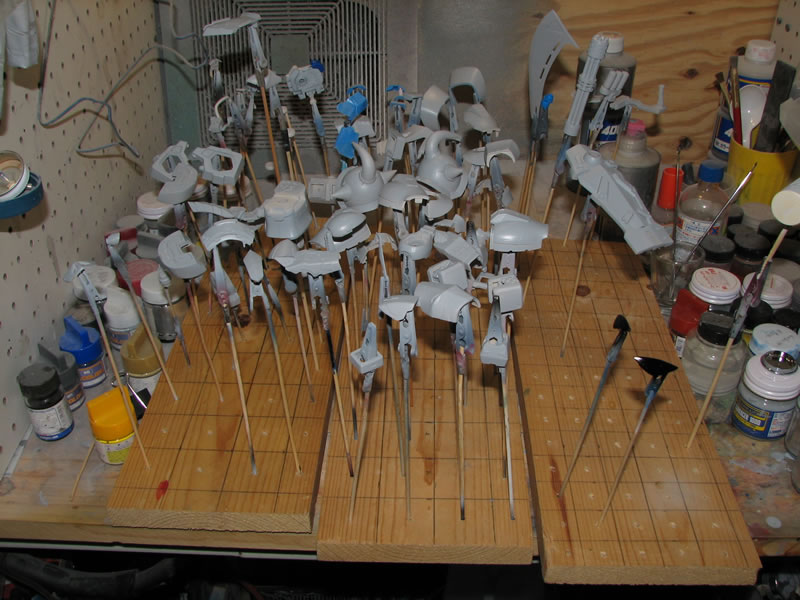
After the second priming session, I still found a few areas that still had surface defects, I used light curing putty to resolve these problem. The putty cures in minutes under direct light and I can sand and continue working without having to wait a full day for epoxy or other putties to cure. Once the putty cures, the parts are sanded and reprimed and finally ready for paint.
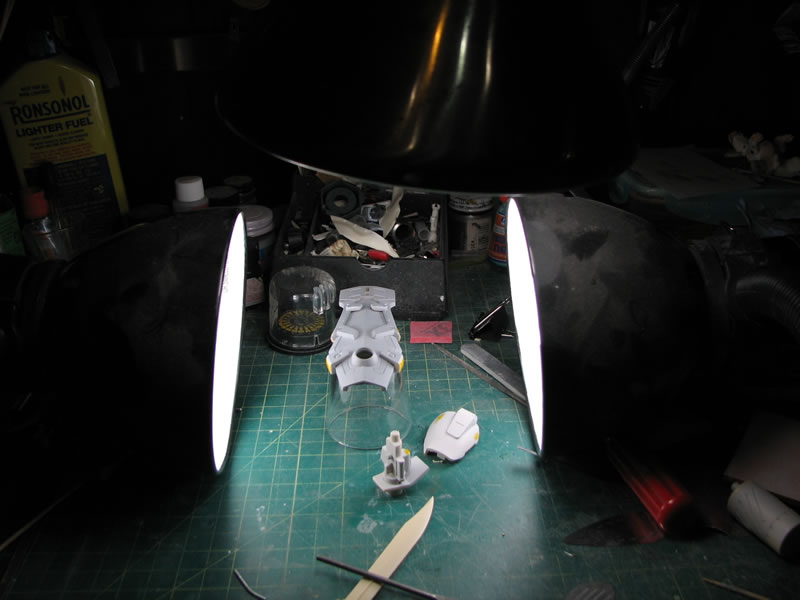
After making all my final fixes to the surface, the parts are giving a final priming session before paint. And prior to applying paint, all the parts are quickly wet sanded with a very high grit sanding mesh. t wasn’t really a sanding session as much as a wiping session with the wet sanding mesh. This leaves the surface free of any dust or rough areas left over as a by product from the final priming session.
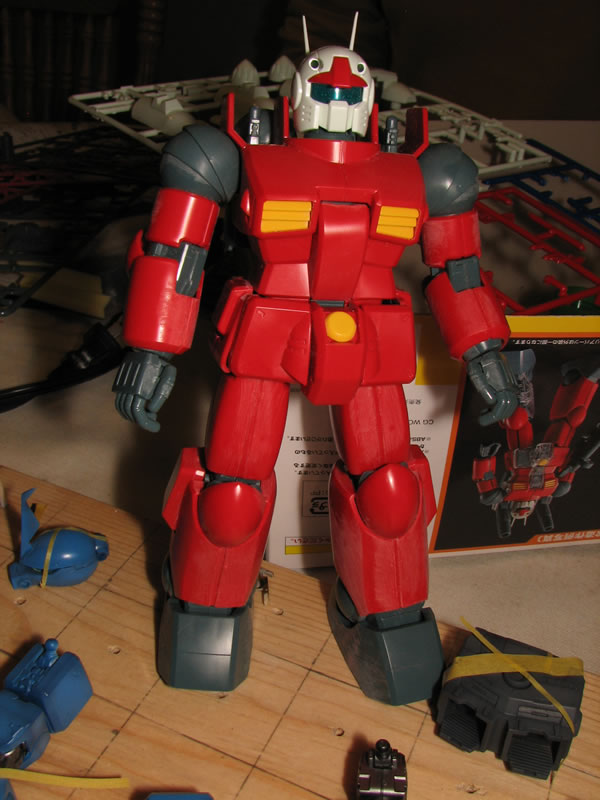
Here is where the fun really begins. The progress up until now is just building and repetitive motions of sanding and priming. Not much change is seen until the parts start receiving some colors. The last bits of the internals that were resin as well as the weapons get coated in a gloss black for their first layer of paint over the primer. The chest and skirt pieces were primed in black, then preshaded with gray primer to get a shading effect. Then a dark blue is sprayed over the parts to create a shaded look. The blue did not show up well when sprayed over the black so gray primer was used to lighten up the surface first. A dark gray was sprayed over the knee, upper chest, and bottom foot pieces. And for a quick mock up,
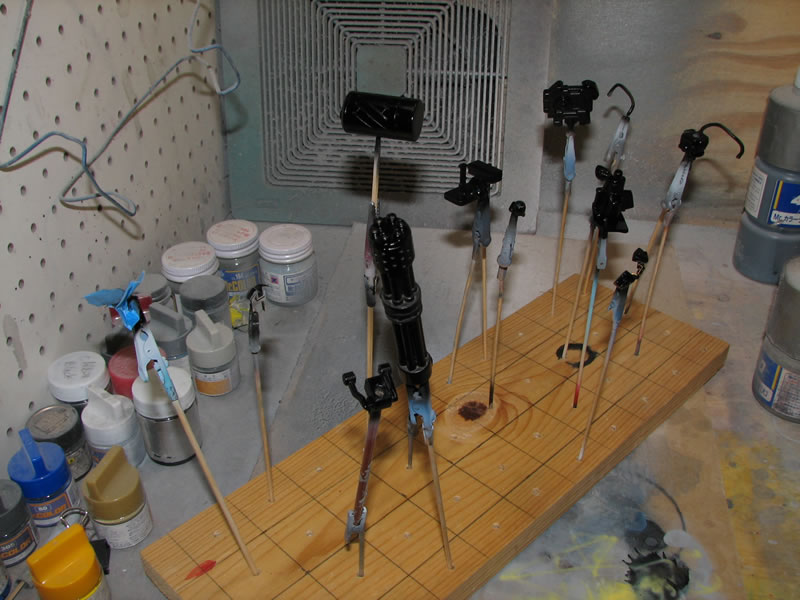
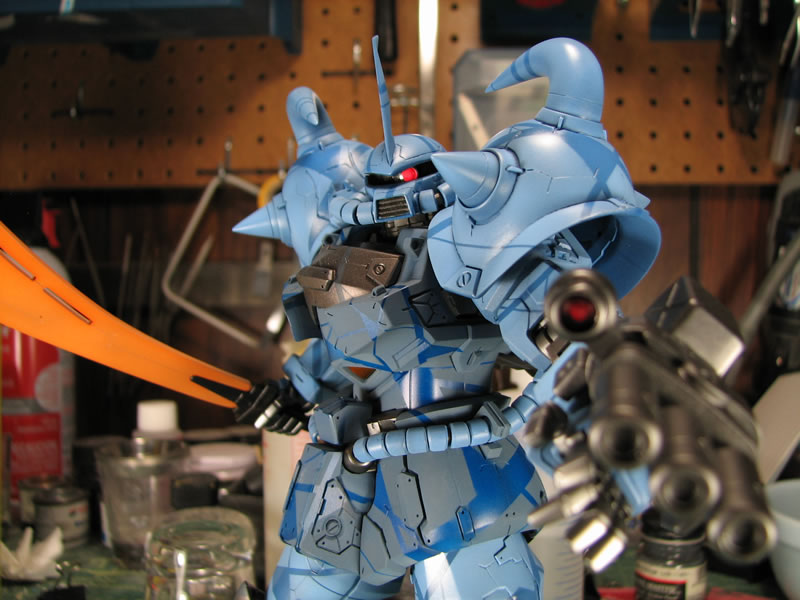
I put the chest unit together. The orange piece was just tamiya enamel clear orange over alclad polished aluminum for that shiny metallic look.
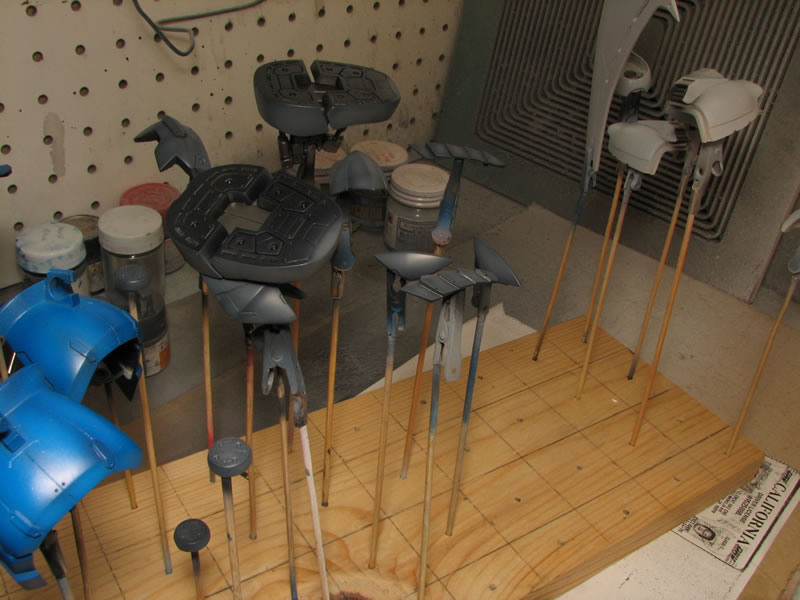
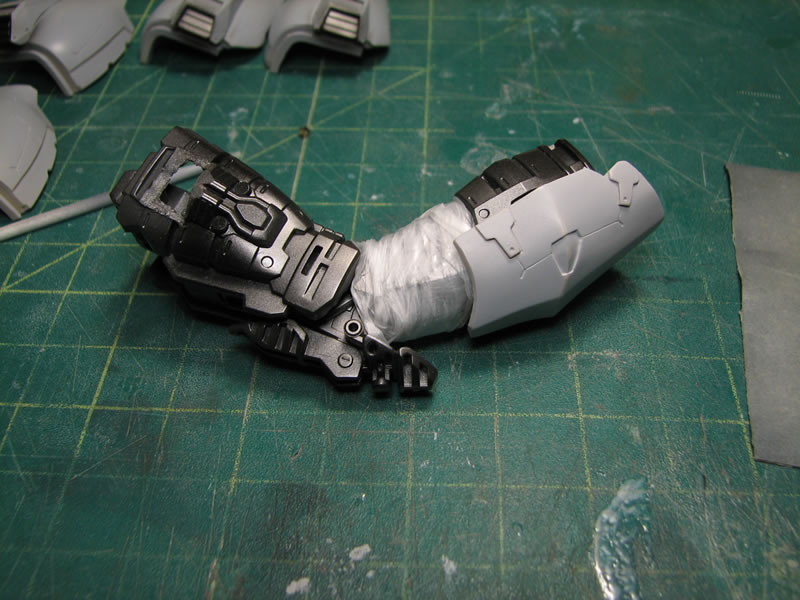
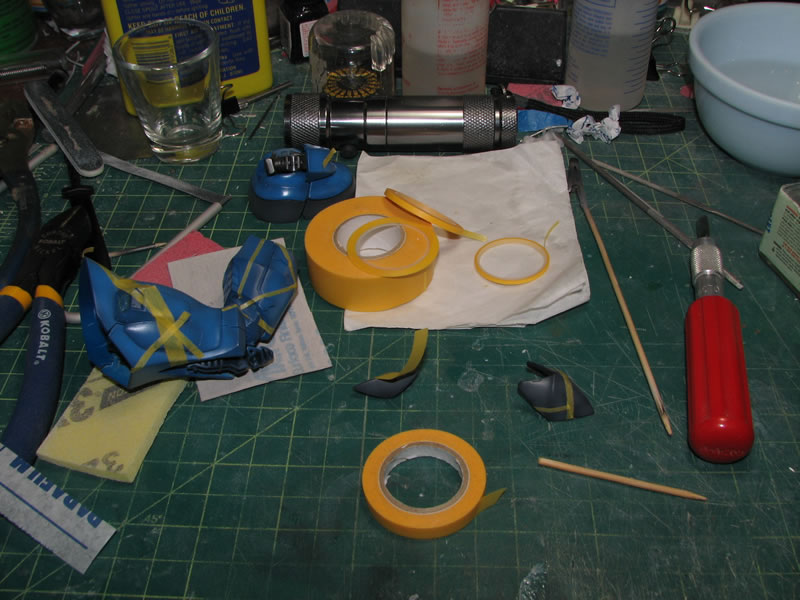
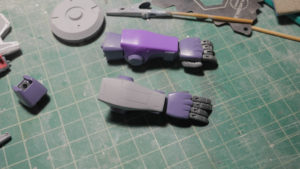
This next process is part of the paint planning. Since I will need to glue the main armor pieces to the frame, I had the frames painted first as it would be much easier to paint the frame without the armor pieces getting in the way. Withe the paint cured for a few days I can now wrap up the exposed joint areas in parafilm, then glue the armor pieces onto the frame. I do this because I want as even a tone between adjacent pieces as possible, and the best way to do that is to just paint the parts are sub assemblies. The same applies to the next example, I had painted the bottom parts of the foot, then wrapped the assembly in parafilm and attached the top pieces of the foot then painted it. Again, I do this so that I keep a consistent color tone on adjacent pieces.
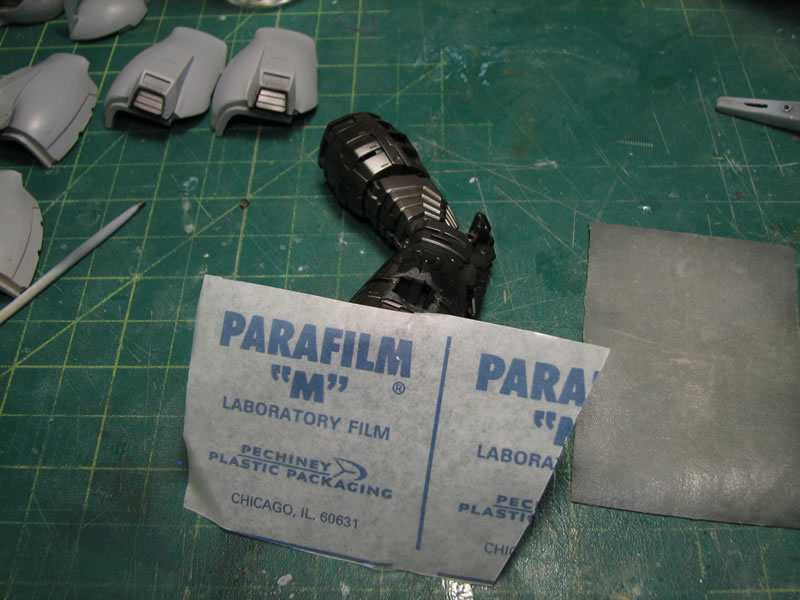
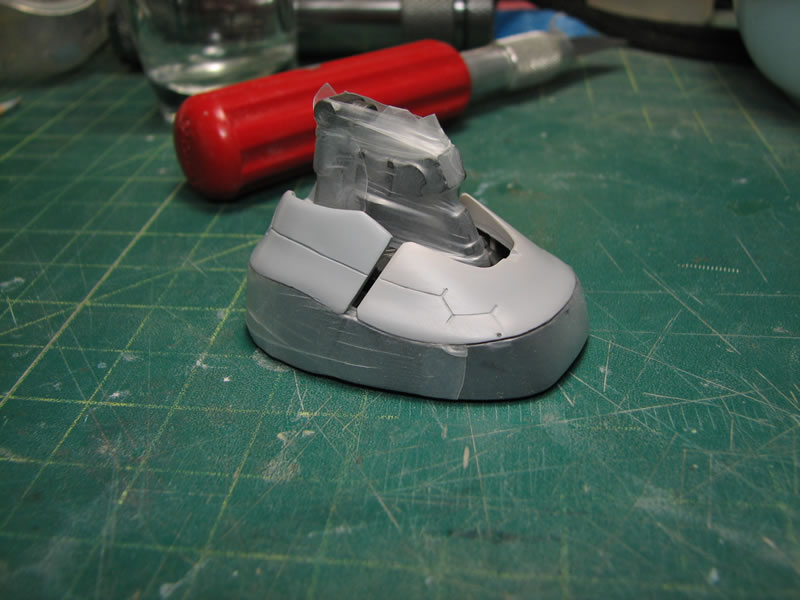
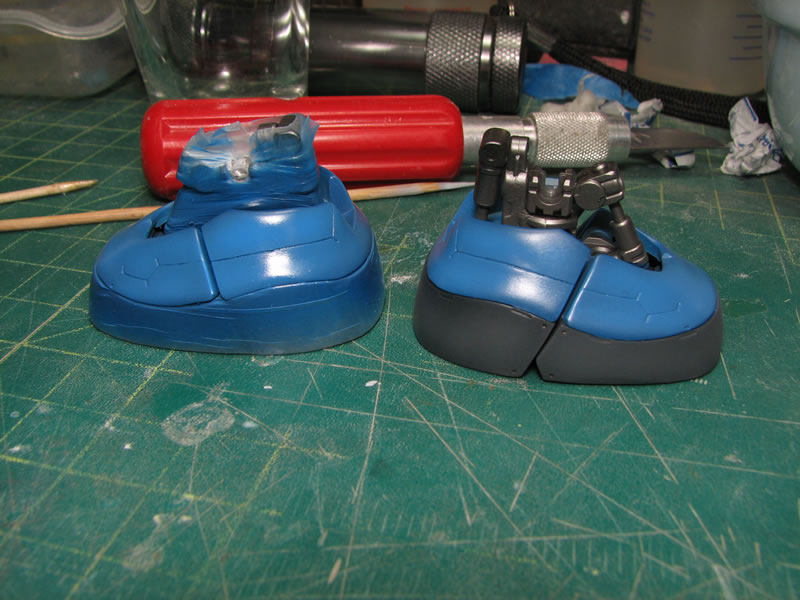
And here is what the foot looks like with the parafilm removed. The parafilm stretches and sticks to itself and is very low tack against the paint surface so for these types of masking situations, the parafilm wins out over masking tape and at a reduced risk to paint chipping.
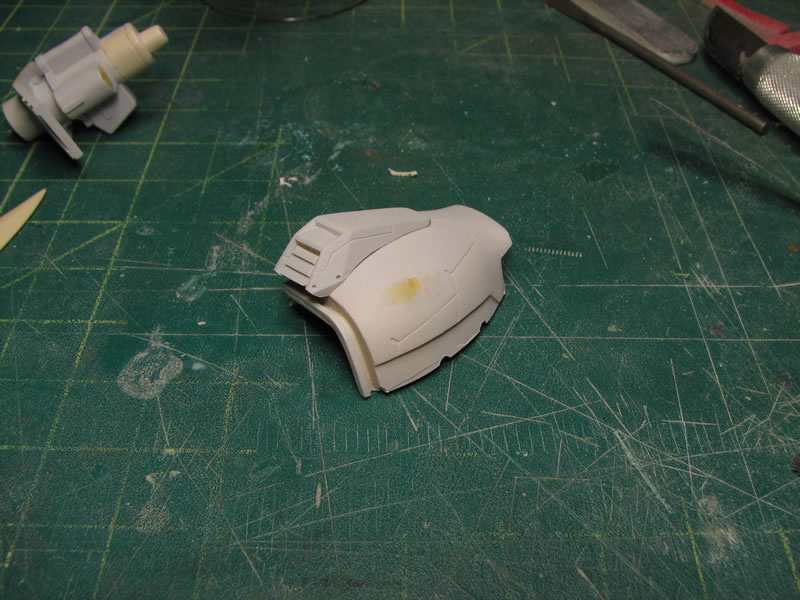
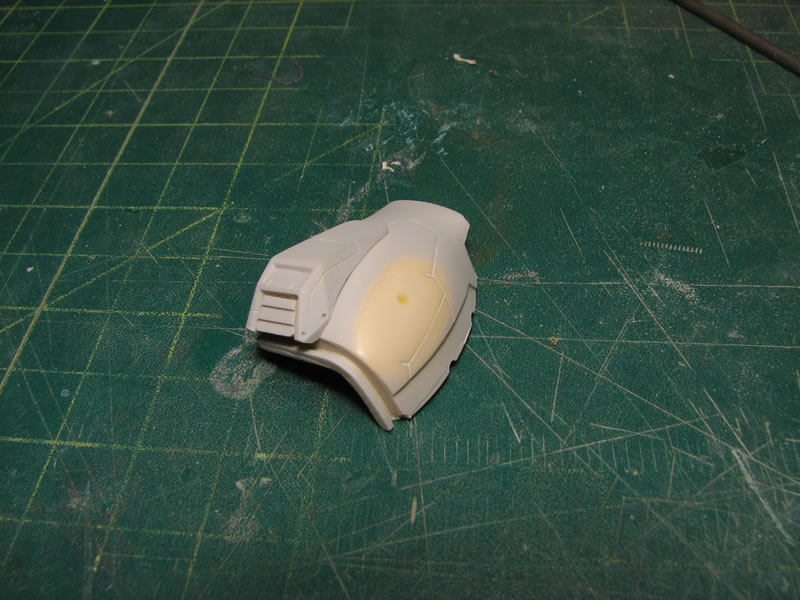
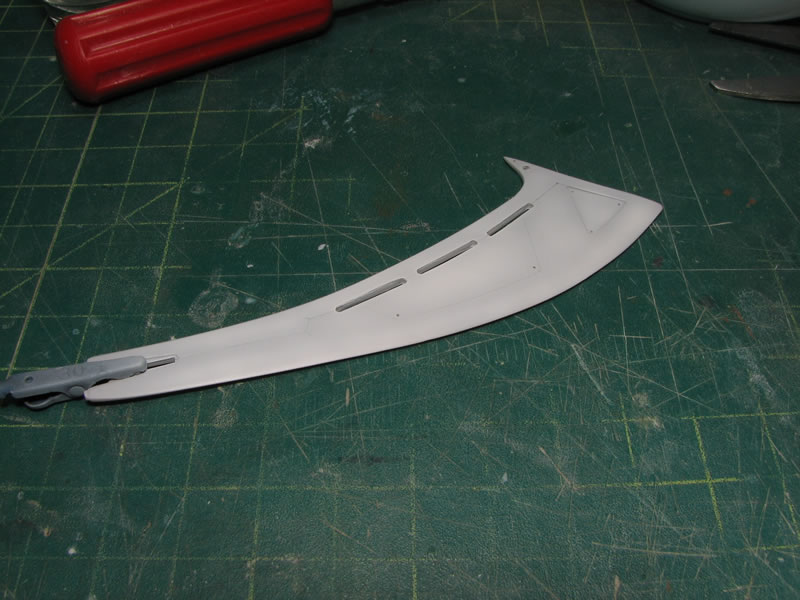
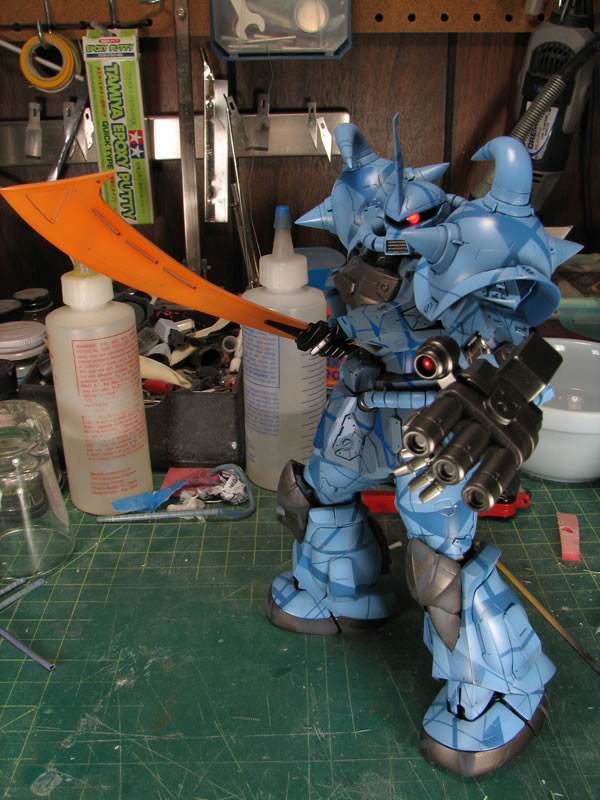
Since I wanted to shade the sword and do the sword in orange, I first sprayed white over the gray primer shading with the white. Once that was done, I sprayed clear orange over the part to finish the giant blade. In the past, I have found that reds, yellows, and oranges are very difficult to shade, especially using the preshading technique since the method suggests you spray lighter colors over a dark base. With such colors, this is VERY difficult to achieve. It would be easier to post shade; spray a light tone, then darken the edges with a darker tone. However, this leads to some very heavy shading if you are not careful. So the solution I have found is to use transparent colors for the reds, yellows, and orange, and spray that over a preshaded white. The brightness of the color will then be determined by the number of layers of clear color you spray. You can partially see what the finished blade looked like in the first picture, scroll down to see the full blade.
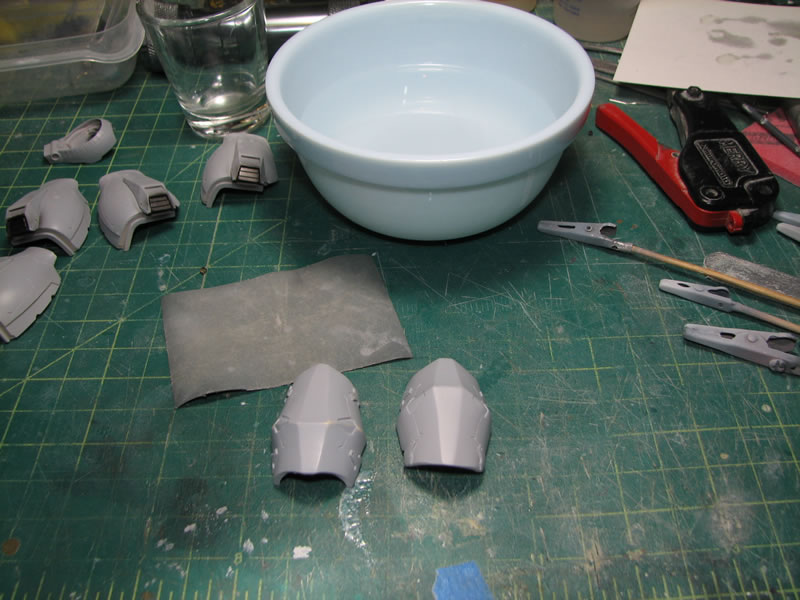
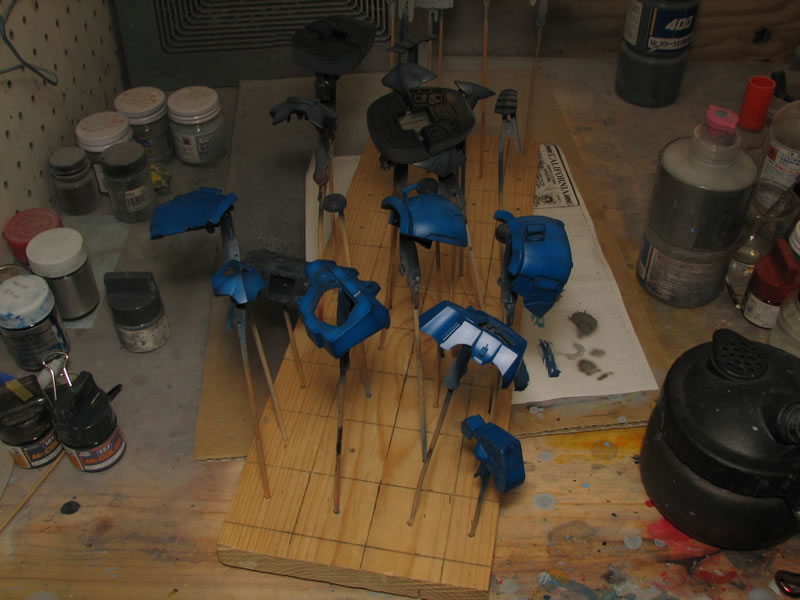
On to the armor pieces; they were painted first with a base coat of wolf blue as the first coat. Then shaded with a custom mixed lighter blue.
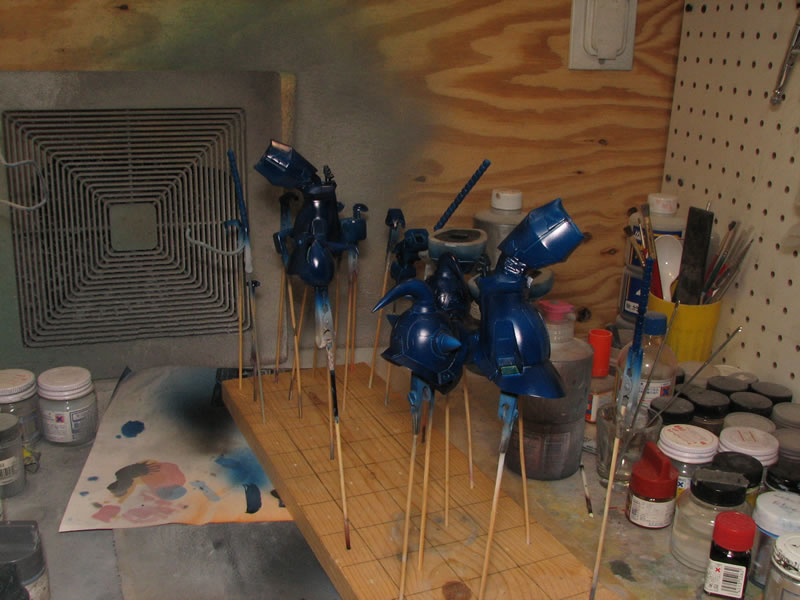
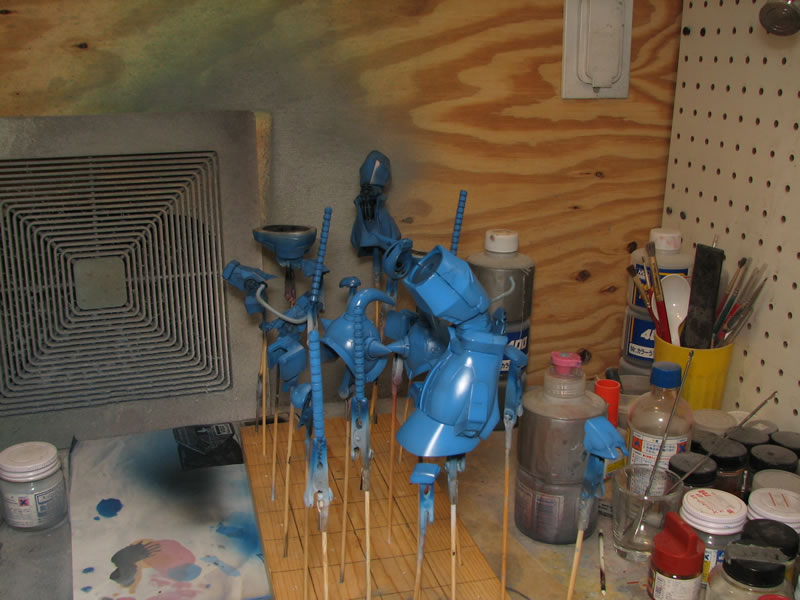
And here’s what the Gouf looks like after the second layers of paint, preshaded. Note that the shading is very strong at this point.
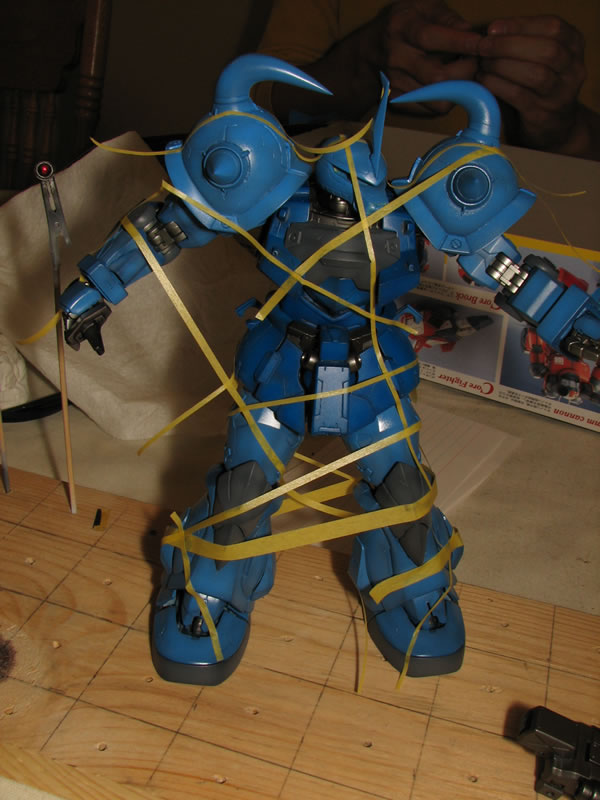
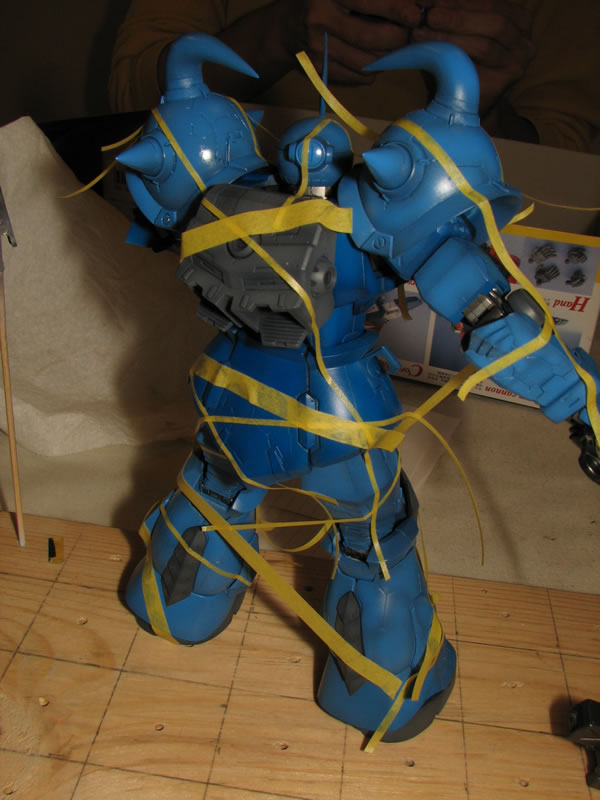
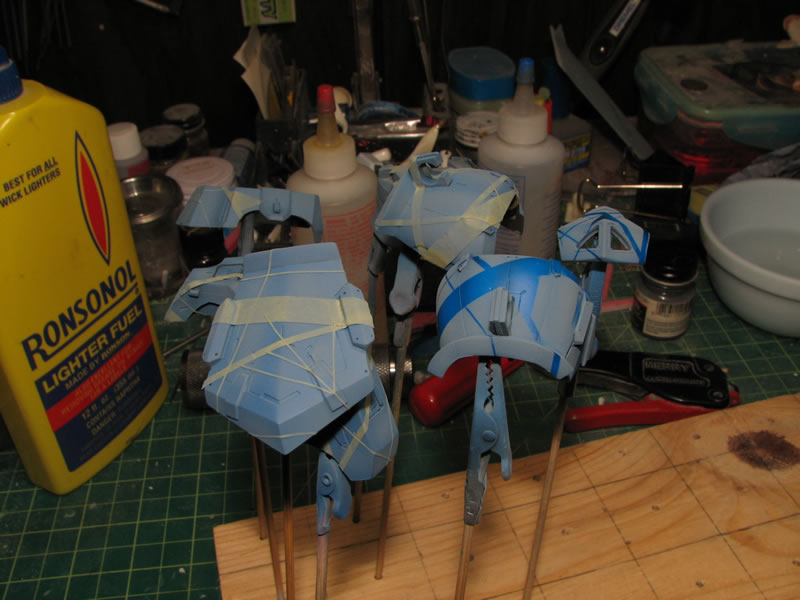
The majority of the next steps were done at the build gathering. I start off with a basic scheme draped over the entire kit, then cut the tape at sub assembly points, and then further masked the individual parts. I spent most of my build gathering time masking all the parts off. The process damn tedious, but alas, not as tedious as masking the parts off for digital camouflage. I didn’t finish masking off the parts that day. I ended up finishing up the last bits of masking though out Sunday.
The process of masking takes several hours to complete. Once done, it takes about 30 to 45 minutes to get all third layers of colors on the parts.
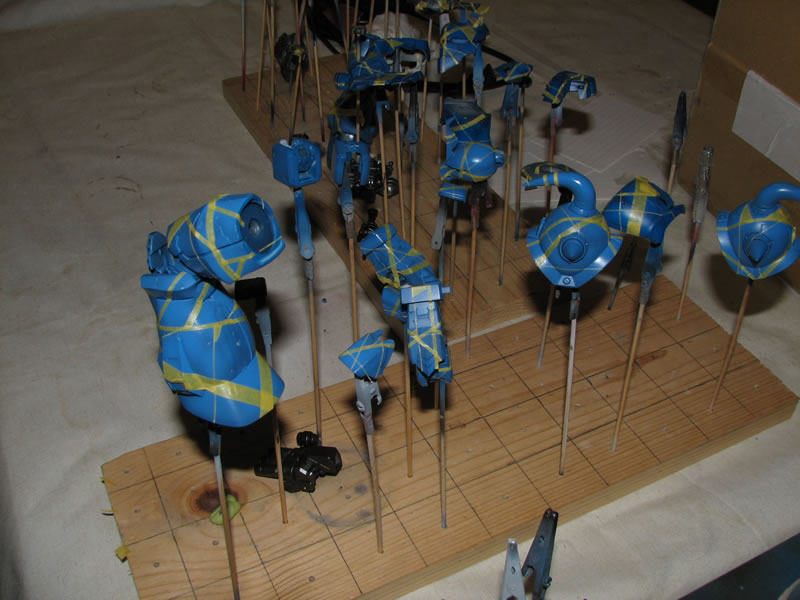
Roughly 45 minutes after I finish masking, I’m finished painting the third color layers. Feeling a little ansy and wanting to see the final product, I remove the mask for some of the first pieces I sprayed. The mixture of flat and gloss will be addressed with the clear coat phase of the project.


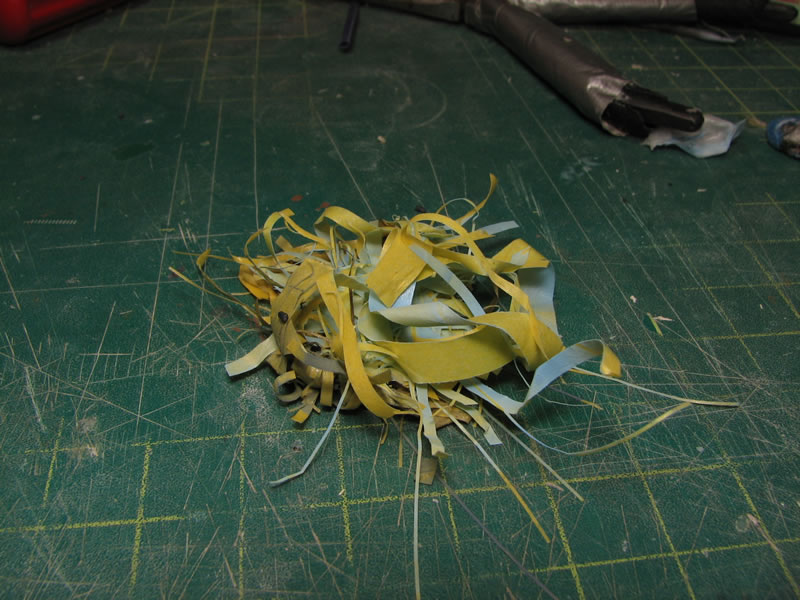
The unmasking process takes another hour and a half to slowly and carefully remove all the masking tape so that the paint does not chip or pull up off the kit. Proper cleaning and scrubbing of the kit coupled with a good primer should reduce this risk drastically. After removing all the masking tape, I’m left with a jumble of partially painted tape.
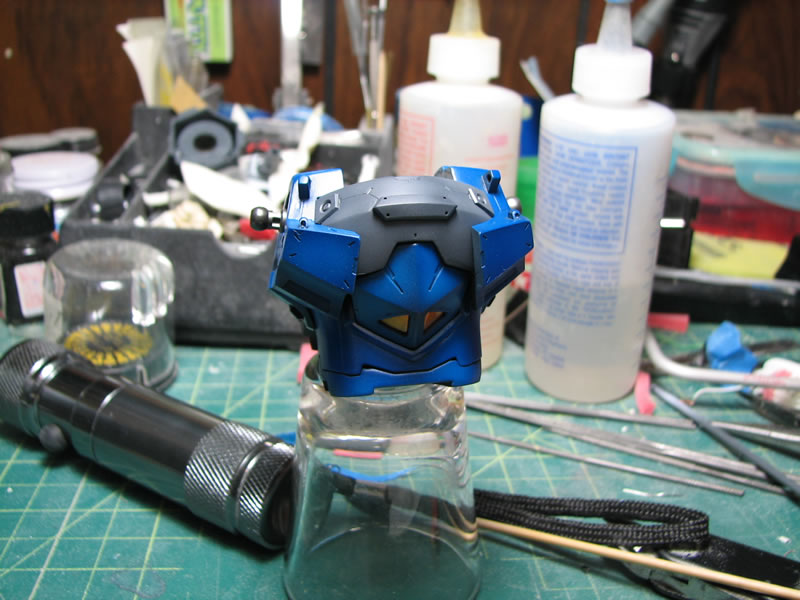
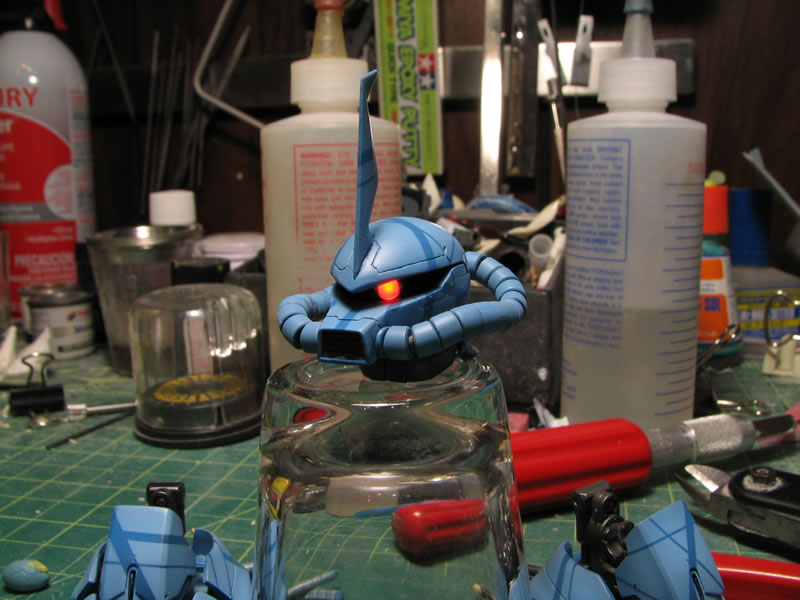
The head piece painted and complete with tubes and lighting system, without the camera flash and with the camera flash.
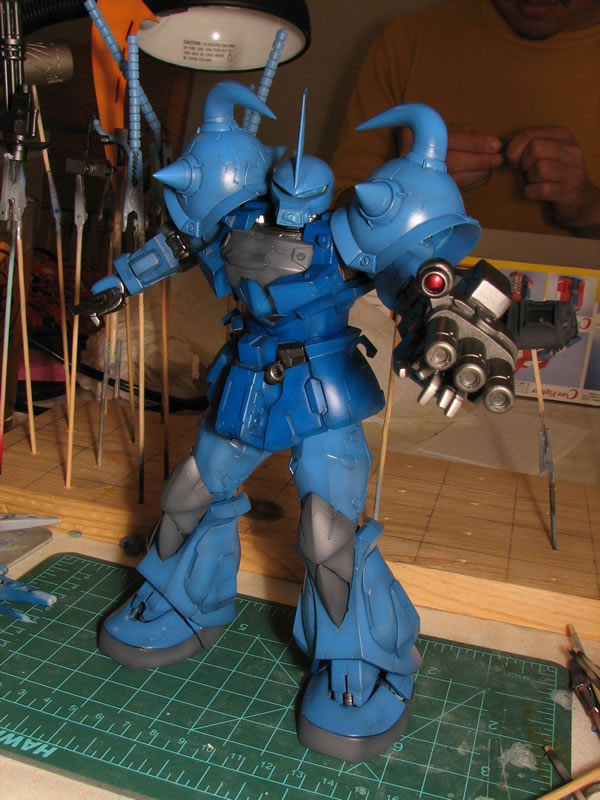
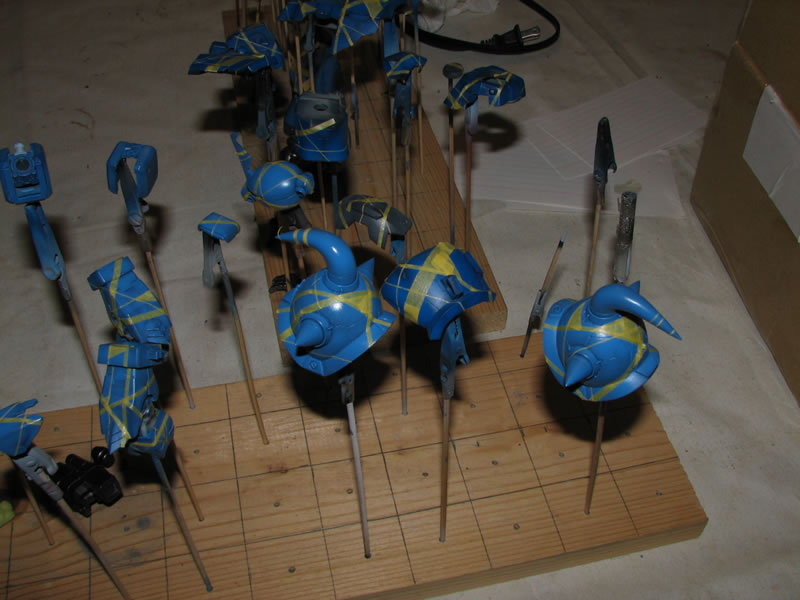
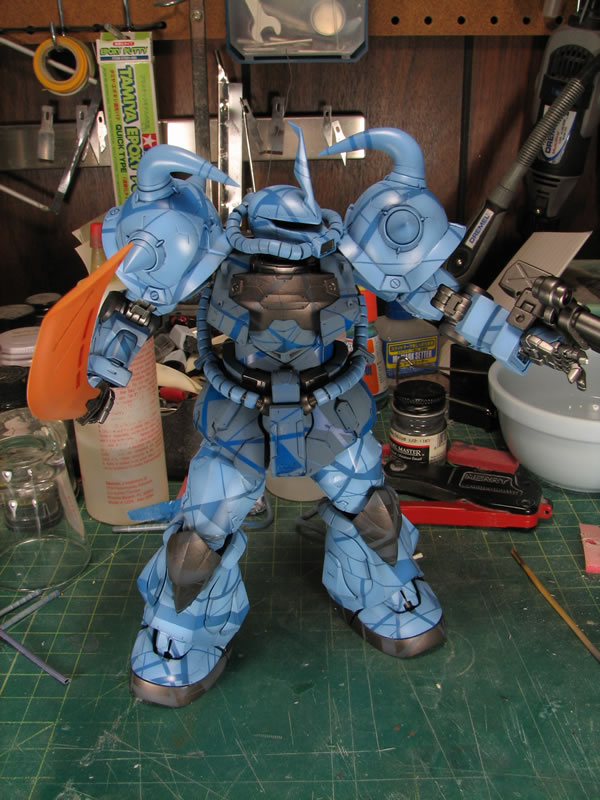
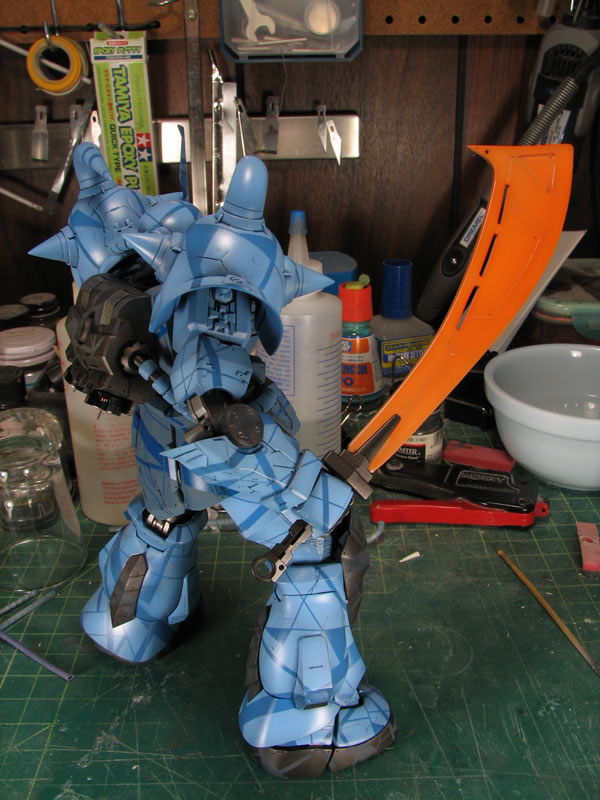
With all the masking tape removed, I put the thing together for some quick progress pictures. And now I present Mr Burberry Gouf Custom… And with most of the painting for the kit done, this is where the build process completely slows down. The parts will be taken down to sub assemblies and clear gloss coated, decaled, clear gloss coated, panel lined, and then a final clear flat coat will be sprayed. The minimum amount of time for this whole process will be a full week – and that is if I have the time to work on the kit during the week. And each step will see minor changes as the week progresses, but the build progression definitely slows down considerably from this point on.

August Model Build Gathering
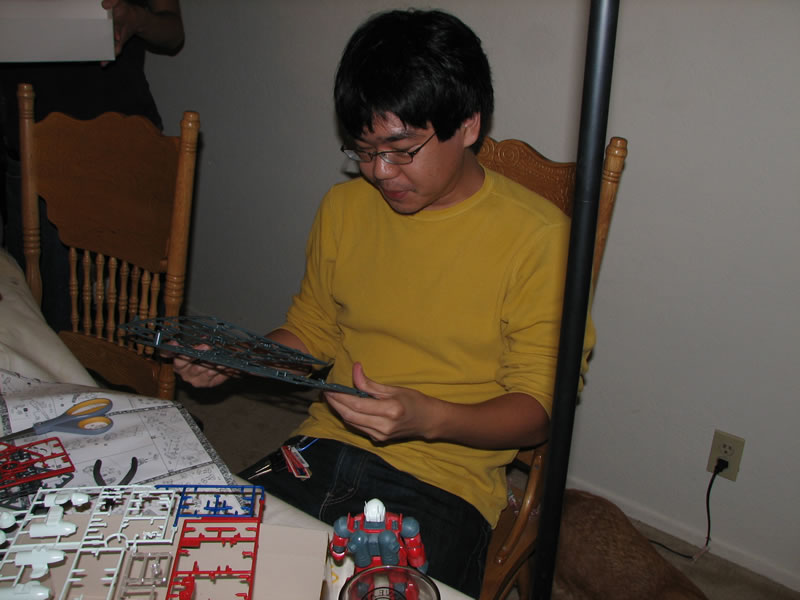
As stated at the beginning of the post, the model build gathering was smaller and worked out nicely as a low key event. I got a decent amount of work done as hosting duties were not too strenuous. We had one new modeler that apparently after talking with some of the other guys, lives down the street from one of them and had actually gone to school with one of the builders’ sister. Small f-ing world.
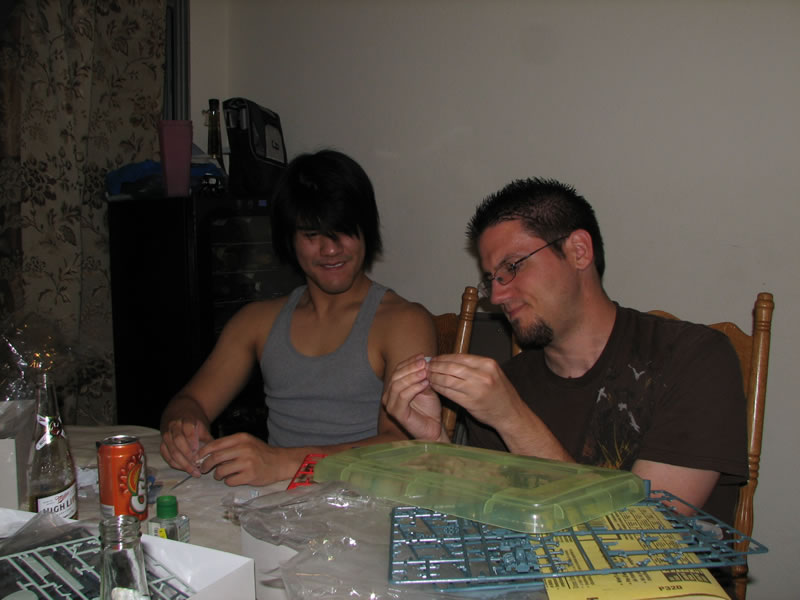
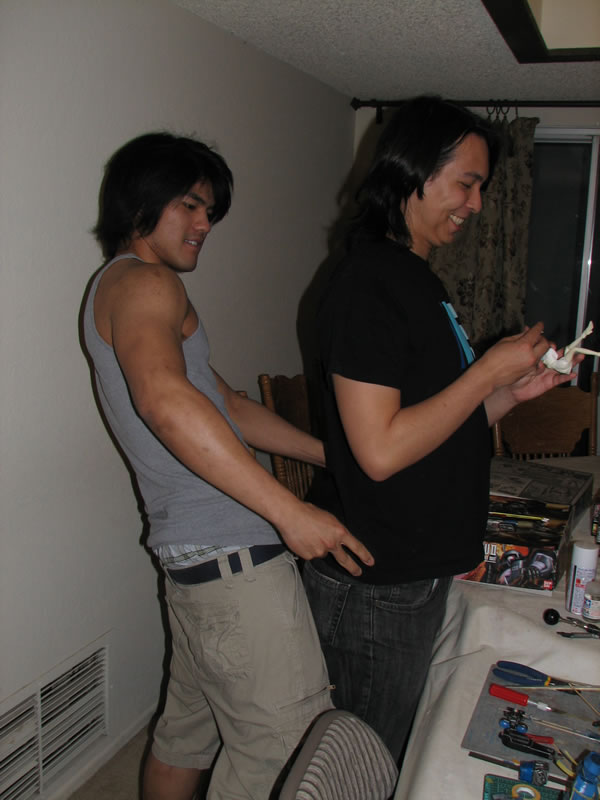
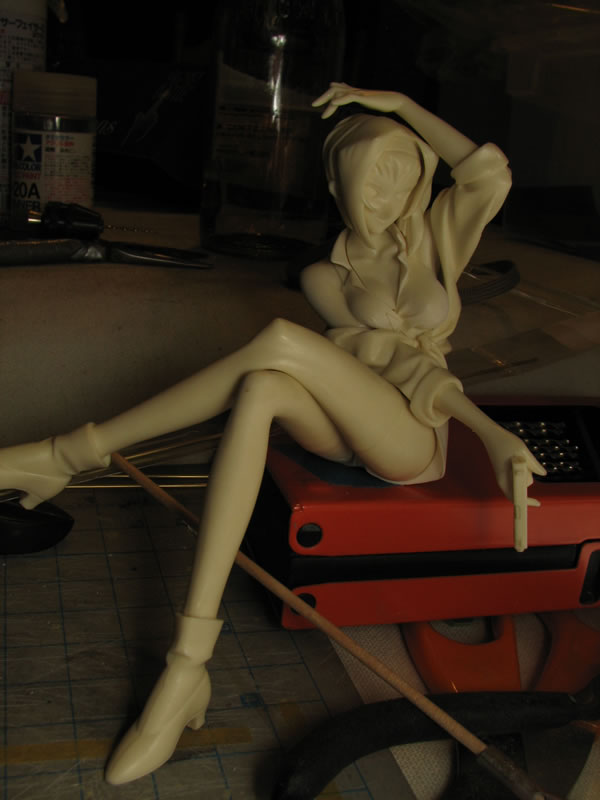
One of the modelers brought an old recasted Faye kit and he was asking me how he should go about gluing the kit and I showed him how to properly pin the kit and he was able to fully pin the kit up by the end of the gathering. here’s Ed trying to molest him while he’s working on his Faye.
I didn’t take many pictures as I was busy working on my Gouf; then in the middle of the gathering, I had to leave for about three hours to attend a wedding reception. I slipped out right after the speeches from the best man/maid of honor, and right when they started letting people get up to get food. The Gouf and my hosting responsibilities were calling to me. Had I stayed, I could have introduced myself to this lovely Japanese lady that brought her own 5th of some kind of alcohol to spike her own drinks. That was very impressive, and according to my roommate, she had gotten fairly drunk. I think that’s the best part of wedding receptions, the drunks. It’s always entertaining.
Gouf looks sweet!
I know this a very old post, but I was wondering if there was any way to get a paints list of the colors used on this model?
For the grey areas, I started with finisher’s pure black then a mr surfacer 1000 grey to shade for the gray areas.
The armor pieces started with finisher’s wulf blue as a base then shaded with a custom mixed lighter blue (I don’t remember exactly, but it is probably finisher’s cobalt blue with finisher’s pure white)
These parts are then masked, then a mix using the above custom blue with even more white to create a lighter blue is sprayed over everything.
The sword was first painted in mr surface 1000 grey primer then shaded with white, then sprayed with mr color clear orange.
Thanks so much for the reply! Loved this build. My favorite mobile suit of all time